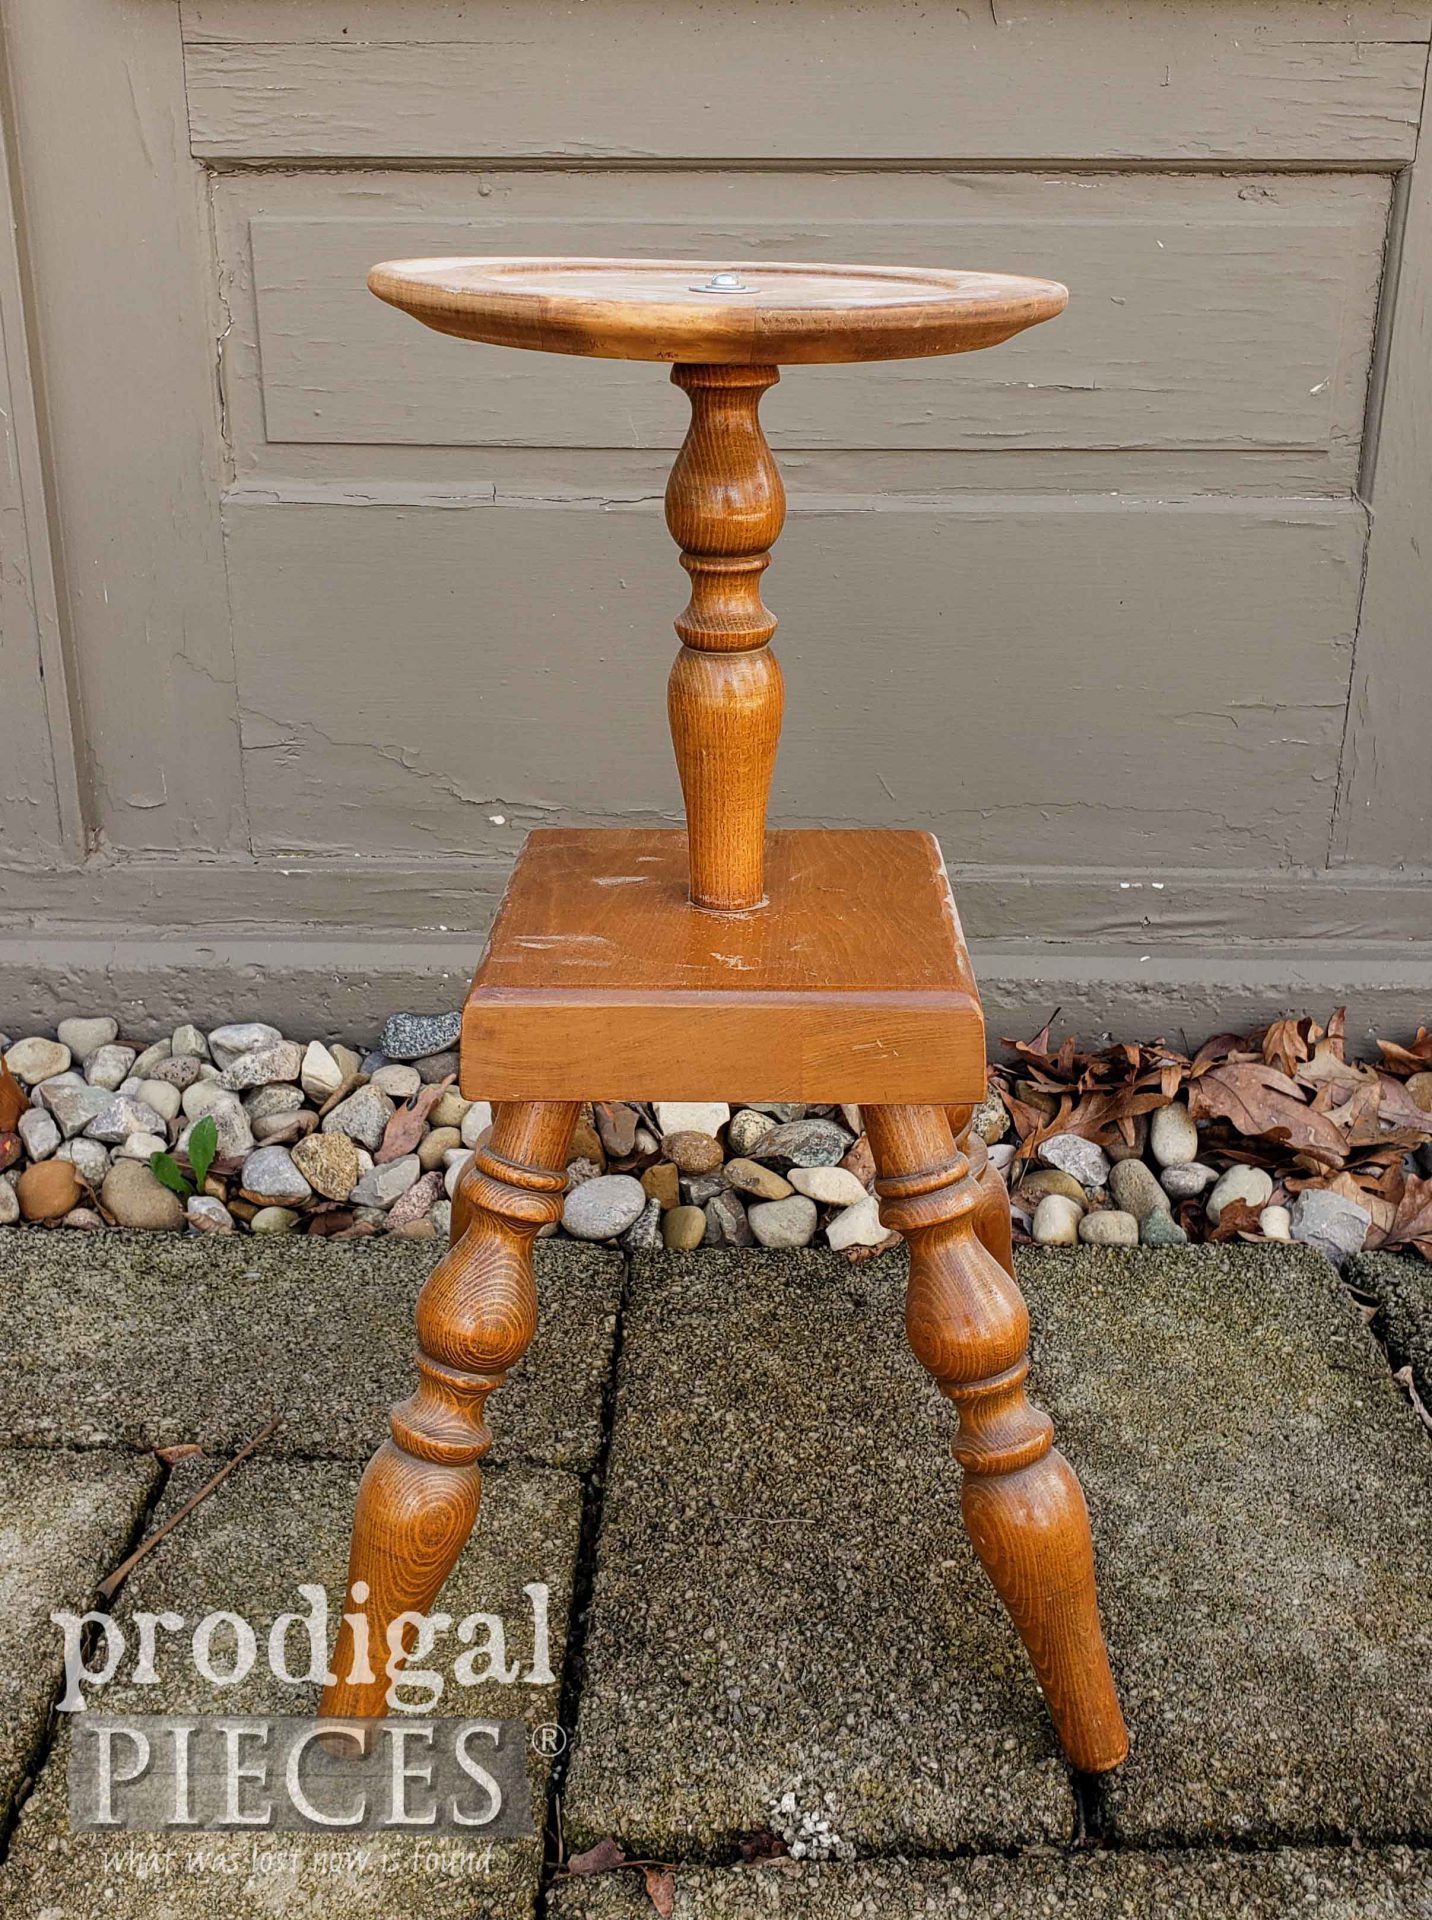
 Back a few months ago,I went to a free sale. Yes, you read that right - a free sale. A local ministry collects items for the community and puts together these "sales" to help those who need it most. At this particular sale, my oldest son wanted to find a project piece. I pointed out this stand as potential by adding a top to it. However, after several months of it sitting in my garage waiting for revival, I bought it from my son. He lost interest and I wanted to rework it. Win-win.
DIY TIME
That brings us to today. I'm excited to get this DIY party started. I've not only got a new video to share with you, but a brand-new tool to give to you. Seriously, I just love giving folks things! Today, I'm using a sprayer that is perfect for the newbie as well as the seasoned pro.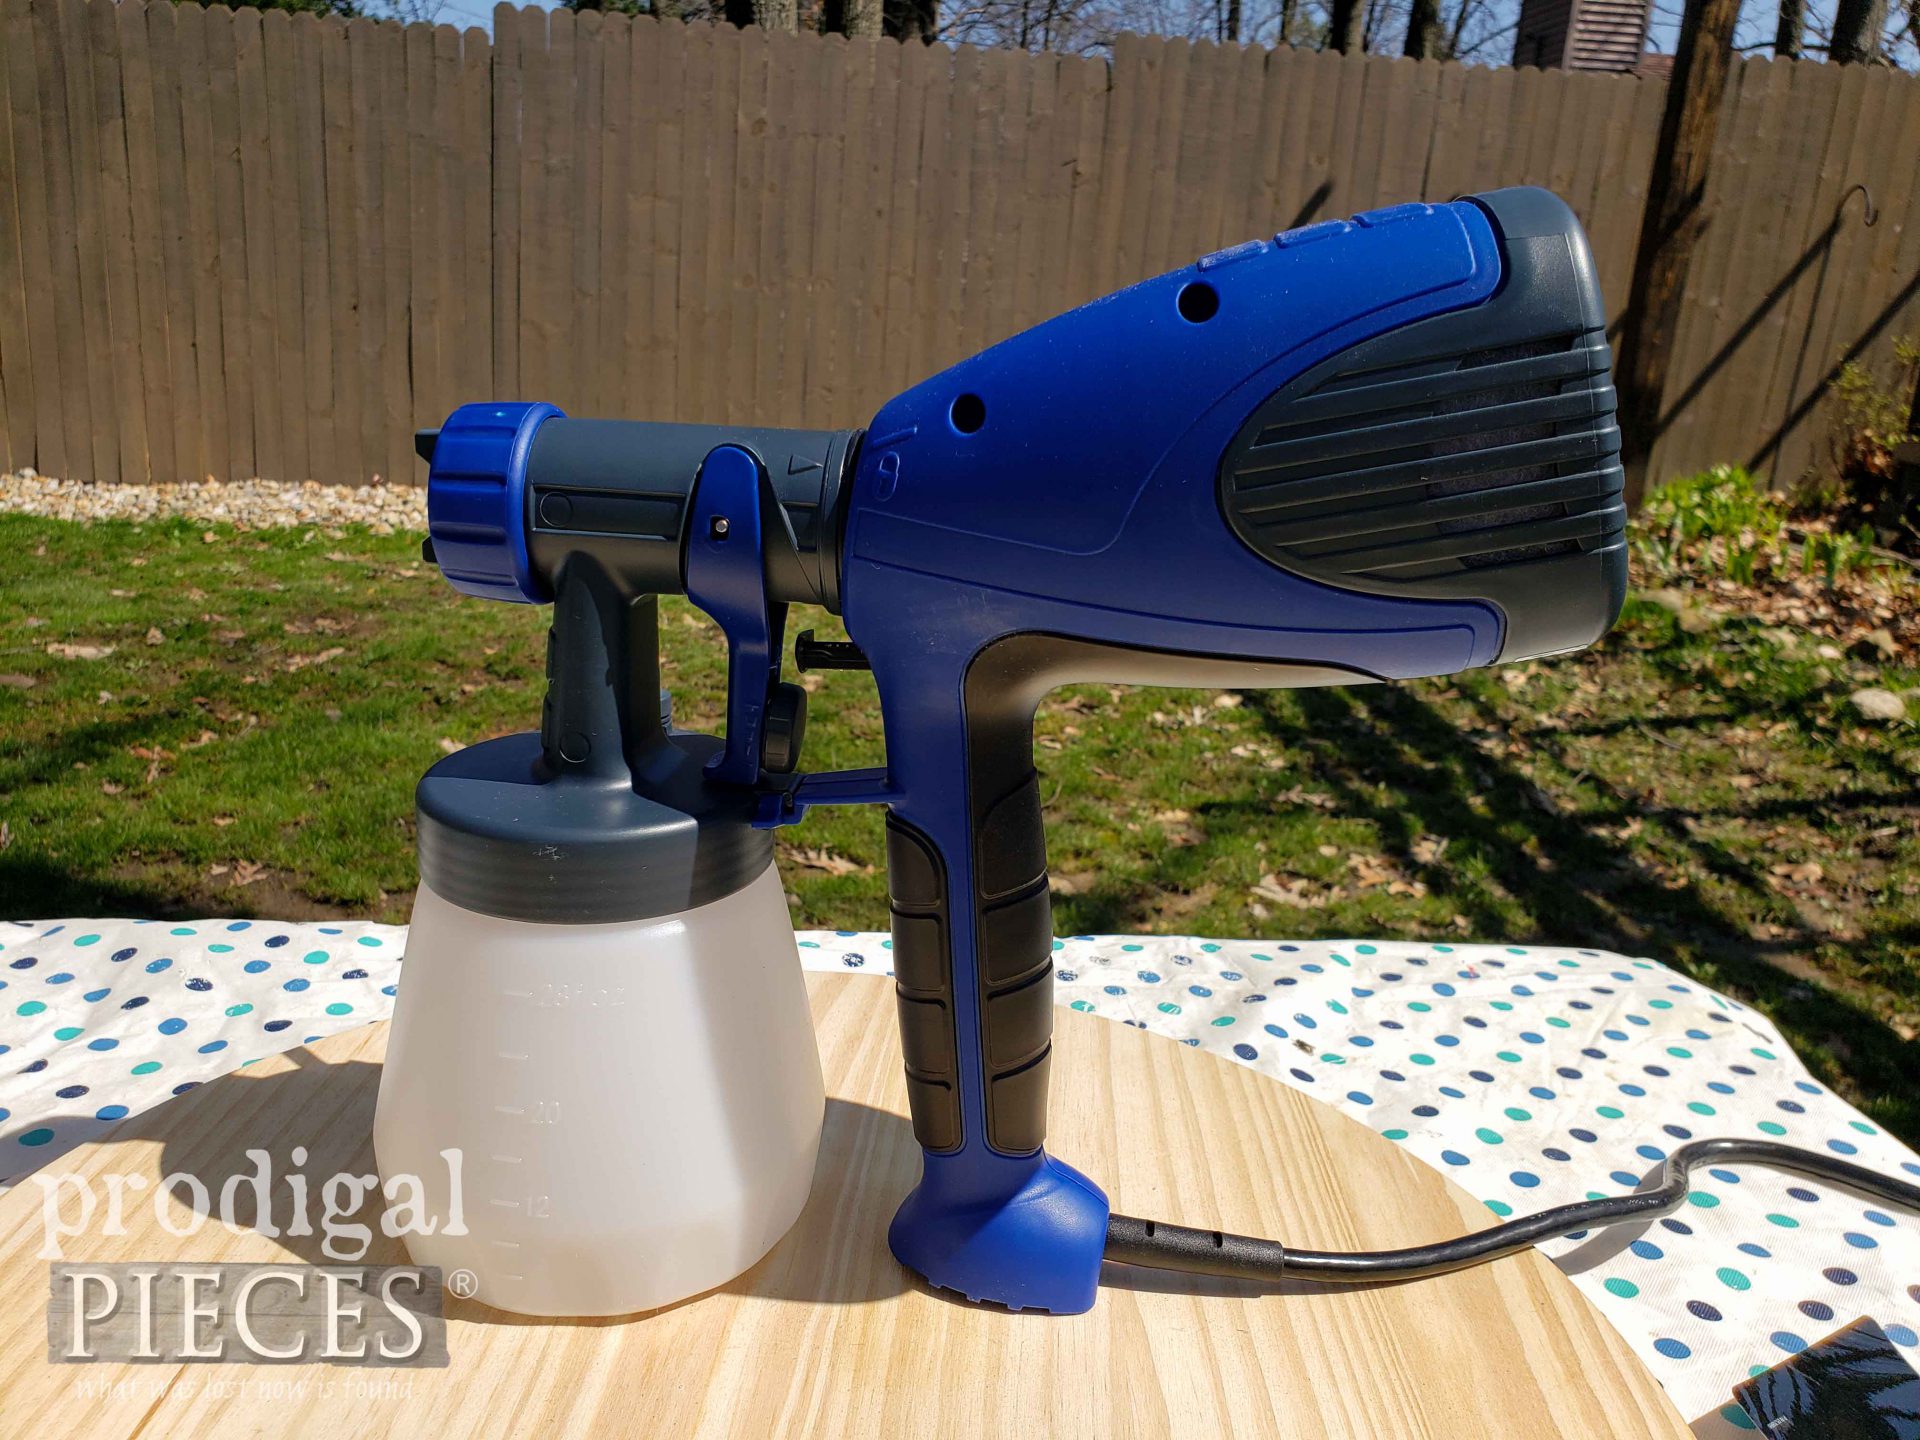
*post sponsored by HomeRight (see full disclosure).
It's an entry-level sprayer that's easy for a beginner to use. Also, it showcases Lock-N-Go technology that allows for much easier disconnect of the nozzle from the cup for ease of cleaning and color/medium changes. Last, it's perfect for thinned paint, stain, and poly. I've outlined my thoughts on how it assembles and works in my video below.LET'S BEGIN
First, I fill up the cup with a natural reactive stain that works with the tannins in wood to age it faster. I'm using a wood round for my table top that I found at a local home improvement store. It's made of pine and pretty simple, but I'm adding my own flair.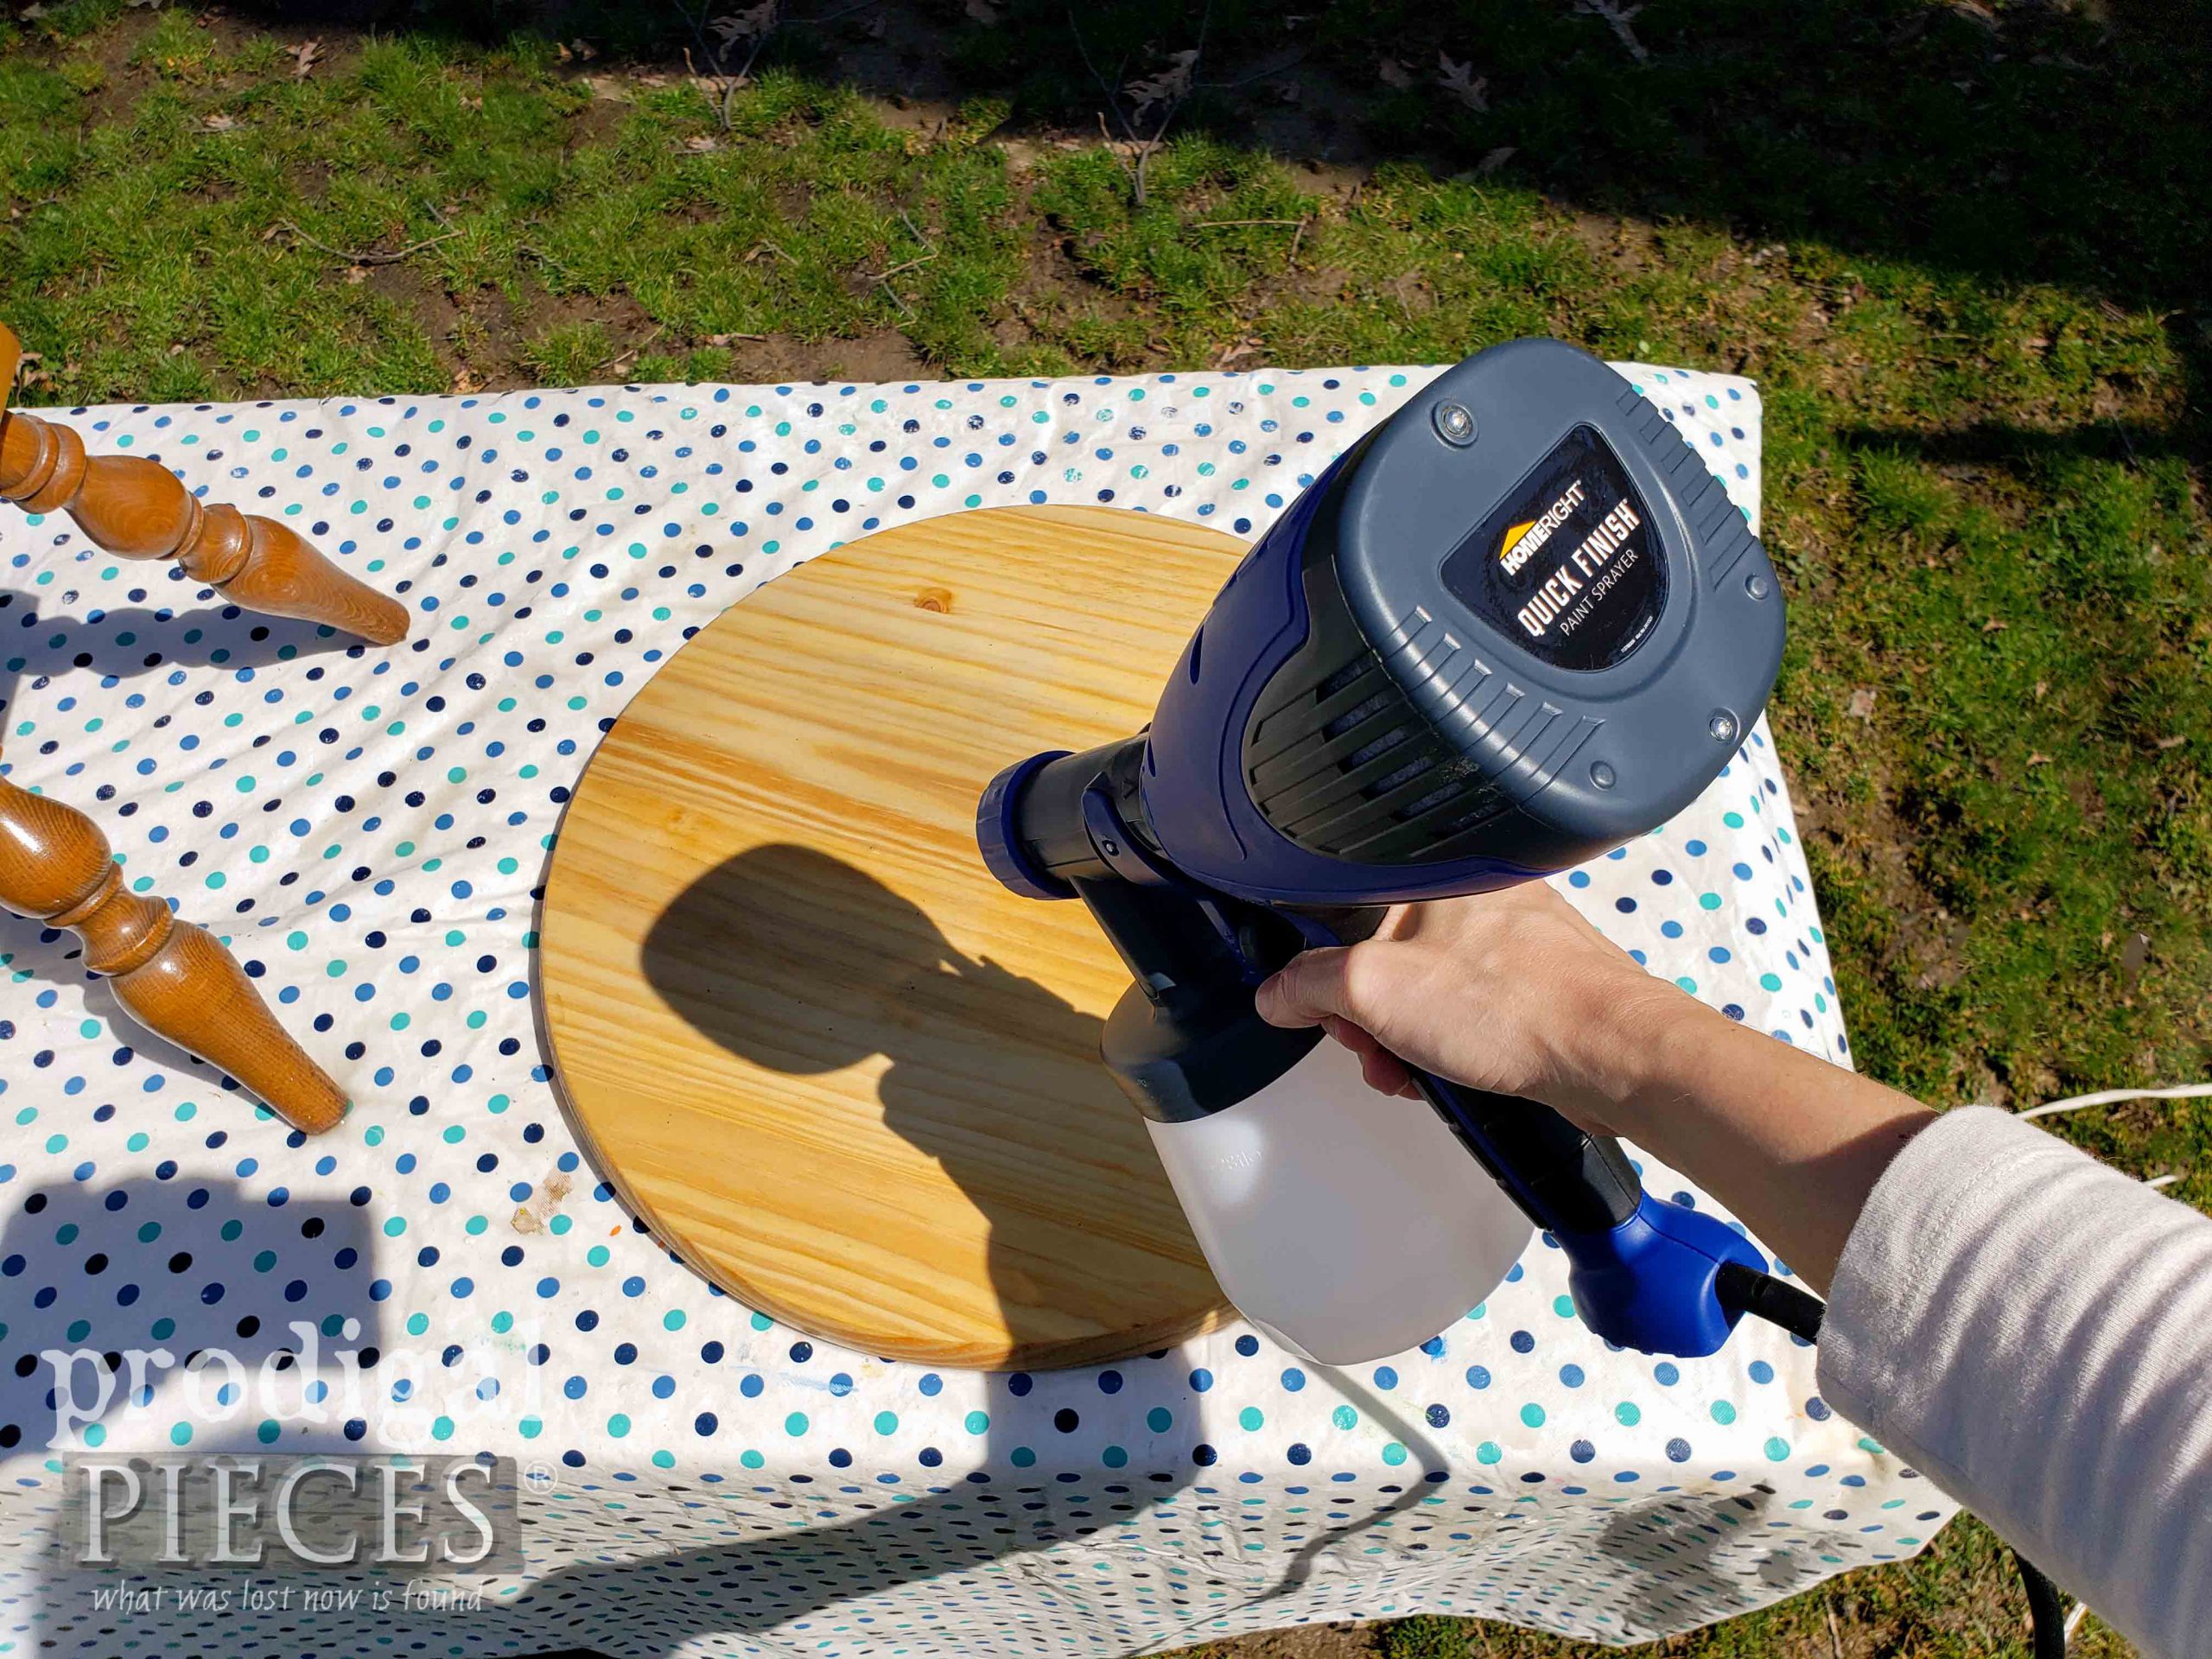 Then, I liberally spray the stain. To get the best results with the stain, the wood needs to be good and soaked. After that, I disconnect the sprayer nozzle and clean up with soap and water per manufacture instructions.
Afterward, I fill the cup with thinned paint (following paint can instructions for thinning). The ash tray stand is getting a soft antique white paint, only one coat.
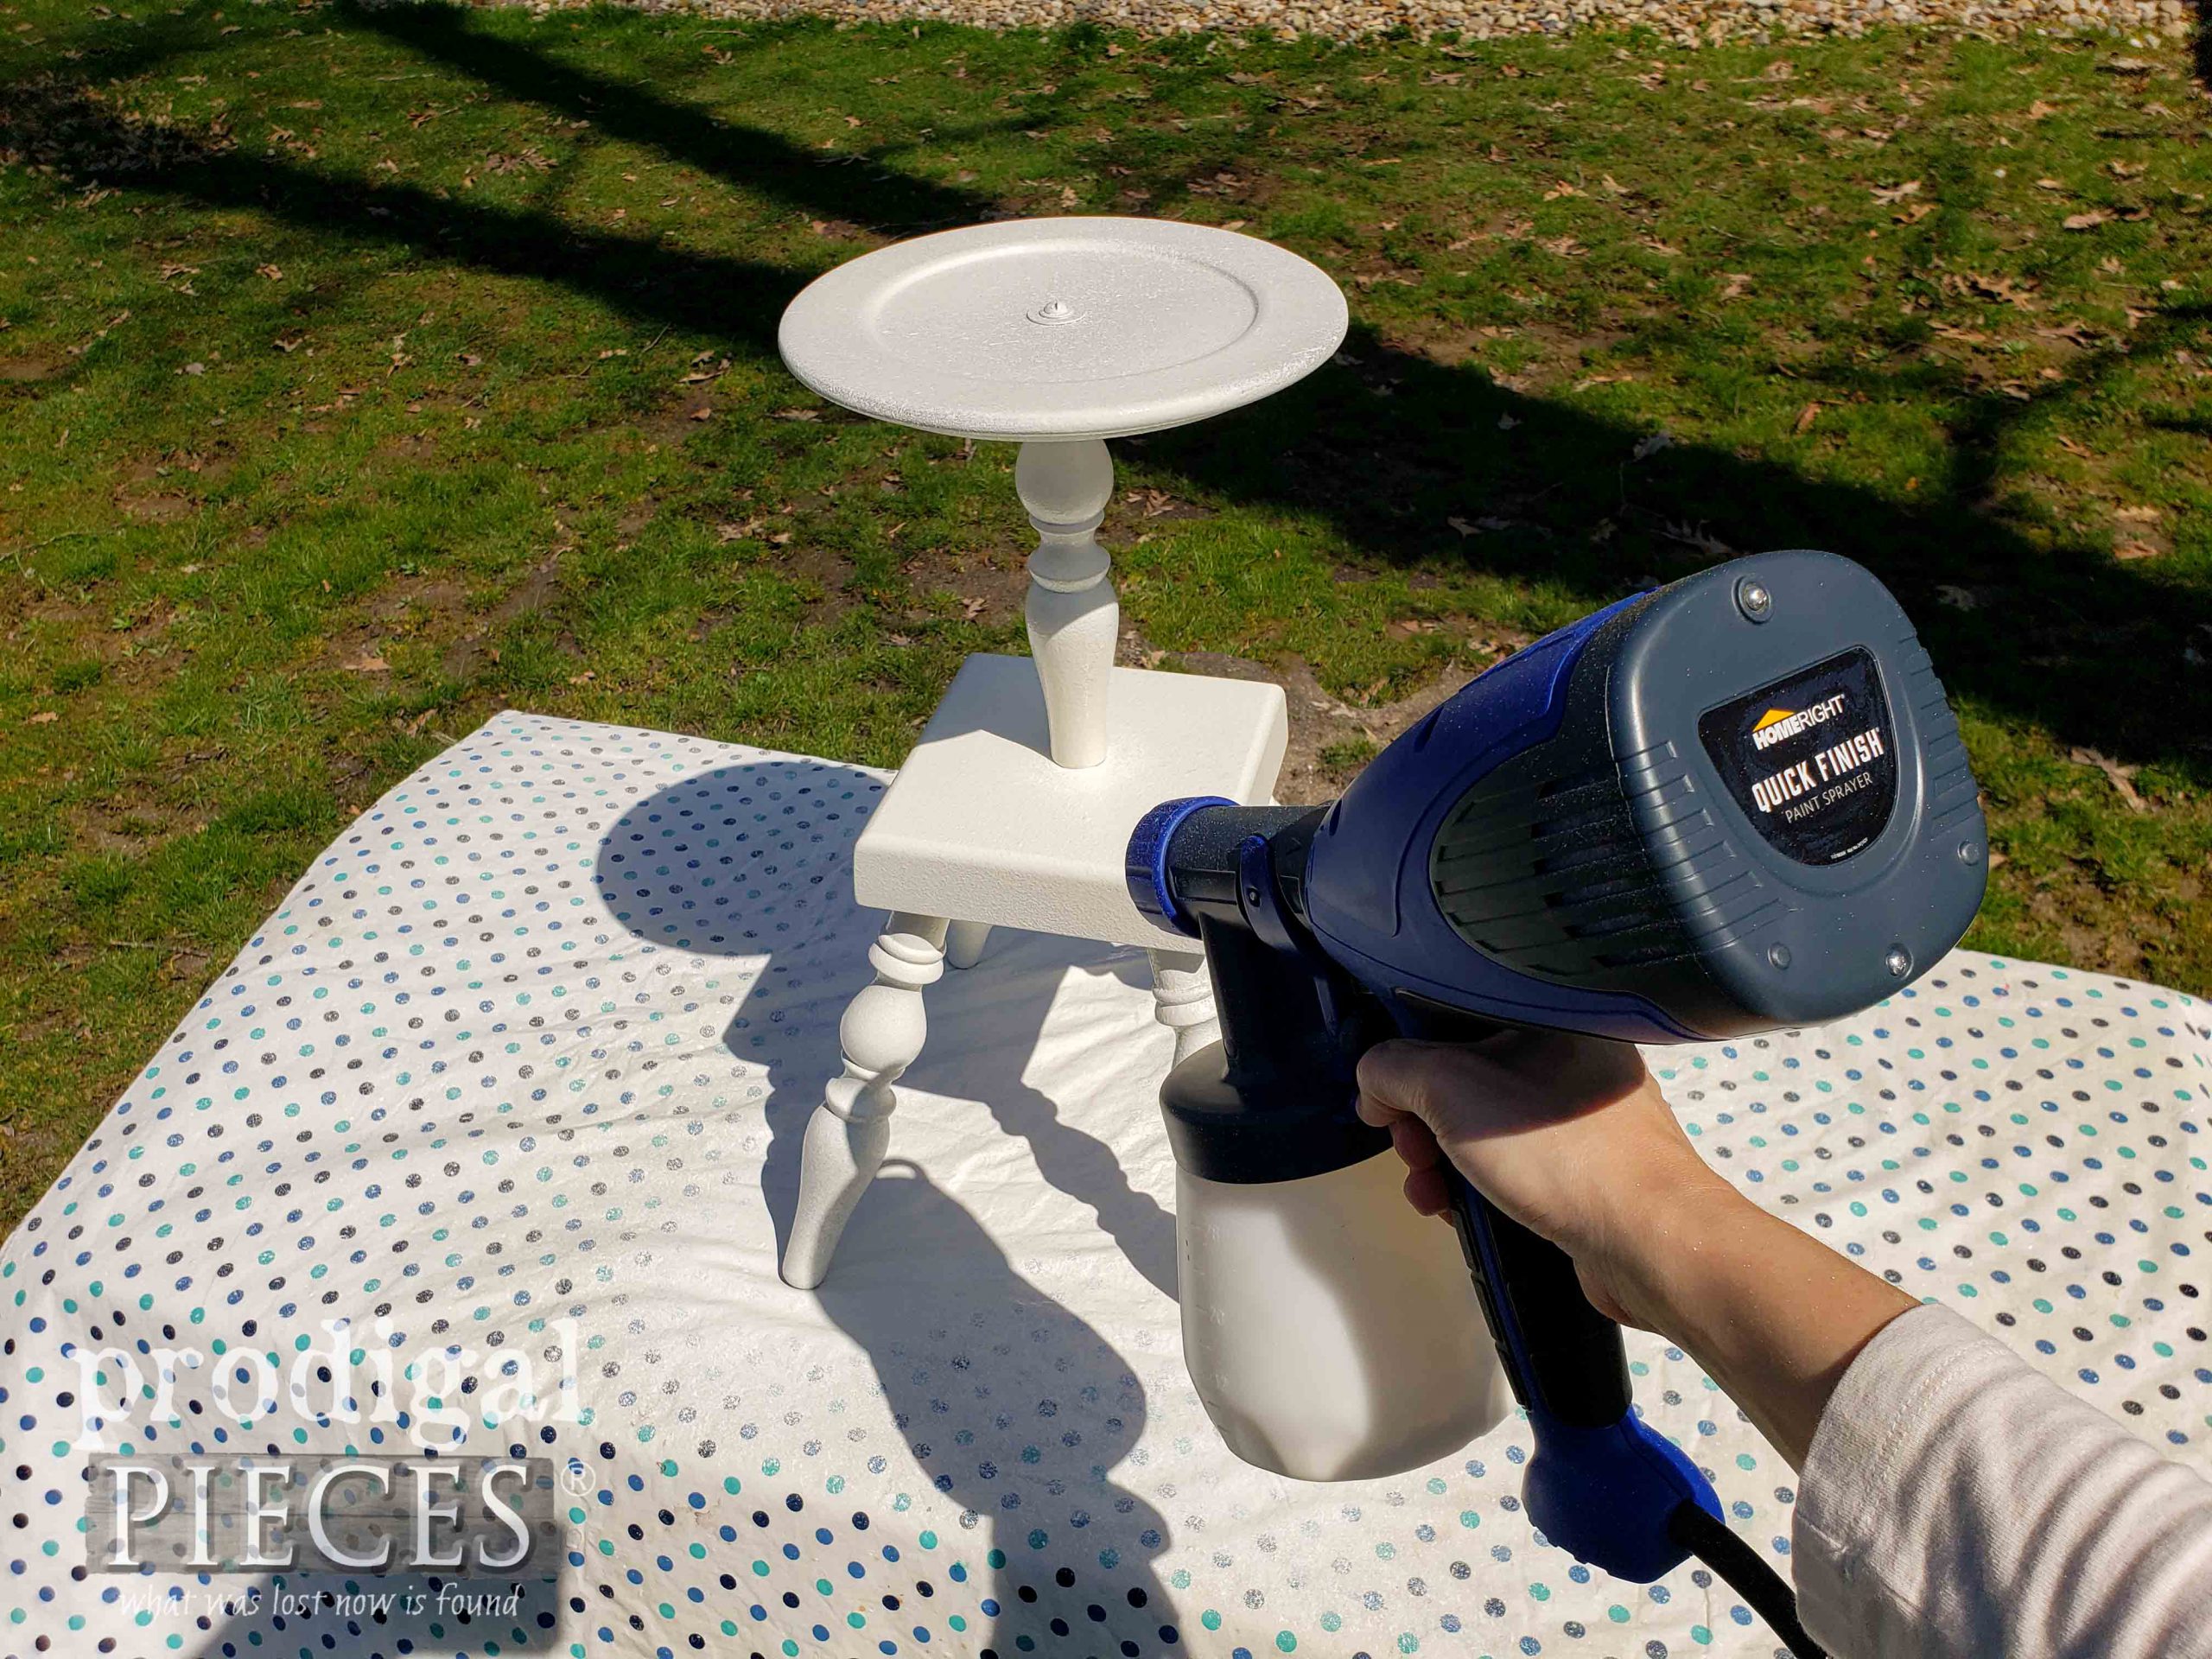 Afterward, cleanup is the same as with the stain, easy and quick. woot!
NEXT
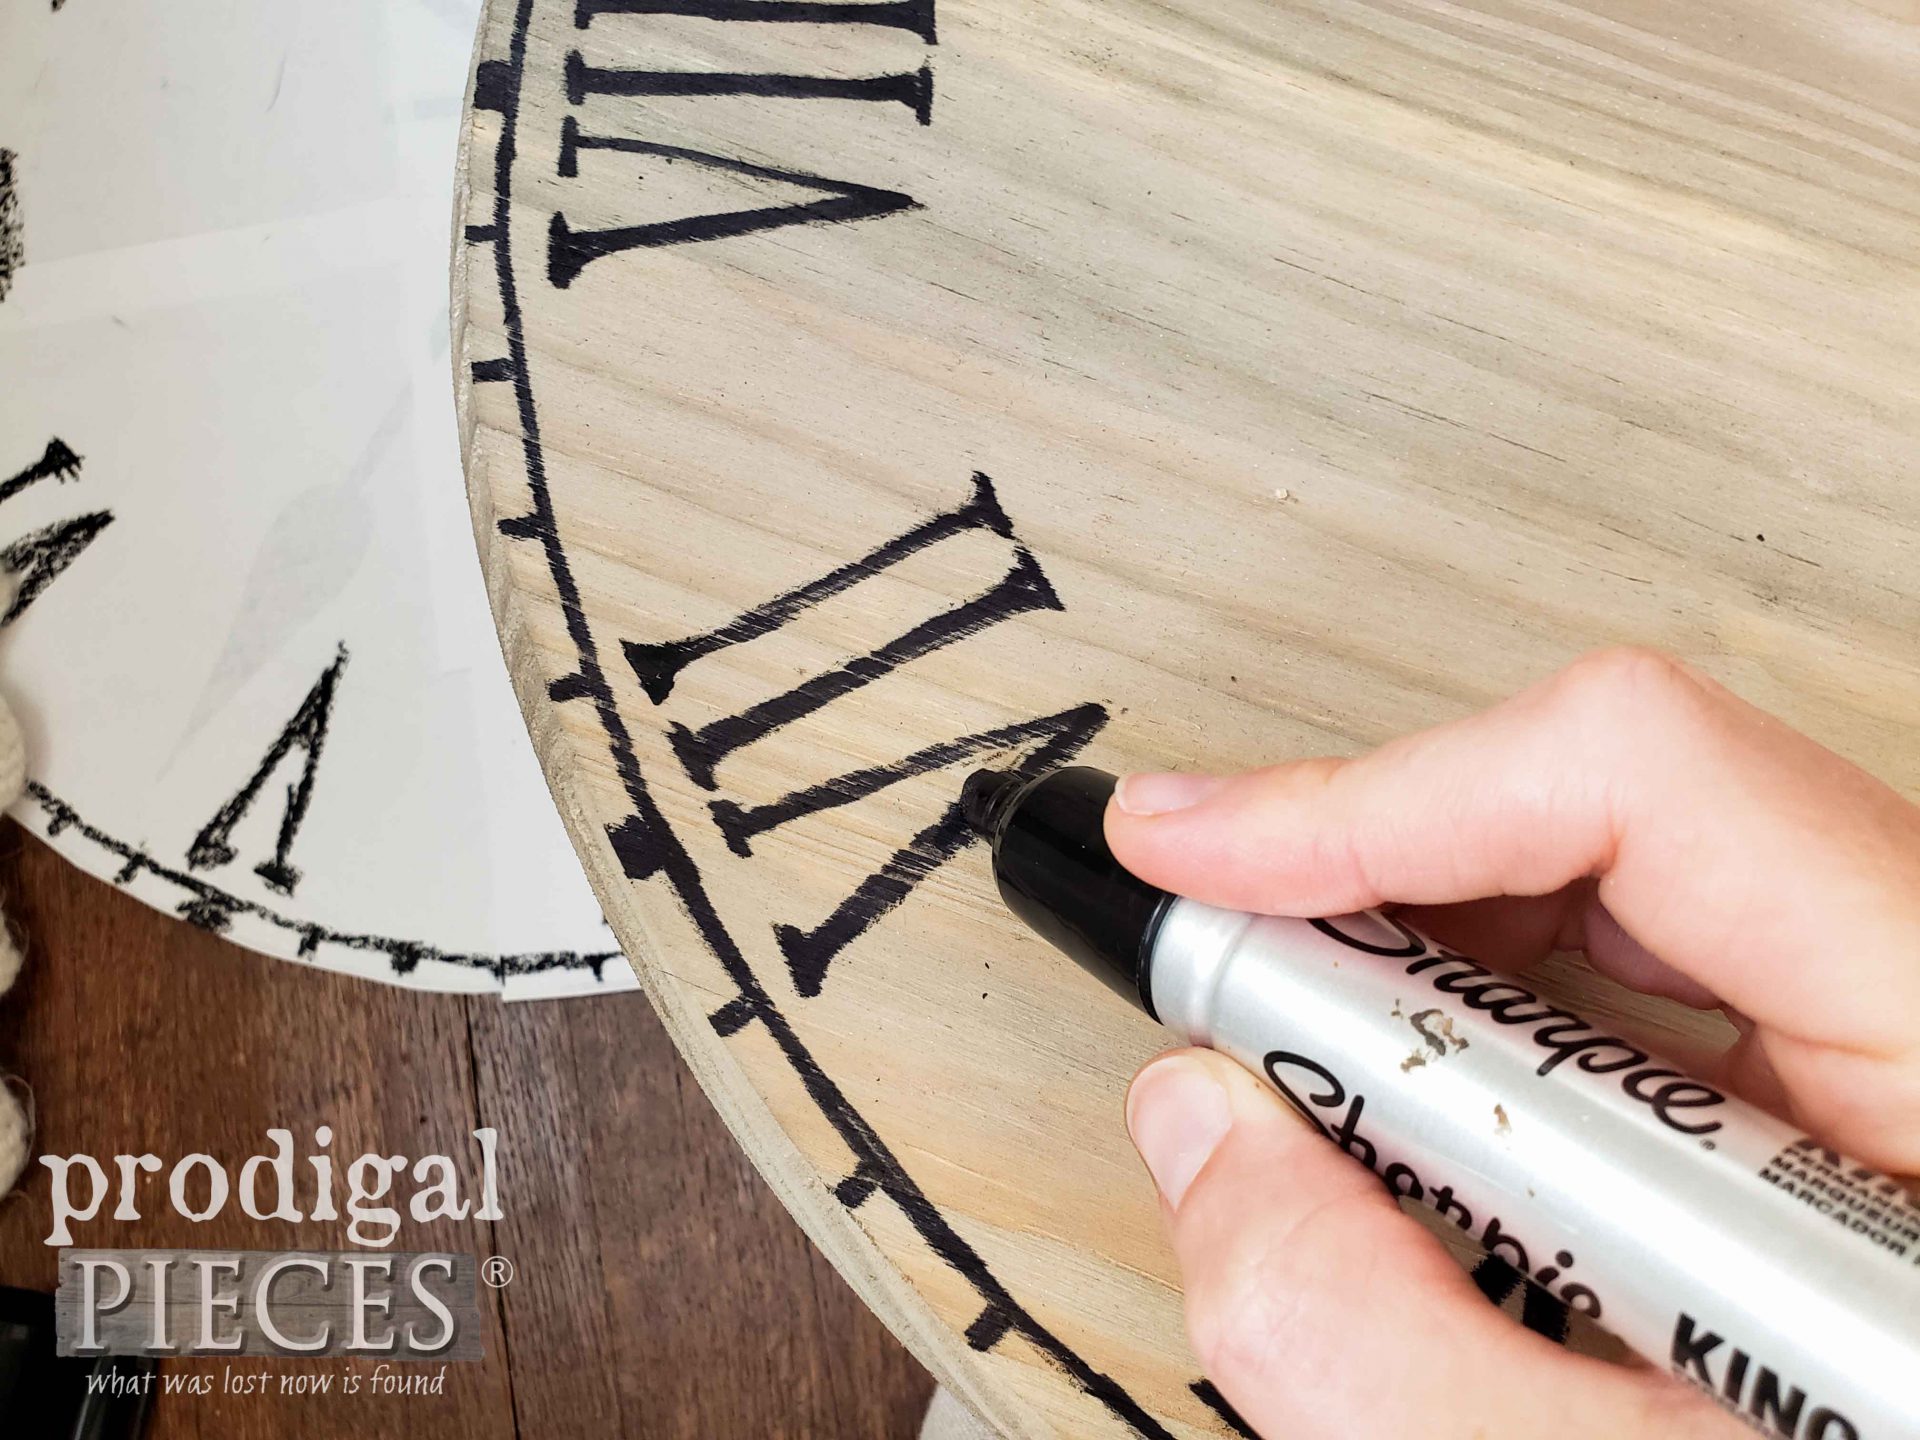
You know I love adding my typography to anything I can. Funny thing is, this sweet table is almost identical to one my youngest son did about 5 years ago. He literally did almost the same thing with a different vibe on another upcycled clock face table. Likewise, I wanted to replicate it with a twist. First, I used my transfer tutorial to create a clock graphic to size, then chopped it up for printing. After printing the pieces, I taped it together to fit the table top. Trace the graphic to transfer the design.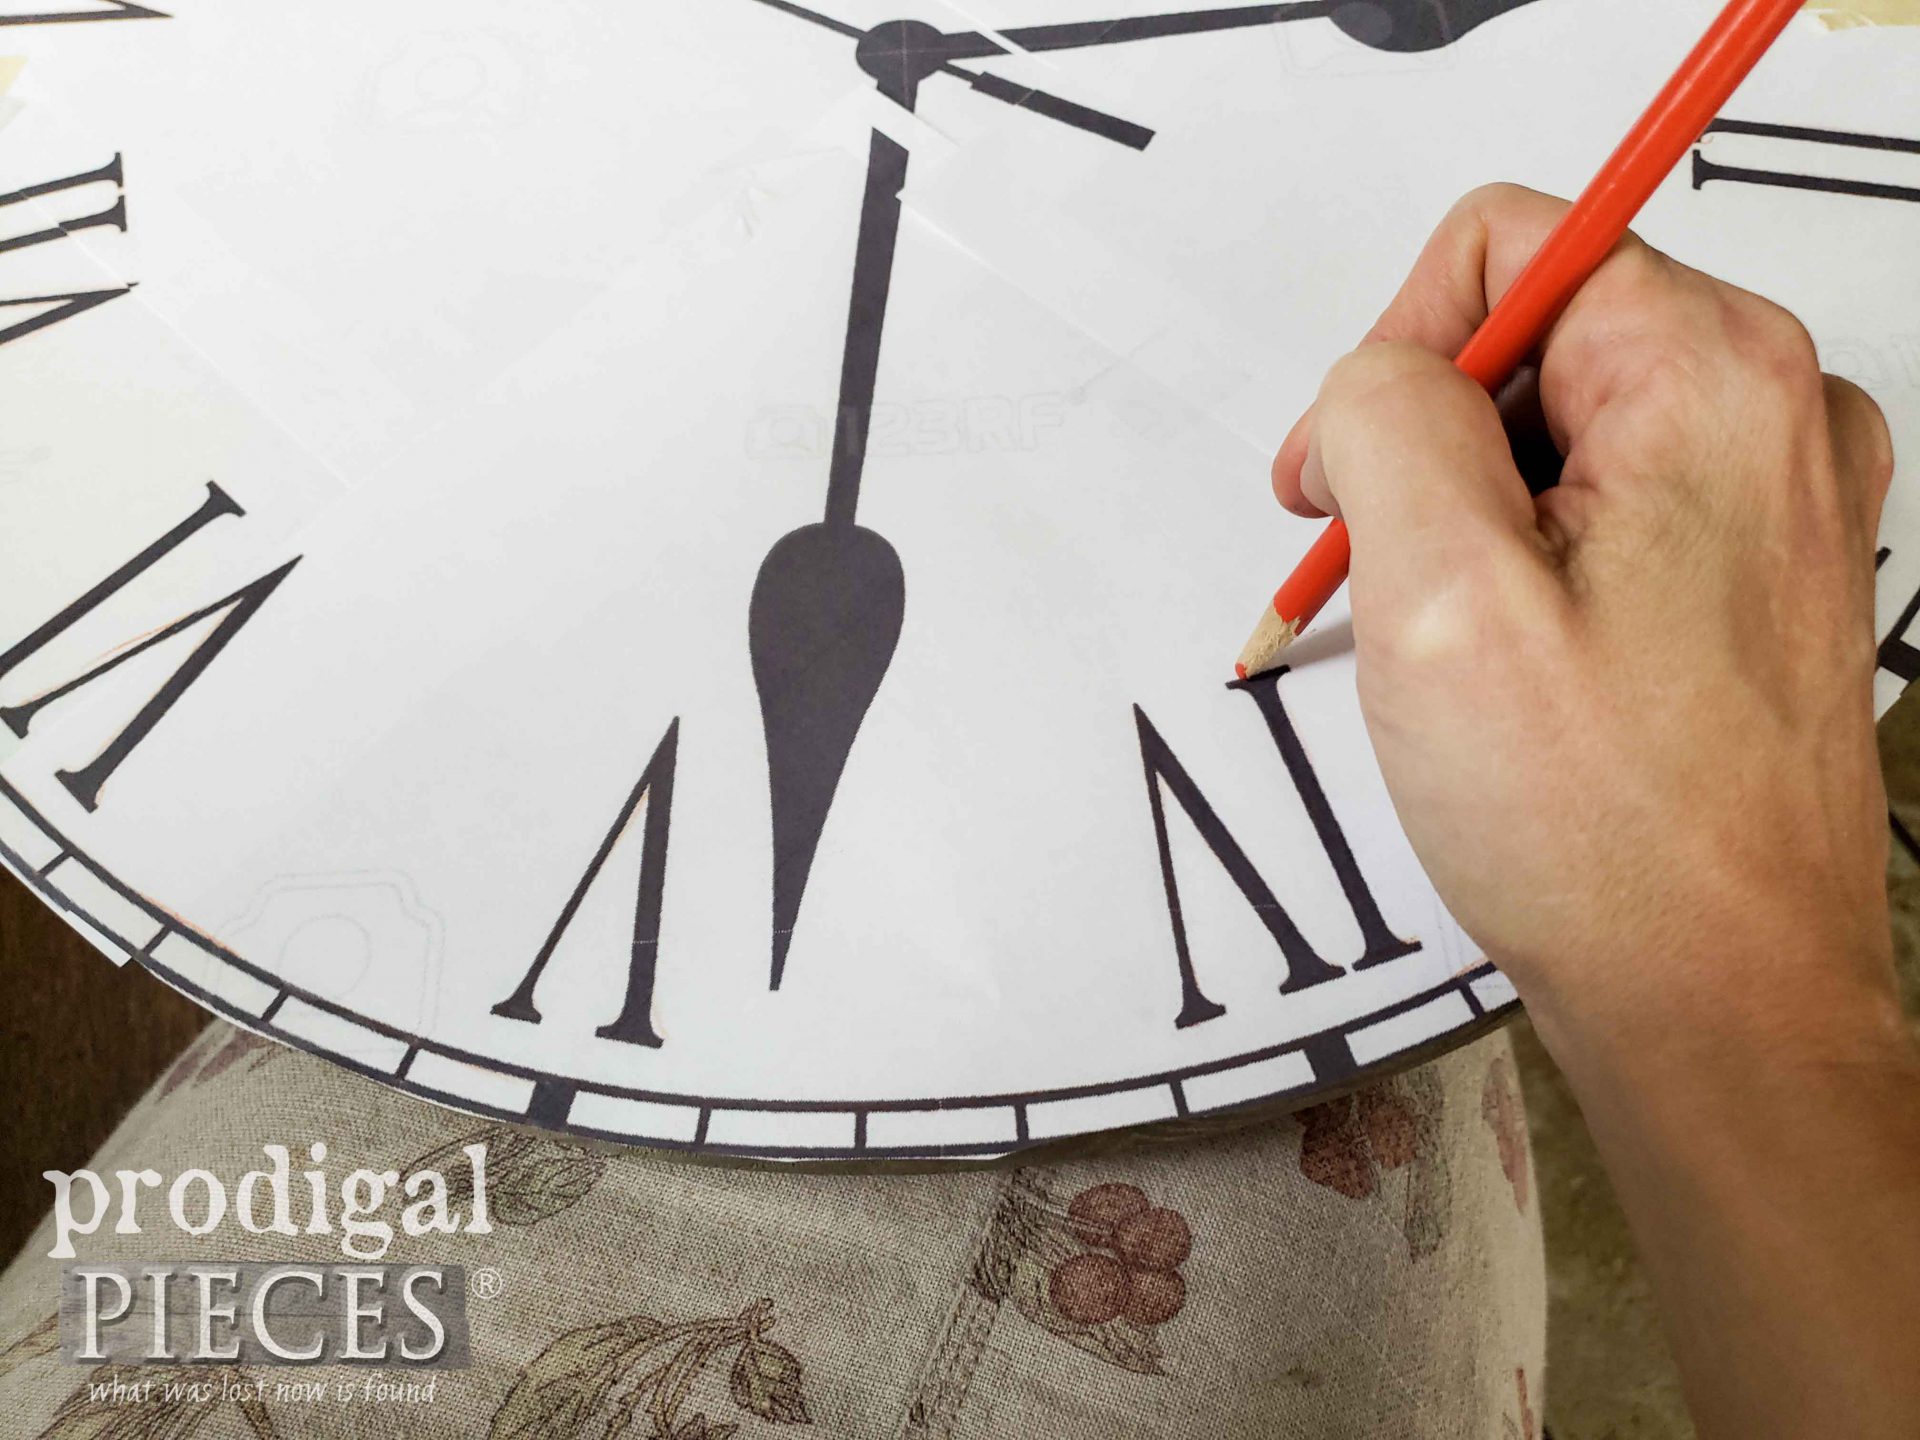 Next, fill in the design with either Sharpies or in like fashion, hand paint them in with paint. I like doing either one.
COMPLETION
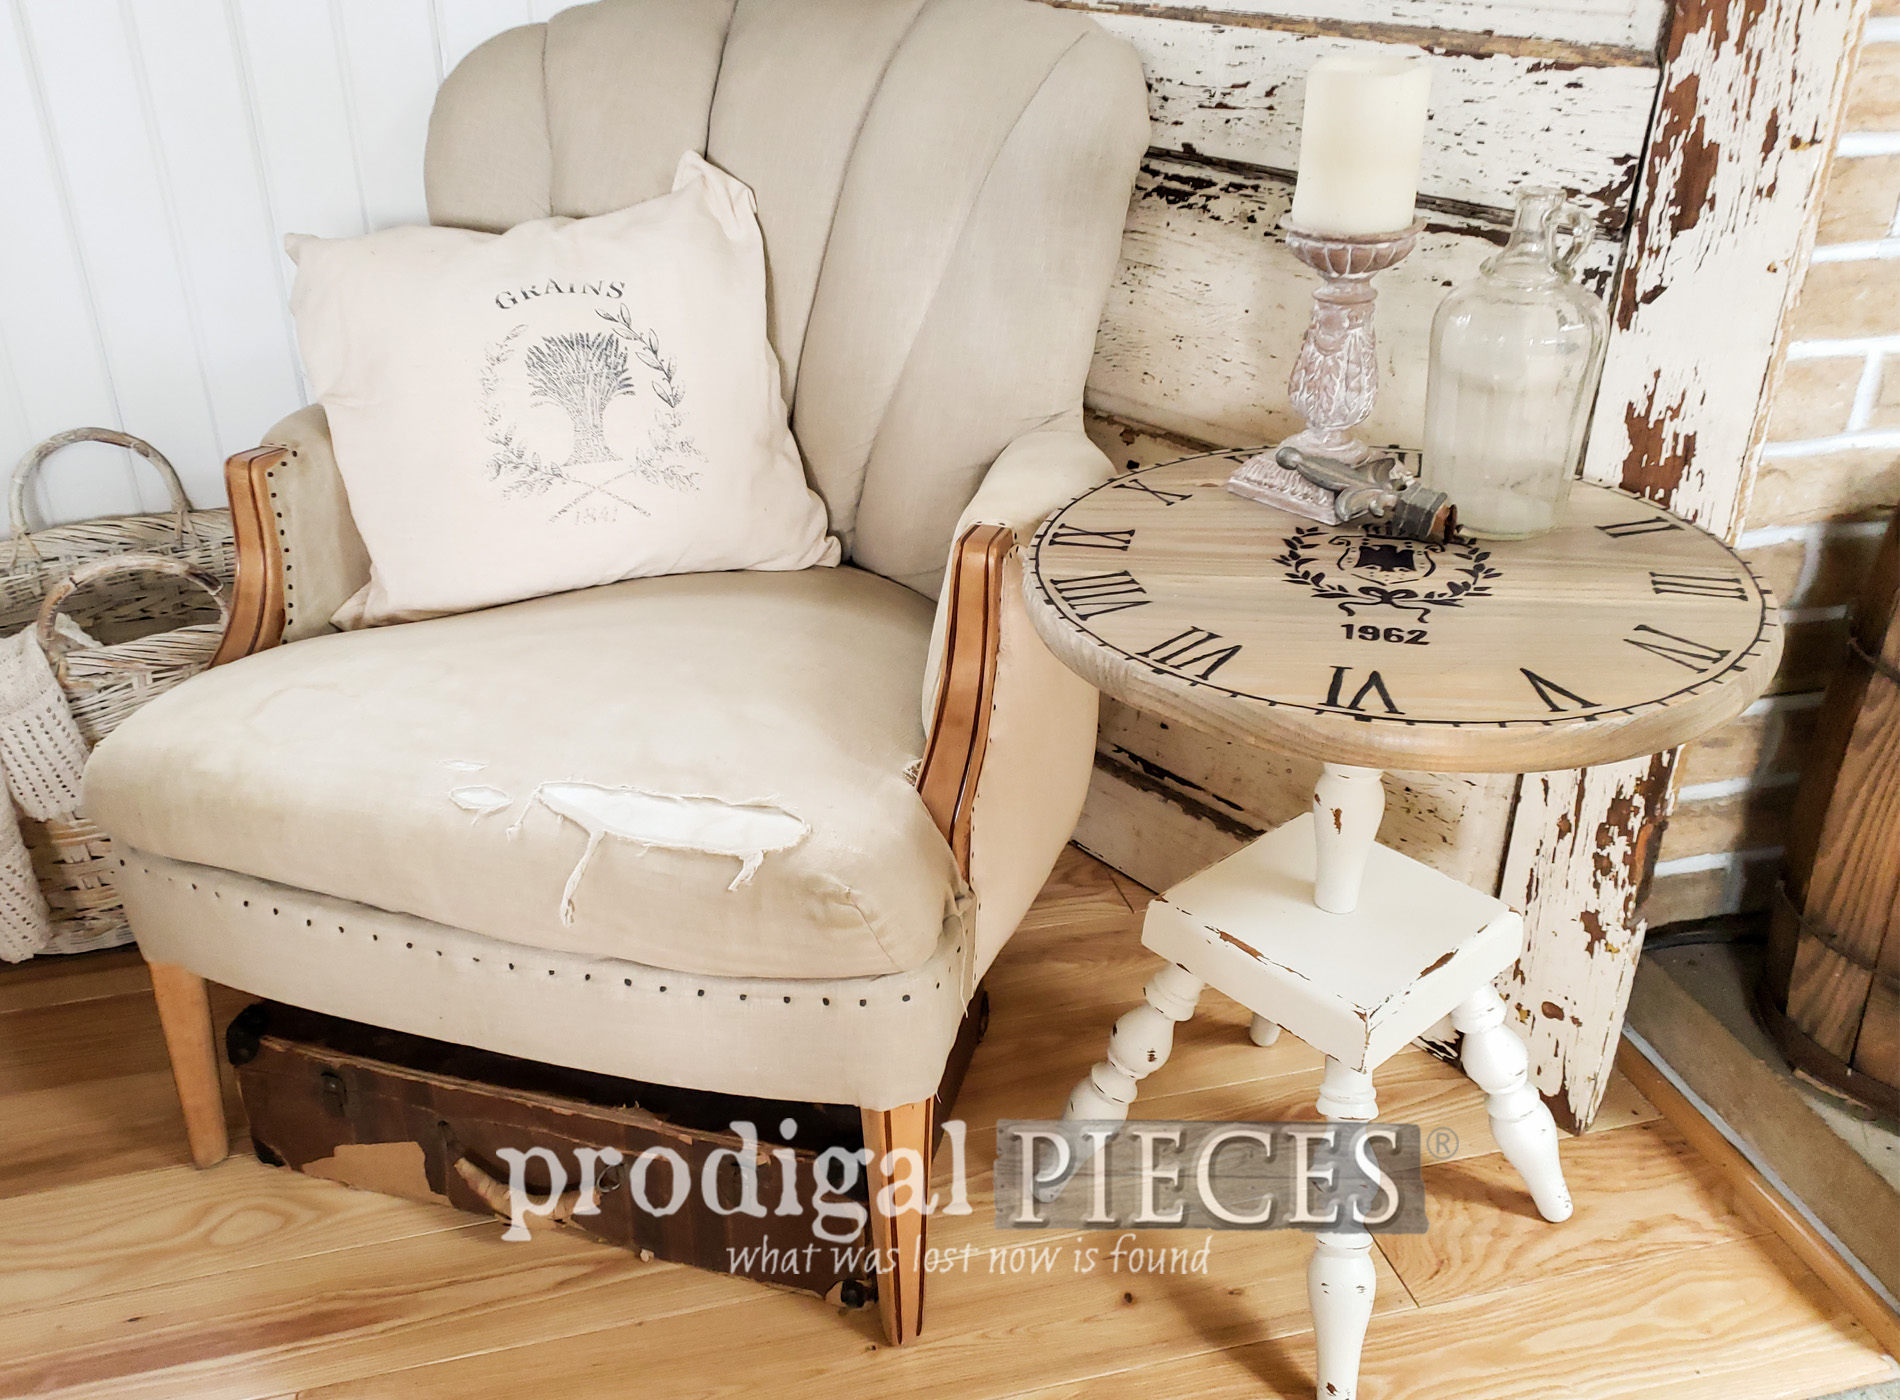
Finally, here is my finished upcycled clock face table mixed in with my home decor. I love it! Do you?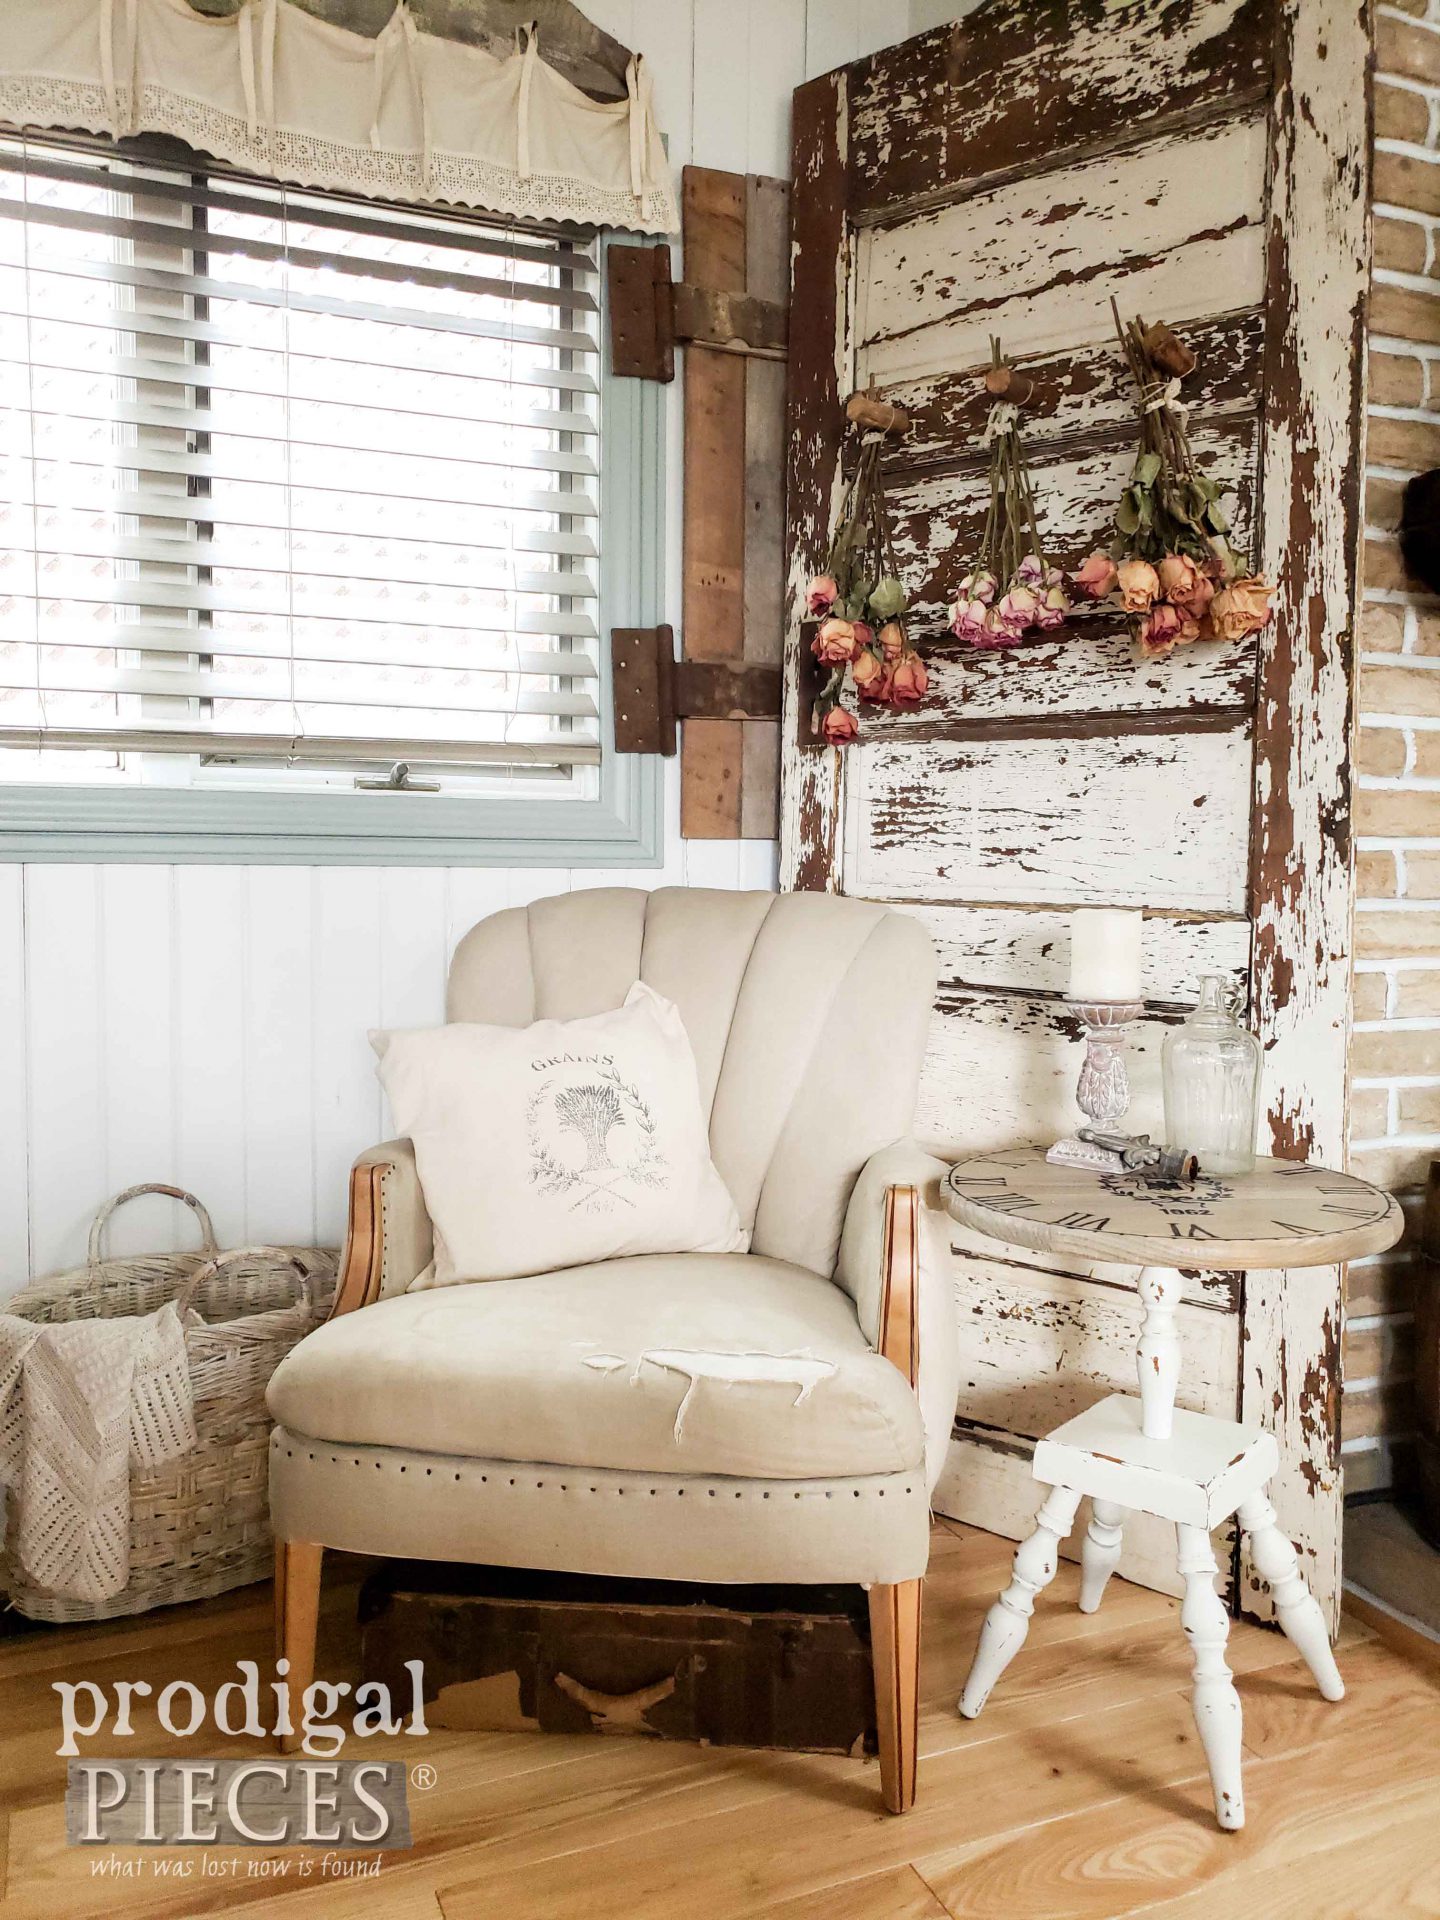
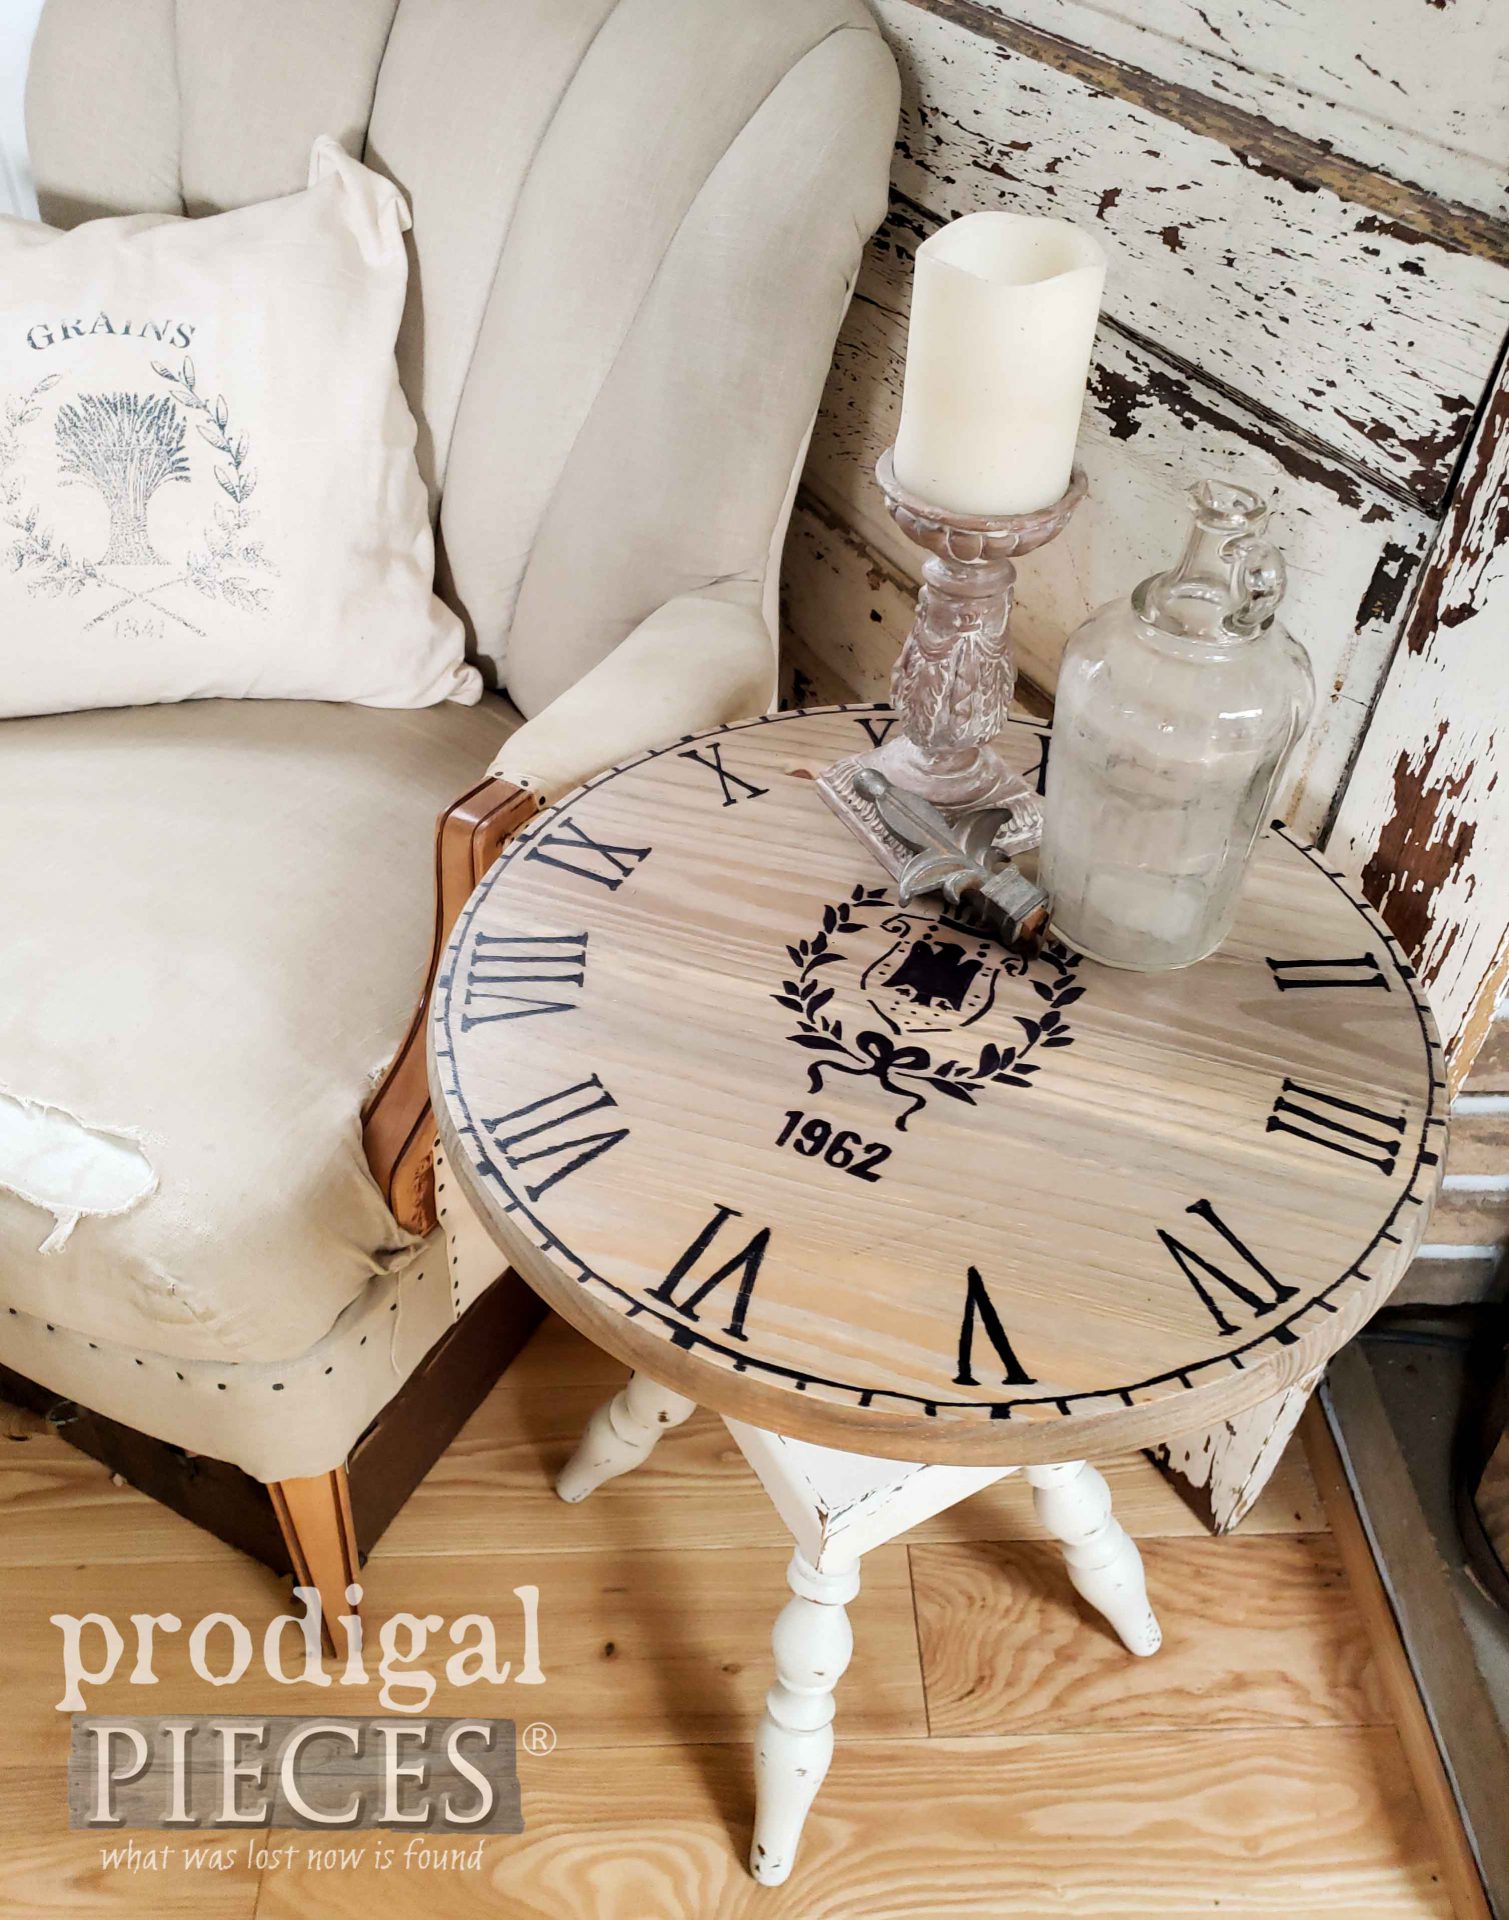

 Additionally, at the center, did you notice the Grain Sack Stencil I've used before? It was the perfect fit for this project.
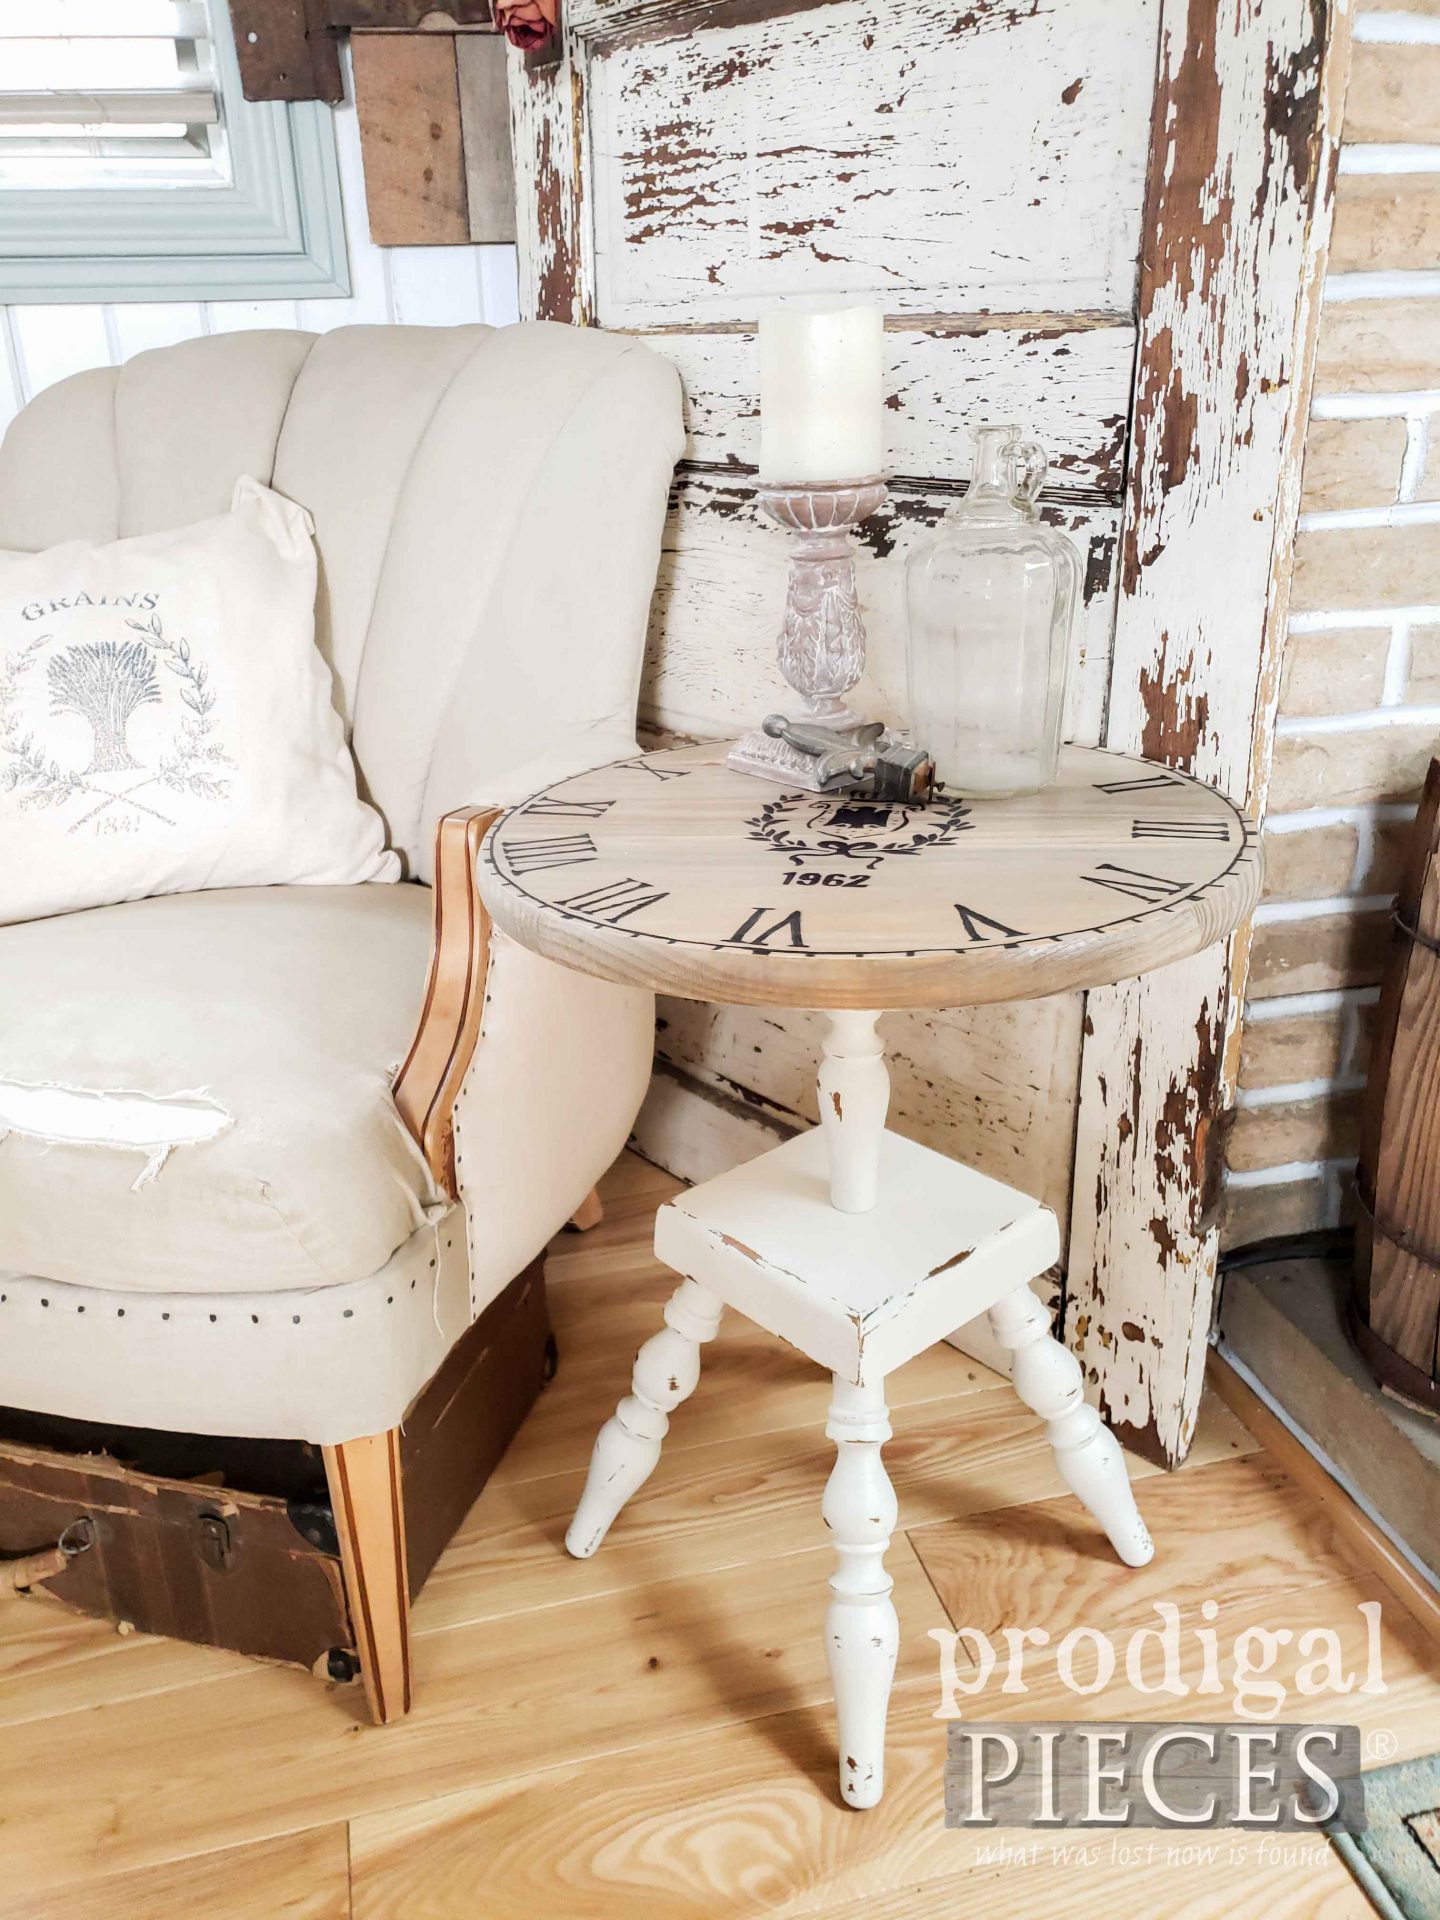
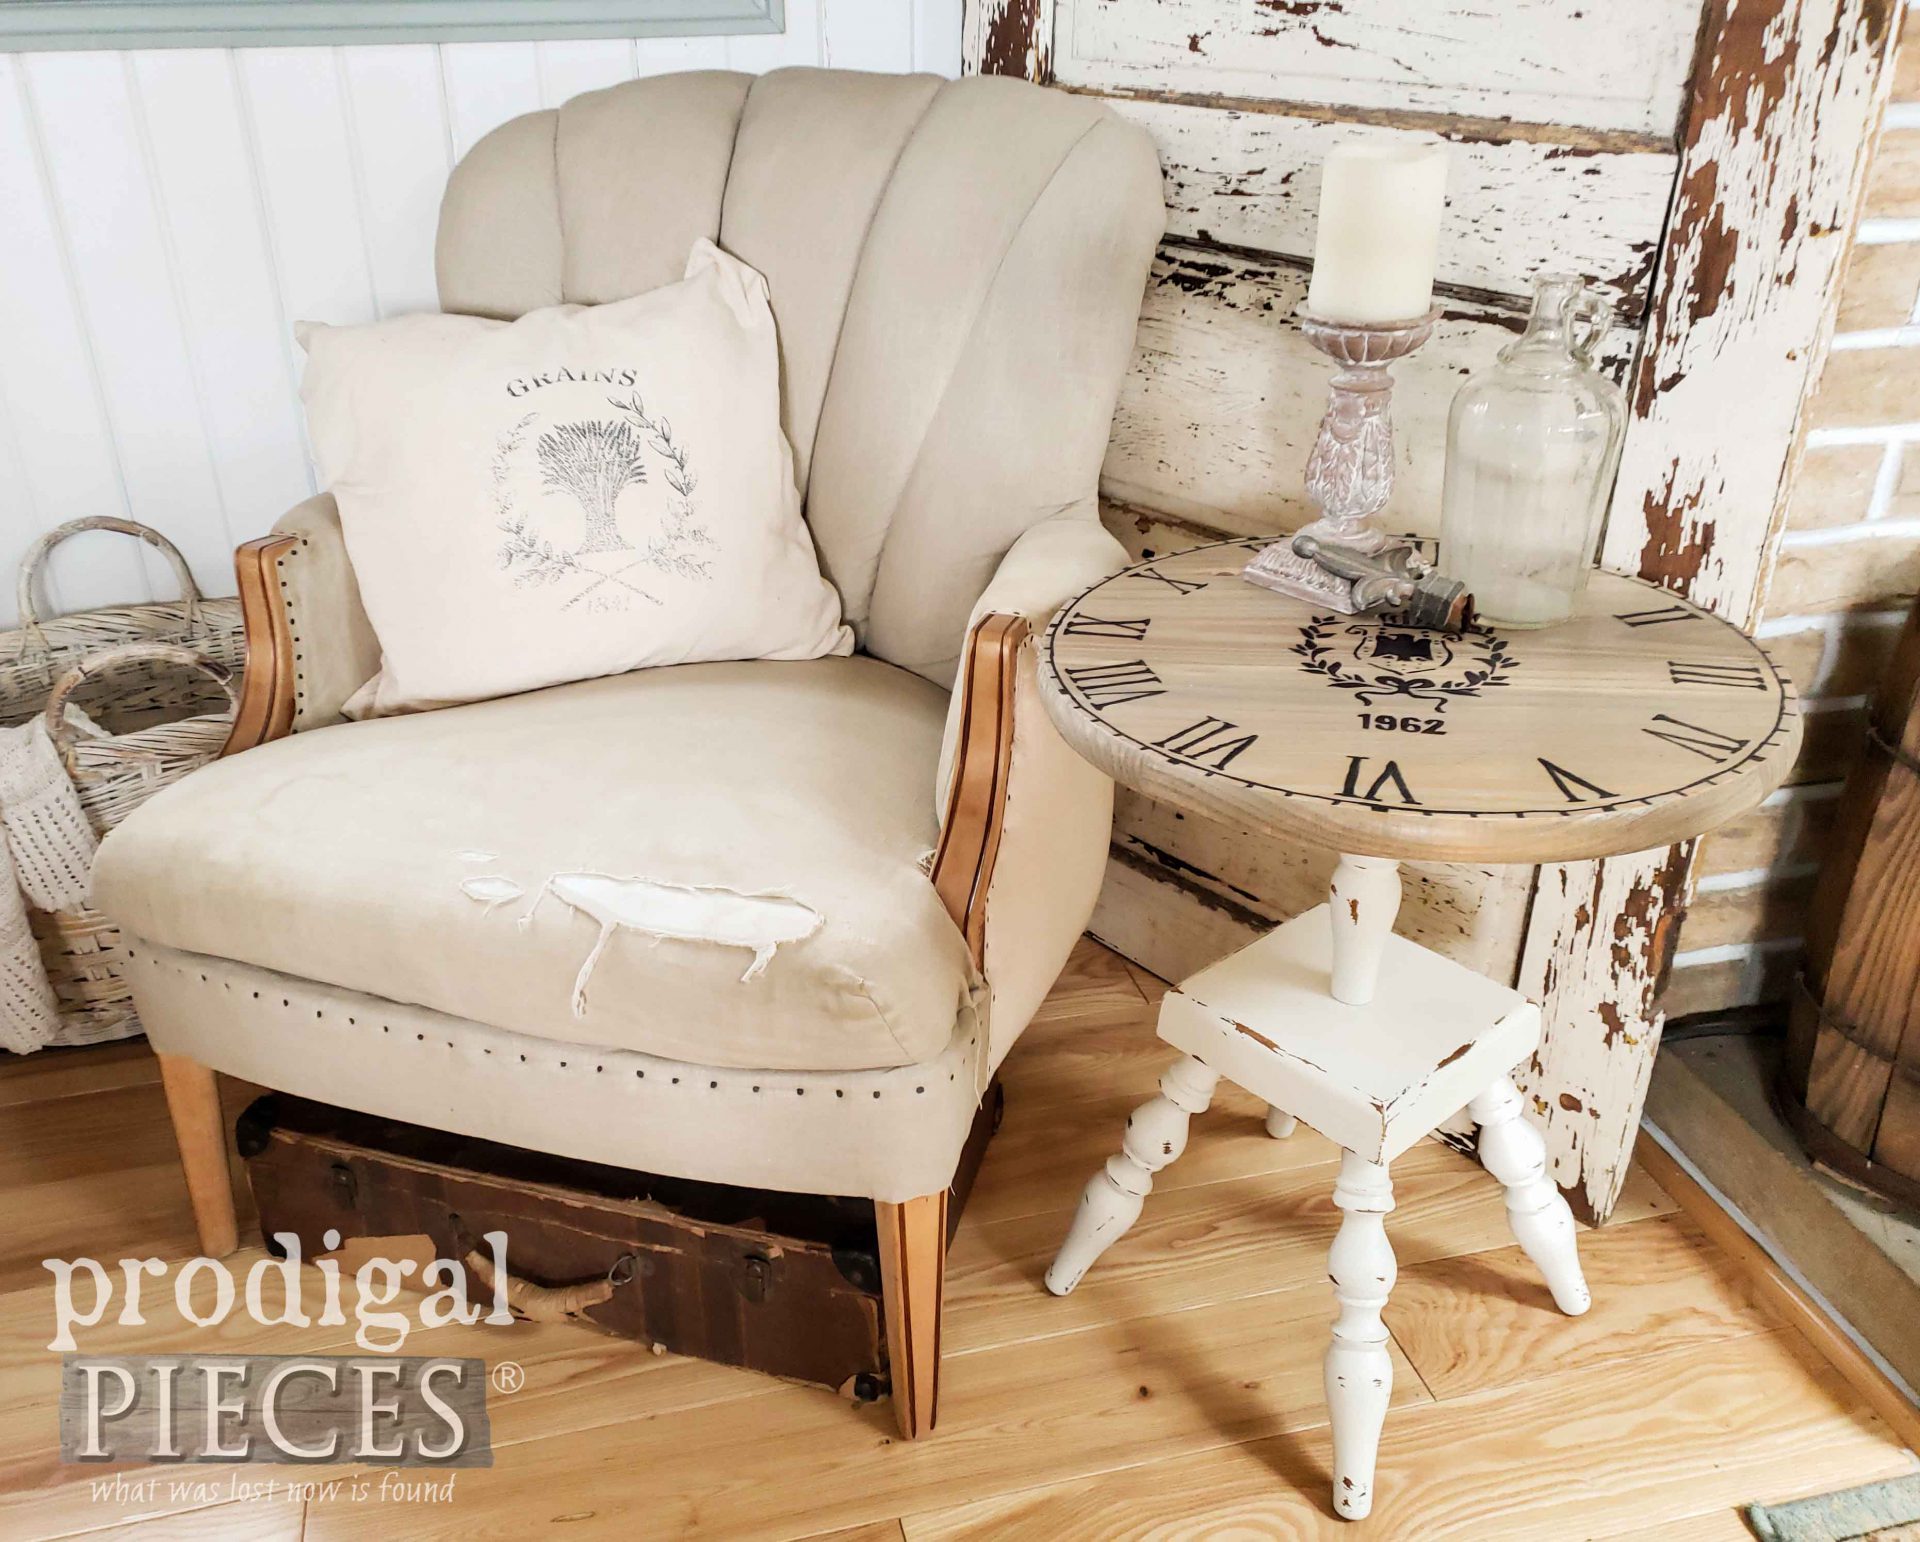 Plus, the finish with the satin poly adds longevity to my work efforts. In addition, if you'd love to own this table, you can find it available with all my other goodies in my online store.
SHARE
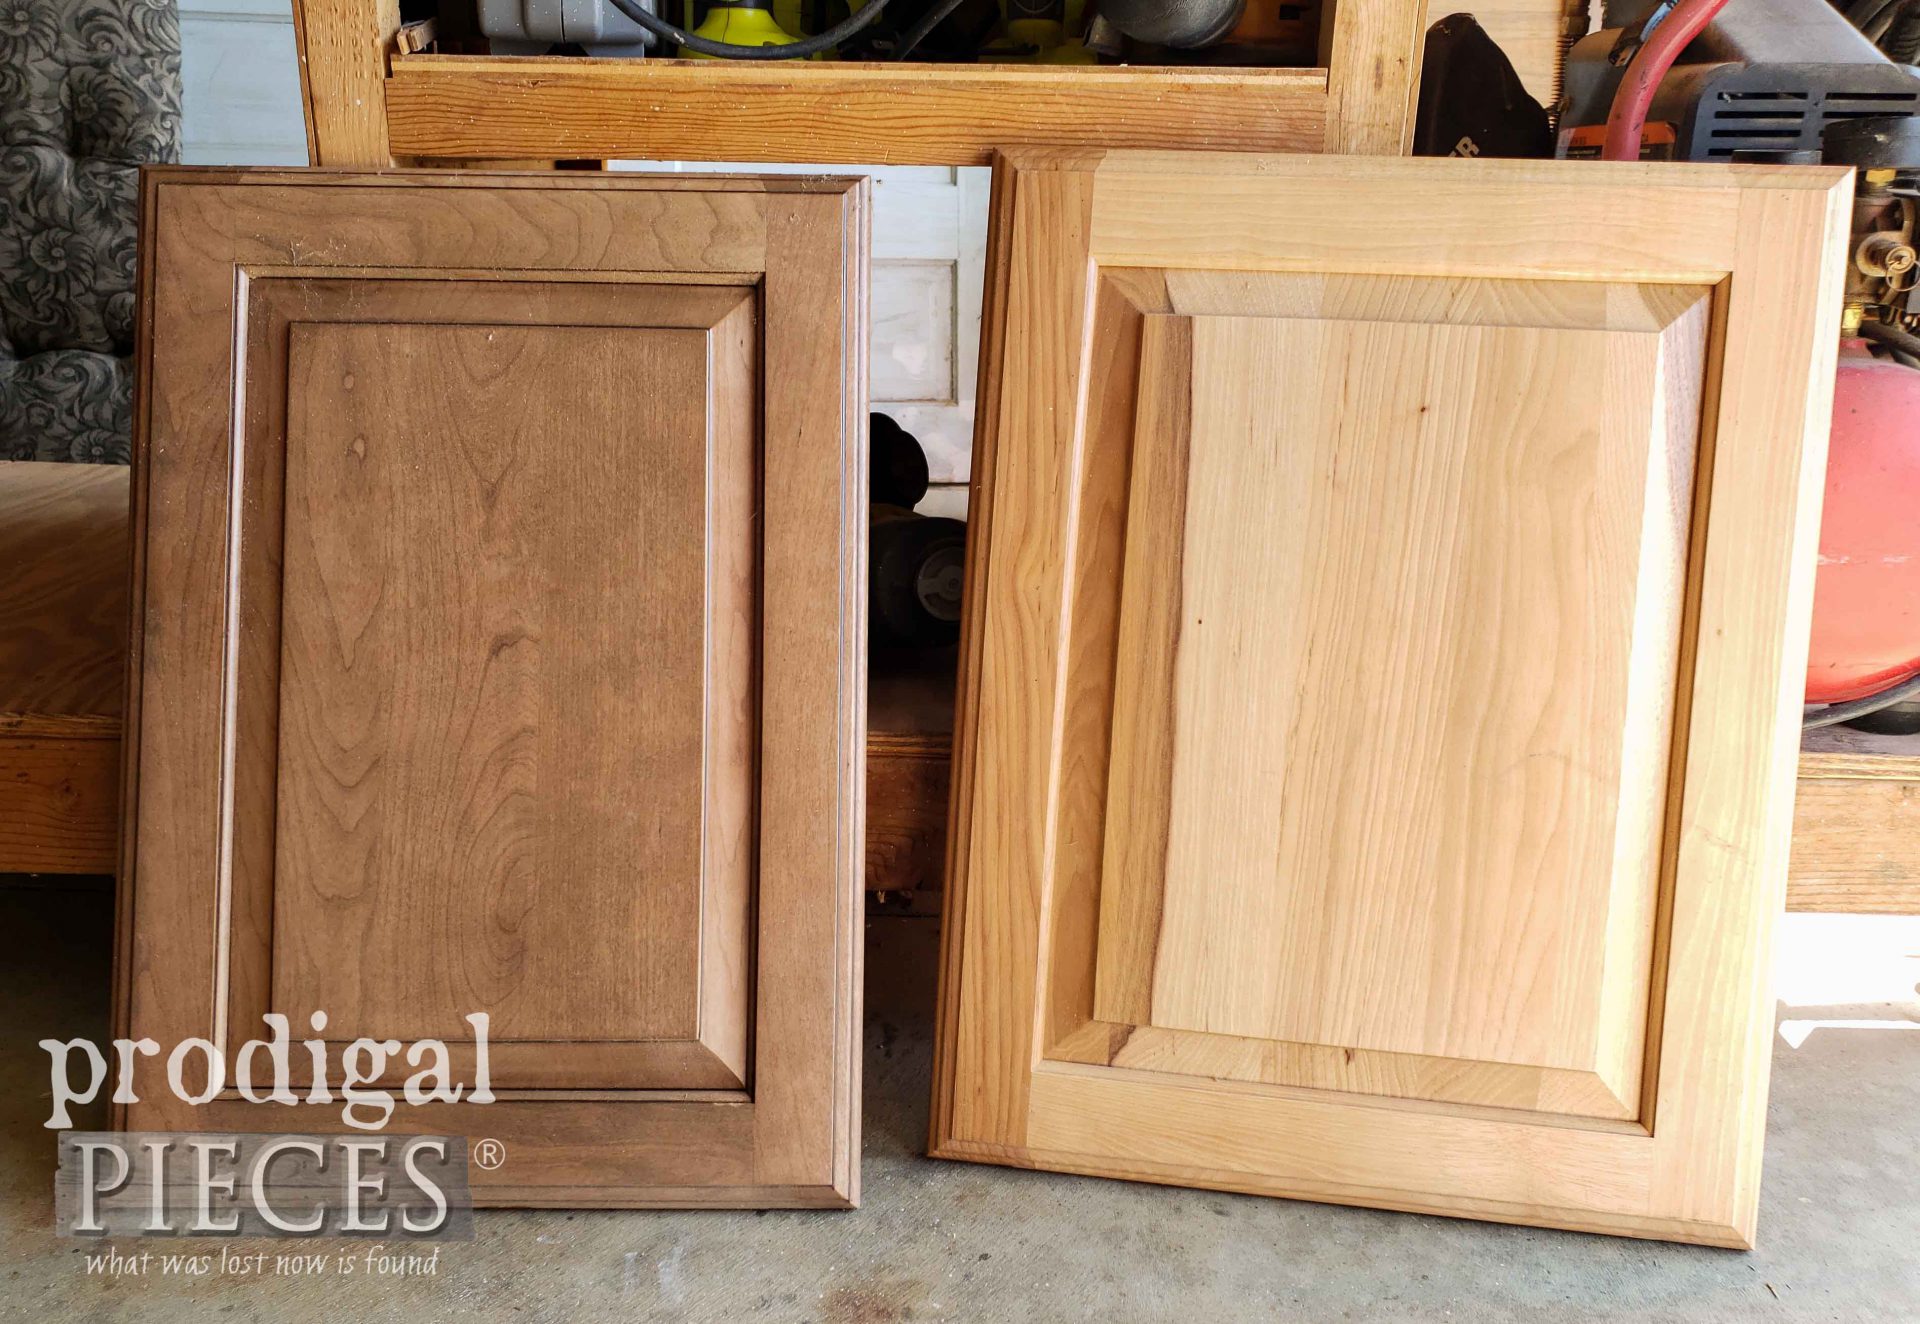
What is more, do pin and share my upcycled clock face table. We need to inspire others to think outside the junk. tee hee! Up next, I'm sharing the second of my dynamic cupboard door repurposing project. You can see the first HERE, and the second OVER HERE.
 Before you go, be sure to sign up for my newsletter.
 Next, check out these fun Trash to Treasure projects by my blogger friends...

Also, more projects like my upcycled clock face table:
