It always makes me get the warm fuzzies when others bring me their trash. haha. I literally mean that because so many items would have headed to the dump if I didn't take them in. Do I have the time or capability to take them all in? NO. However, today's misfit tapped on my heart. With that, we have an upcycled antique radio project to tackle. Isn't it cute?

Originally, this non-working radio was gutted for a child to learn on, and I'm all about that. With that in mind, we now have a radio carcass to find a new life for. That's where I come in.

Not only is this upcycled antique radio project a sort of challenging one, but a fun one at that. Fun because I have a thing for old radios - see this
one HERE and
another HERE that I repurposed.
GETTING STARTED
First, I need to determine what in the world I'm going to do with this - legit! I know it's too fun to trash, but what to do with a radio carcass? It's missing knobs, the guts, and has plenty of damage to the veneer. To begin, I fill the holes and missing veneer with wood filler and let cure. Then, while it's curing, I dig into my stash to pull out these dowels I have from foam brushes I've spent.

Waste not, want not is definitely a way we can take care of all that God's given us. Not only do I save the dowel handles from foam brushes, but I make use of them in various ways. For example, I made a boot and helmet rack with some in
this past post. This time around, I cut them to make knobs for my upcycled antique radio.
PAINT
After I make all the repairs, it's time to finish this off in a vintage vibe. I begin with this rustic pink spray paint that I've used
HERE before.

I left the side repair until after I paint because I needed to brainstorm on how to fix it and make it work for my tiny string lights. First, I cut with my cutter ( I love that tool - my motto:
toolsoverjewels)

With this intention, I'm making a spot for my string light housing to have a place to rest and still be able to reach the switch from the outside. it works like a charm!
Secondly, I cut a piece of heavy paper the size of the radio opening and decoupage it with the rose paper I have on hand.


Also, if you're new to decoupage, or just love to see it in action, you can see my past projects below:

MAKES MUSIC AGAIN
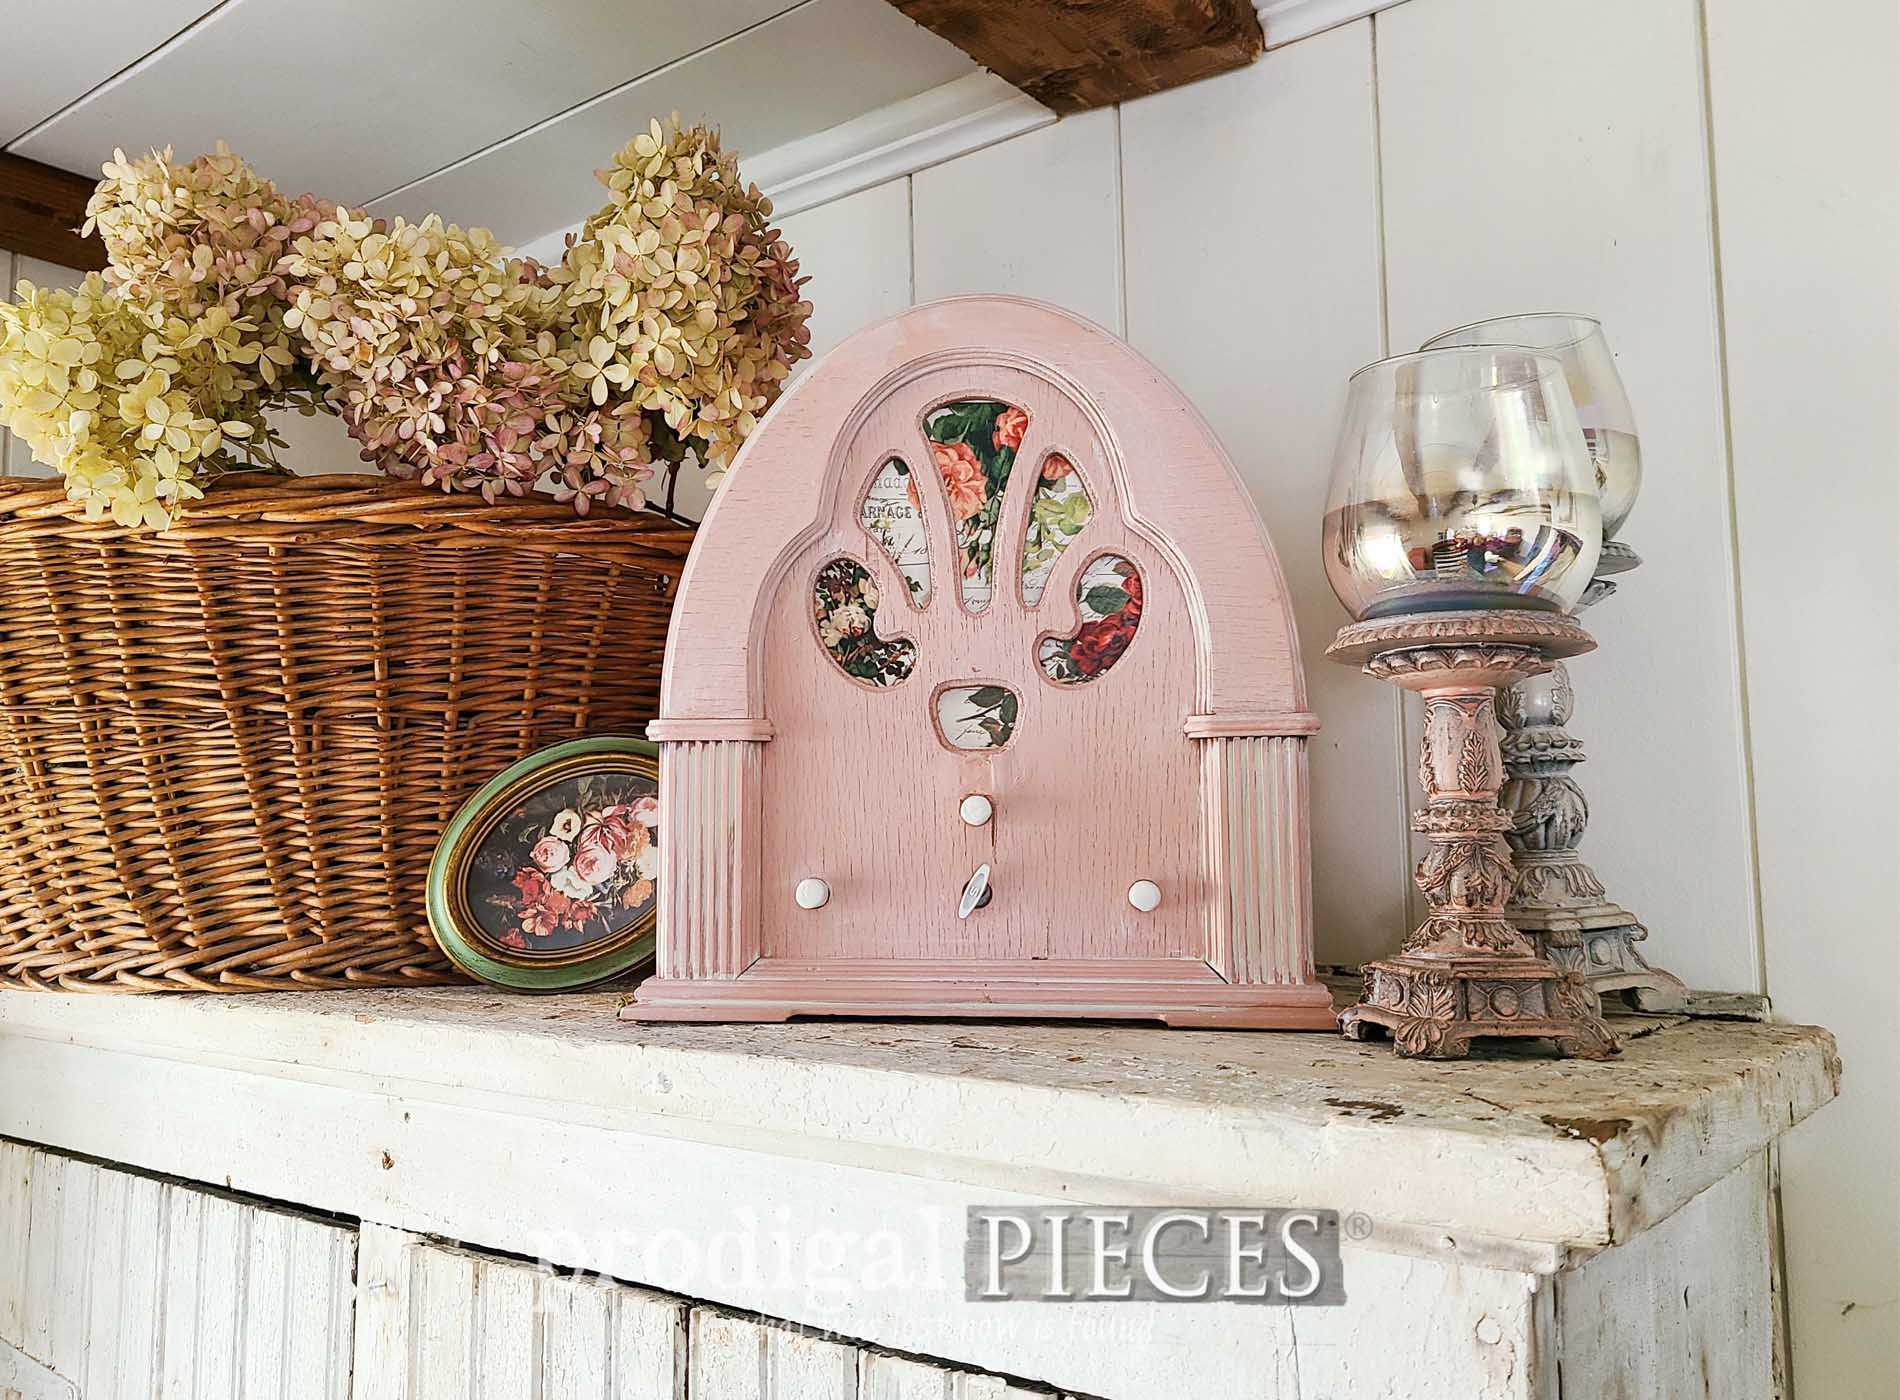
Finally, after installing the lights and the music box I have on hand, my upcycled antique radio is ready to make music again.


As a matter of fact, take a second to listen to the soundbite I recorded below of the sweet tune I installed - What a Friend We Have in Jesus. Yes, I have made music boxes in the past, one a Buckeye doll that plays the Ohio State song, another for box for my daughter, a carousel for my son. Therefore, I have them on hand.
LIGHT IT UP
In addition to the sweet music, the radio also functions as a light with three different settings (on, flashing, or fading). How fun is that?


Last but not least, I left the back open so this radio could be backlit as well as have easy access to the equipment. Not only was this fairly simple to make, but also oh so FUN! (much like
my Christmas tree salad bowl project)


As with most of my creations, you can find this and more available in
my online store to make it part of your home story.


SHARE
Before you go, I'd love to hear some comment love on this misfit that makes music again. Additionally, pin and share to inspire others to take the "junk" and turn it into something new.

What is more, be sure to
sign up for my FREE newsletter to see what this silly pup has been talking about
HERE.

Until next time!

 PINTEREST | EMAIL
PINTEREST | EMAIL
While you're at it, check out these other creations like this antique radio upcycled: