For some odd reason, I really like a challenge. Especially when it comes to getting my DIY kick. Take, for instance, this thrifted nightstand. A local gal is tired of cleaning unnecessary things, so she passes this along to me as her grandson doesn't use it. It's a Broyhill nightstand from the vintage days, but just needs some modern love.

Why do I want to change this? Well, it's much like
this twin nightstand my daughter, Miss E, redid a few years back. With that, I want to have a go at this myself and completely change the vibe. The original pulls are rusty and cruddy, and they're on the sides, so I recycle those.

In addition, the top finish is mottled (I think due to water damage) and needs removal.

CHOPPING BLOCK
First, I remove all the hardware and fill the leftover holes with dowel and wood filler and sand smooth. Then, I drill new holes for knobs yet to come.

Likewise, the top gets a sanding with a sigh of relief.

Now for the fun part! I have nothing against the scalloped skirt on the bottom, but since I want to make this modern, I whip out my builder's square. I mark a line across and also make an angle so that I am completely changing the style. However, before I can do that, I have to remove staples and things in the way when I saw.

Can you see the cut lines? Just so you know, this isn't my first rodeo changing up a nightstand.
When I did this one, a gal had the gall to tell me I ruined it. Not only does that no matter, but what does matter is the new owner loved it.

Here's the end result after cutting all four sides of the skirt.

So much better for what I'm after! Do you love it too? Just wait until I'm done. tee hee.
PAINT
Next, I use a clear matte polycrylic to topcoat the top with three coats. Meanwhile that is curing, I mix up a custom color paint for the base, drawers, and skirt. mmm... just right.


THE FINISH
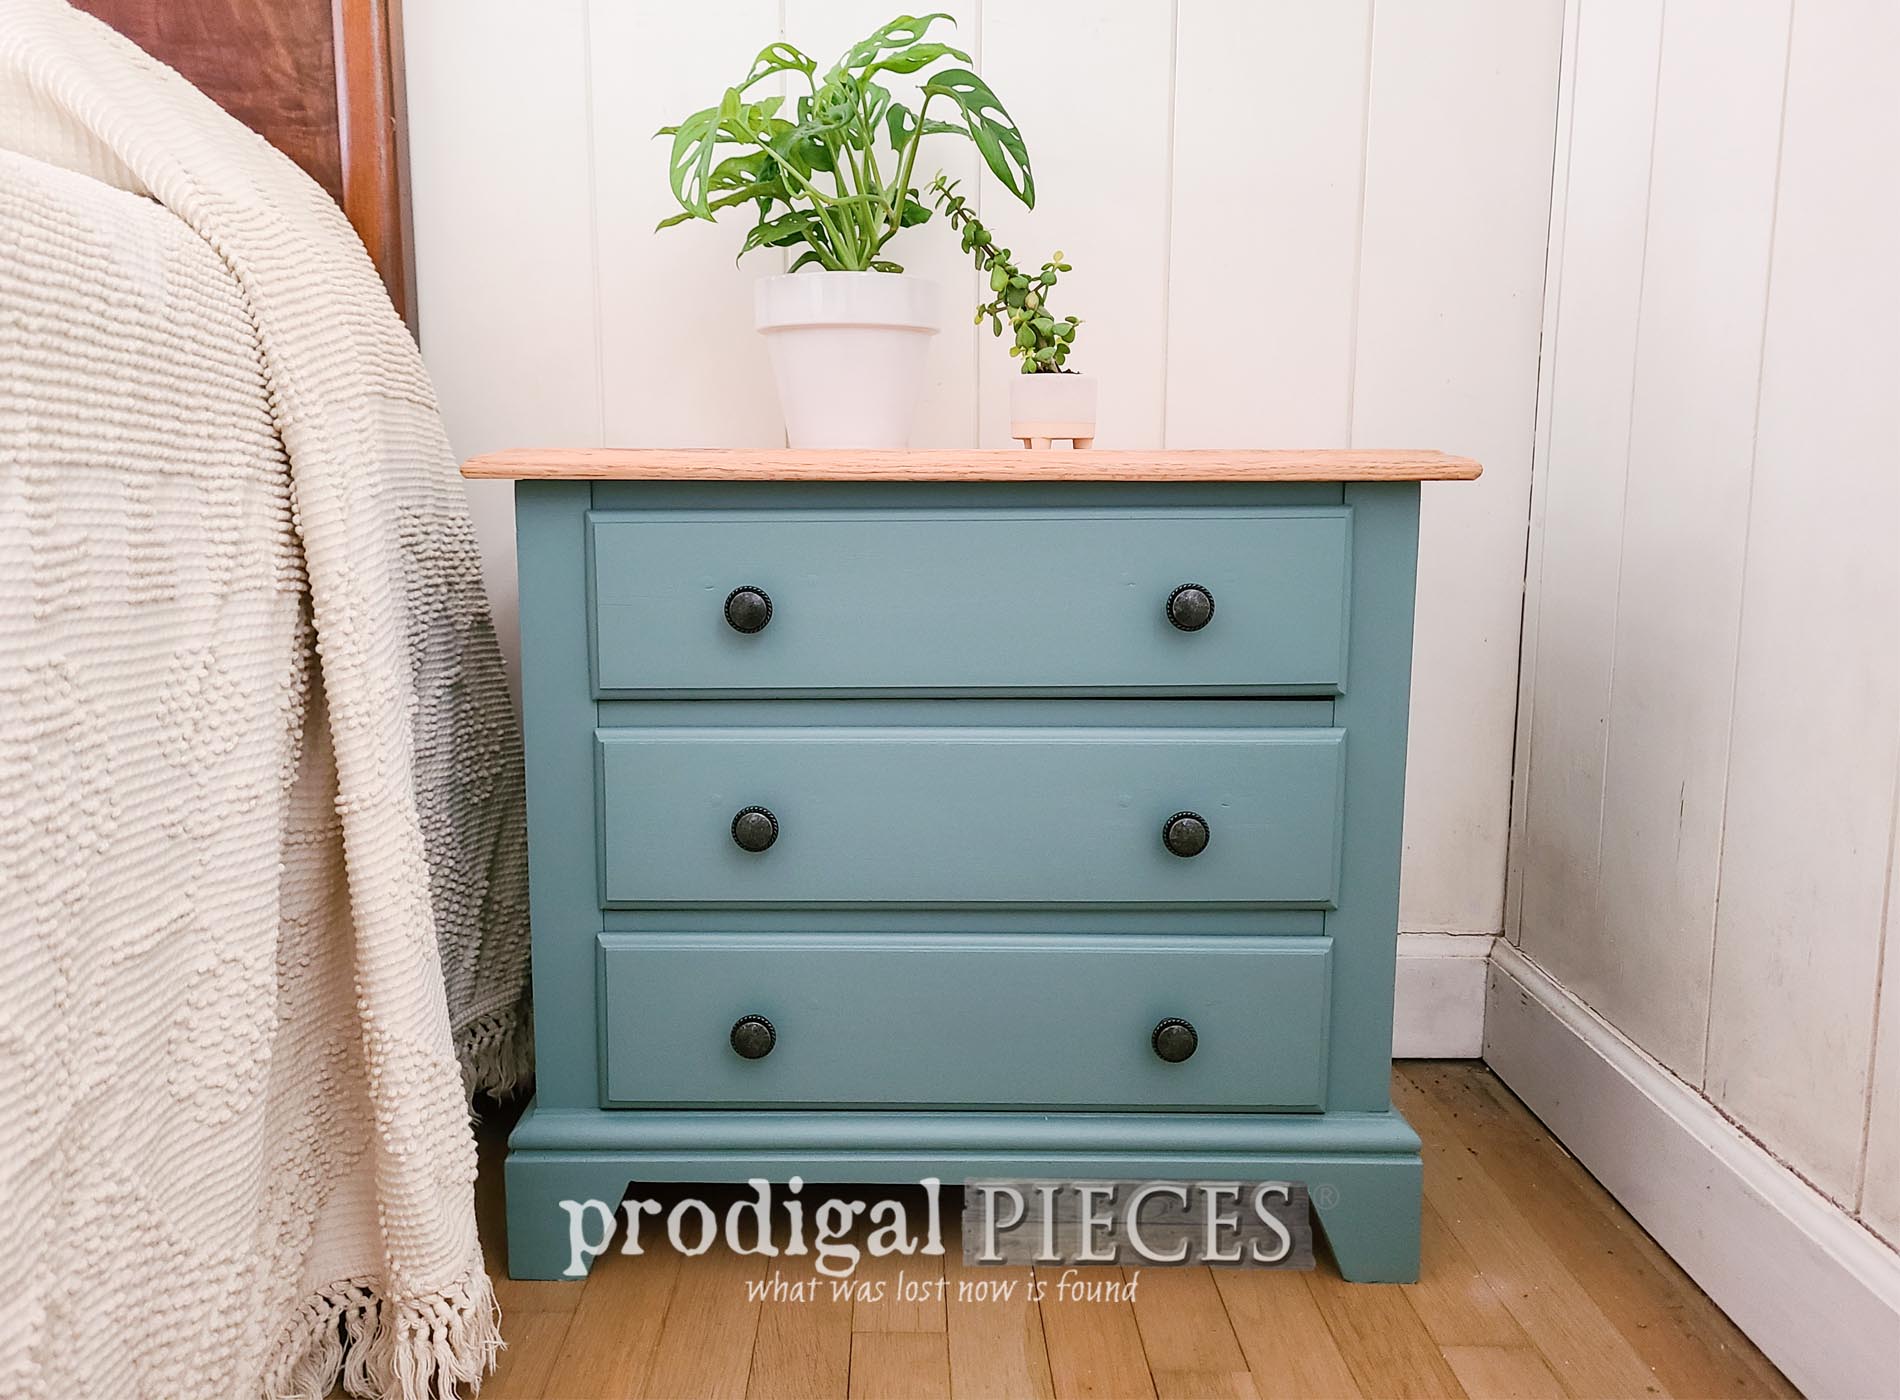
Last, here is my thrifted nightstand with a fresh, new look and ready for many more years.


I'm not only smitten with the color, but also the look. I think the wood top grounds it, and bottom has the updated look, and the function is improved as I take care of the drawer guides.


The metal hardware is from my stash of new knobs that were waiting for just a time as this.


As always, I'm eager to the hilt to inspire YOU. I hope you find this encouraging you to give DIY a try. If you'd like to own this nightstand, you can find it and more in
my online store.


SHARE
In addition to leaving some comment love below, do pin and share to inspire others too. Let's create beauty for our home!

Before you go, be sure to
sign up for my FREE newsletter. Until next time!

 PINTEREST | EMAIL
While you're at it, here are more makeovers like this thrifted nightstand: