Today's post is kinda funny because it has a story behind it. First, it all started with this table that my parents gave me. I posted about this on social media, but I'll fill you in as we go. In the meantime, I'd like to show you how I turned it into a vintage chic sewing table.
We have always had modge-podge furniture because I get it second-hand, either by thrifting or handed down. Our last installment of furniture was leather and I was happy to have it, but it didn't have a vintage feel to it. I thought if I could sell what we had to pay for a set more to my liking, I would have a go at it.
My heart was set on a soft brown leather set with nailhead trim to go with what I wanted to achieve in our family room. I had several near misses on Craigslist (I don't buy new - 6 kids, ahem) and kept coming up empty-handed so I decided to leave it to God.
THE BACKSTORY
However, little did I know that my parents were replacing their set that is exactly like what I was looking for. They tried to sell it for a time and even offered it to my sister and brother, but they turned it down. Love me some Amish furniture AND it's already broke in. I love worn leather.
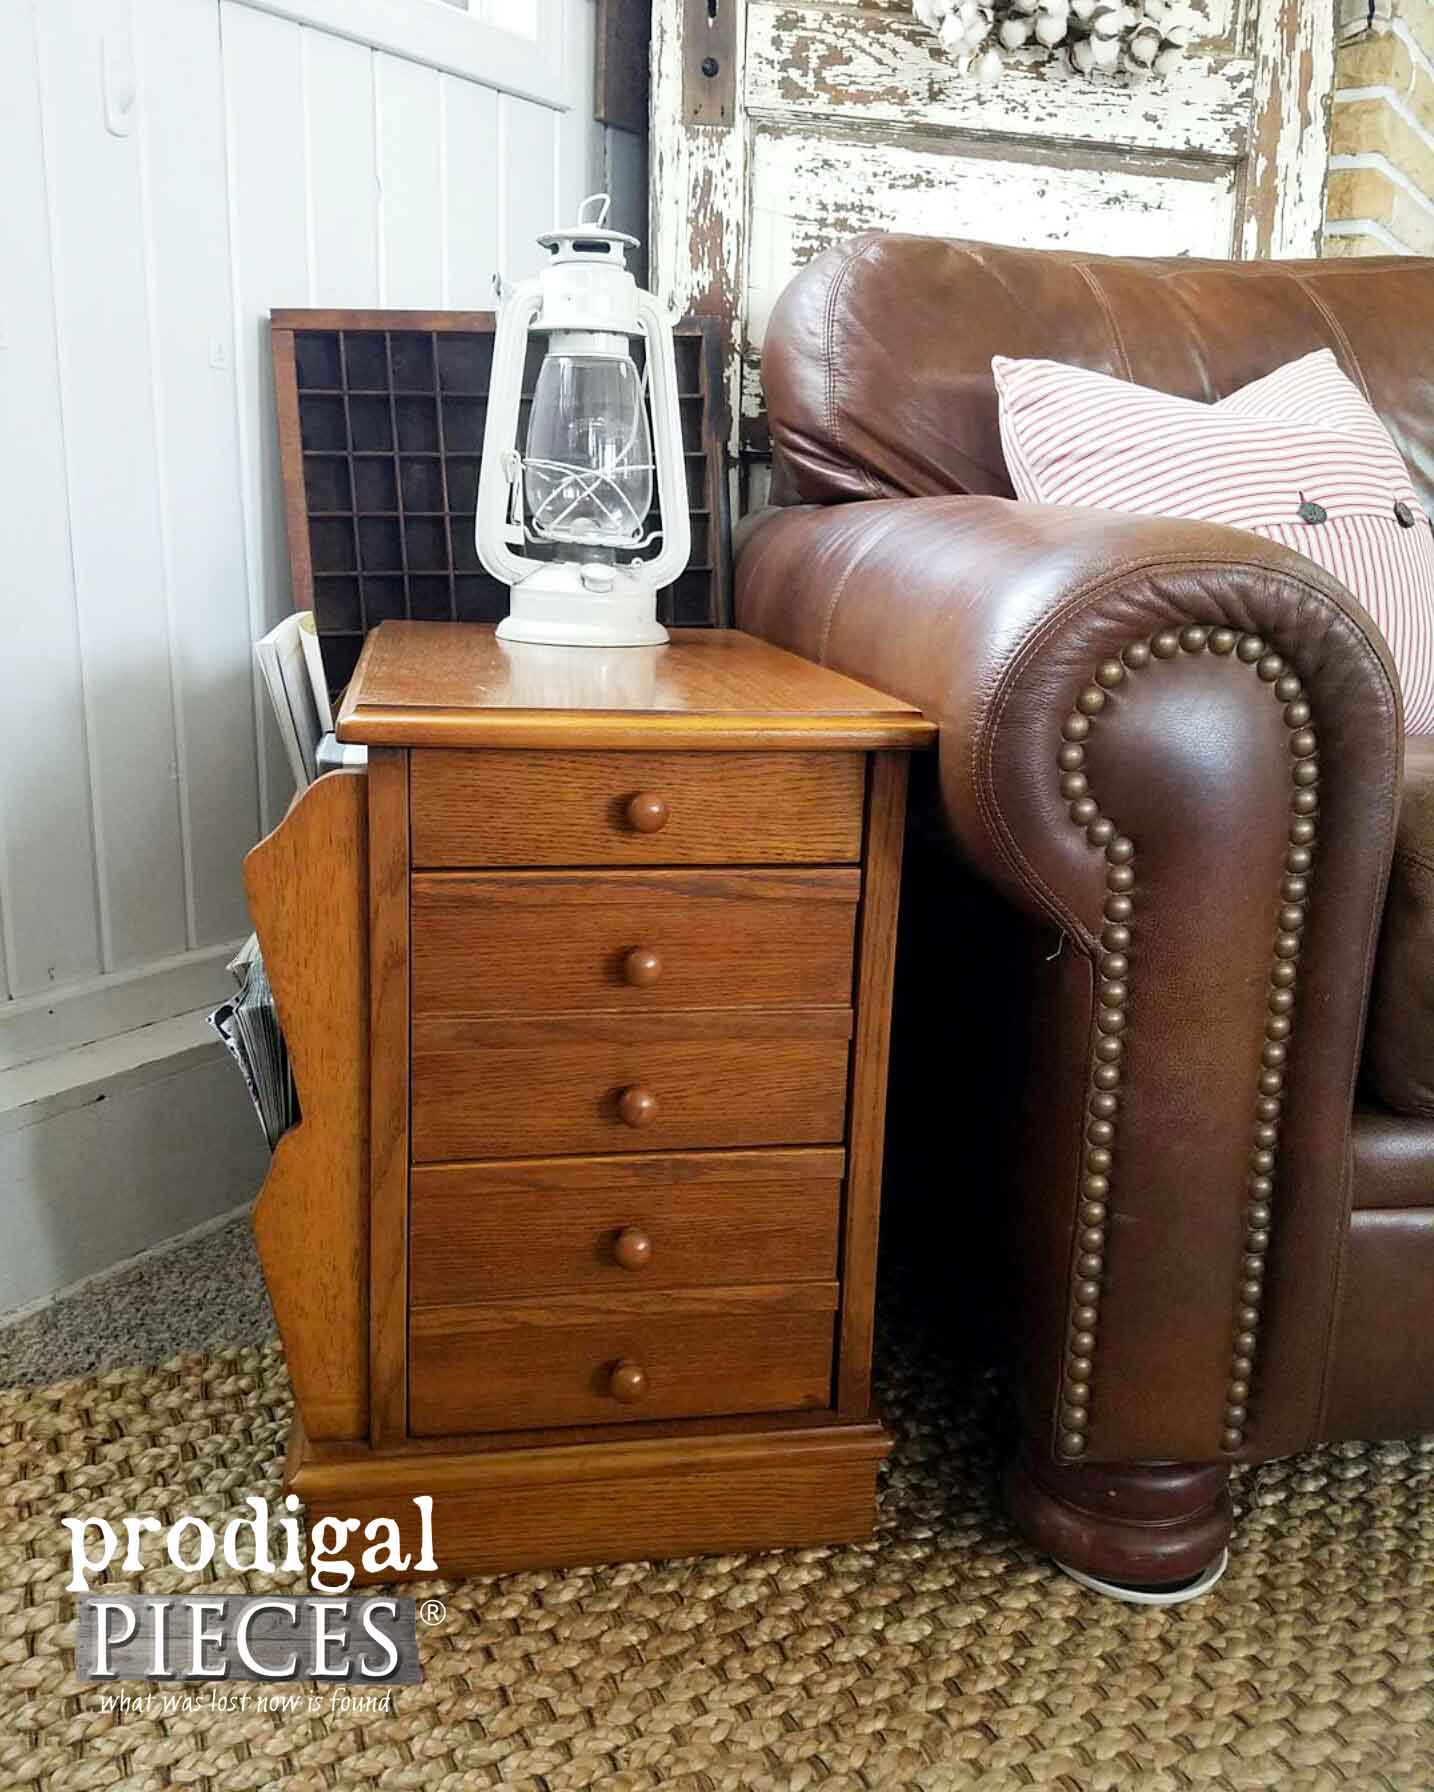
Here it is in our family room. It doesn't include the recliner they gave us too, but you get the idea.
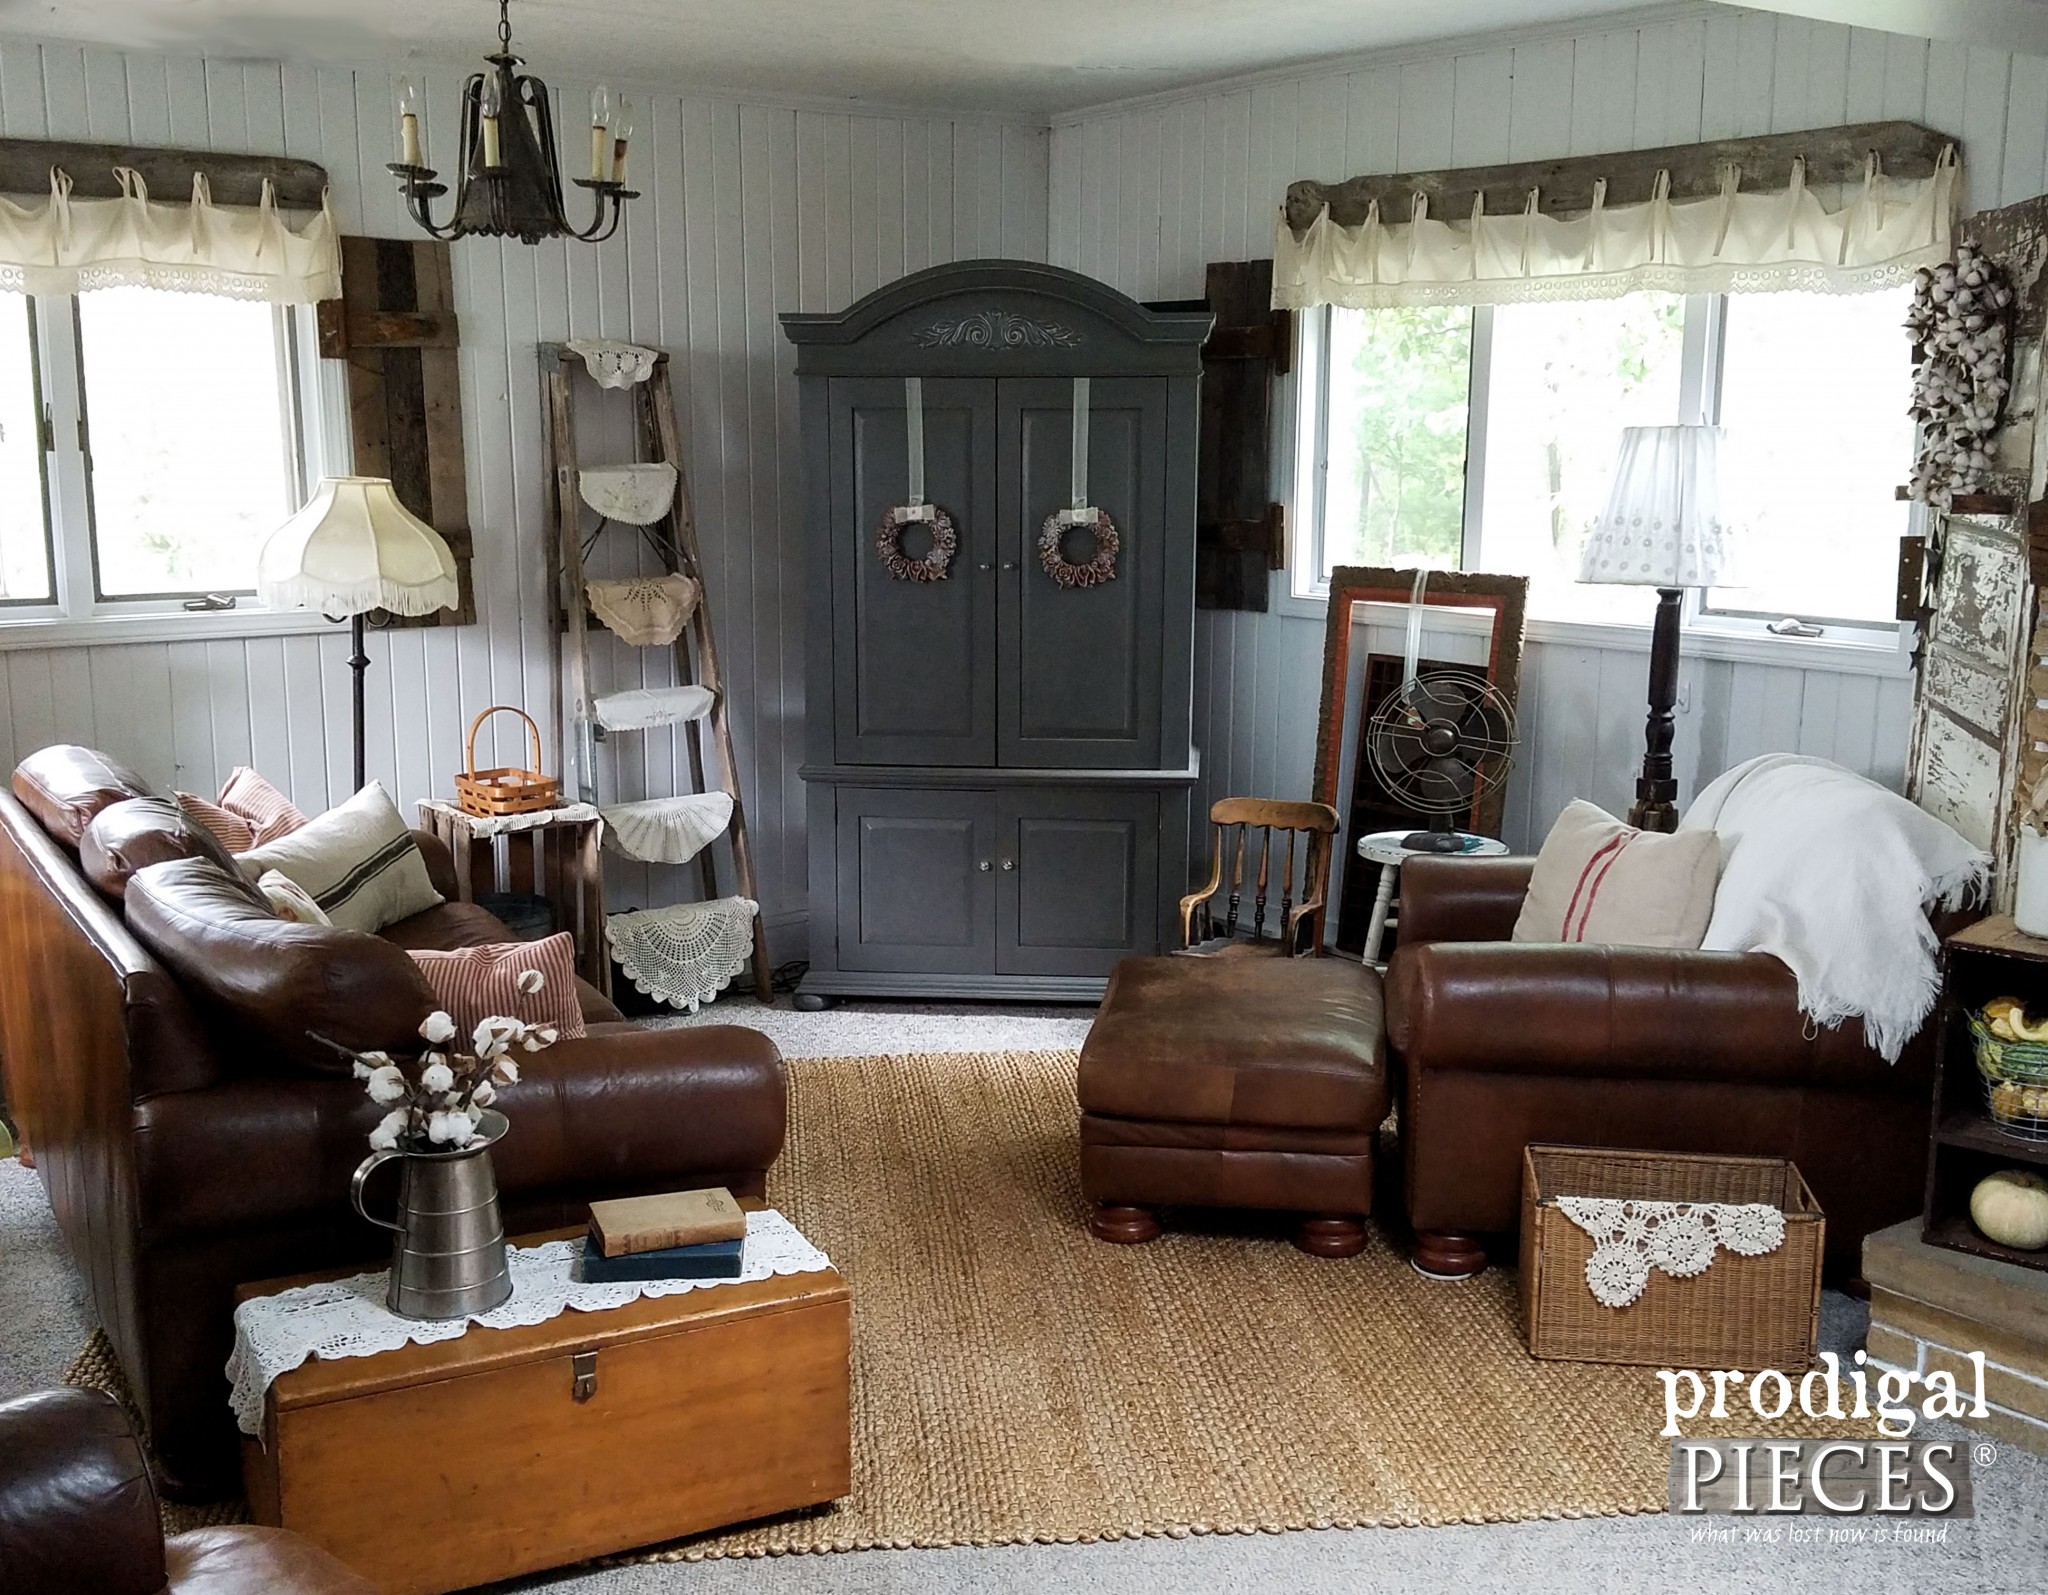
Later on they offered us this side table that had also been something they used with the set.
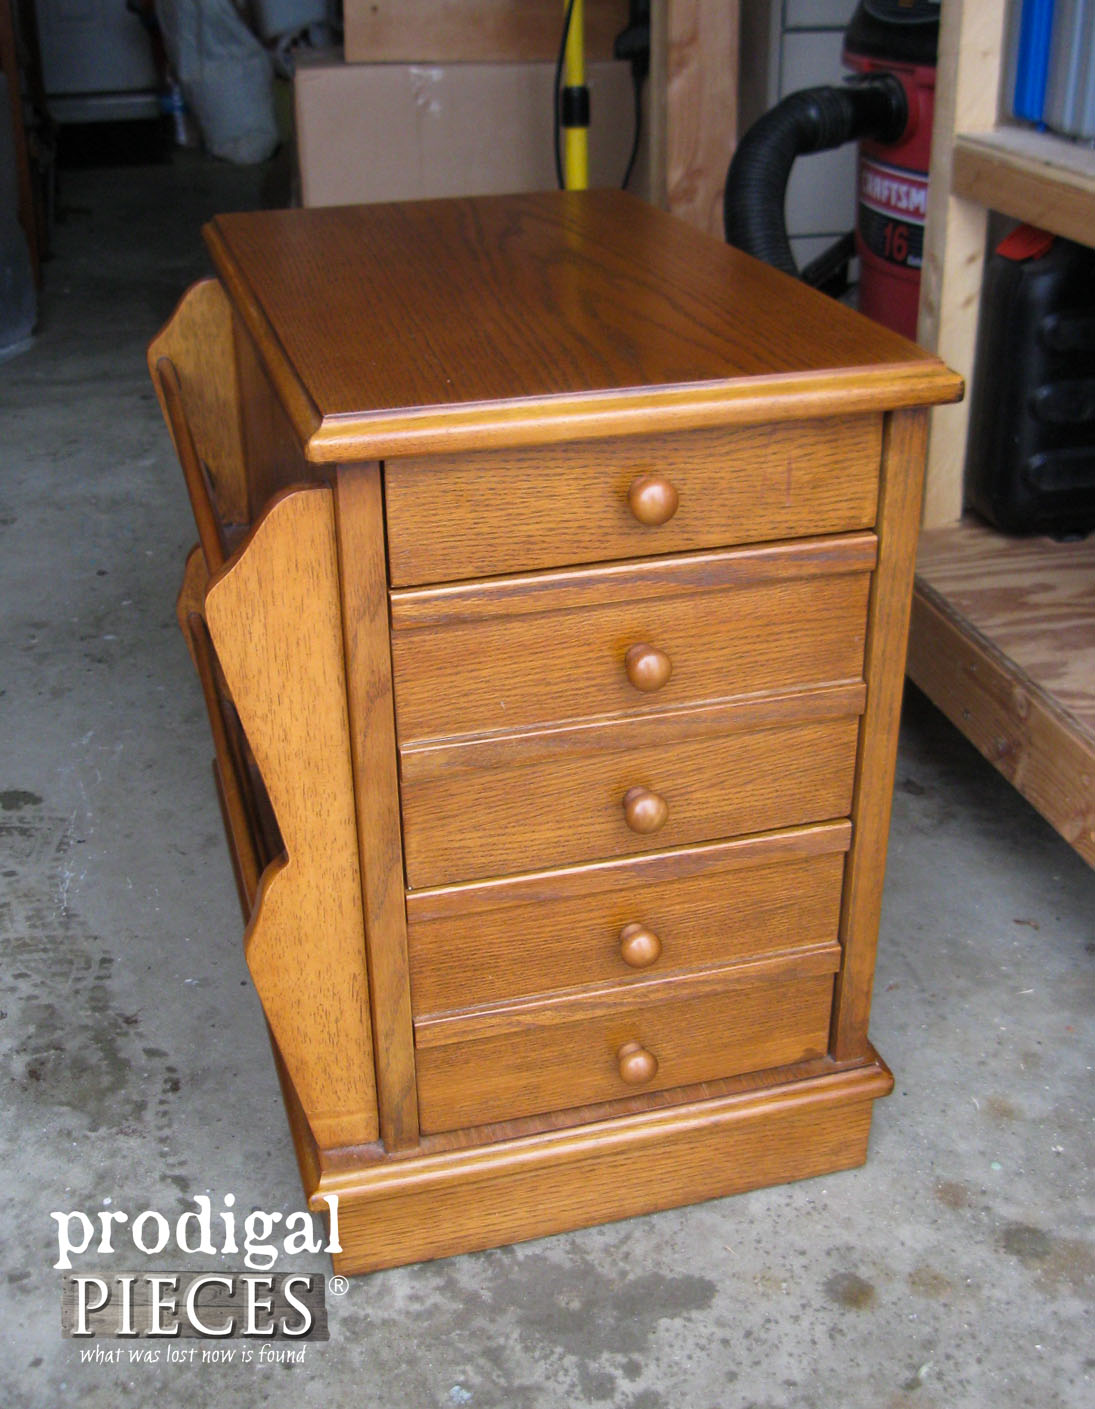
They told me to do as we pleased with it (aka. sell it, whatever). Somehow, I have it in my head that it is Amish-made too. That's where the drama began. Turns out it is from Thailand, so I promptly announced, "Game ON!" That's the beginning of this side table turned sewing table makeover.
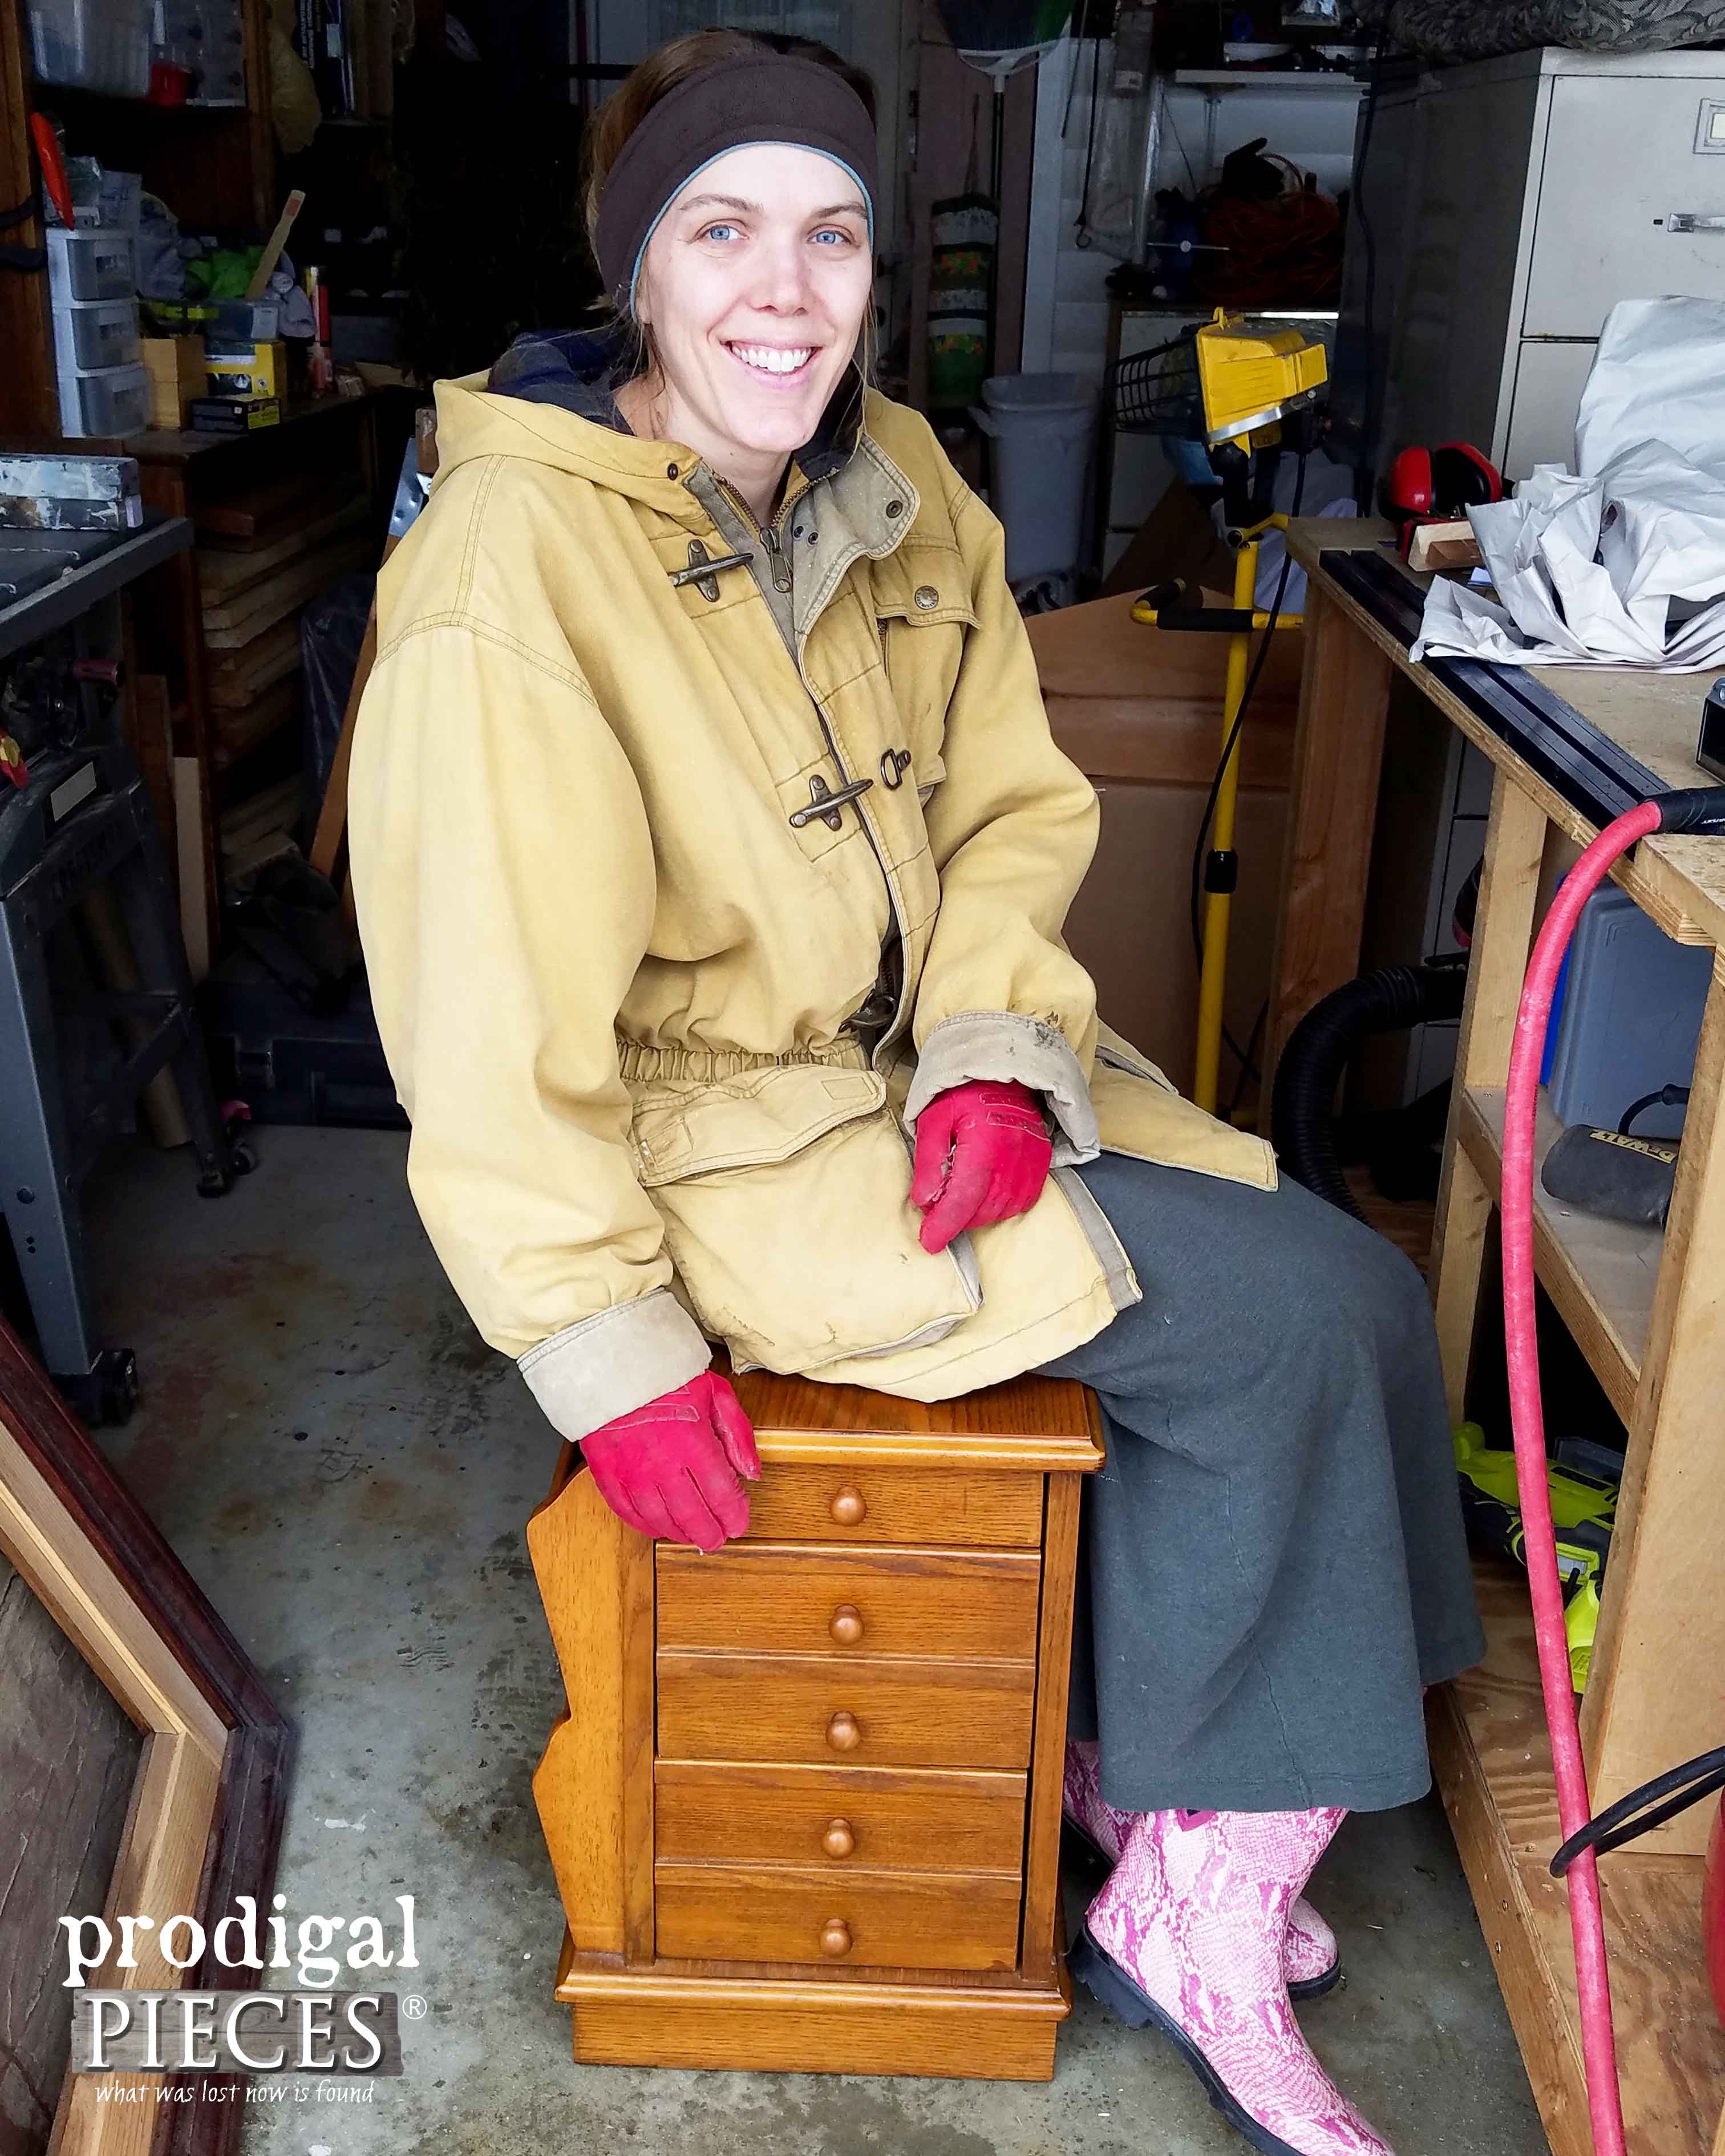
It is solid as a rock and has so many uses with all it has to offer. However, because it lacks some pep and isn't vintage or high-end, it is time to have some fun.
DIY TIME
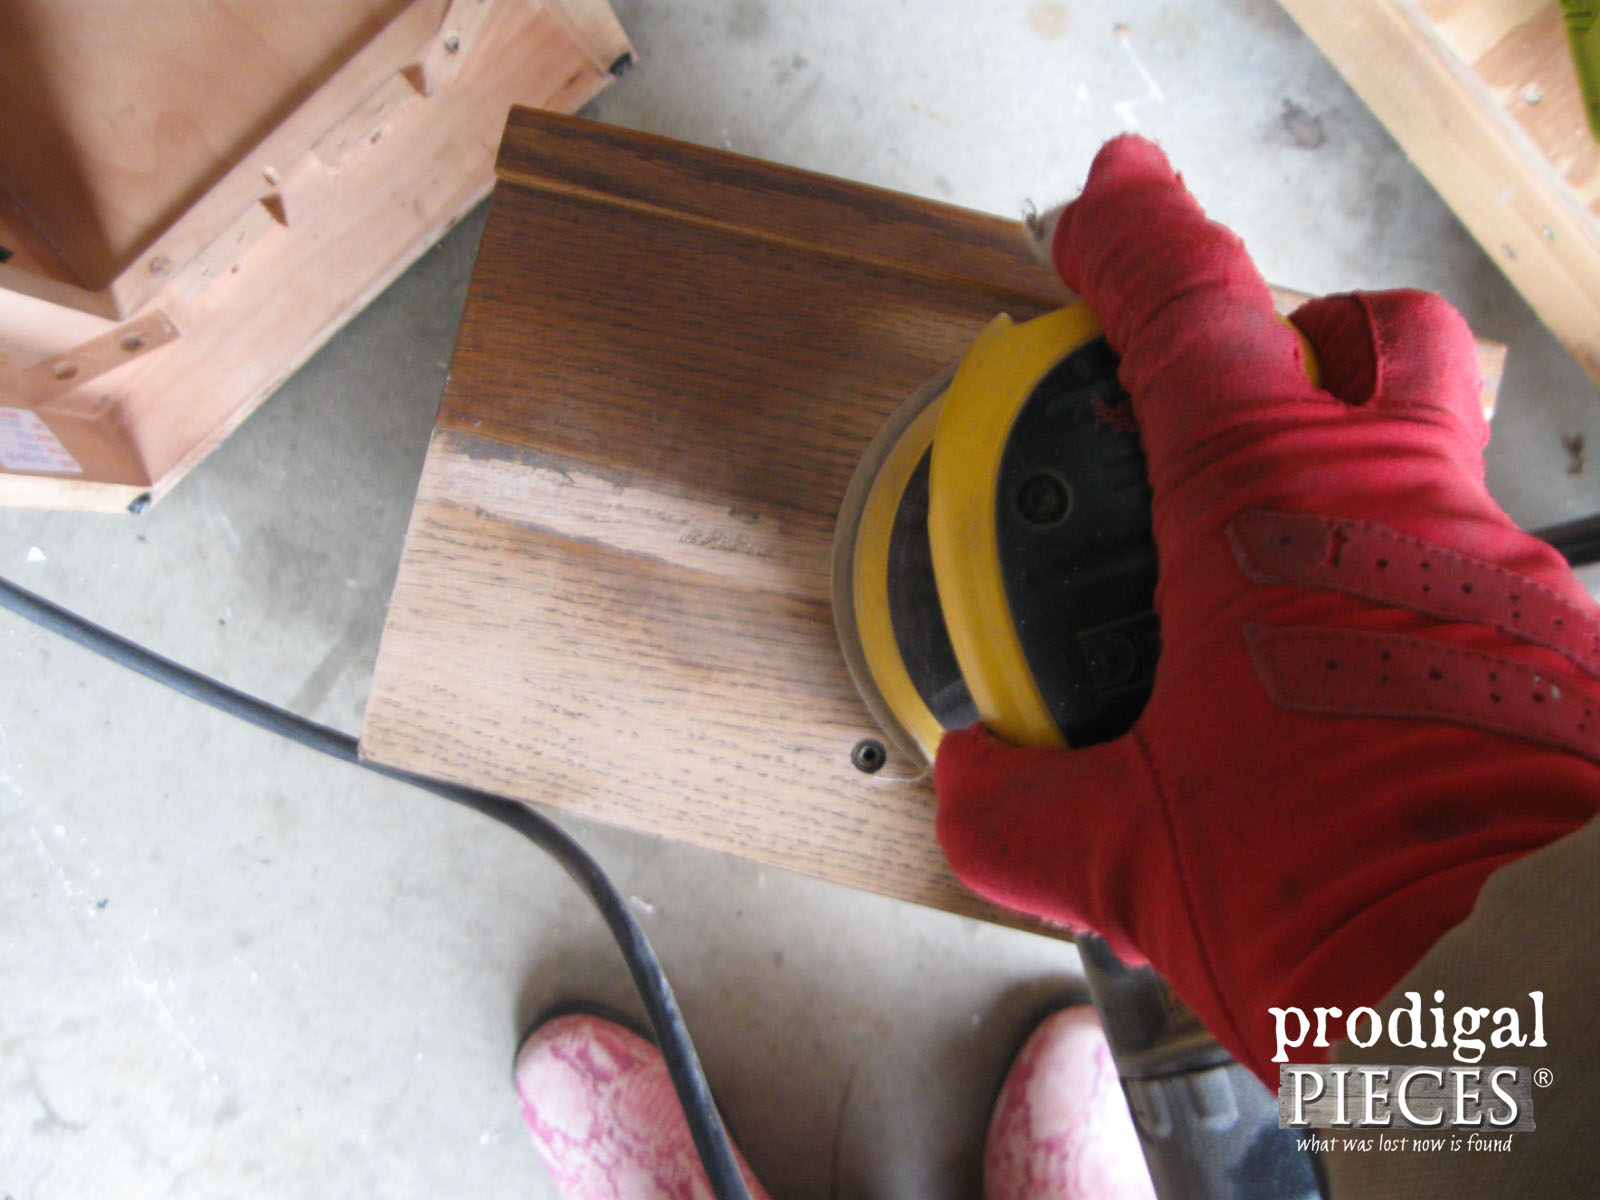
I took it apart and sanded it down with my sander to prep it for the makeover.
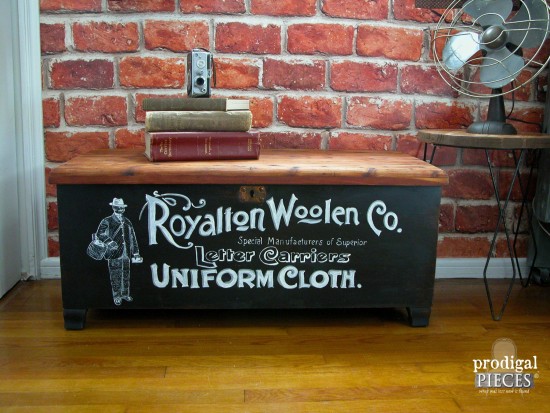
One of my favorite ways to add to furniture is typography. One piece in particular is close to my heart. When I found this thrifted cedar chest, I knew it was the perfect candidate for some hand work. Makeover
HERE.
My vision for this piece was a functional storage unit that would suit anyone who loved to pine away their days or evenings sitting with thread or yarn in their hand. I, for one, love to do handwork (crochet, embroider, hand sew) while I sit with my family. It is my therapy, of sorts. I like sitting wherever, I wanted it to be mobile too.
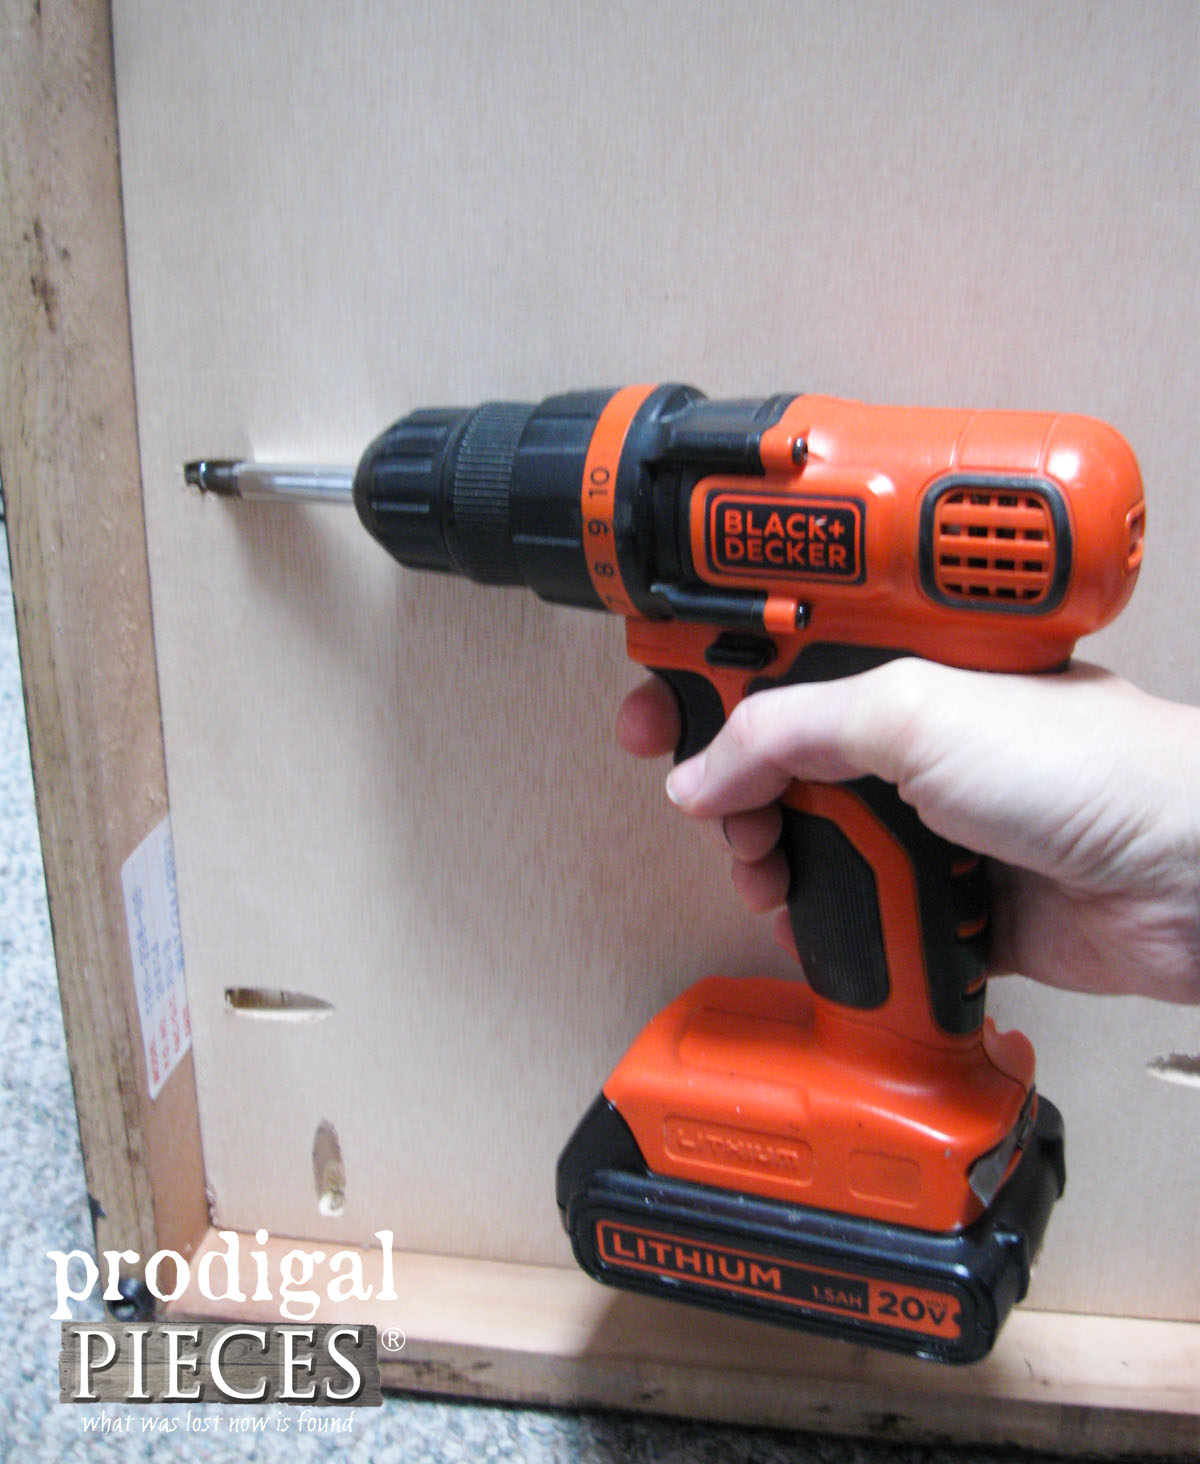
First order of business, add casters. Easy to do since this had an open bottom with a solid wood skirt. I cut a piece of cabinet plywood and used my Kreg Jig to make pocket screw holes to attach it to inside of the skirt.
Once that was finished, I painted the base a smokey gray that I used on several pieces, including
our bathroom vanity, and my son recently used in
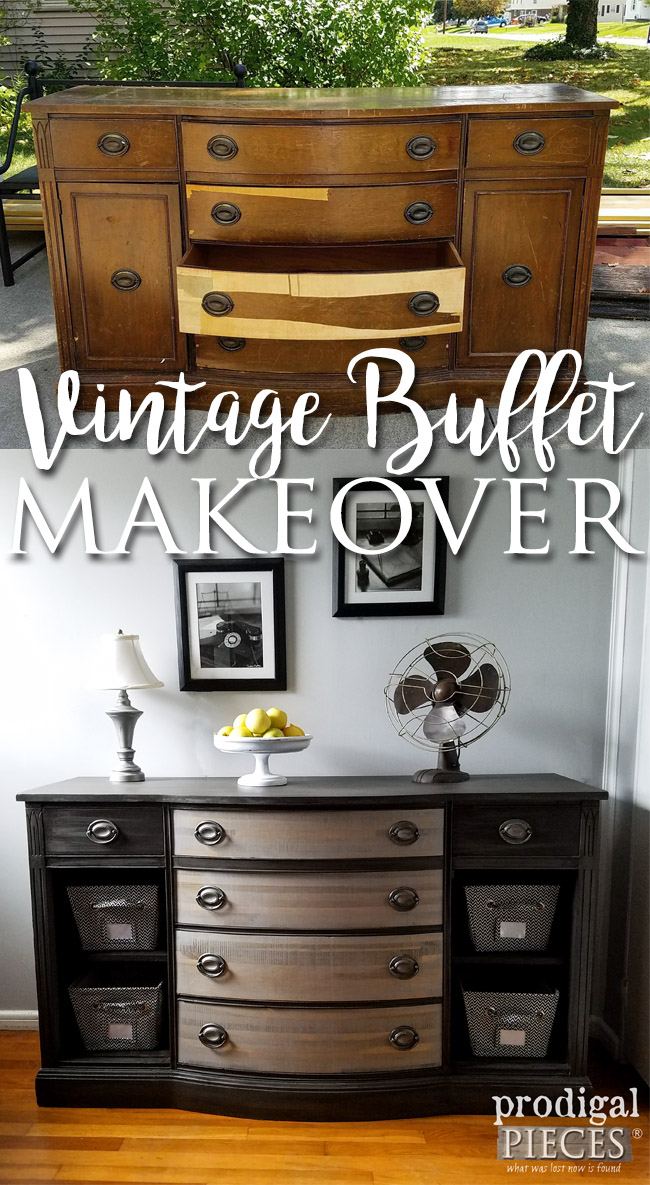
his buffet makeover. Both pieces are so fun to see transform - take a peek.
ADDING SOME FUN
Since this time around I wanted to add a sewing table touch, I chose an
old J & P. Coats advertisement that I had found. It reminded me of my college days in Georgia when many of the students were working at the local Coat's & Clark factory. I used
my transfer method to add it to the top and drawers. While I normally hand paint it all in and love to do so, I chose a couple of different sized Sharpies this time around.
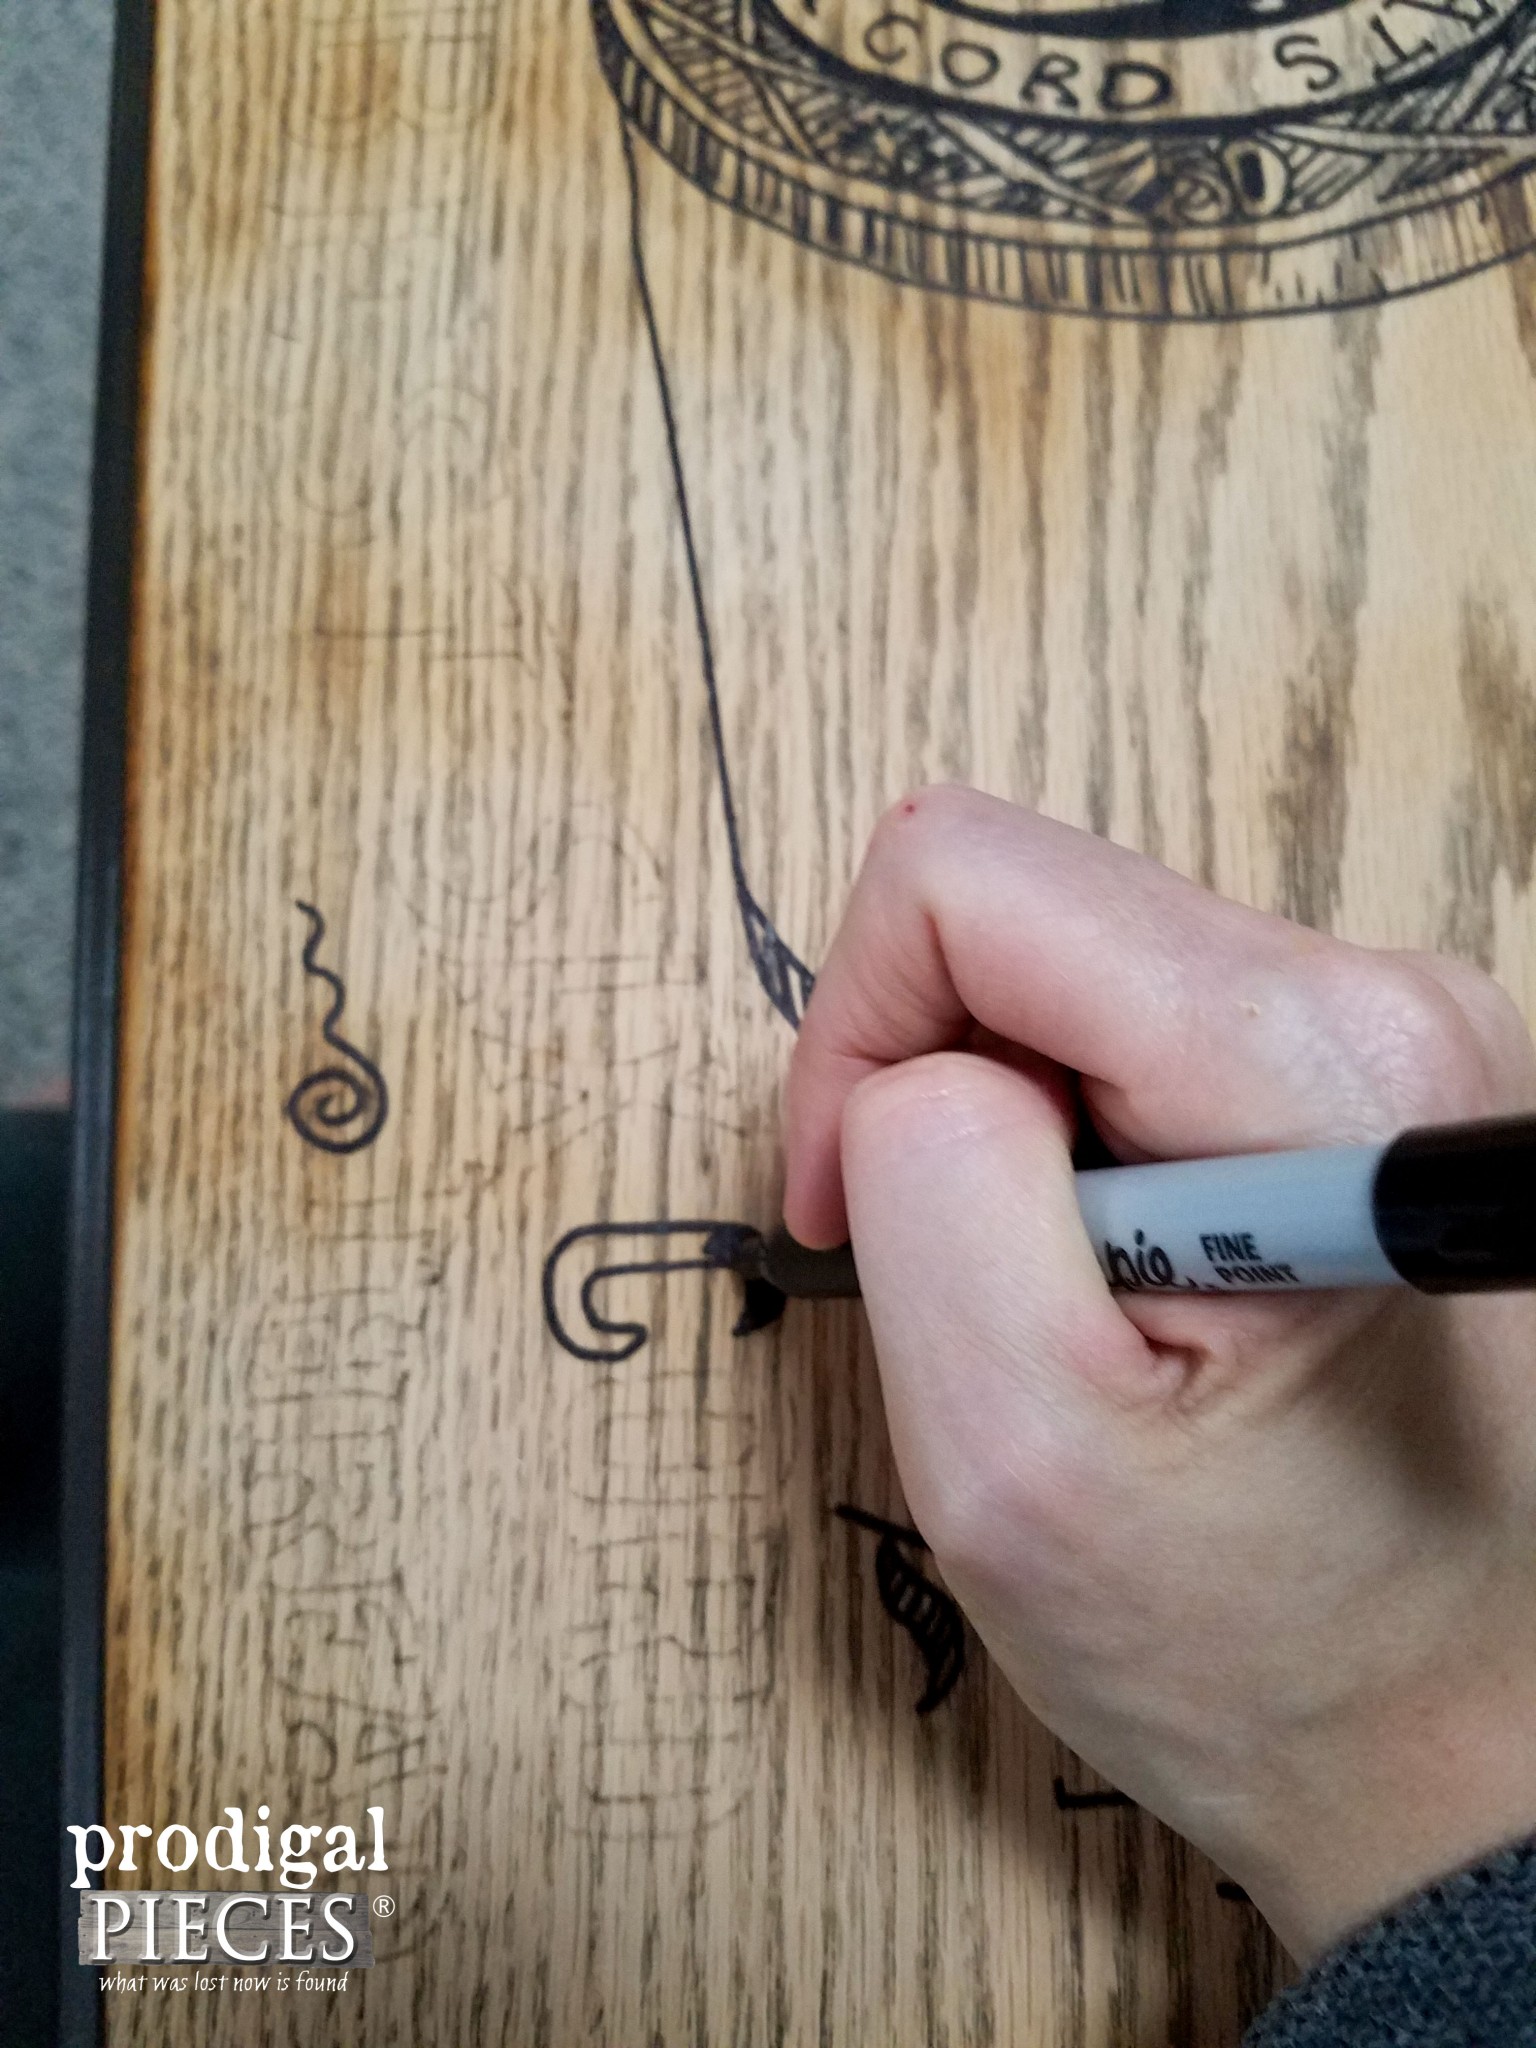
That side rail I removed and took apart to give it some vintage fun details too.
Finally, I add a topcoat of my handmade wax to finish off the wooden surfaces that were unpainted.
THE REVEAL
Are you ready to see this sewing table? I think I'm in love!
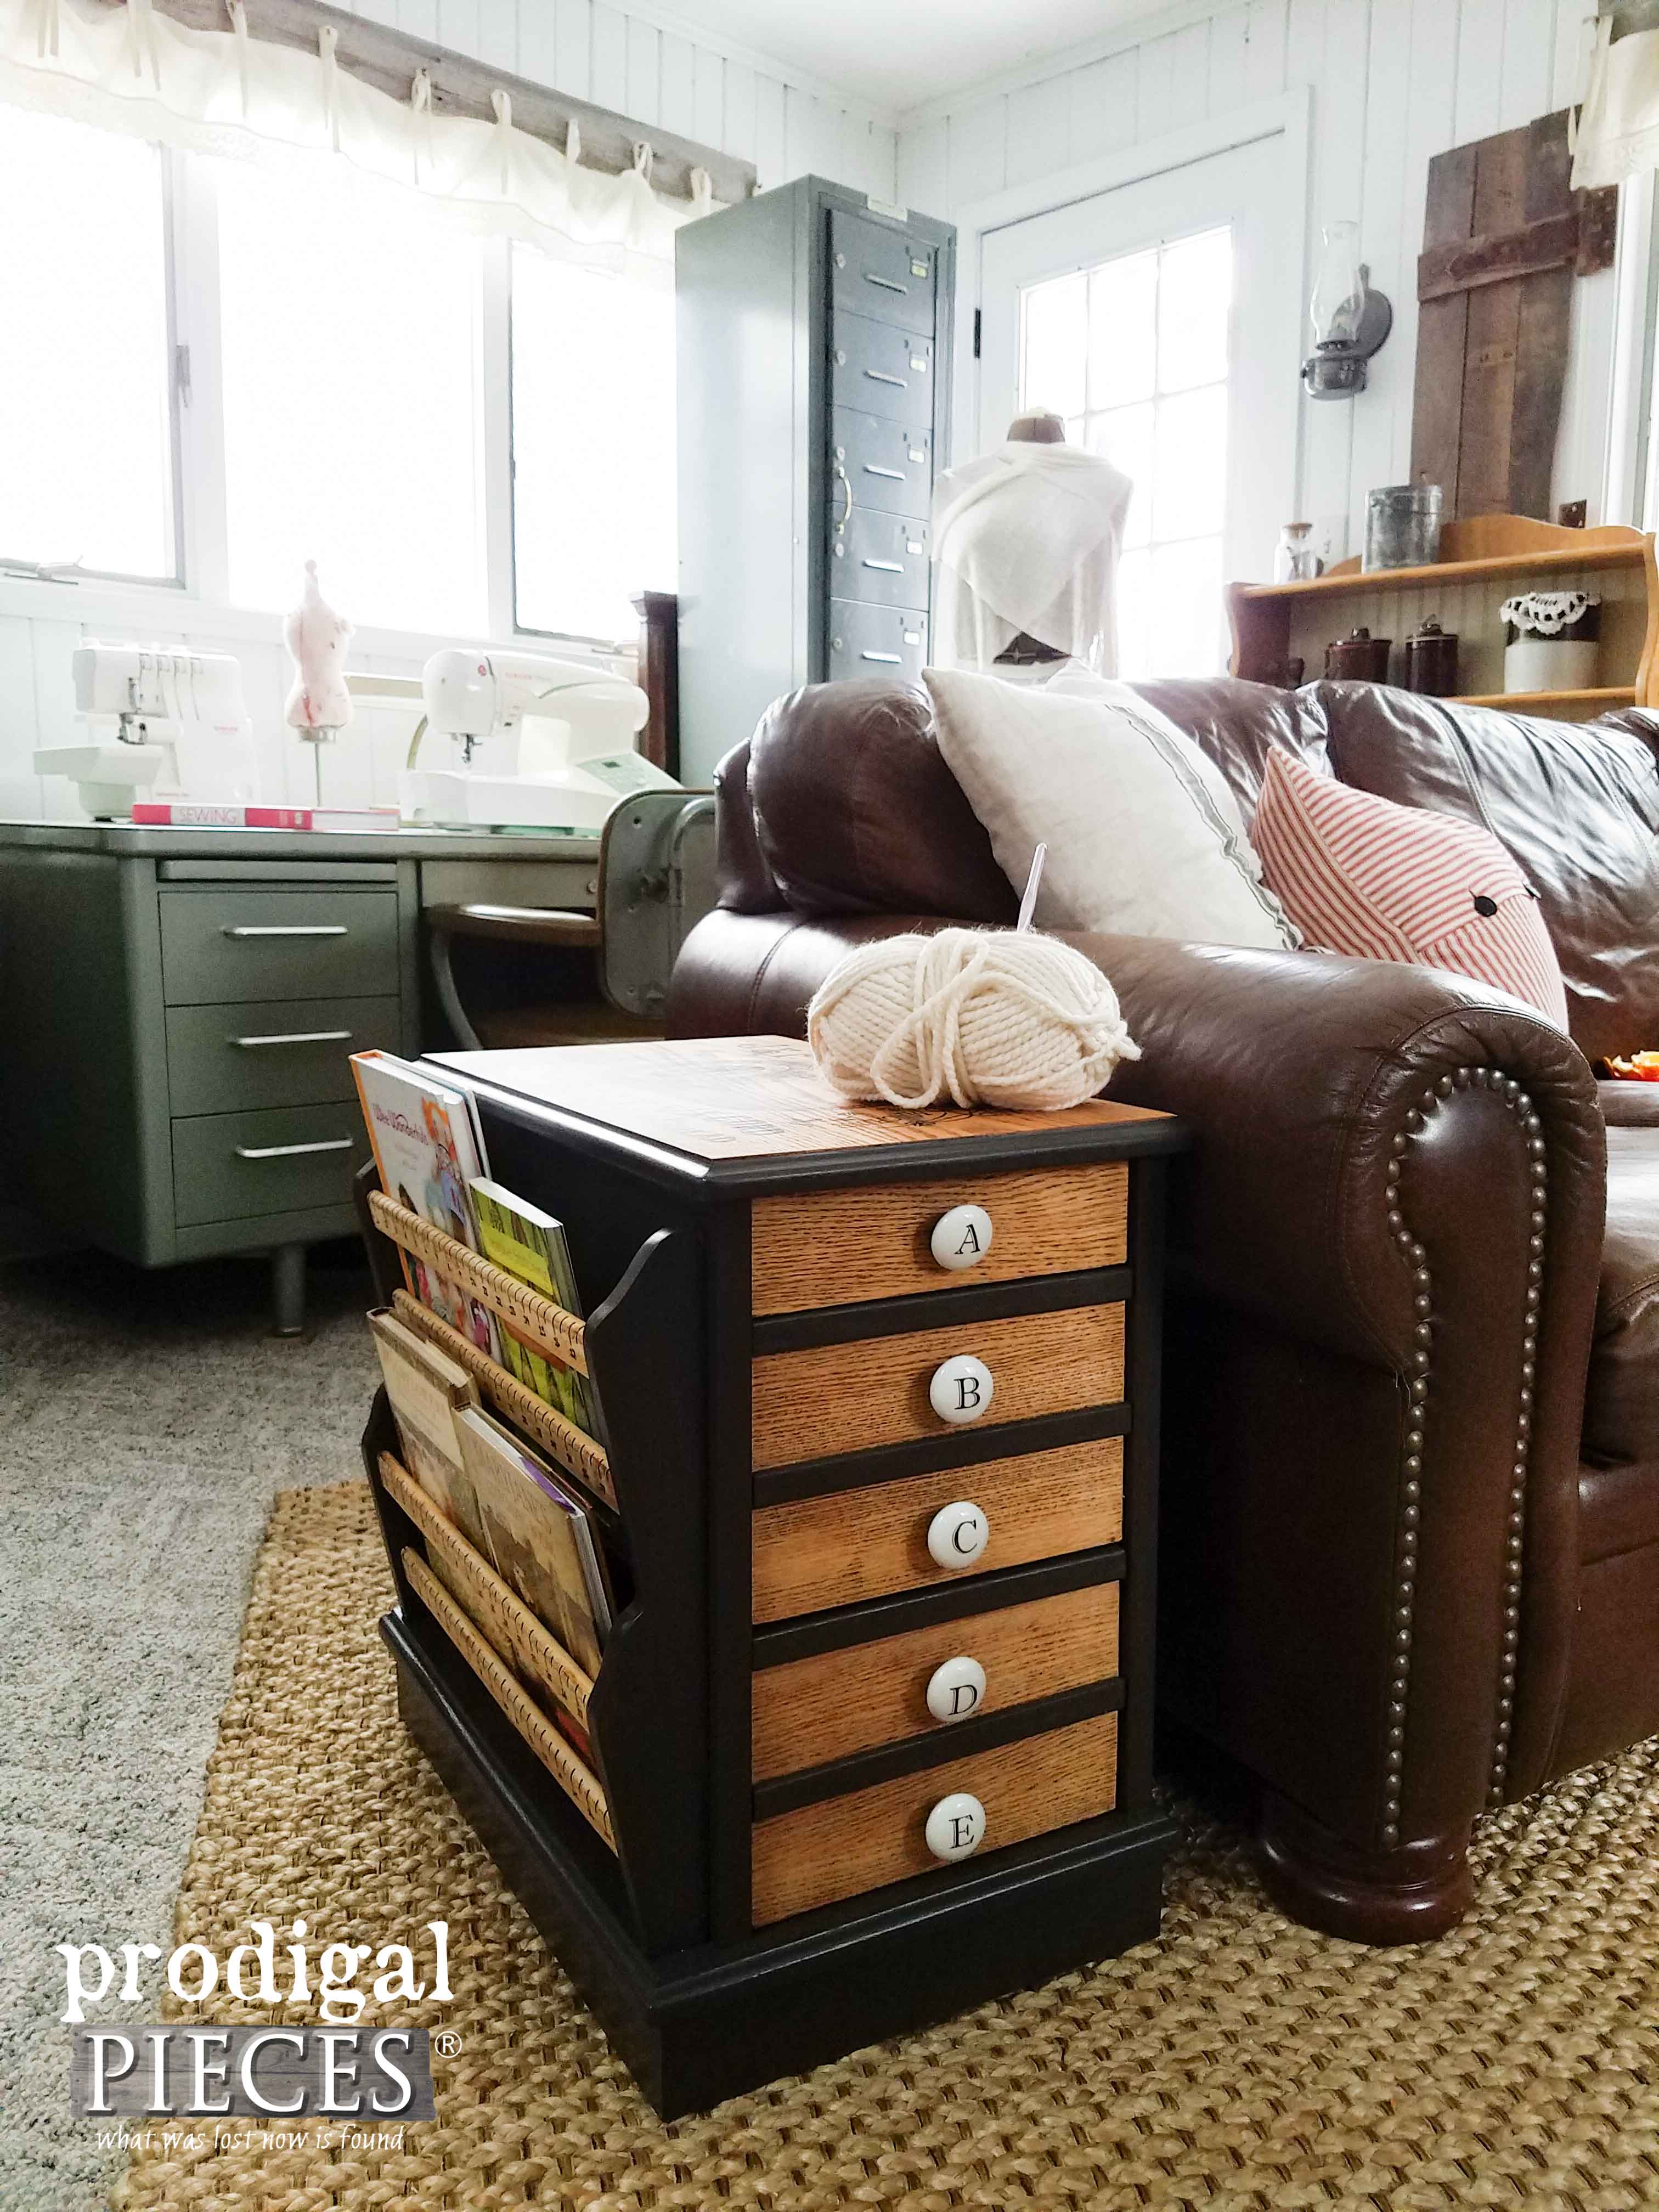
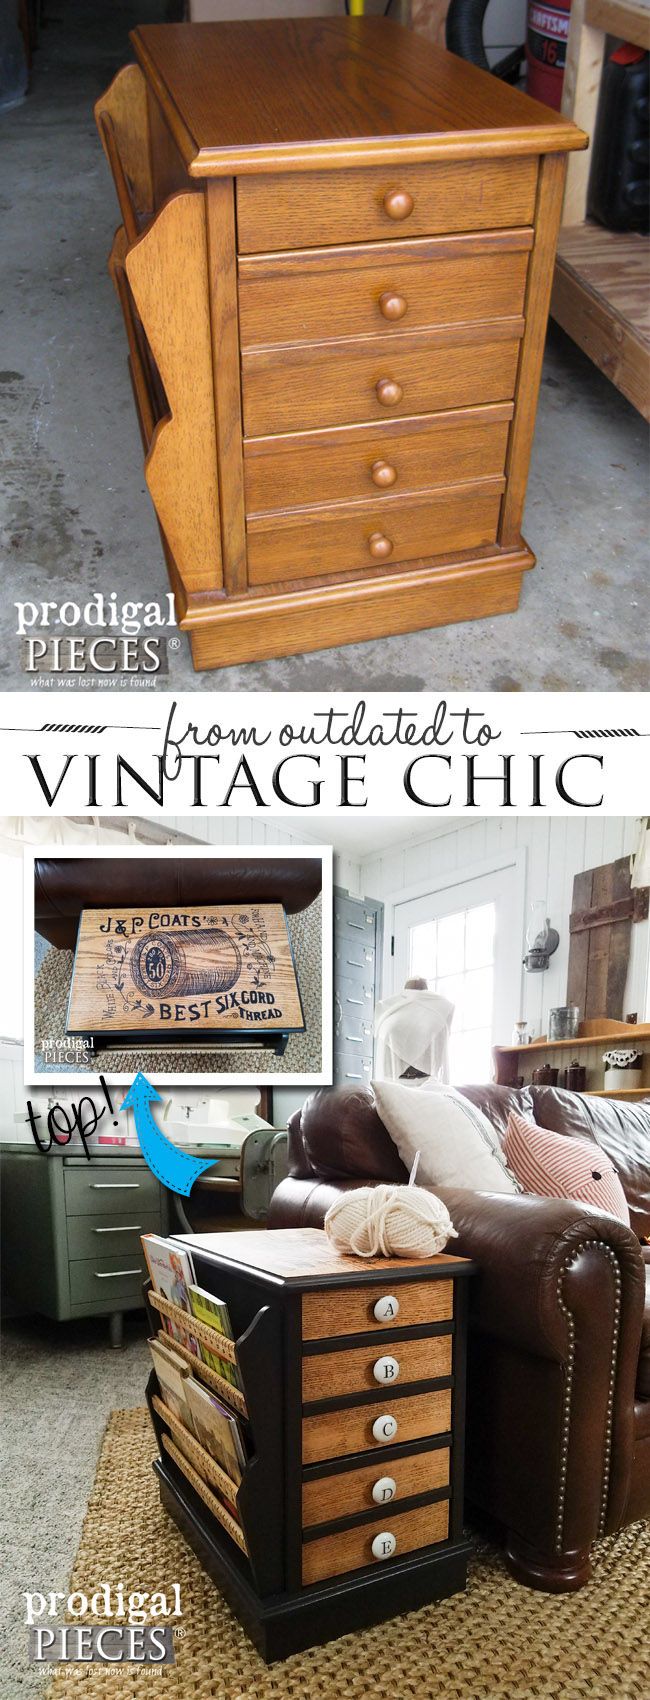
First take a look at the side rails...now they are rulers. hee hee hee. I can use them to measure my goods.
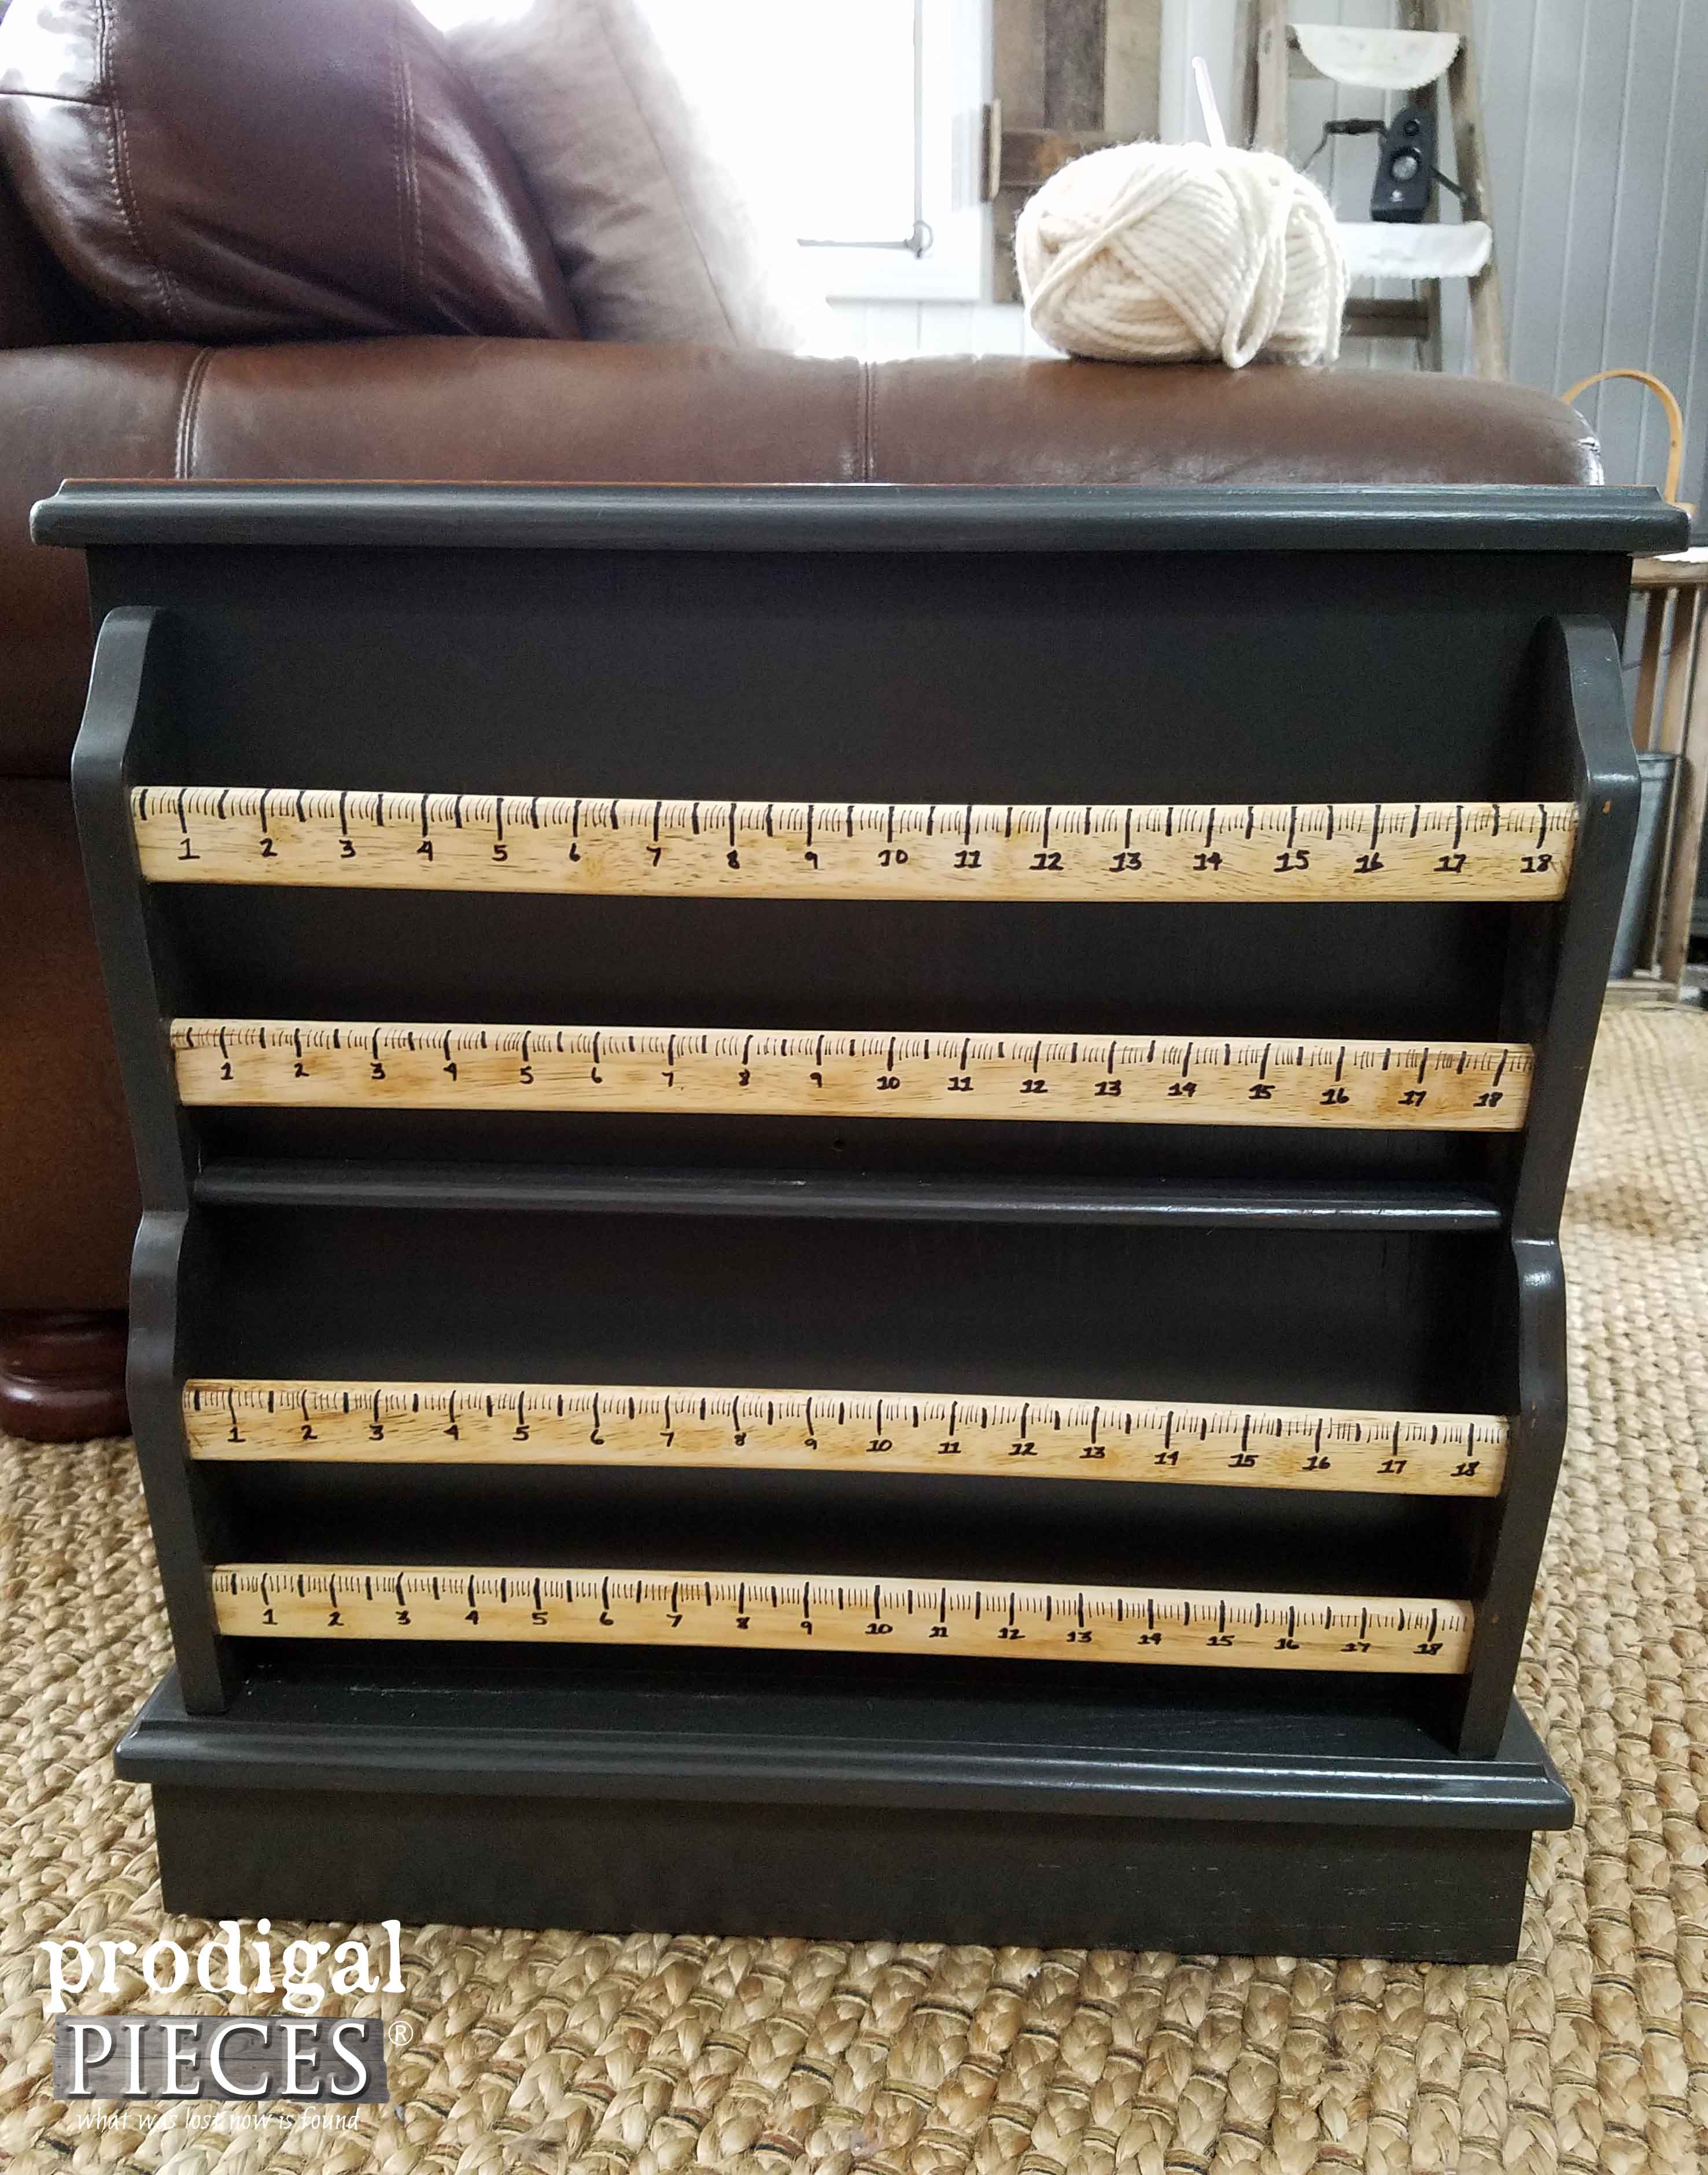
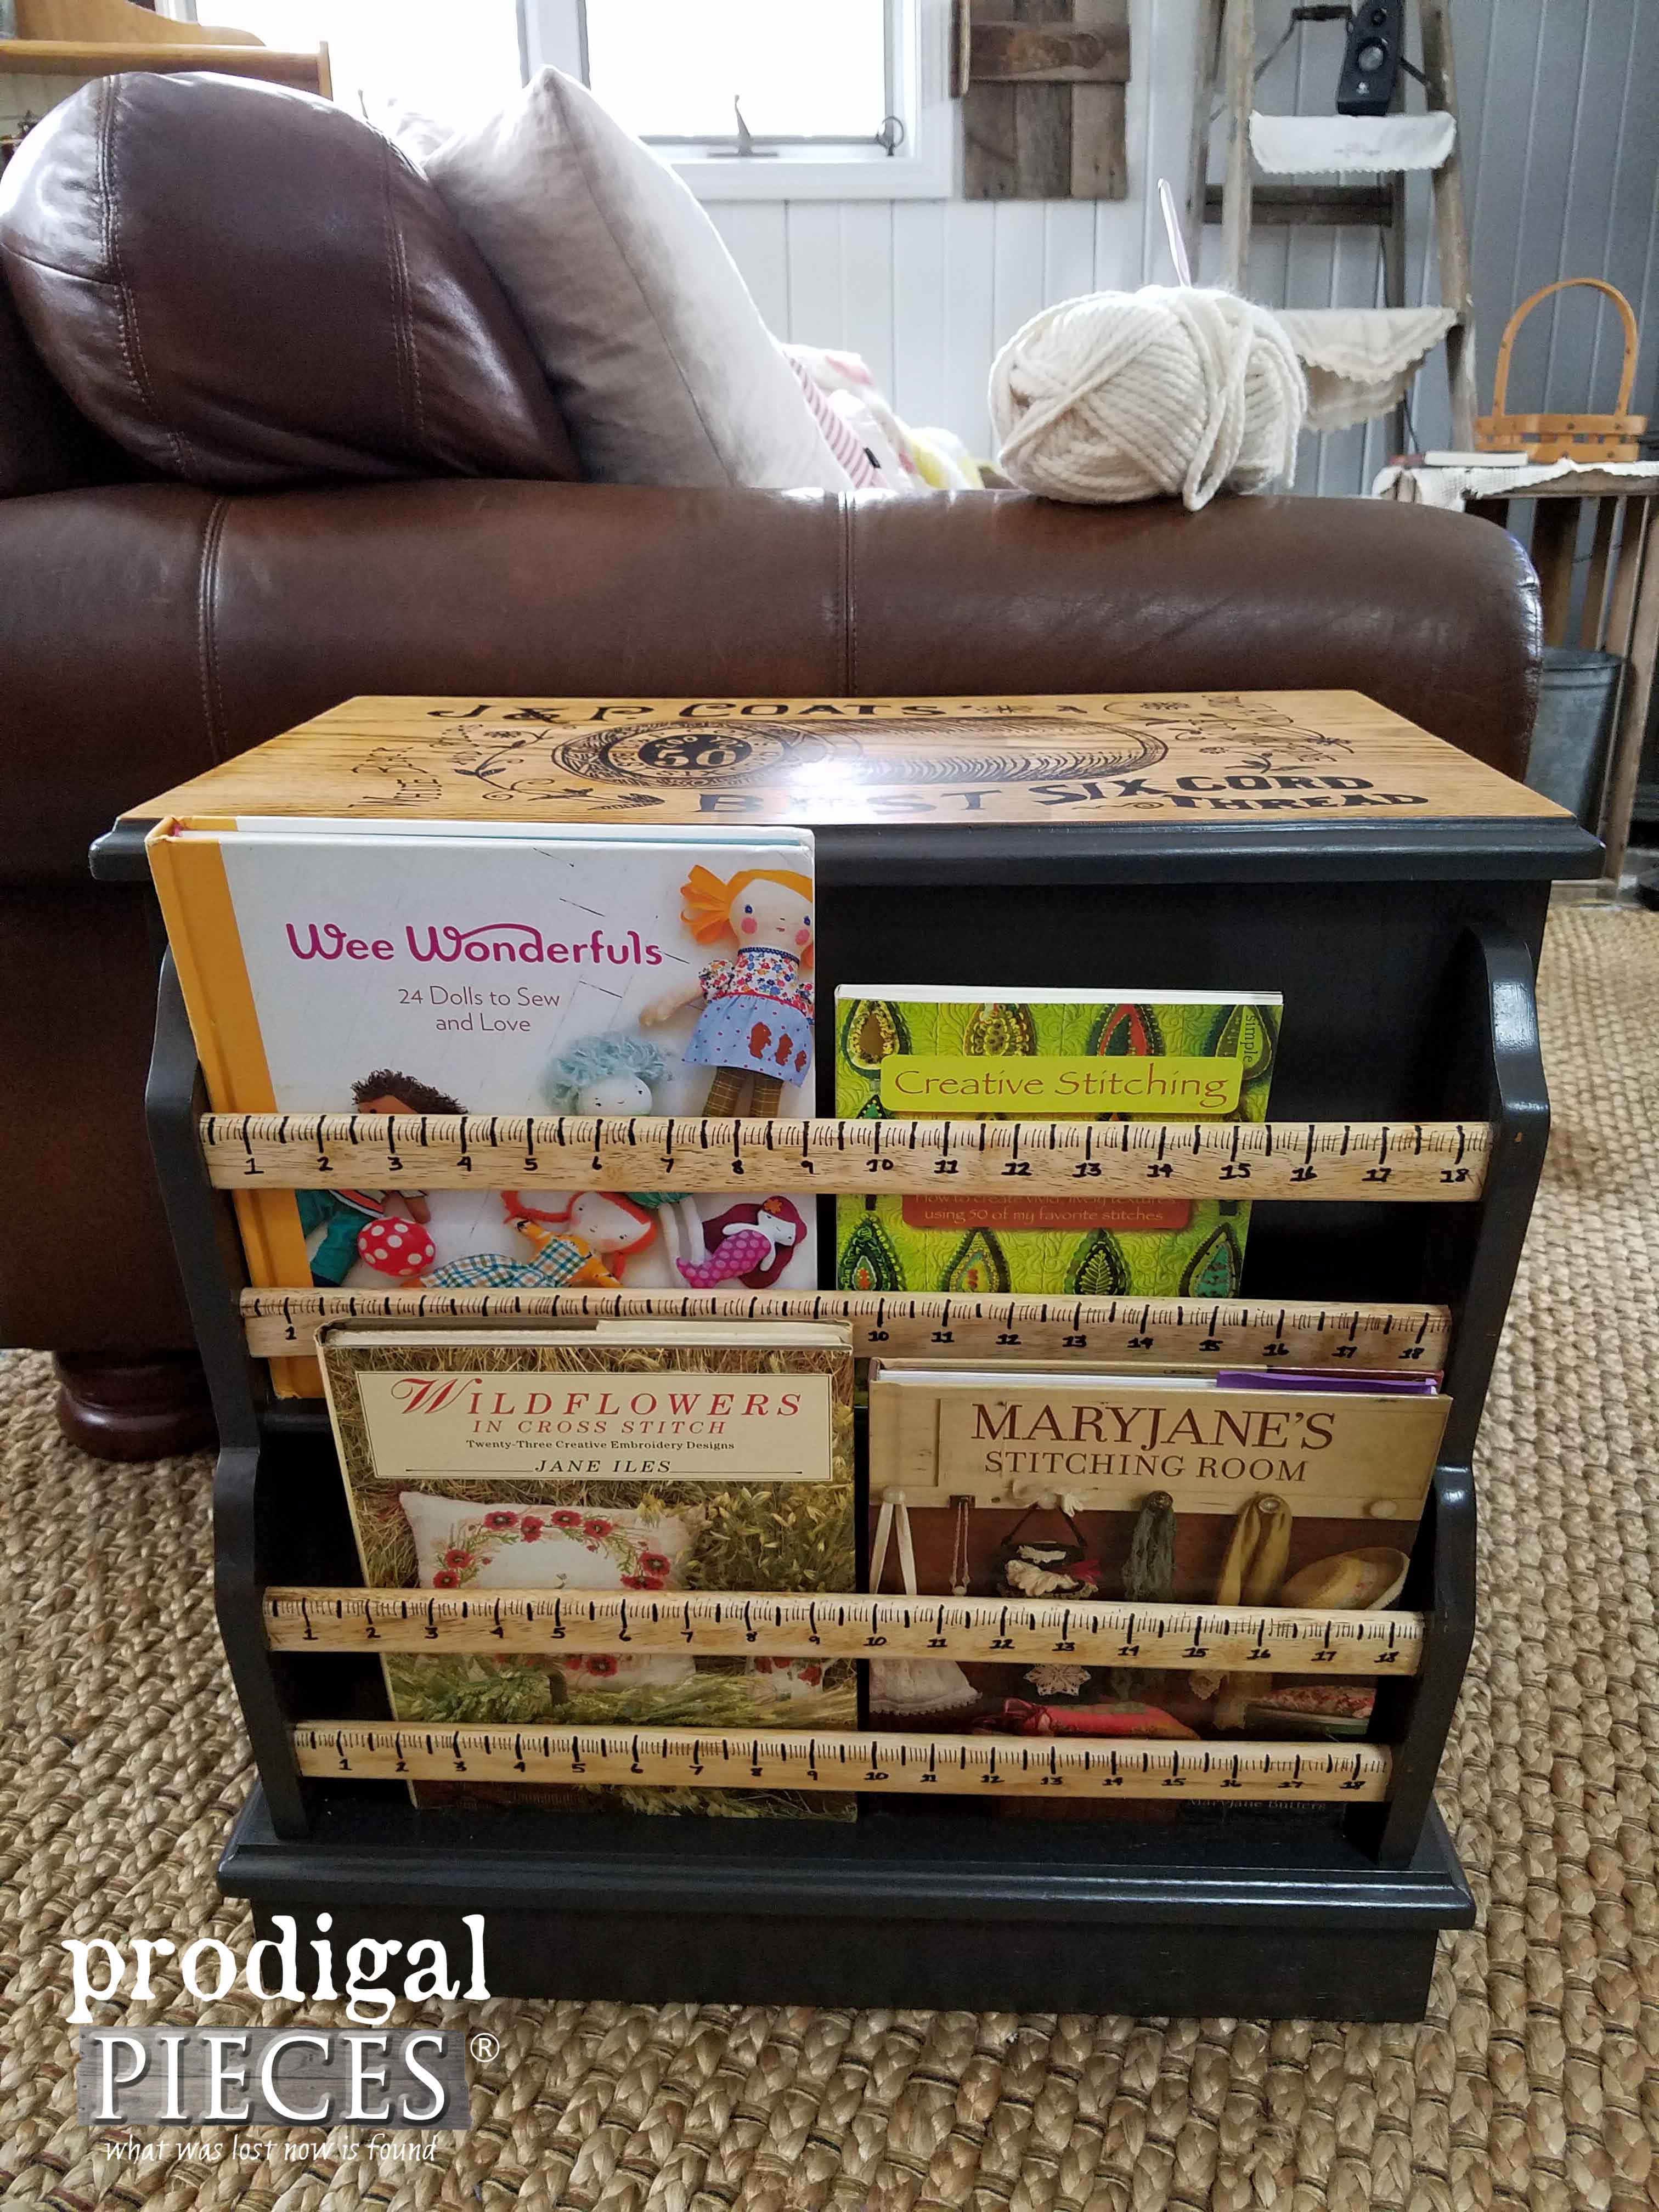
While also the perfect place for me to pop in some of my favorite stitching books.
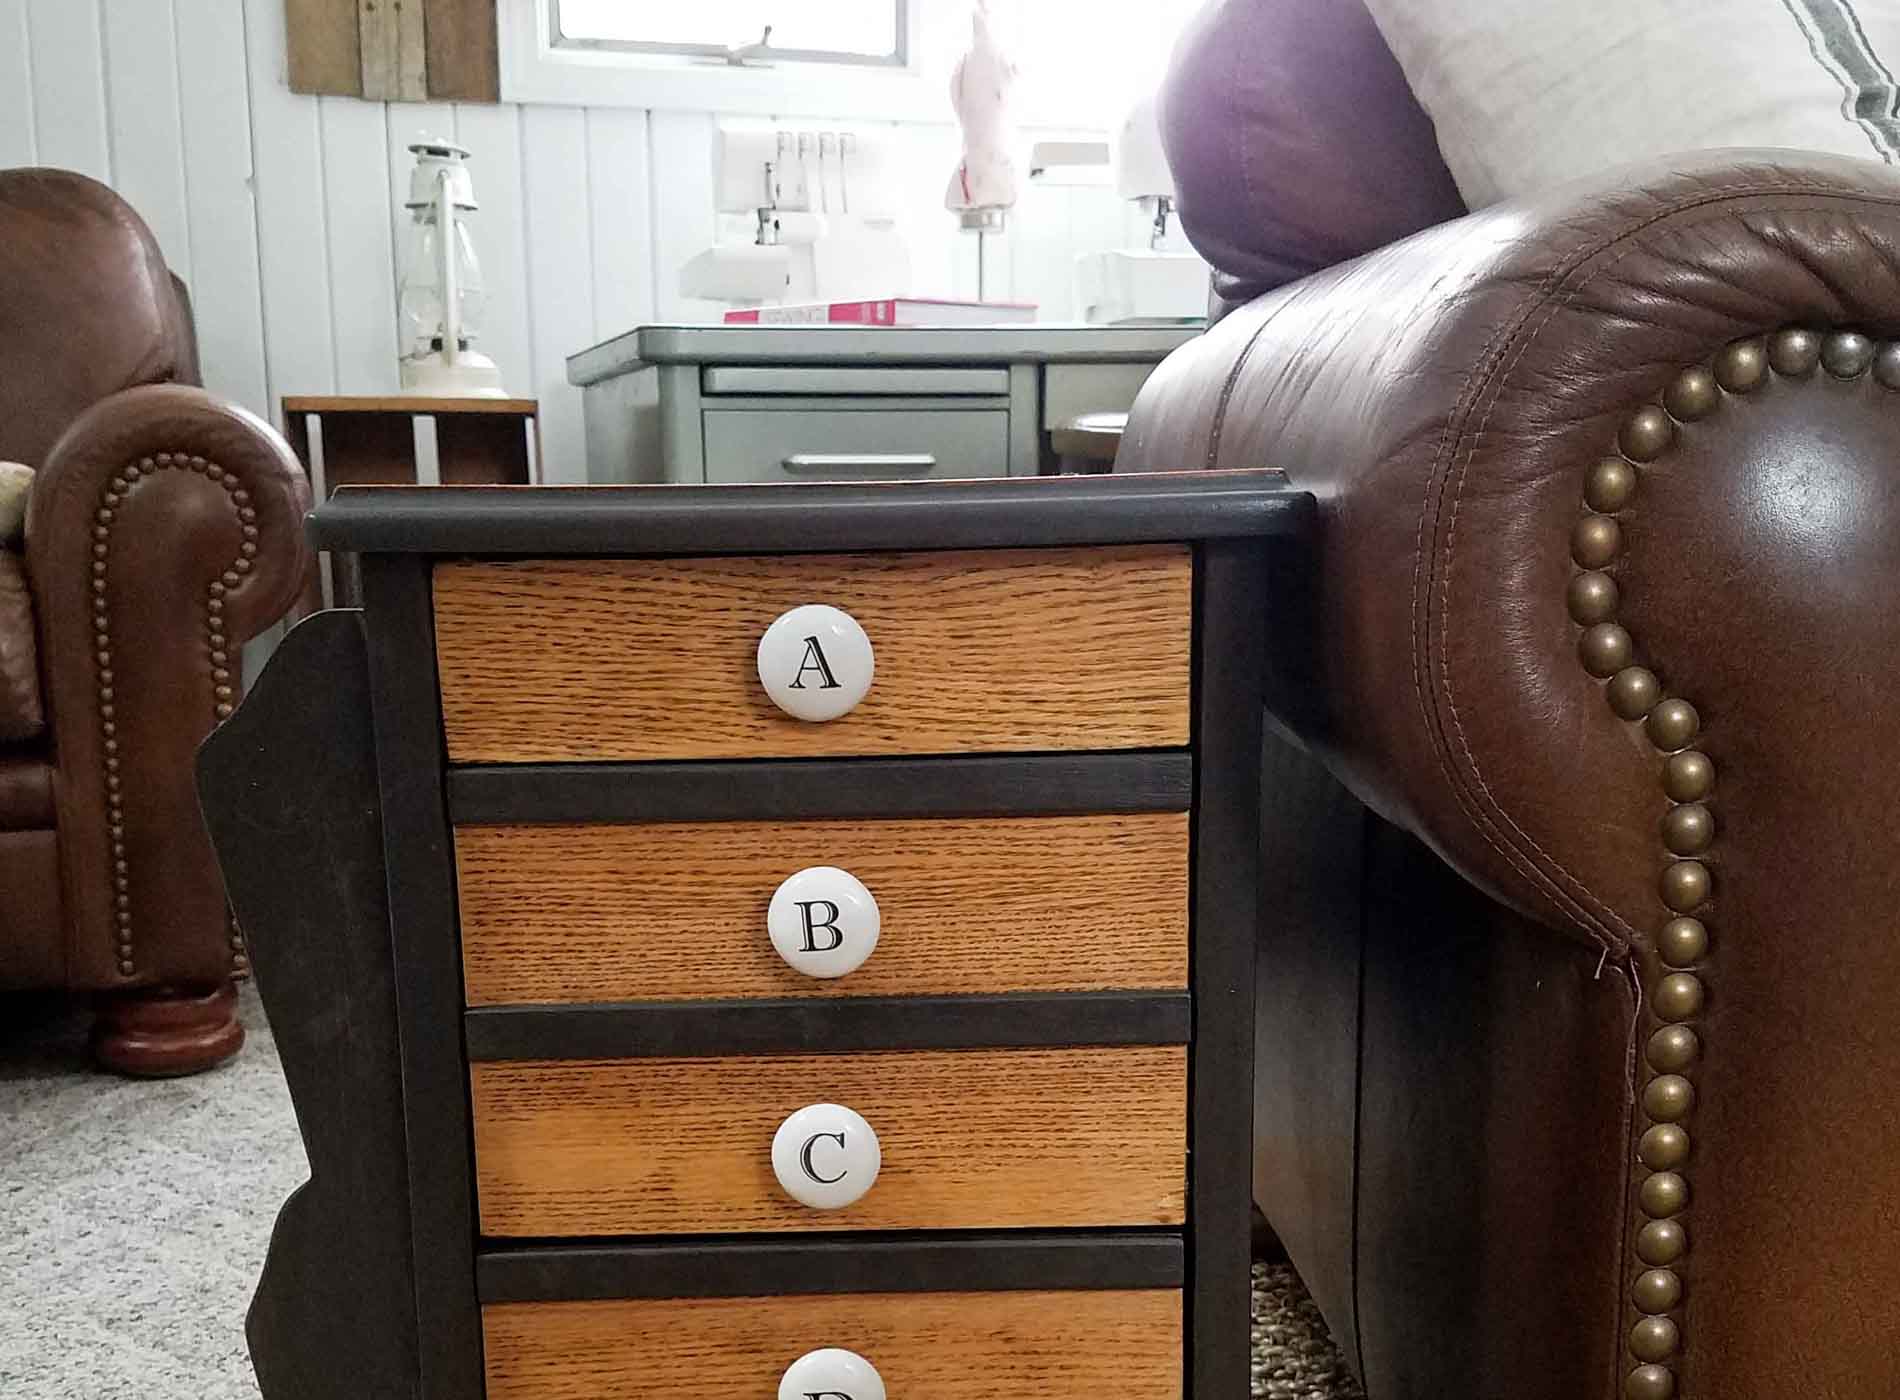
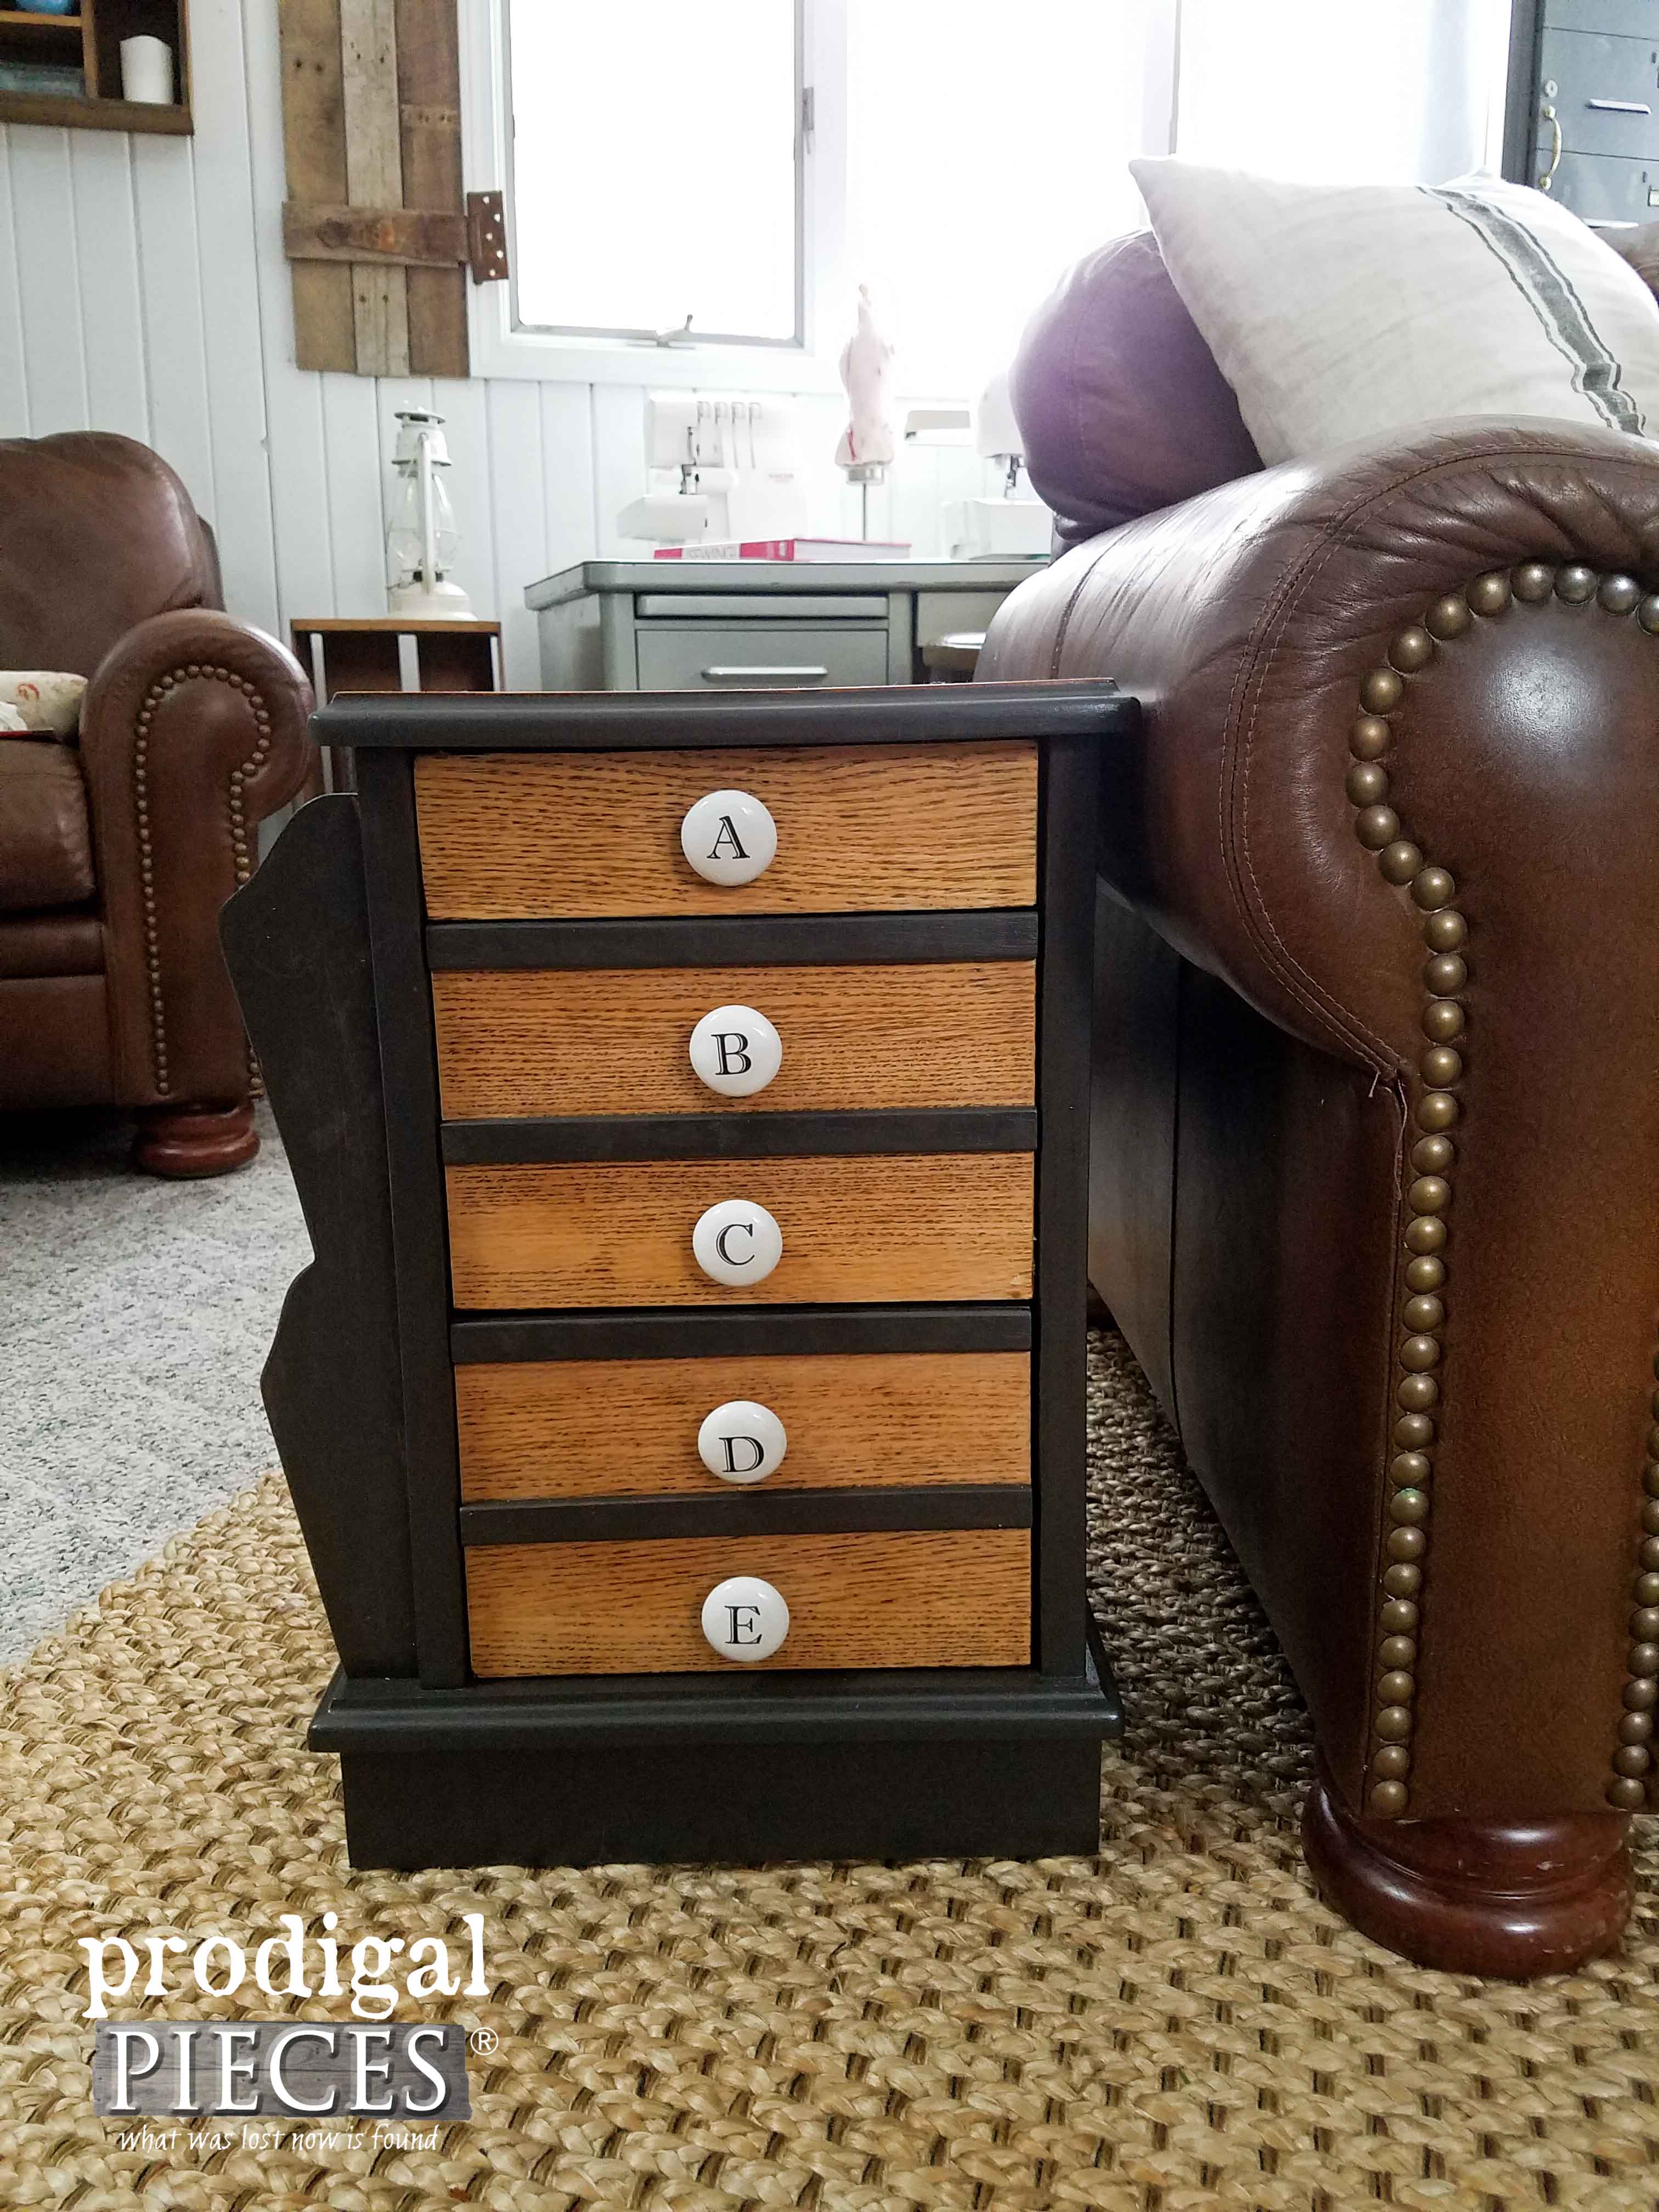
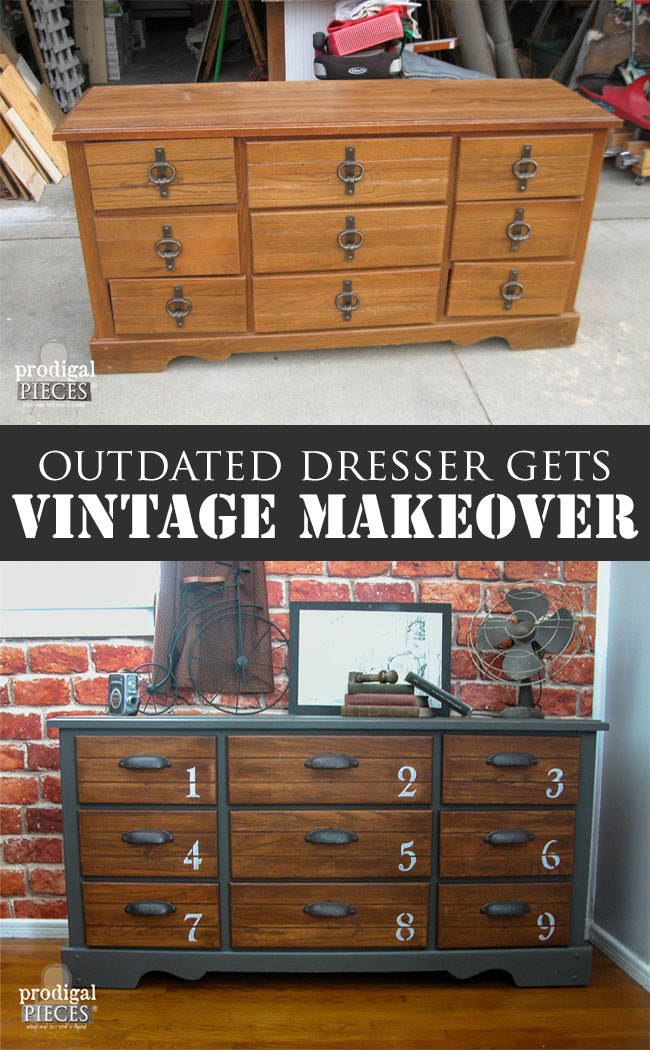
The front is perfect with those apothecary knobs. I love the look of them - so cute!
You can see my favorite desk ever behind my new sewing table. What a blessing to have a little corner of heaven in my home where I can sew and create. The table fits right in.
BEST PART
The casters on the bottom make it perfect for me as I like to sit in varied spots in our living room. Plus, I'm always moving stuff around to stage for
my shop and on the blog. I'm all about making life easier.
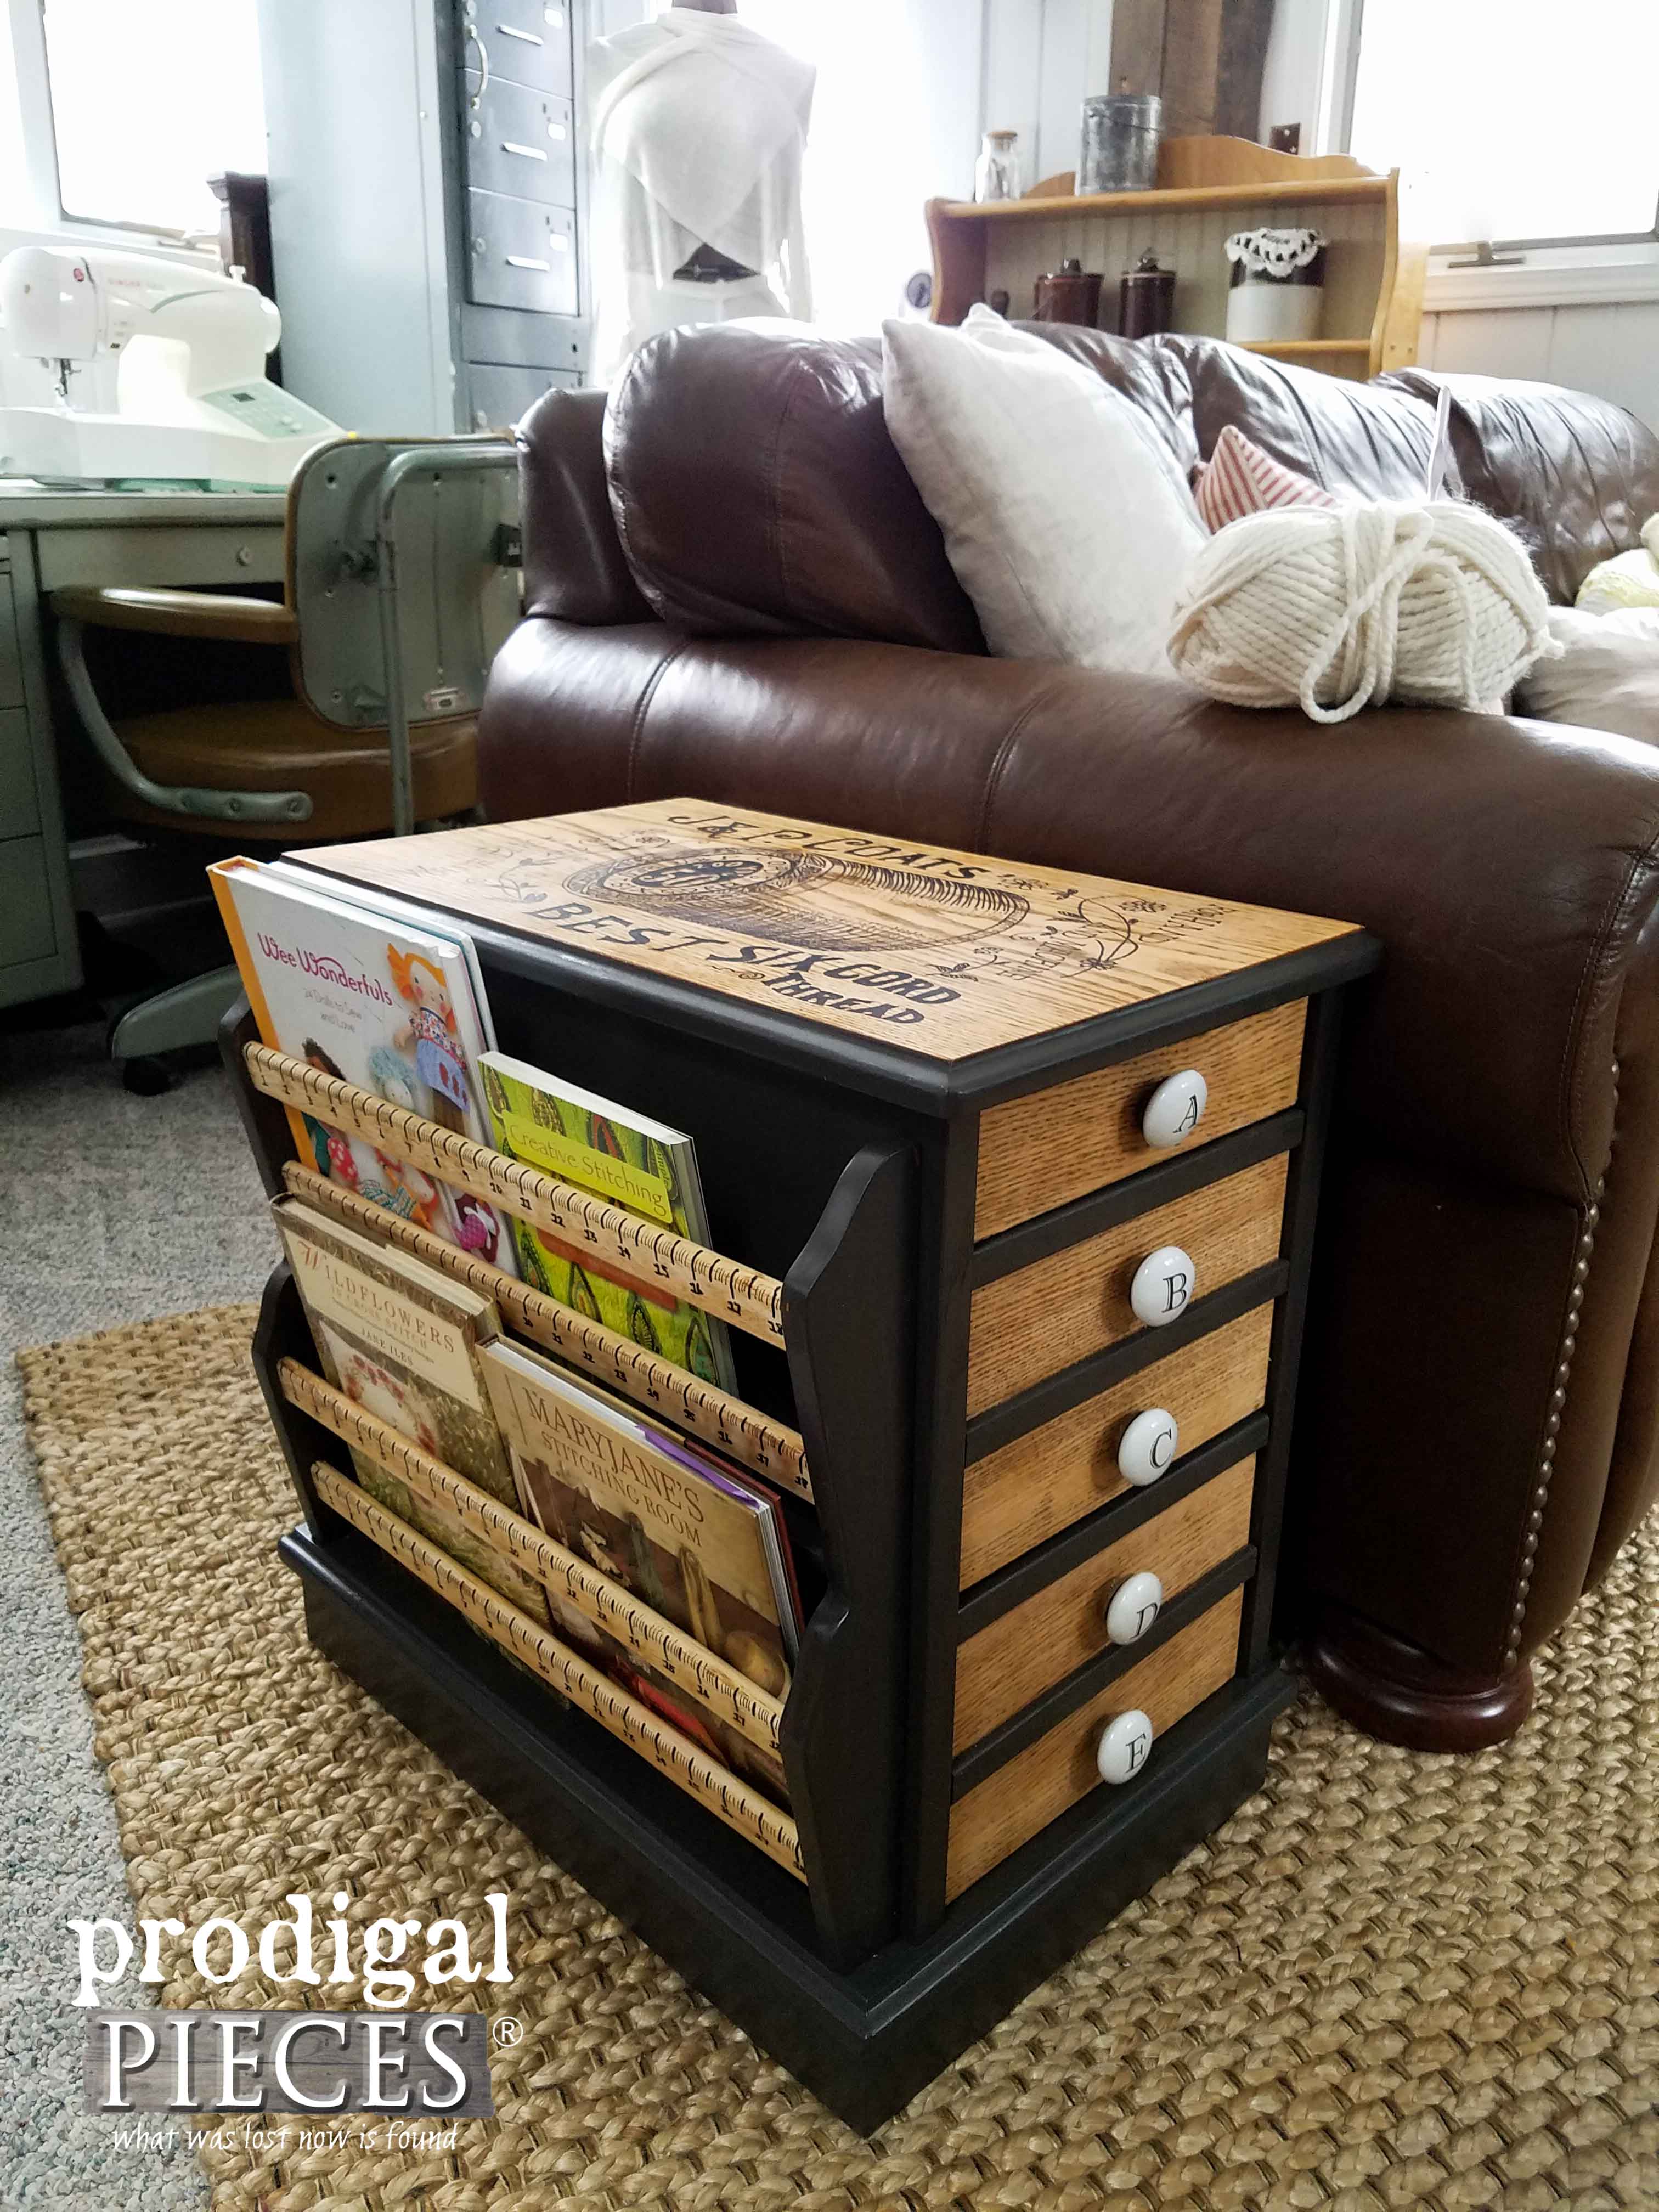
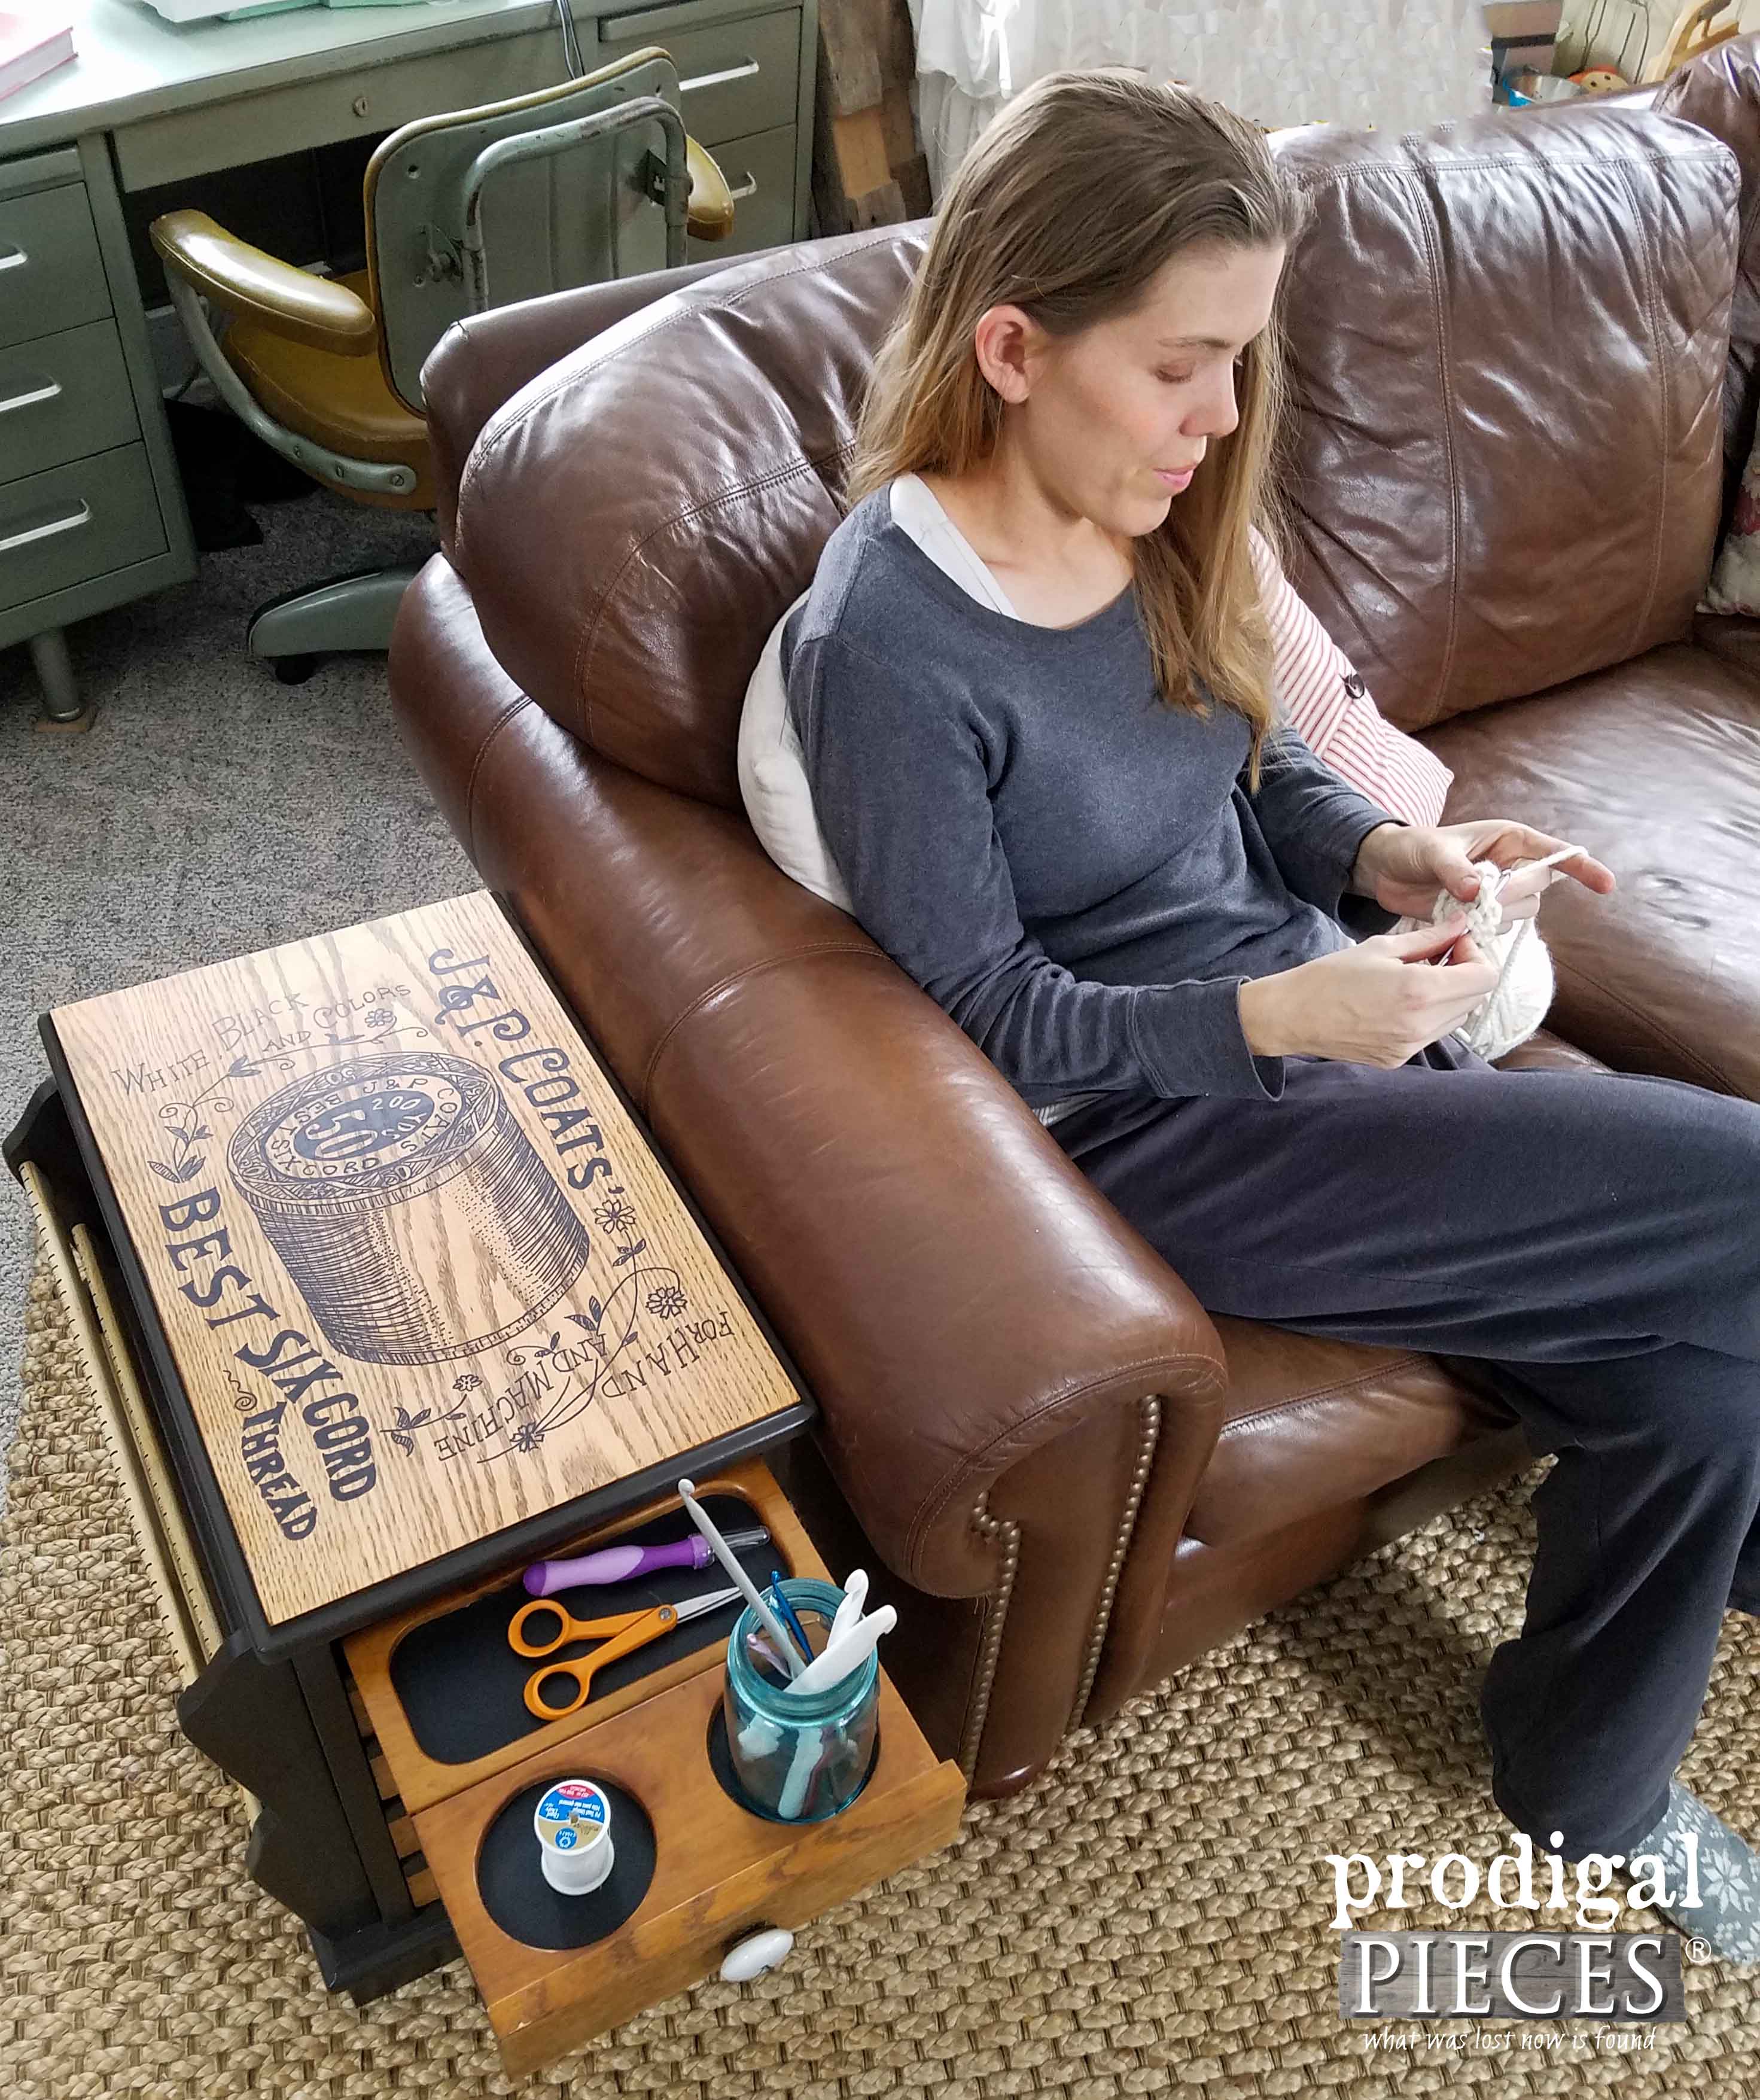
The top drawer is for beverages to sustain myself when I am lost in a whirlwind of crochet. Or it keeps my hooks and needles close by too.
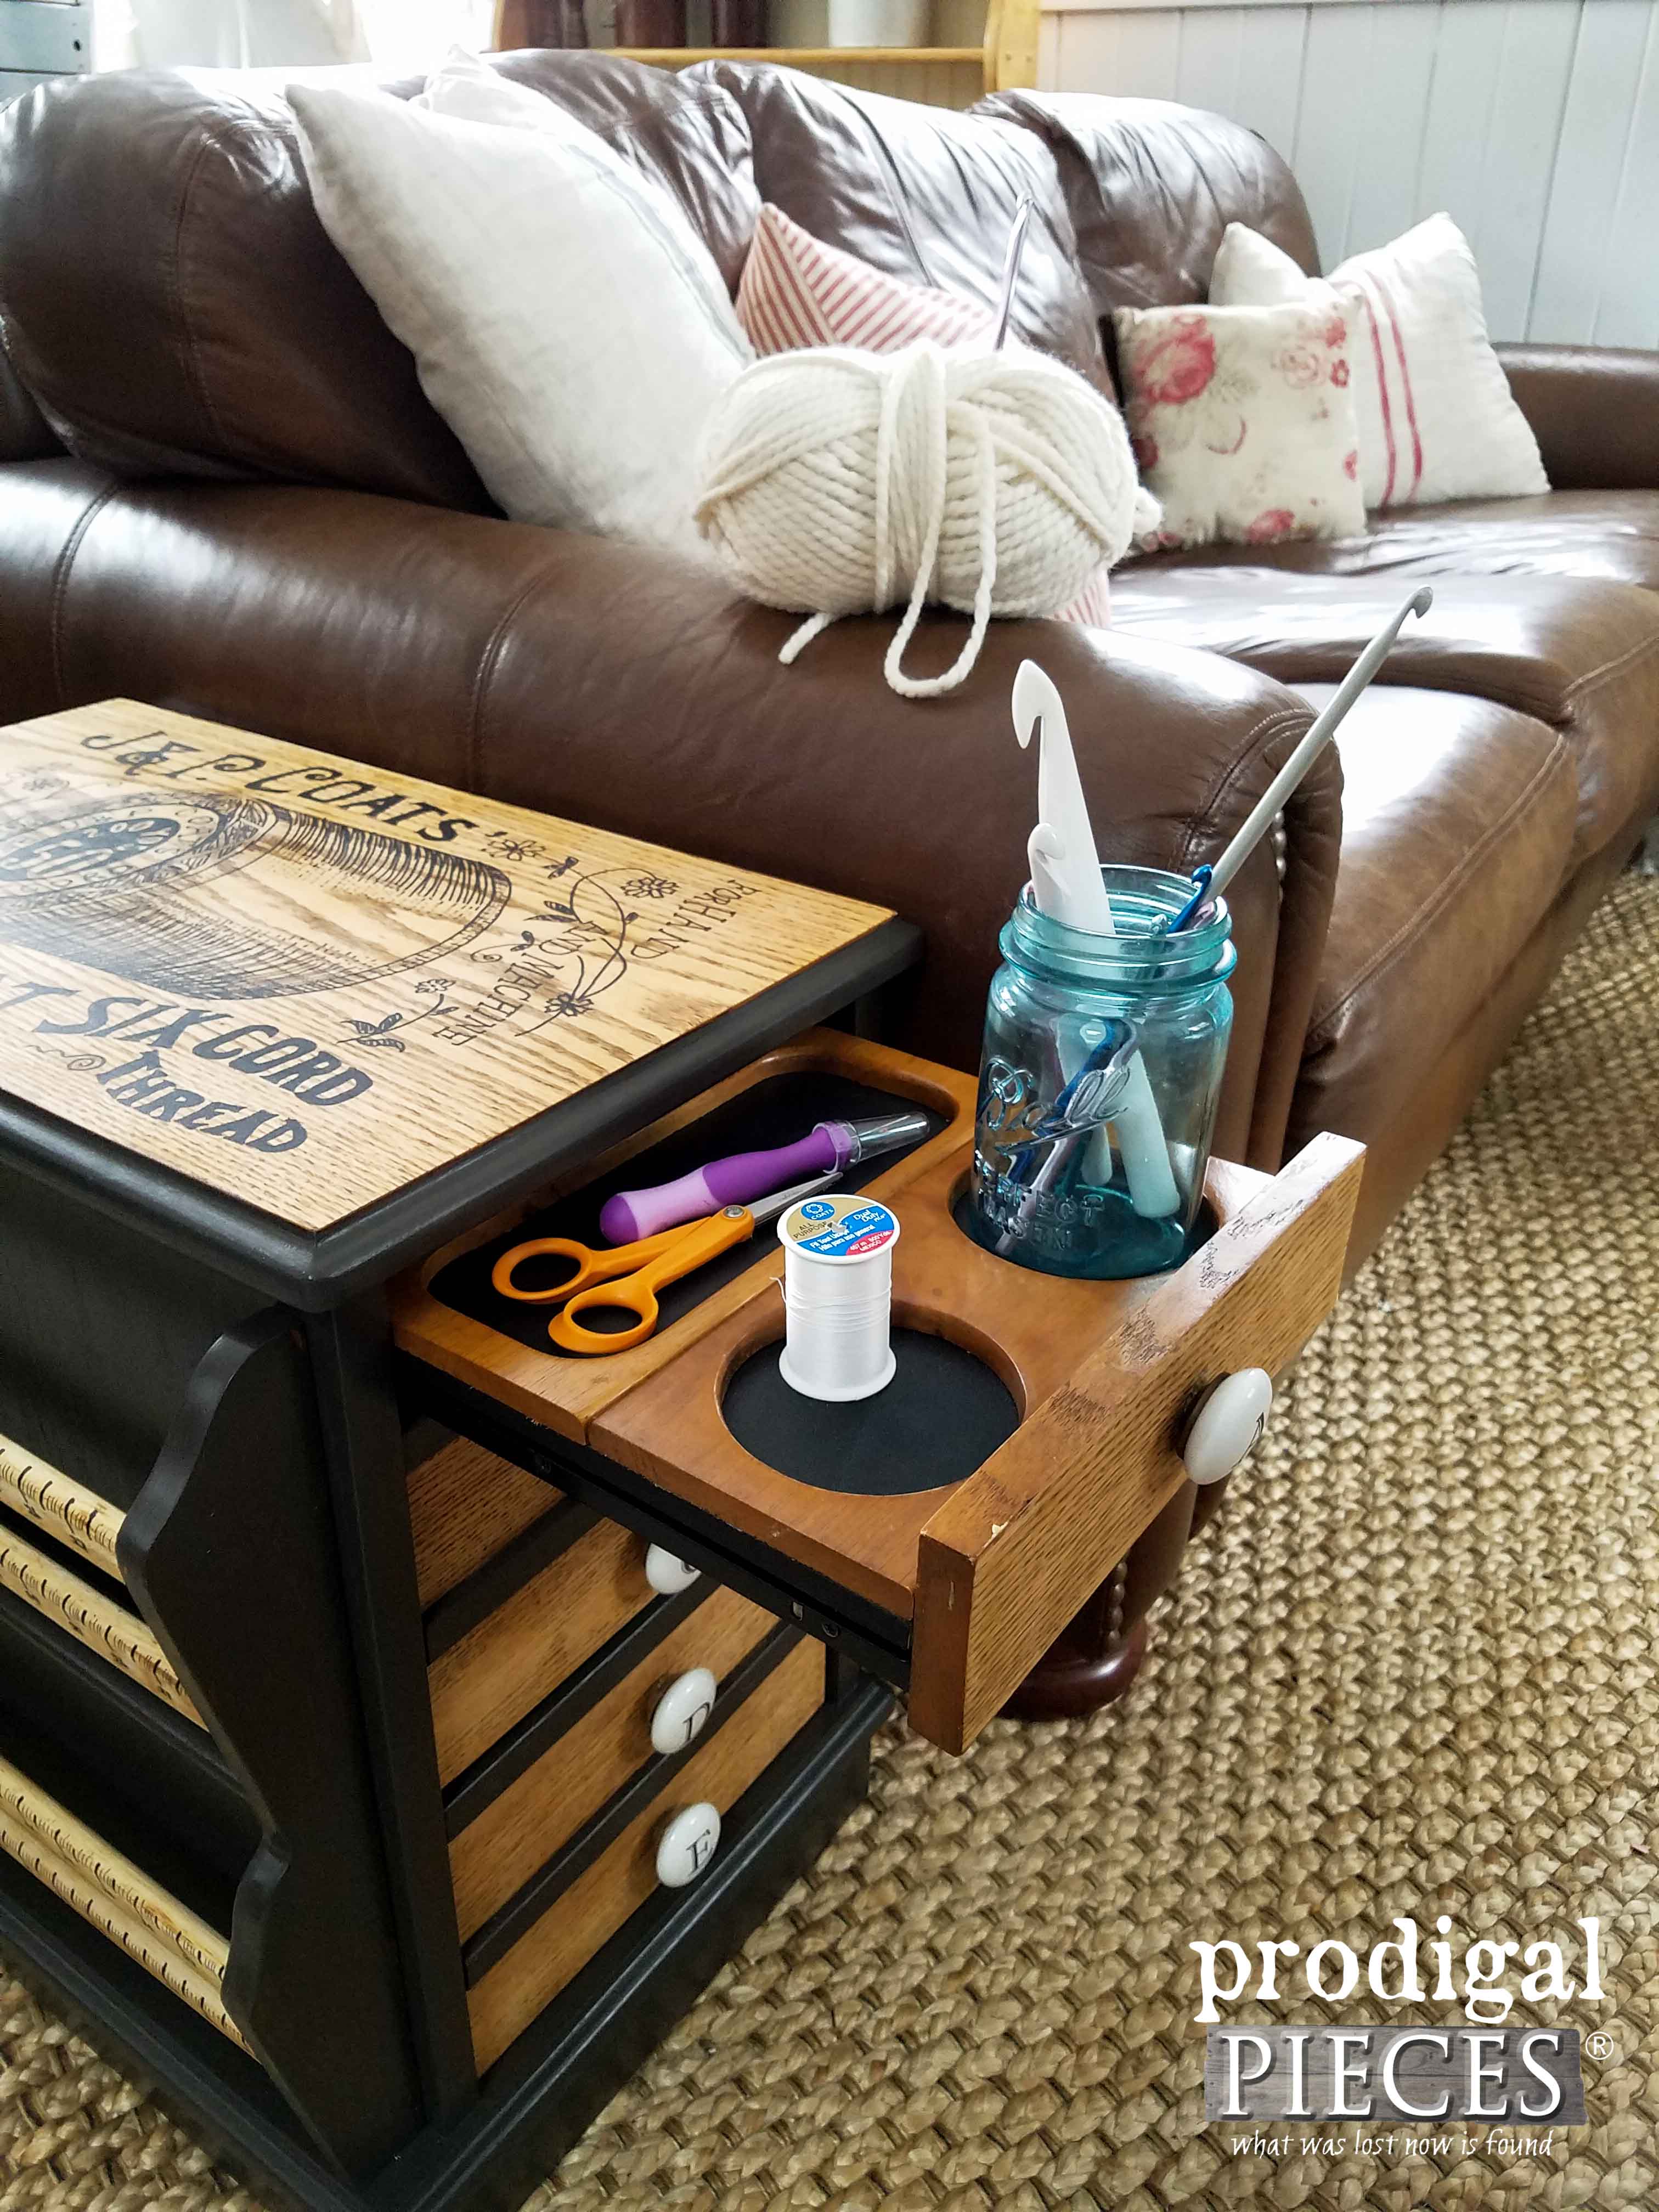
The other drawers will have varied contents depending on my project. However, for now they are holding some threads and supplies. Every good crafter has to be ready, right?
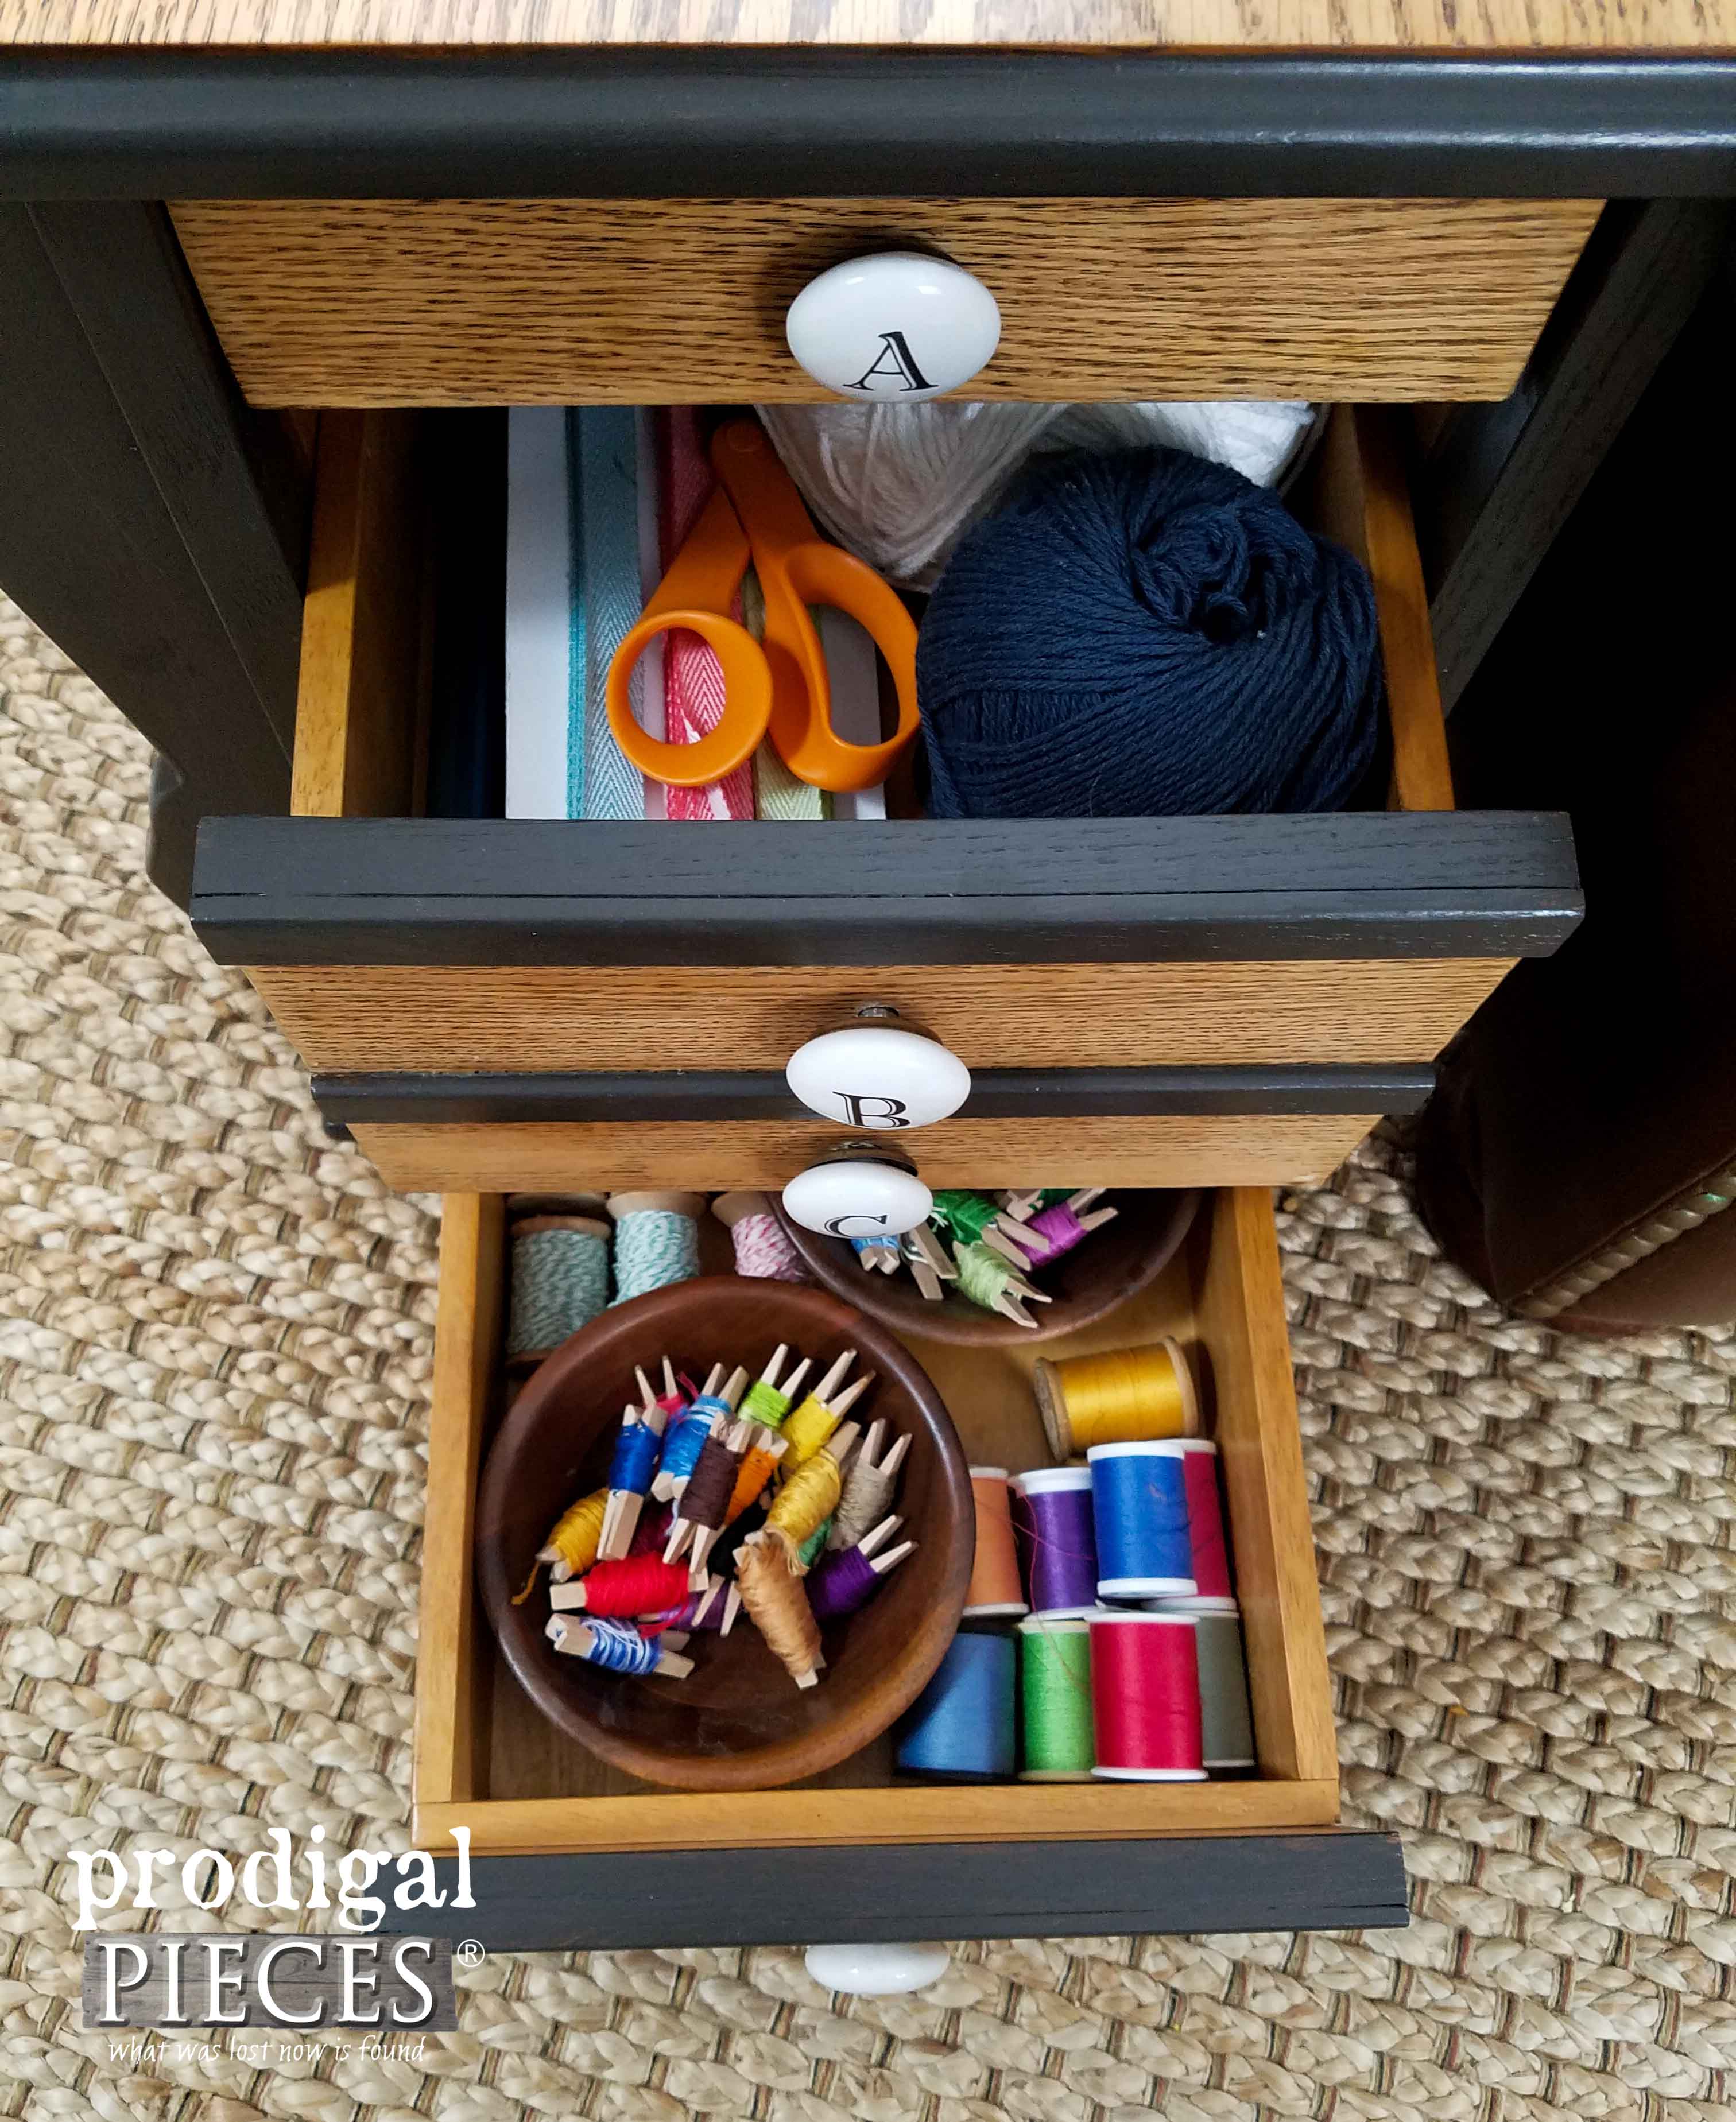
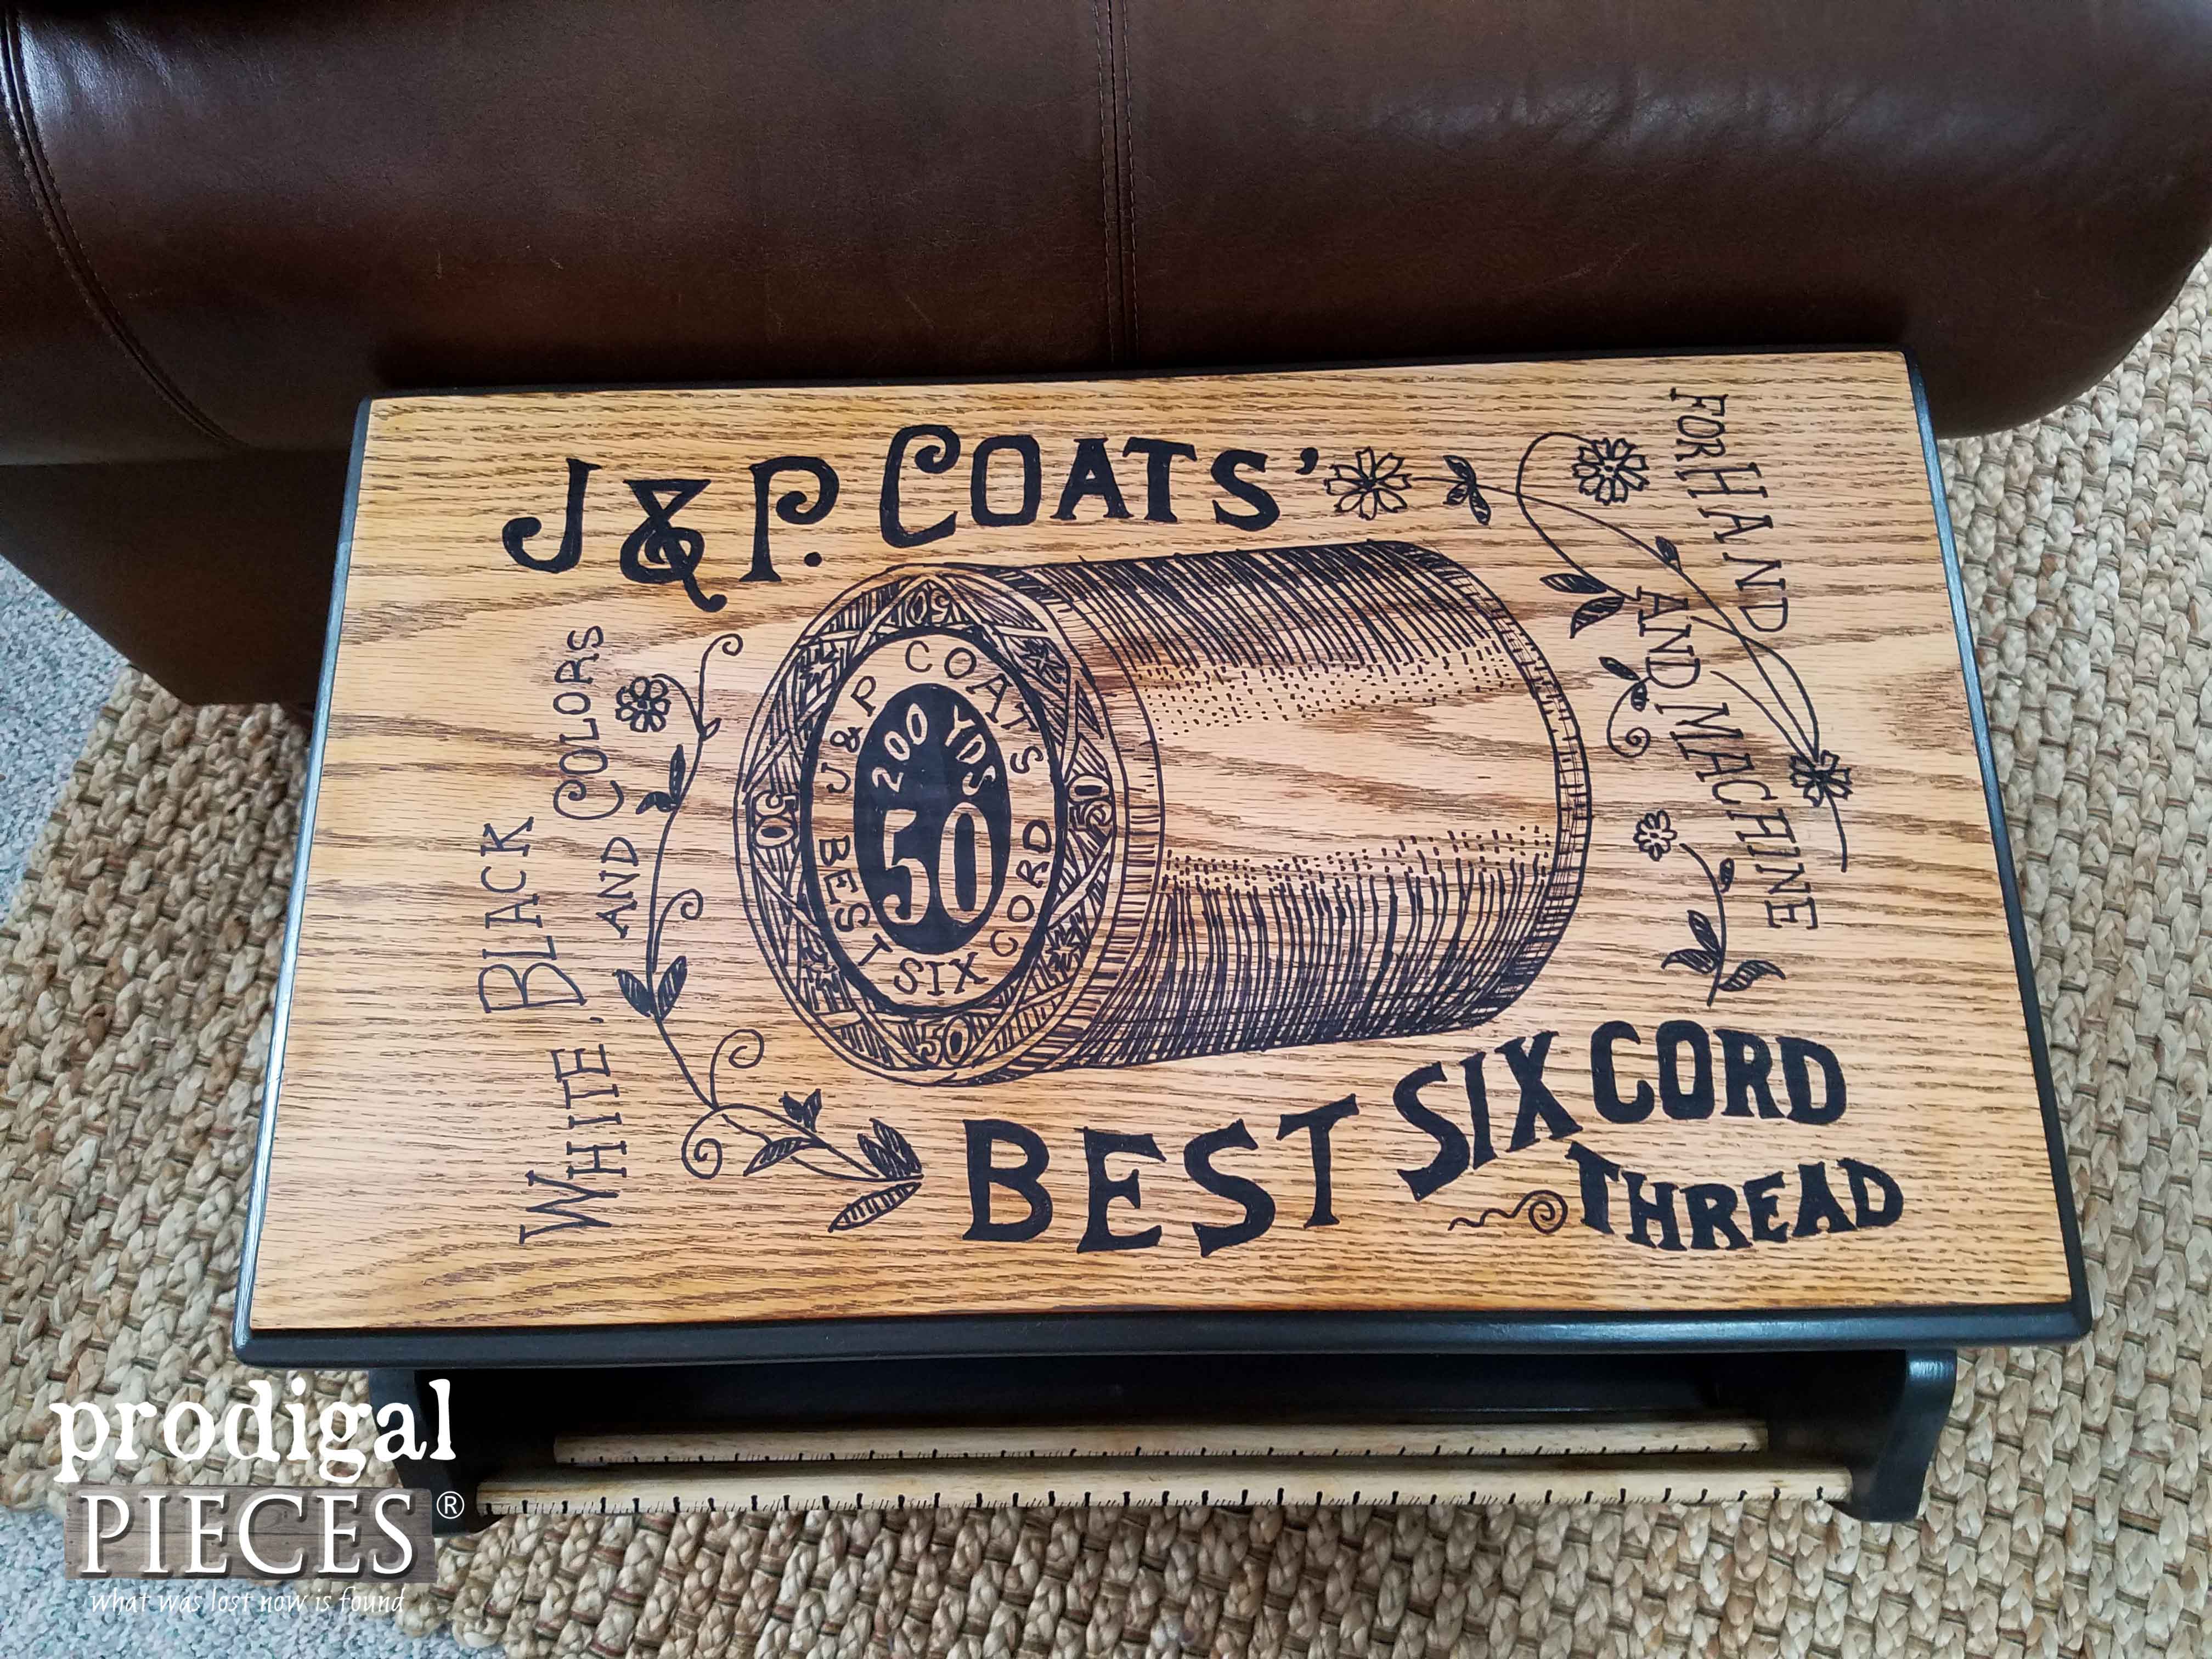
And the top is a whimsical part that creates that vintage feel. It was fun to create with typography again.
ALL DONE
Now, time for me to make myself a beanie for the cold weather we are having. I have a design in my head for so long and now I have the motivation to get it done.
So, a BIG thanks to my folks for all the goodies (and love). Also, to my fans for helping me to realize what fun I could have with this piece. Oh, and you can take a peek at what my son did with this same graphic on his repurposed creation
over HERE.

Do pin and share to inspire others to take a chance on DIY and make your house your home.
To get these DIY tips & tricks in your inbox, be sure to
sign up for my newsletter. Let's DIY soon!

 PINTEREST | EMAIL
Also, more vintage chic makeovers like this sewing table:
 We have always had modge-podge furniture because I get it second-hand, either by thrifting or handed down. Our last installment of furniture was leather and I was happy to have it, but it didn't have a vintage feel to it. I thought if I could sell what we had to pay for a set more to my liking, I would have a go at it.
My heart was set on a soft brown leather set with nailhead trim to go with what I wanted to achieve in our family room. I had several near misses on Craigslist (I don't buy new - 6 kids, ahem) and kept coming up empty-handed so I decided to leave it to God.
 Later on they offered us this side table that had also been something they used with the set.
 They told me to do as we pleased with it (aka. sell it, whatever). Somehow, I have it in my head that it is Amish-made too. That's where the drama began. Turns out it is from Thailand, so I promptly announced, "Game ON!" That's the beginning of this side table turned sewing table makeover.
 It is solid as a rock and has so many uses with all it has to offer. However, because it lacks some pep and isn't vintage or high-end, it is time to have some fun.
 One of my favorite ways to add to furniture is typography. One piece in particular is close to my heart. When I found this thrifted cedar chest, I knew it was the perfect candidate for some hand work. Makeover HERE.
 My vision for this piece was a functional storage unit that would suit anyone who loved to pine away their days or evenings sitting with thread or yarn in their hand. I, for one, love to do handwork (crochet, embroider, hand sew) while I sit with my family. It is my therapy, of sorts. I like sitting wherever, I wanted it to be mobile too.
First order of business, add casters. Easy to do since this had an open bottom with a solid wood skirt. I cut a piece of cabinet plywood and used my Kreg Jig to make pocket screw holes to attach it to inside of the skirt.
 Once that was finished, I painted the base a smokey gray that I used on several pieces, including our bathroom vanity, and my son recently used in his buffet makeover. Both pieces are so fun to see transform - take a peek.
 That side rail I removed and took apart to give it some vintage fun details too.
Finally, I add a topcoat of my handmade wax to finish off the wooden surfaces that were unpainted.
 While also the perfect place for me to pop in some of my favorite stitching books.
 The front is perfect with those apothecary knobs. I love the look of them - so cute!
 You can see my favorite desk ever behind my new sewing table. What a blessing to have a little corner of heaven in my home where I can sew and create. The table fits right in.

 The top drawer is for beverages to sustain myself when I am lost in a whirlwind of crochet. Or it keeps my hooks and needles close by too.
 The other drawers will have varied contents depending on my project. However, for now they are holding some threads and supplies. Every good crafter has to be ready, right?
 And the top is a whimsical part that creates that vintage feel. It was fun to create with typography again.

 So, a BIG thanks to my folks for all the goodies (and love). Also, to my fans for helping me to realize what fun I could have with this piece. Oh, and you can take a peek at what my son did with this same graphic on his repurposed creation over HERE.
Do pin and share to inspire others to take a chance on DIY and make your house your home.
 To get these DIY tips & tricks in your inbox, be sure to sign up for my newsletter. Let's DIY soon!

