Many folks do a spring cleaning, but I always like to do another similar cleaning before we start running our wood-burning fireplace insert and settle in for the winter. During the darker, cold days, my workshop gets mighty frigid. Because of that, I like to clean house and make as much room as possible in my tiny space. Here's a look at a tiny bit of my stash I put together to see what I could come up with. Time for some salvaged wood decor fun, don't you think?

You can see some scrap pieces of bed rails that I recently also used to build a
scorched wood shelf. Also, a vintage tennis racquet frame, a piece of sewing desk top I upcycled, see the
desk HERE & what else it became
in this post), and a skirt front I took of
this nightstand.
DIY TIME
Let's get this party started. First, I pick up that tennis racquet frame I salvaged off the curb. Do you remember these? Back in the day folks played with a wooden tennis racquet. In order to protect the racquet, you would use this frame, plus four wingnut bolts on the corner to secure it. We have a tennis playing family, so there's no way I could toss this in the burn pile. I'm pairing it with the leftover bed rails.
While rummaging around, one person came to mind...Paula of
Sweet Pea, who loves tennis & sports in general. This sweet woman has been a friend of mine since I began blogging over nine years ago. She's a teacher, but also such a creative genius that inspires folks with her endless creations. Sadly, in the last few years, Paula has been dealt a bout of cancer. Though it's been a tough road, but she isn't quitting. I ask you to not only
read her story, but lift her and her mother up who is also dealing with cancer. Leave her some love!

While I work, I pray for Paula and her mother. To begin, it's a pretty simple build that works up fast. After assembly, I cut out a pieces of chicken wire to line it from the inside.
Meanwhile, I also take that nightstand skirt and cut it up to make corbels.

Then, I sand down the sewing machine top and attach it with the corbels to a scrap piece of wood I didn't even need to cut. woot! Here's my salvaged wood decor in the rough.

NEXT STEPS
Then, I set up my
small spray shelter and get ready to paint. However, before I paint it, look at the sweet signature left by the original owner. I love it!

After one coat of paint, I let it cure and then have at it again. Spraying paint is fun and a genius idea by whoever figured out canning it or making a sprayer.

Last, I wax the gorgeous walnut veneer on the shelf top and paint the corbels a beautiful blue.

THE REVEALS
Well, I know my way of thinking makes people scratch their heads, but I have fun! Here's my two salvaged wood decor pieces ready for creating whimsy in the home.


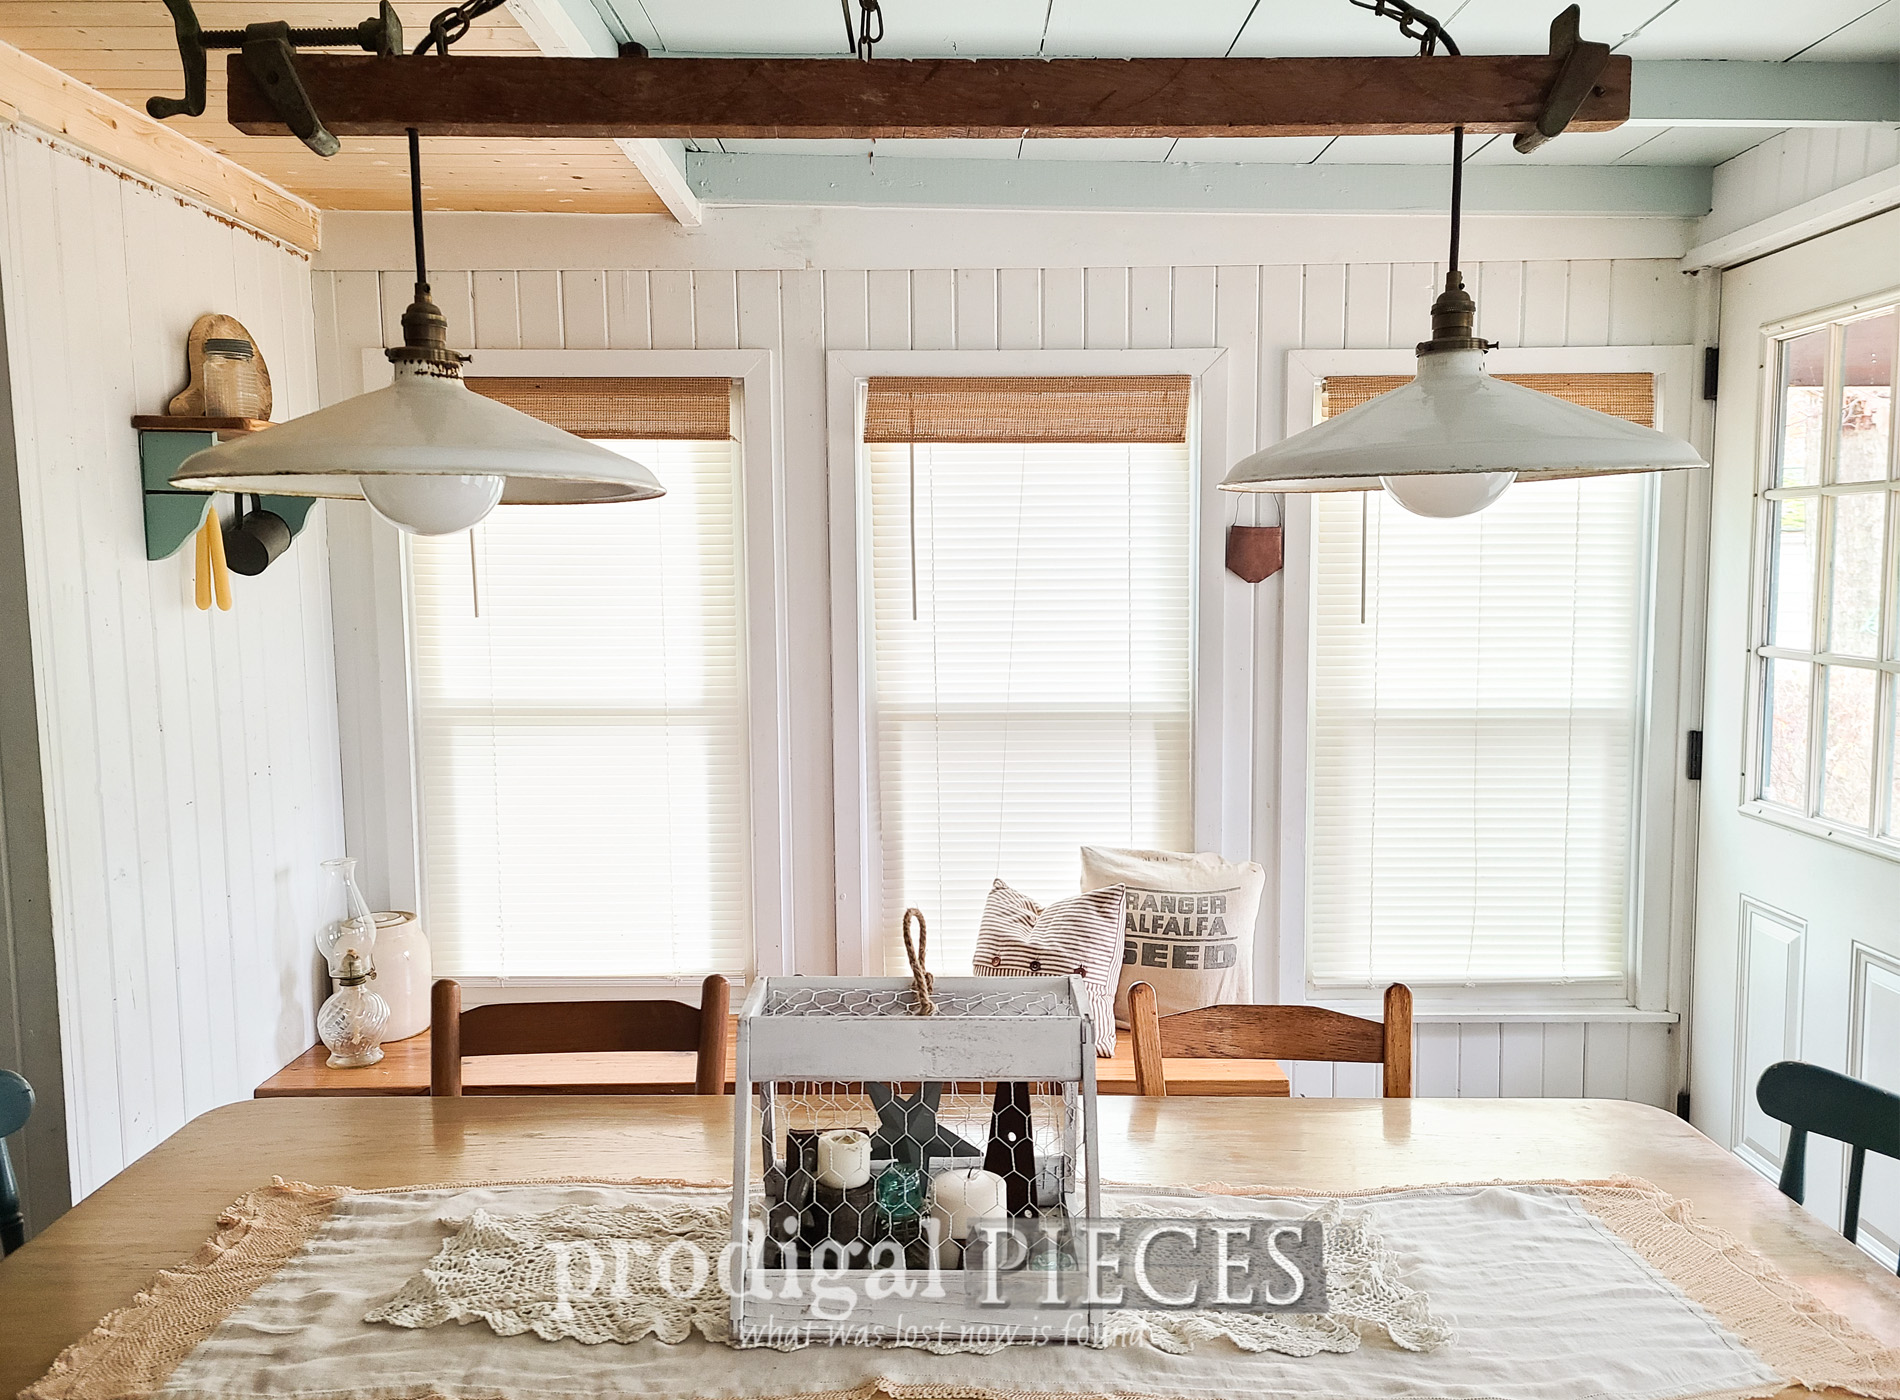
First, my tennis racquet frame turned chicken wire cloche. It's quirky, fun, and perfect for filling with whatever your heart desires. for my purposes, I filled it with rusty bits and baubles of story-filled pieces.


Second, I have that shelf made from sewing machine desk, a nightstand, and scrap wood. Isn't junk fun?


Not only is the blue/green fun, but that wood...wow. Most wouldn't see the beauty in it, but that grain really pops!


SHARE LOVE
Above all, I'd love to hear what you think of my creations. Either way, I had a blast making use of what most would call trash. However, I call it
trashure. If you would, please remember to show my friend, Paula, some love at
Sweet Pea. There are so many blessings we can bestow on others if we just take the time. This is for you and your mom, Paula.

Additionally, if you'd like to own either of these pieces, you can find them available in
my online store.


In addition, if you would pin and share my salvaged wood decor, you will make my day. Thank you!

To get these DIY tips & tricks in your inbox, be sure to
sign up for my newsletter. Until next time!

 PINTEREST | EMAIL
Also, more fun builds making salvaged wood decor: