It's that time again! Trashy Treasures time comes on the second Tuesday of every month. Join me and my blogger friends as we share with you our latest projects geared to inspire. While you'll see their projects in a bit, take a peek at the last of my Curb le Chic haul (aka.
trashure). I just had to nab that enamel pail full of those goodies. How about some repurposed rolling pins fun?

Also, don't forget I found those mini houses in there from my last project from this haul.

Take a peek I what I've created from this haul below:
So awesome, right? Well, today I'm taking these rolling pins and making something new with them. Here's what I have to work with.

Thankfully, all are solid wood, except for this snowman one. I'm passing that one on to one of my little birds fledging the nest.

DIY TIME
First, I take note of size and condition. Thankfully, I don't have much variation between them and find a couple identical.

Then, I head out to my workshop and tools to have my way with them. I start by twisting/pulling off one end of three of the rolling pins. and removing the handle.

After that, I take the center hollow-core dowel and use my miter saw to 45-degree 4" cuts on both ends.


However, when I got to one end of a shorter rolling pin, it is too short to safely cut. To remedy that, I hammer in a dowel and add length so I can cut with my fingers out of the way.

Don't forget I nearly buzzed my lefthand fingertips off on my table saw a few years back while
remodeling my mudroom. OUCH. This added dowel makes my cut accurate and safe. Next, I attach the pieces to a piece of reclaimed oak leftover from
my kitchen remodel.

I measure and mark and then use two screws from behind to secure the cut rolling pins to the board.
Meanwhile, I also cut the handles steel using my Dremel leaving a bit behind so I can glue them back in with e6000 adhesive.

After that, I paint the handles a soft white using a shoe box to hold them upright.


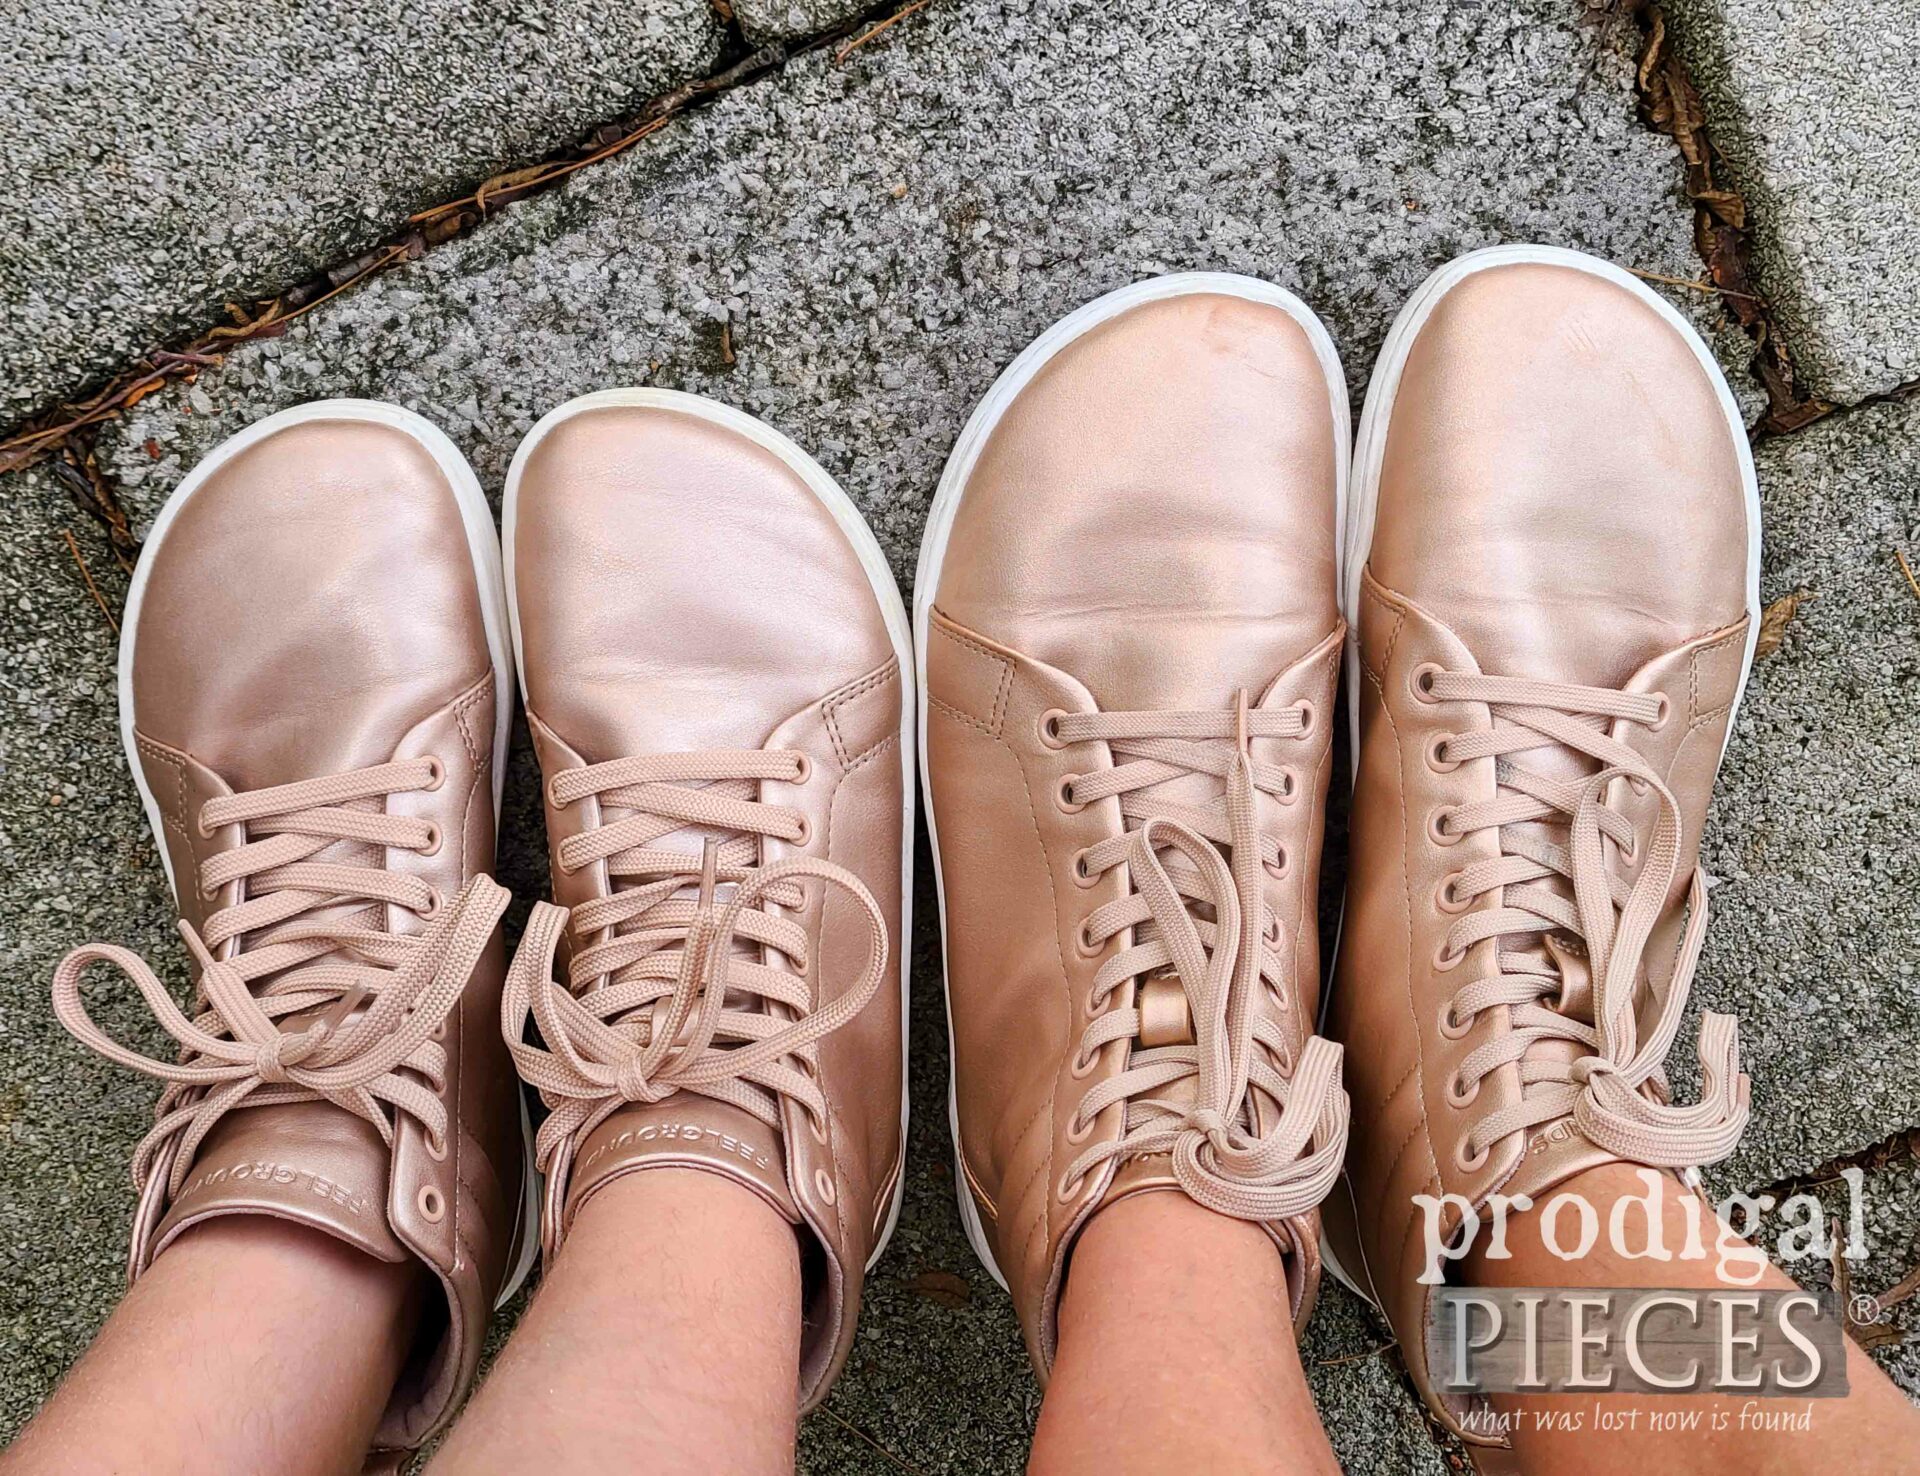
Likewise, I just have to say that I am IN LOVE with
my barefoot journey and just got another pair of
FeelGrounds shoes to match my littlest before she's now little any longer.
Now back to the fun...
HANGIN' UP
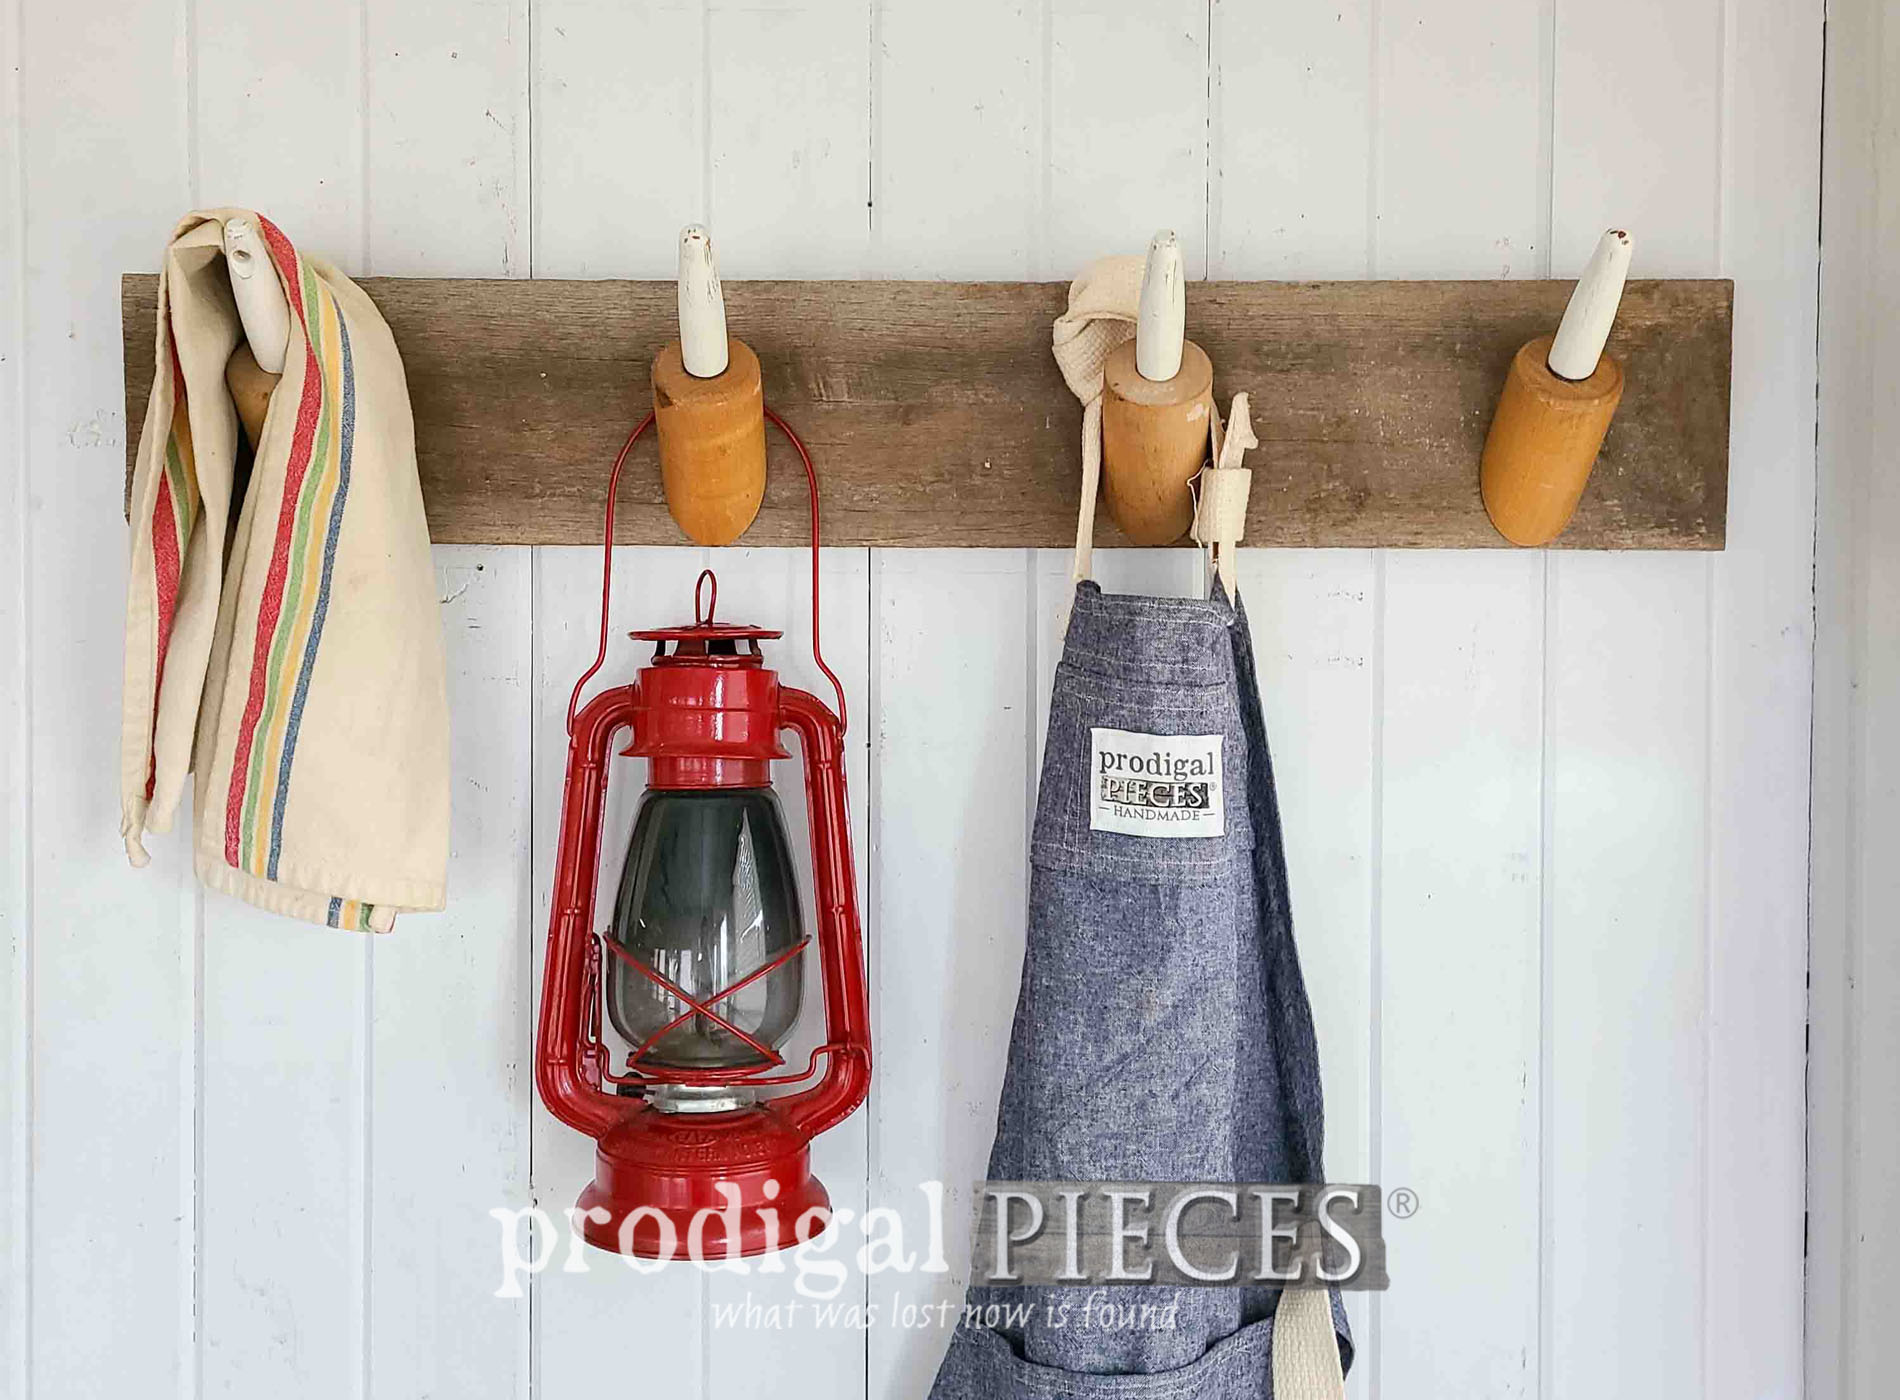
Finally, here they are in new form and function for my first repurposed rolling pins project.


This longer one is made by the two similar rolling pins. while this smaller one is made from a single pin that has a smaller diameter.


Not only are they whimsical fun, but also functional for just hangin' around.
PART DEUX
Last, but not least, the two misfits are also getting a new look and function. First, I stain the barrel of one and the handles of the other.

Then, reverse the effect by painting the barrel of one and handles of the other. After that, for the painted barrel, I want to add a bit of design by using tissue paper decoupage using a thinned school glue. You can see how I've used this same technique in
these past posts.

And here are these repurposed rolling pins for fun decor.


I think it would be sweet to print a tea towel with a loved one's handwritten recipe here. What say you? You can find these and more available locally as well as
my online store.

SHARE
As always, my goal is to inspire you to not only create your own home story, but also be willing to give DIY a try. Mix it up and make memories that last a lifetime. In addition, pin and share to inspire others too.

Before you go, be sure to
sign up for my FREE newsletter. Now it's time to head below for more Trashy Treasures makeovers.

 PINTEREST | EMAIL
Finally, take a peek at these inspiring projects:

- Confessions of a Serial DIYer
- Salvaged Inspirations
- Artsy Chicks Rule
While you're at it, check out these other projects like these repurposed rolling pins:


 Finally, take a peek at these inspiring projects: