When you are eyeing something at the store or garage sale, does it speak to you? Not like, "Hey, look at me!", but more like you see the potential that it has. I have always had a passion to antique radios ever since my parents had one in their home that had original parts and still worked. If you know me, then you know I love to tinker with mechanical things, and they always drawn me in. Much like this one I found. I'd like to show you this repurposed radio cabinet and the fun it holds
inside.

Unlike
my last post, this was a sight-unseen purchase that I was pleased with. The owner delivered me this cabinet and another dresser
I made over in this post. Happy camper am I!
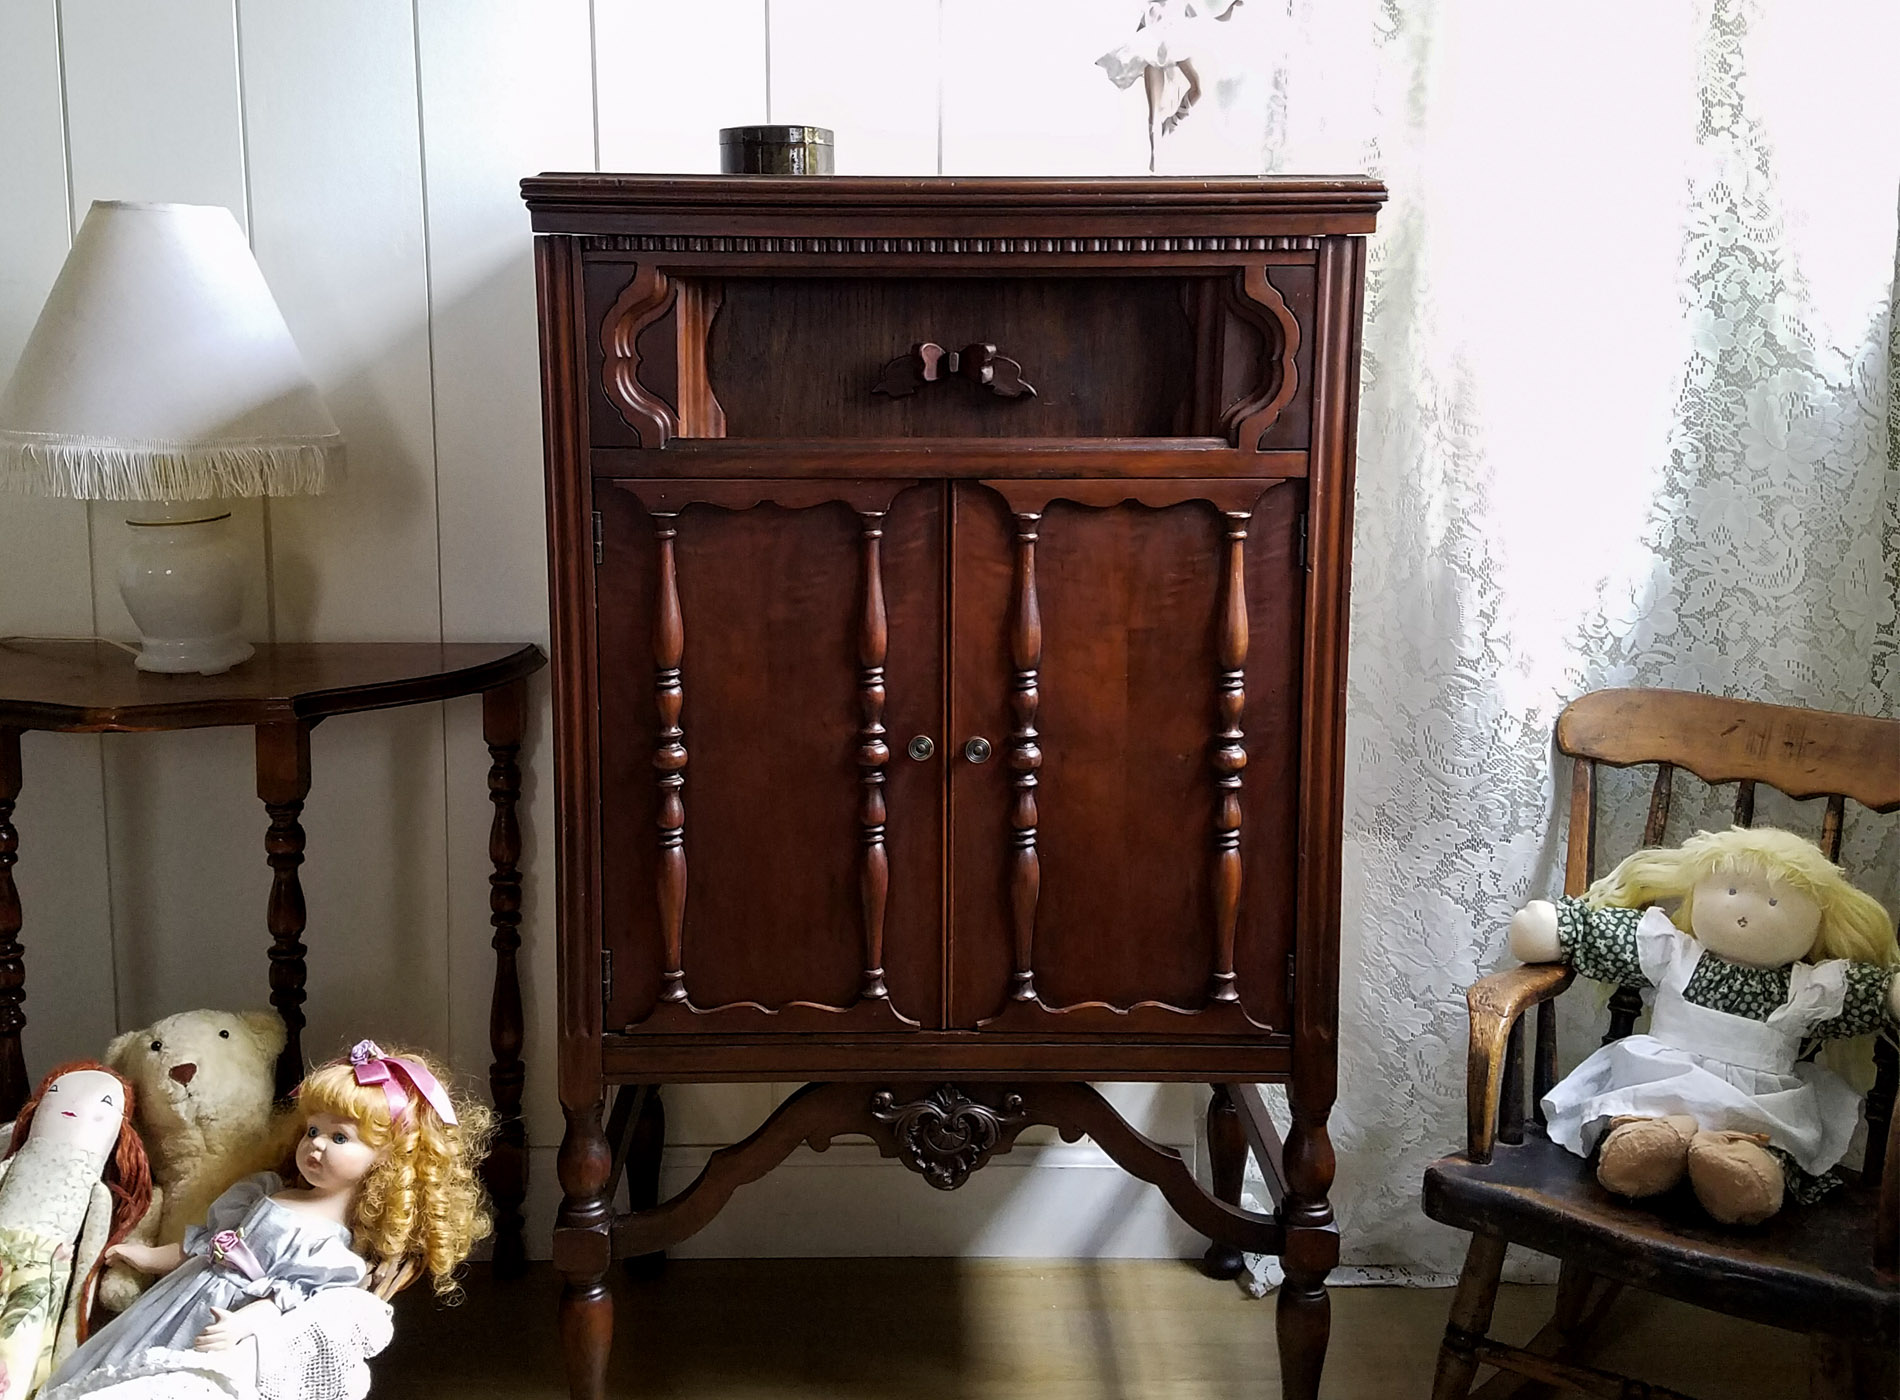
When I finally got to lay hands on this cabinet, I was so excited to see it in such awesome shape. I instantly said to myself, "no paint needed here..
this wood is gorgeous!" Though it did have some wear and was mostly dirty, that didn't stop me from seeing the potential.


BACKSTORY
The previous owner already added a wood piece to make a bottom for the top. So, I'm happy that I'm one step ahead of the game. If you look up
Pooley Radios, you'll see some wonderful creations that are sure to take you down memory lane. Such beautiful craftsmanship!

The last repurposed radio cabinet wasn't in as great of shape, so I funked it up and took it to a new level. You can read the full story and see what's inside
HERE (it'll surprise you!).

Another repurposed radio cabinet I had the pleasure of finding has become secret storage in
my boys' bedroom makeover. They love it!

DIY TIME
So, you maybe wondering what I have in store for this one. Well, I have always wanted to make one into a dollhouse, and today's the day! That sweet bow on the top front is what decided it for me. I seriously believe that is providential. Just as I was about to start on it, I thought to check Craigslist for some doll furniture. Look what I found!

Instead of this just being a repurposed radio cabinet post, I get to do a mini furniture makeover too! I'm like a kid in a candy store because I have thing for dollhouses. hee hee hee. We have made our daughters their own dollhouses and treehouses for our boys (
as seen here) from scratch. I get so caught up in fine-tuning every detail. It is so fun!
MINI FUN
I even make the furniture and the dolls. Yes, I am a nut, but I have a blast. It may be because I wanted one so badly as a kid that I would make my own out of cardboard boxes. I even made my own furniture using my dad's tools and still have them to this very day.
That dollhouse furniture set I picked up had some damage and needed some pep, so I repaired and gave them new looks. Since the bunkbed set is missing mattresses and bedding, I have to make new. I had leftover foam from
our Pottery Barn style leather bench that would be perfect but needed cut. Did you know you can use an electric carving knife to cut foam super-fast? I nabbed one from the thrift store and love this thing!

NEXT STEPS
Okay, so after a few hours of building up the inside of the radio and making repairs, as well as tweaking the furniture, here it is. I wanted to share that I only needed to clean the cabinet and then used my go-to product for refreshing wood. Have you ever used Old English Scratch Cover? I have had this bottle for about 17 years, and it never fails me.

Well, my friends, I put waaaay more time into this than I probably should have, but...ya know.
THE REVEAL
I hope you enjoy it. :-)


Let's take the tour. The master bedroom has a king size bed, dresser and mirror.

The kids room has a fun new bunkbed complete with reversible comforters, dresser, and nightstand. Oh, and a rocking chair for a reading nook.

Down below is the kitchen with food stuffs and plenty of places to prepare lovely mini meals. Just outside the kitchen is a baby grand piano that actually plays music. It is a music box! So cool.

Every home has to have a fireplace for ambience and function for hanging stockings, of course.

However, no home is complete without a dining area for sure. You can see the accessories with hutch, bird cage, grandfather clock, and...

...yes, I made mini moss balls in a tiny wooden dough bowl. We must have the essentials, ya know.

One of the coolest parts is the top being for all the extra furniture. That way, the rooms can change up and flipped around to the littlest imagination's desire.

If you think I went all out, this is nothing compared to the miniature beadboard I make from balsa wood, the stairs and balusters I usually add to our builds. Not to mention the hand-cut hardwood flooring and curtains - and the lighting! I just didn't have it in me as I got this done in two days. I want to say a huge thank you to my husband, JC, who cut the pieces for me and got it ready for me to install. We make an awesome team.
HAPPY DANCE
I'm offering this sweet set in in
my online store (they are our favorite next to making my own!). I know some little girl is going to love this because the best part is that it grows with you. It can be placed in any part of the home, and as girl grows, she can use it in her home for endless uses.


We all know our children grow up too fast. I insist there be a pause button invented.
SHARE

Truthfully, I had a blast sharing this repurposed radio cabinet with you and would love it if you would take a minute to pin and share to inspire others.

To get these DIY tips & tricks in your inbox, be sure to
sign up for my newsletter. Until next time!

 PINTEREST | EMAIL
Also, more makeovers like this repurposed radio cabinet: