Mama on a mission here! I am a driven person, if you haven't figured that out yet. mwahaha...and my workshop is getting an overhaul like noneother. Destashing the stash feels oh so good (and makes room for new, of course. tsk). I have had a small set of cupboard doors left over from from
this pile of kitchen remodel goodness since forever and they finally are getting new life today. Time for some DIY storage!

Now, aside from the cupboard doors, you see a pair of bin pulls I yanked off a cheapie chest of drawers, and a pair of sofa legs from a curbside haul. So, I bet you're now like...weird. hahaha...
Yes, I am slightly crazy, and that is okay because that is how we get to the end result of DIY storage. Stay with me here, k?
DIY TIME
In order to get the completed vision I had in my head I needed to also grab some wood from my stash. Since I needed to make all these pieces fit together I had to use a dado blade on my table saw to make the edges look like this...a dado cut.
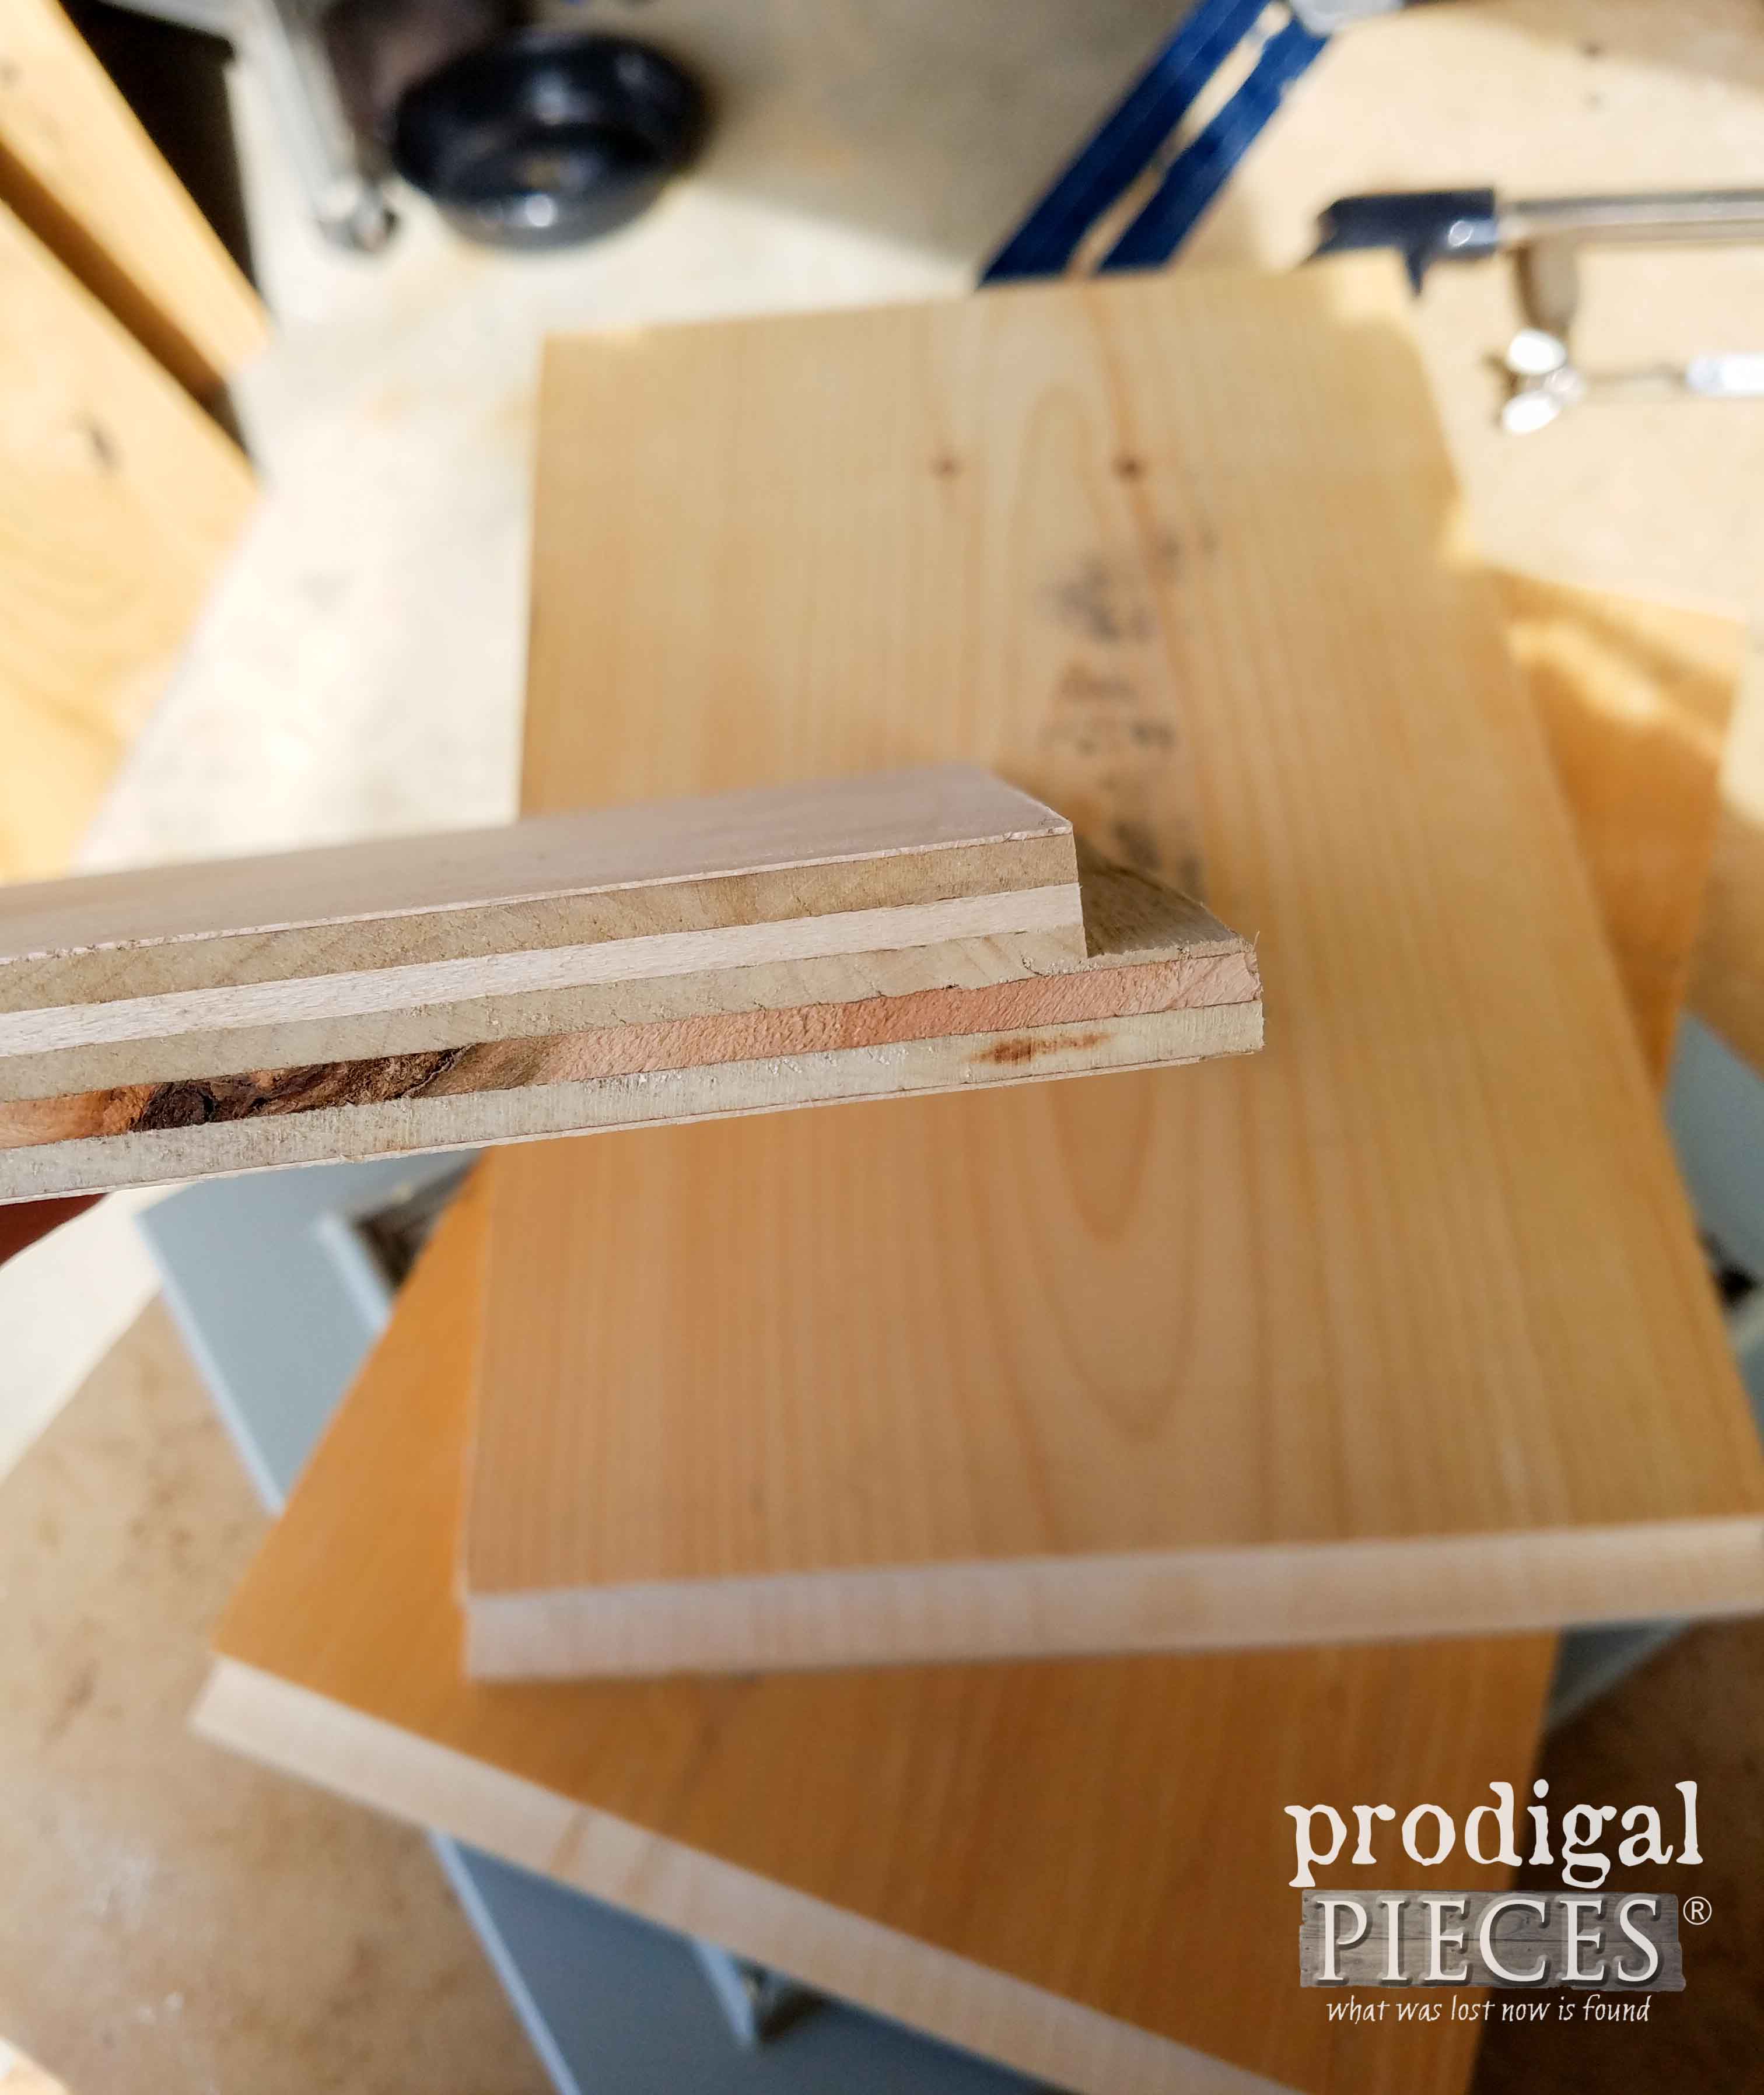
Once I have the pieces ready, I slap on some wood glue and then use my favorite nailer to nail it all together.

After that I cut those couch legs to length and then added them to the bottom of my storage box to give it some height and character. Here is is in the rough.

PAINT TIME
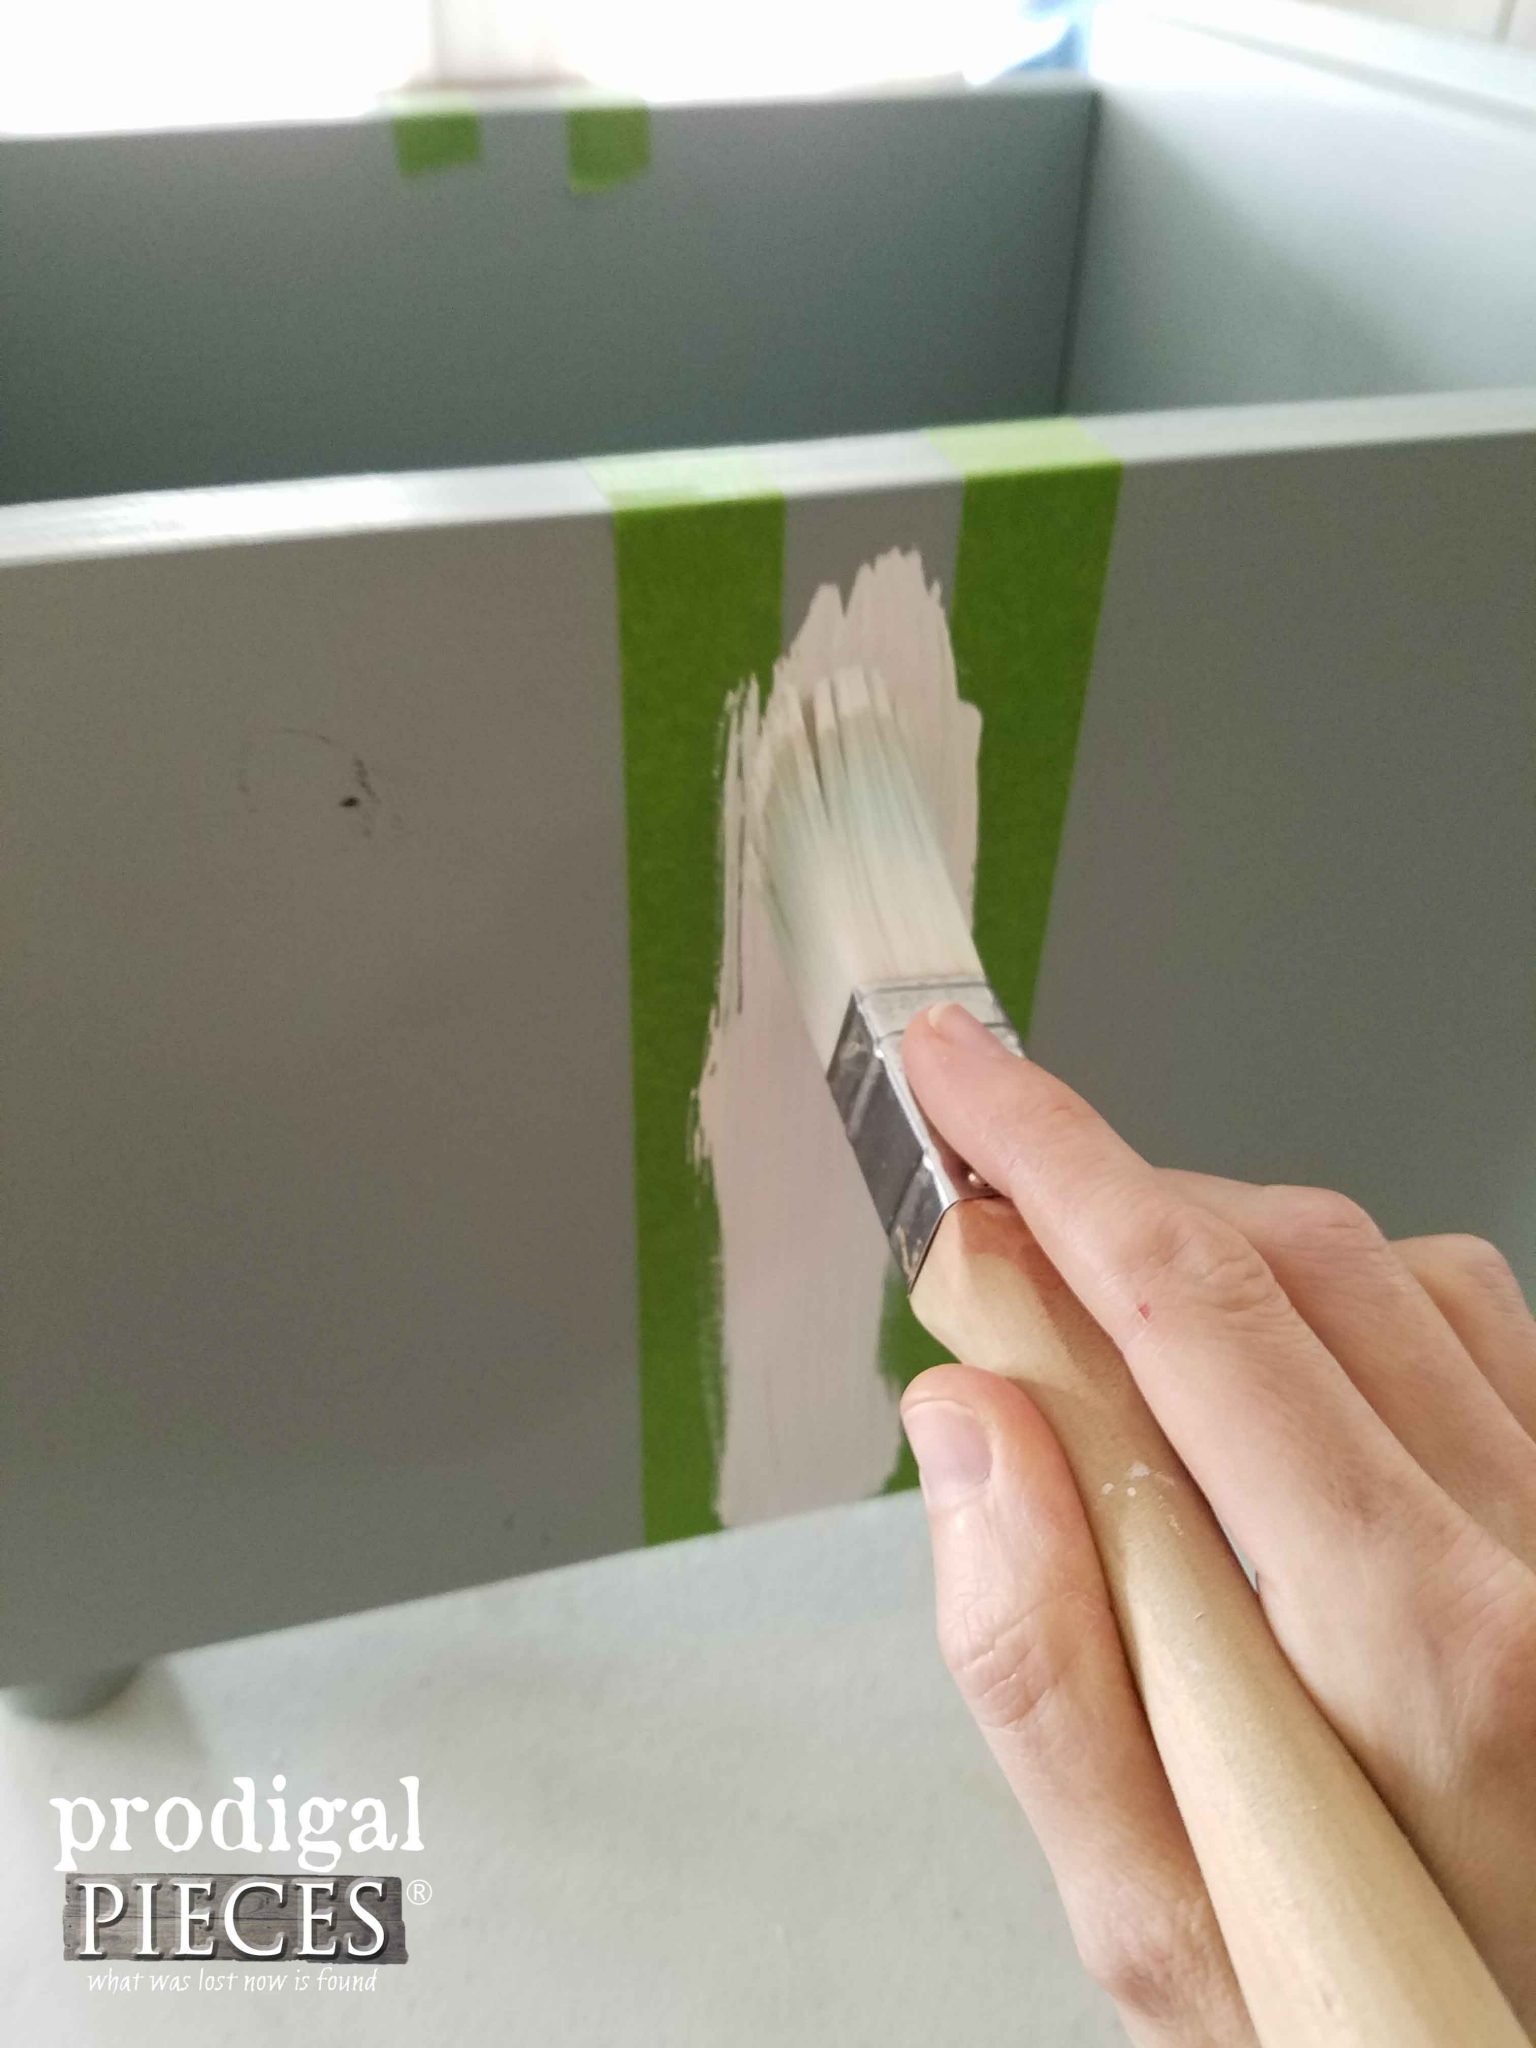
Just needs a little paint to make it all gel, right? I used the same color as my kitchen cabinets - Slate Green by Glidden.

After I used a couple coats of paint, I let it cure. As soon as it was all cured, I added those bin pulls to the sides using my drill to not only make new holes, but attach the pull.
Then, using FrogTape, my square brush, and some of the linen color
from this post, I created some grain sack stripes. You can use my tutorial to do the same
HERE.
Last, but not least, I used Olde World Numbers Stencil to add a bit of whimsy. You can see how I've made use of that same stencil
in these projects. Fun!
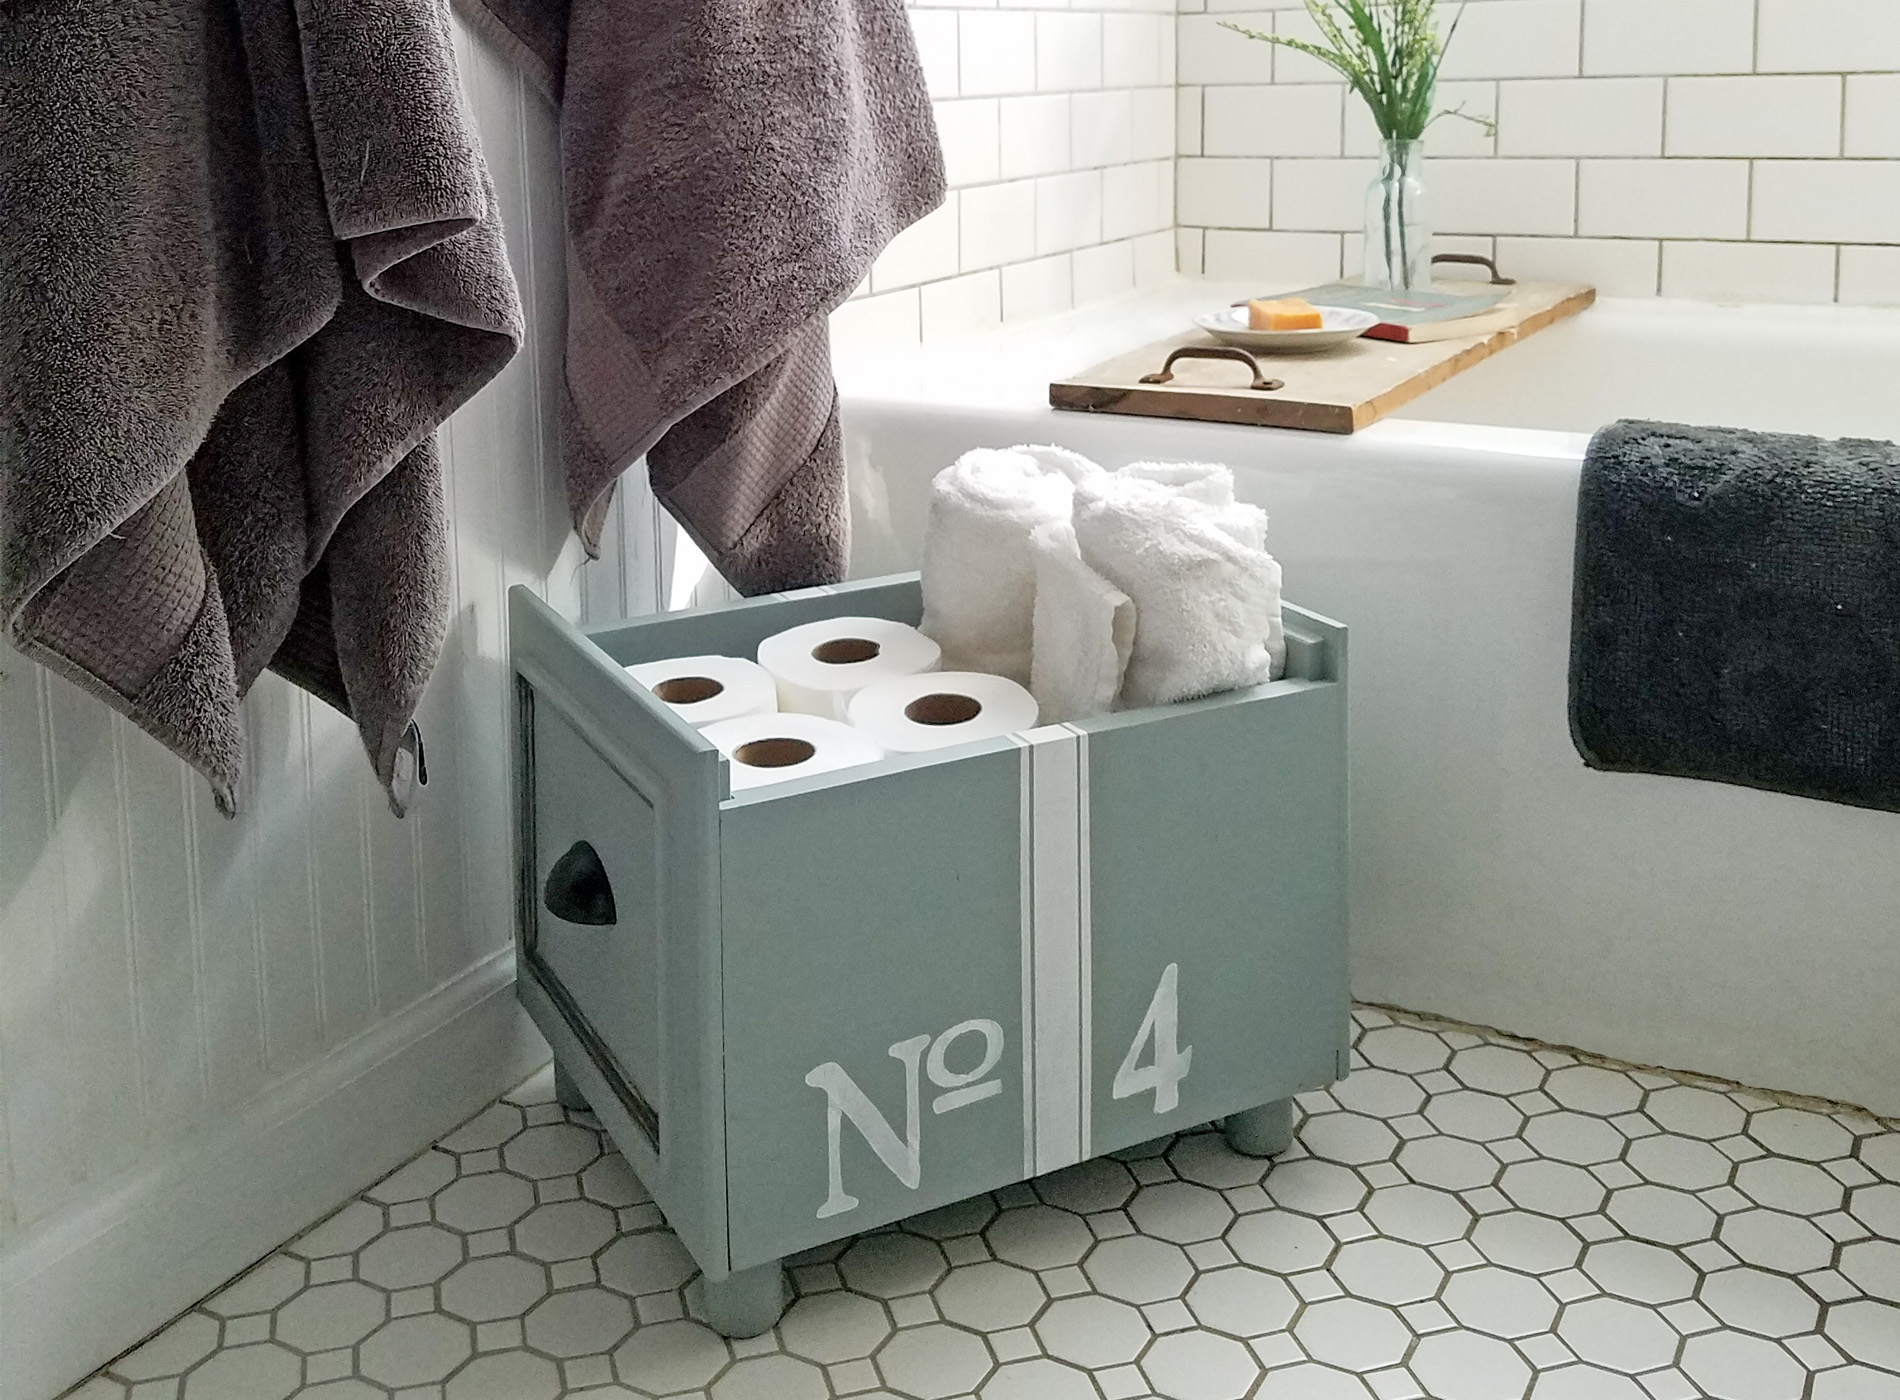
THE REVEAL
And here is my DIY storage all finished...

I decided to showcase this cutie in
my bathroom with TP and towels, but really it could go anywhere.

My youngest son saw it complete and sitting and empty and asked, "What's that?" I told him simply, "A box". He then began to list all of the stuff it could be used for...books, Legos, laundry, plants...he got the idea!
I love how this turned out! As tempting as it is to keep it, I have decided to offer it up in
my shop. (SOLD)


Oh, and if you would like to have the tutorial on making that bathtub tray, just head over
here for the DIY.

You know I have fun creating and my goal is to inspire you to do the same. There is nothing like making your house your home with a little DIY spirit.
Do pin and share to inspire others too!

UP NEXT
Up next from the stash, I'll be showing you what I created with these items. Know what they are?
HEAD HERE TO SEE THE AFTER.

To get these DIY tips & tricks in your inbox, be sure to
sign up for my newsletter. PLUS, you will get your FREE Furniture Buying Checklist and special discount to
my shop. Until next time!

 MEWE | PINTEREST | GAB
Also, more projects to help you create DIY storage: