 Because these doors had cracks where the hinges were, they became unusable as they were originally intended. However, are they trash? NO WAY. Trashure I say! I recently gave my own kitchen cupboard doors new life by turning them into this storage box. (full DIY post here)
 When Mr. I finished his buffet, the first thing I told him was that he needed to be thinking of how to make use of those doors. Since they are solid and heavy, we both agreed that they would also make great storage, particularly a repurposed cabinet door crate. Stay with us, k?
DIY TIME
Okay, so first, Mr. I needed to take apart everything. He removed the hinges, the pulls, and even the trim because it was incomplete. We save those things for future uses though...stay tuned! After that, he glued down the loose veneer and cracks, then holes and blemishes were filled with wood filler. To finish it off he used my sander to reveal that gorgeous wood.
In addition, Mr. I has become quite familiar with my power tools, except has yet to use the big boy saws, like our miter saw. We found some scrap wood that would make perfect slats to the sides, as well as some boards to make a top. Next, he cut them to length and then we ripped them on our table saw to make them the width we needed.

NEXT STEPS
Mr. I even got to use on of my other favorite tools, the Kreg Jig. {{enter in the tool man laugh}} Why is it a favorite? Well, there is nothing you can't build with this thing. It creates pocket holes for screws to make super-strong joints and builds. Then, for the bottom, we used a cabinet grade plywood ripped and cut to length. To assemble it, we added wood glue to our joints and then used my nailer to assemble. To complete it all, Mr. I used my drill to sink the screws in the pocket holes.
 Since this repurposed cabinet door creation is made of mixed woods, it's time to give it some uniformity. Once Mr. I finished building the crate top, he first gave it a coat of Early American stain. Then when that was cured, he followed up with a coat of Sunbleached (both my favorite stains seen here and here), and then a light wash of Early American again. The same method I used on my apothecary cabinet.
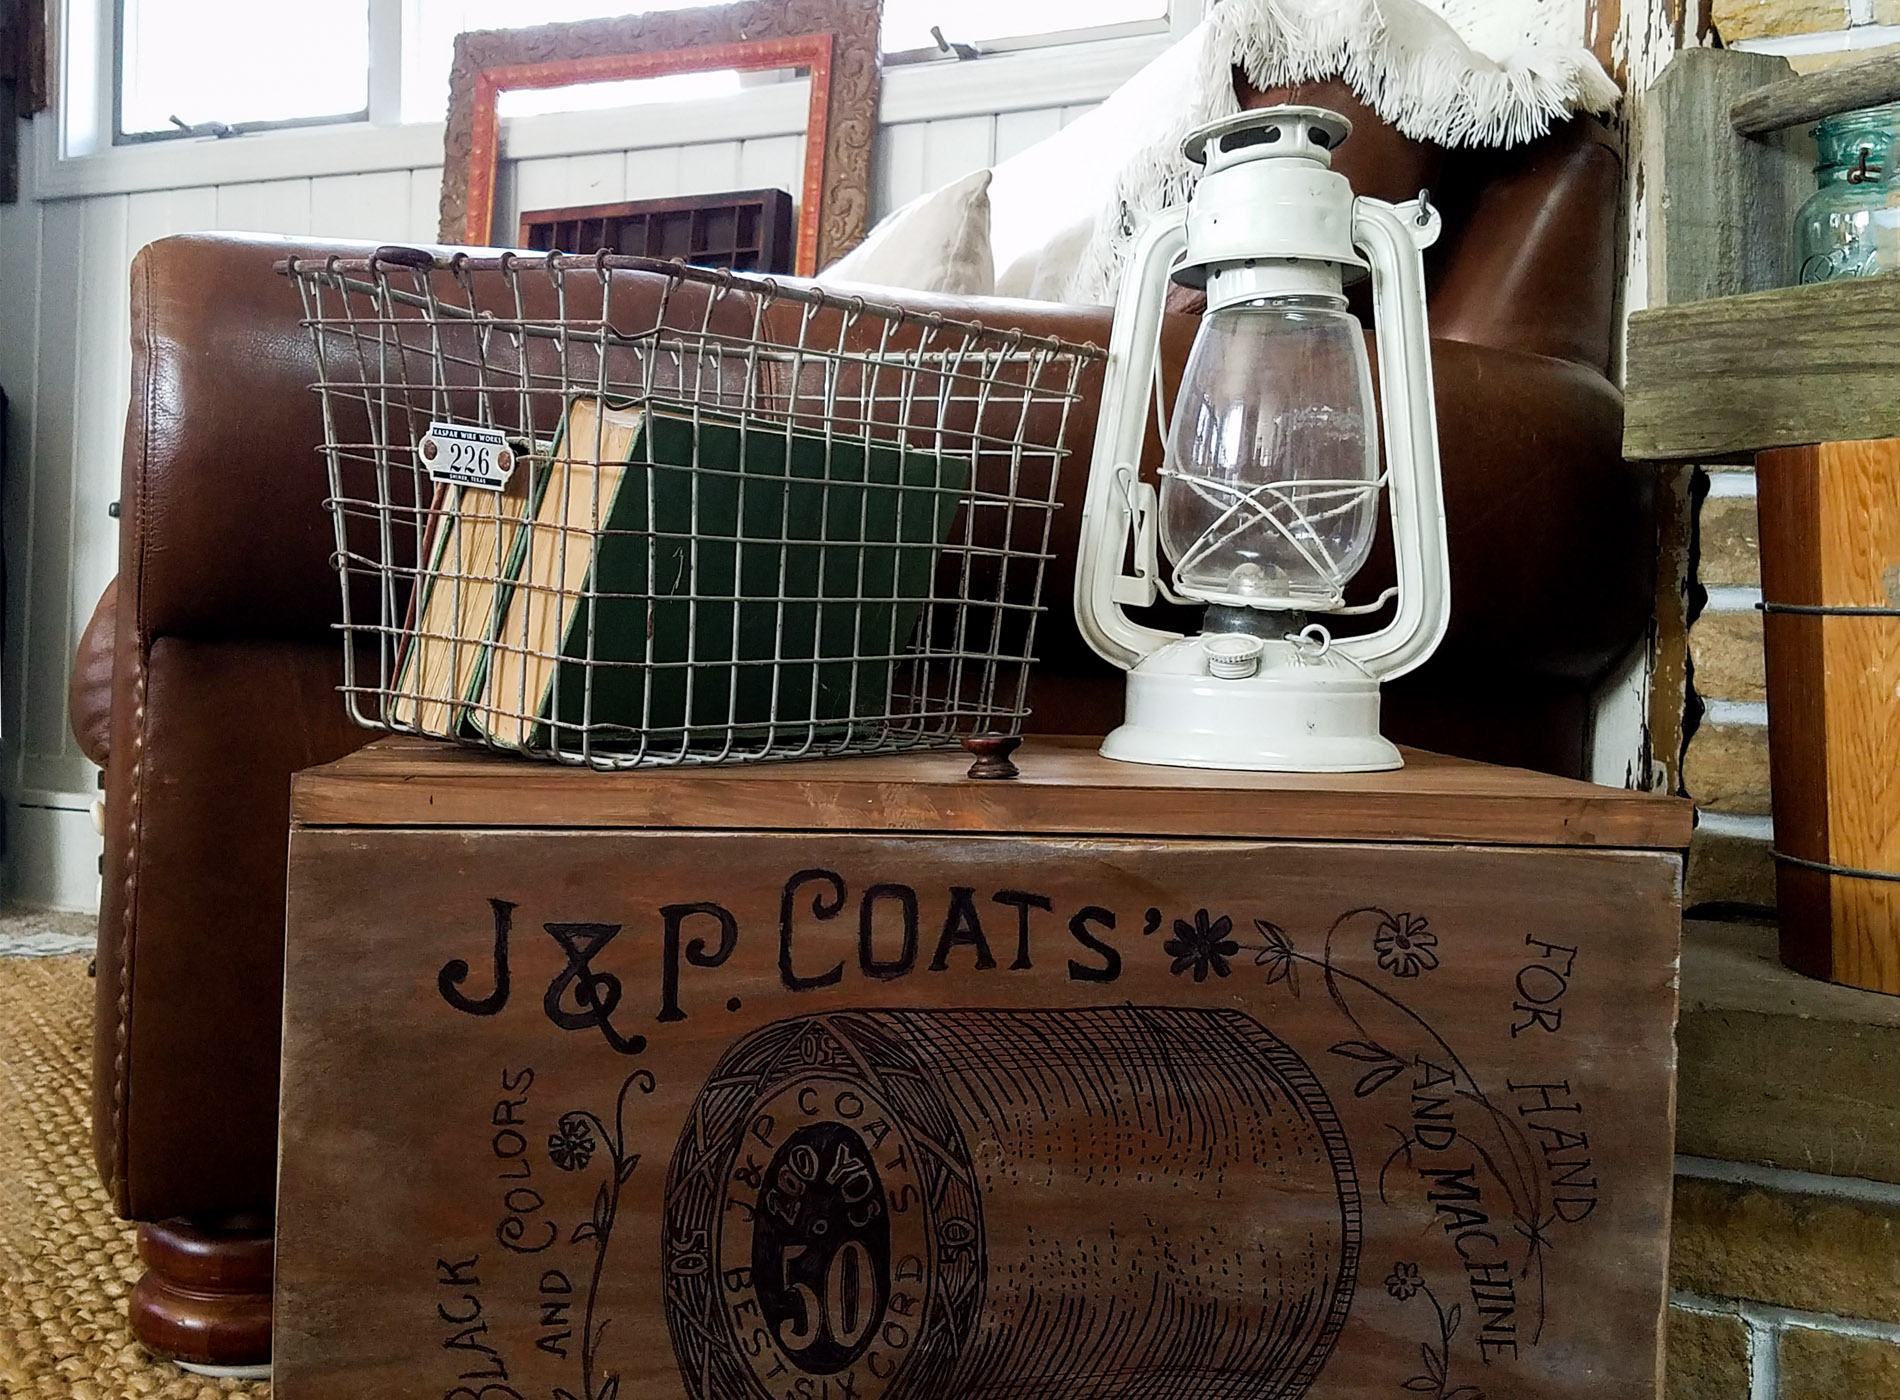
 For added whimsy, Mr. I decided to use the same graphic that I used on my sewing table. Easy-peasy with my transfer method and a Sharpie.
THE REVEAL
And...here it is!
 Isn't it fun? The rustic look of it makes my heart happy, especially the fact that we were able to reuse the buffet pulls and hinges to recreate this functional piece.

 I say Mr. I not only learned much about DIY, but also created a pretty cool and functional piece. Proud mama here. {{fist pump!}} Also, this young man just celebrated his birthday and is making me feel old. Why do they have to go and do that? And like any one who wants to have their first car, he is offering this crate in my online shop.

 Both of us hope you are inspired to think outside the junk and get creative. There are oodles of possibilities for trashure, it's just a matter of seeing the potential.
In addition, pin and share Mr. I's work to inspire others and show love. Thank you!
Both of us hope you are inspired to think outside the junk and get creative. There are oodles of possibilities for trashure, it's just a matter of seeing the potential.
In addition, pin and share Mr. I's work to inspire others and show love. Thank you!
 Likewise, up next, I'll be taking this thrifted tray and giving it a facelift with some DIY lovin'. See the after HERE.
 To get these DIY tips & tricks in your inbox, be sure to sign up for my newsletter. PLUS, you will get your FREE Furniture Buying Checklist and special discount to my shop. Until next time!
Also, more projects like this repurposed cabinet door crate:

