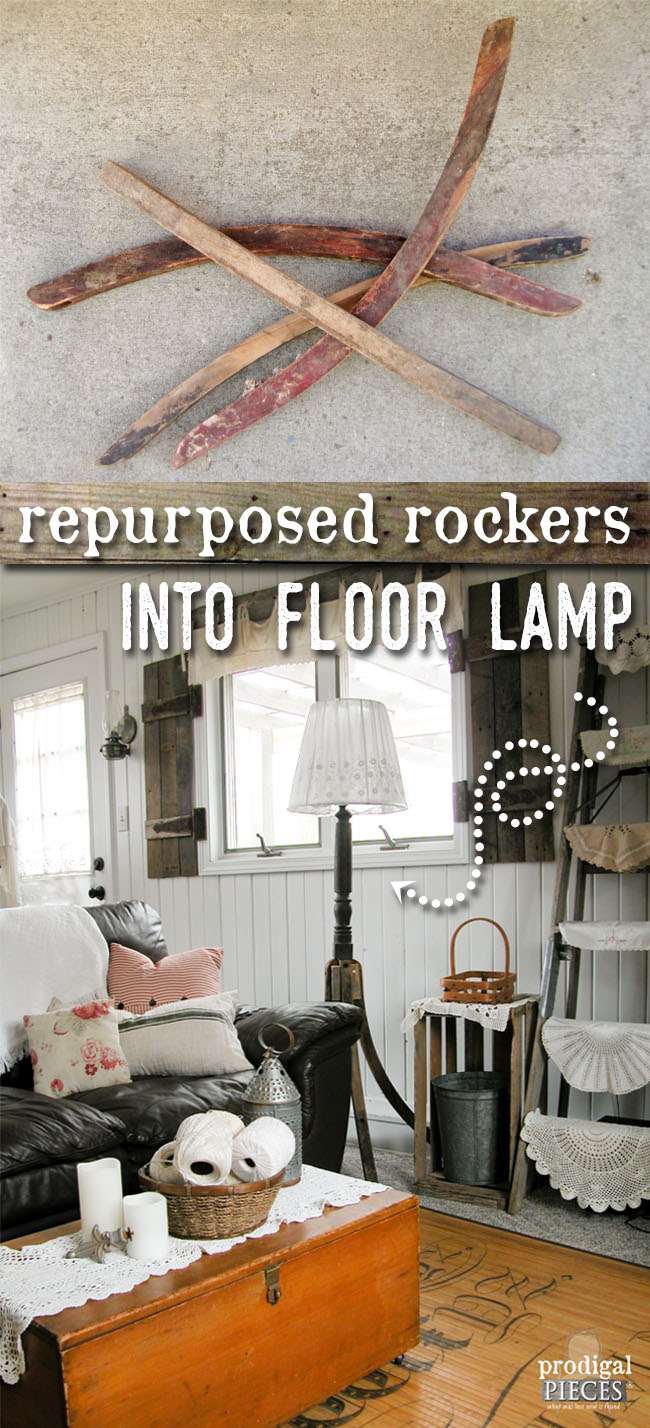
It's Trash to Treasure Transformation time and I can't wait to show you how I repurposed antique rocking chair rockers into a floor lamp. Yep. You might be thinking, "Whaaat?", but let me show you what my crazy ol' self did. hee hee hee.

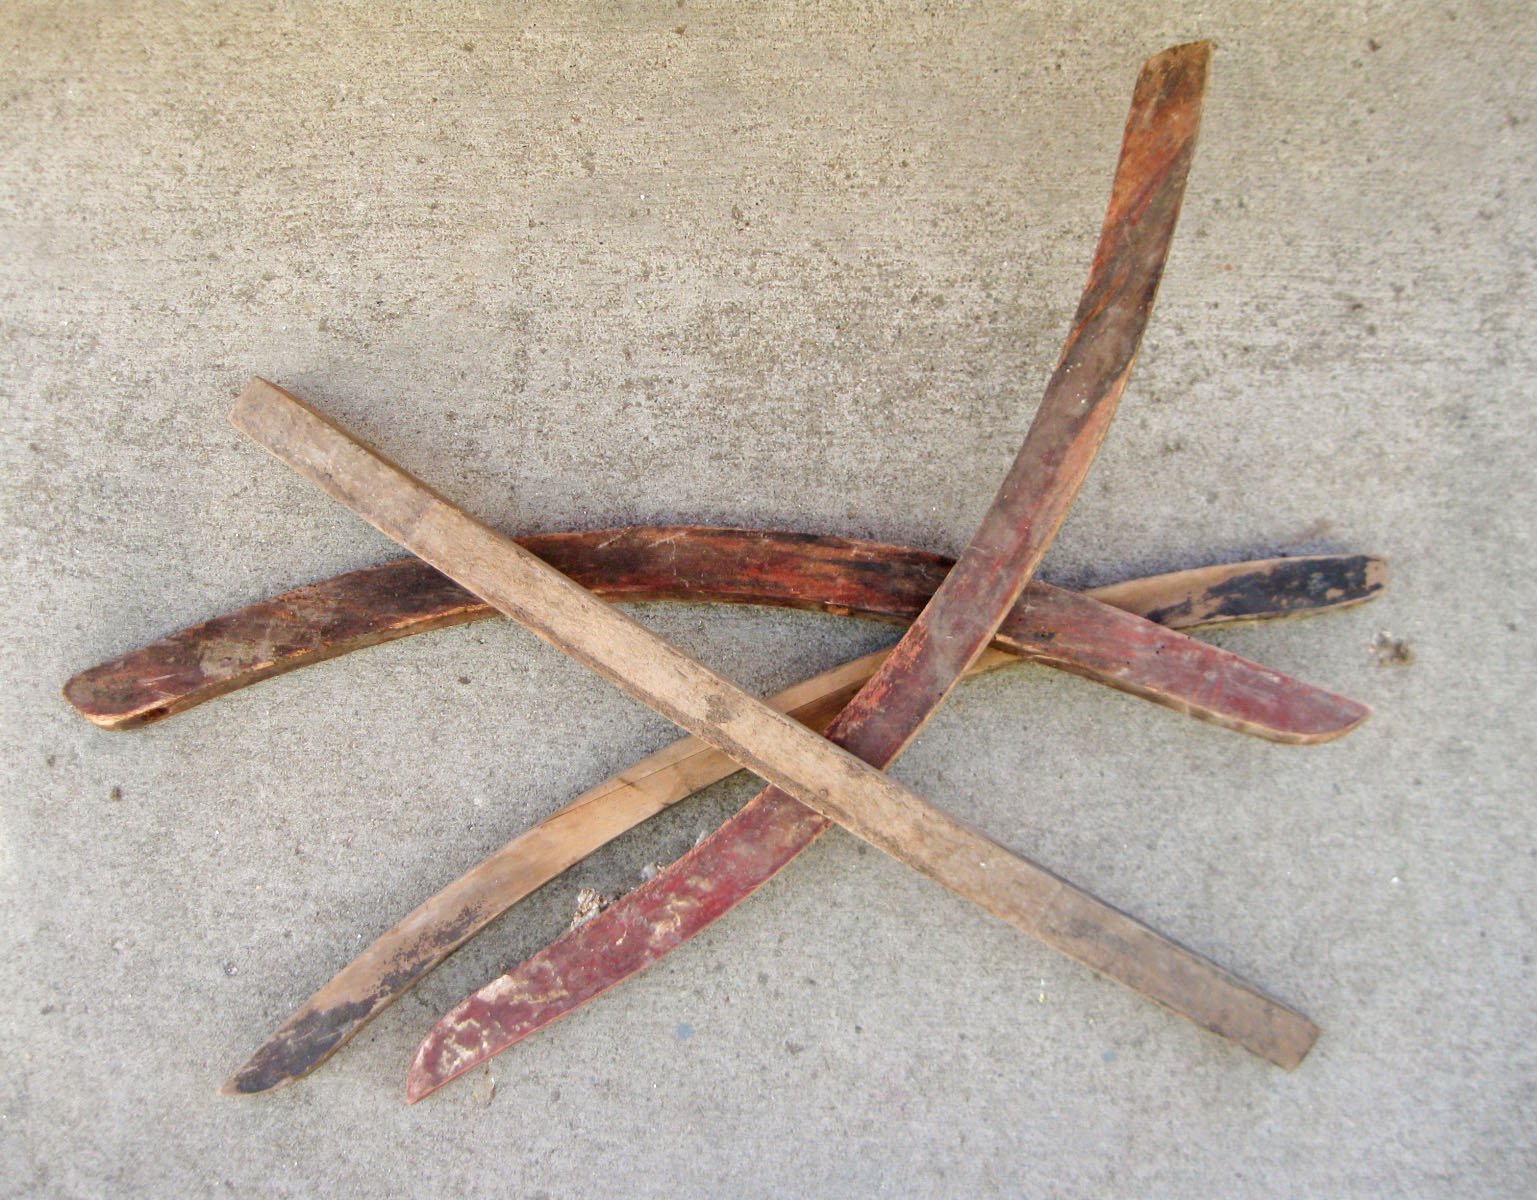
You see, every 2nd Tuesday of the month, my blogger friends and I have fun taking something cast-off and give it new life (be sure to see below for their projects too!). I choose these two sets of antique rockers I found at a garage sale this past summer for $1.
Last week I mentioned this example in my
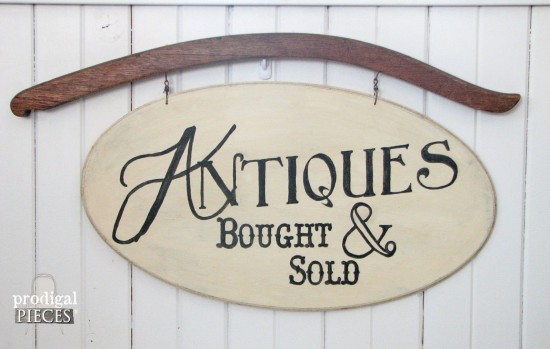
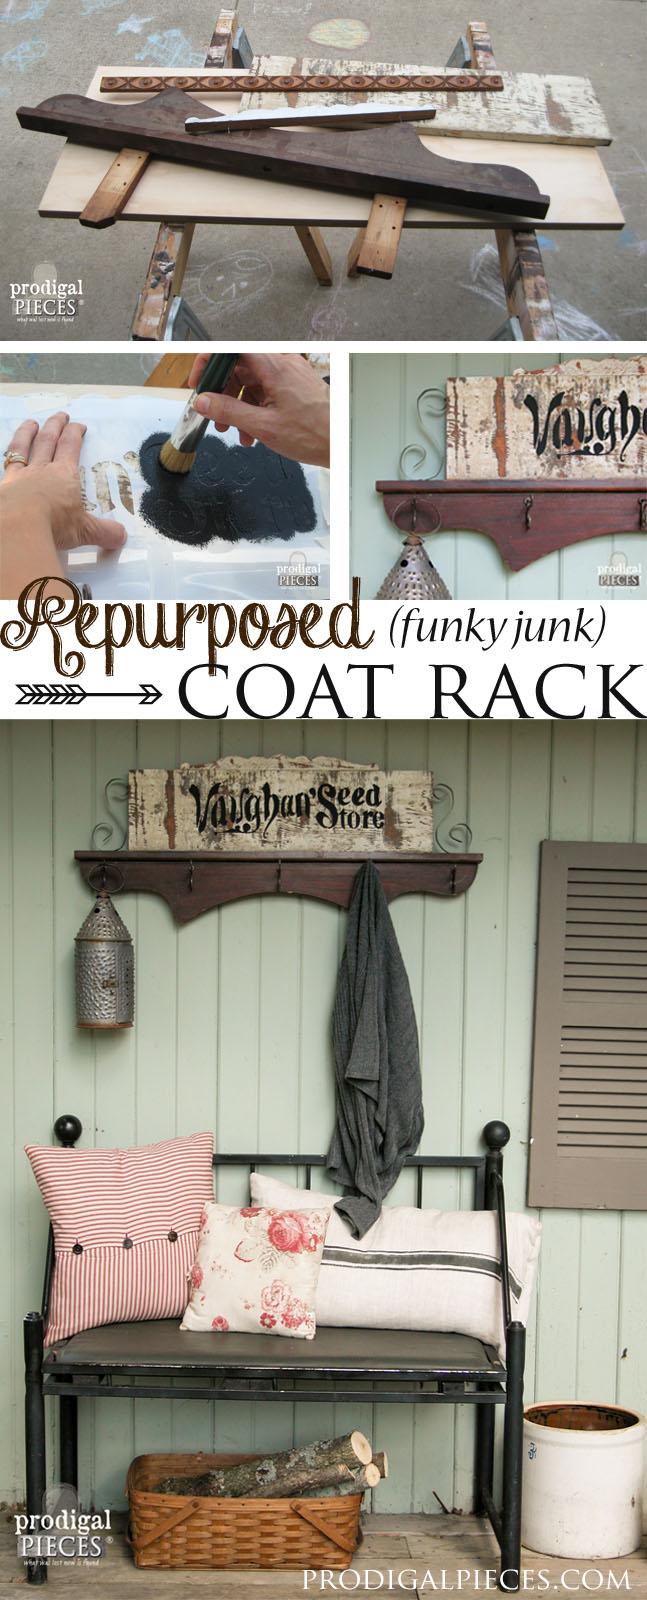
paint a window screen tutorial. Likewise, I typically use rockers to make my hand-painted signs like this one from my
DIY repurposed sign tutorial.
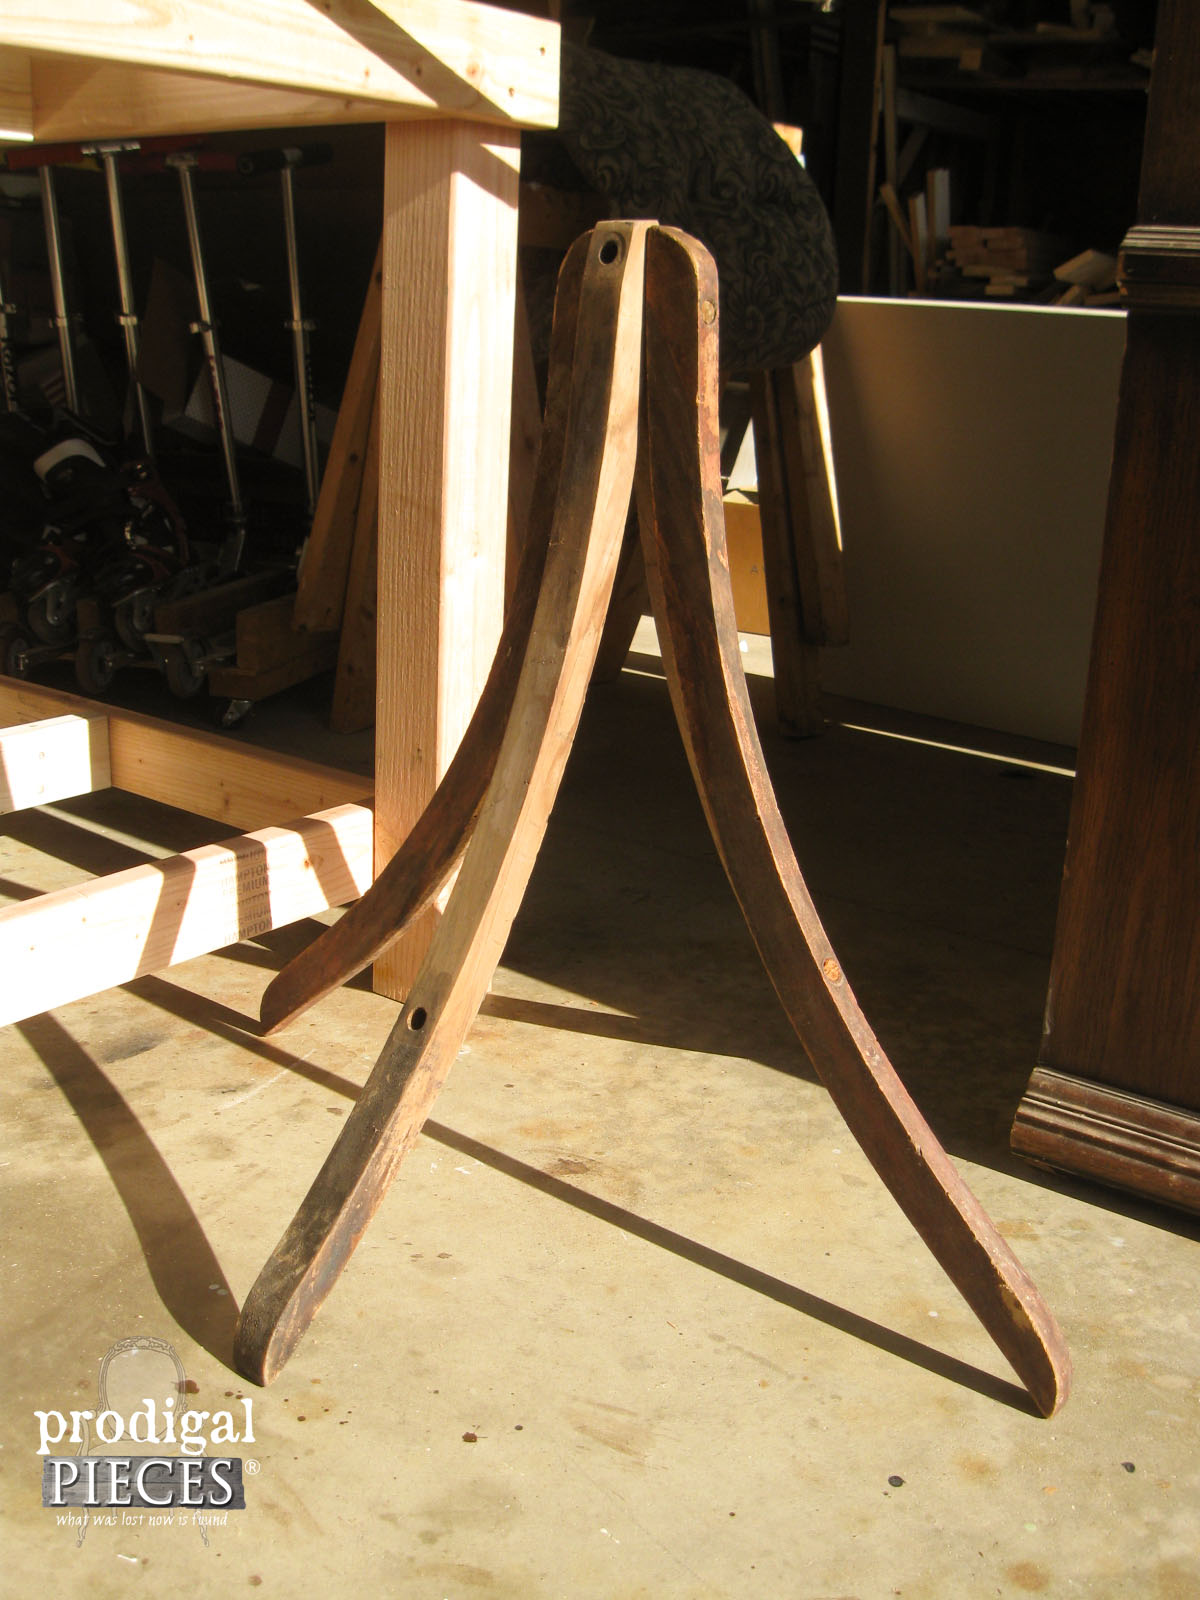
But this time around, I envisioned something for all of them because when I was playing around with them after I brought them home, they looked cool like this...
DIY TIME
At first I was envisioning a table made from them, but I was hesitant because they were a bit brittle. My husband spurred this project because he had been wanting a floor lamp in our family room, mind you we already had one. He wanted another one beside his favorite chair. He would even drag my lamp from our living room down to the other room, and guess who had to keep putting it back? tsk. He mentioned buying another one, to which I replied, "We don't need a NEW (store-bought) lamp {gasp}, I will find you one or make you one.
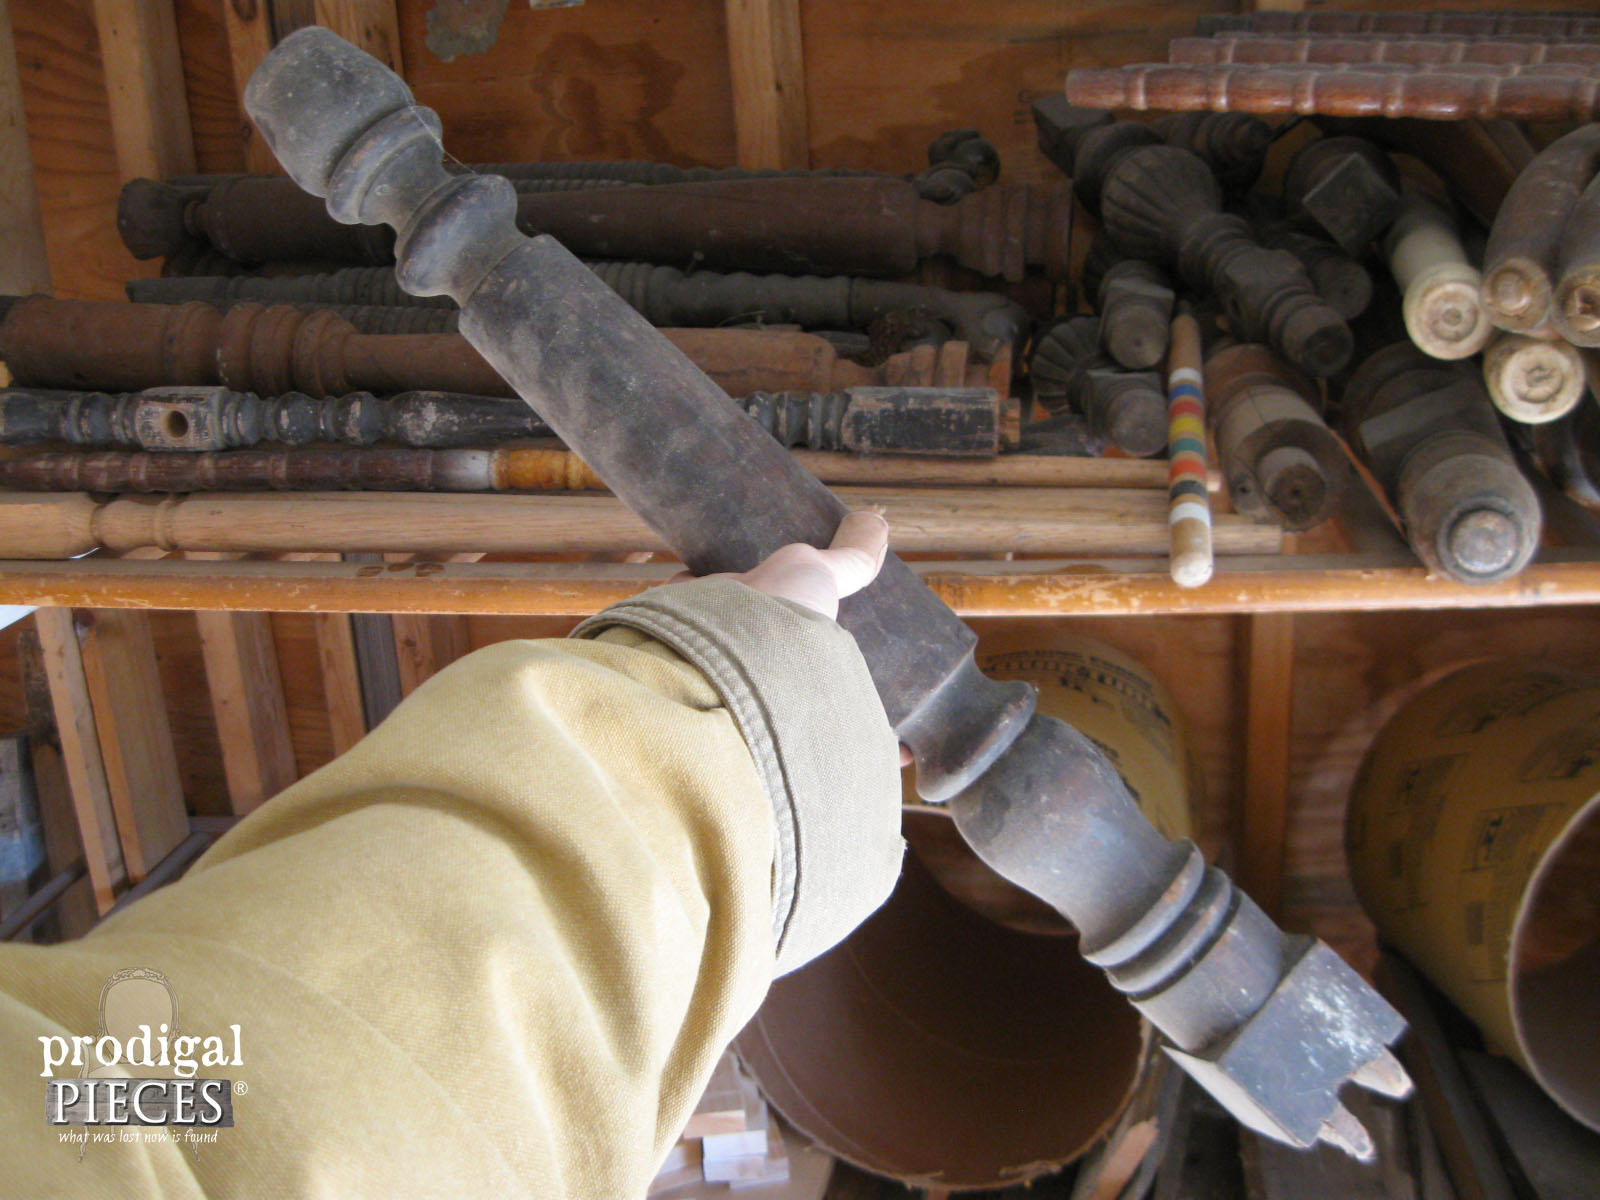
So, I decided to create one instead and see if it would pass muster. My rocker leg base needed a post, so I dug into my stash of table legs I found at the
garage sale to end all garage sales (a whole barrel full for $10!). This in only half the amount I scored.
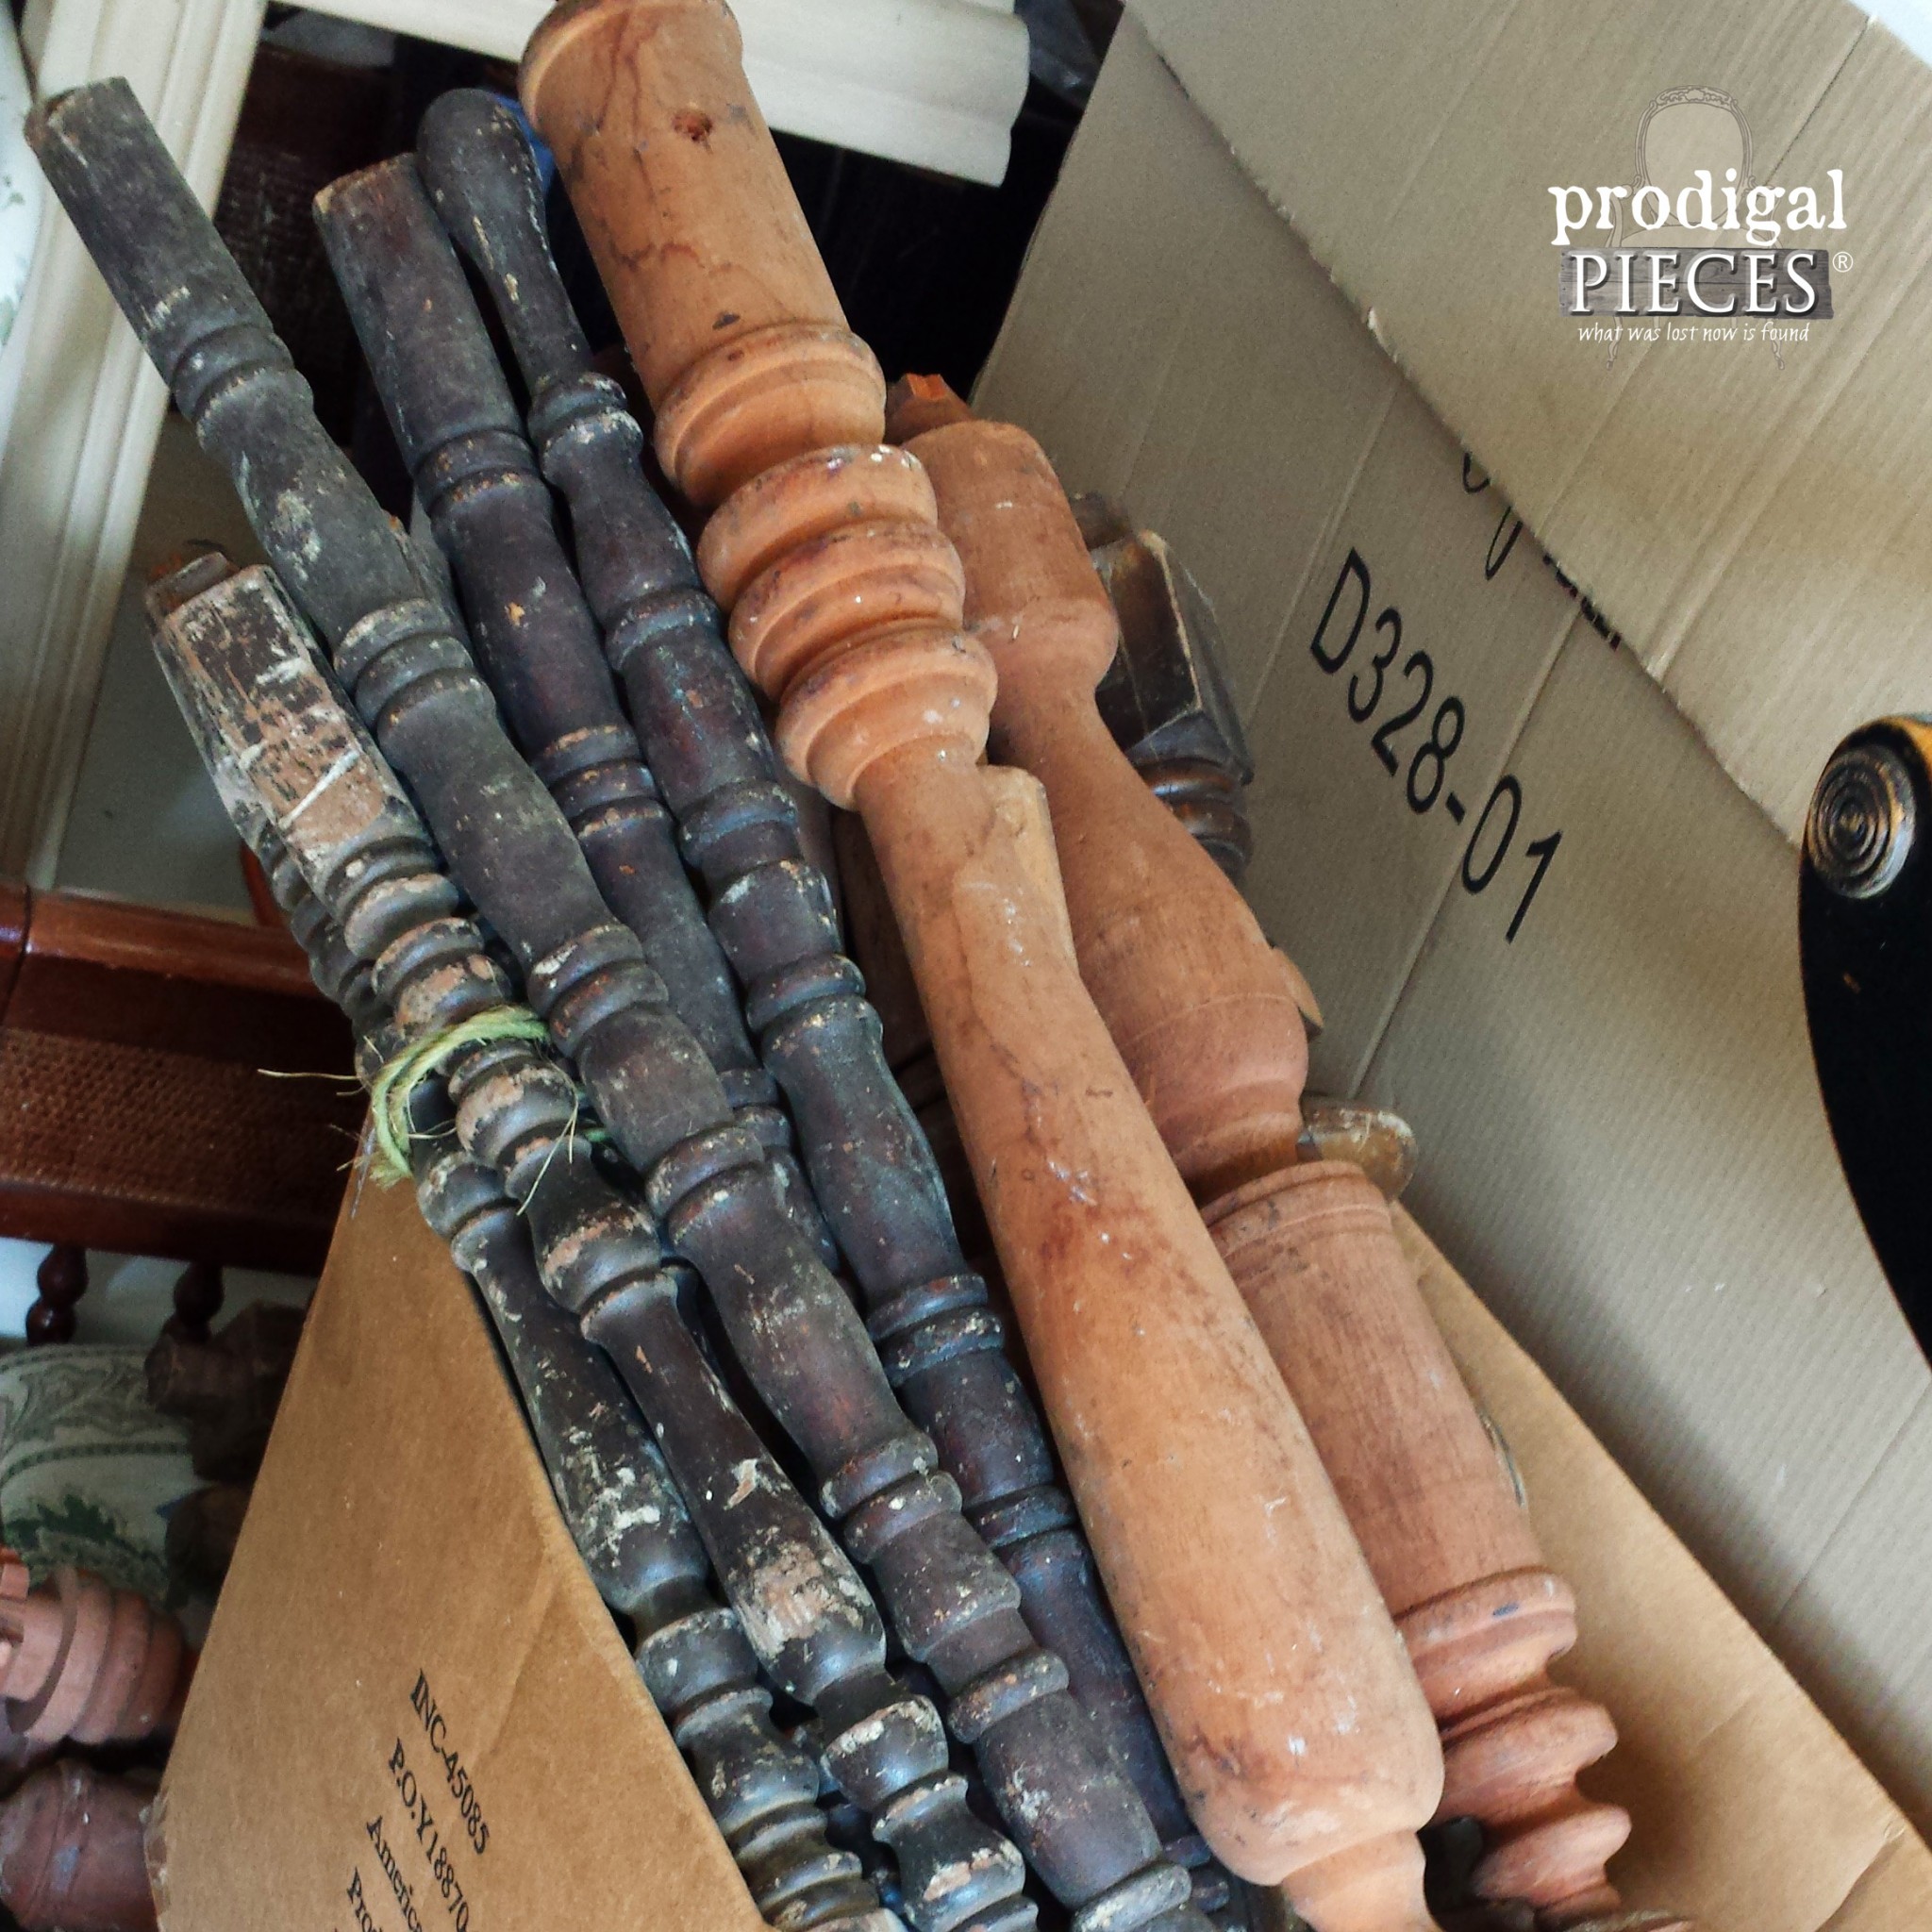
Additionally, I choose this leg to be used as the lamp post. Aren't the turnings fantastic? I would love to see what the table originally looked like.
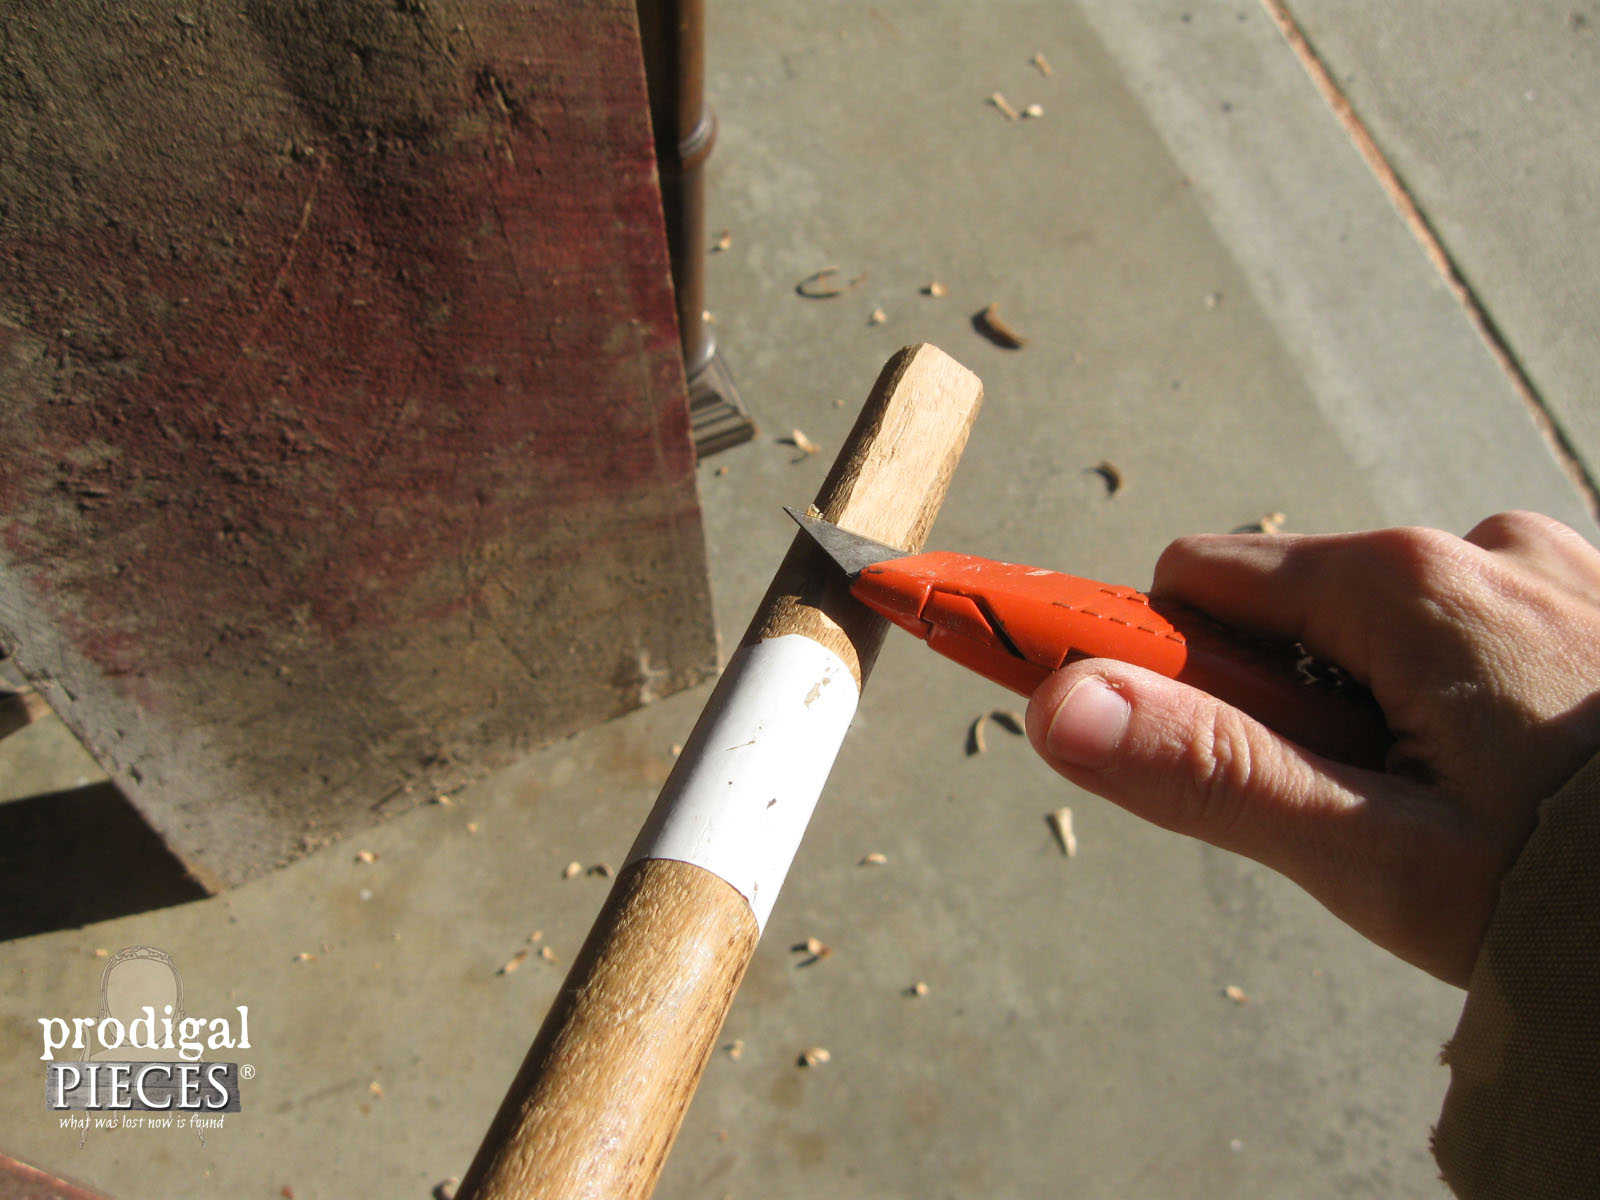
Now how to get that post and rocker base to marry... Well, the a week or so ago I threw away our shop broom because the head broke, but before I did I cut off the wooden handle (waste not, want not!). I decided to join the rockers at the head with some barn wood scraps, and then use the broom dowel as a pin to connect the rockers and the table leg together. In order to do that, I had to whittle it to fit.
NEXT STEPS
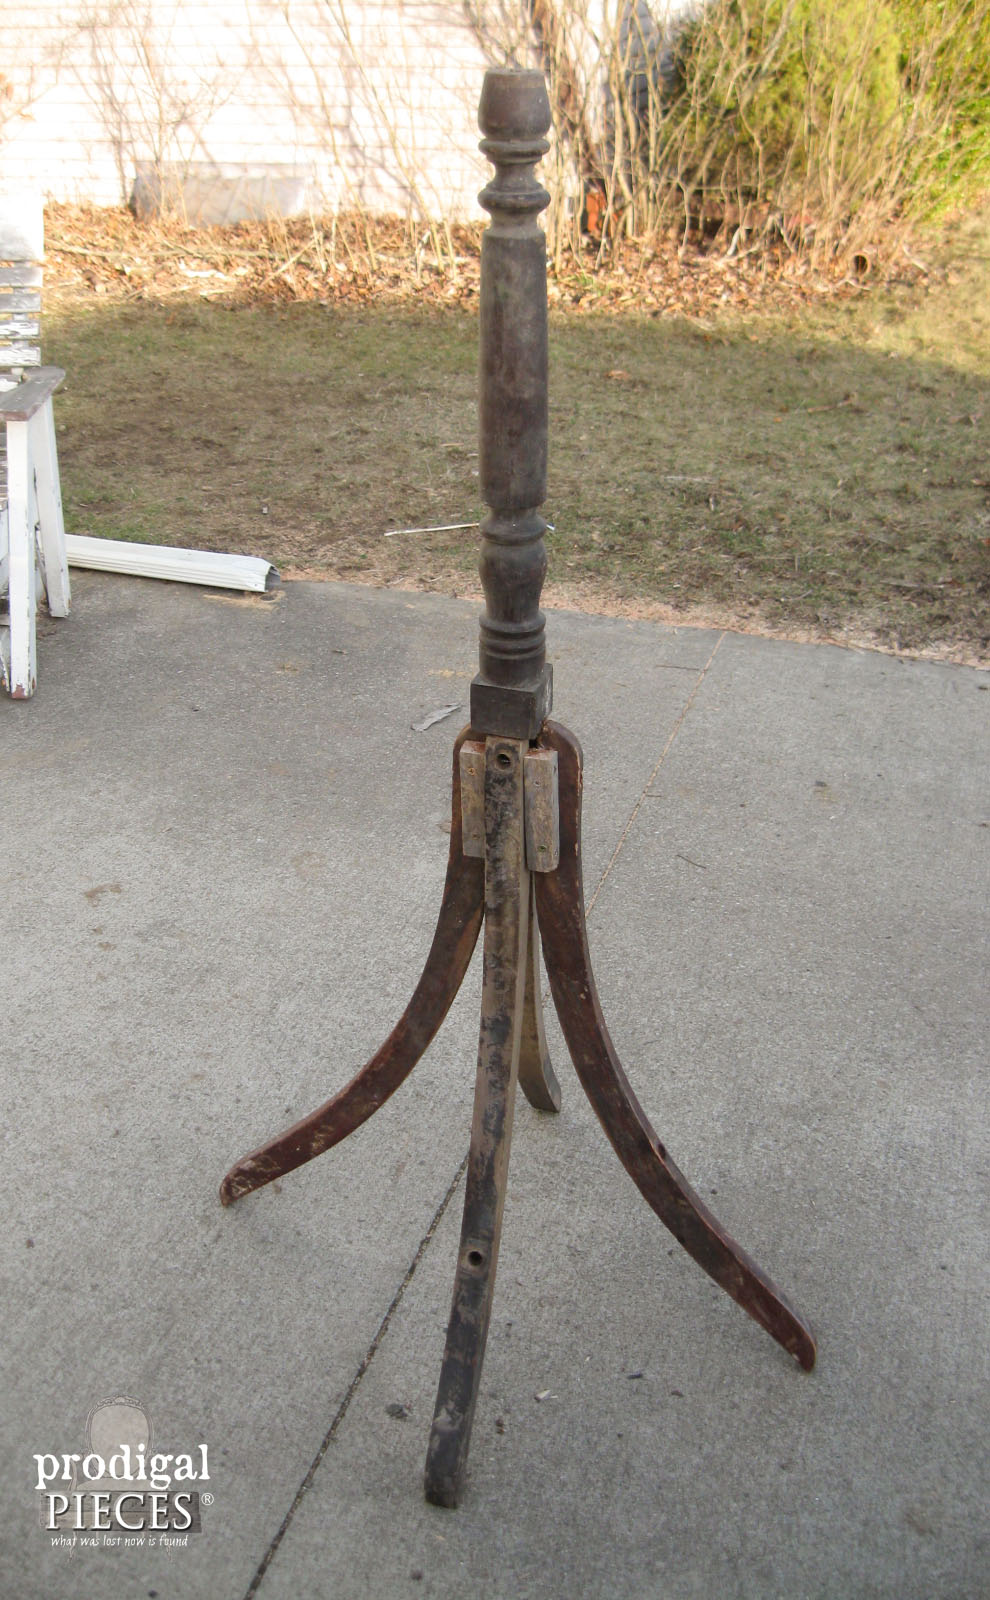
Here's my floor lamp base and post put together. Not bad for some junk, eh?
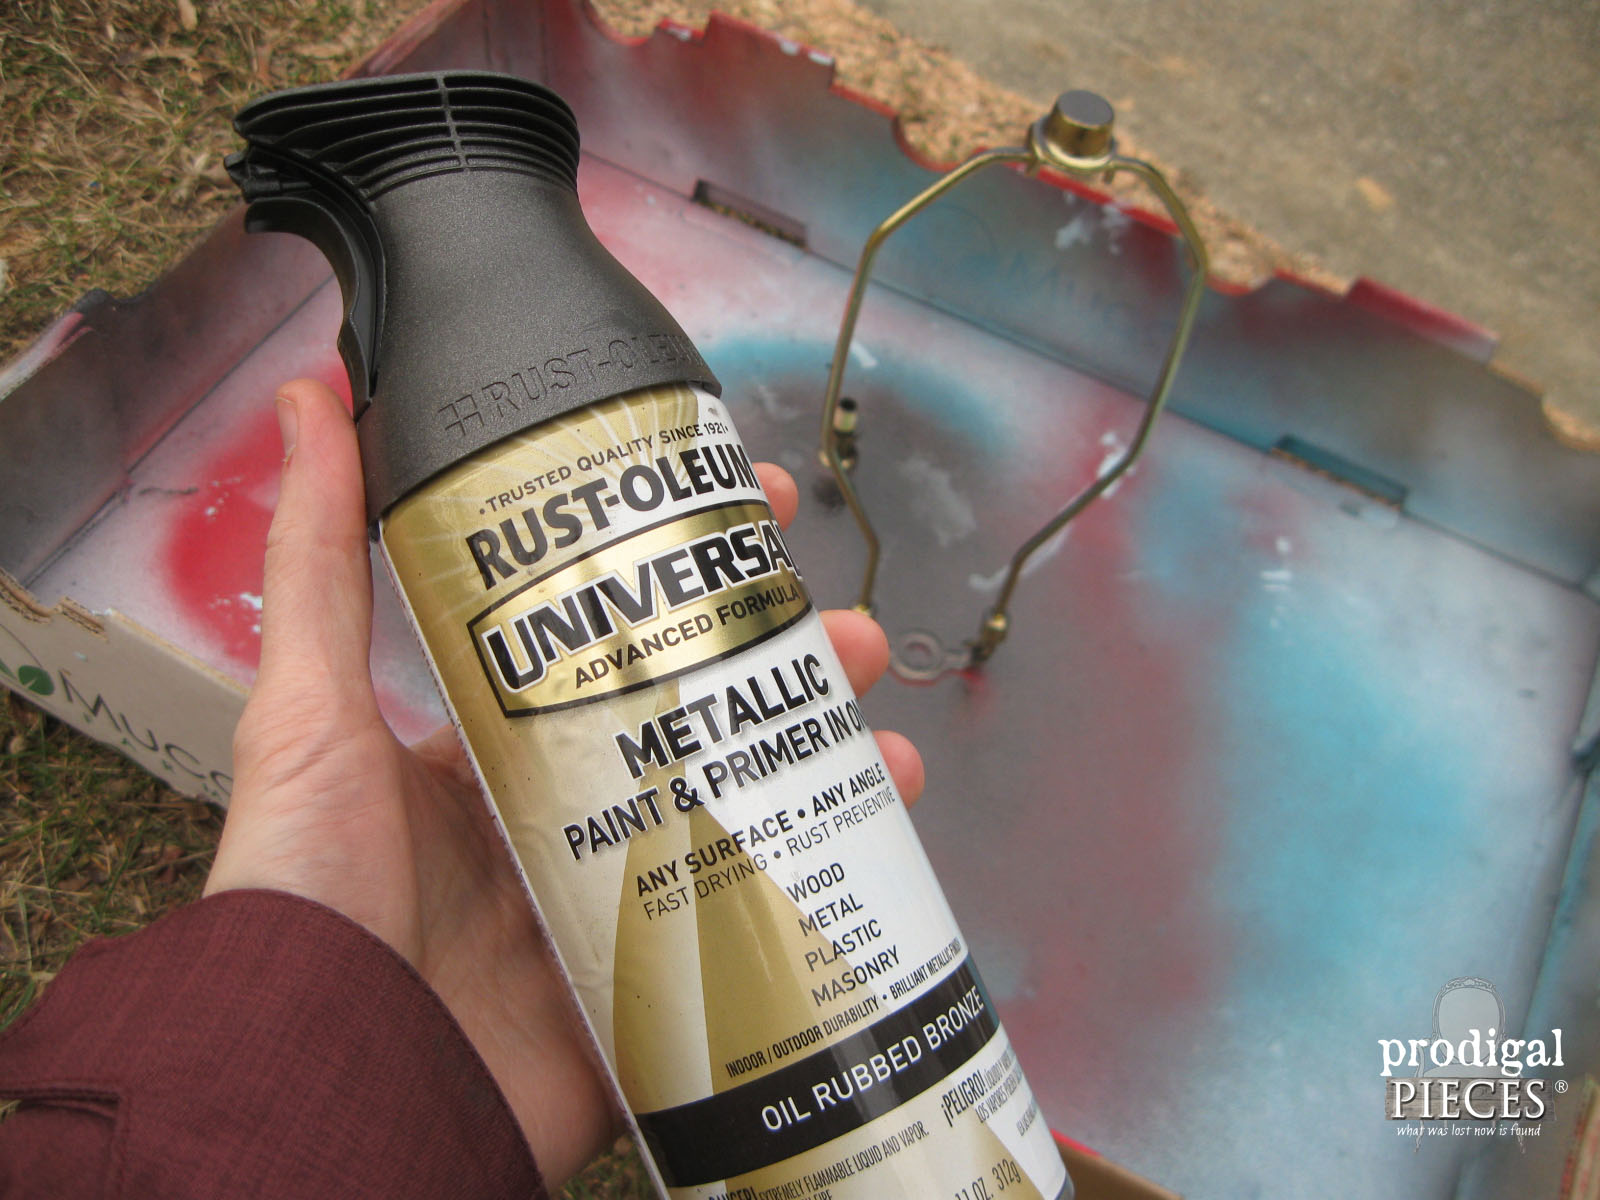
Only thing left was to wire it for electric. After that, I bought a lamp kit, but didn't like the brassy finish, so I used my Rust-Oleum Oil Rubbed Bronze spray paint to darken it up.
Next, I added the lamp nipple to the post, and drilled in to add the wire.
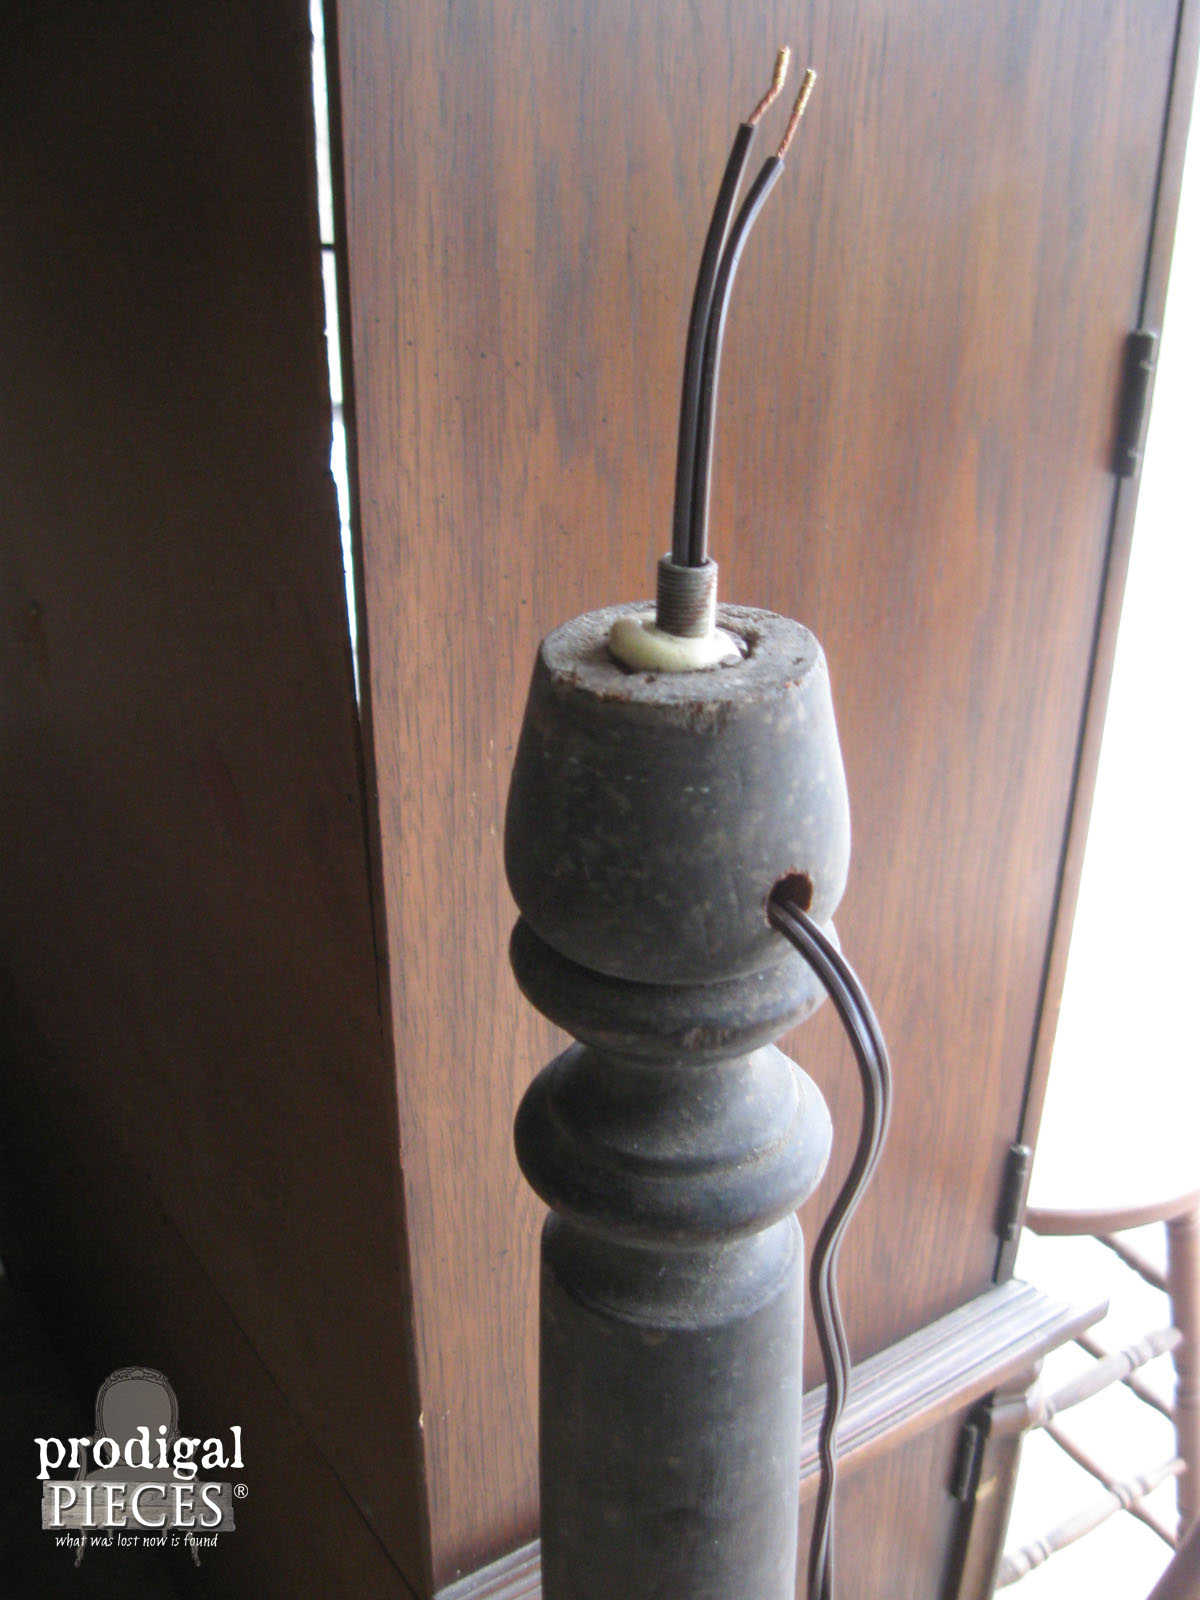
I like working with wiring and figuring things out, and how they work on the inside. I used to tear stuff apart as a kid and put it back together. Yes, I'm quirky like that.
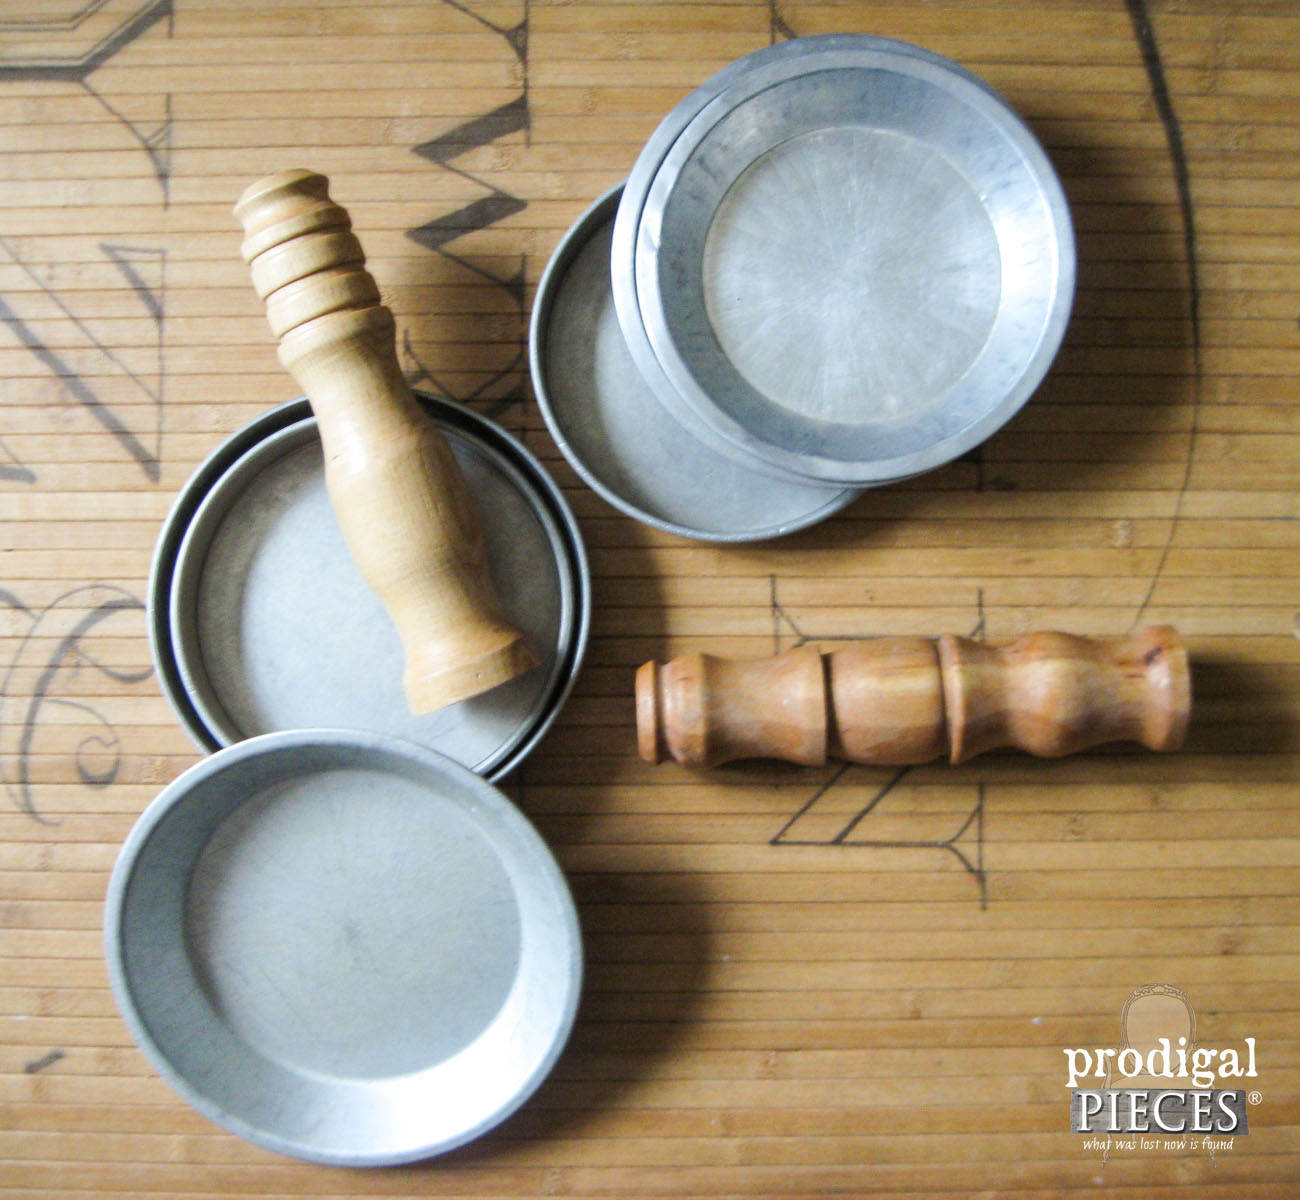
Now all it needed was a lamp shade. While I could have easily bought a new one, that wouldn't match my rustic lamp now, would it? Off to the thrift store my kids and I go, and my youngest son found me this shade. However, it needs a new cover. Thankfully, I found a perfectly sized piece of cutwork curtain in my stash that I could use.
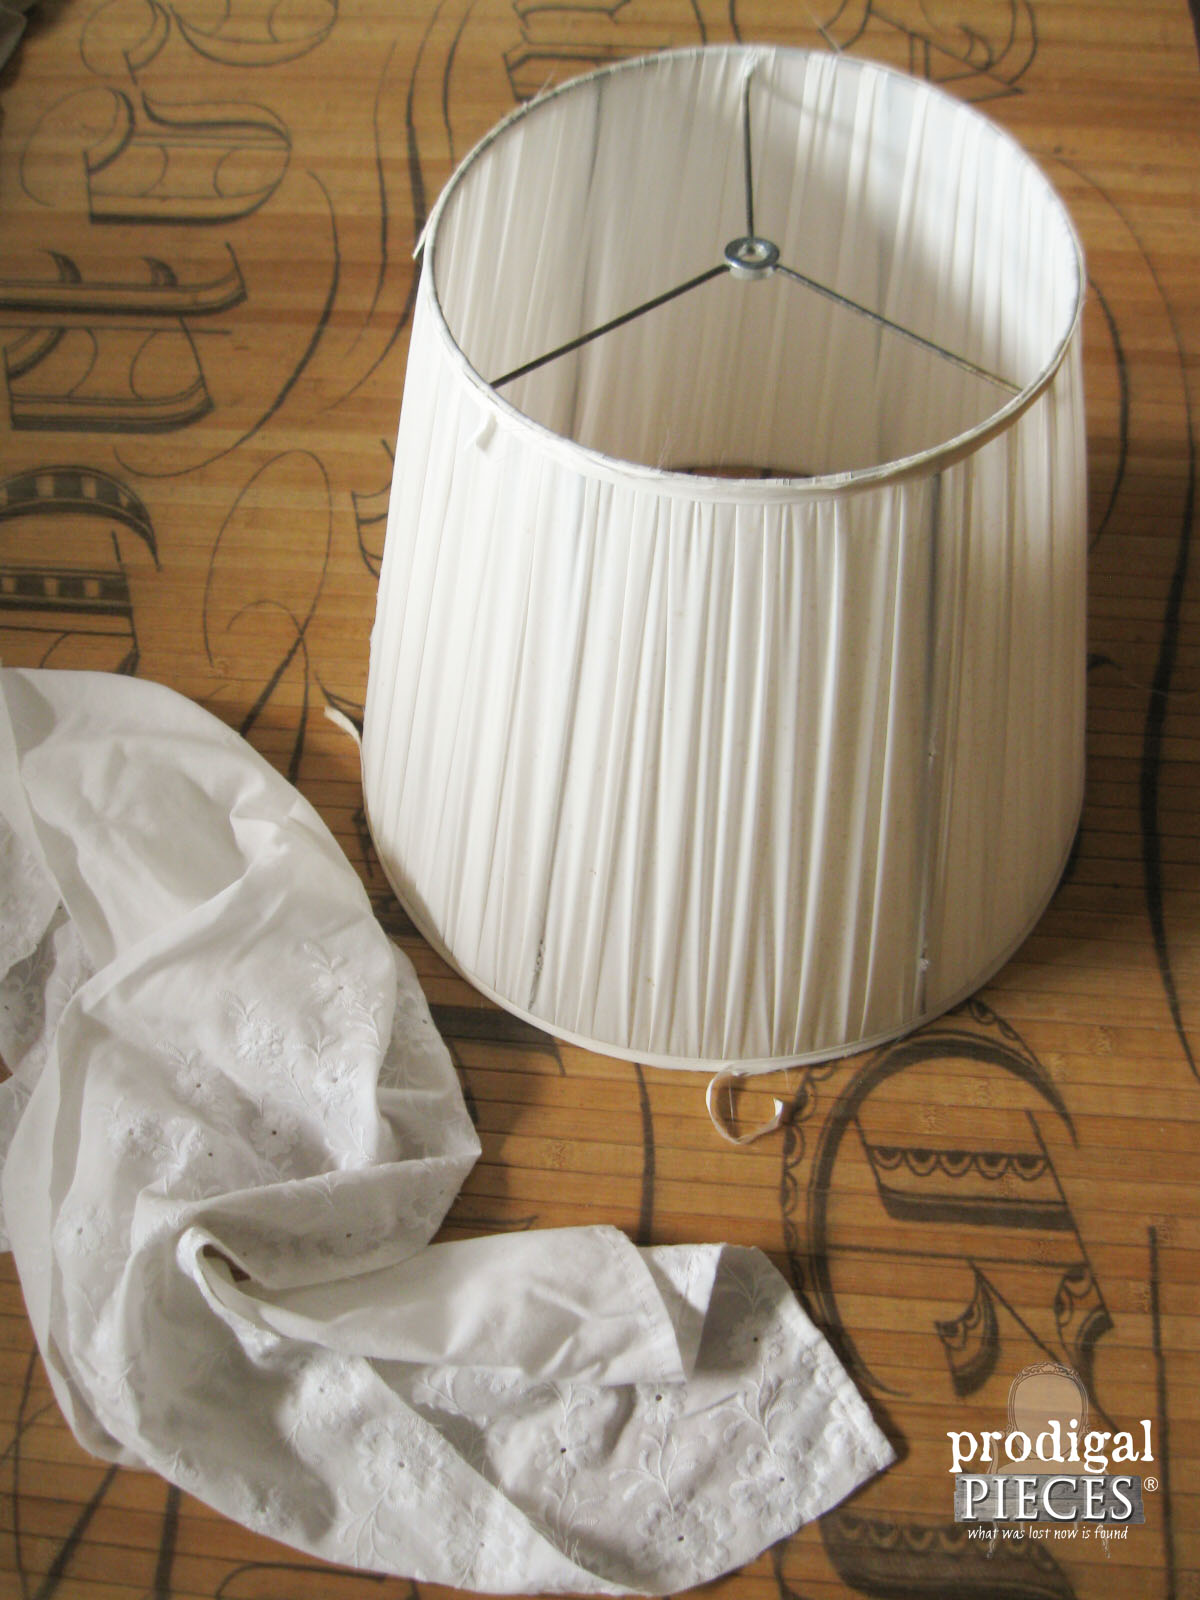
Well, my husband didn't know I was creating this and one night he said, "I saw that coat rack thingy you're making...looks cool". I laughed and said, "It's not a coat rack." Good guess, but little did he know.
THE REVEAL
Here it is in our family room snuggled in with my other repurposed decor, like my
DIY barn wood shutters from pallets and
barn wood & bedskirt valance.
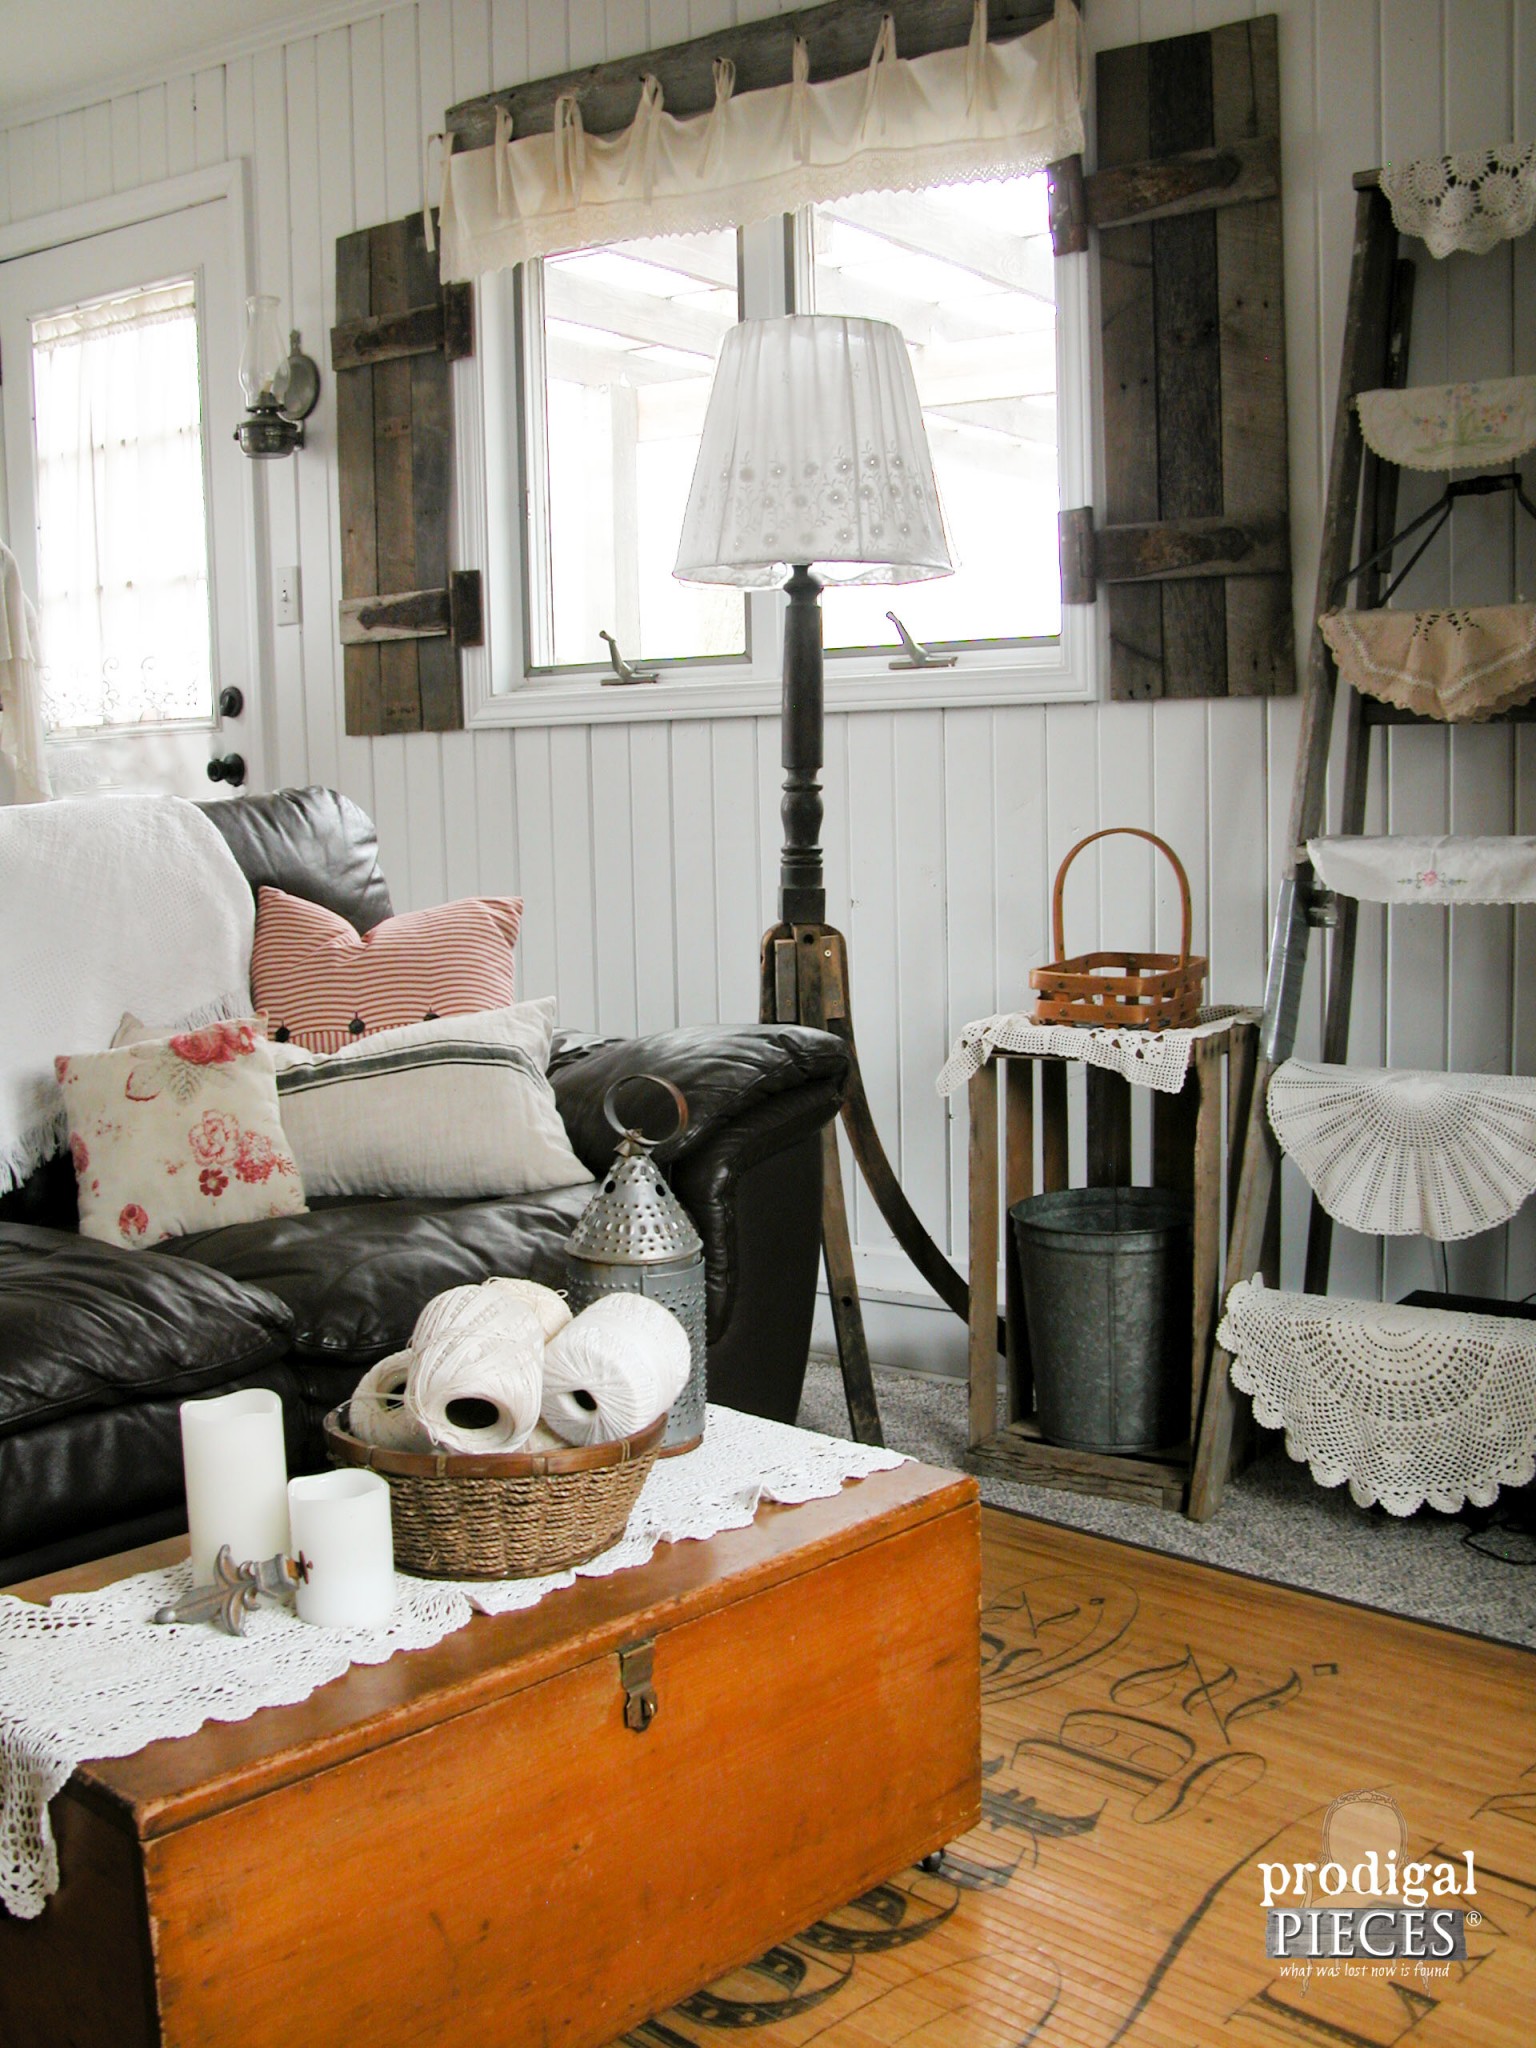
The day I finished it, I had the light turned on when he came home. I kept telling the kids he's going to hate it because he can't stand chippy stuff.
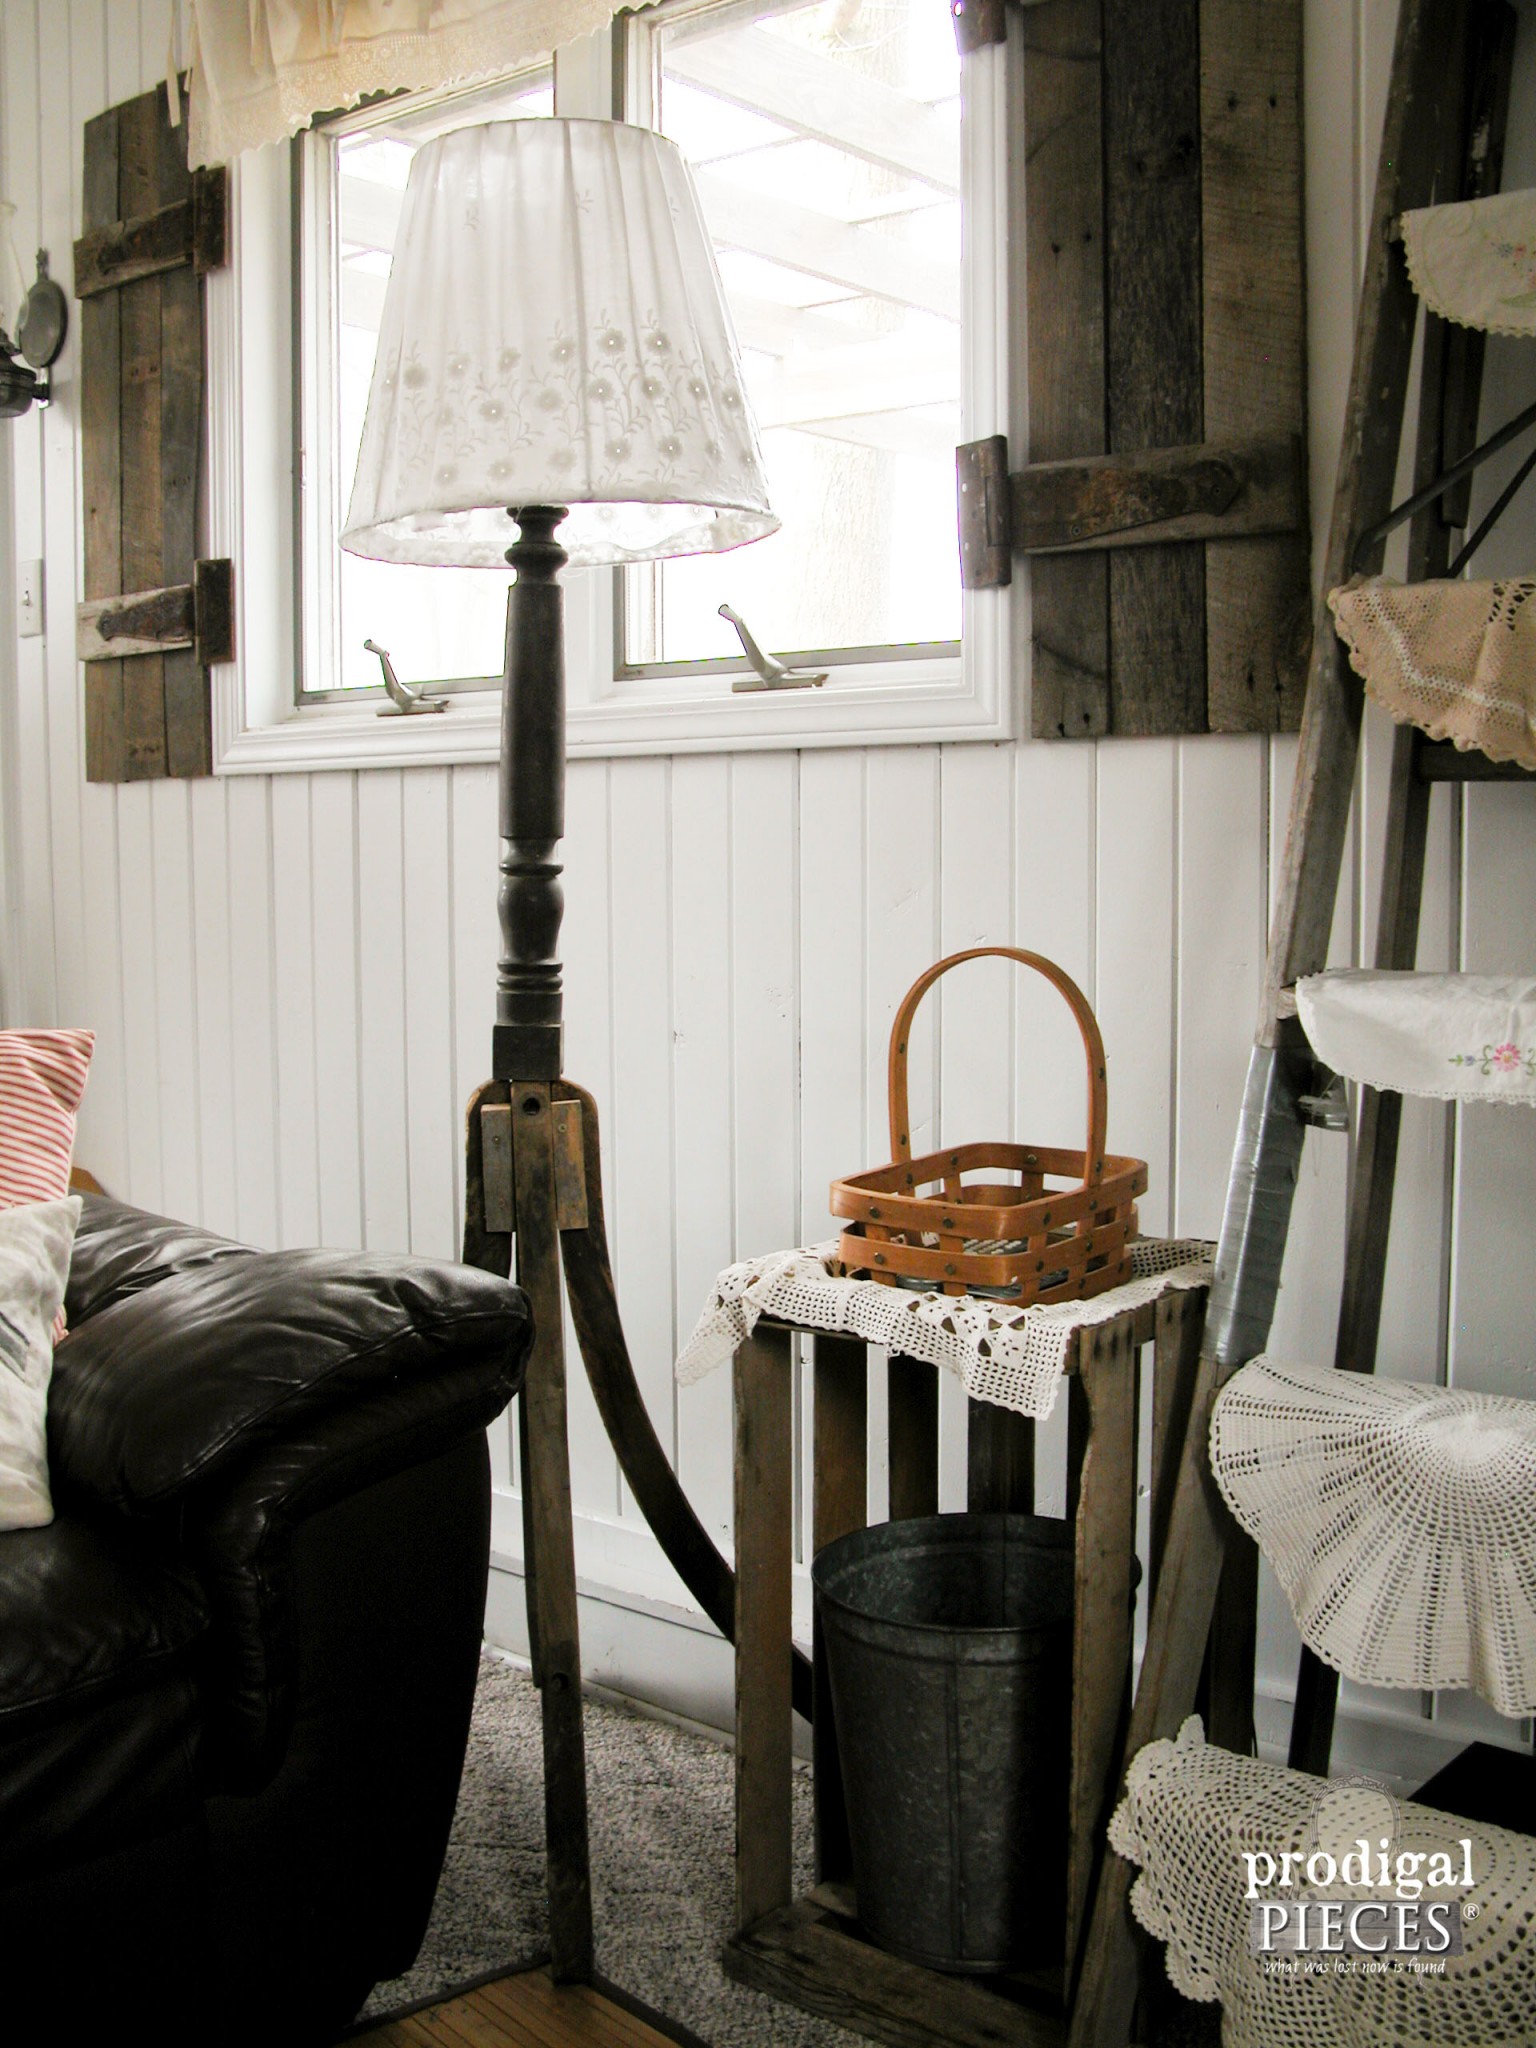
He thought my creation was worthy of keeping and now is a coveted reading spot for my family of bibliophiles.
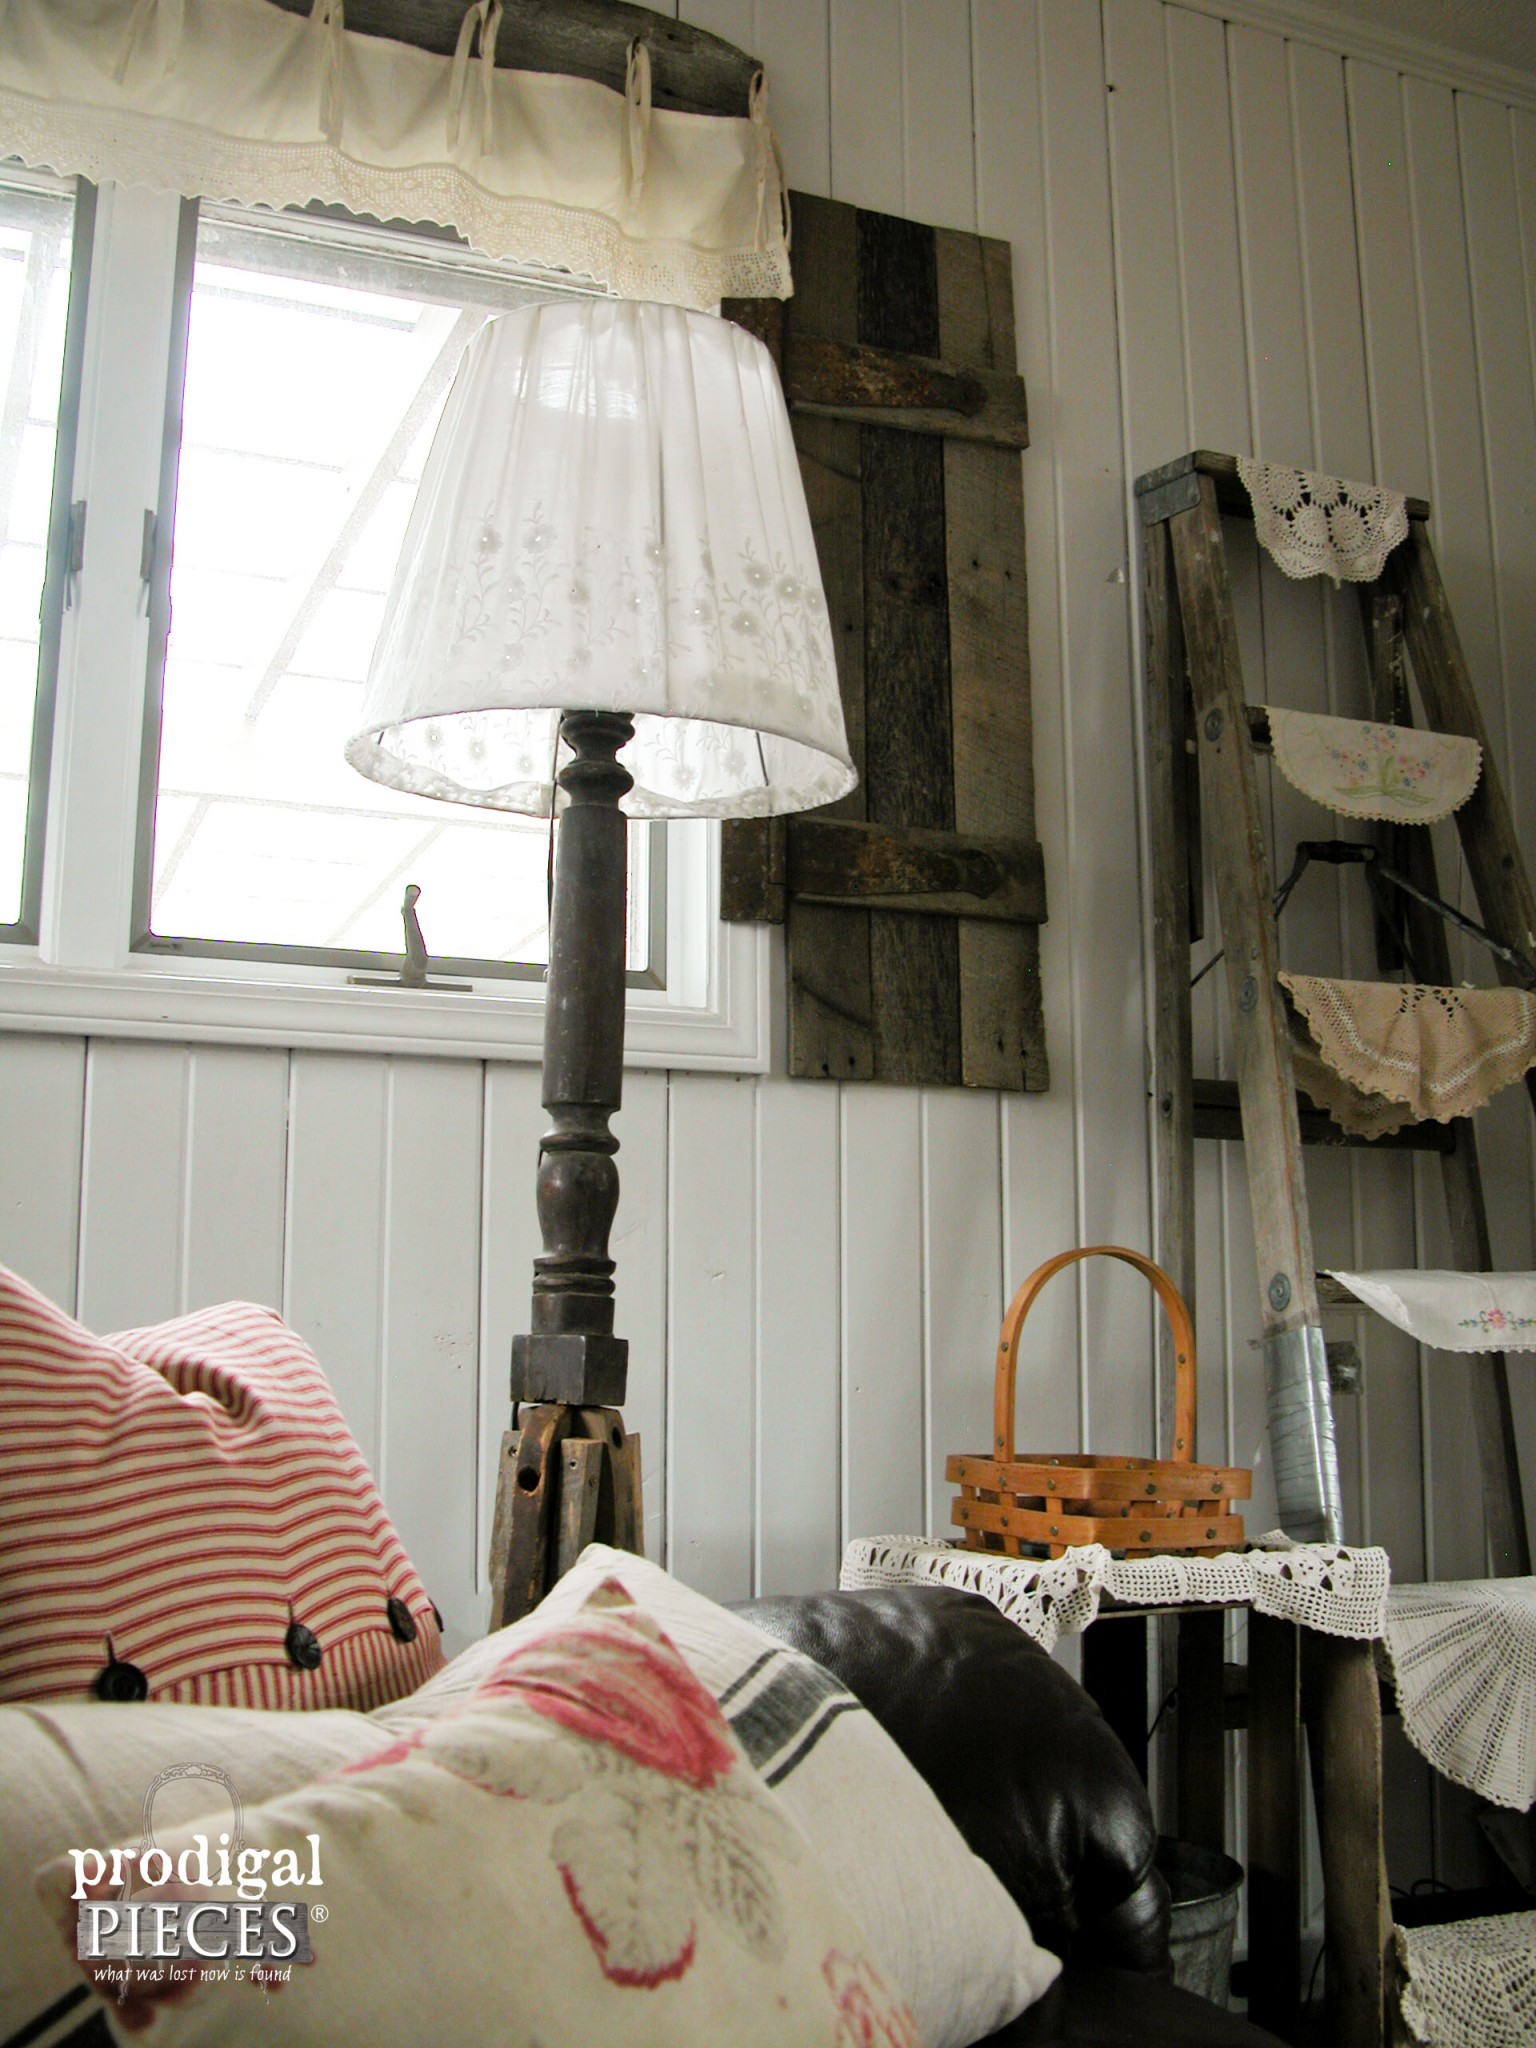
And yes, it does work. {wink}
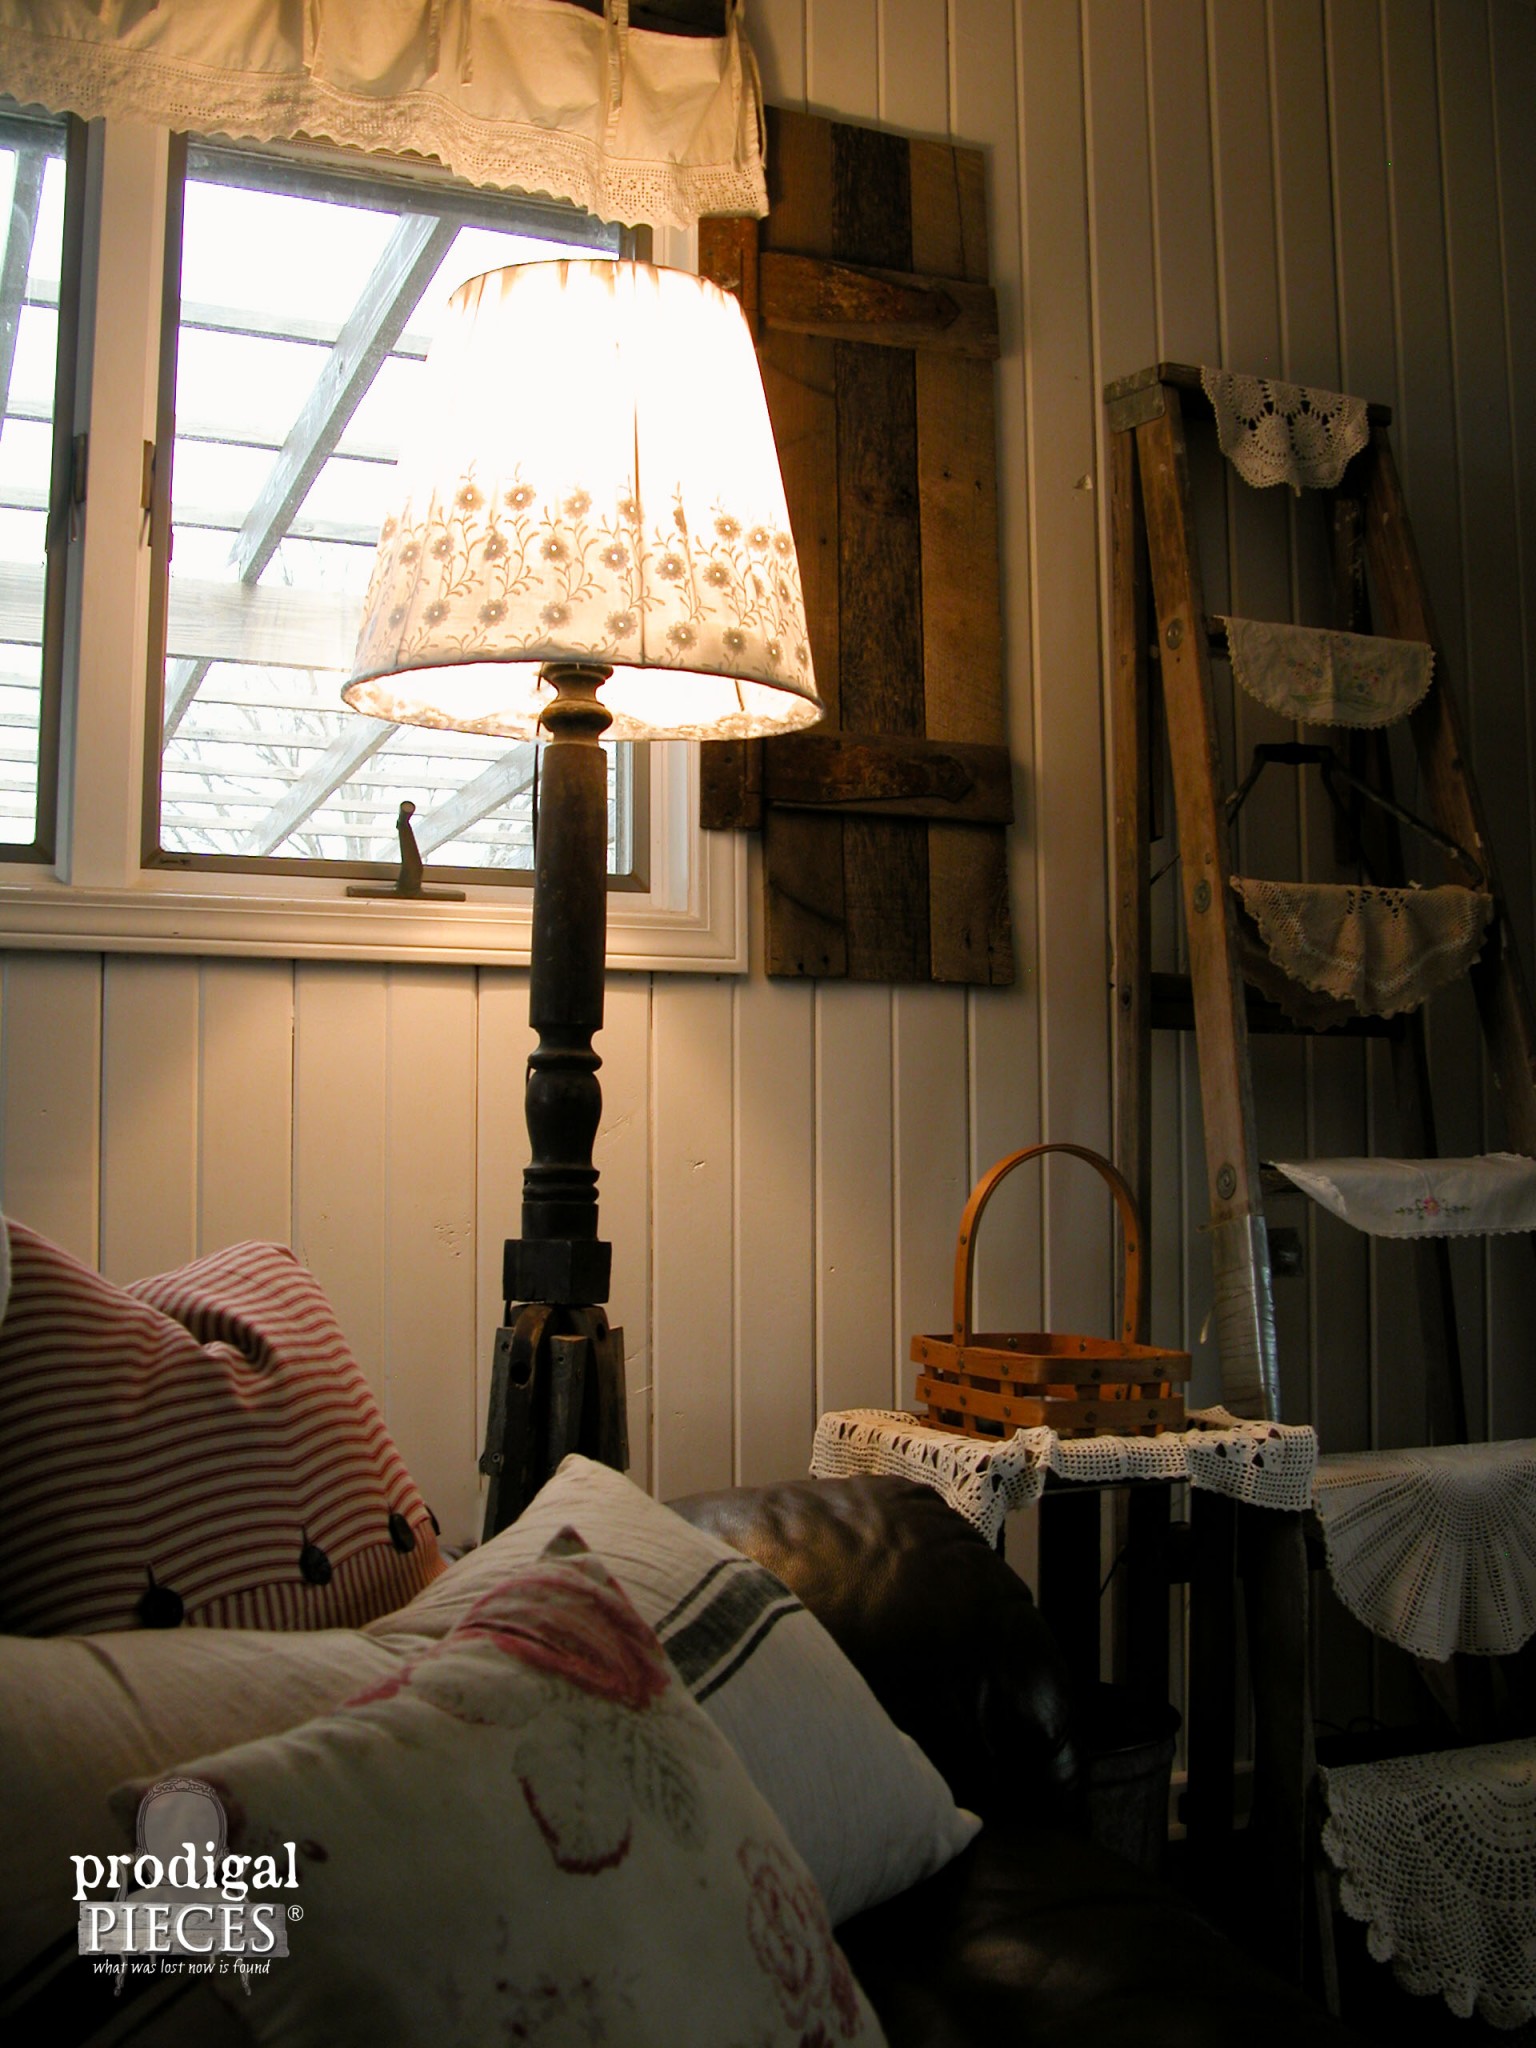
Our family room is next on the list after we complete our kitchen remodel (
update HERE). However, t is always changing with my funky decor. Yes, I know some would think this lamp is horrid, but it's mine and my home is made of things I create or find. I wouldn't have it any other way.
What is more, I'd love it if you would pin and share my repurposed antique rockers so that others can be inspired to get funky with their junk and turn it into a repurposed antique too! ♥
Before you go, be sure to
sign up for my FREE newsletter. Until next time!

 PINTEREST | EMAIL
Now, take a minute and check out what these ladies made from their trashure:
Next, I'm showing you what I created with these garage sale finds and show you how to do it too!
HEAD HERE.
While you're at it, here are more projects like my repurposed antique rockers:
 You see, every 2nd Tuesday of the month, my blogger friends and I have fun taking something cast-off and give it new life (be sure to see below for their projects too!). I choose these two sets of antique rockers I found at a garage sale this past summer for $1.
 Last week I mentioned this example in my paint a window screen tutorial. Likewise, I typically use rockers to make my hand-painted signs like this one from my DIY repurposed sign tutorial.
 But this time around, I envisioned something for all of them because when I was playing around with them after I brought them home, they looked cool like this...

 Additionally, I choose this leg to be used as the lamp post. Aren't the turnings fantastic? I would love to see what the table originally looked like.
 Now how to get that post and rocker base to marry... Well, the a week or so ago I threw away our shop broom because the head broke, but before I did I cut off the wooden handle (waste not, want not!). I decided to join the rockers at the head with some barn wood scraps, and then use the broom dowel as a pin to connect the rockers and the table leg together. In order to do that, I had to whittle it to fit.

 Only thing left was to wire it for electric. After that, I bought a lamp kit, but didn't like the brassy finish, so I used my Rust-Oleum Oil Rubbed Bronze spray paint to darken it up.
 Next, I added the lamp nipple to the post, and drilled in to add the wire.
 I like working with wiring and figuring things out, and how they work on the inside. I used to tear stuff apart as a kid and put it back together. Yes, I'm quirky like that.
Now all it needed was a lamp shade. While I could have easily bought a new one, that wouldn't match my rustic lamp now, would it? Off to the thrift store my kids and I go, and my youngest son found me this shade. However, it needs a new cover. Thankfully, I found a perfectly sized piece of cutwork curtain in my stash that I could use.
 Well, my husband didn't know I was creating this and one night he said, "I saw that coat rack thingy you're making...looks cool". I laughed and said, "It's not a coat rack." Good guess, but little did he know.
 The day I finished it, I had the light turned on when he came home. I kept telling the kids he's going to hate it because he can't stand chippy stuff.
 He thought my creation was worthy of keeping and now is a coveted reading spot for my family of bibliophiles.
 And yes, it does work. {wink}
 Our family room is next on the list after we complete our kitchen remodel (update HERE). However, t is always changing with my funky decor. Yes, I know some would think this lamp is horrid, but it's mine and my home is made of things I create or find. I wouldn't have it any other way.
What is more, I'd love it if you would pin and share my repurposed antique rockers so that others can be inspired to get funky with their junk and turn it into a repurposed antique too! ♥
 Before you go, be sure to sign up for my FREE newsletter. Until next time!
 Now, take a minute and check out what these ladies made from their trashure:
 Artsy Chicks Rule
 Girl in the Garage
 Confessions of a Serial DIYer
 Bless'er House

