In my fleatiquing adventures, I often find this style of window screen that once was used in a barn or some other primitive structure.
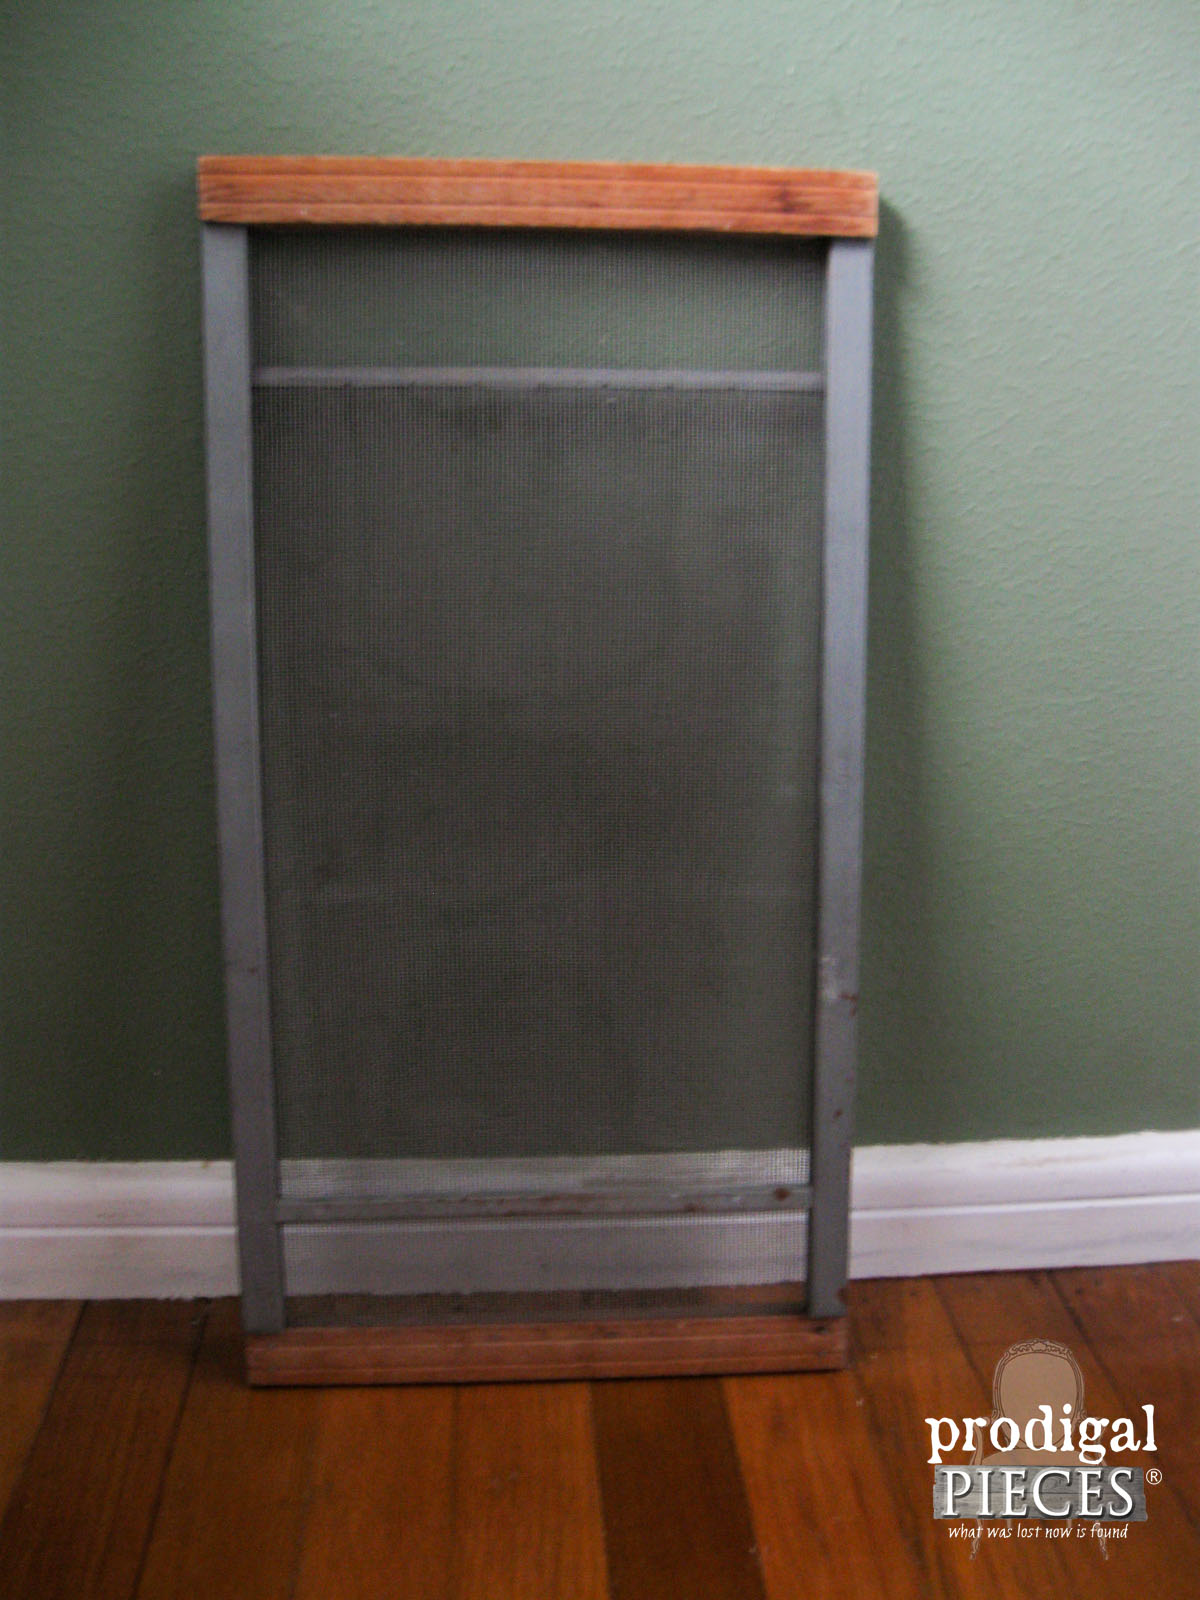 It can expand to twice its size and is a total blank slate for a new purpose. In the past, I've used screens to create wall art for my shop, like this "JOY" sign.
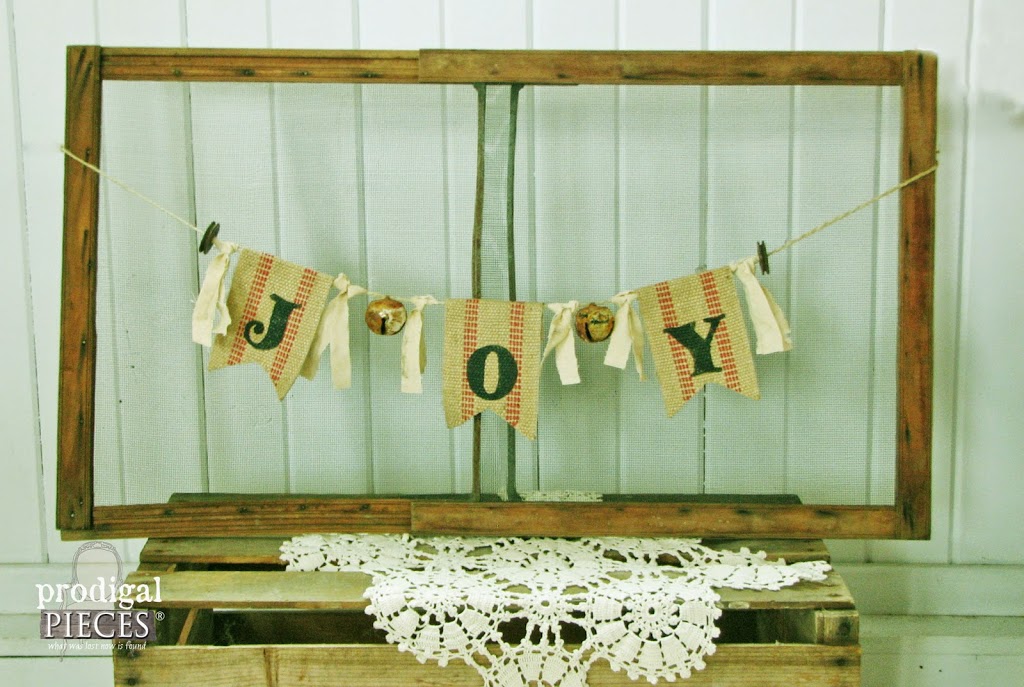 When I found the screen for this project at a flea market back in early summer, I snatched it up knowing it had potential. However, this time I knew I wanted to create a sign with it. Also, I decided to do it in the likeness of my repurposed Vera Bradley sign paired with an antique rocker.
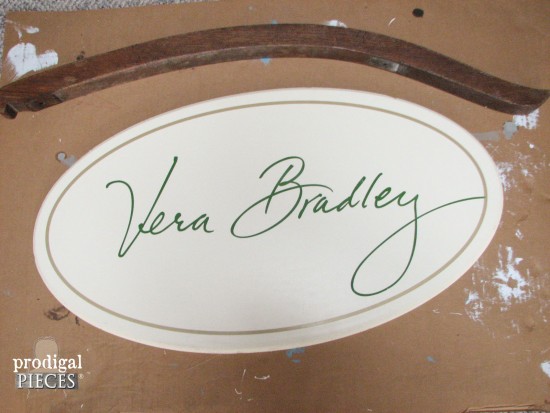
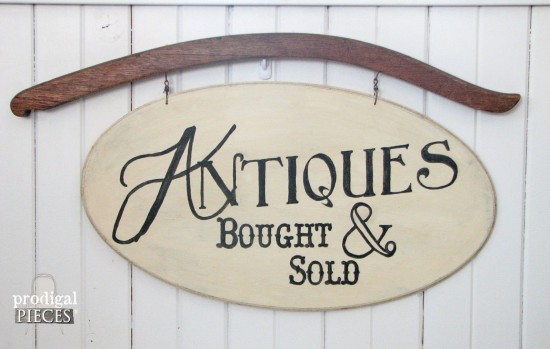 Want to give it a try? Just grab any old screen or make a new one to look old, you can even do your house screens and doors. Check out this video on how painted screens are used in daily life...so cool!
DIY TIME
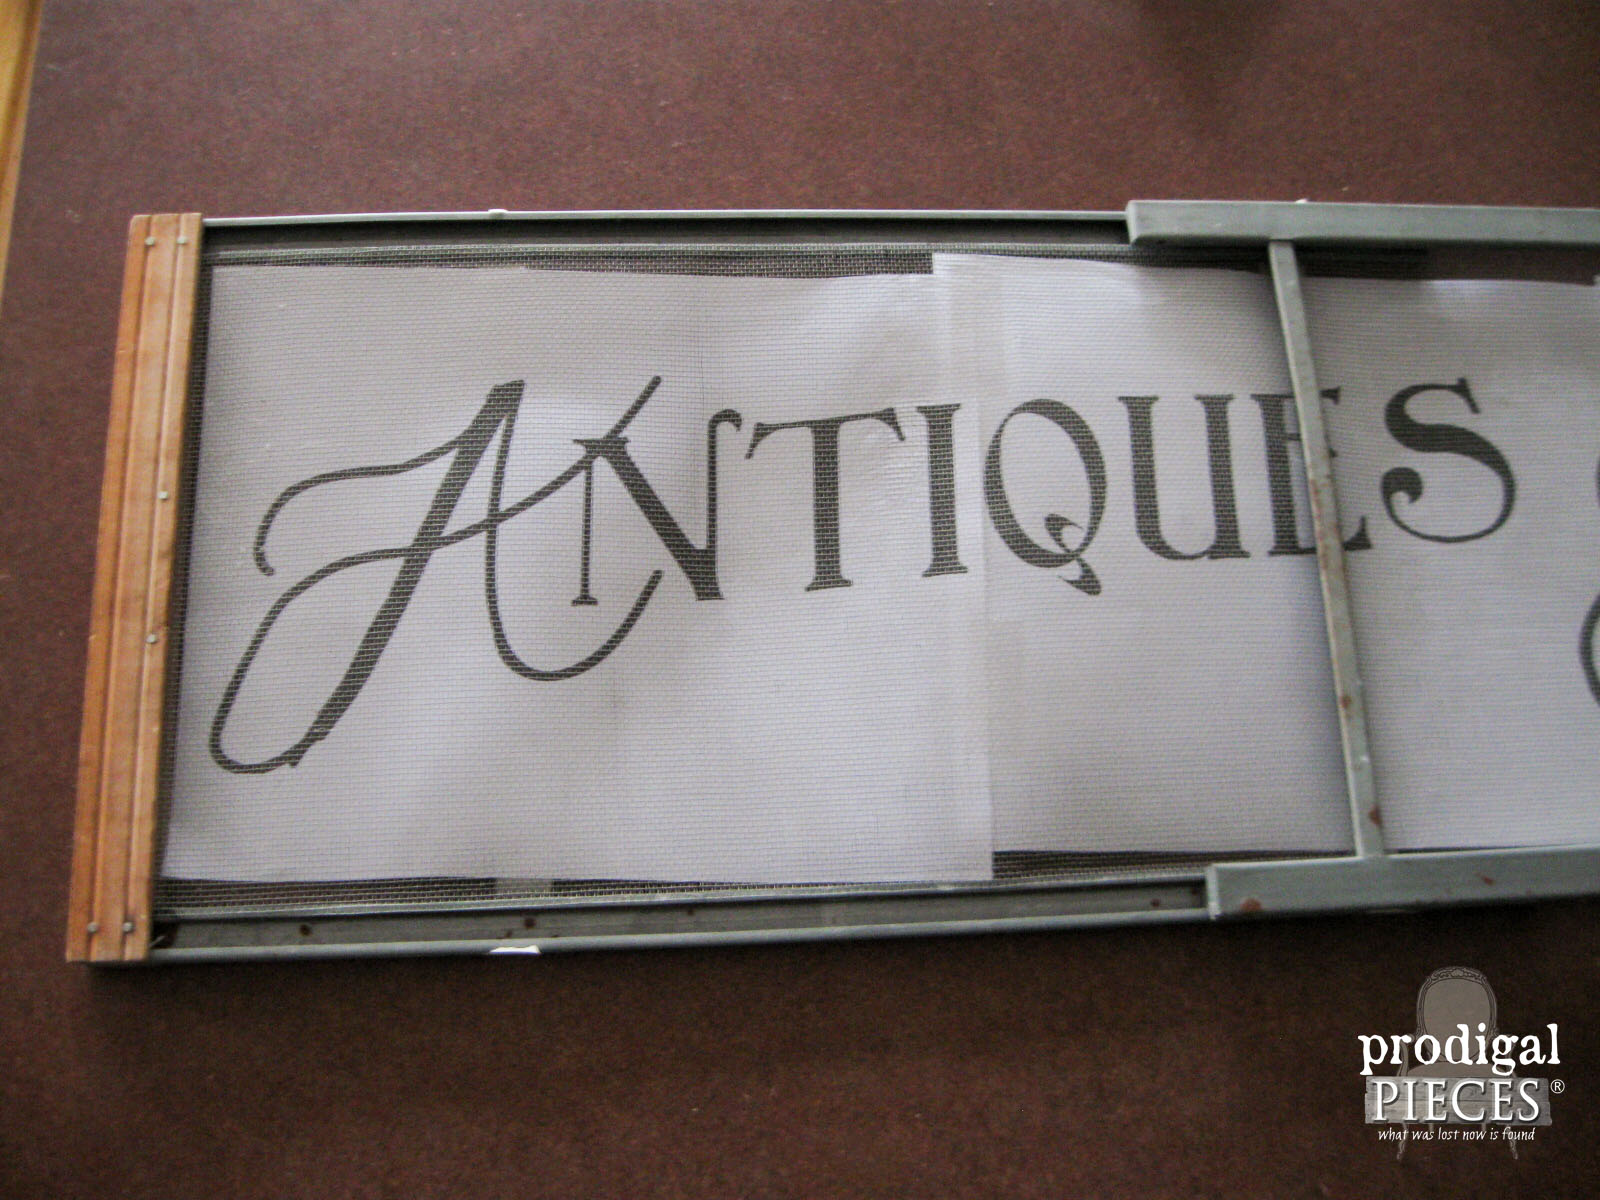
Ready? Let's get started! First, measure the inside dimensions of your screen from edge to edge. Once you have those parameters, head to my DIY sign tutorial. You are going to create the sign graphic you will be using in Photoshop or Microsoft Word (or whatever program you would normally use to create a graphic). Have fun with it...use it to display your favorite quote, or scenery, an animal, or even in the likeness of an old sign like I am doing. Then, Once you have your sign graphic created and printed out, place it on the oack side of the screen you are going to paint and tape to secure.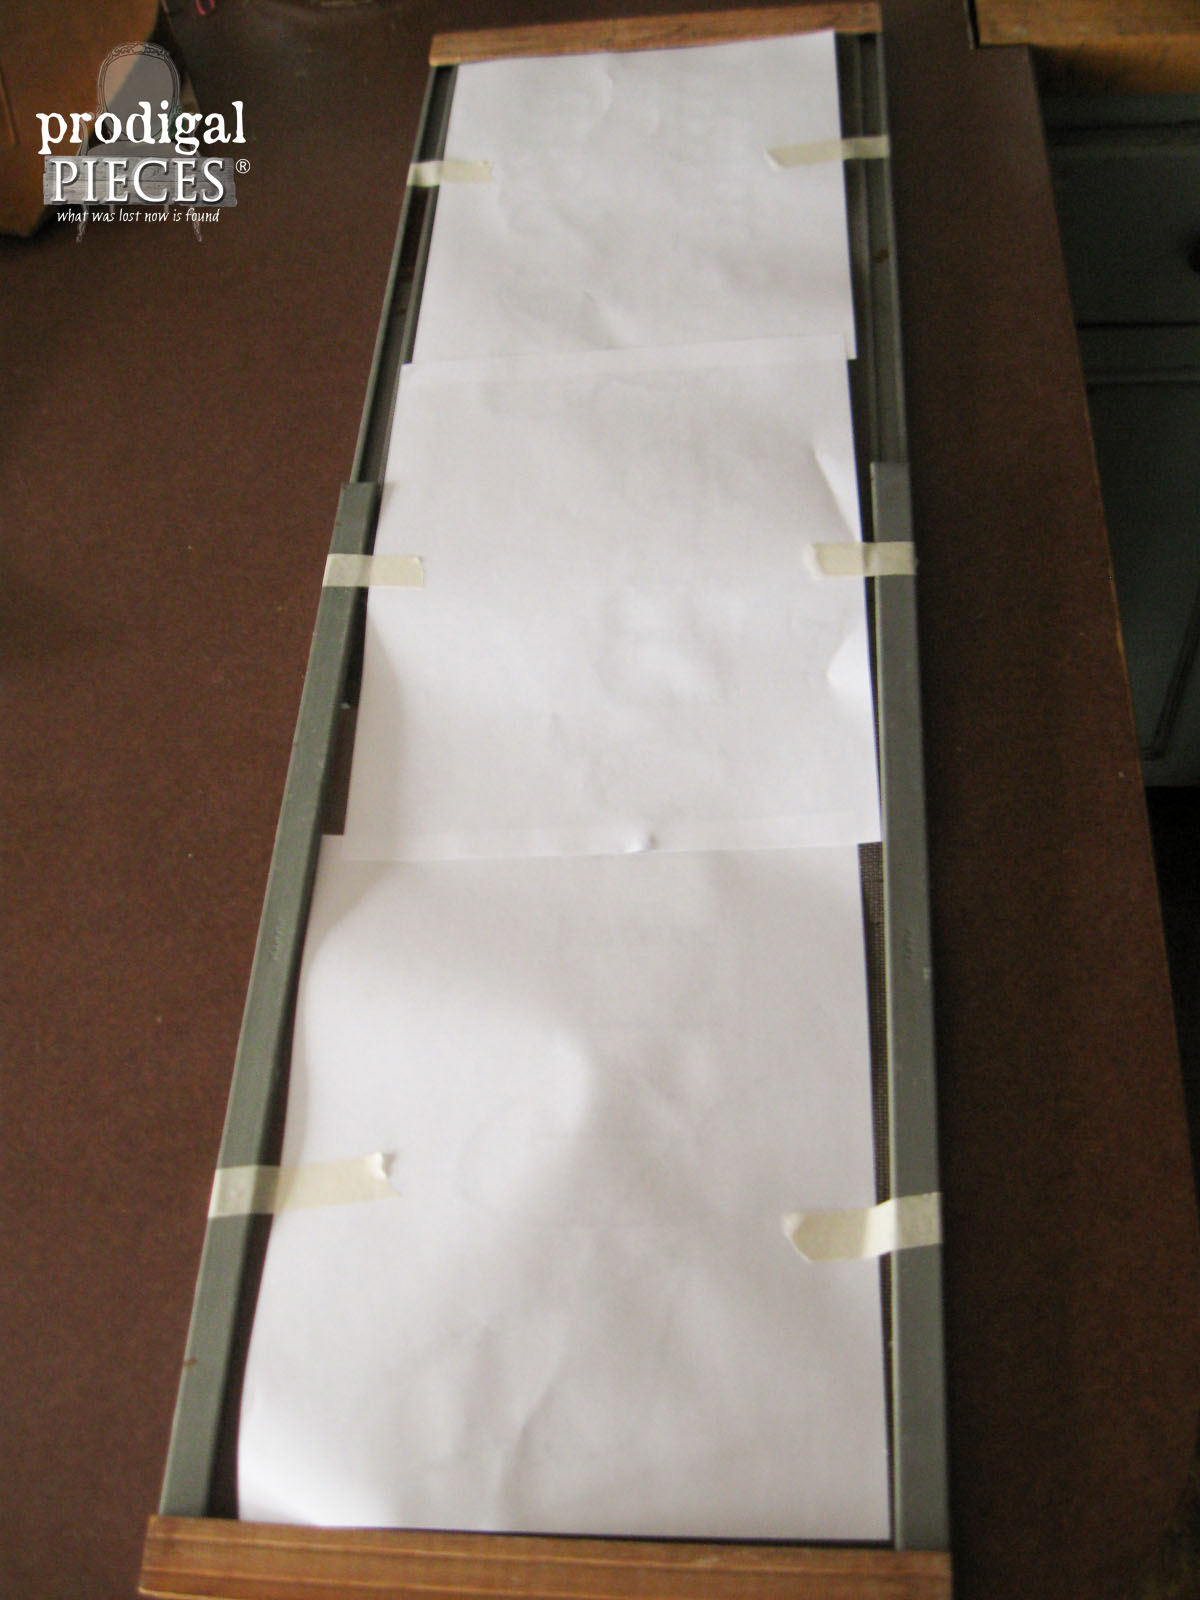 Flip your screen over and this is what you will see.
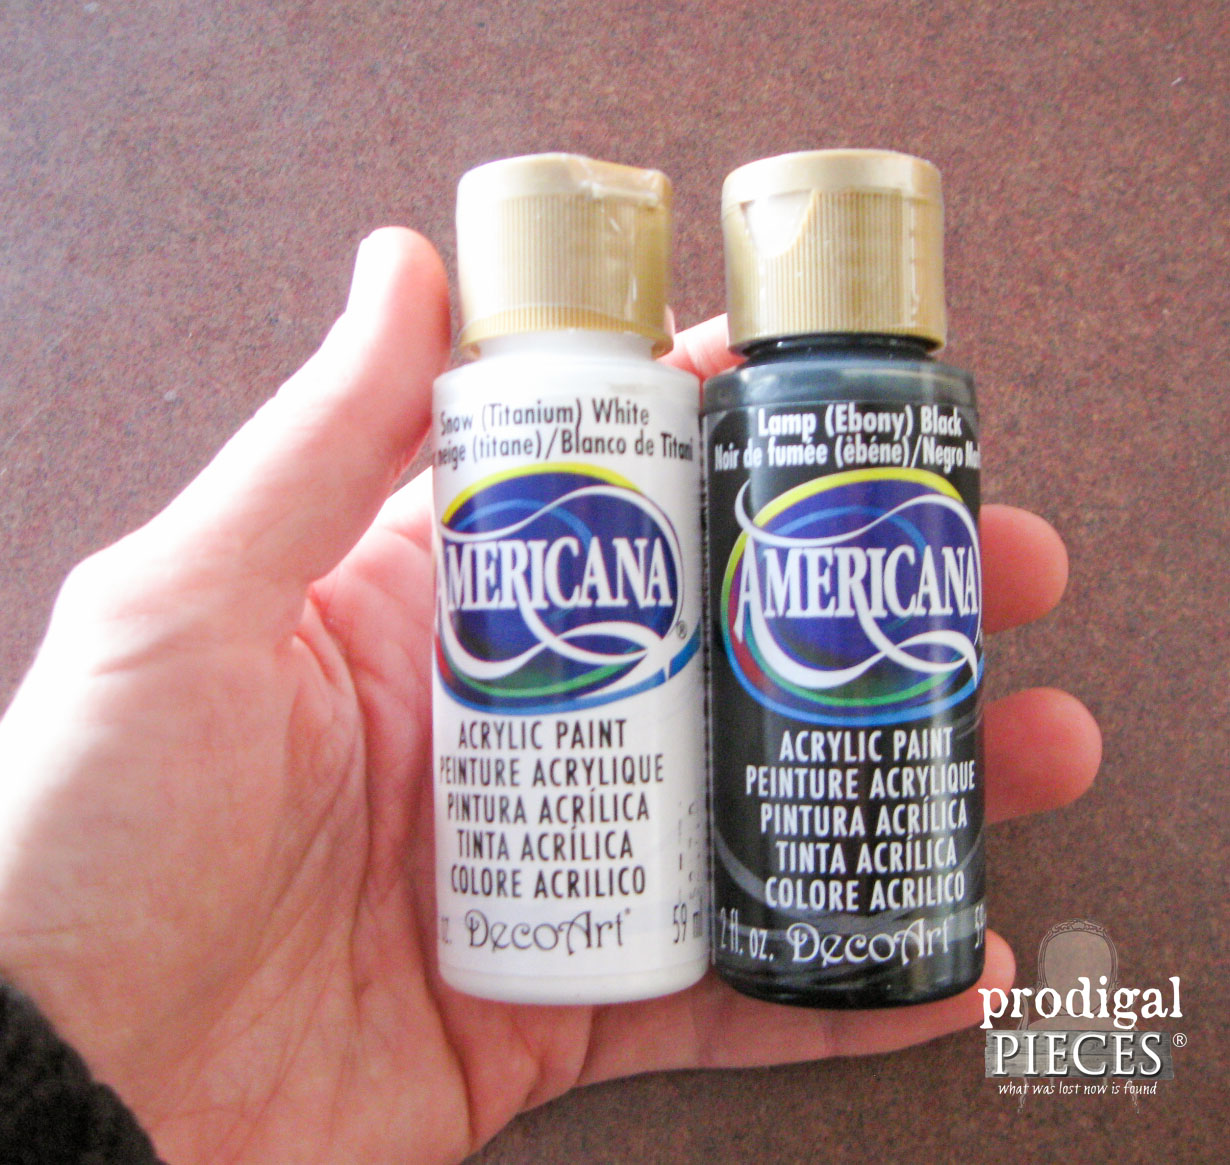
 You will need two basic acrylic paints: a white and a black, along with an artist's brush. My favorite brush is a round 5.
NEXT STEPS
The next step is to paint over the words with the white paint. This part was fun and stress-free because it's hard to mess up the lettering. Just make sure you are not clogging those screen holes - either blow through the screen if it clogs or use a toothpick to poke the clog clear. Lightly dip your brush in and apply. Less is more in this instance.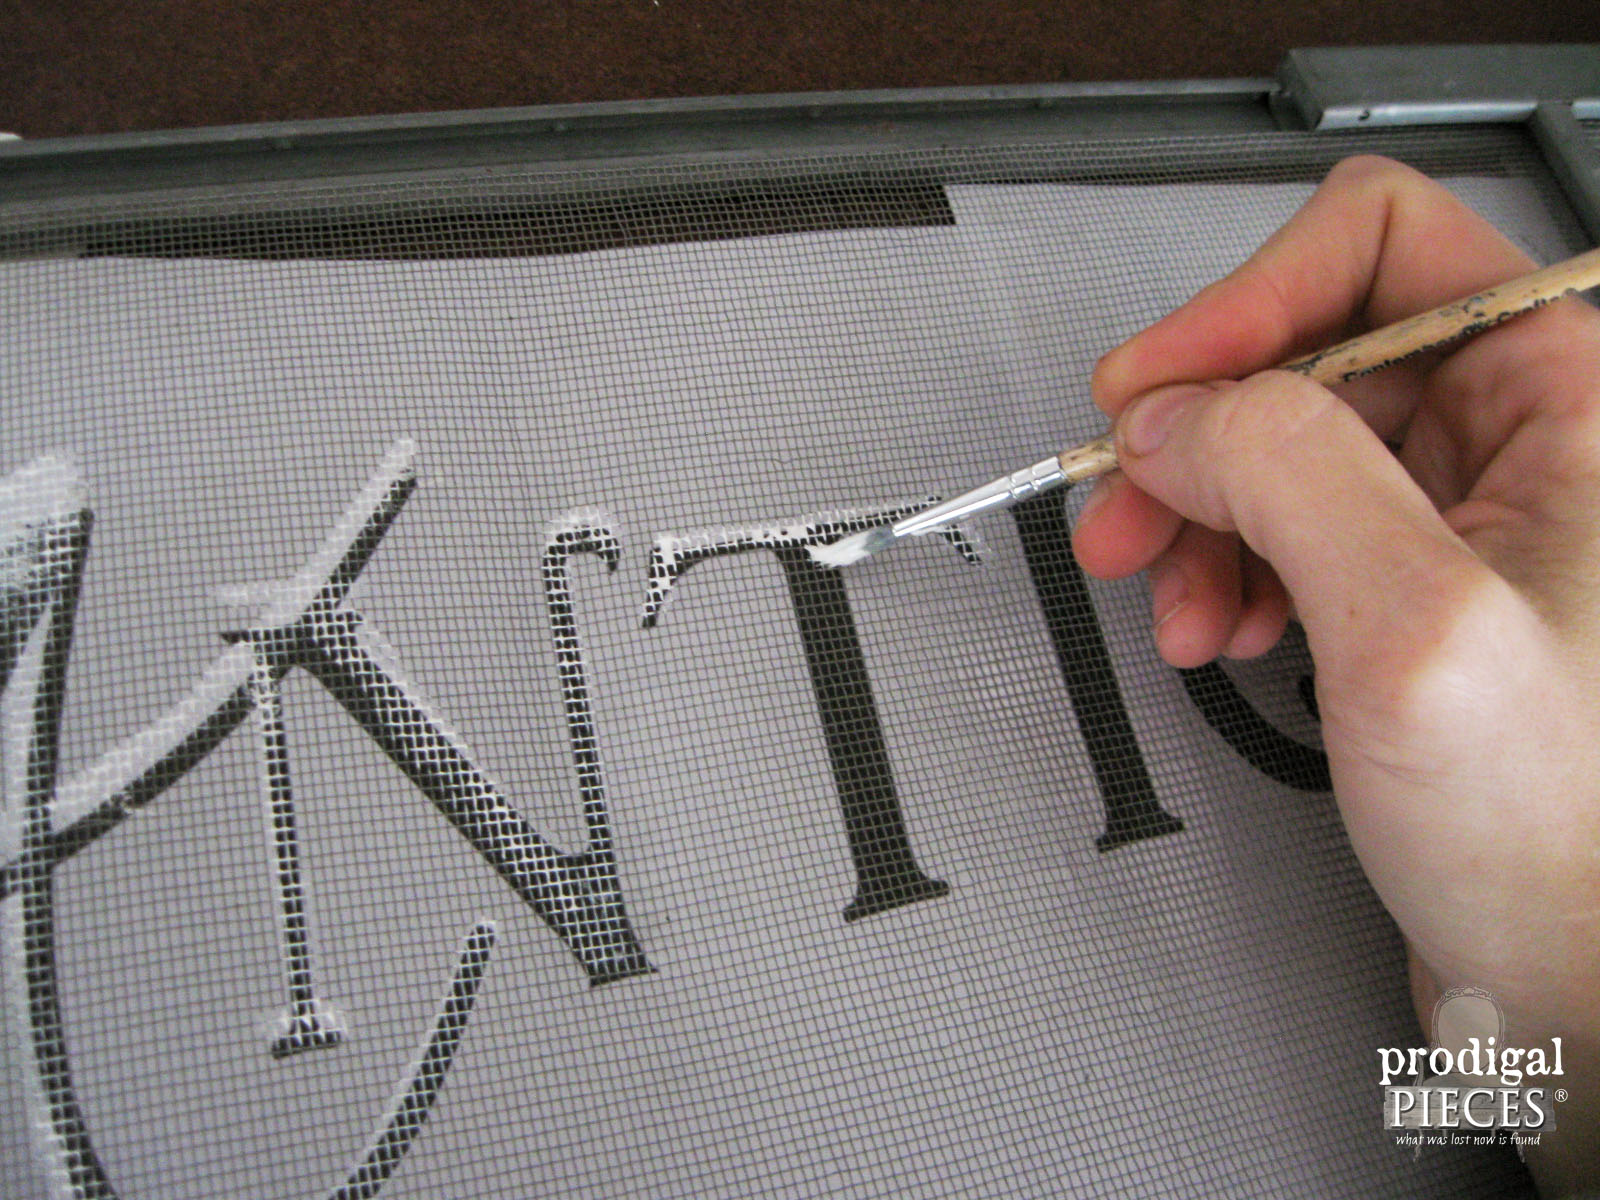 I went over my letters two times with a white and then decided it looked too flat, so I add shadowing using my black paint once the white is dry.
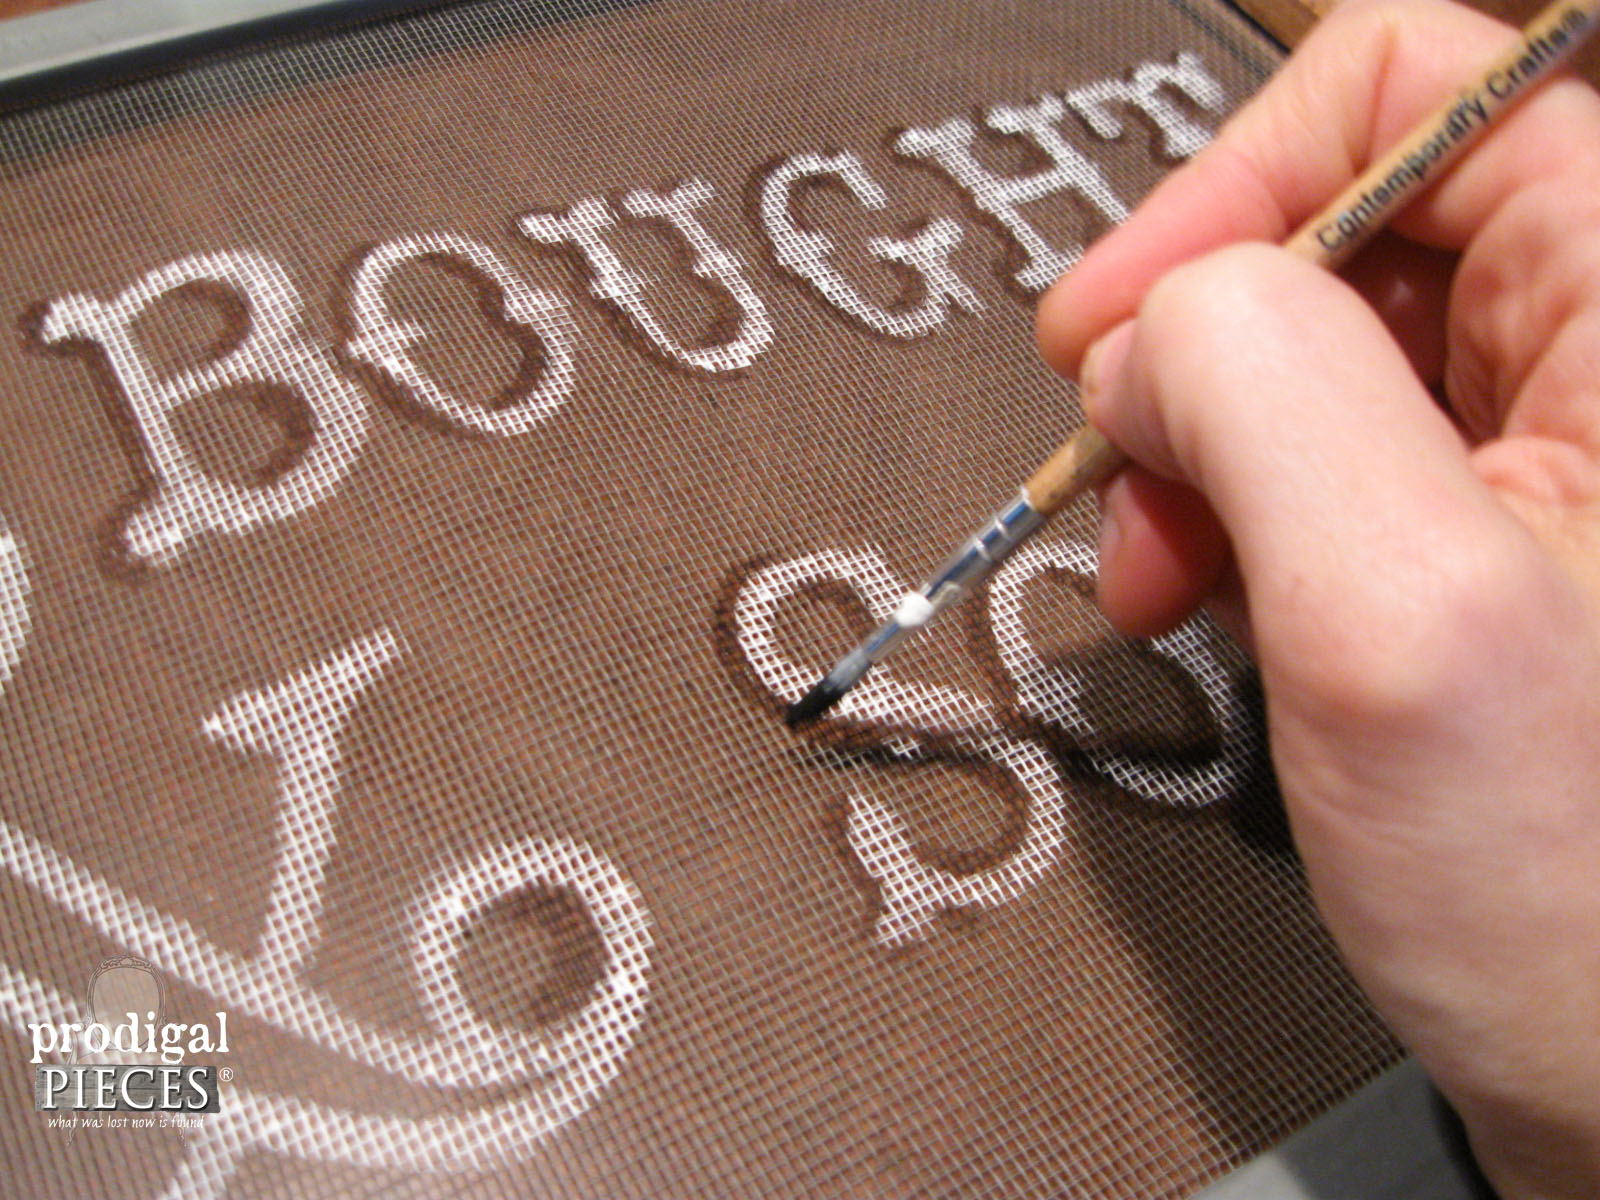 See how it makes the letters pop out? Fun!
THE REVEAL
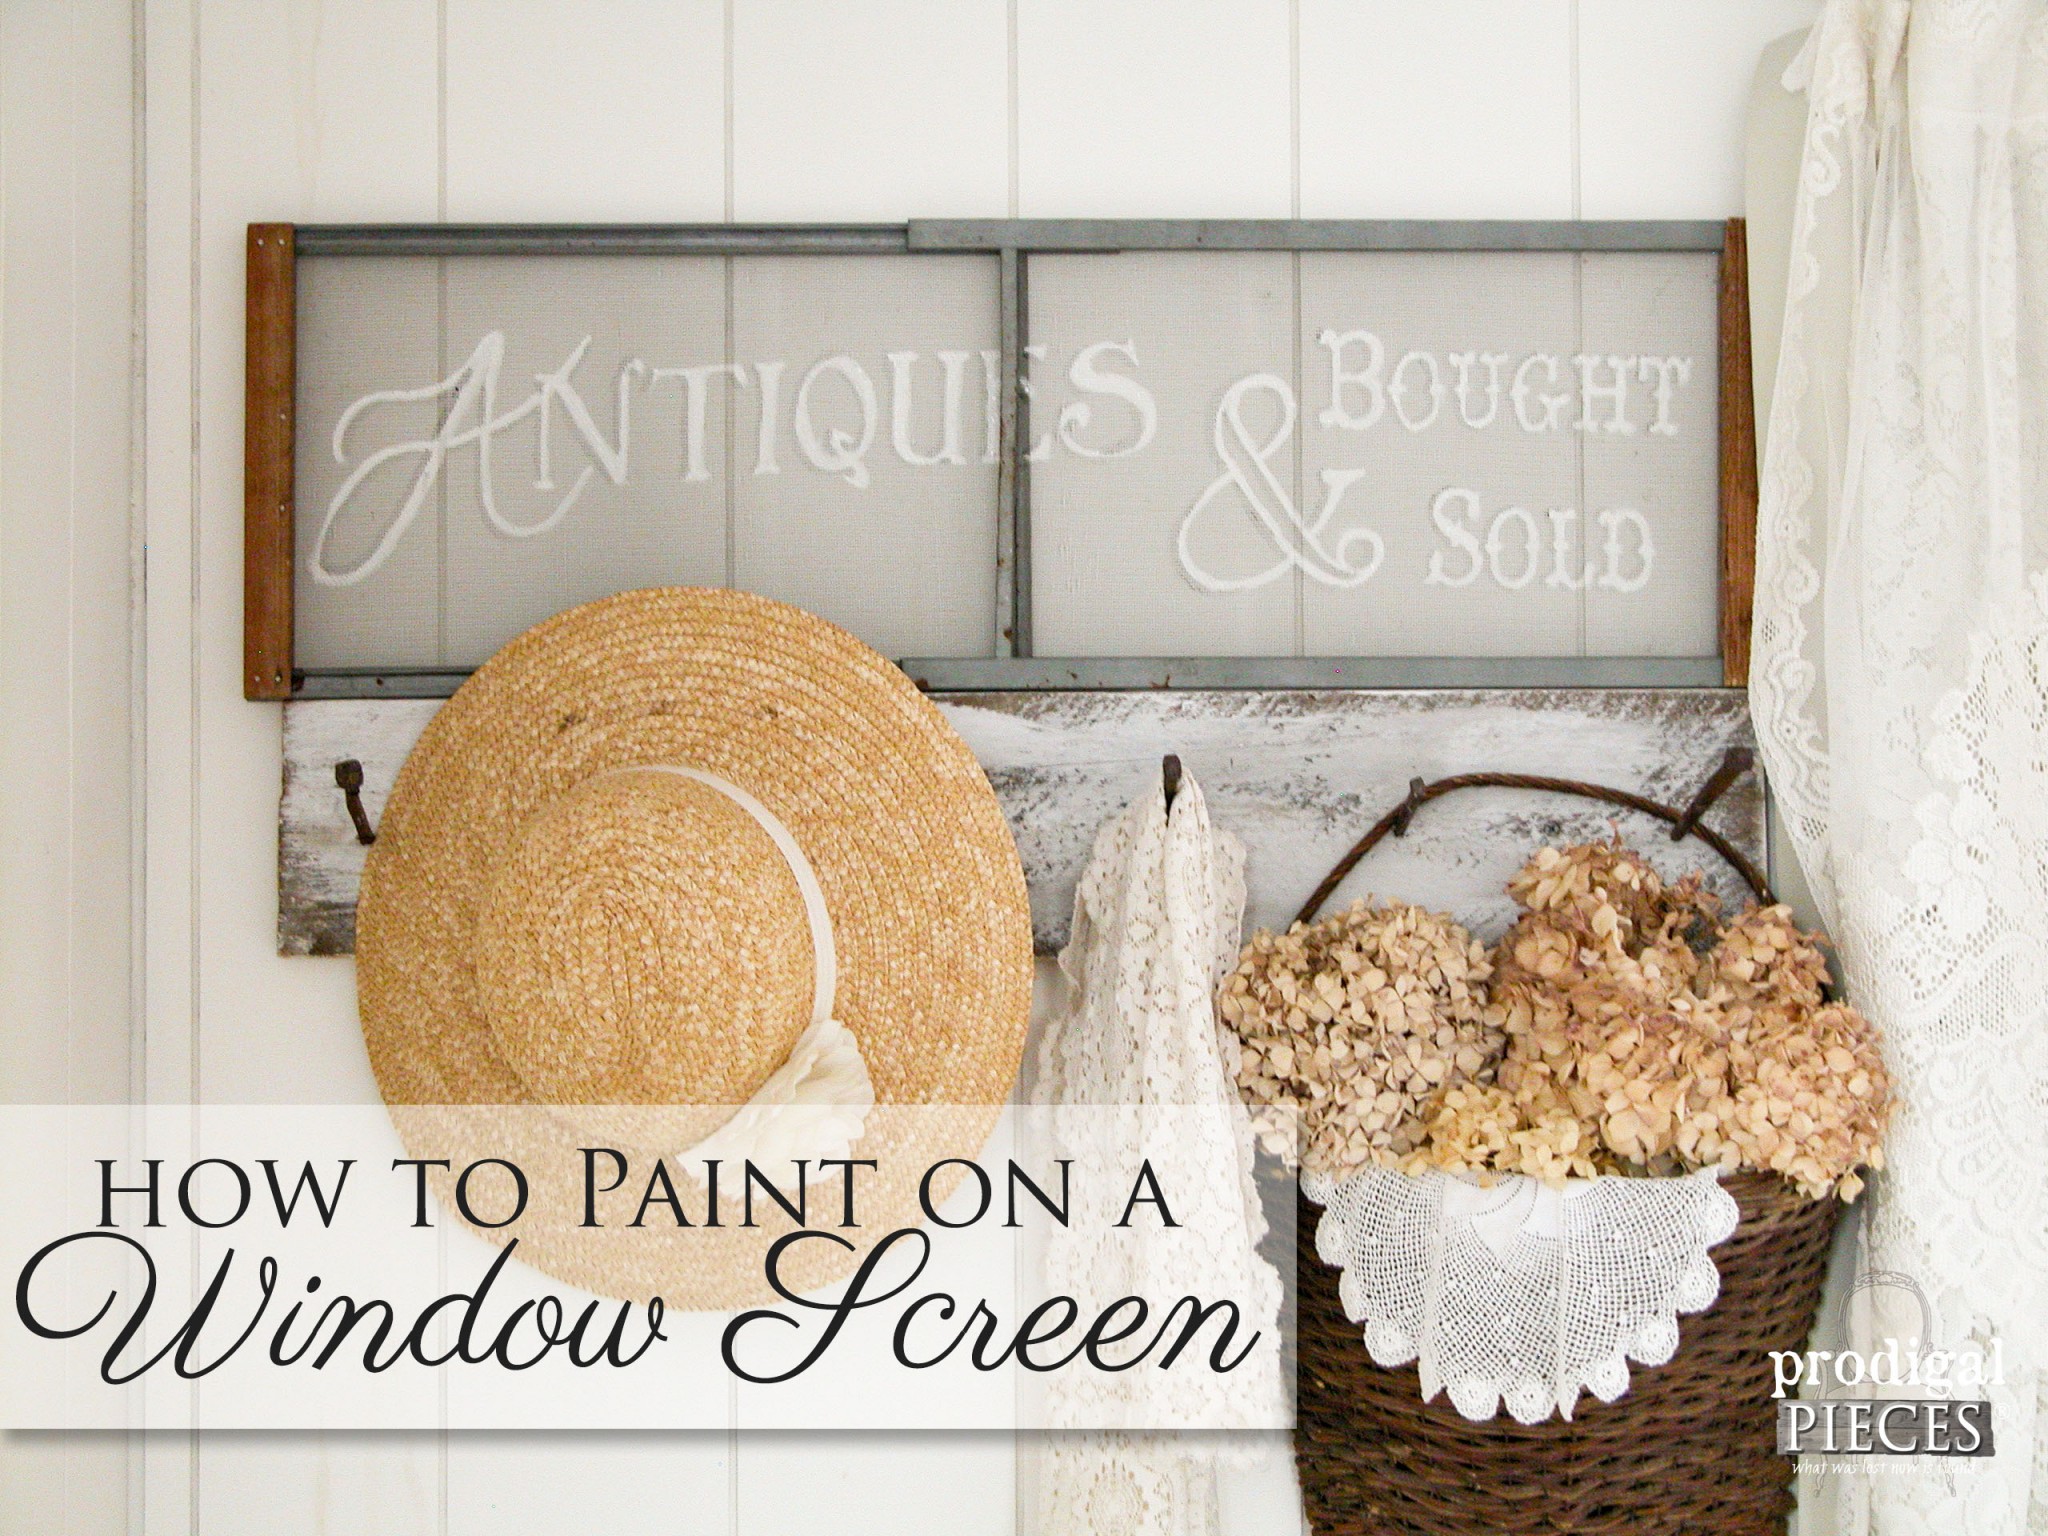
I'm loving the rustic, primitive feel of it, and can't wait to snatch up more screens while I'm out fleatiquing.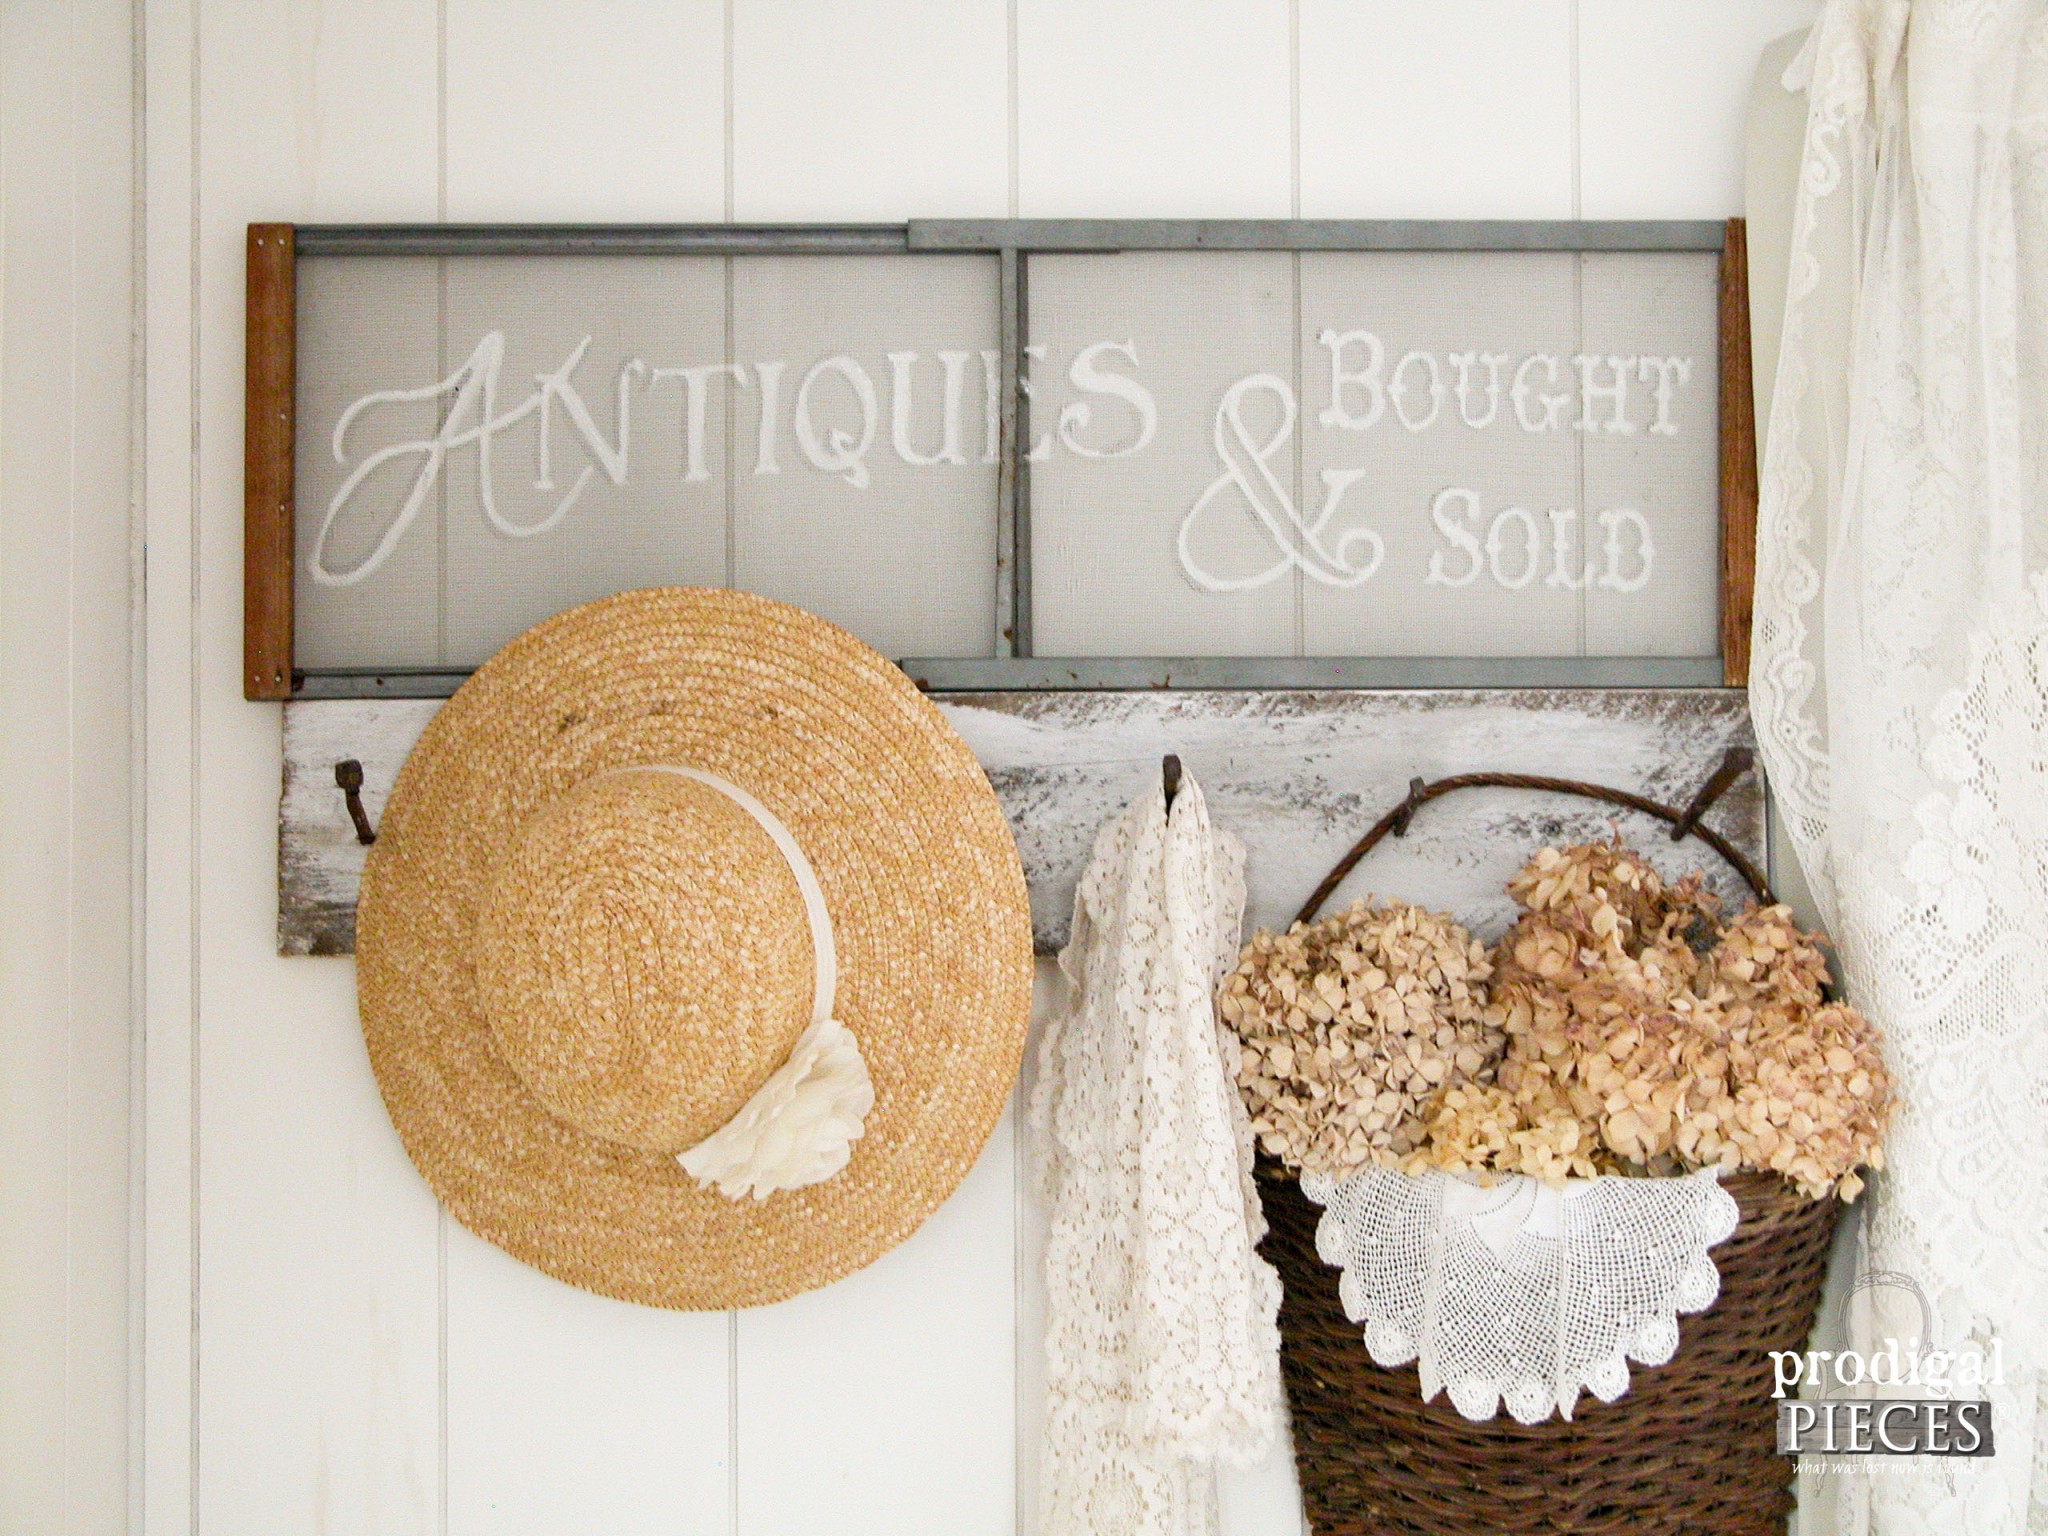 Nothing like adding unique decor to your home...you won't find this in a department store. woot woot! If you're not into DIY or just plain love my sign, you can find it available in my shop. (SOLD, but I have others!)
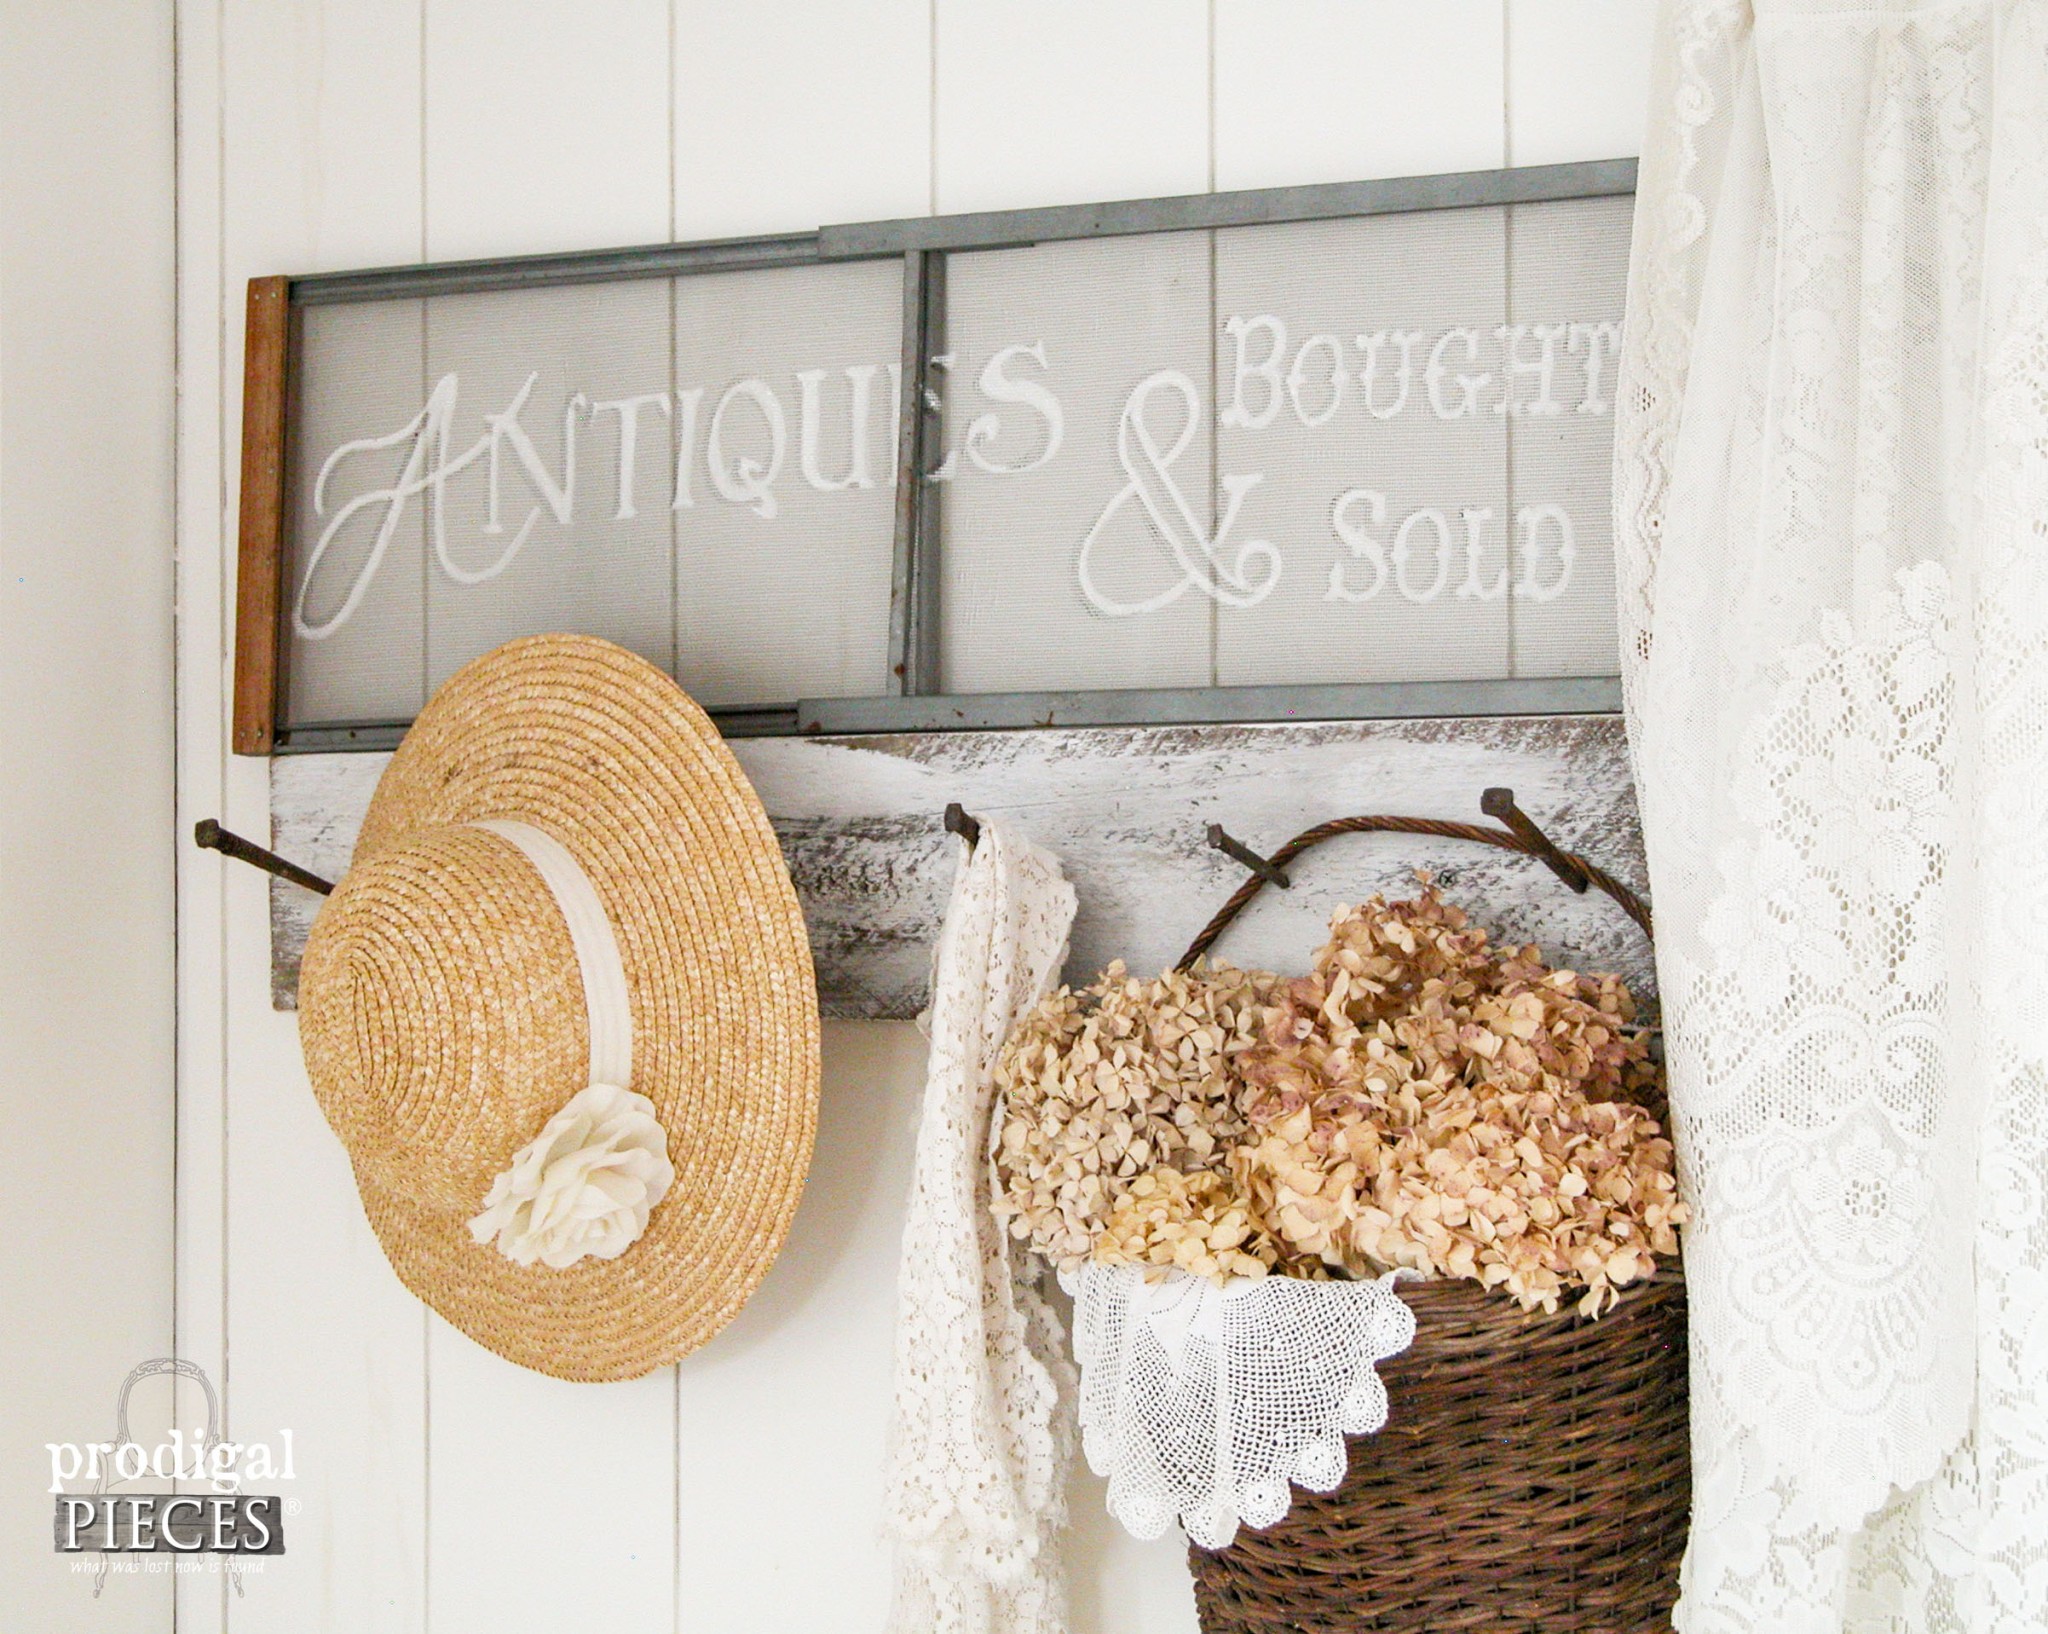 In addition, I hope you've enjoyed this simple project on how to paint a window screen. I would love it if you would pin and share to inspire others to look at cast-offs in a different light. ♥
 Next up is Trash to Treasure Tuesday (say that five times fast!) I will be showing you what I make with these...hee hee hee. Head HERE TO SEE.
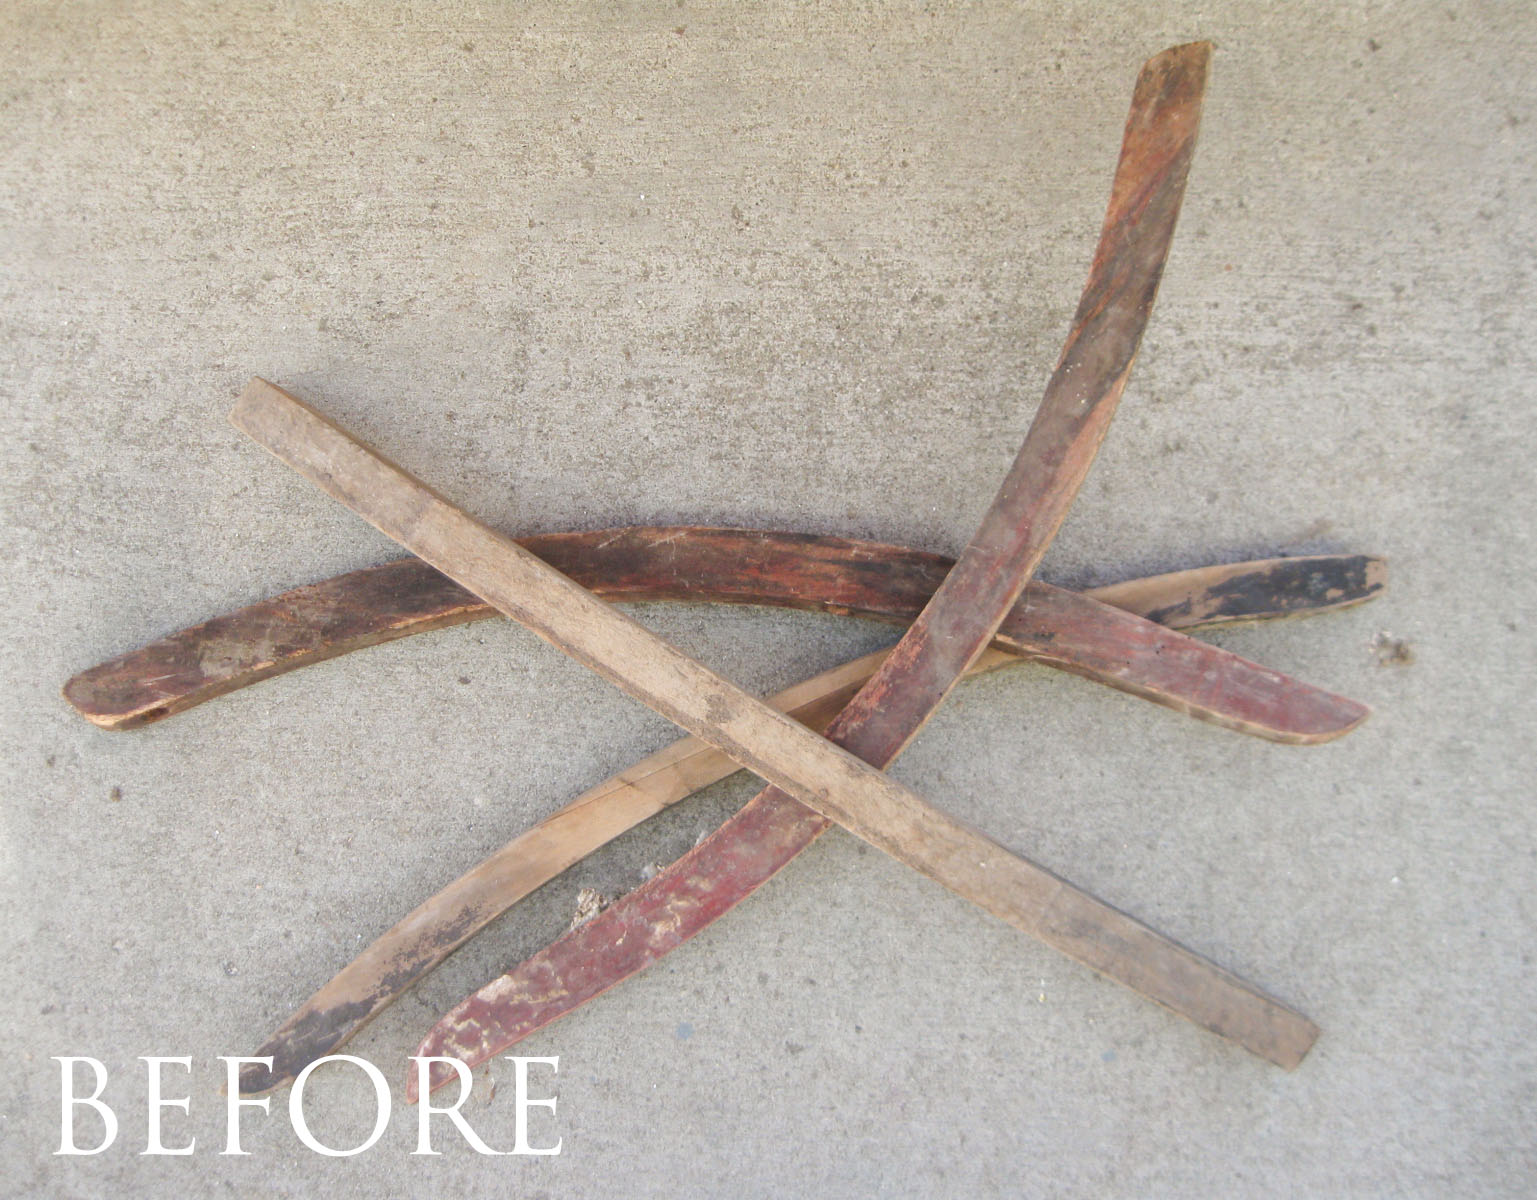 To get these DIY tips & tricks in your inbox, be sure to sign up for my newsletter. PLUS, you will get your FREE Furniture Buying Checklist and special discount to my shop. Until next time!

Also, more repurposed DIY's like painted window screen:
