BEGINNINGS
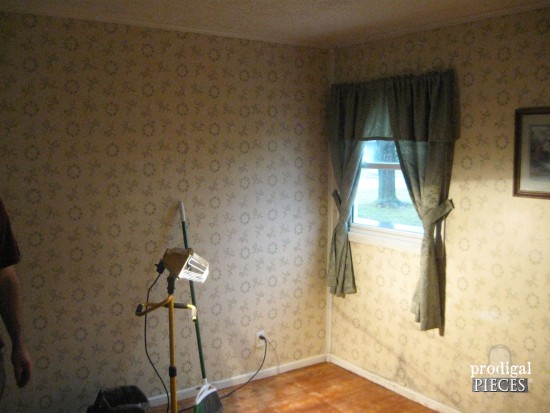
Here' what the start looked like...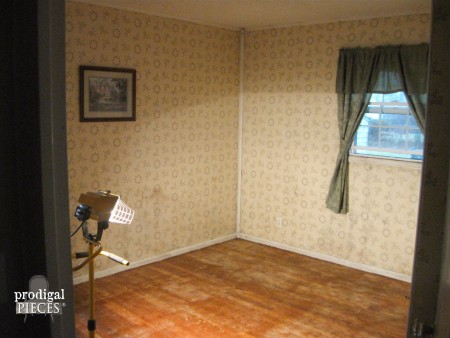 This is the other side wall, which looks similar because it's a 12' x 12' room.
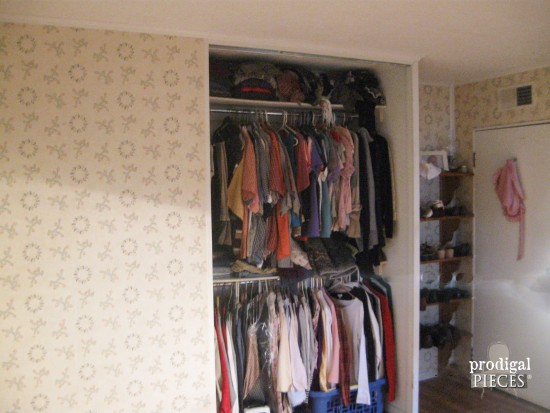
 And then there's the closet...
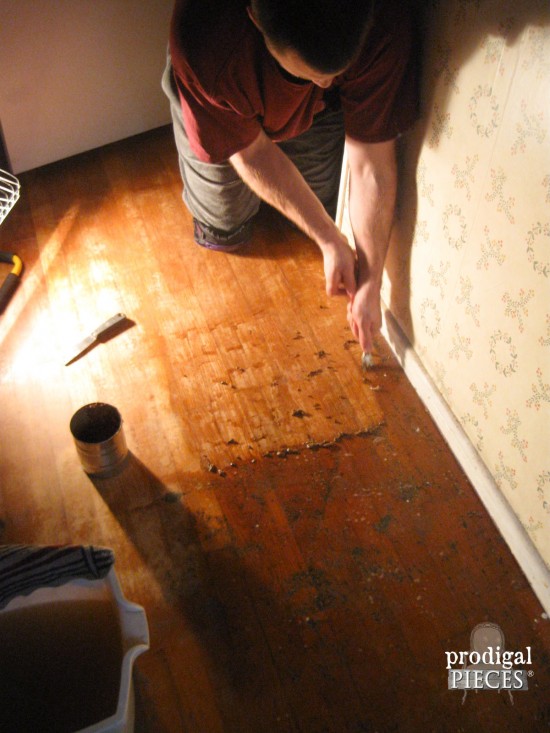
 I'm not at the point of being able to get on hand and knees with baby bump and already aching back.
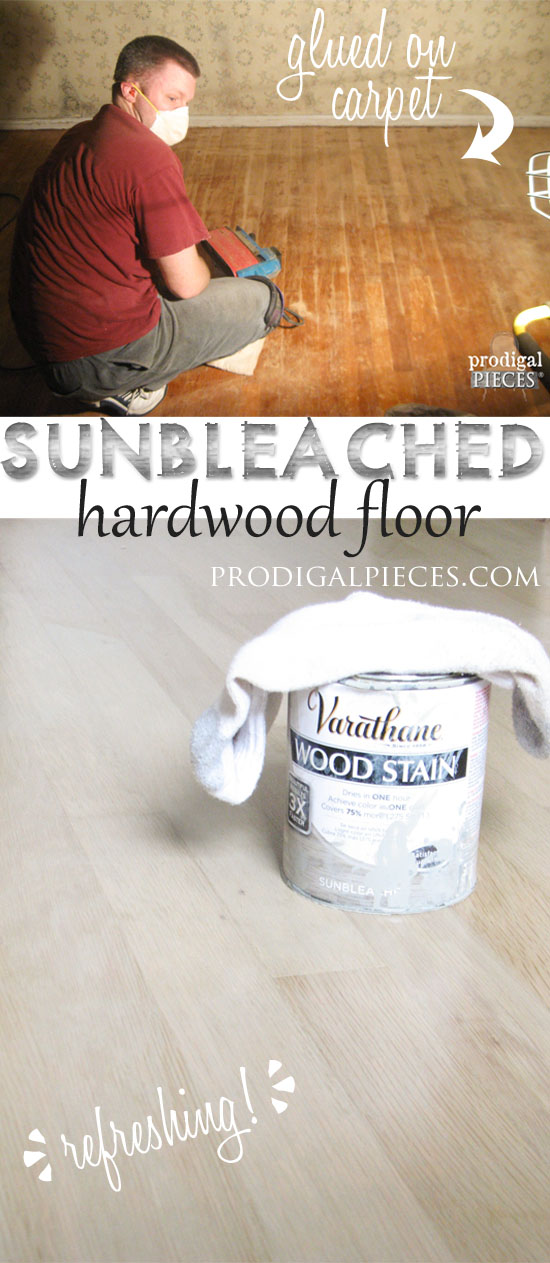
When he works 10-12 hr. days, the only time to make progress is in the little bit of evening you get and on weekends. So... every night for two weeks he would grab the bottle of Krud Kutter Adhesive Remover and his scraper and work in small patches to remove the gunk.
 You might wonder why we didn't just sand the floor down. However, sanding was not an option because we would blow our whole budget on sanding pads alone.
DIY TIME
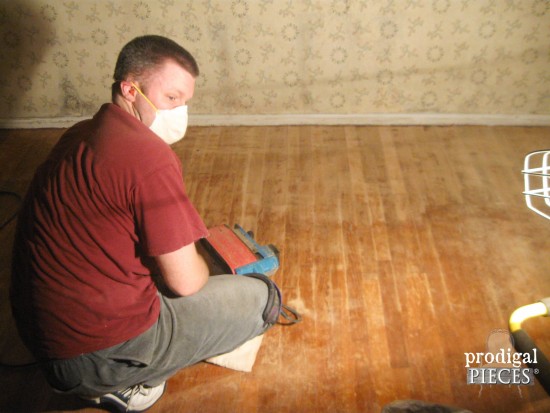
With the adhesive removed, it was time to sand. Instead of paying high rental fees and high costs for sanding pads, we used a belt sander which cut the costs by 80%. It just means hours on the knees...again.
In case you're wondering how to attempt this yourself, we started with a 50-grit paper working diagonal both ways, then moved on to 80-grit in the direction of the grain. To finish, we used a 120 -grit for the final sanding.
Aah. Floor is sanded and ready for the next step, stain.
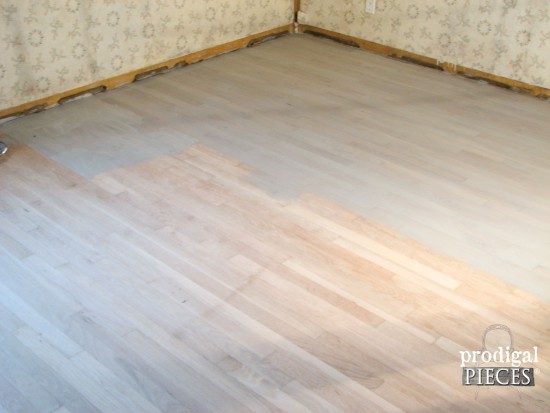
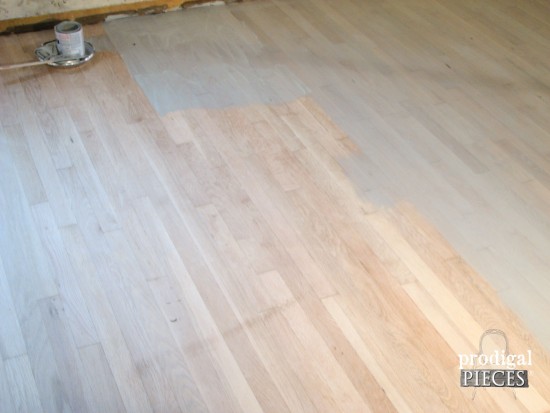
Our finished desire is a rustic farmhouse style bedroom with a French flair, and we decided to give it an aged look by using a Sunbleached Stain by RustOleum.
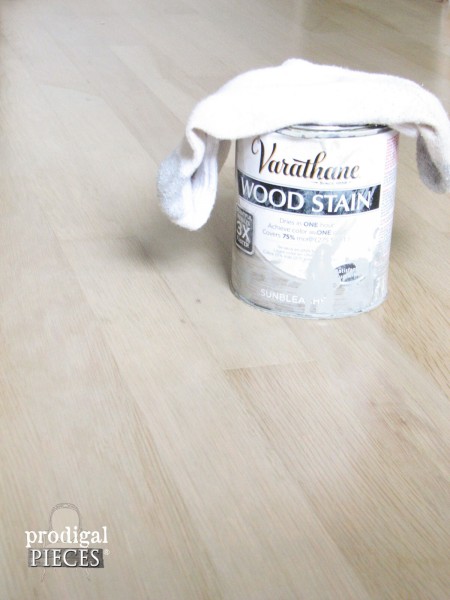 Using a cast-off sock, we applied the stain, being sure to take off the excess within a 5 minute or so span. The floor only needed one coat (as the label states) and was really easy to attain what we wanted.
ALMOST DONE
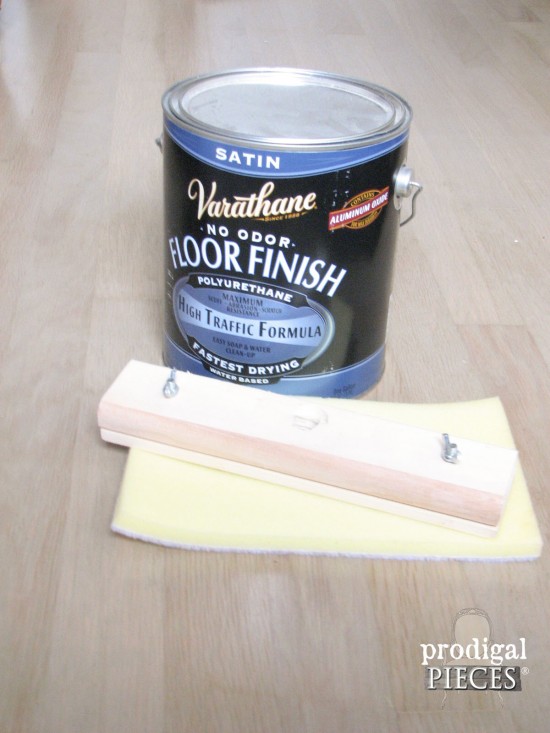
For the topcoat, we used Rustoleum Satin Floor Finish with a lambswool applicator. The first coat only had to dry for 3 hours and then we could apply the next coat. Overall, we applied four coats as the can recommended. Easy!
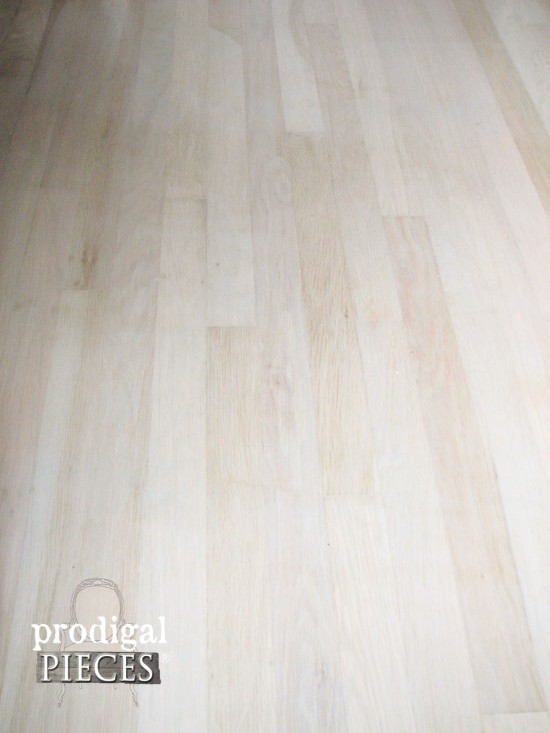 Seriously, it is a gorgeous finish, and the pictures don't do it justice. Remember, we're in the dead of winter here in the northeast and the sunny days are few and far between. Plus, we're working mostly in the evening.
Even without the walls and ceiling done, it already feels fresh.
Although it's a slow process for us due to lack of time (we are a family of 8!) we are enjoying the progress. We can't wait to show it to you completed. Share if you love it too!
To see the next steps, head below...
 In case you didn't think we were nutty enough; we also have been tackling our farmhouse style master bath...oh what fun!
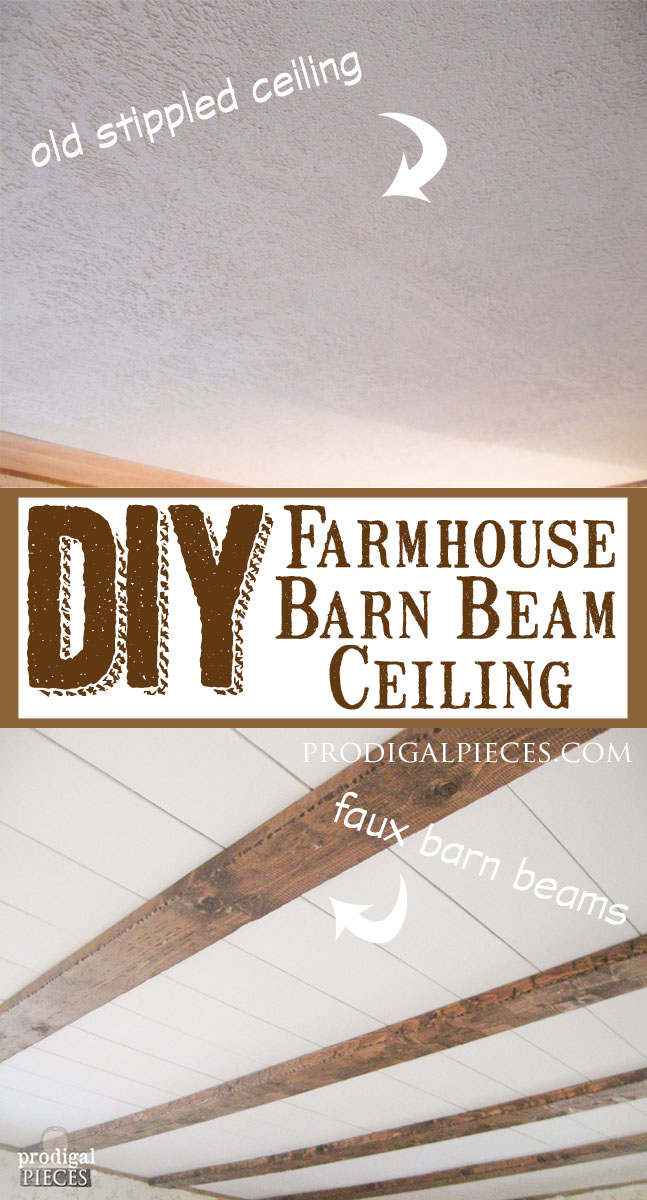
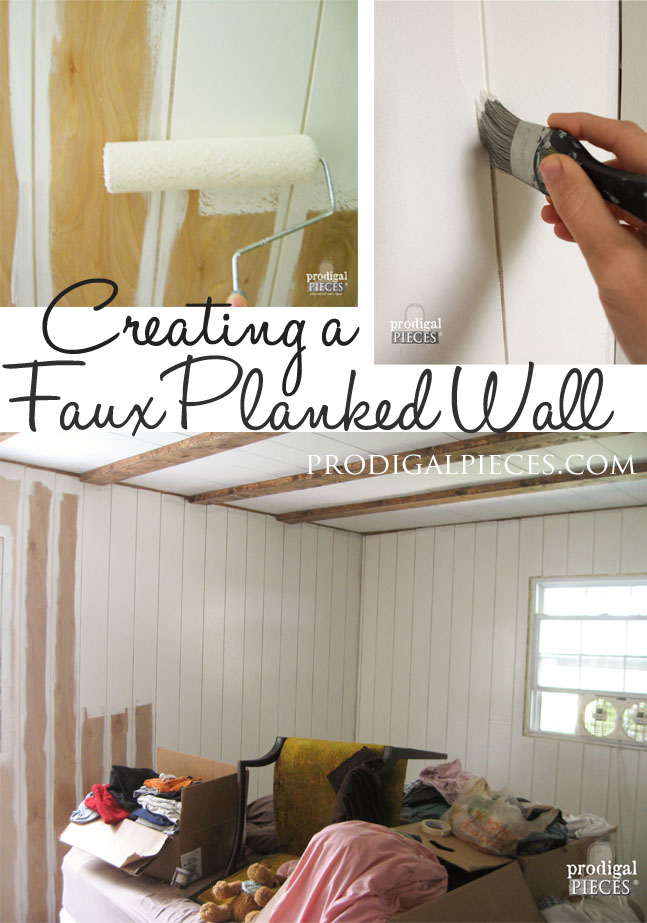
Now onto the ceilings and the walls! See the farmhouse style details below:
