She scratches her head when asked, "what are you going to do with
that?" Isn't it plain to see that there is potential here? Maybe some would say to burn it or toss it out in the rubbish. However, me, myself, and I envision something more for this lone, sorry-looking board. Let's have some build time and create a reclaimed wall pocket for added storage and style.
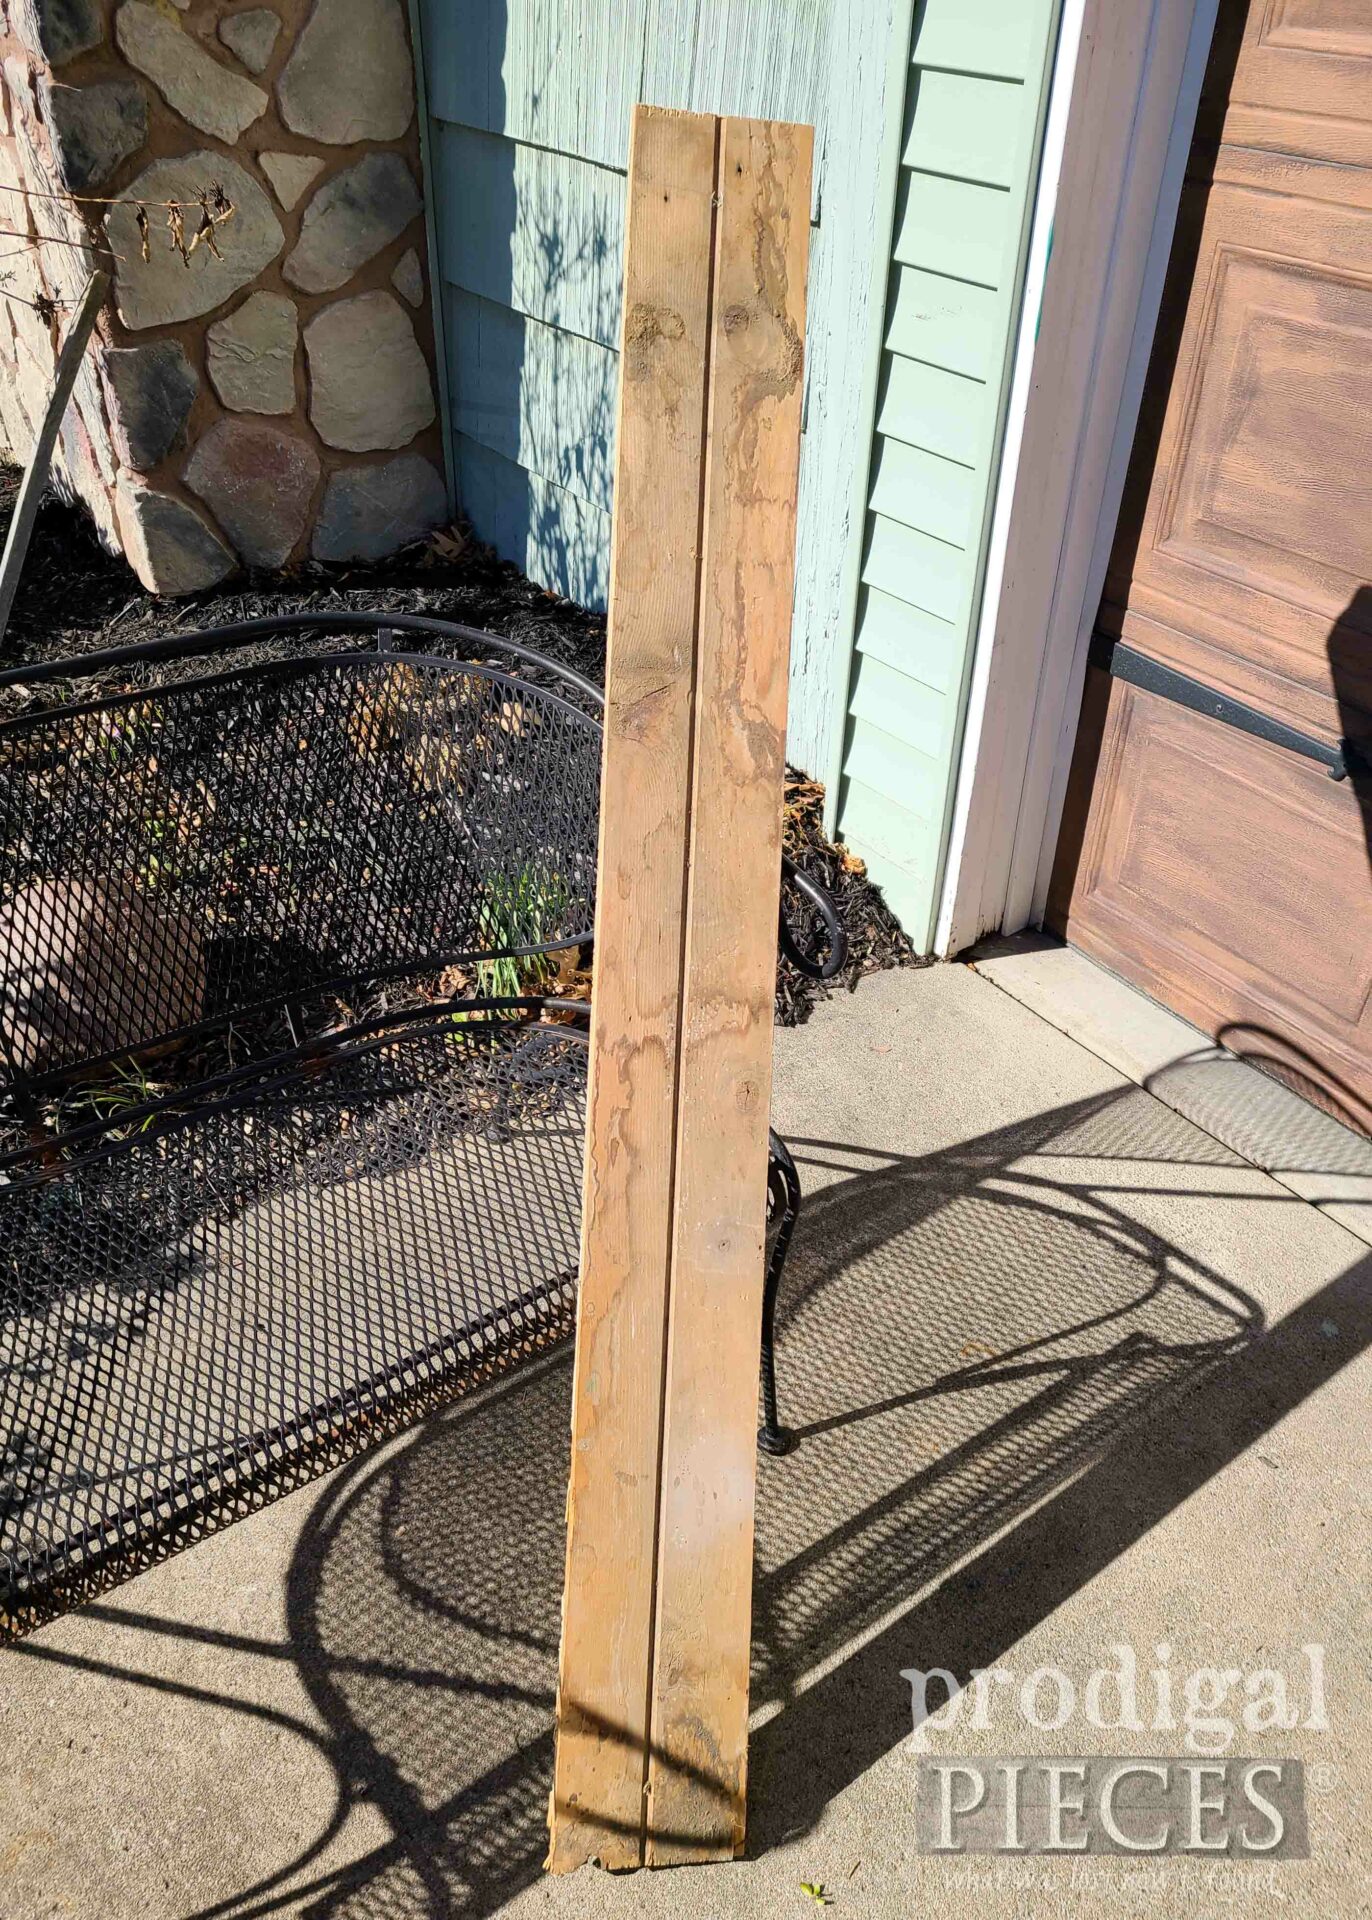
What you're looking at essentially, is a piece of tongue and groove board that I save after a remodel of
my family room this full of pine tongue-and-groove paneling. The original builders would flip the boards over and use the flat side as trim after they ripped the tongue off.
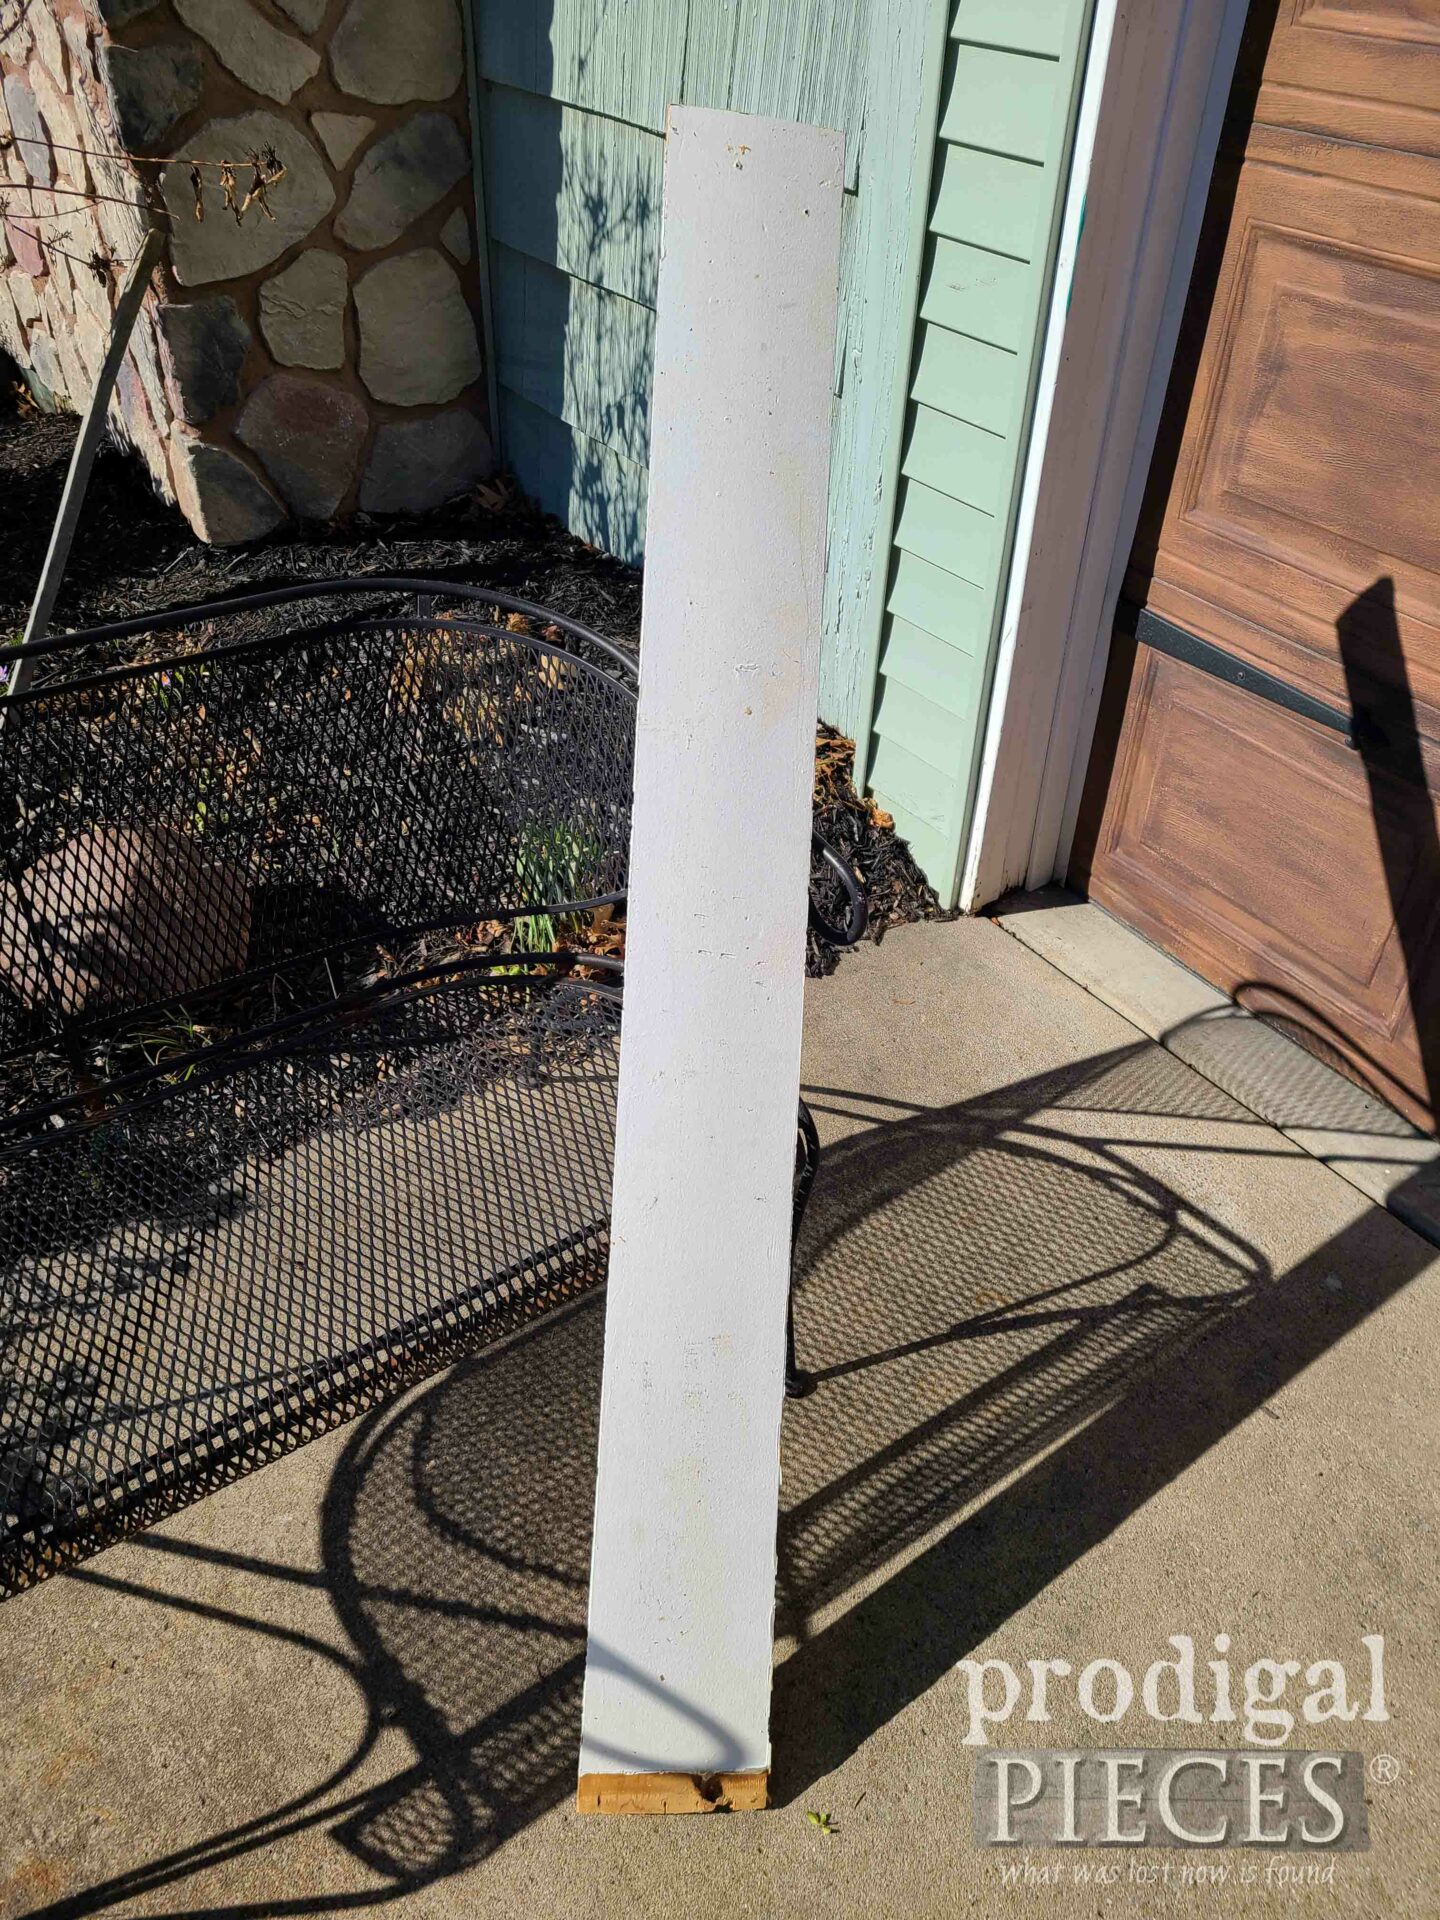
If you flip it over, you'll see it was painted many coats of white. If I remember right, this was from the overhead beam I replaced with reclaimed beech instead.
Obviously, this project can go any way I want. As I mentioned, however, I found inspiration in a picture saved in my files a while back of something similar. With that in my pocket, (pun intended), I see to create it in my own style using only
trashure parts from the curb. I just love shopping Curb le Chic. tee hee!
DIY PARTY TIME
While you can build this exact same thing from any wood, new or reclaimed, all you need to do is have a willing spirit. Also, you'll need these tools and supplies:
- wood (I'll go over exact pieces as I go because you can enlarge, lengthen, shorten, etc. to suit your needs)
- saw - miter saw, circular saw, jigsaw, handsaw (just something that cuts!)
- brad nailer and brads or hammer and nails
- drill and screws
- wood glue (I prefer Titebond Ultimate)
- tape measure
- pencil
- sander or sandpaper
- stain or paint of choice
- keyhole hardware to mount with or similar
- optional: accents pieces as I'll show in a bit
TERMS OF USE: If you want to create a reclaimed wall pocket, you agree to the following: it cannot be shared or distributed for monetary gain in any way, it may not be modified in any way, and you may not claim the work as your own.
STEP 1
First, I head to my miter saw and cut my board in half after trimming off the damaged ends. That left them at 27 ½" long and 6" W (it's a ¾" thick)
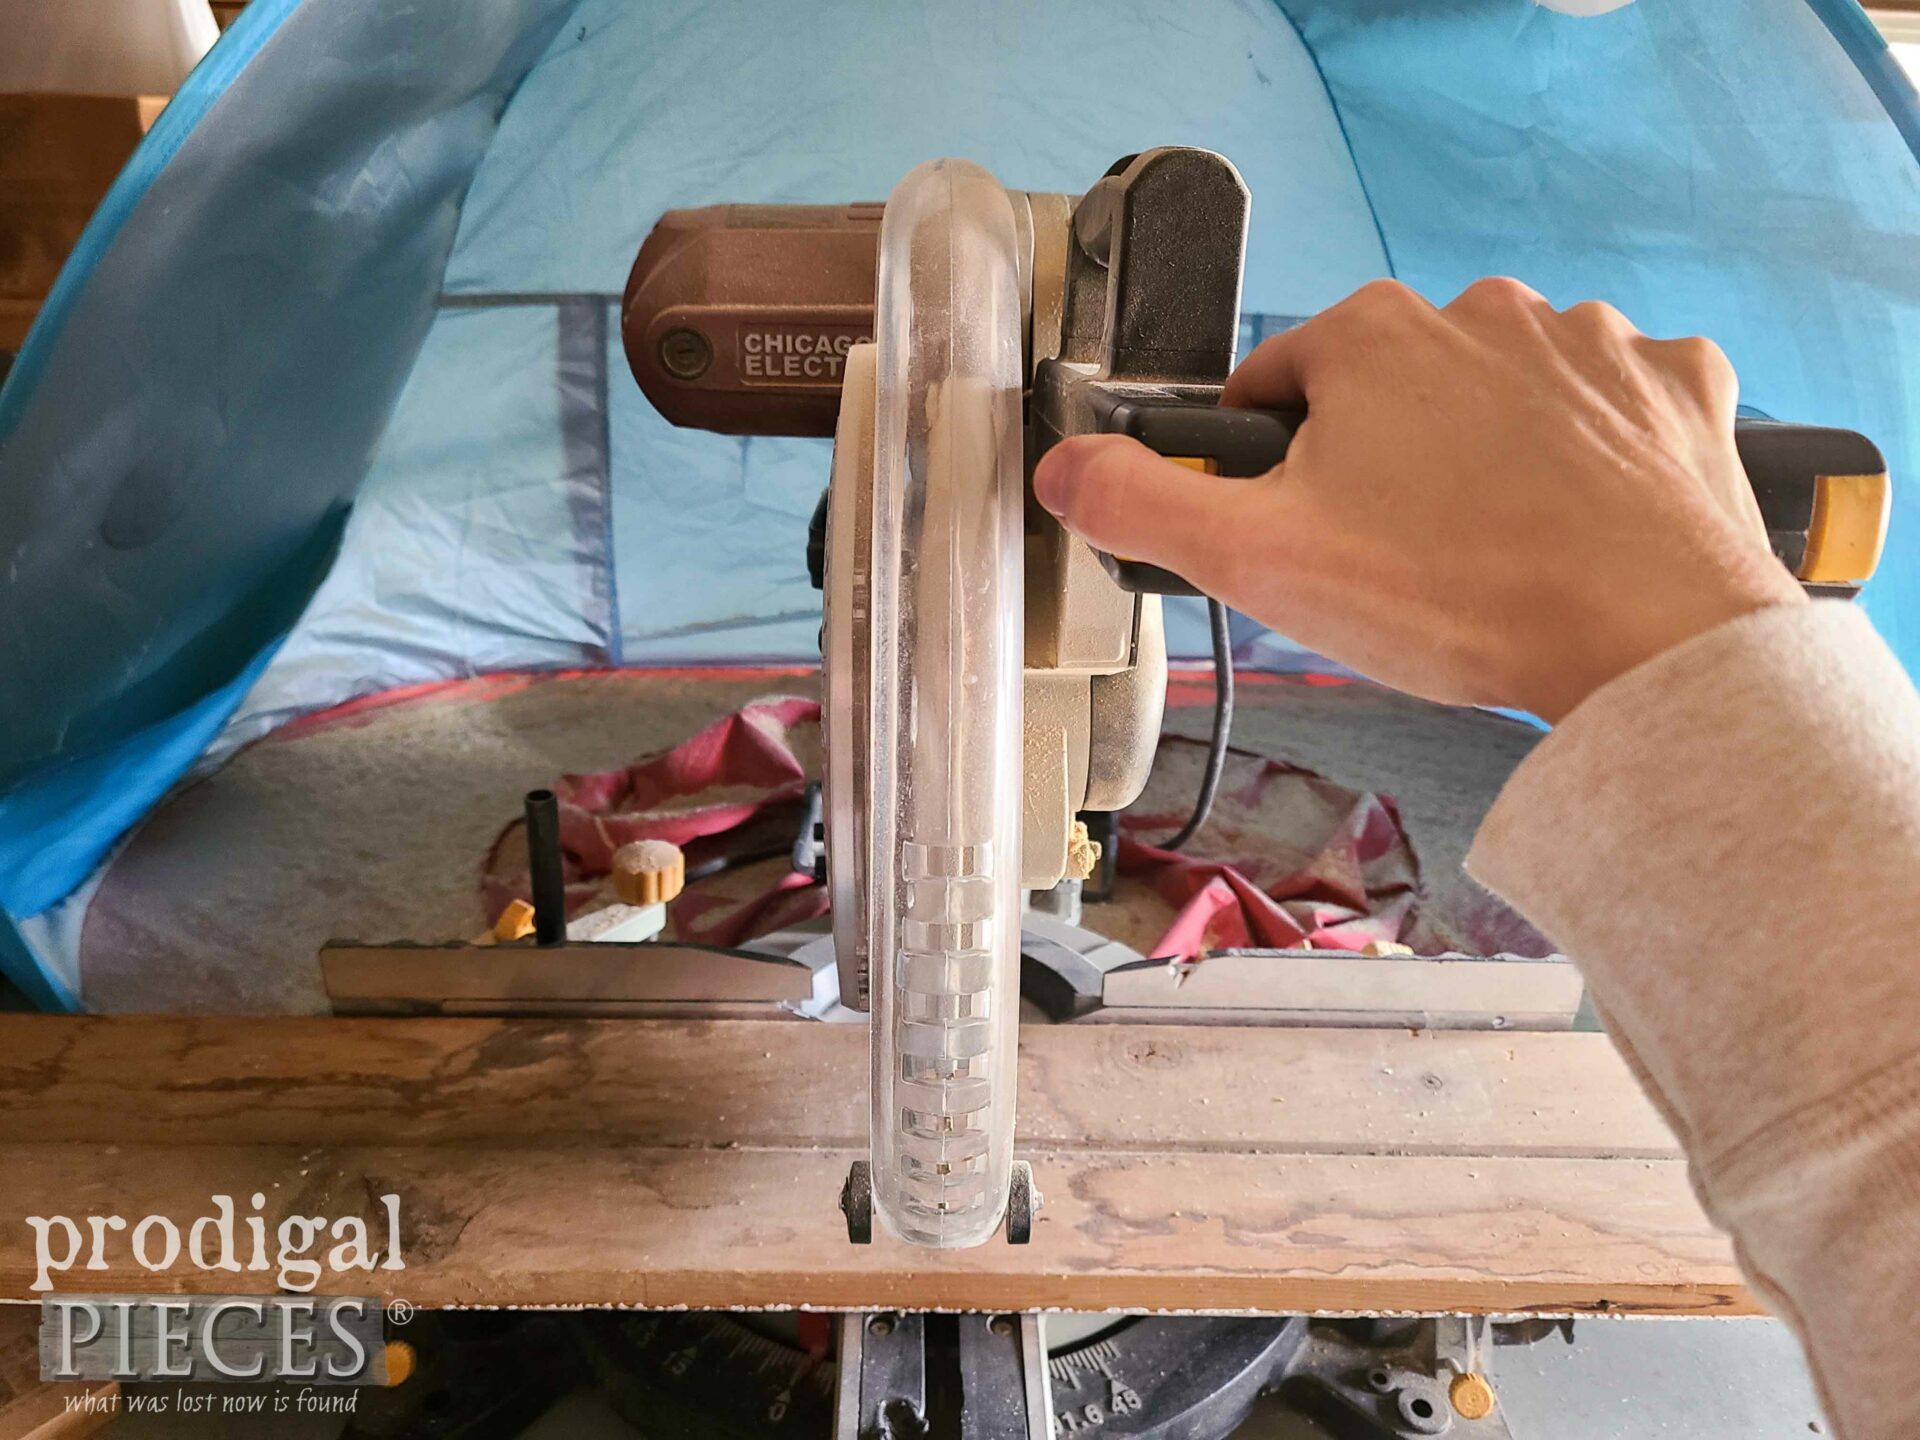
Although I use my miter saw, you can use most any saw, even a handsaw with miter box. I use that for a lighter cut on smaller items.
STEP 2
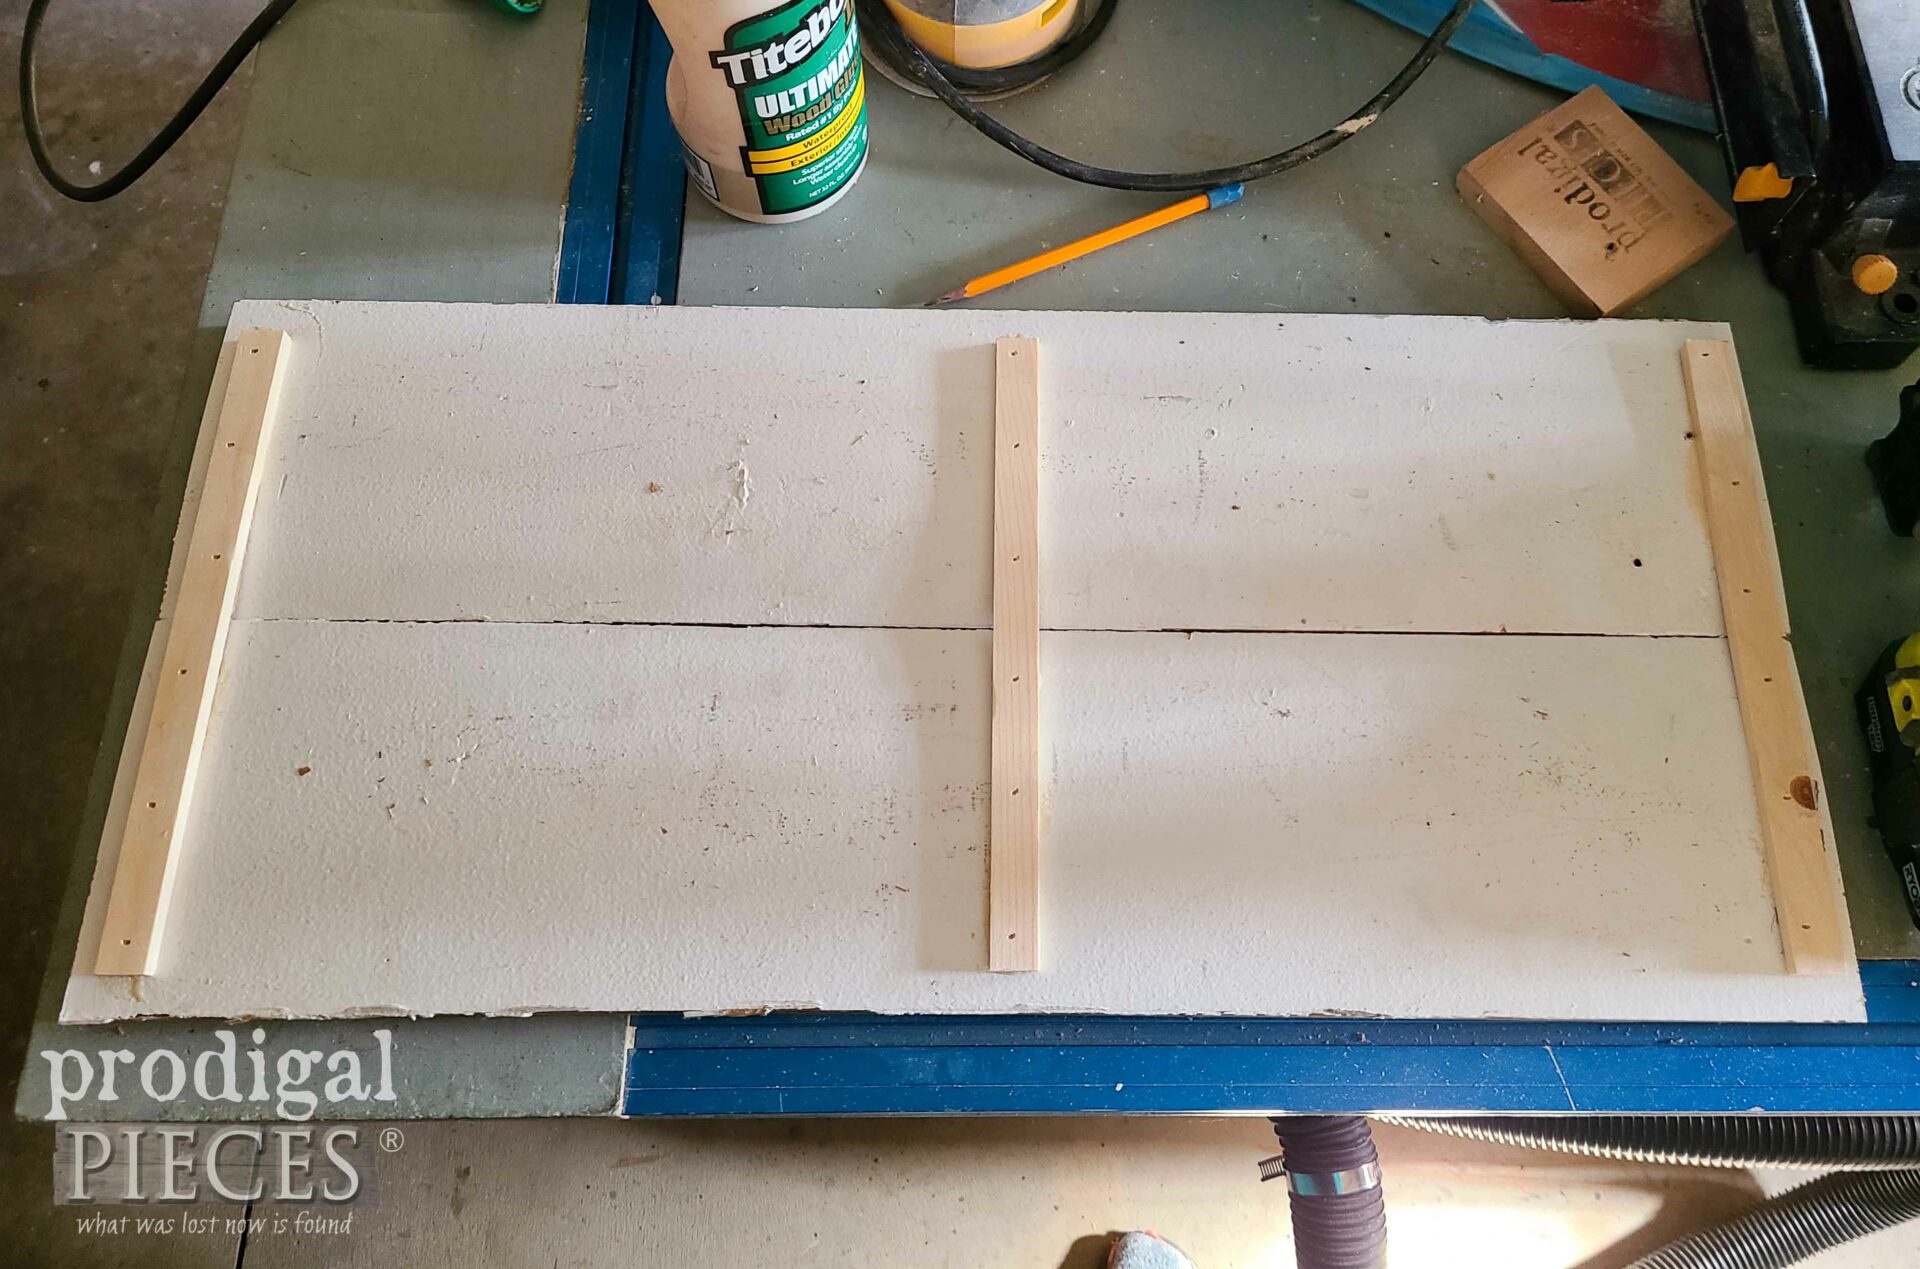
Then, once I have my board cut, I need to assemble. In order to do that, I glue thin strips of luan from my scrap stash and nail on with 5/8" brads.
STEP 3
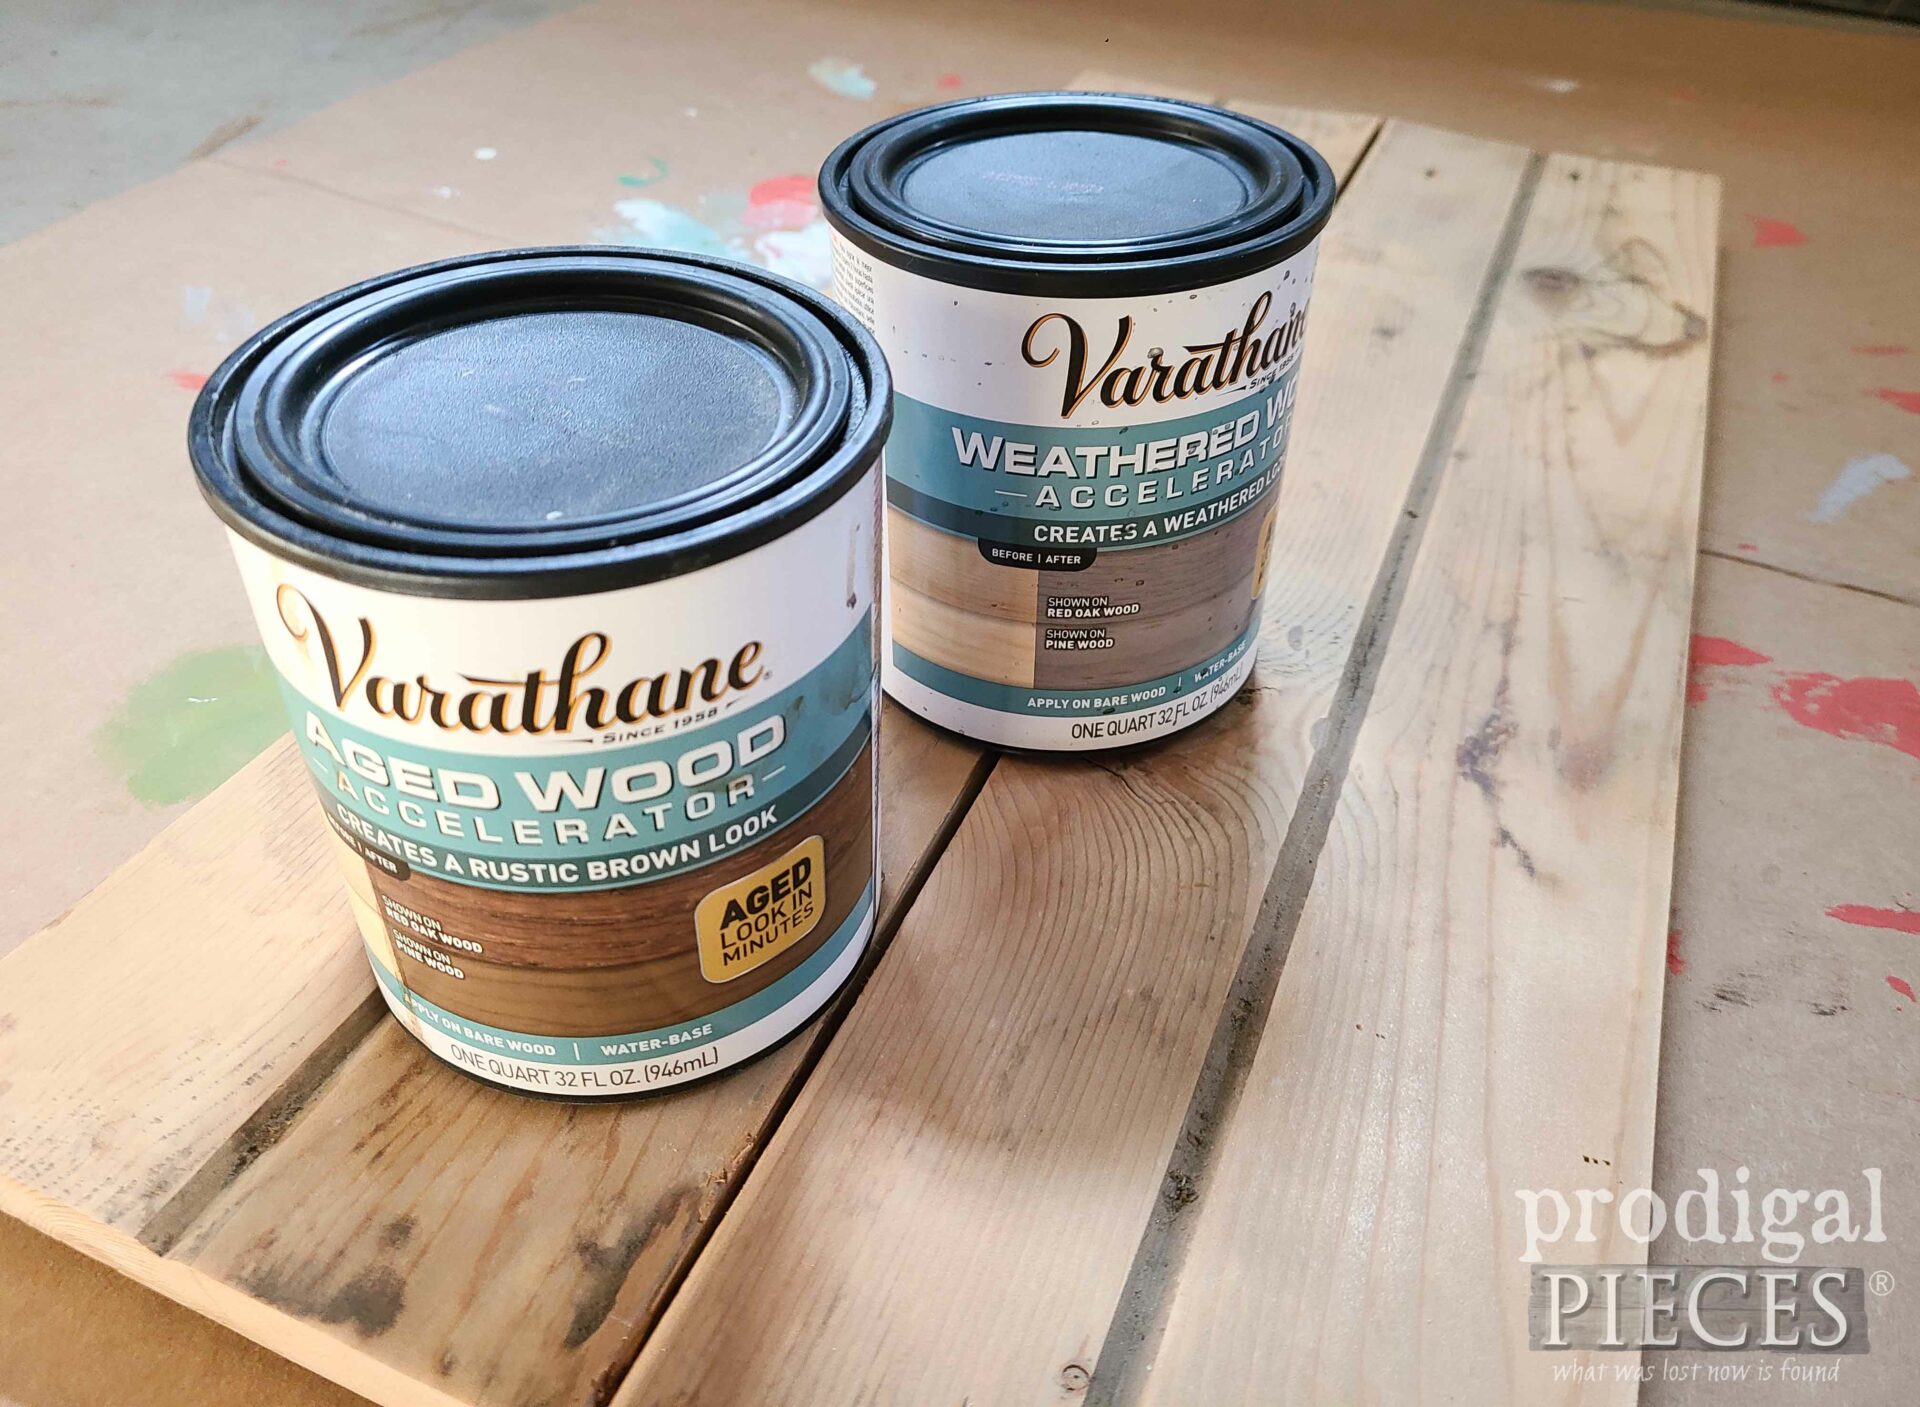
It's at this point you can decide how to finish it. For my vision, I sand down the tongue-n-groove to raw wood and apply a natural reactive stain that works with the tannins in the wood to instantly age it. One is rustic brown and the other a weathered wood look. I use the rustic brown for this panel but am saving the weathered for the pockets. In addition, you can see my past projects using these stains and one other favorite in black
HERE.
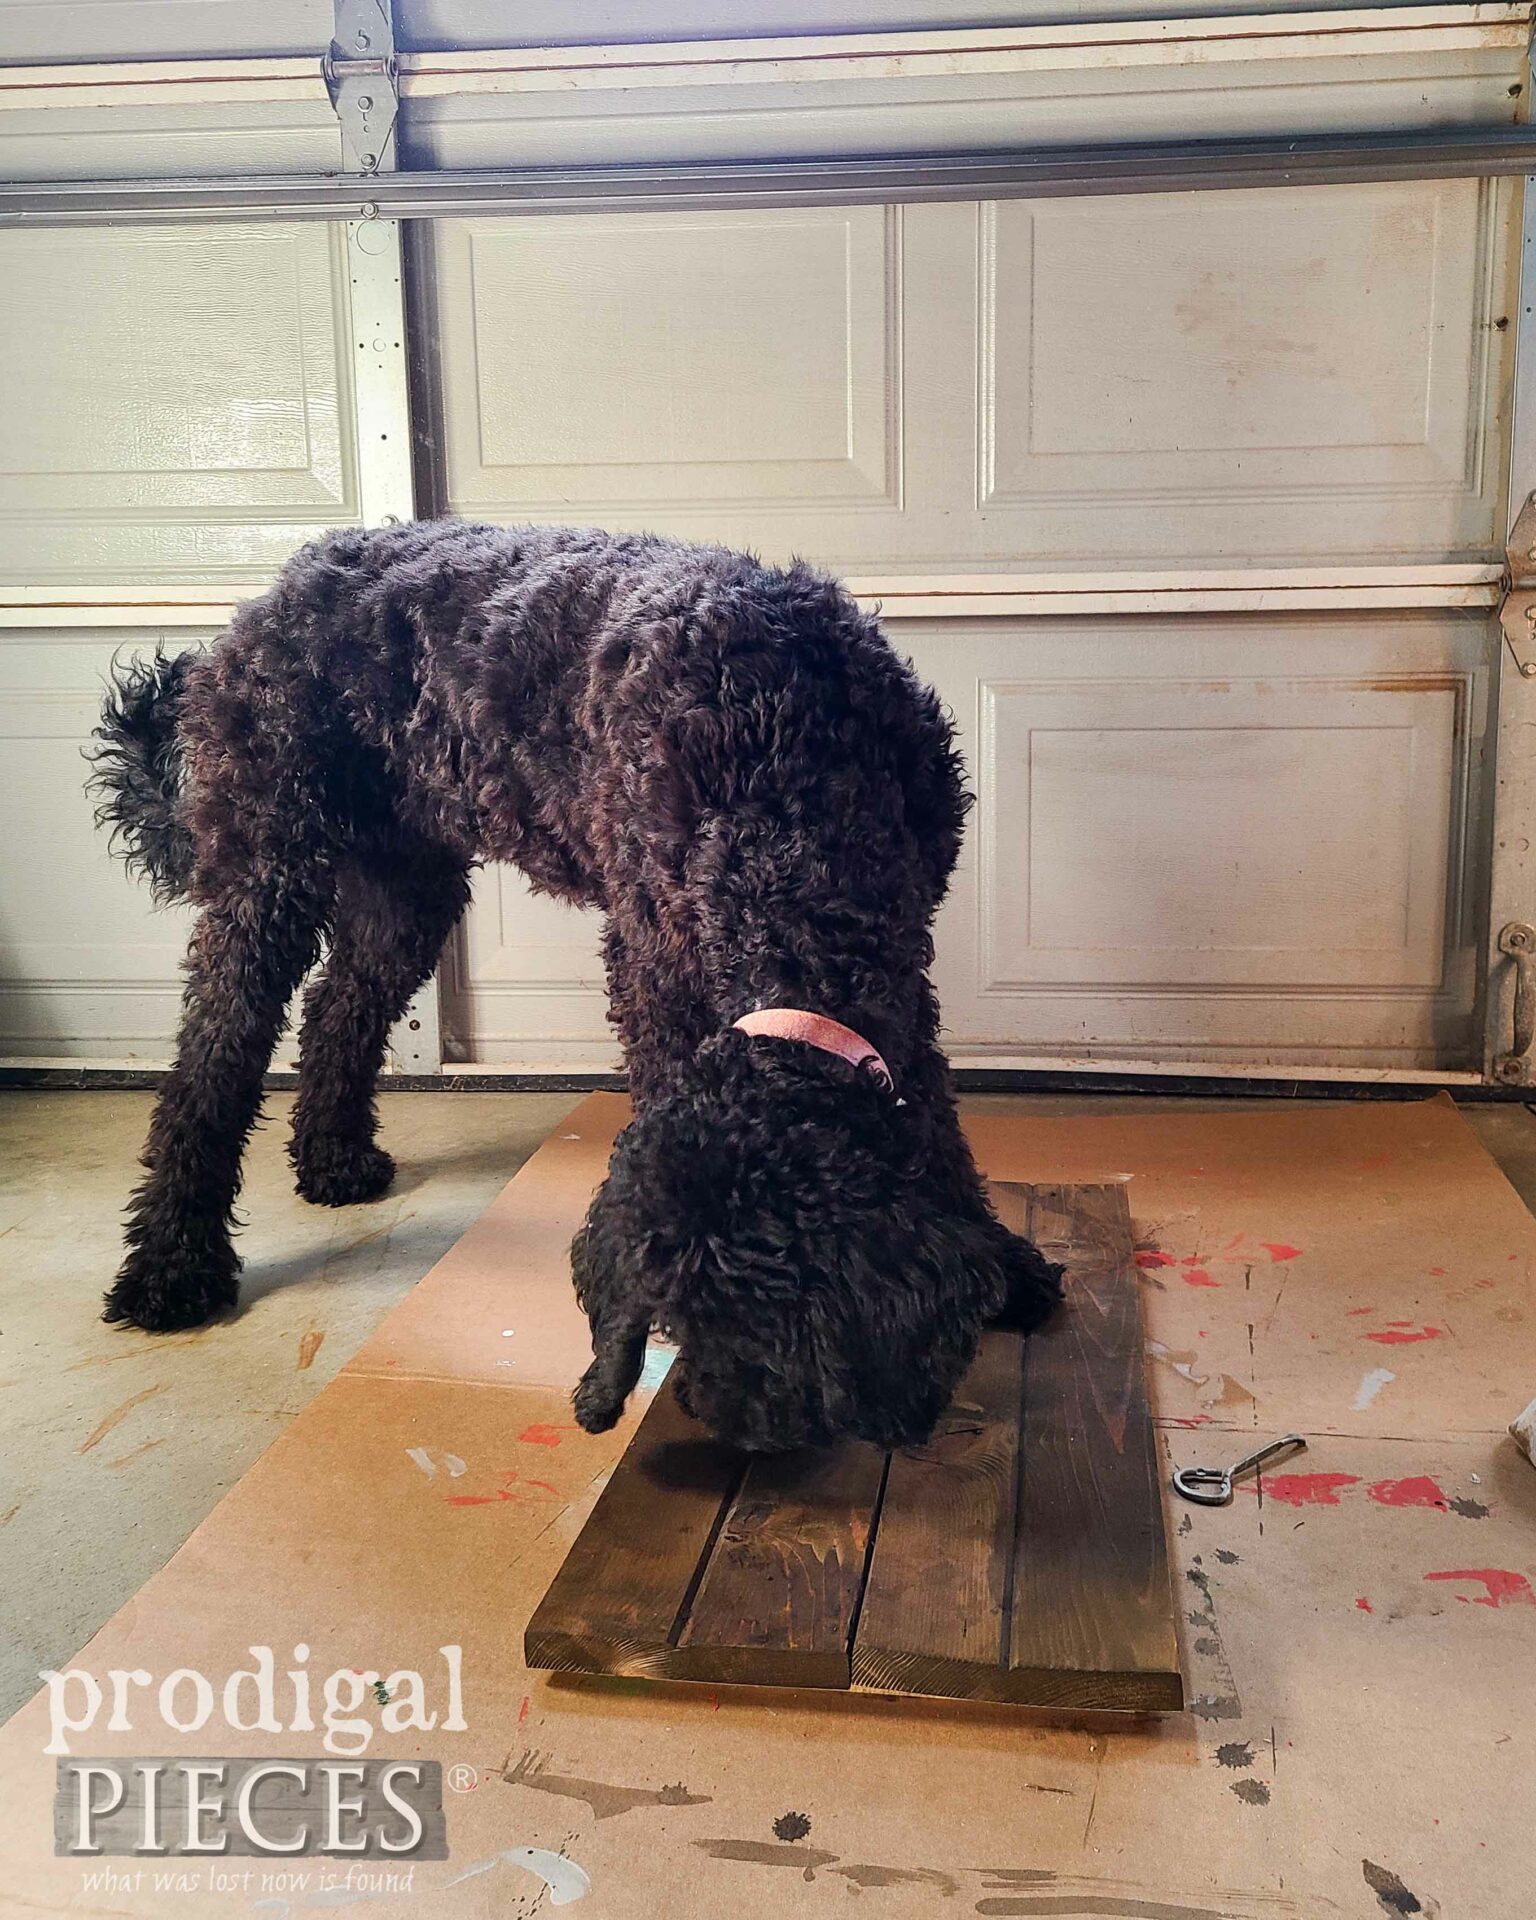
Don't you know that as soon as I put that stain on,
my 5 month old assistant has something to say about it. tsk.
STEP 4
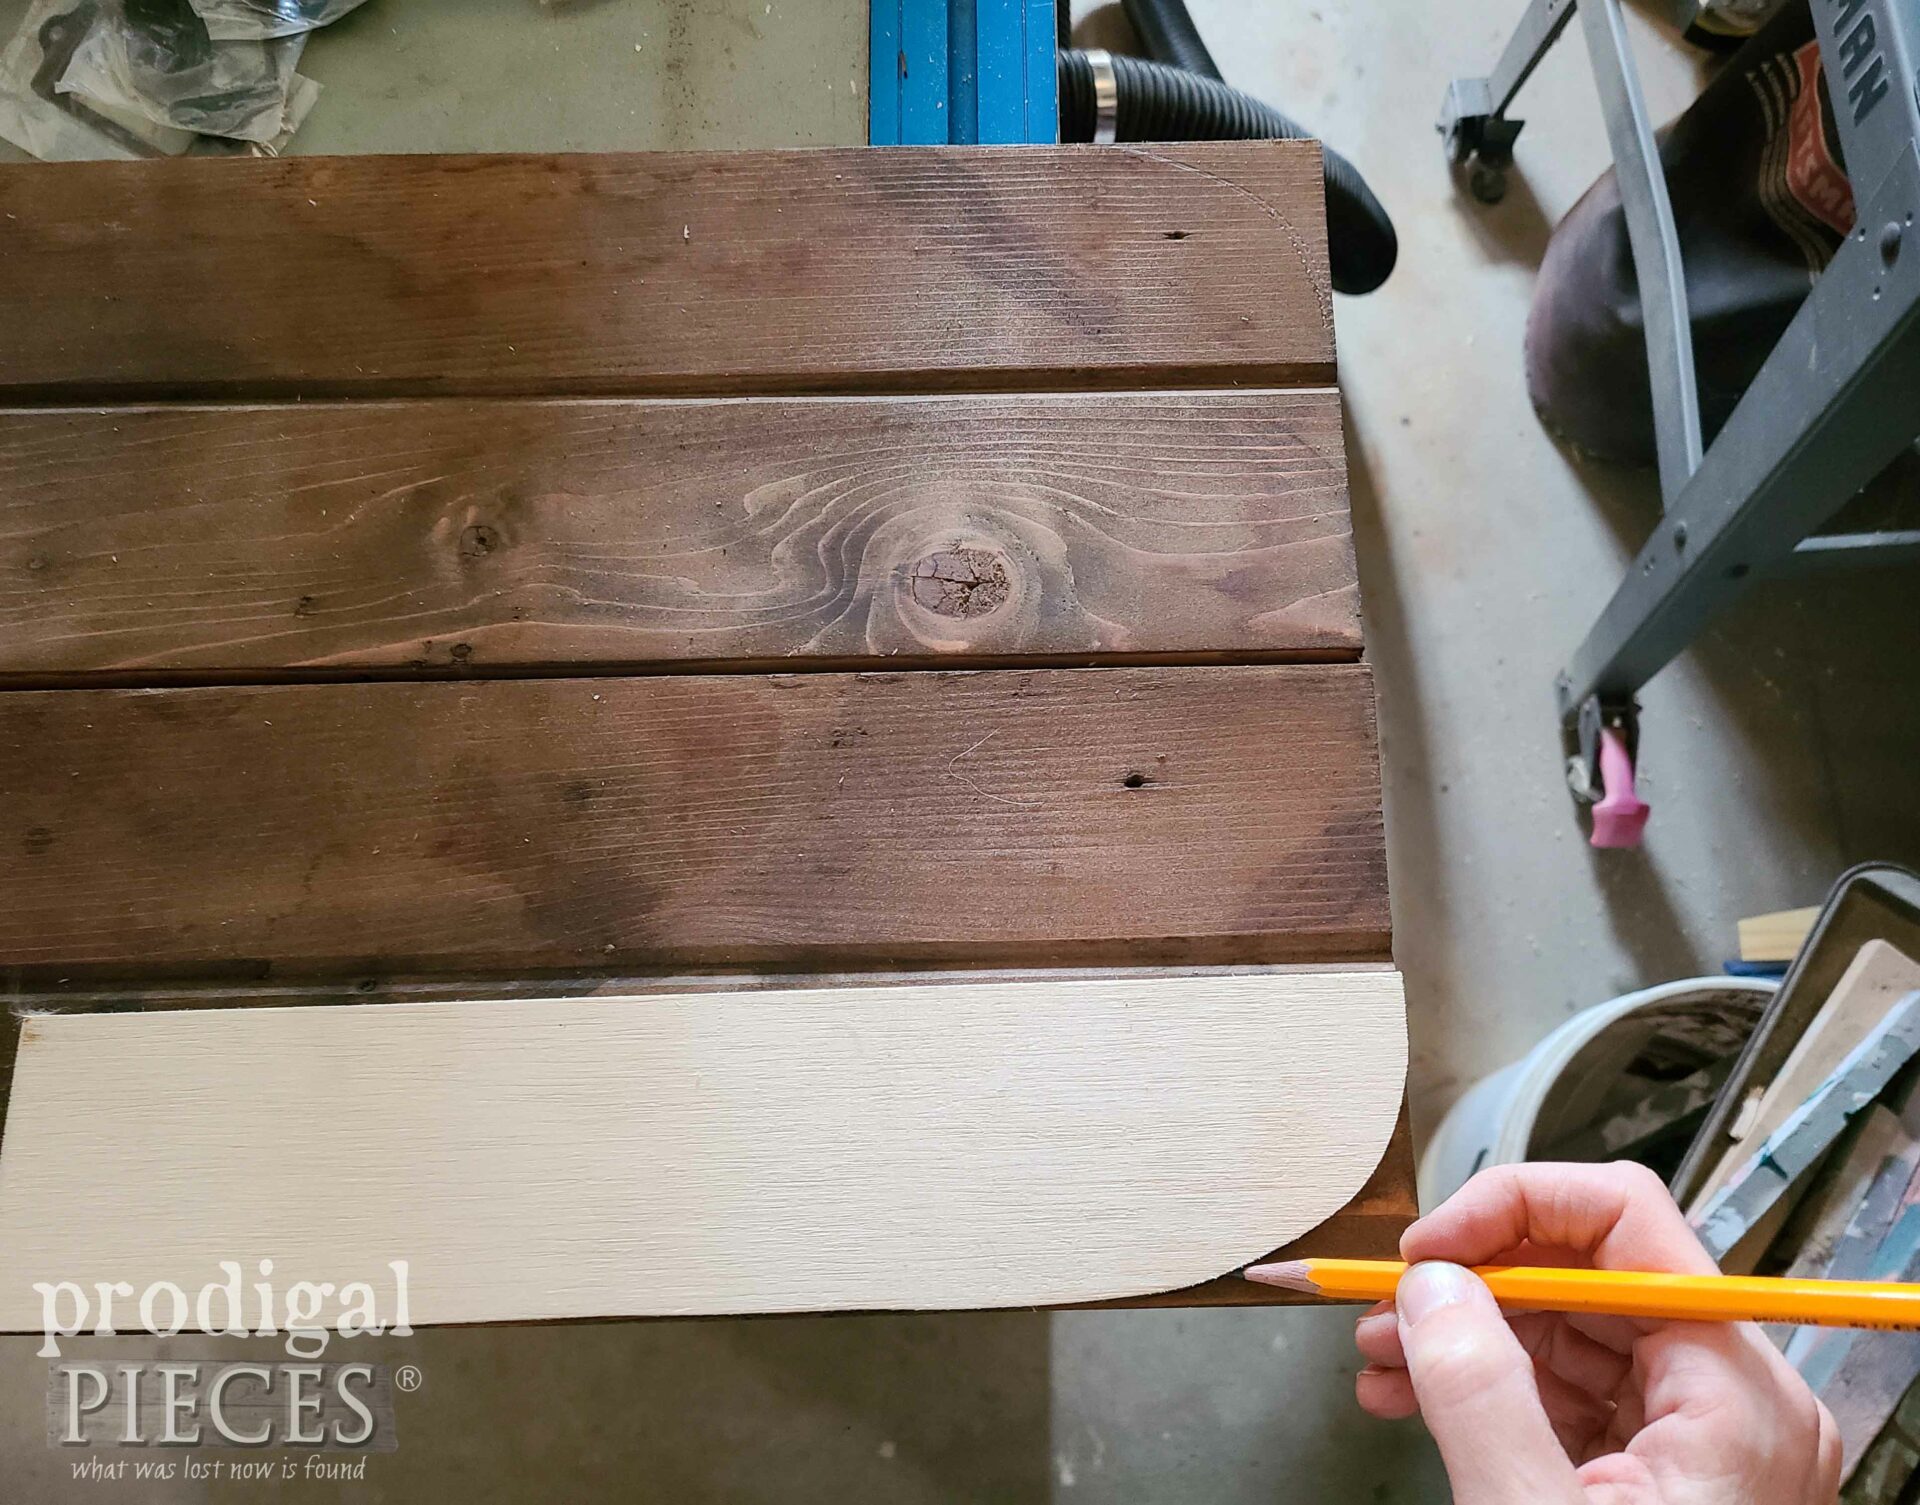
At first, I couldn't decide if I wanted a peak or an arch at the top, so I wait until after the stain cures to decide. With this intention. I decide to cut a slight curve off the corners. In order to do that, I use a scrap piece of luan already cut in the shape I'm after. I trace, then cut with a jigsaw. Likewise, a hand-held coping saw would make short work of the cut as well. Just make sure you stain those cut edges as well, or simply cut before staining.
STEP 5
Next, this is the part the definitely get more technical. However, I
know you can do it!! Okay, we're going to create a faux envelope style using more scrap wood. If you want to do something simpler, like a rectangular board to fit the spot, have at it. However, this envelope style isn't really hard, just take a bit more time. First, I dig into my wood stash and pull out 3" W x ¾" D board leftover from
my garden shed remodel and cut it into 4 - 8" lengths. Before I continue, though, I want to give the top edges a 15° angle tapering to the front.
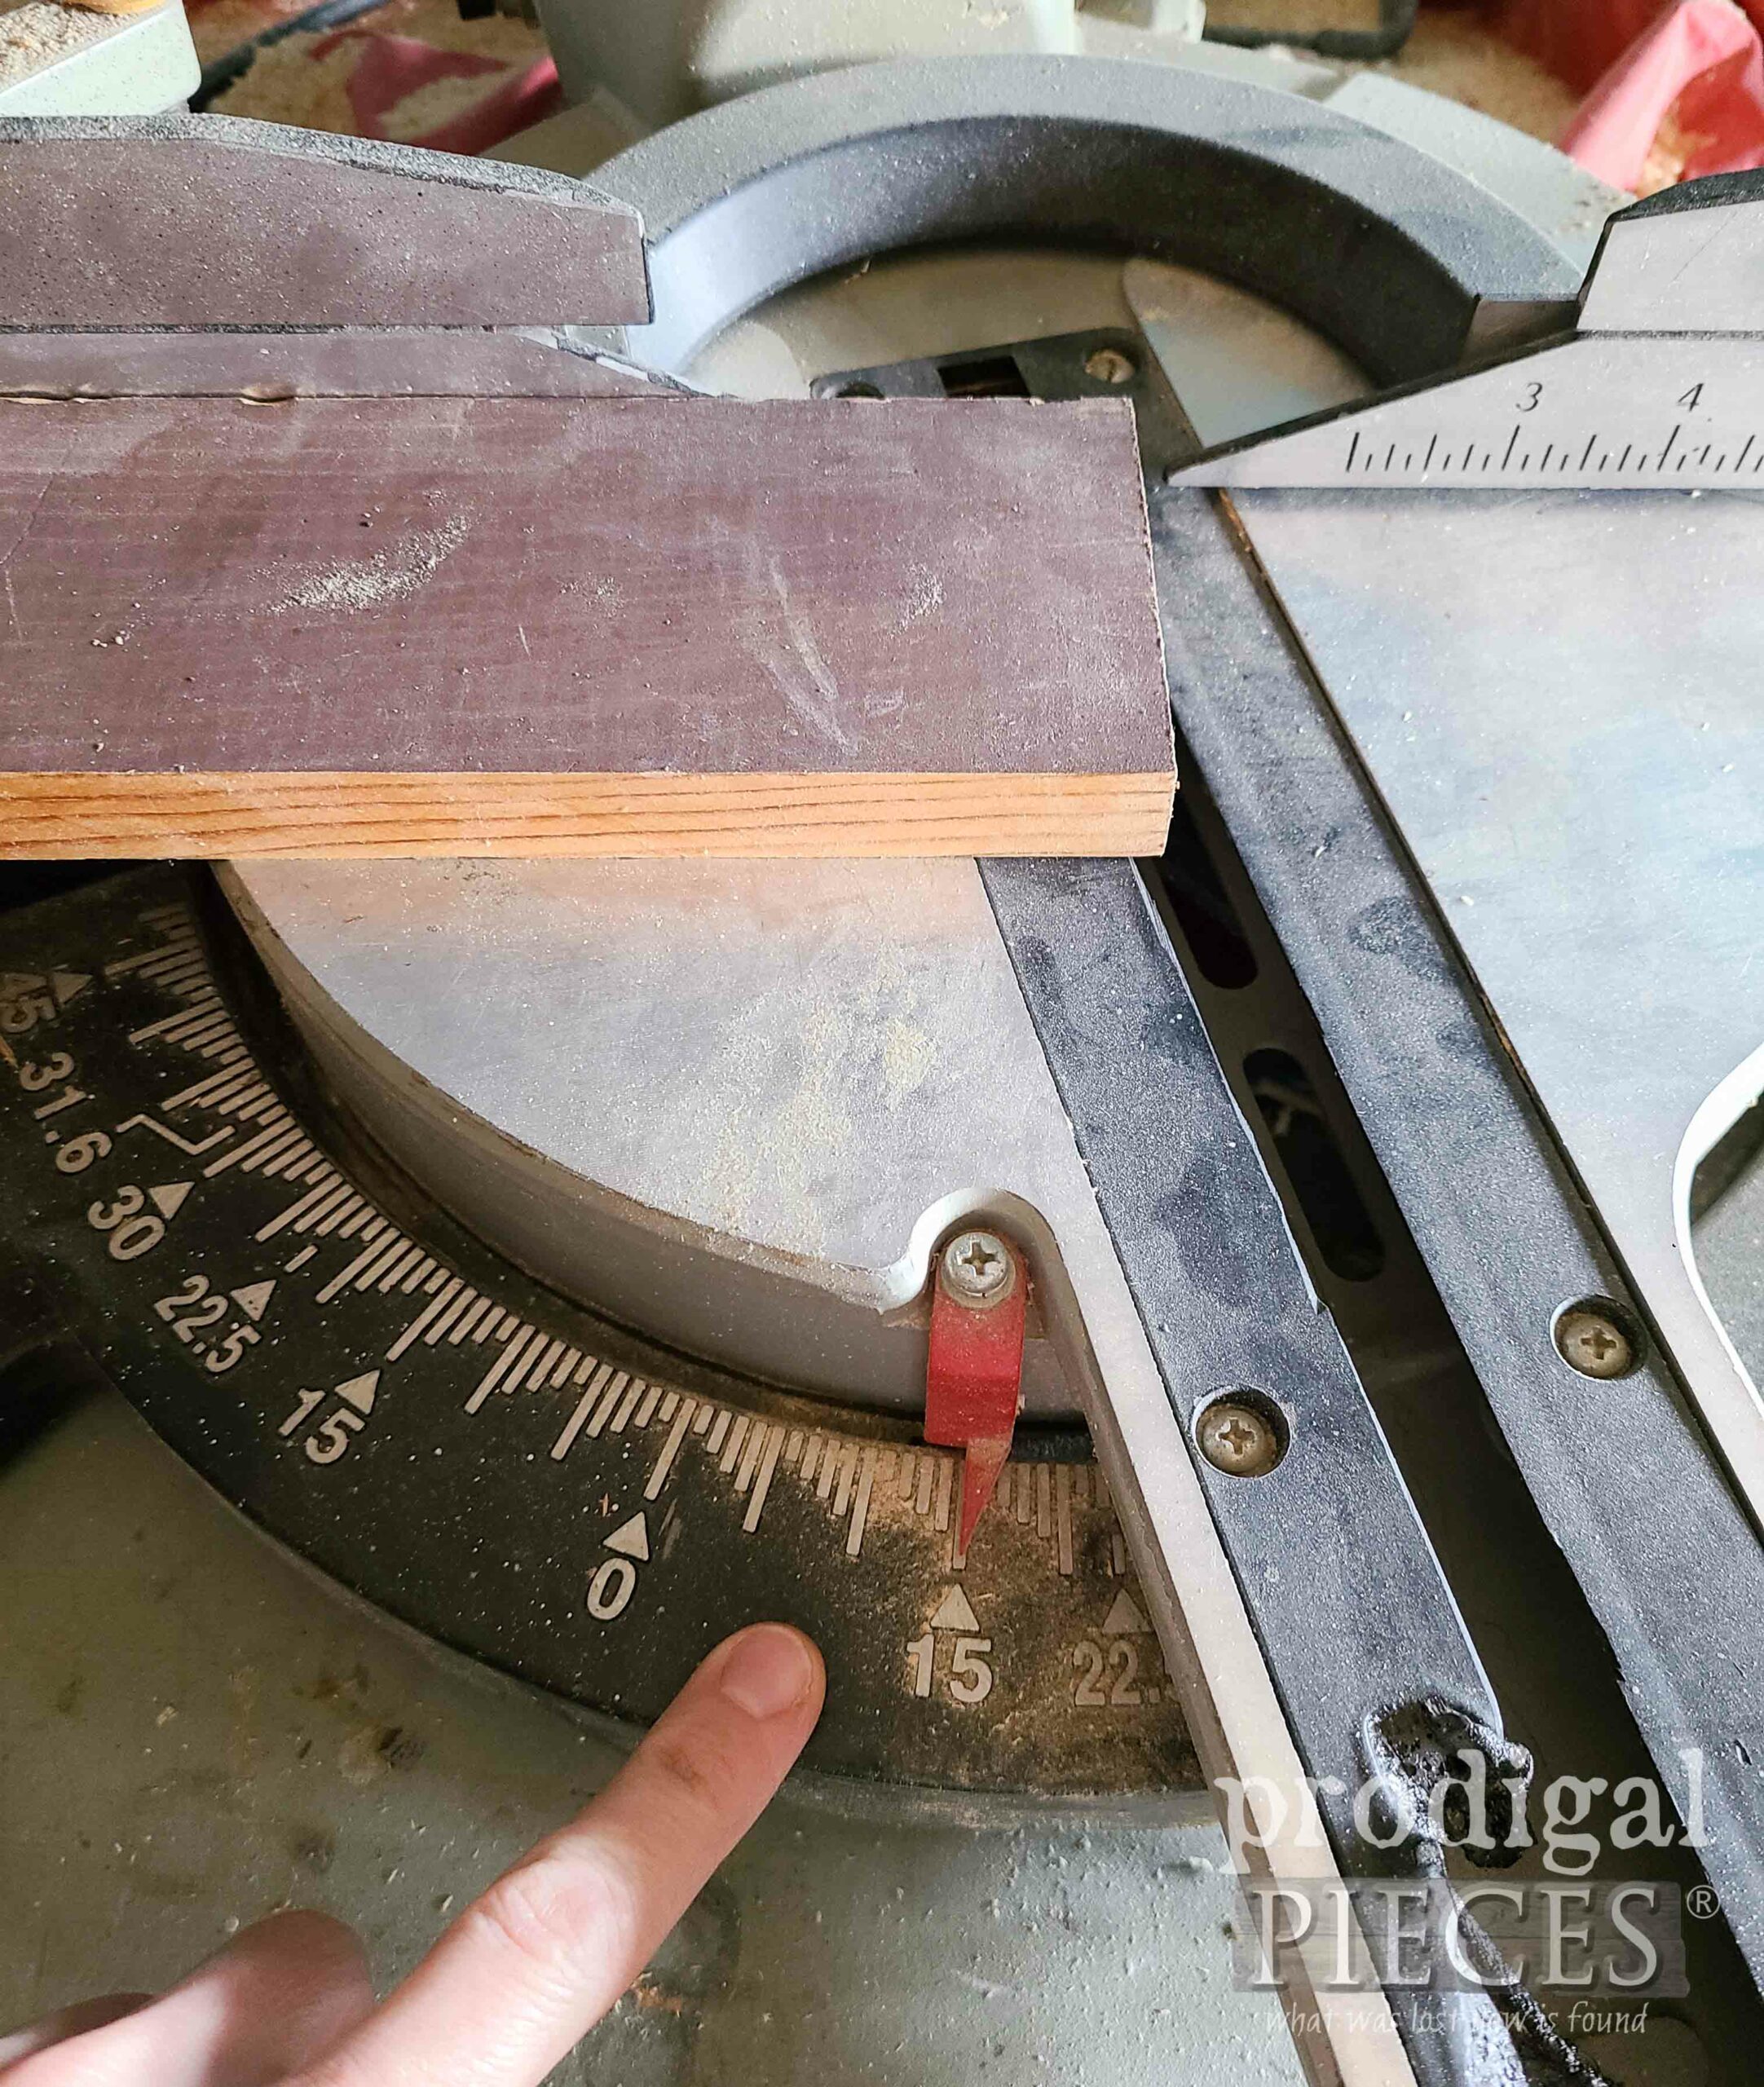
Don't forget, you can use a hacksaw and miter box to do this too. Or simply measure and mark with a carpenter's quick square as well.
STEP 6
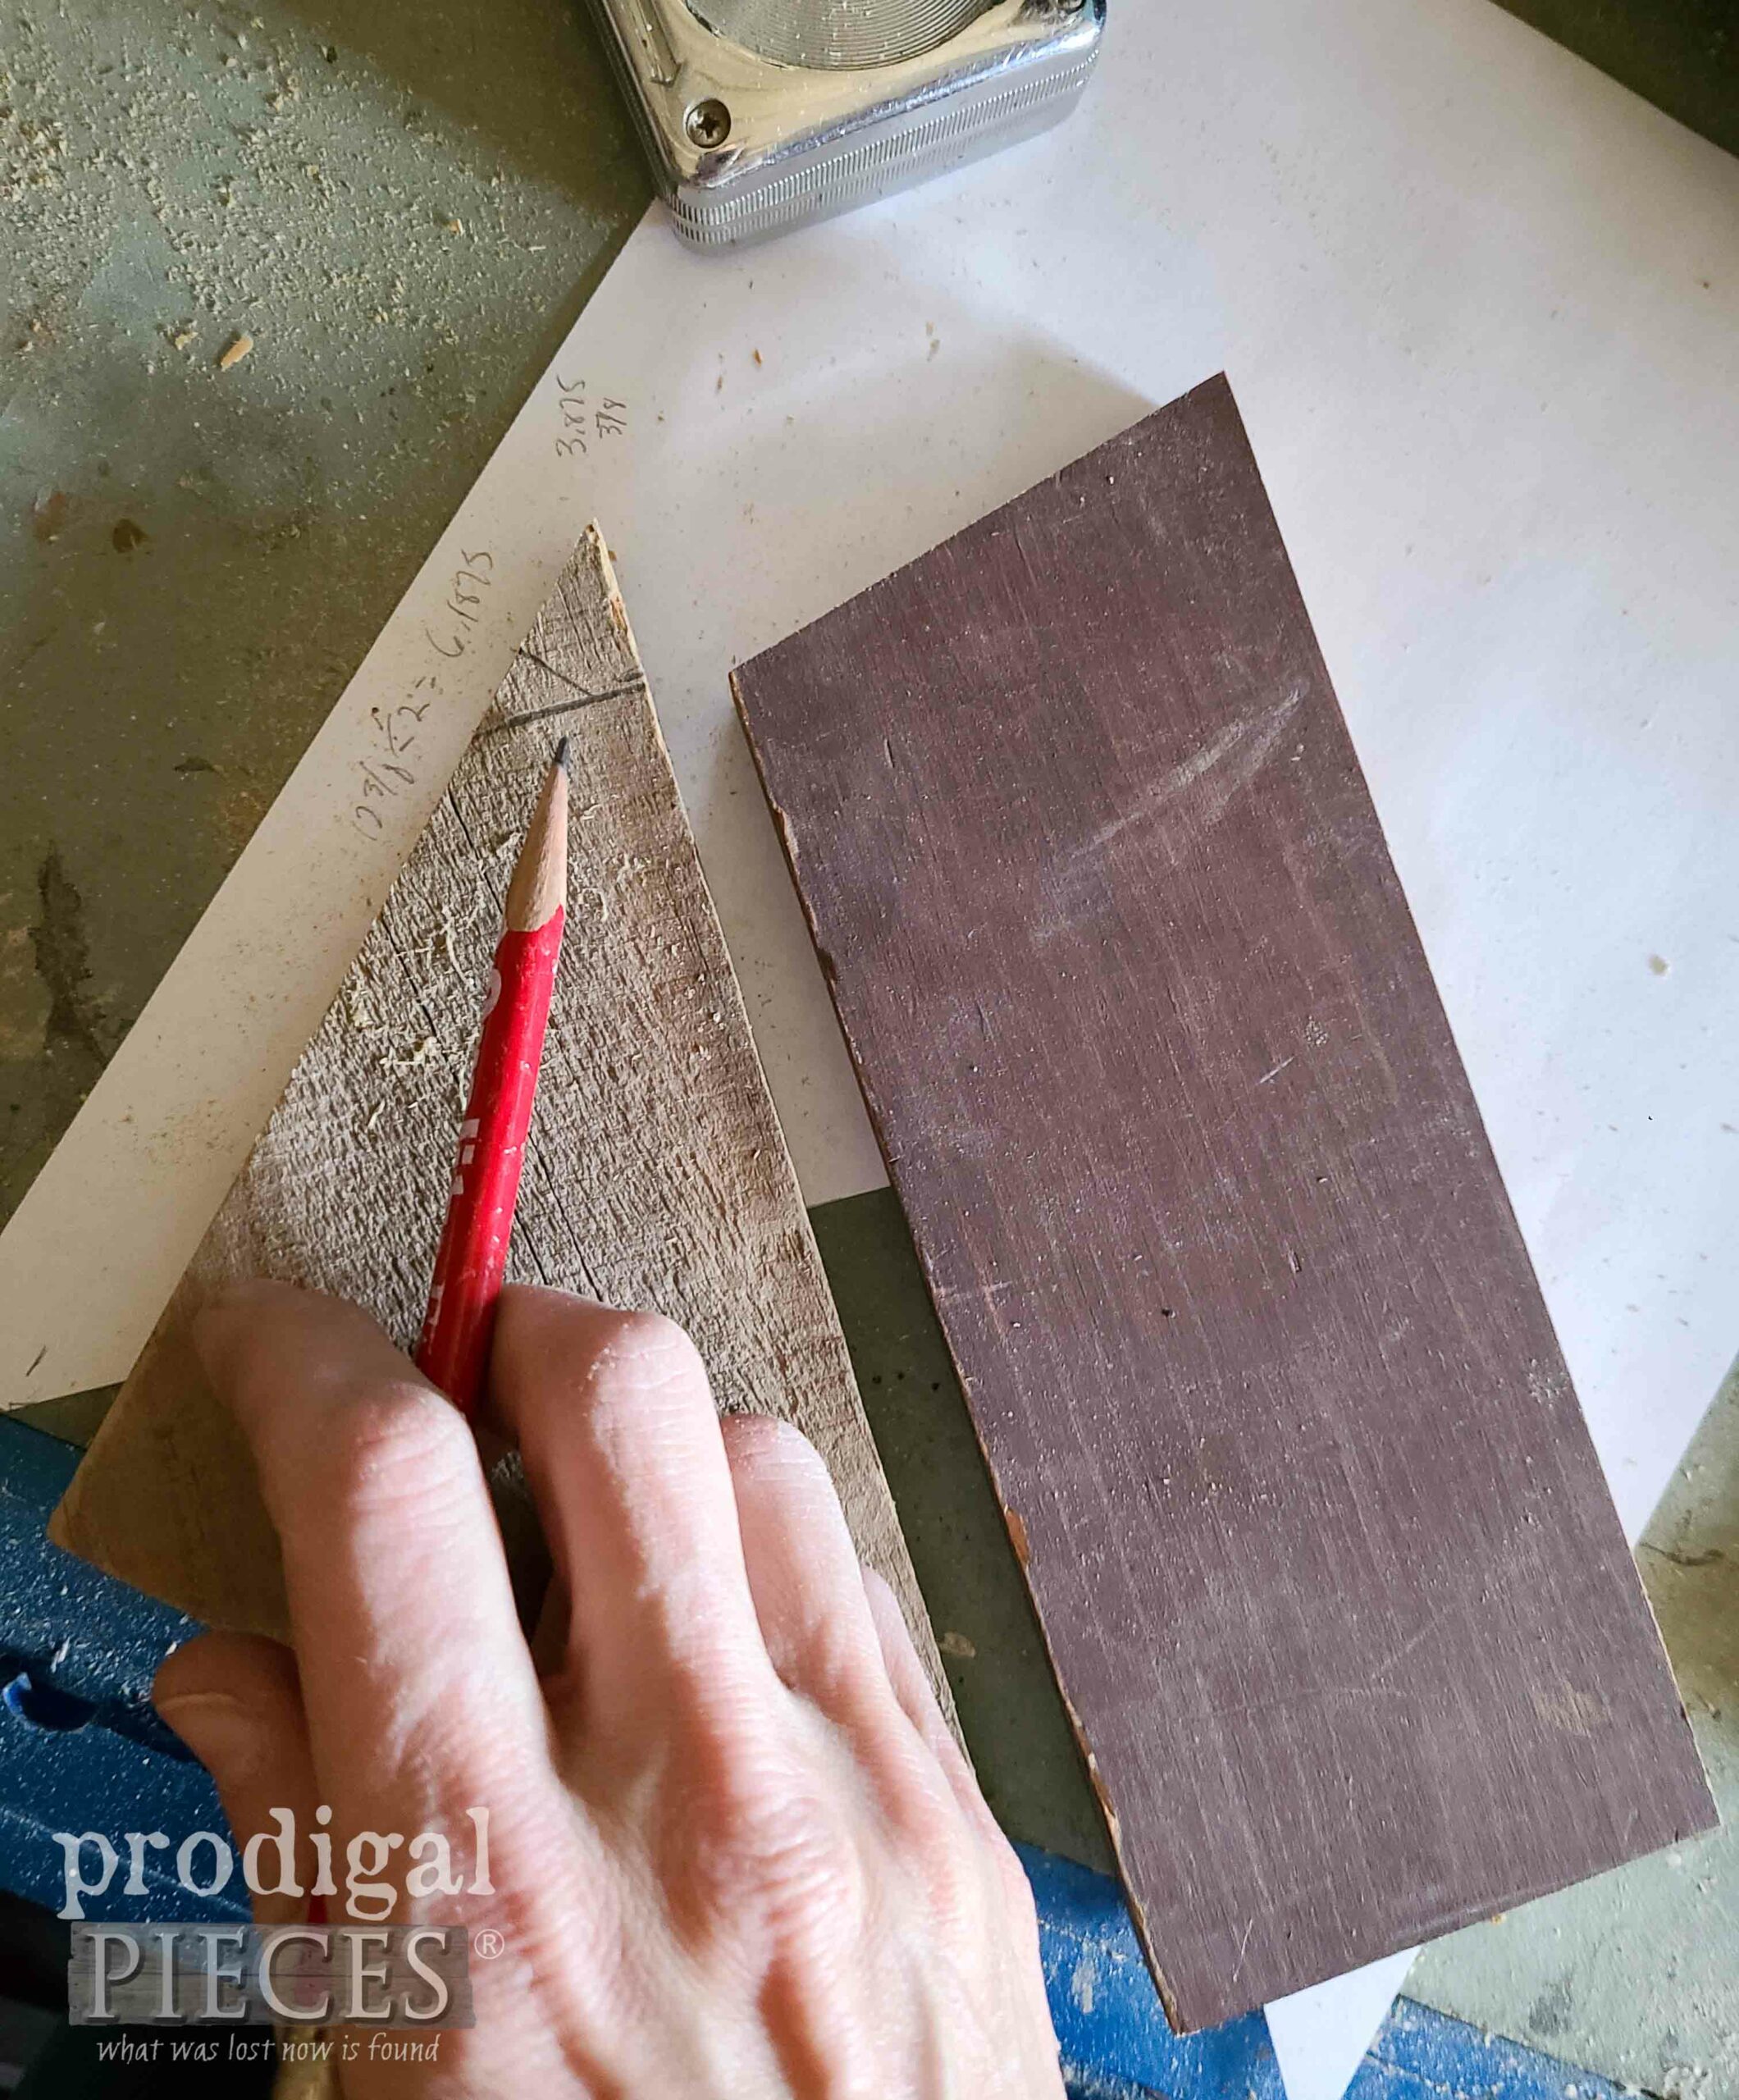
For the purpose of the envelope, we will now cut 3 triangles (2 smaller equal size, and 1 larger). Taking into account the size of my back board I made and the 8" side pieces I just cut, I make 2 triangles 8" on the long side, and 4" deep to the tip of the triangle. In case you're wondering, I always draft on scrap paper, and you can see I started with 2 ½", then 3", and eventually 4". So, you can easily adapt this to suit your design.
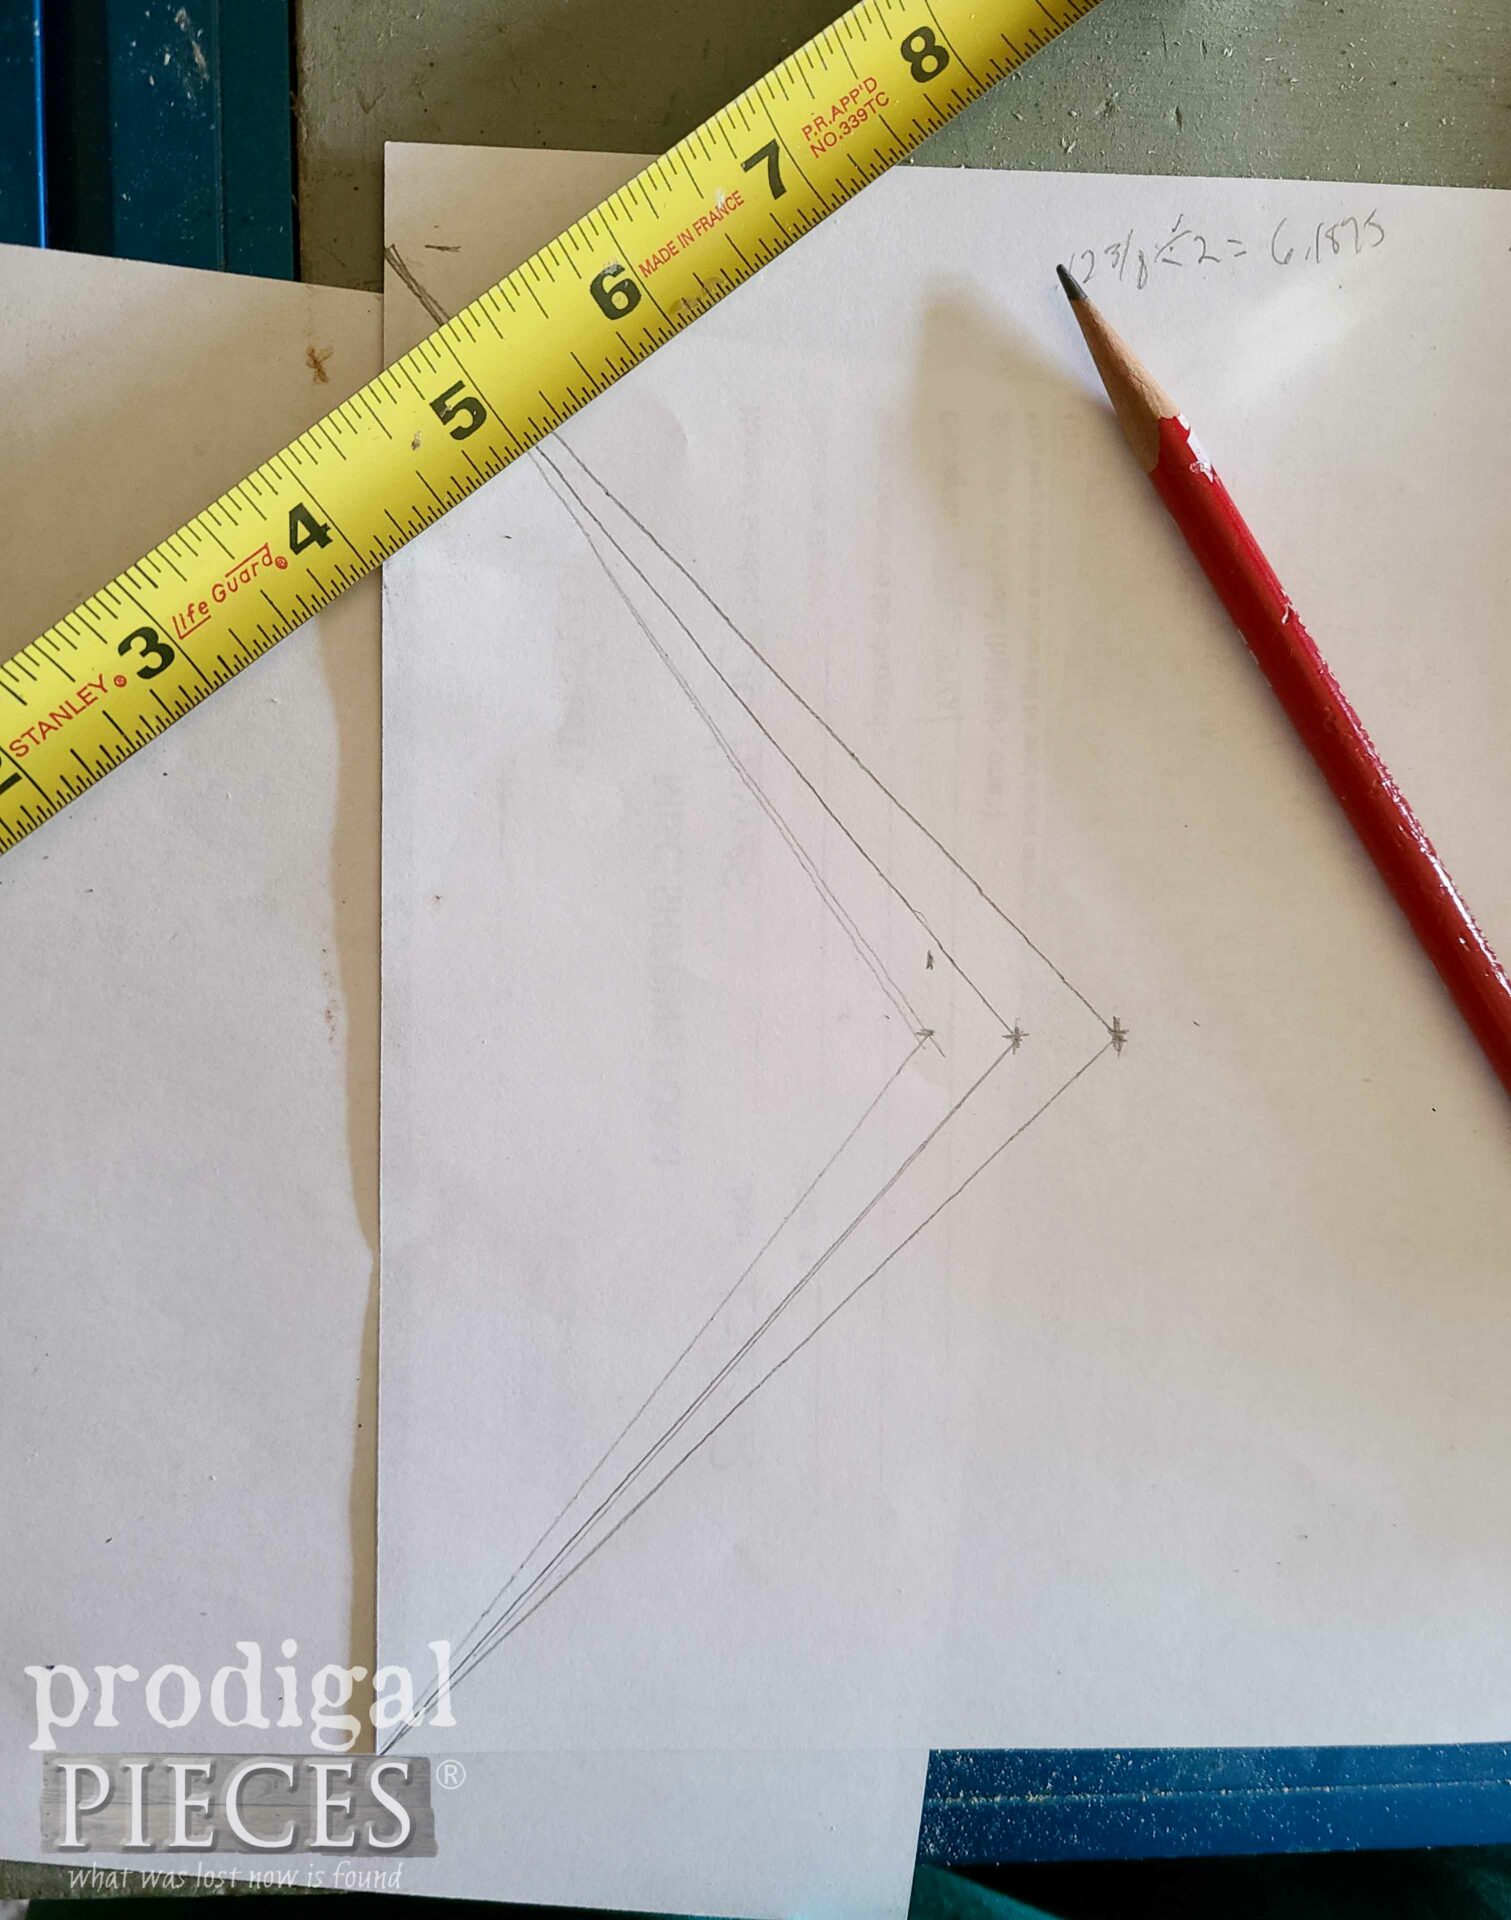
After that, trace onto a ¾" thick board and cut out on a 45° angle. Notice I'm using a very weathered fence panel that has gate hinge marks. My neighbor tossed the whole panel with rusty hinges, door, and all, and I nabbed it!
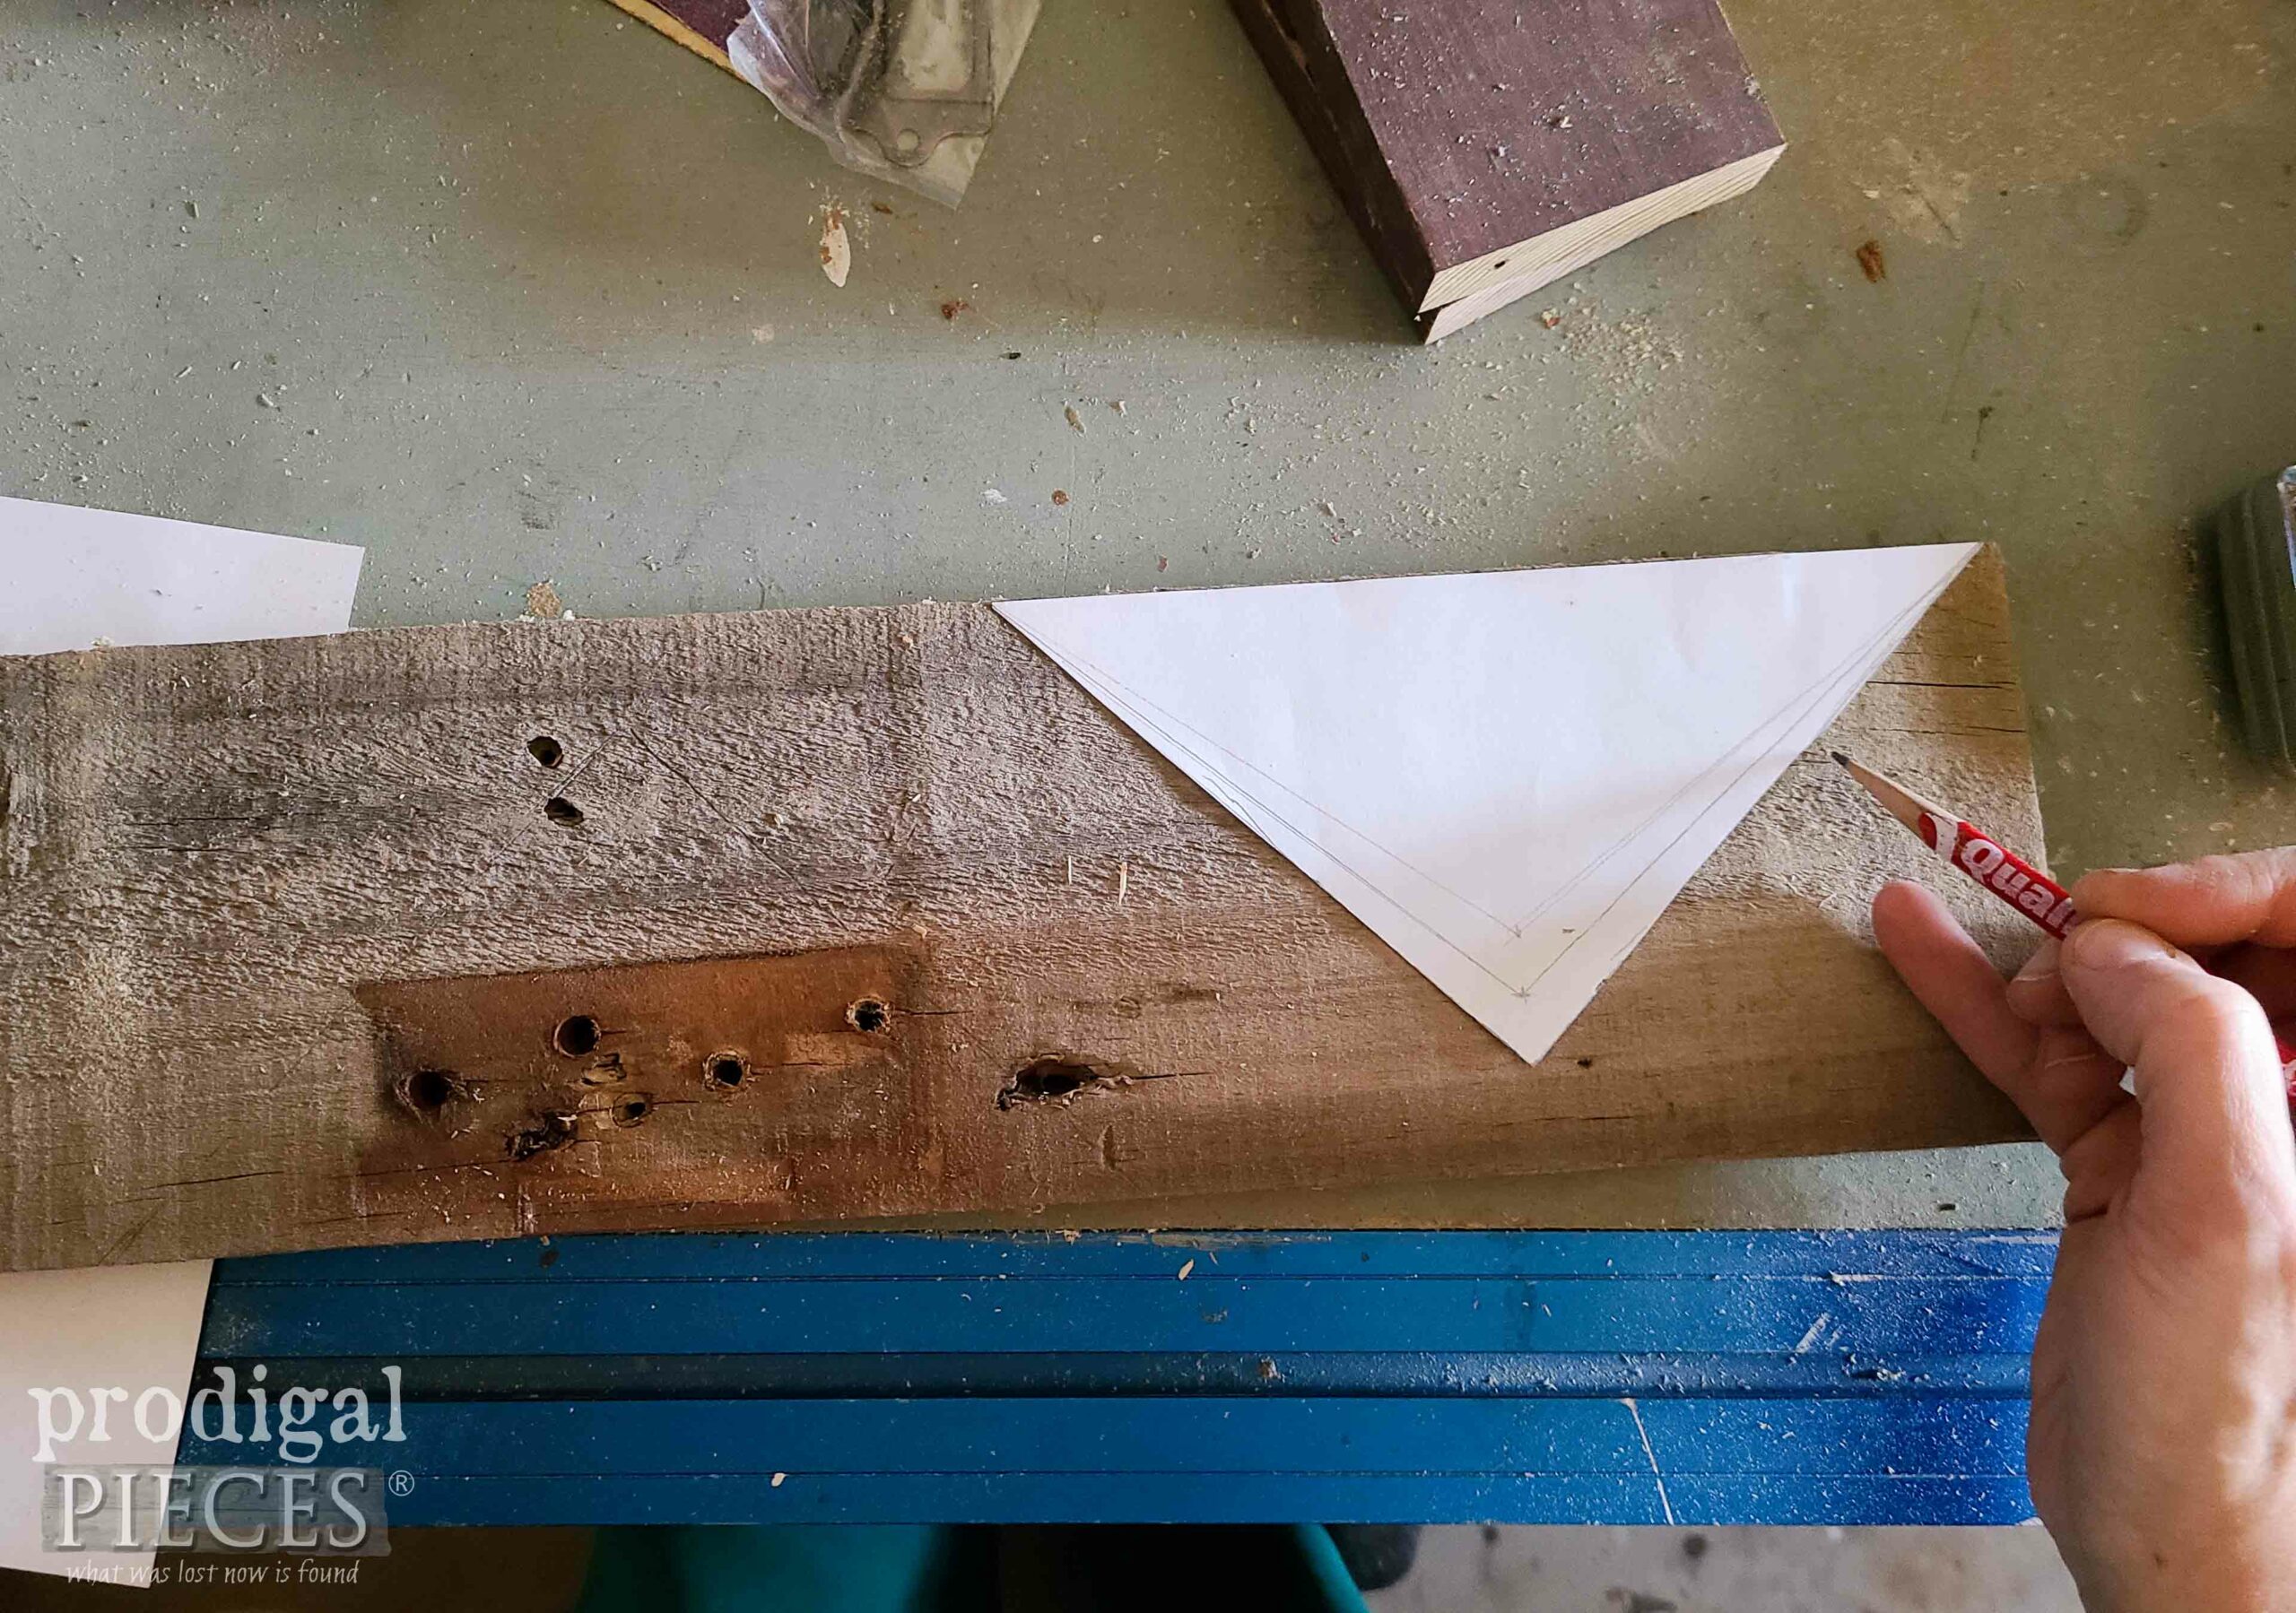
Before we call this triangle set complete, we need to nip off the top corner at 7 ¼" to match the 15° angle we cut into our 8" side pieces.
For the final triangle of our envelope for our reclaimed wood pocket, you will do the same thing except this time your base will be 12" on the long side cut to a 45° angle to a height of 5 ½".
STEP 7
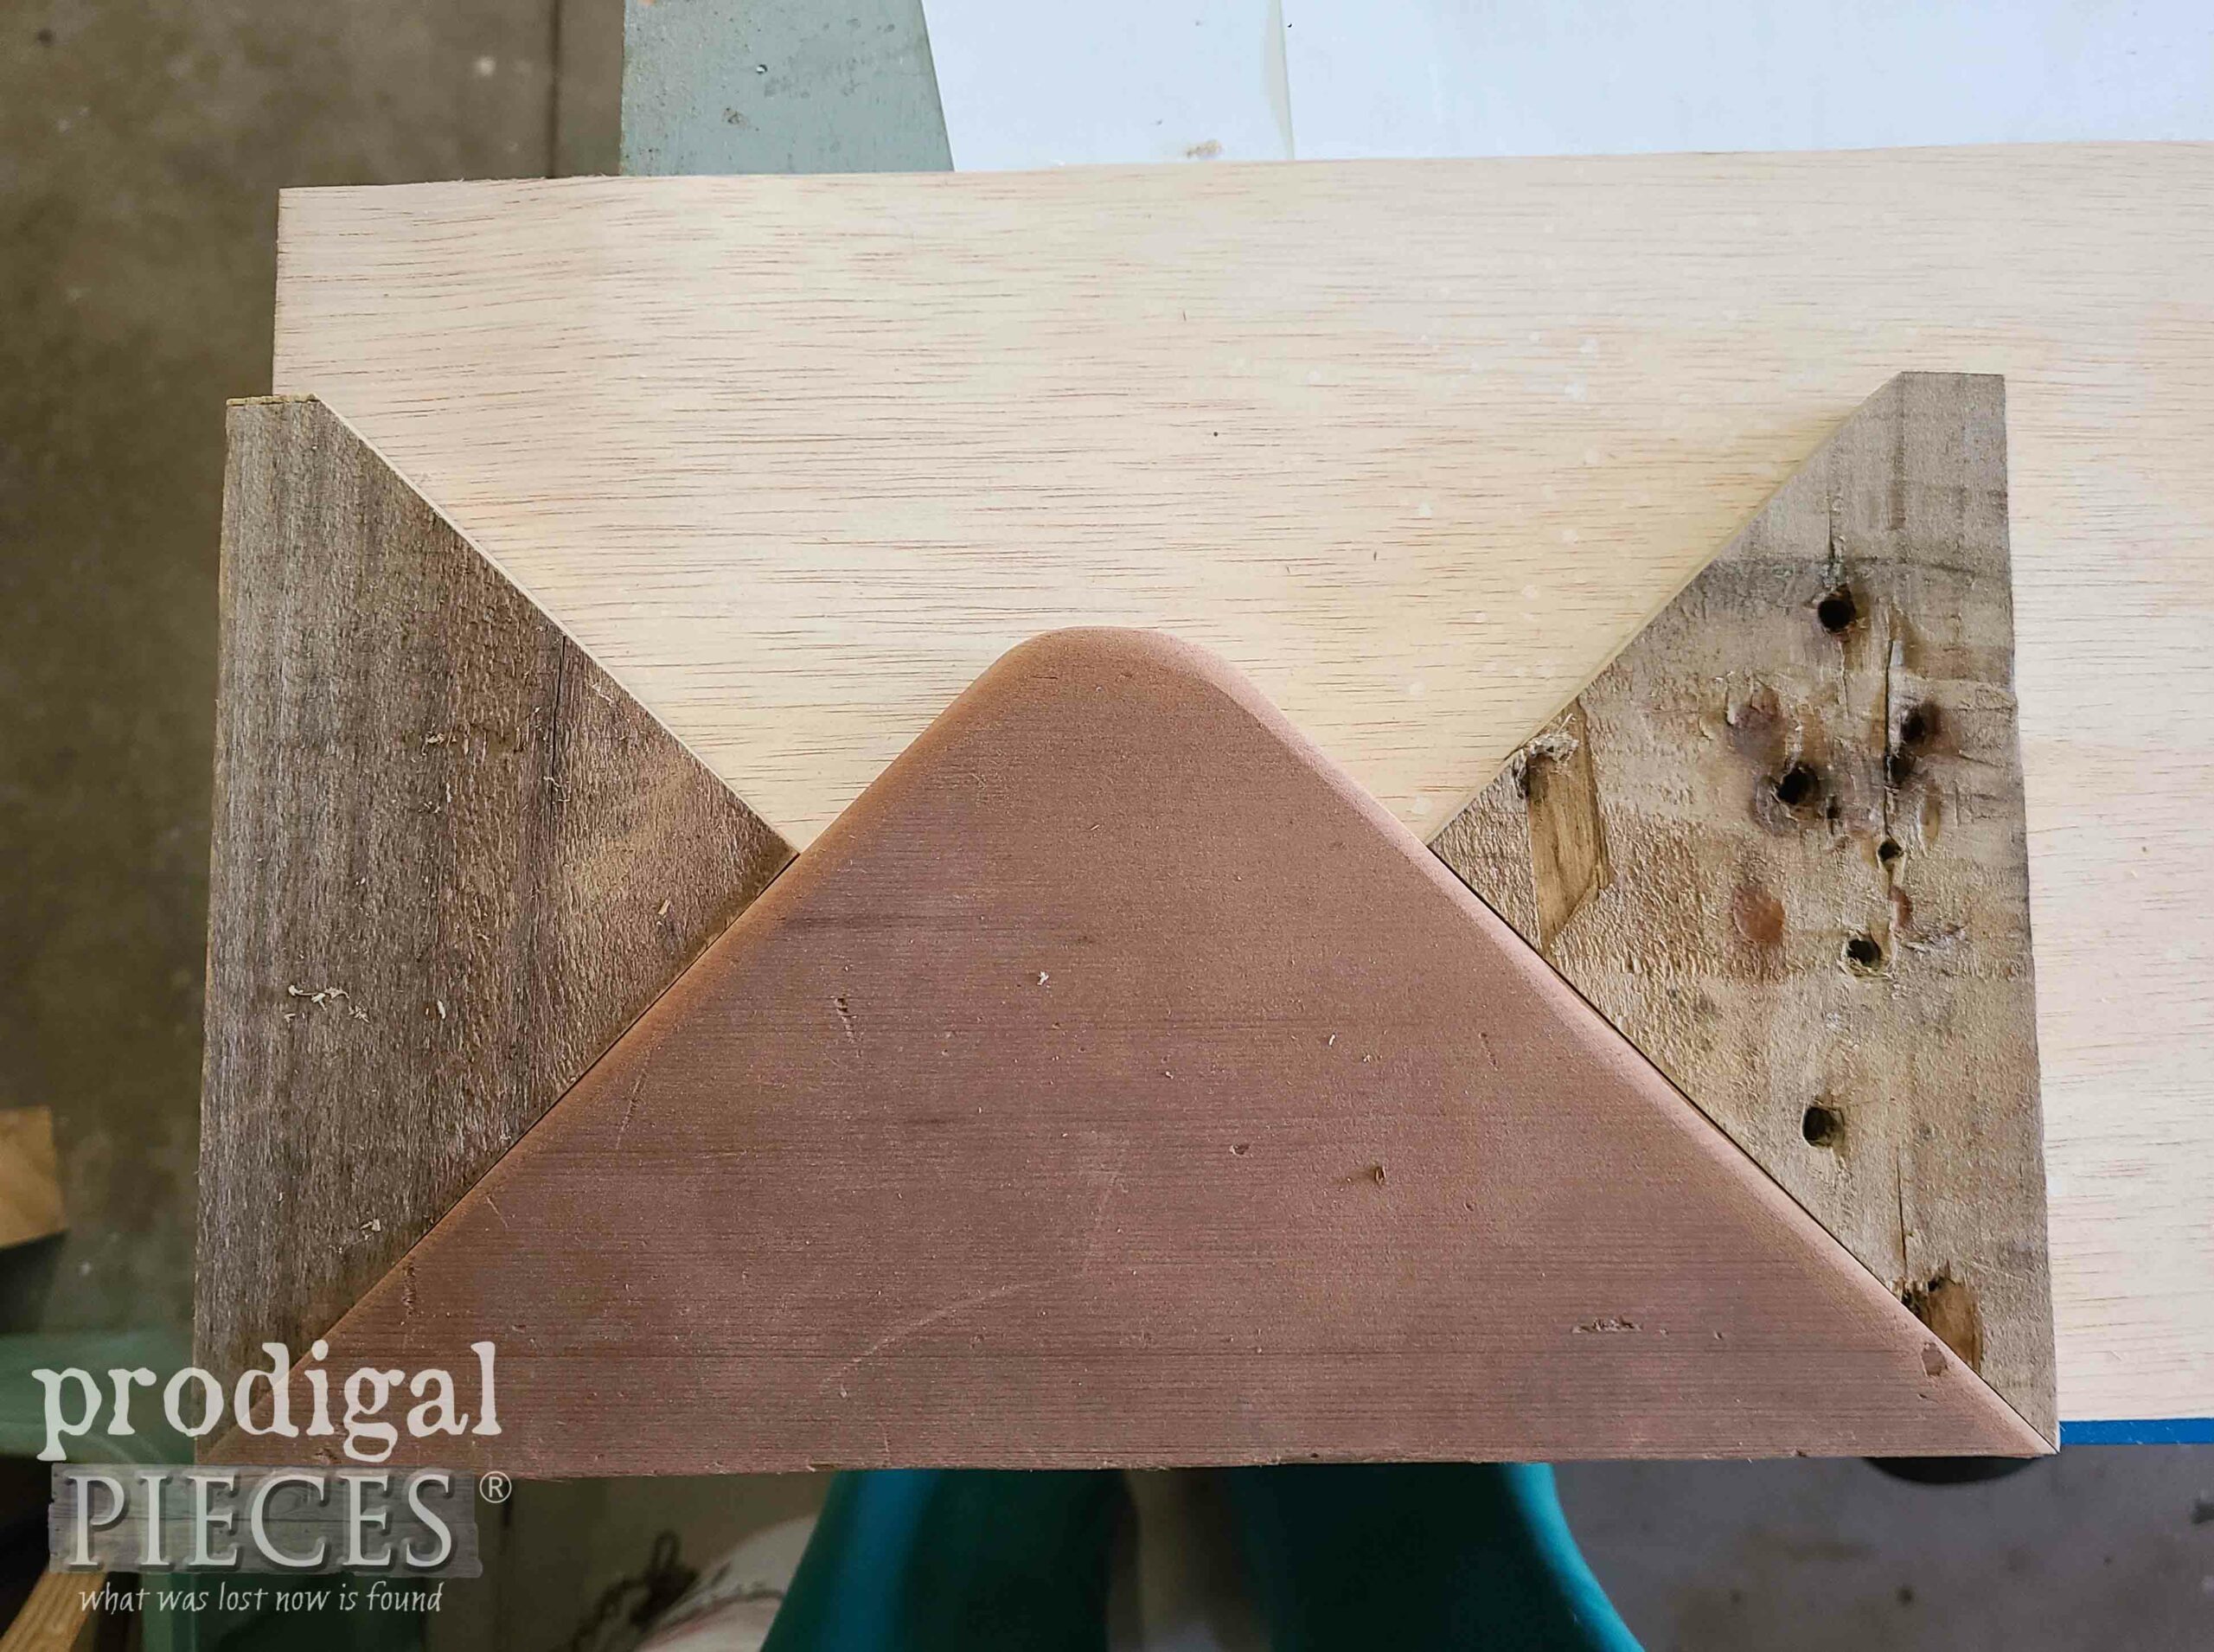
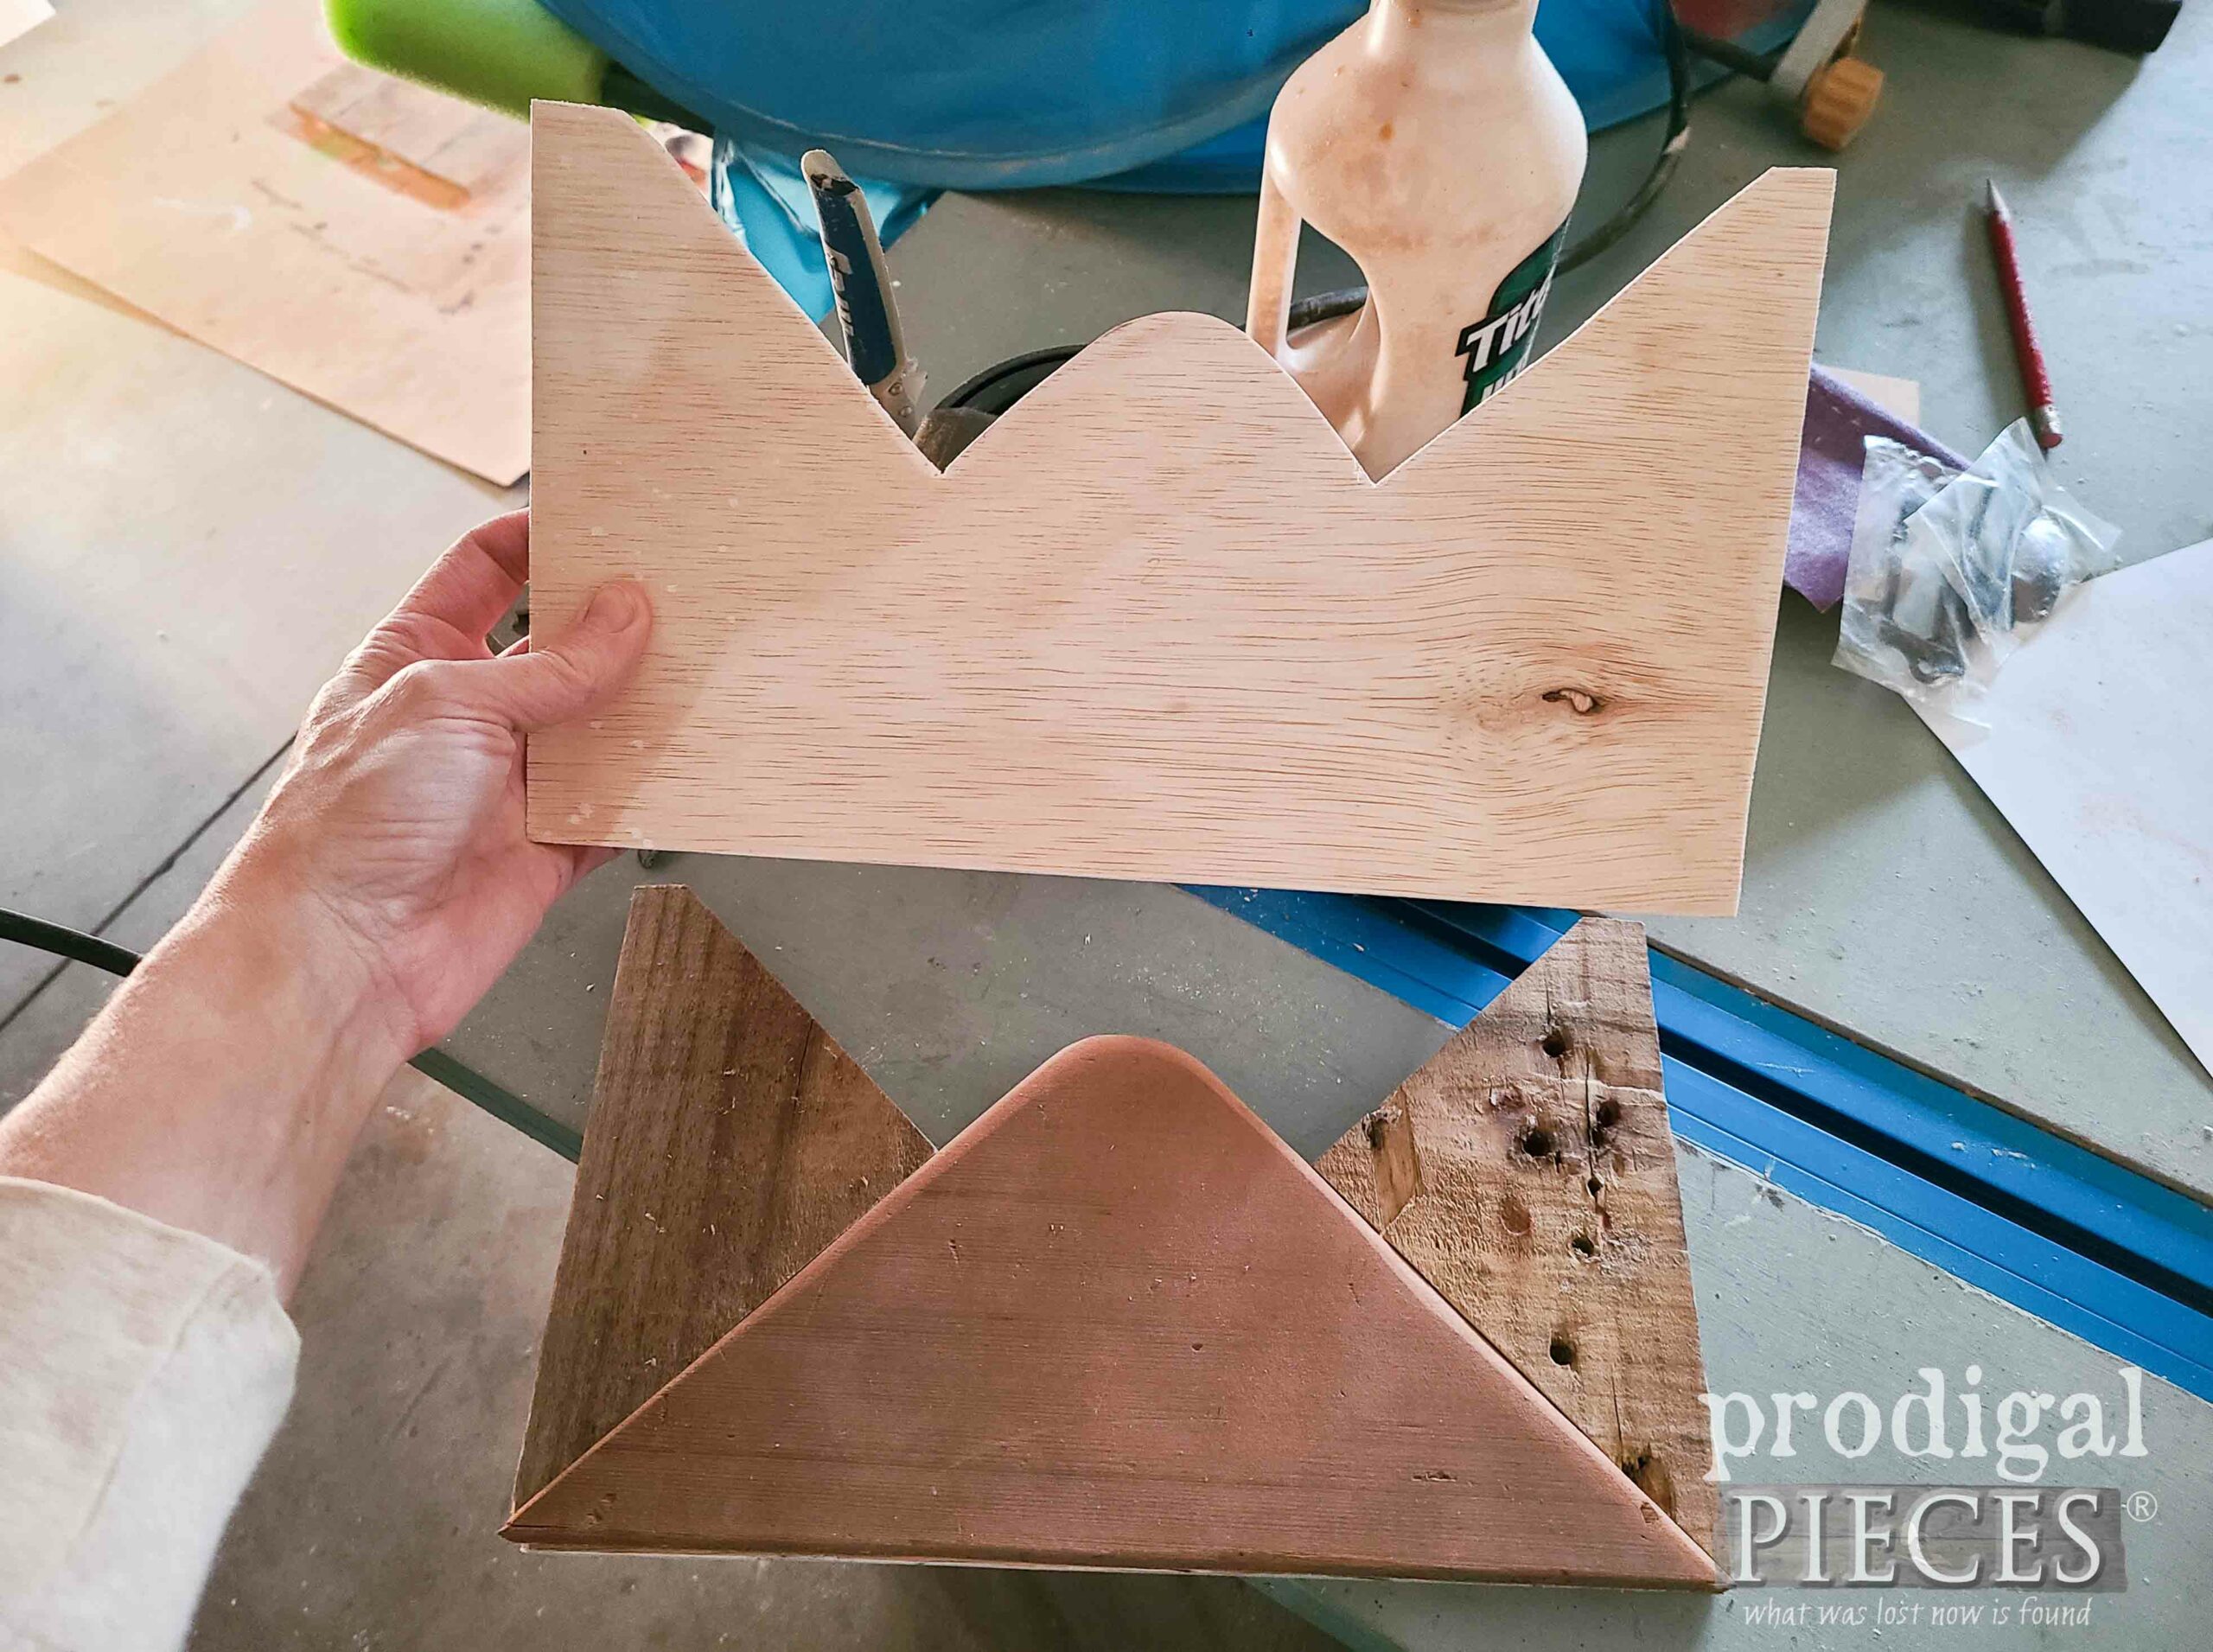
Then, after you have your pocket pieces, we will need to assemble. In order to do that, we need to cut a piece of luan (very thin plywood) or hardboard (clipboard-type material). First, lay your pieces out, trace, and then cut with a jigsaw or coping saw.
STEP 8
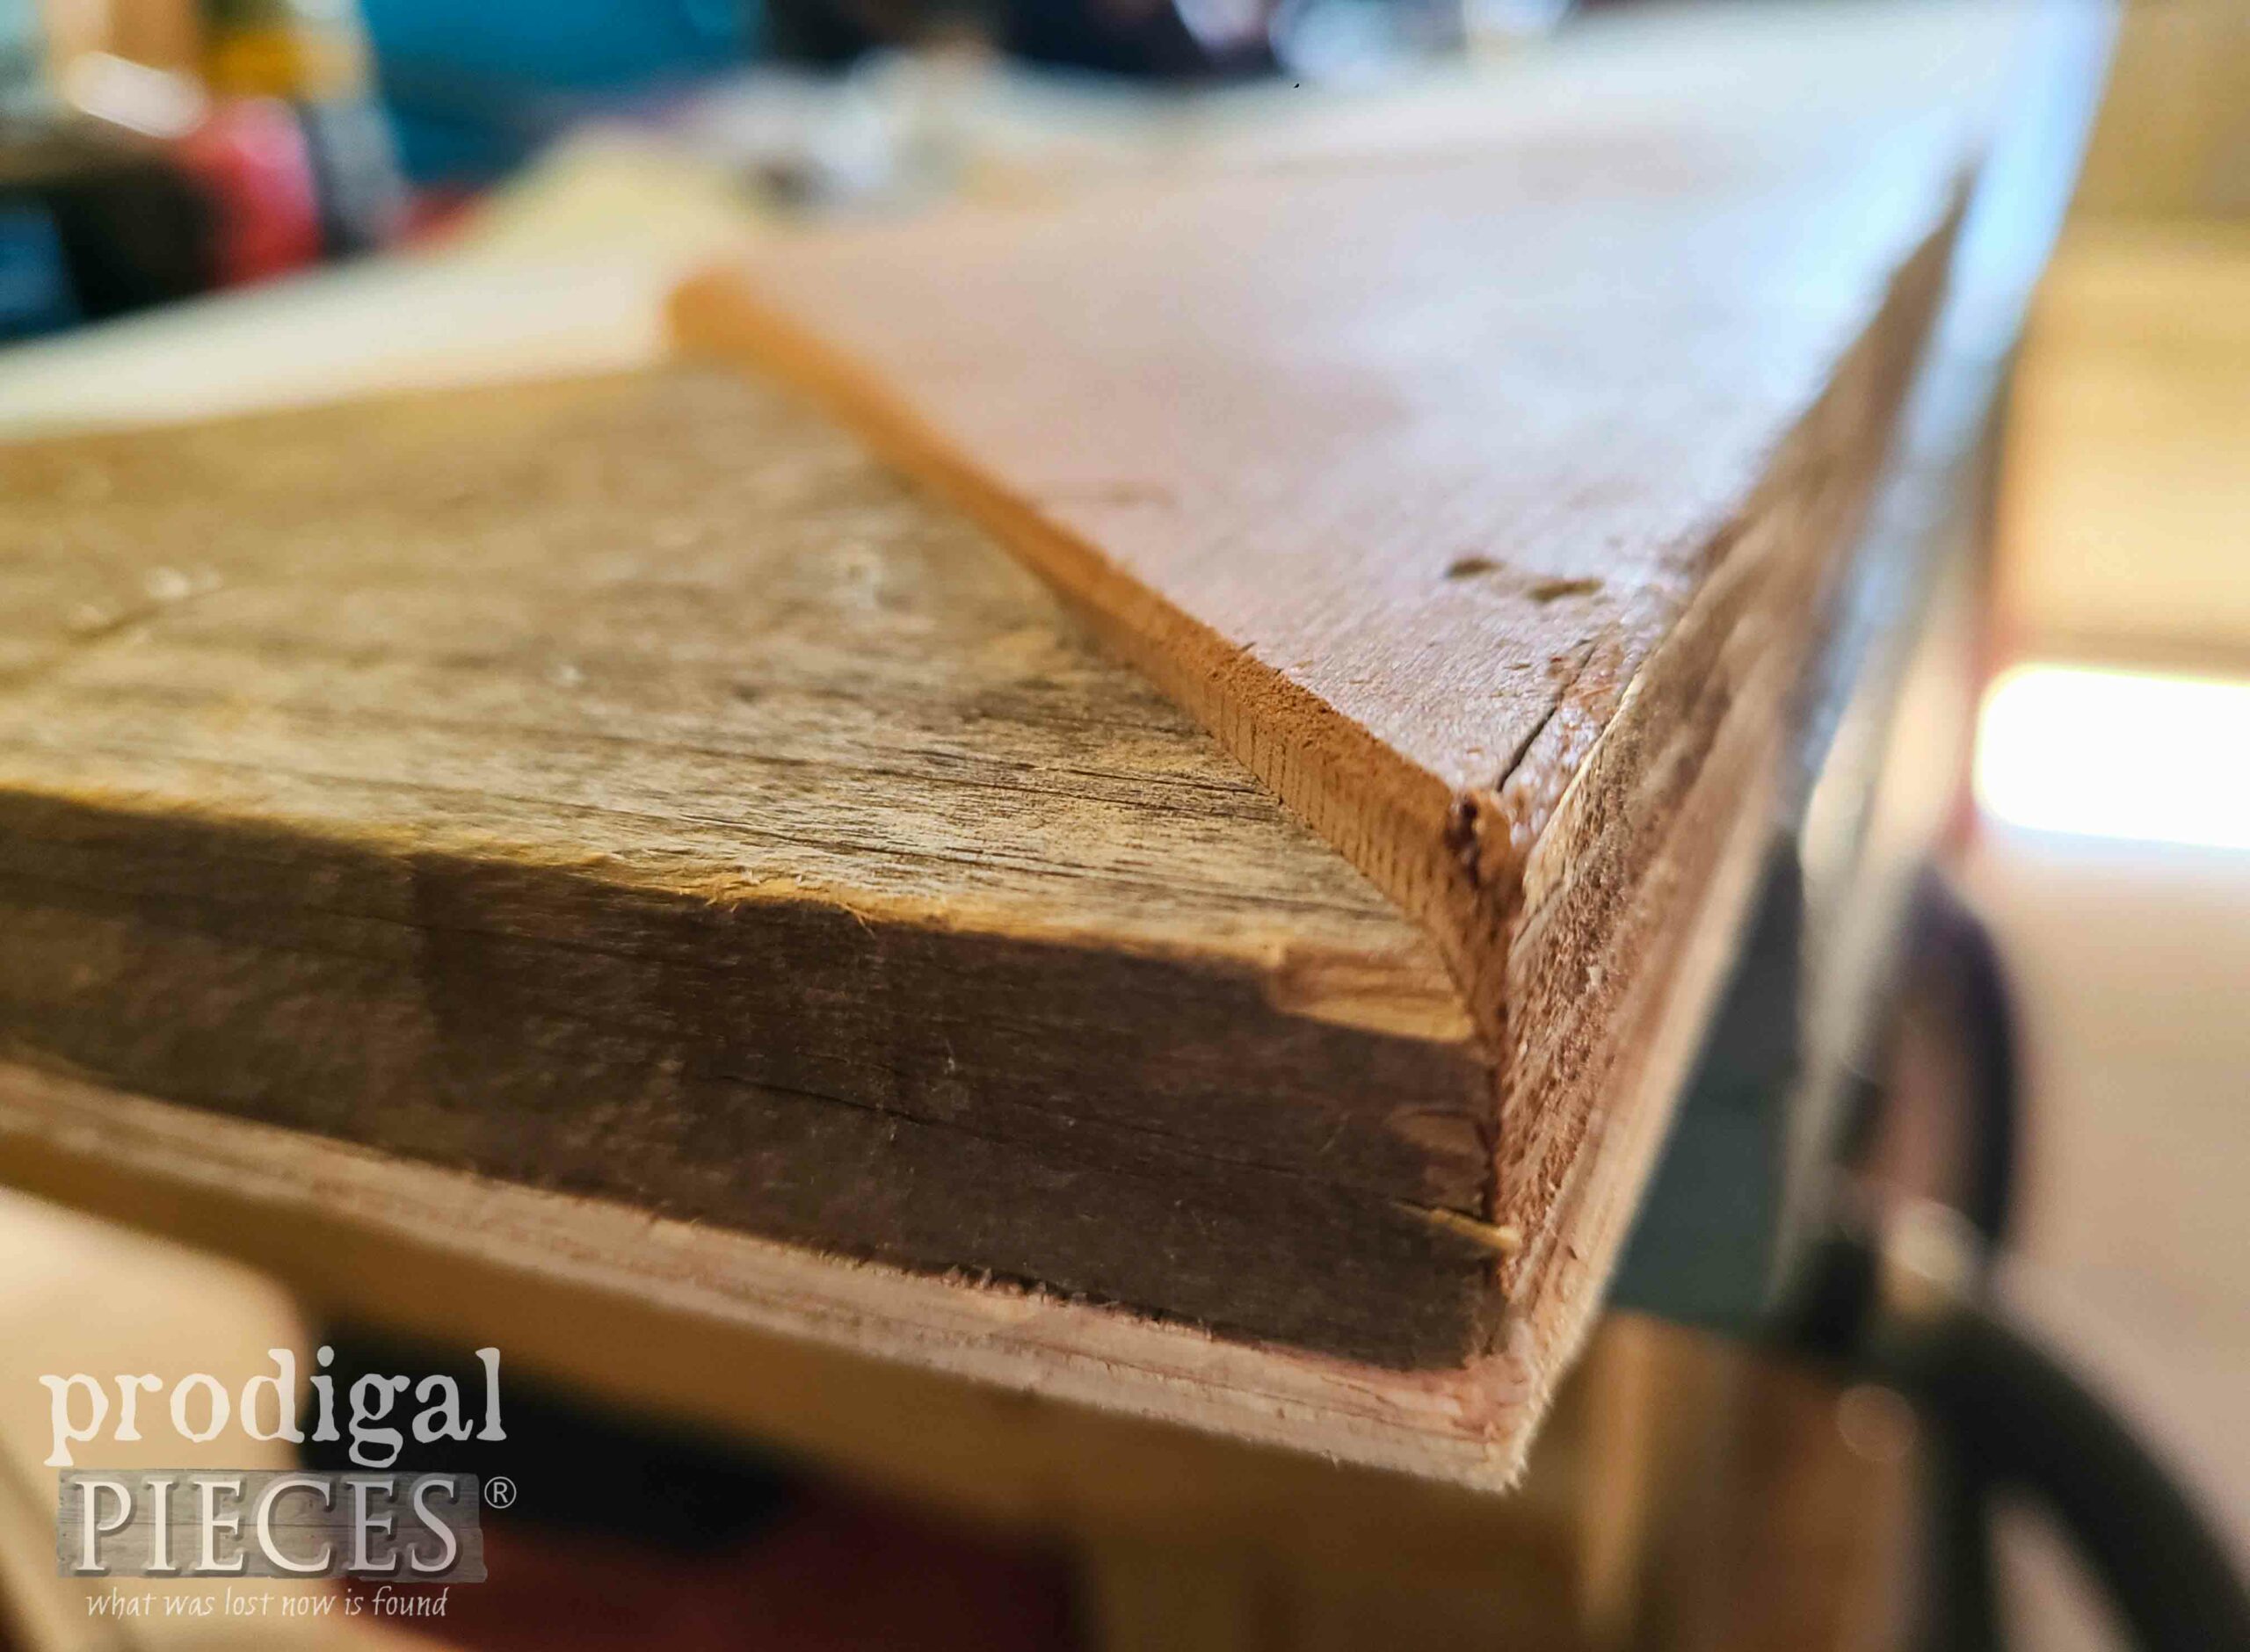
To assemble the pocket, flip your pocket triangles face down, apply wood glue to your luan panel face, then place glue-side down onto the back of your triangles.
[caption id="attachment_41907" align="aligncenter" width="550"]
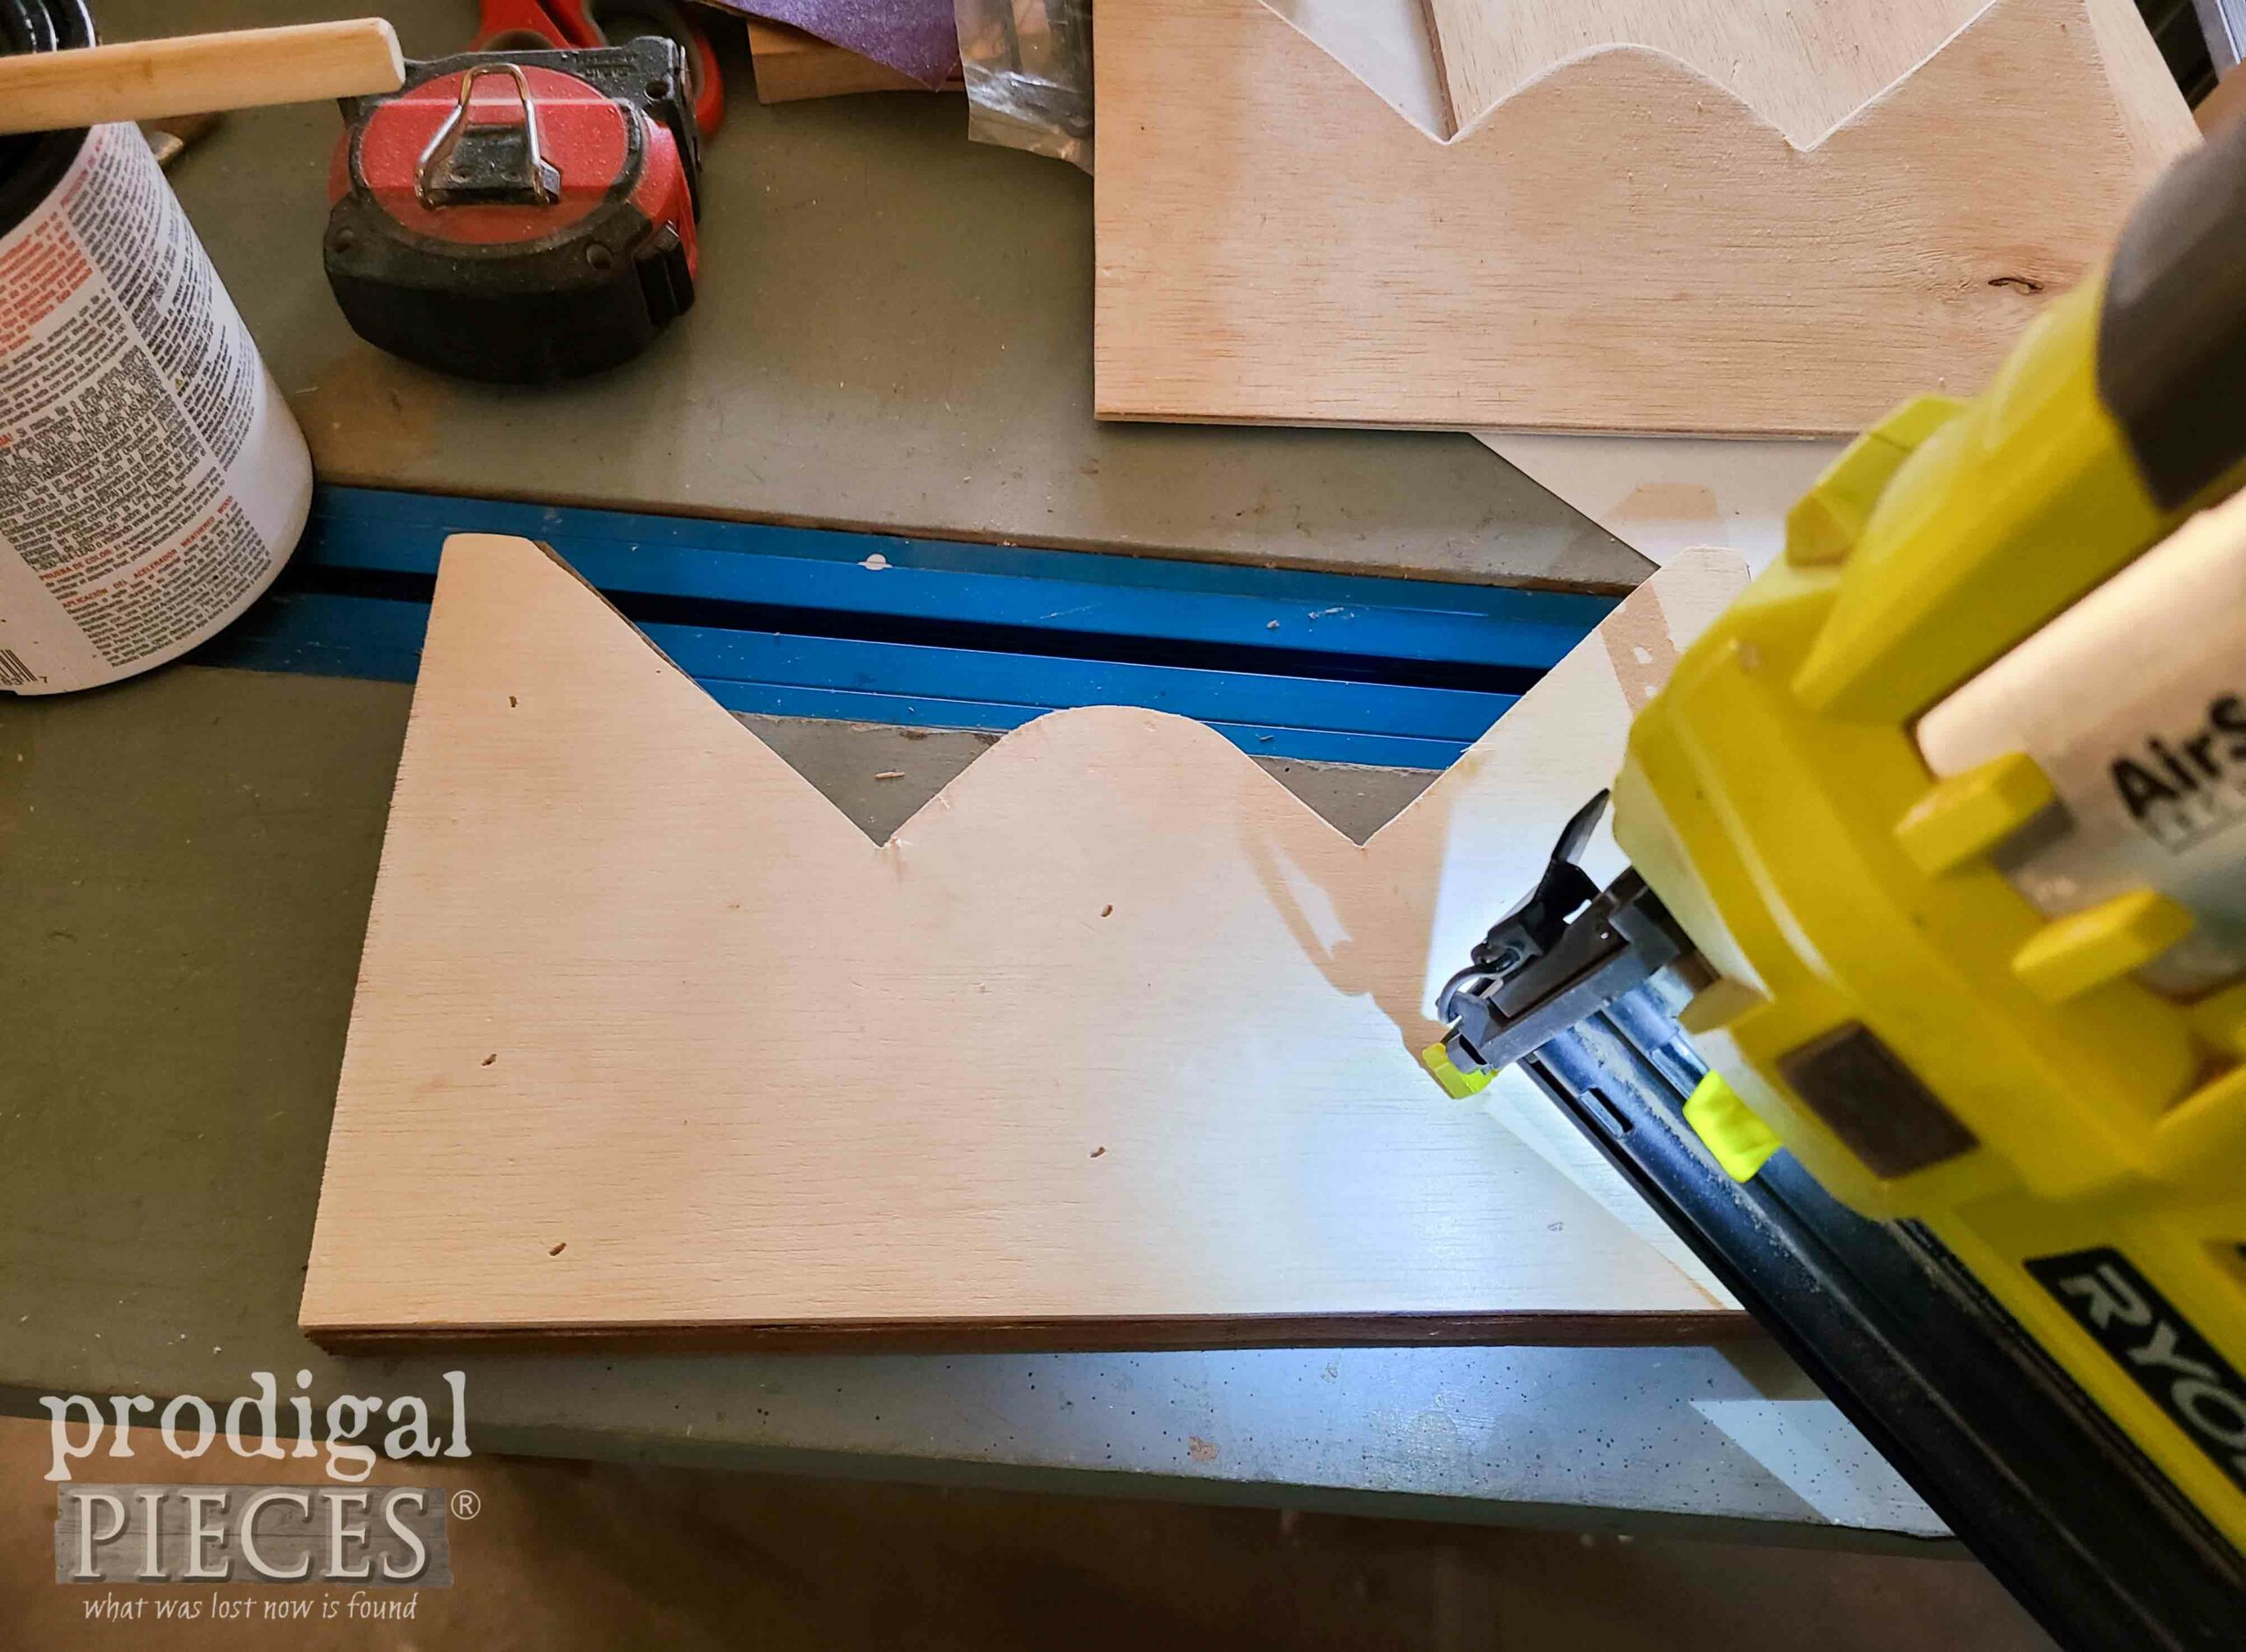
This is the backside showing with the pocket triangles face down.[/caption]
Notice that my boards are sandwiched onto the luan and that their thicknesses vary...that's perfectly fine and half the fun.
STEP 9
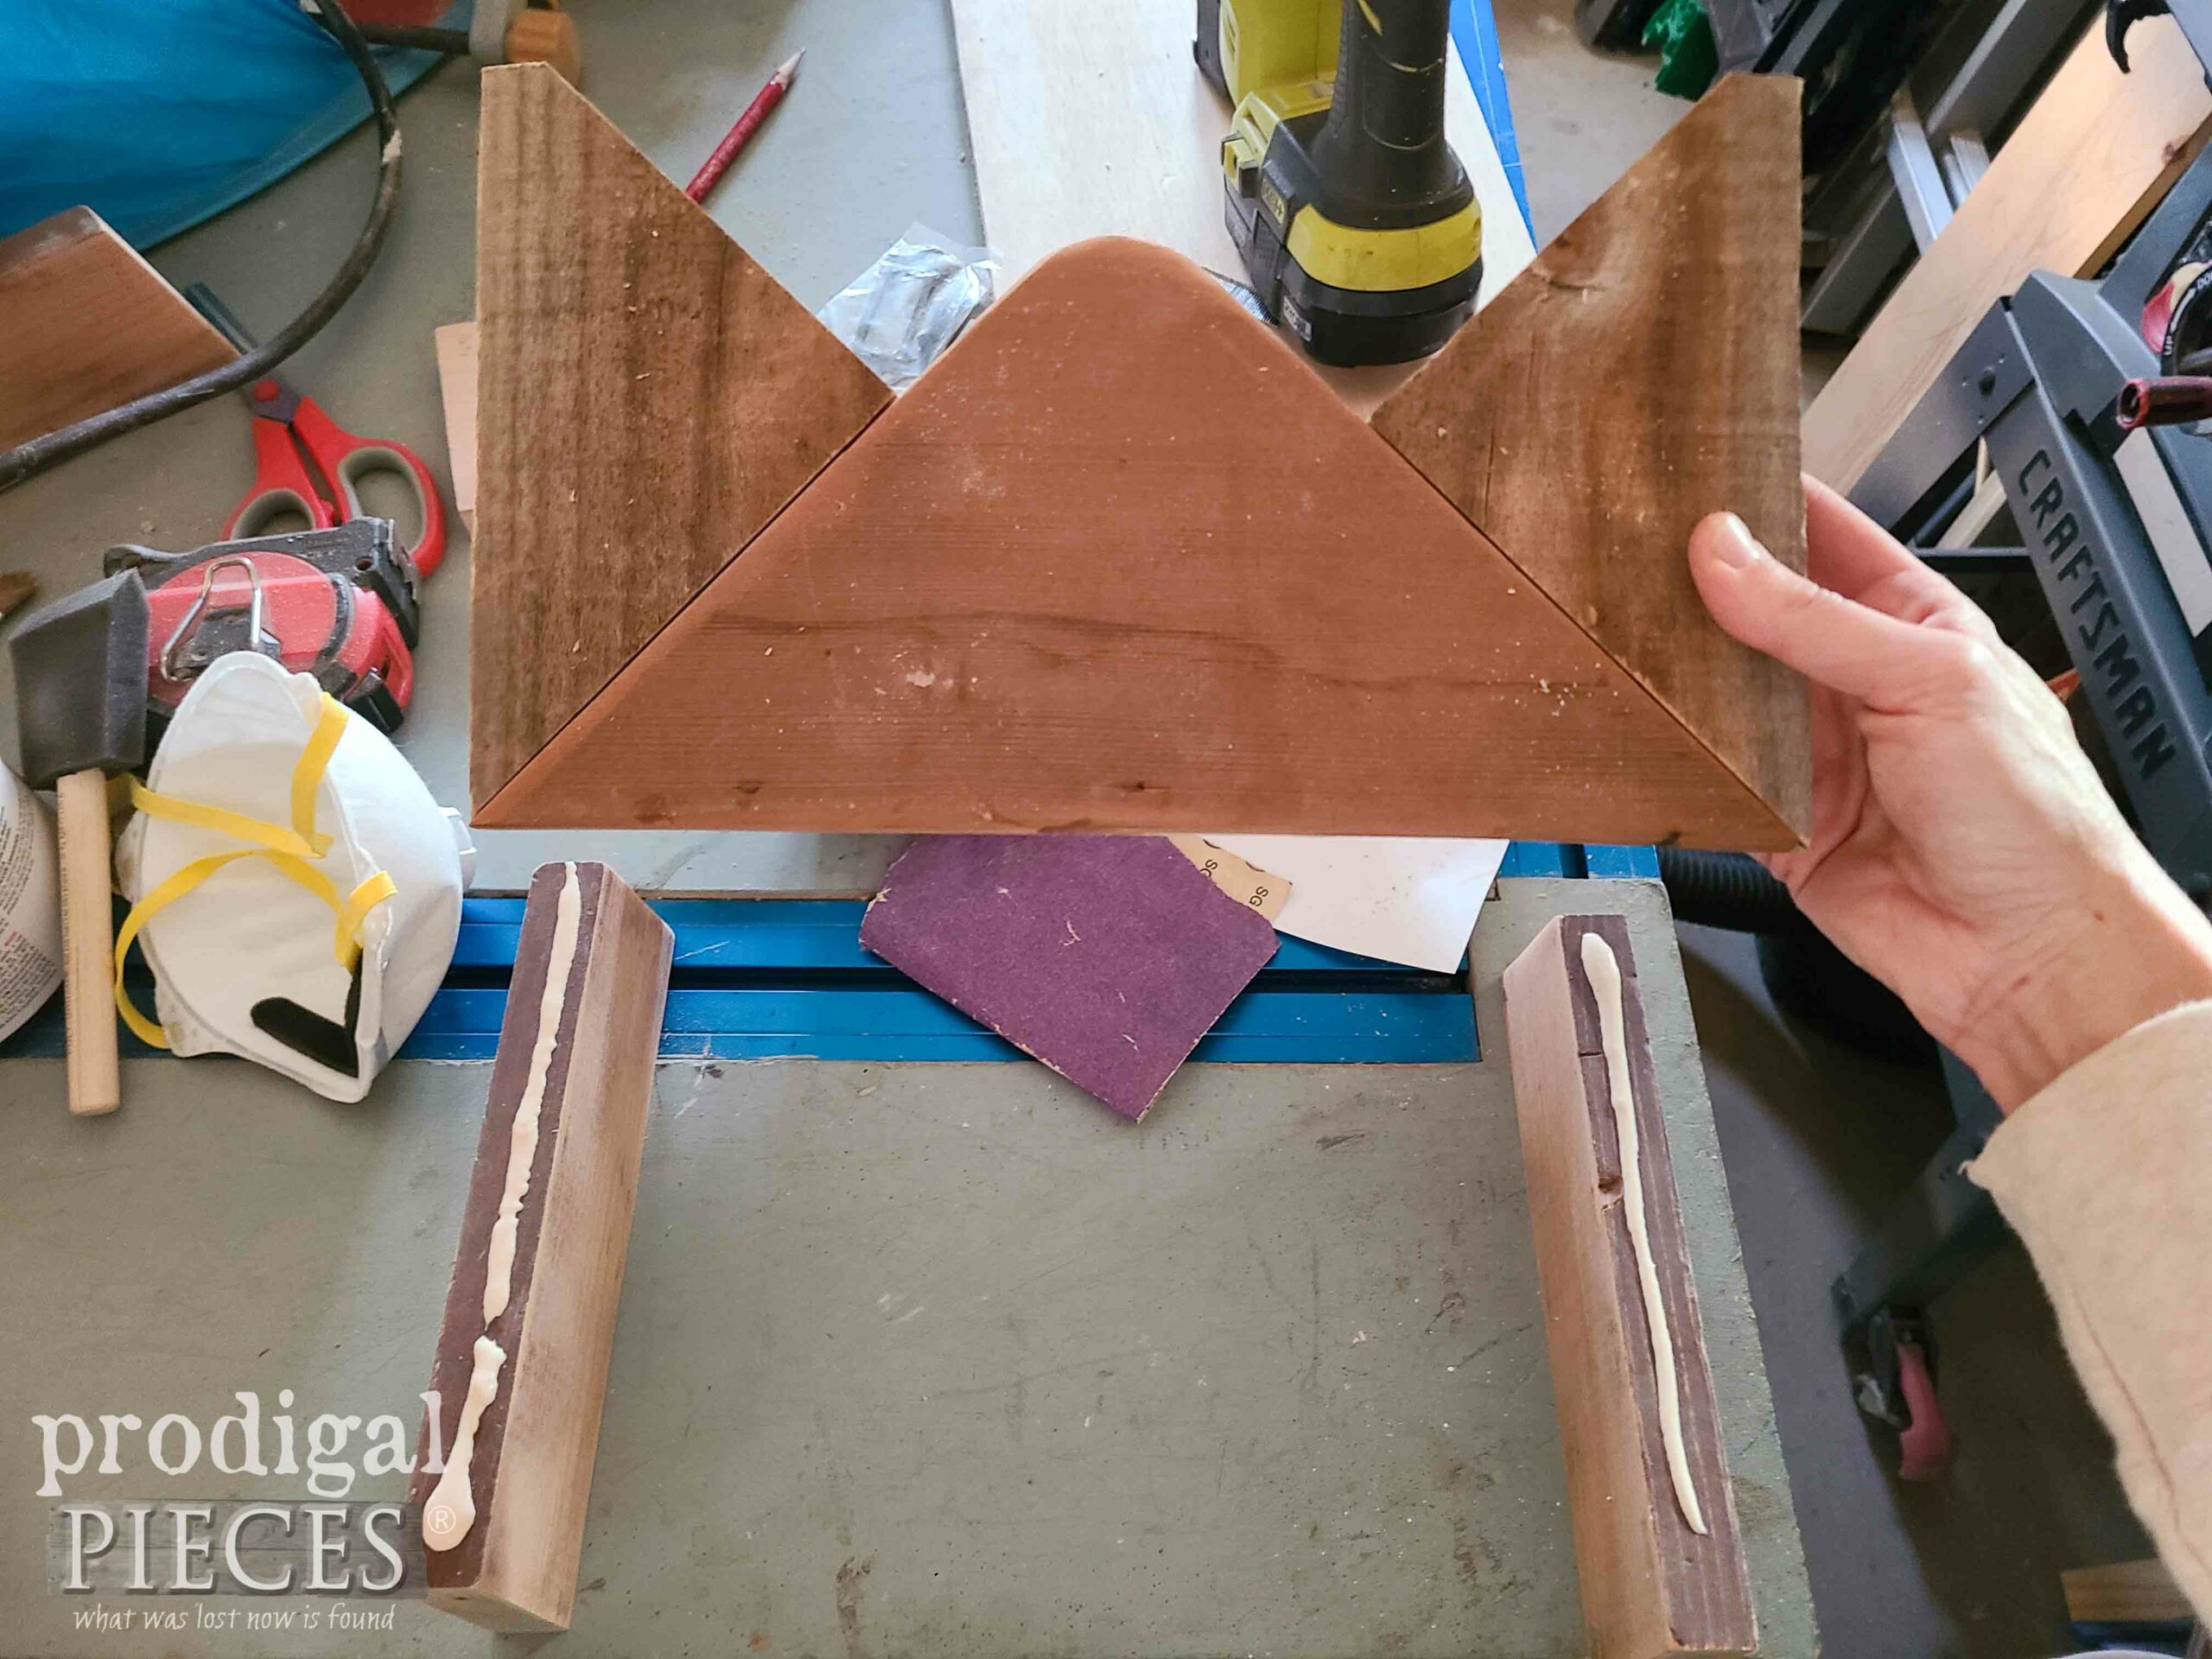
Next, take your 8" side pieces you first cut and place those with the short sides facing up. Run a bead of glue on them, then place your envelope assembly you just created on top and nail down.
STEP 10
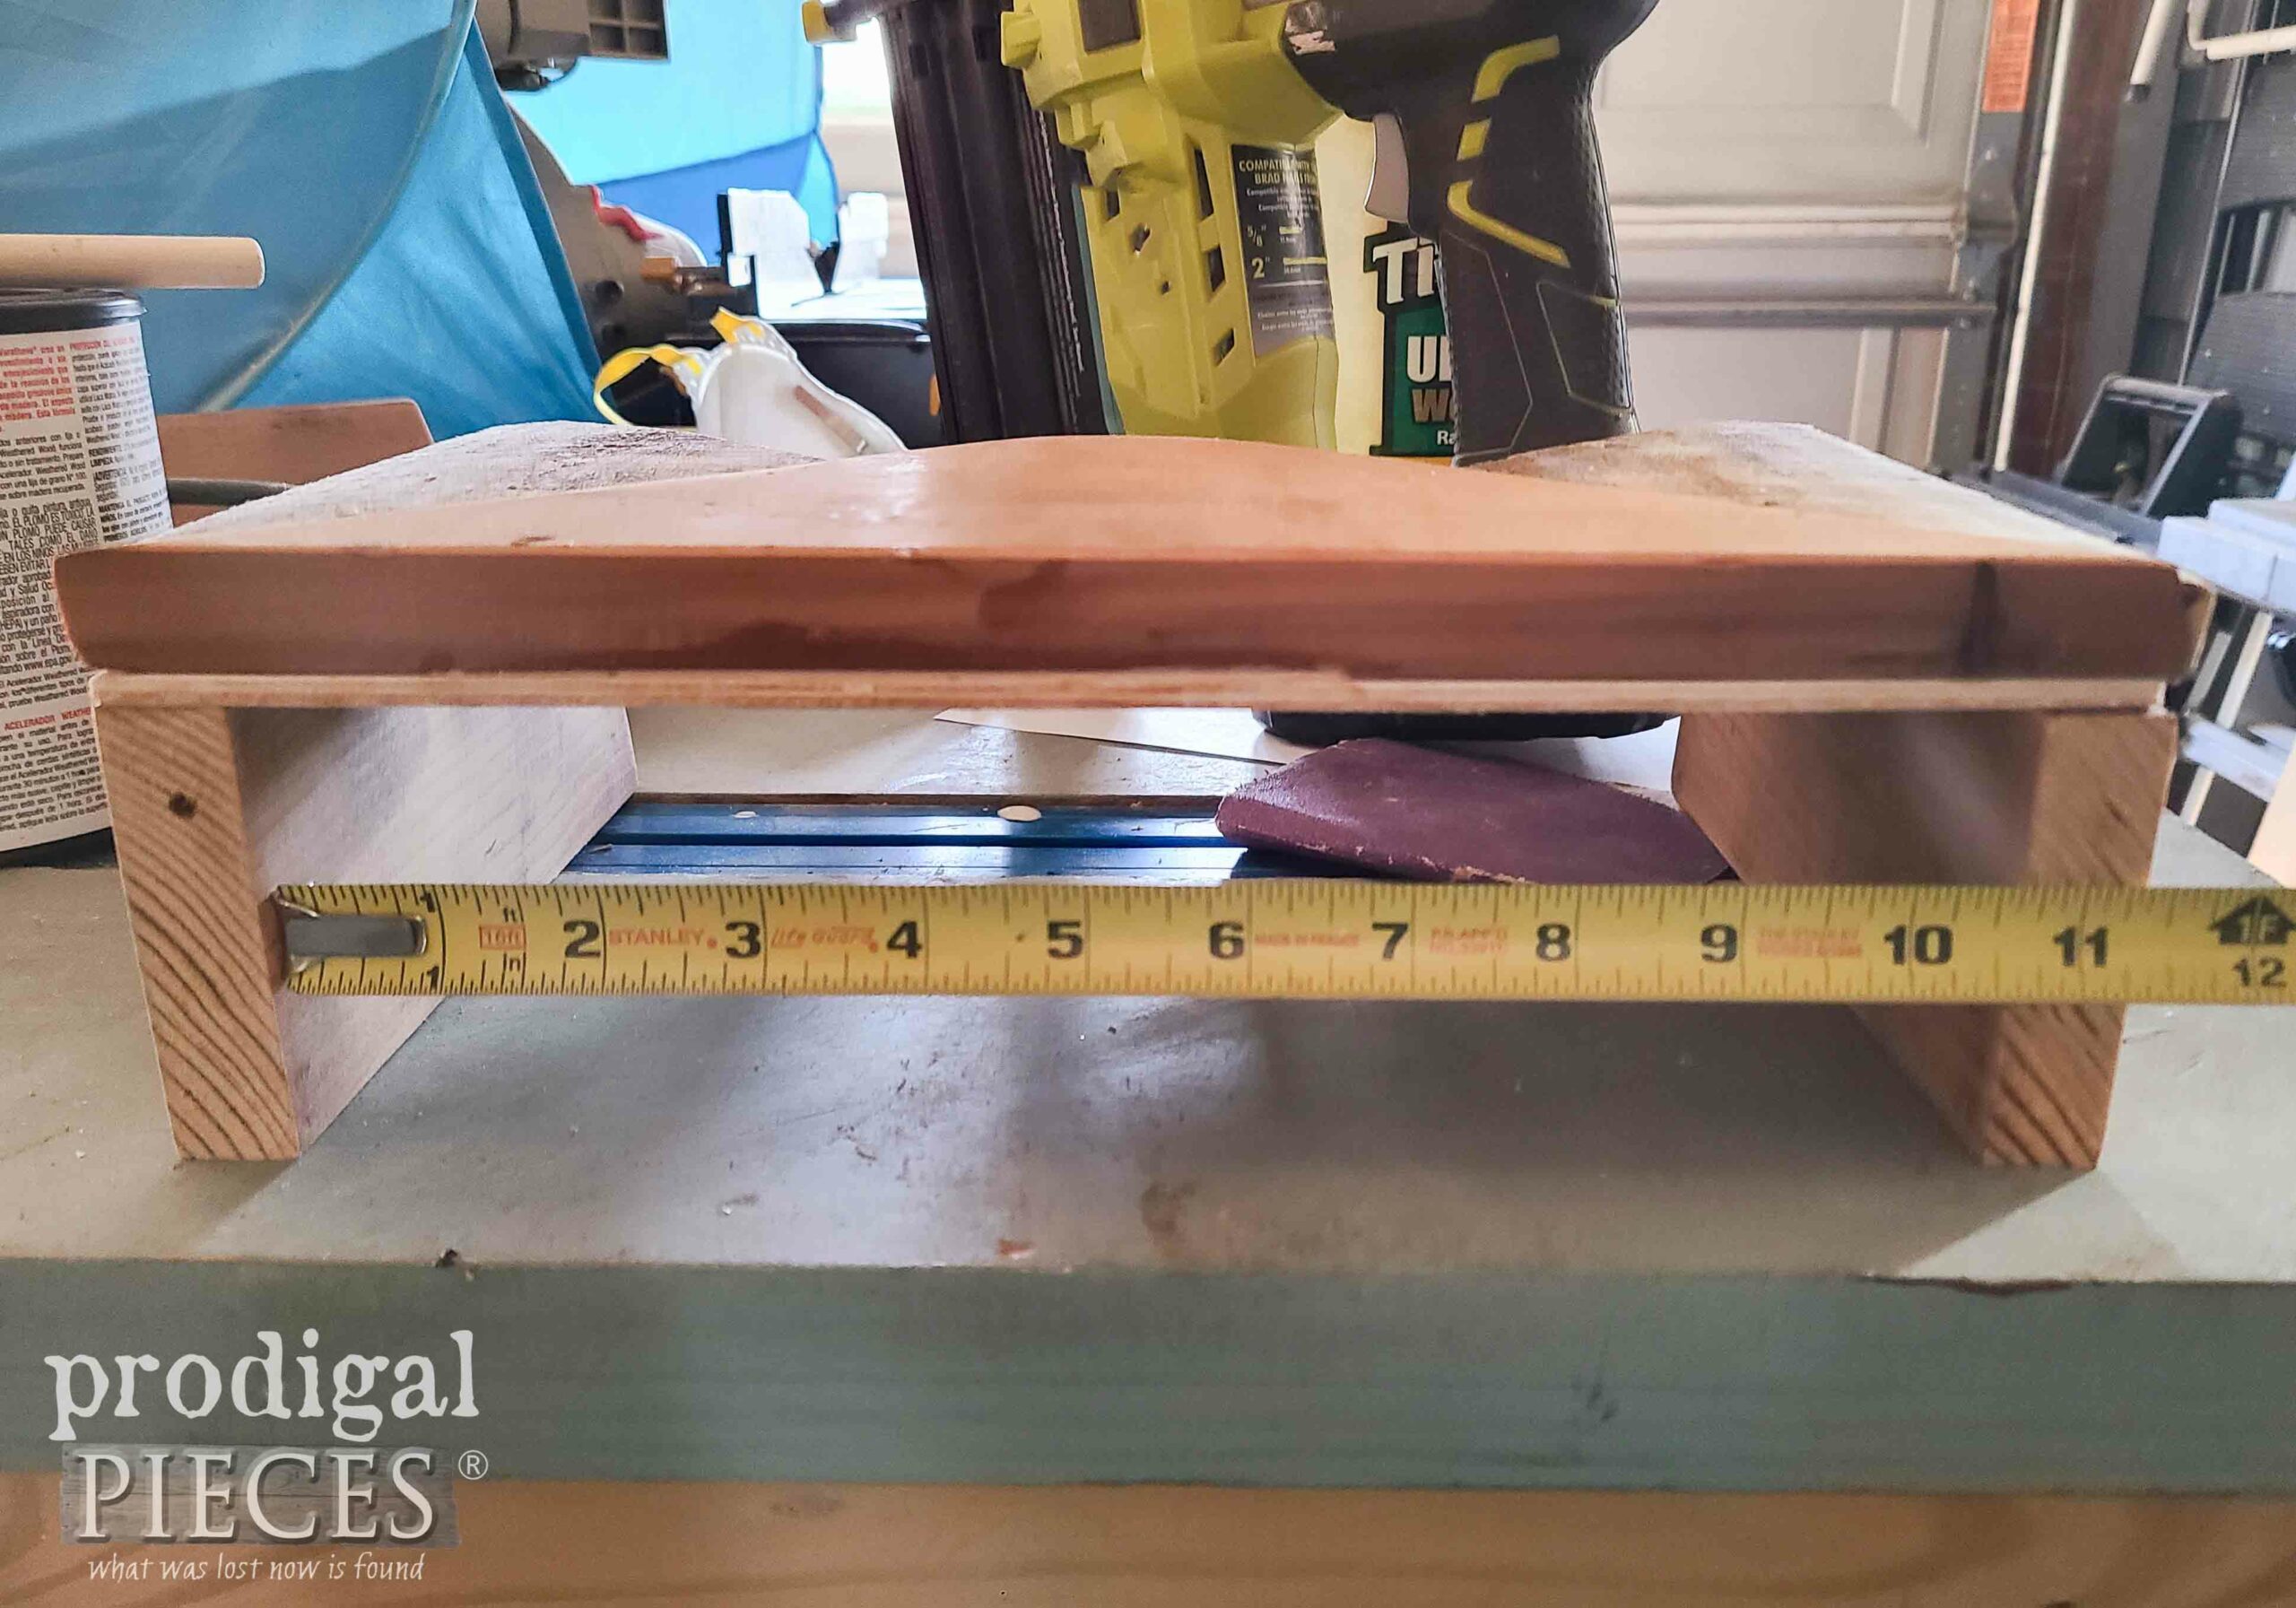
Last, to finish our pocket, it needs a bottom. I like to build my pocket and then measure to cut a board to fit that space. You will do so according to what size pocket you create.
STEP 11
Finally, we can assemble our pockets to the original backing we created from that reclaimed tongue-n-groove board. Notice I have my assembly face down and I measure from the bottom up at 8", 13 ½", and 21 ½" on
both long sides. Your measurements may vary if you changed the pocket size or board size in any form. These points are where I am going to pre-drill holes to attach my pockets. If you altered the measurements, place your assembled pockets on your board and mark accordingly.
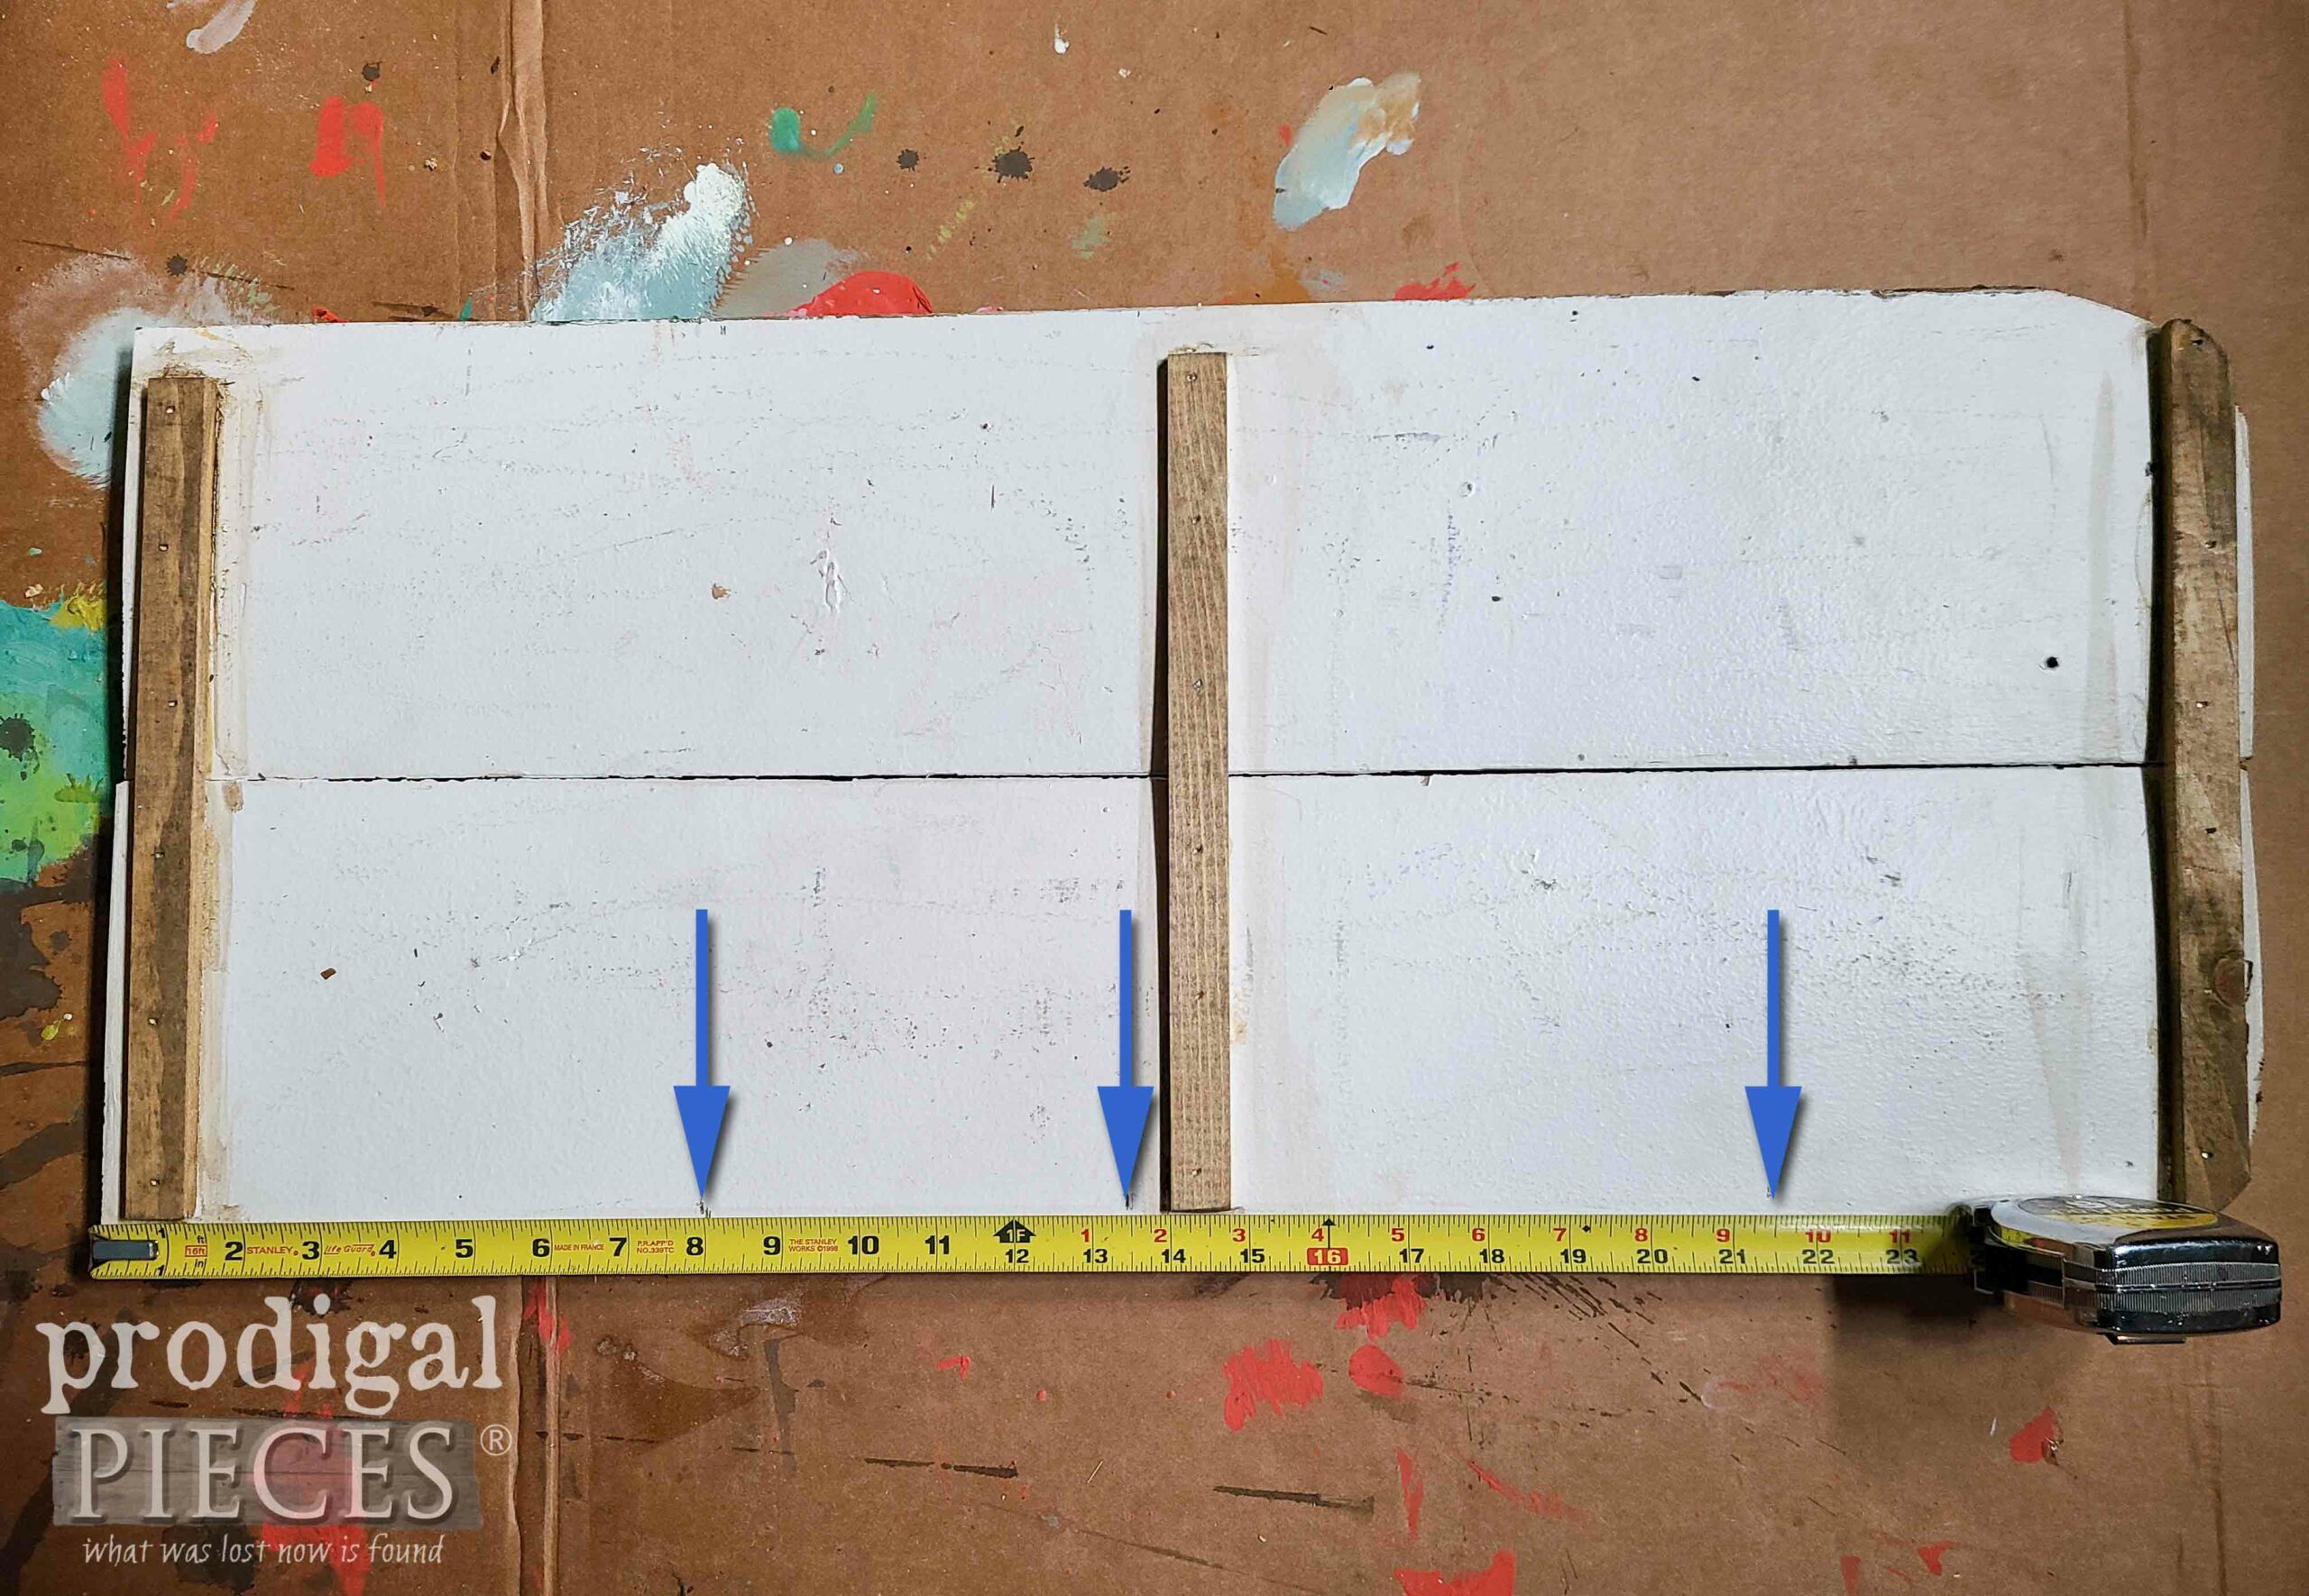
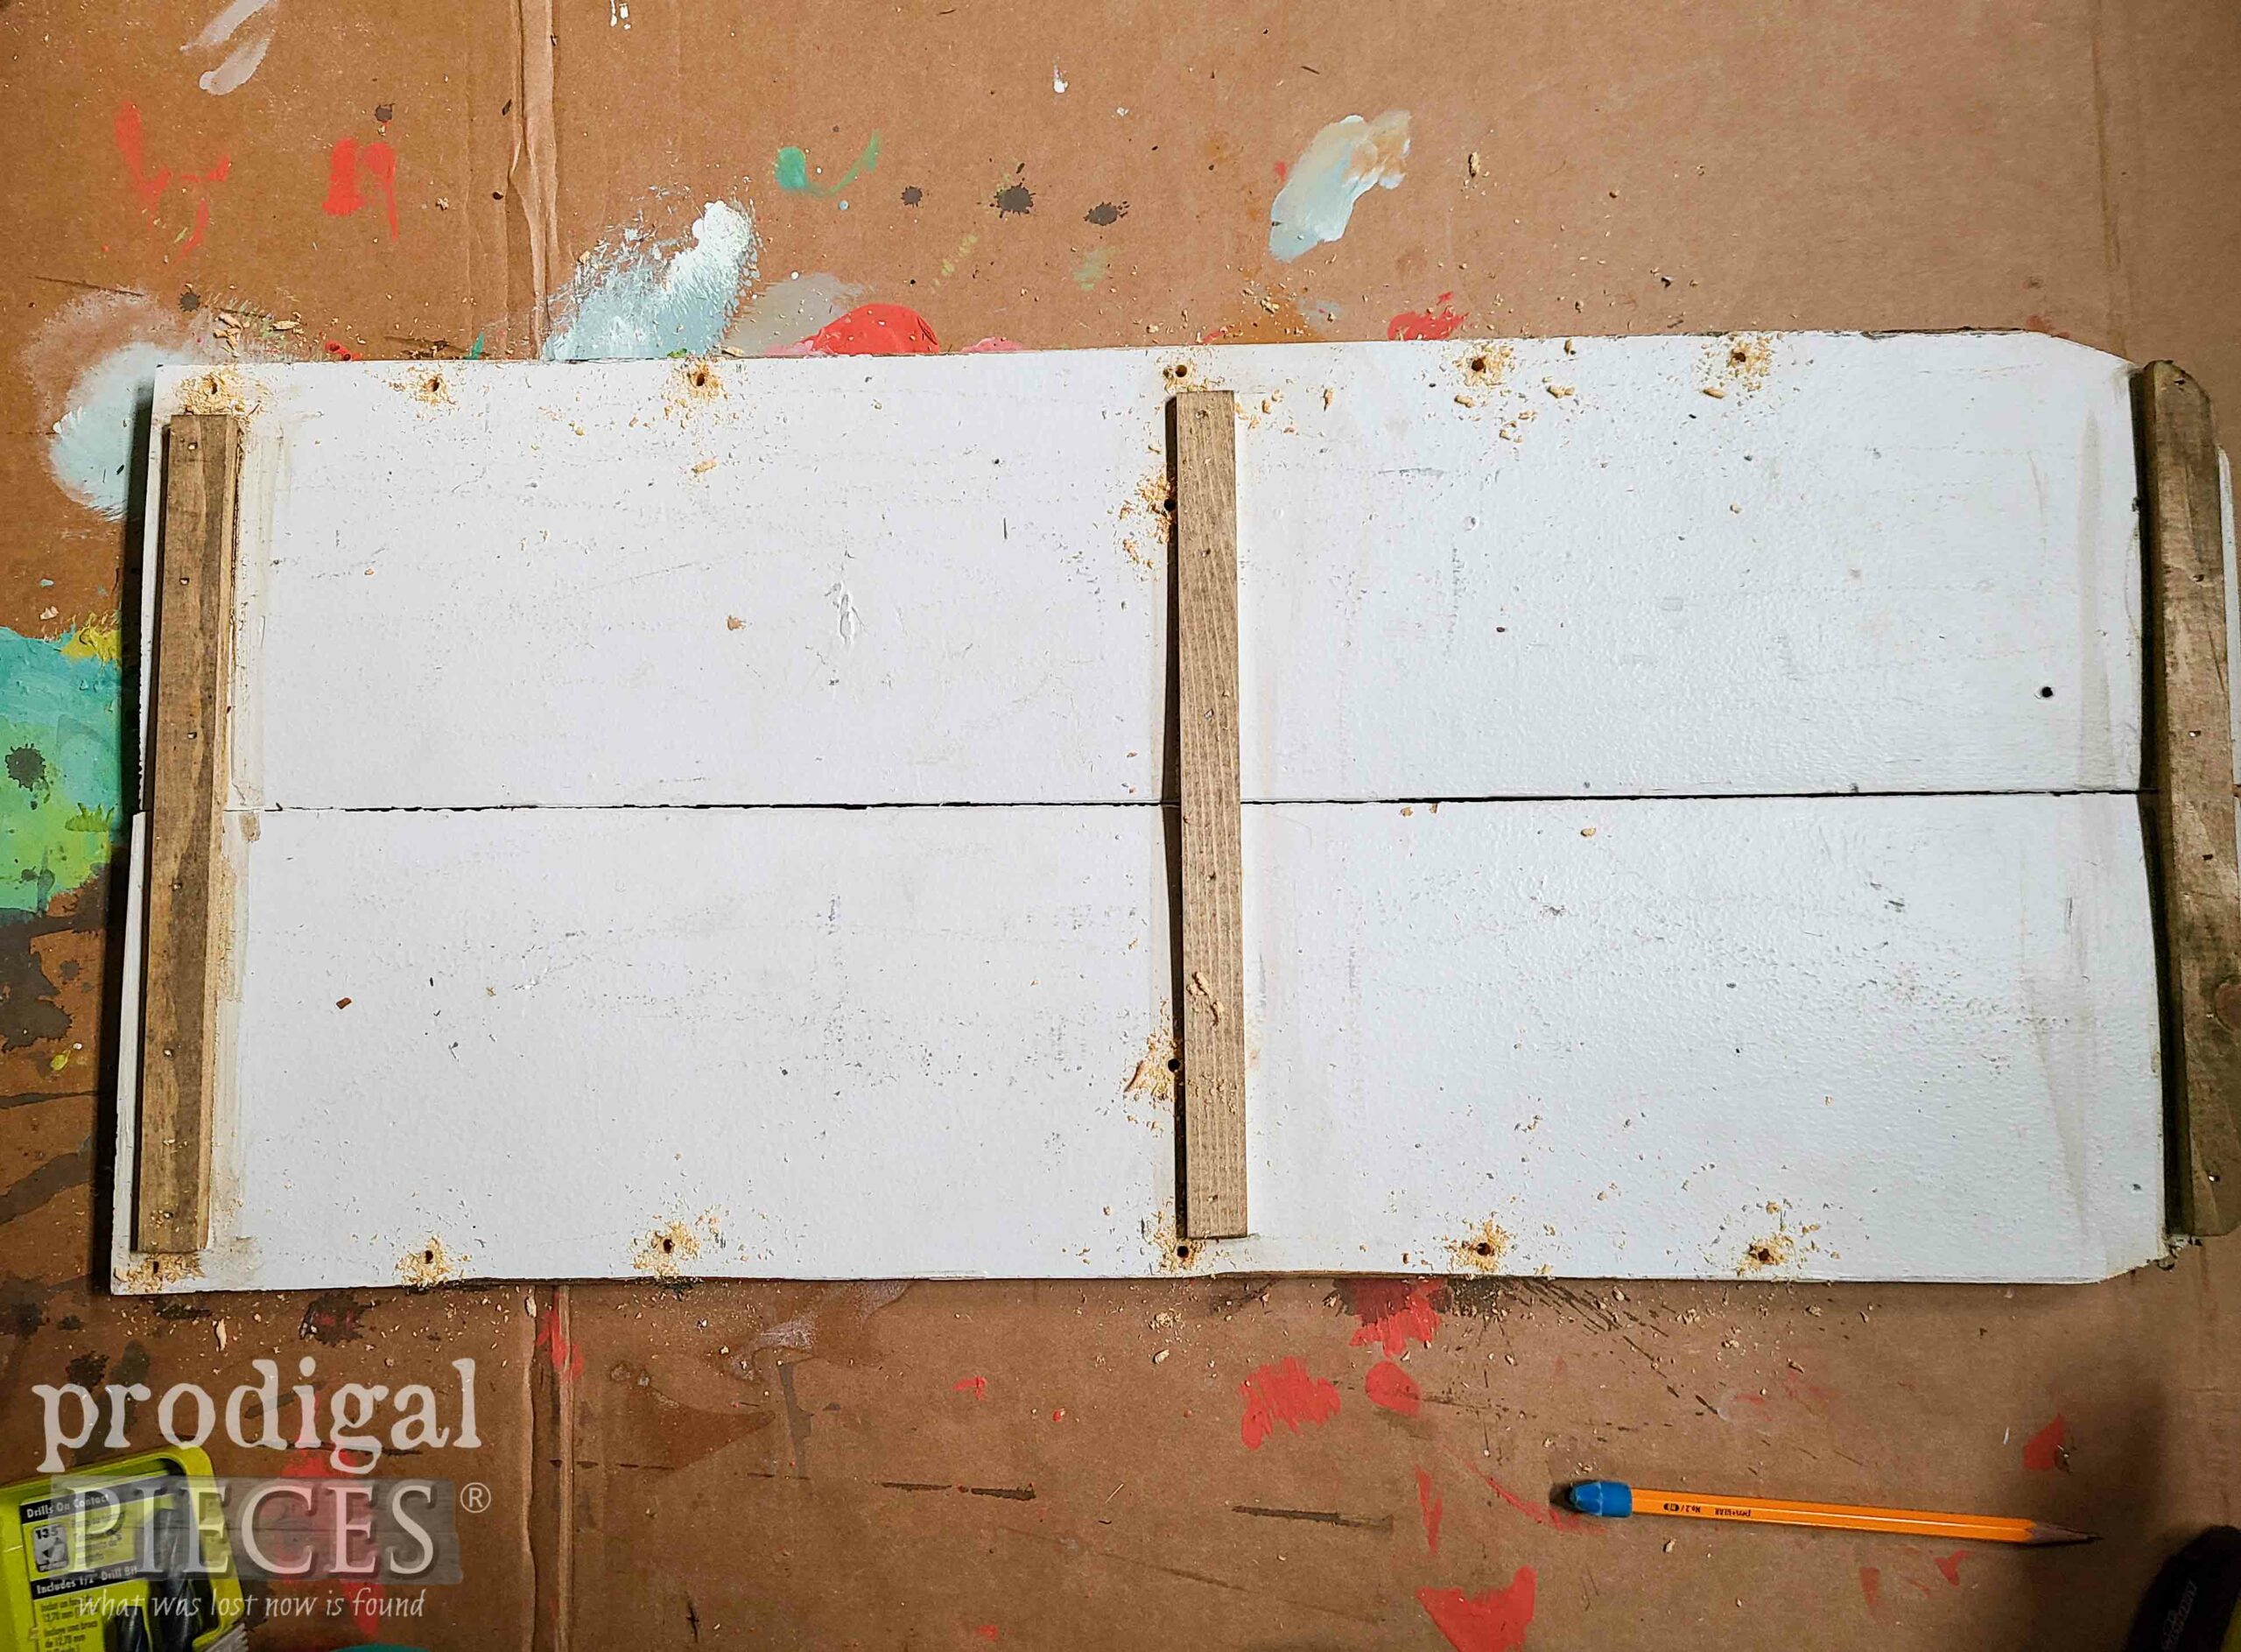
Once you have your pocket holes drilled, assemble with glue and screws by placing your pockets face down, glue the back edges, and drill from behind. I used a combination of 2" wood screws and 1 ¼" wood screws since the side pieces are at an angle. Also, notice I pre-drill holes along the bottom edge of the pocket as well.
STEP 12
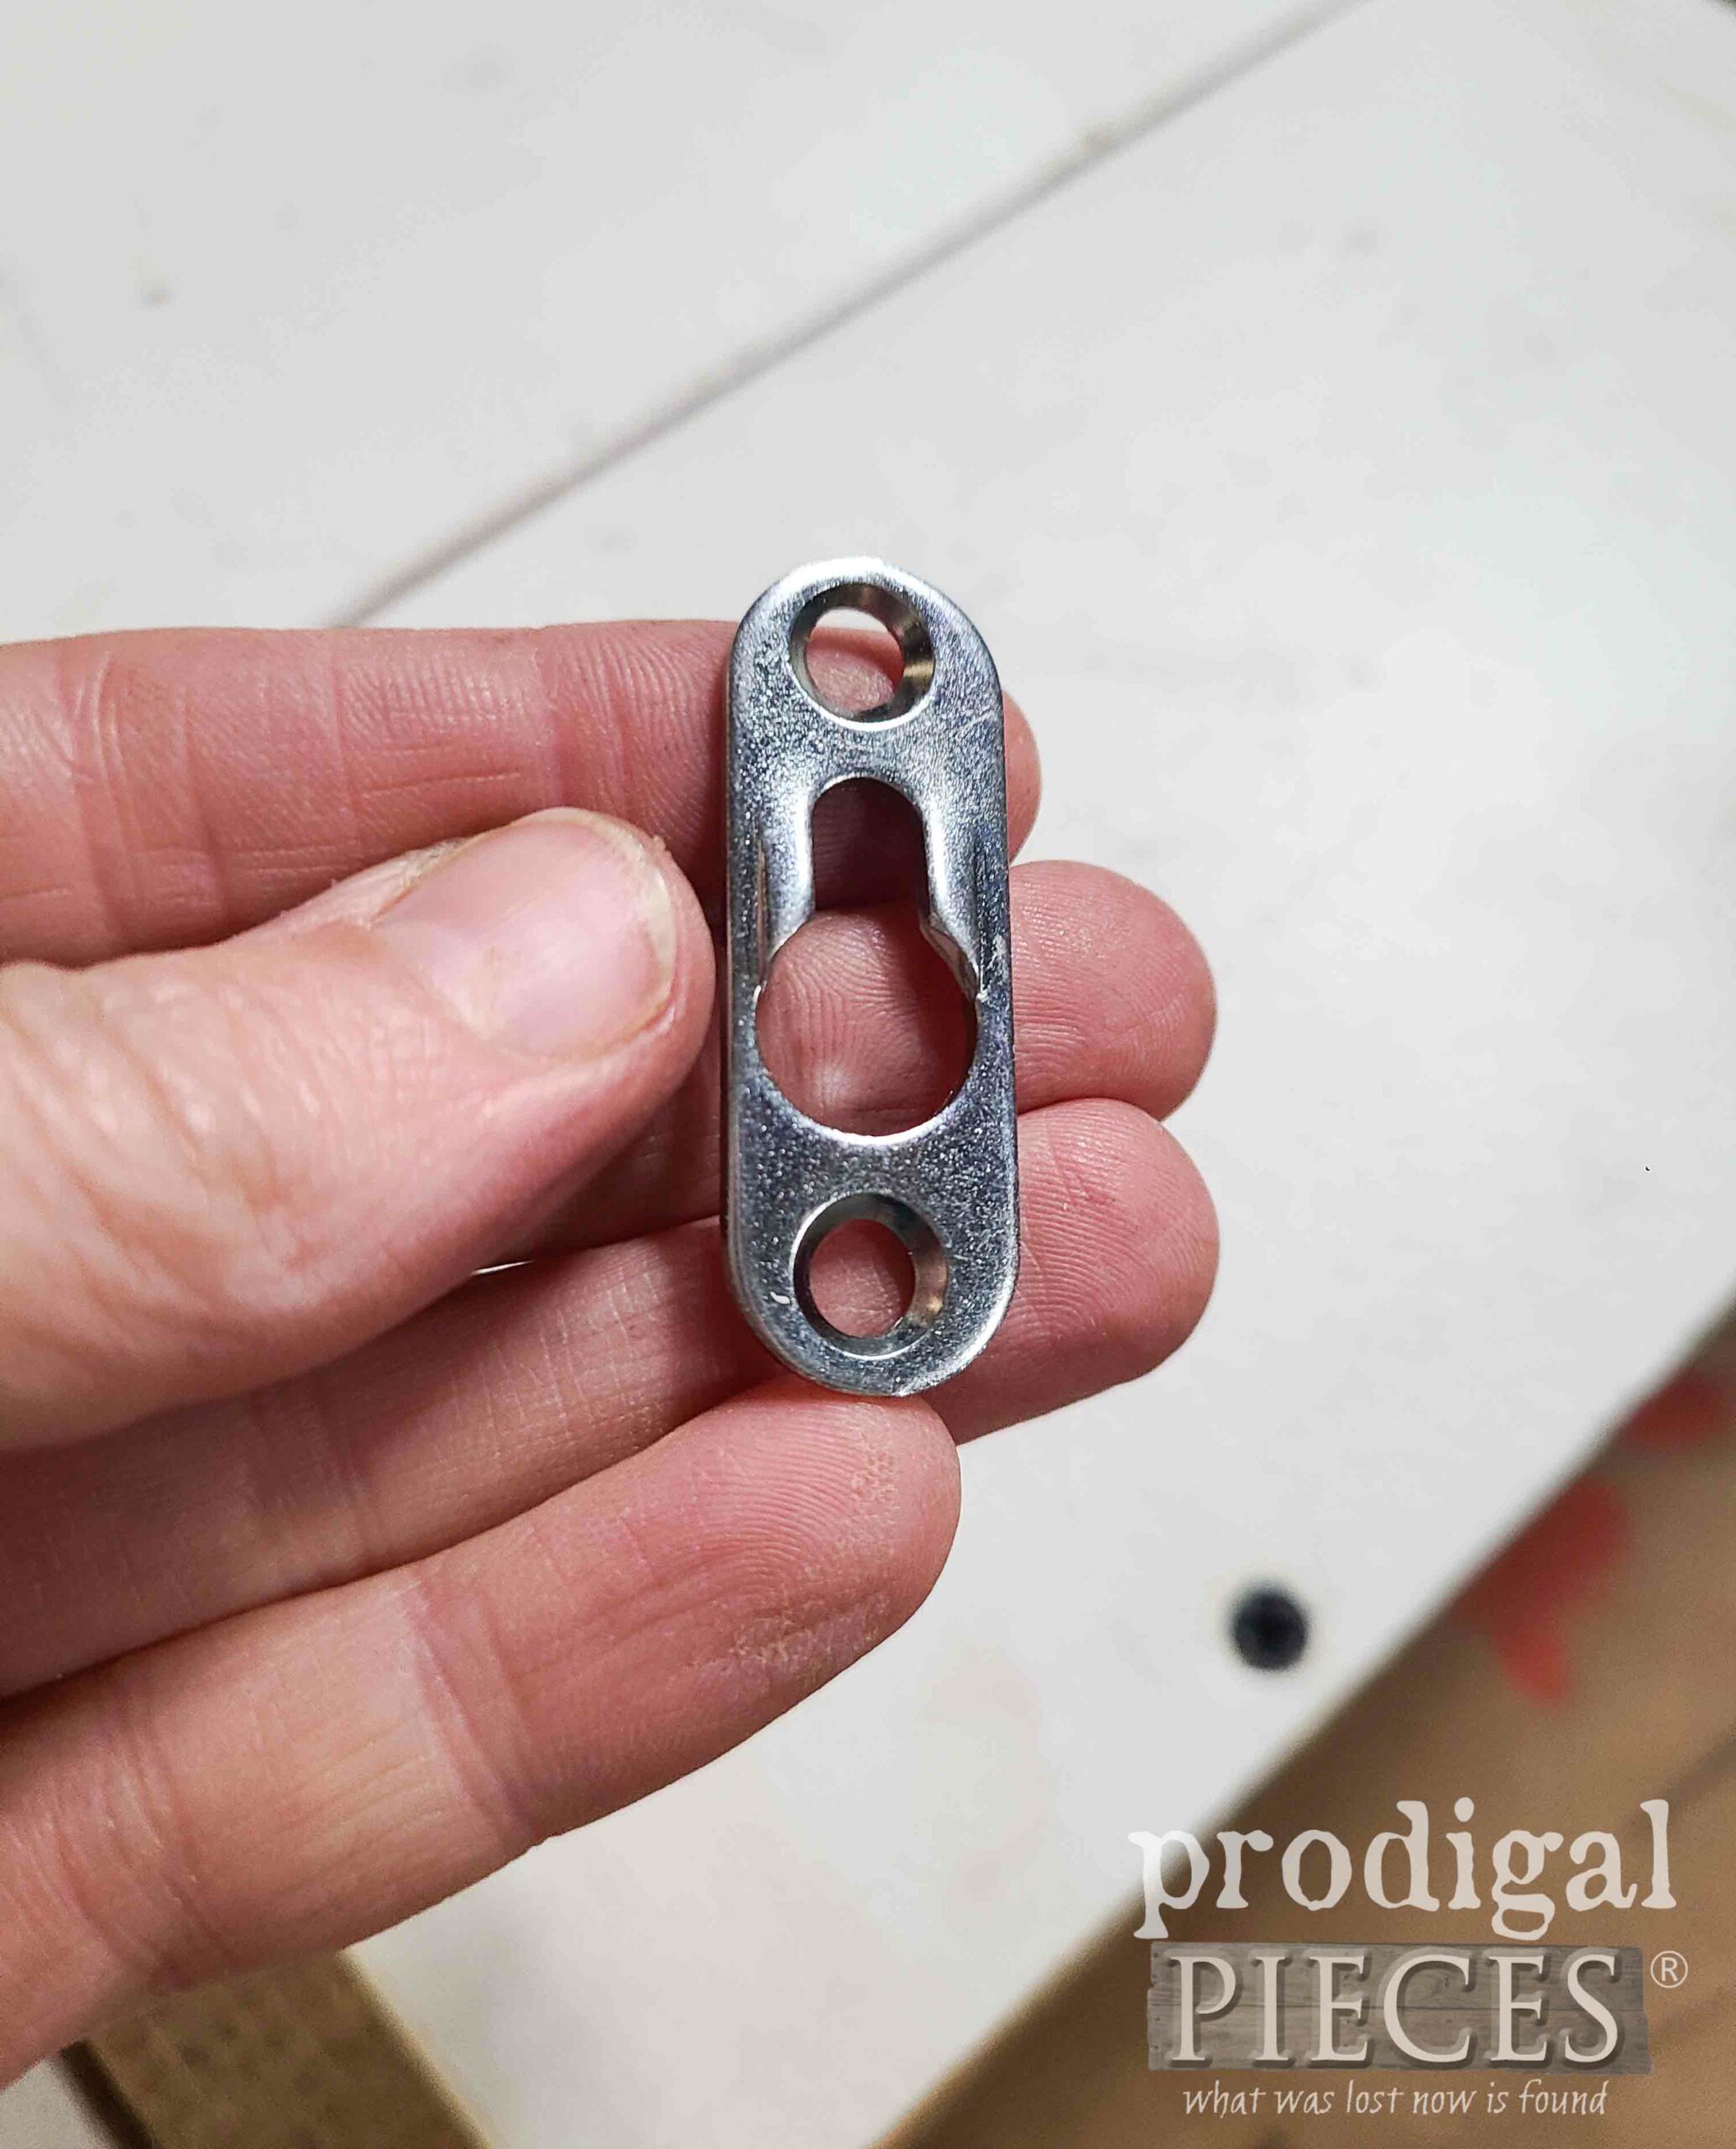
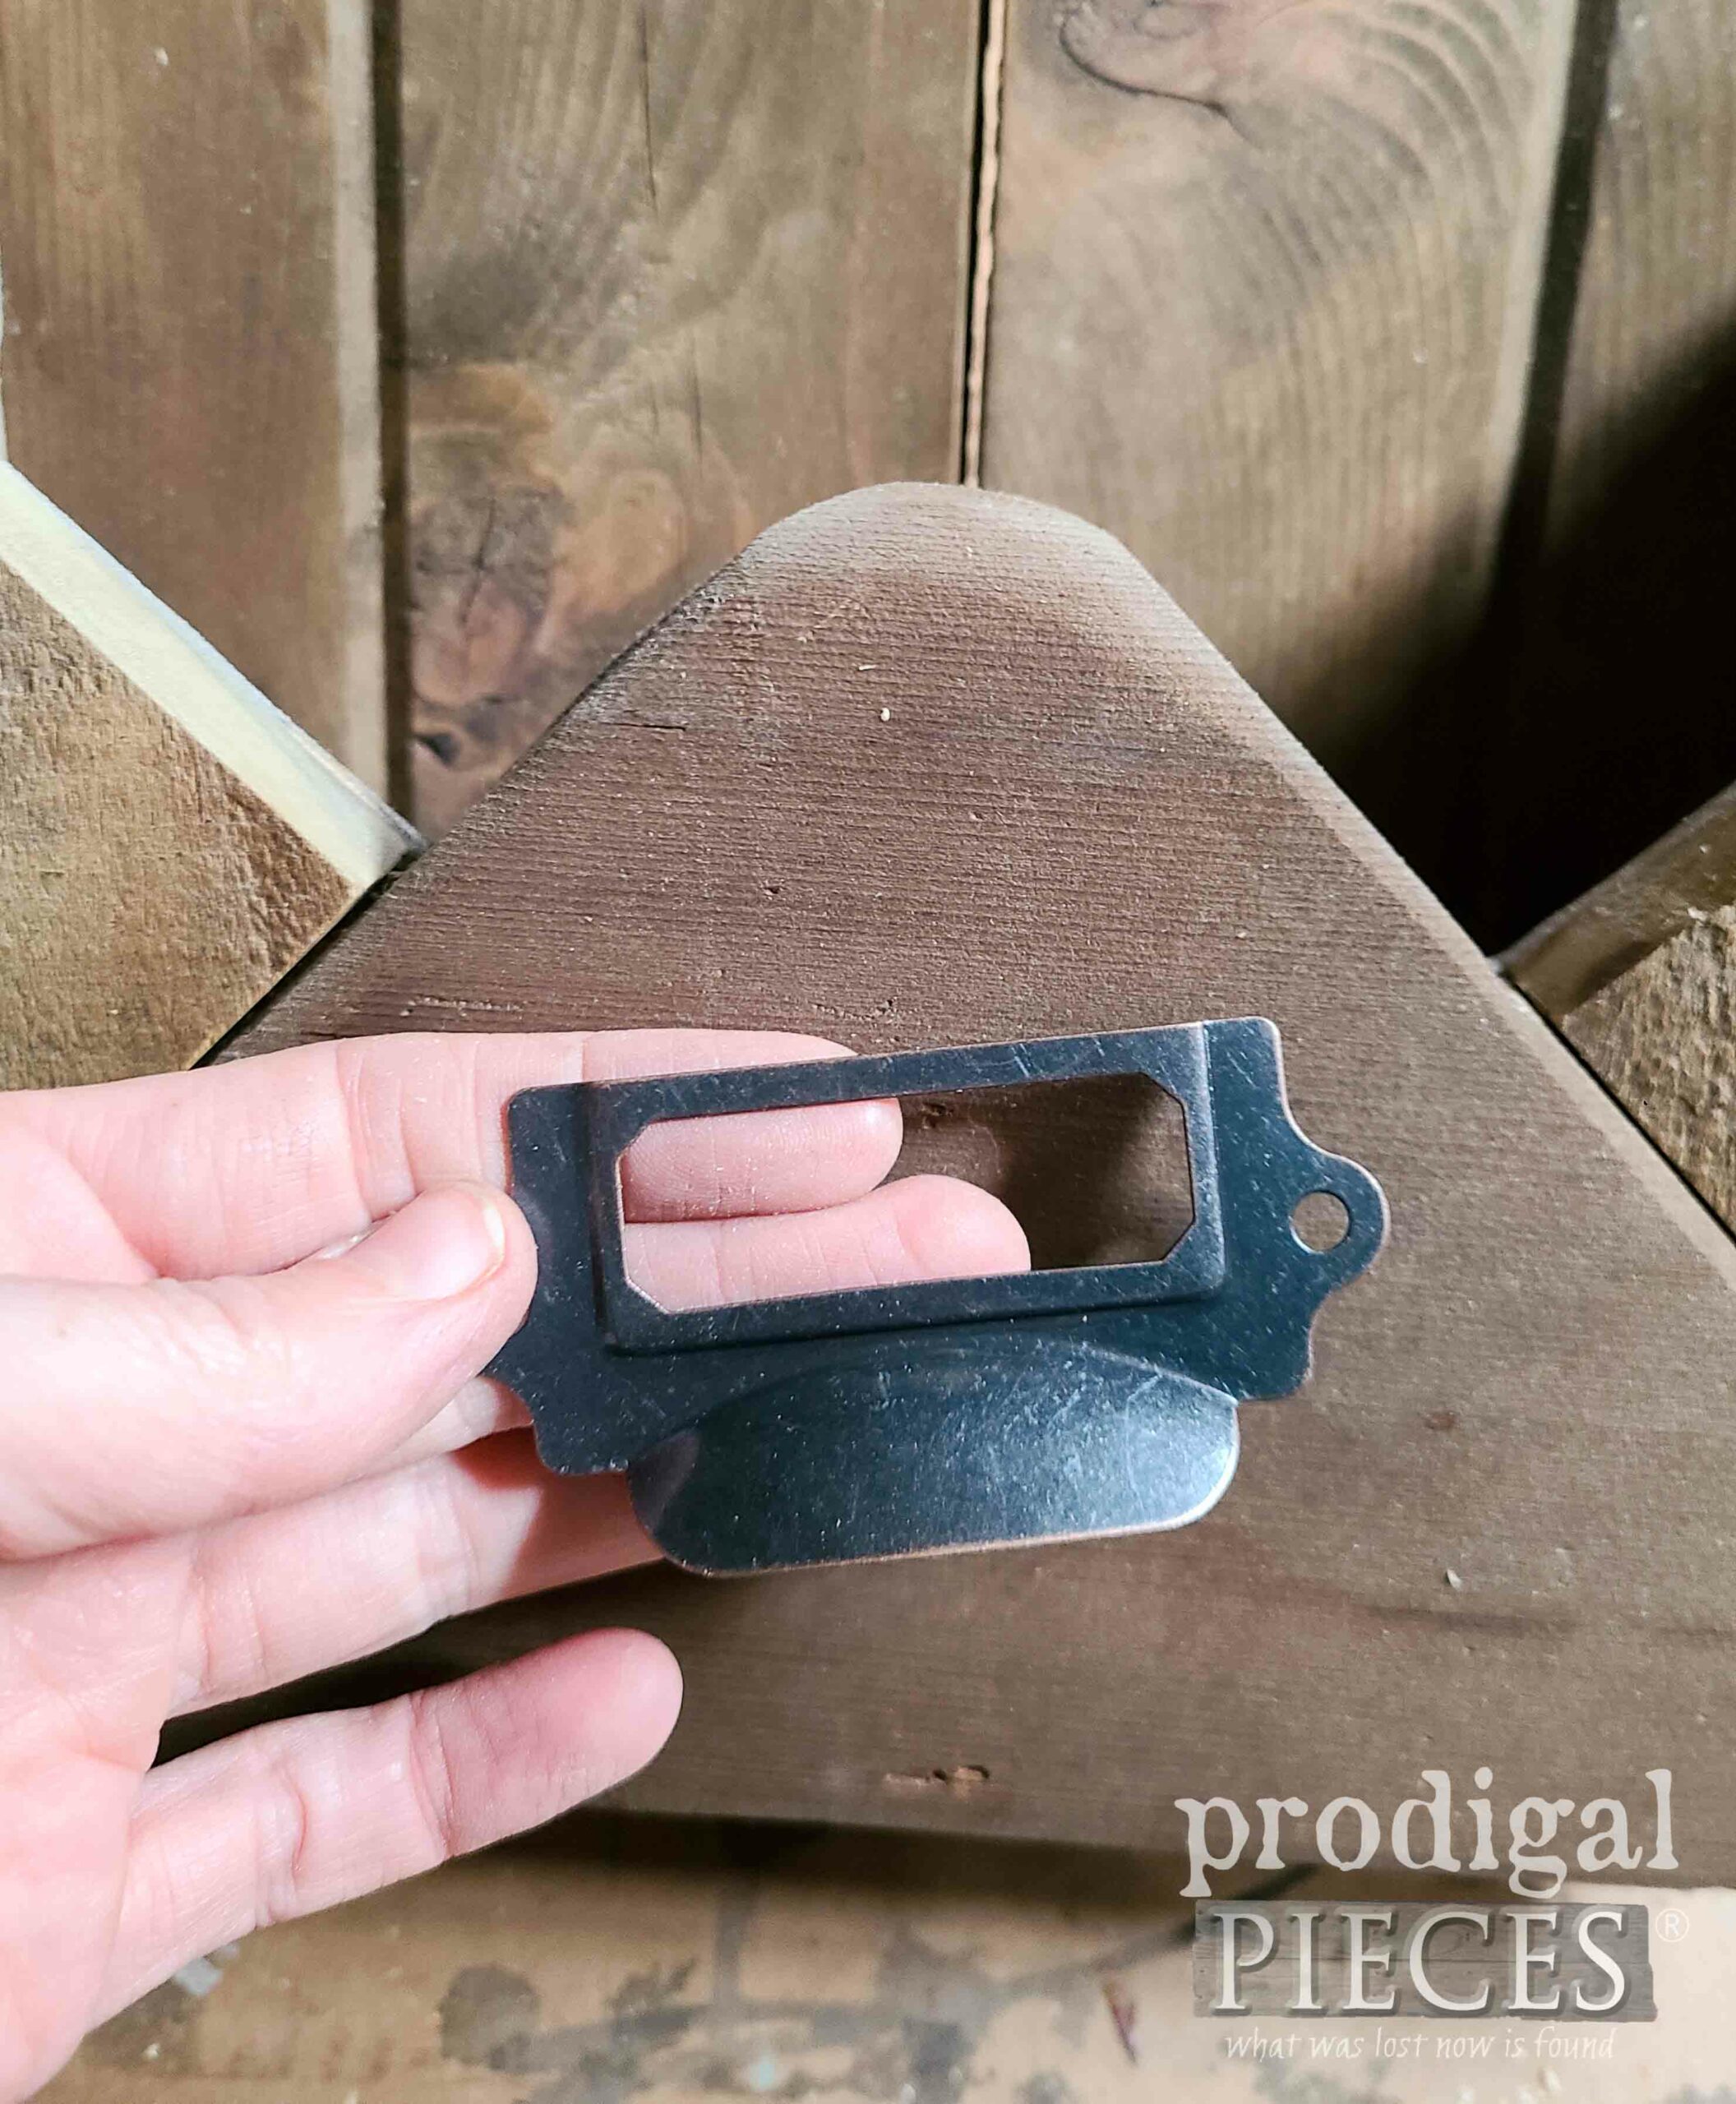
Last, but not least, this is when you add your keyhole hardware for mounting to a wall and any other accessories you may want to your reclaimed wood pocket.
COMPLETE
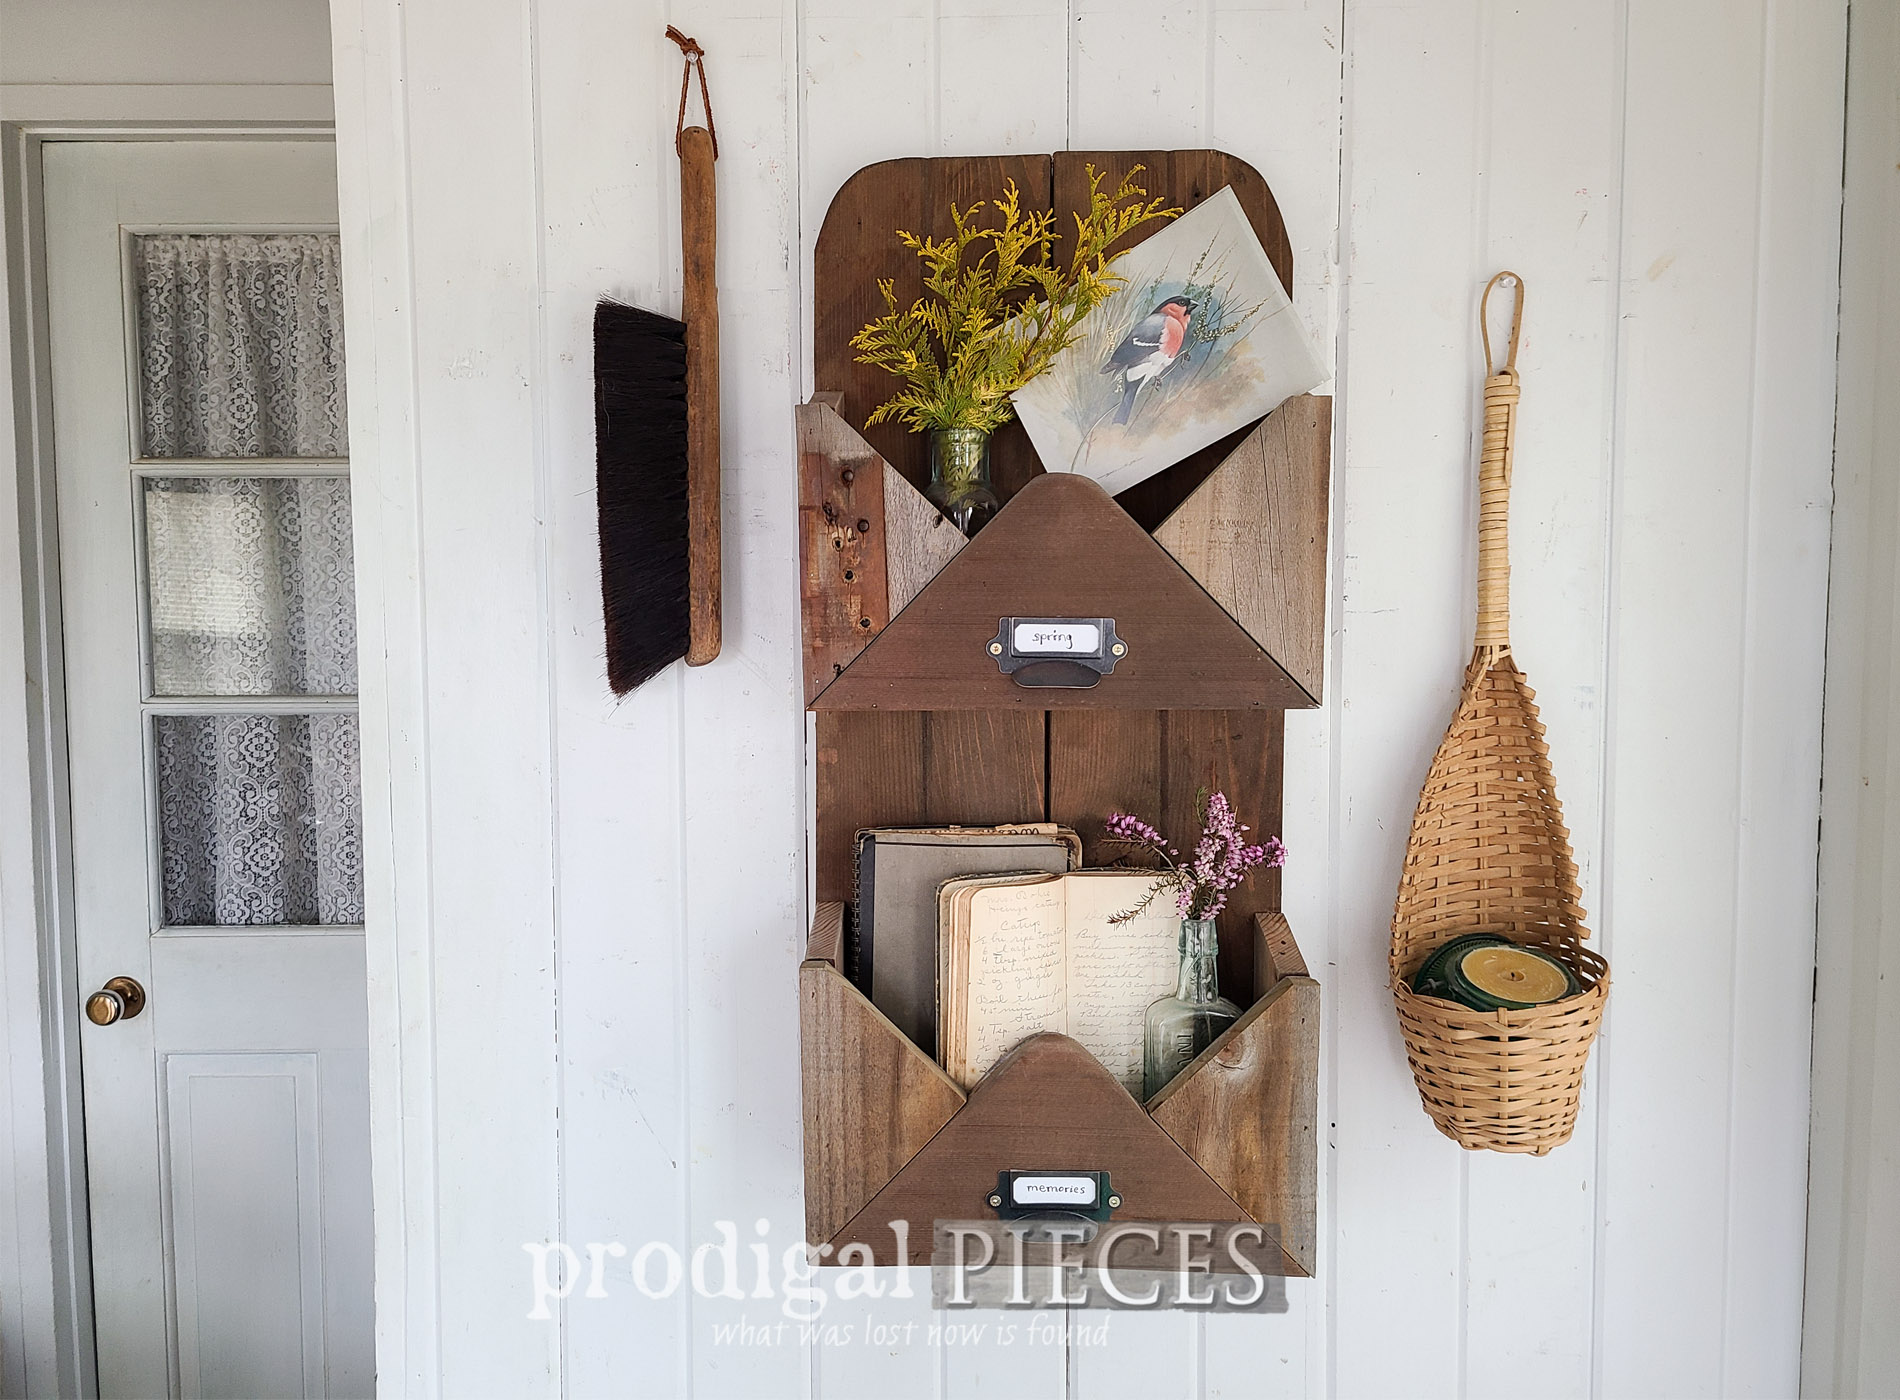
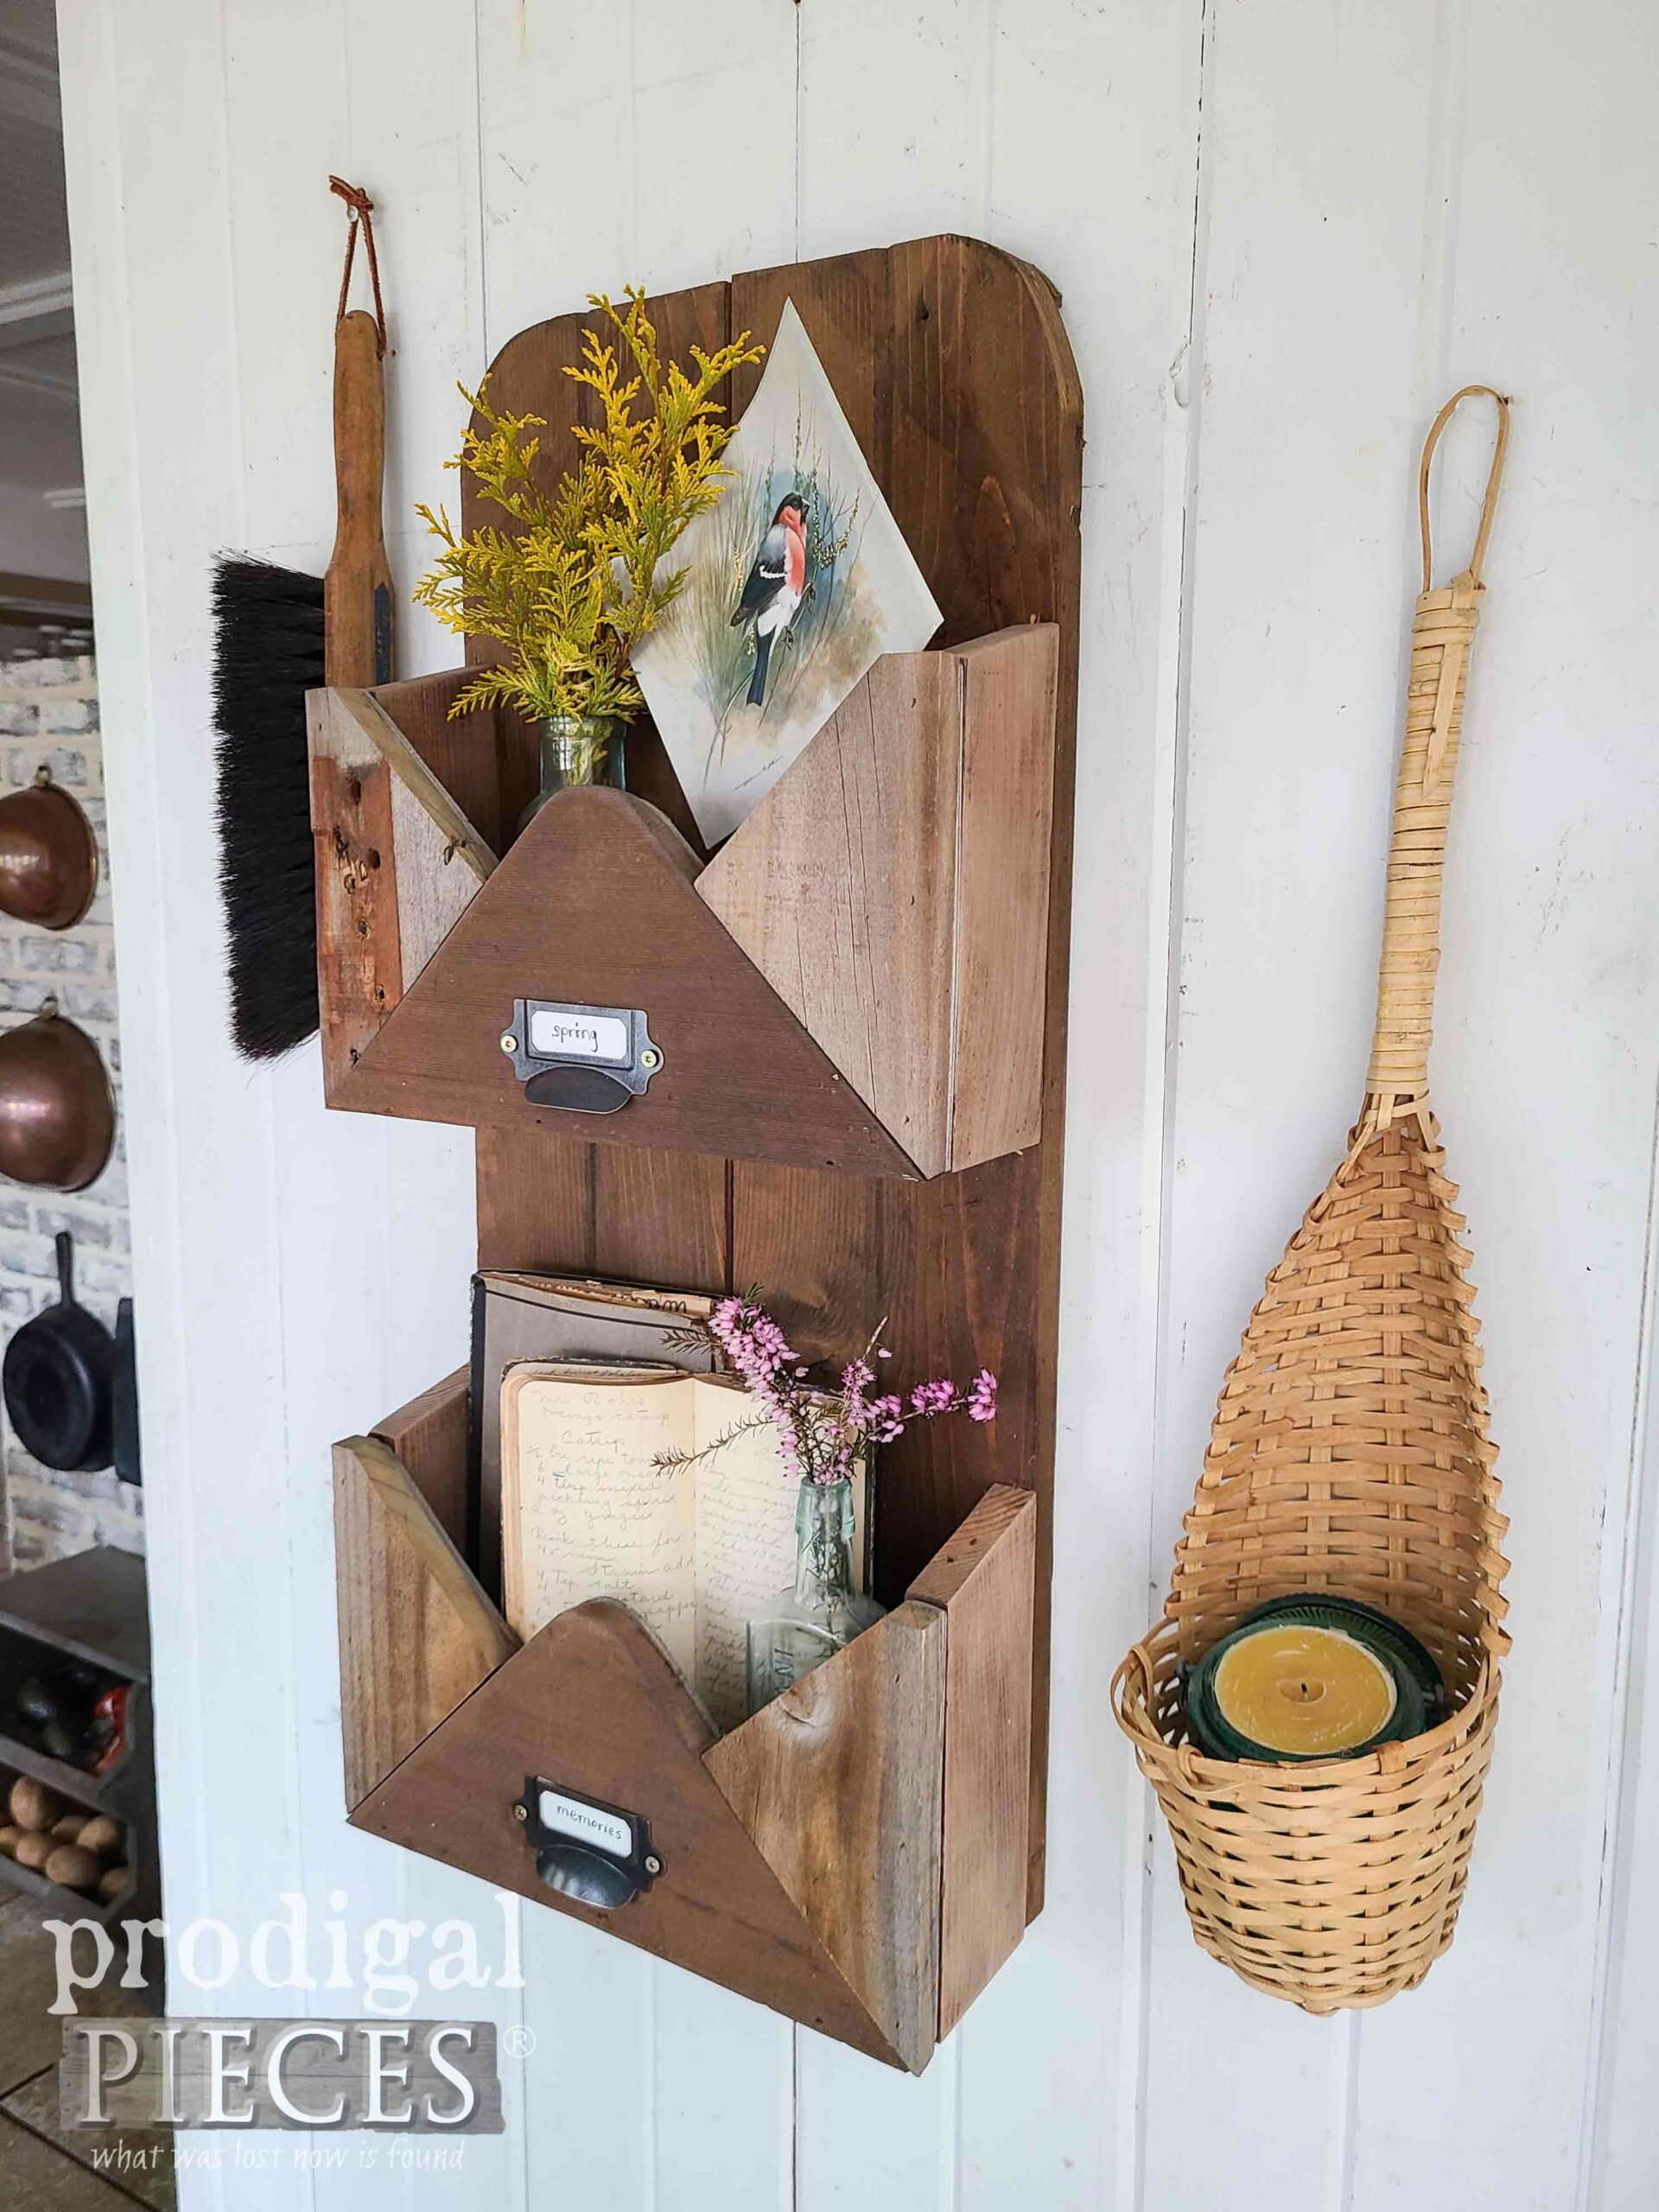
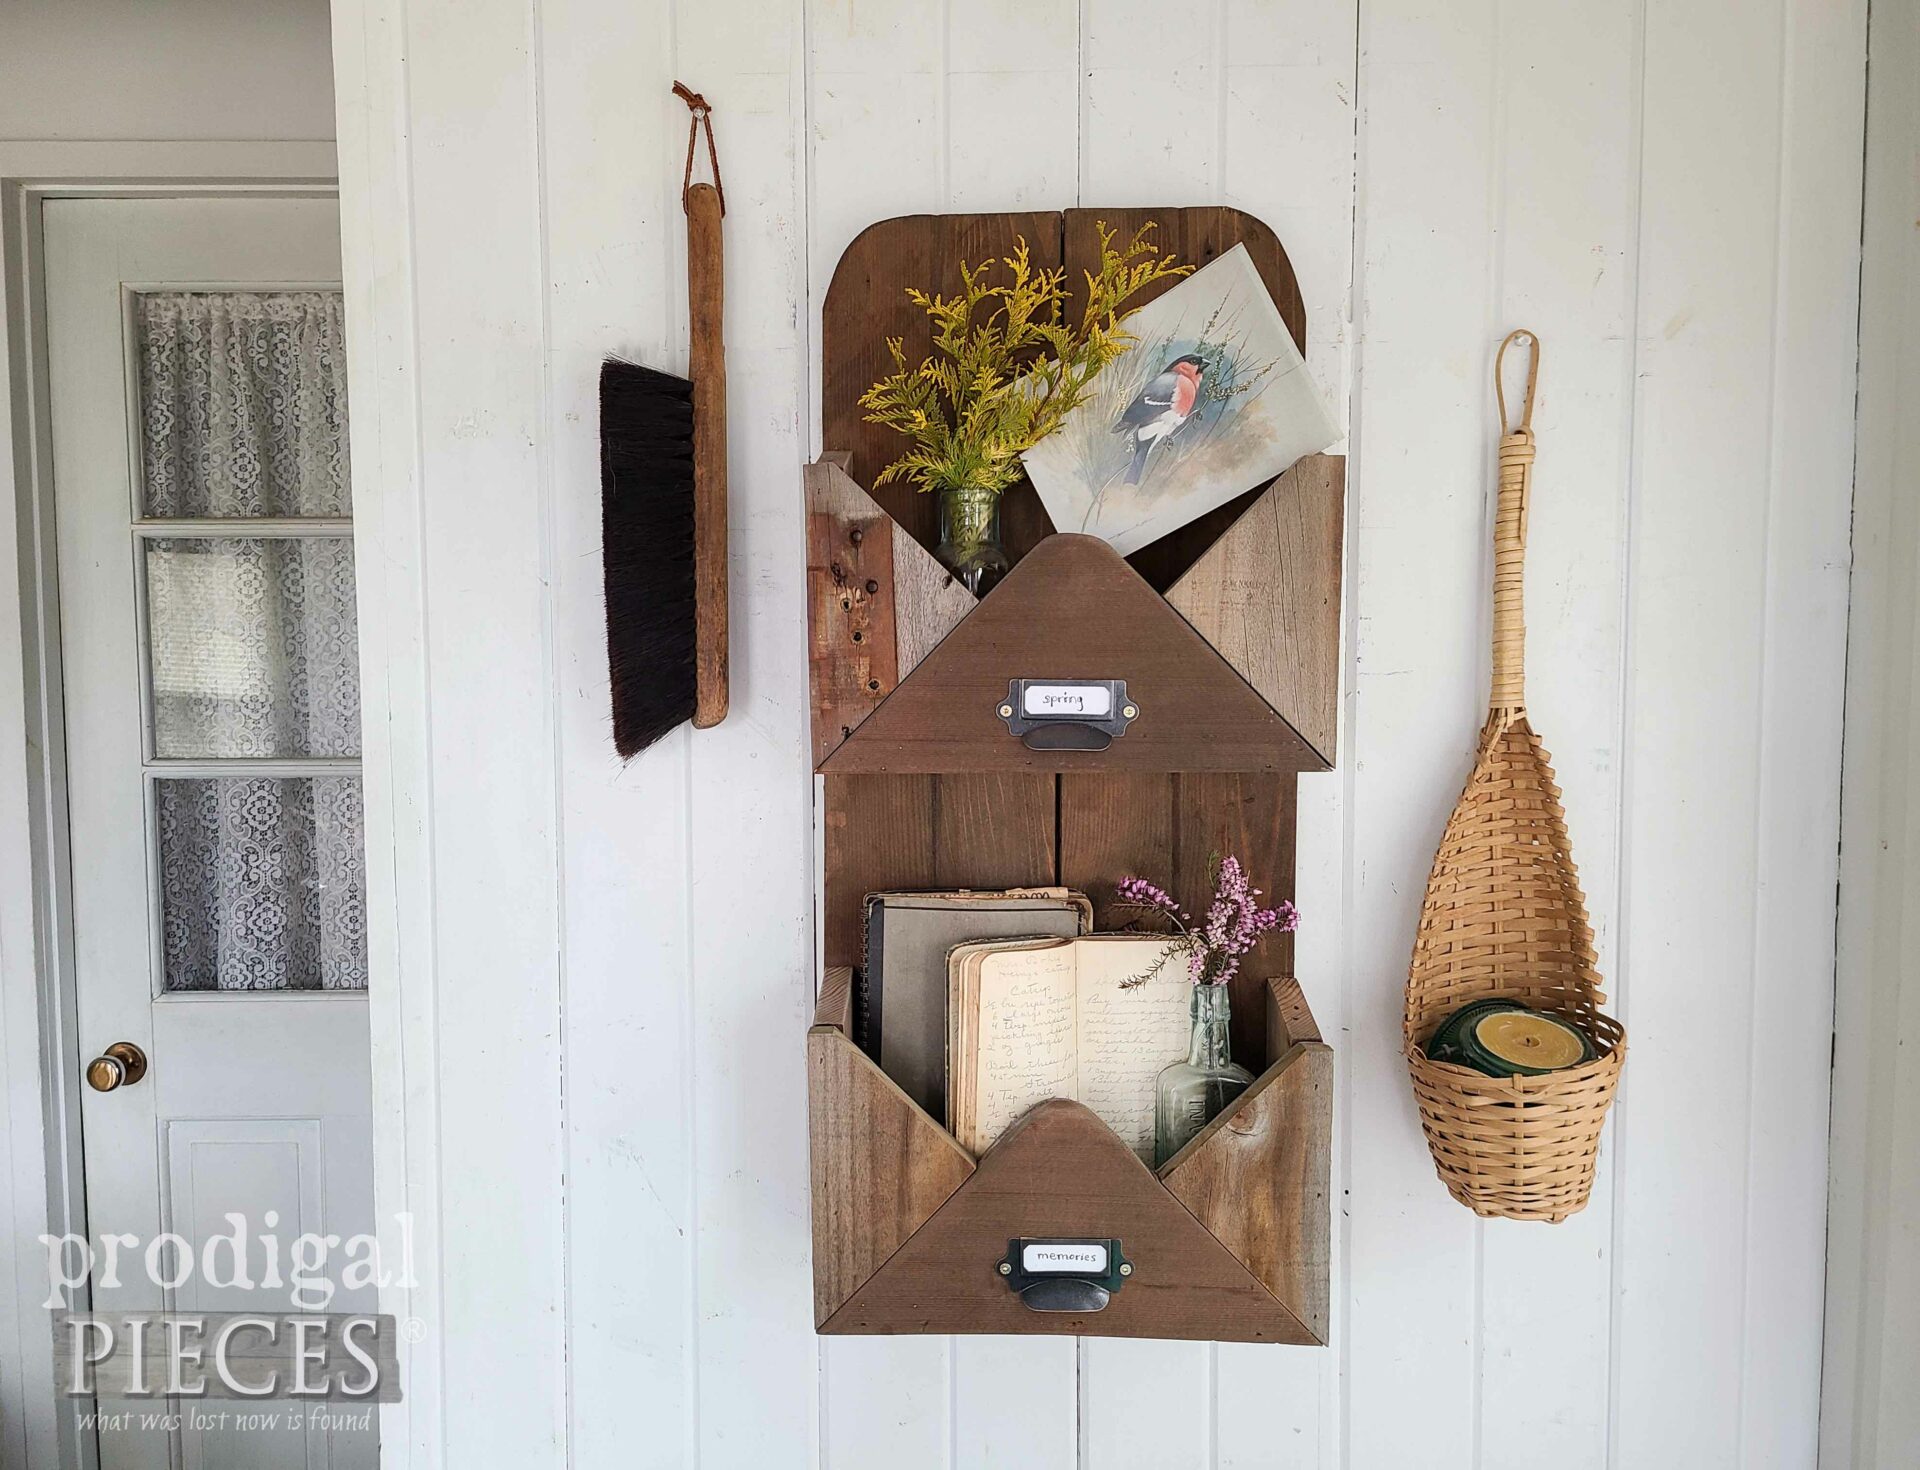
Whew - you did it! Your reclaimed wall pocket build is complete and ready to hang in any spot of your home.
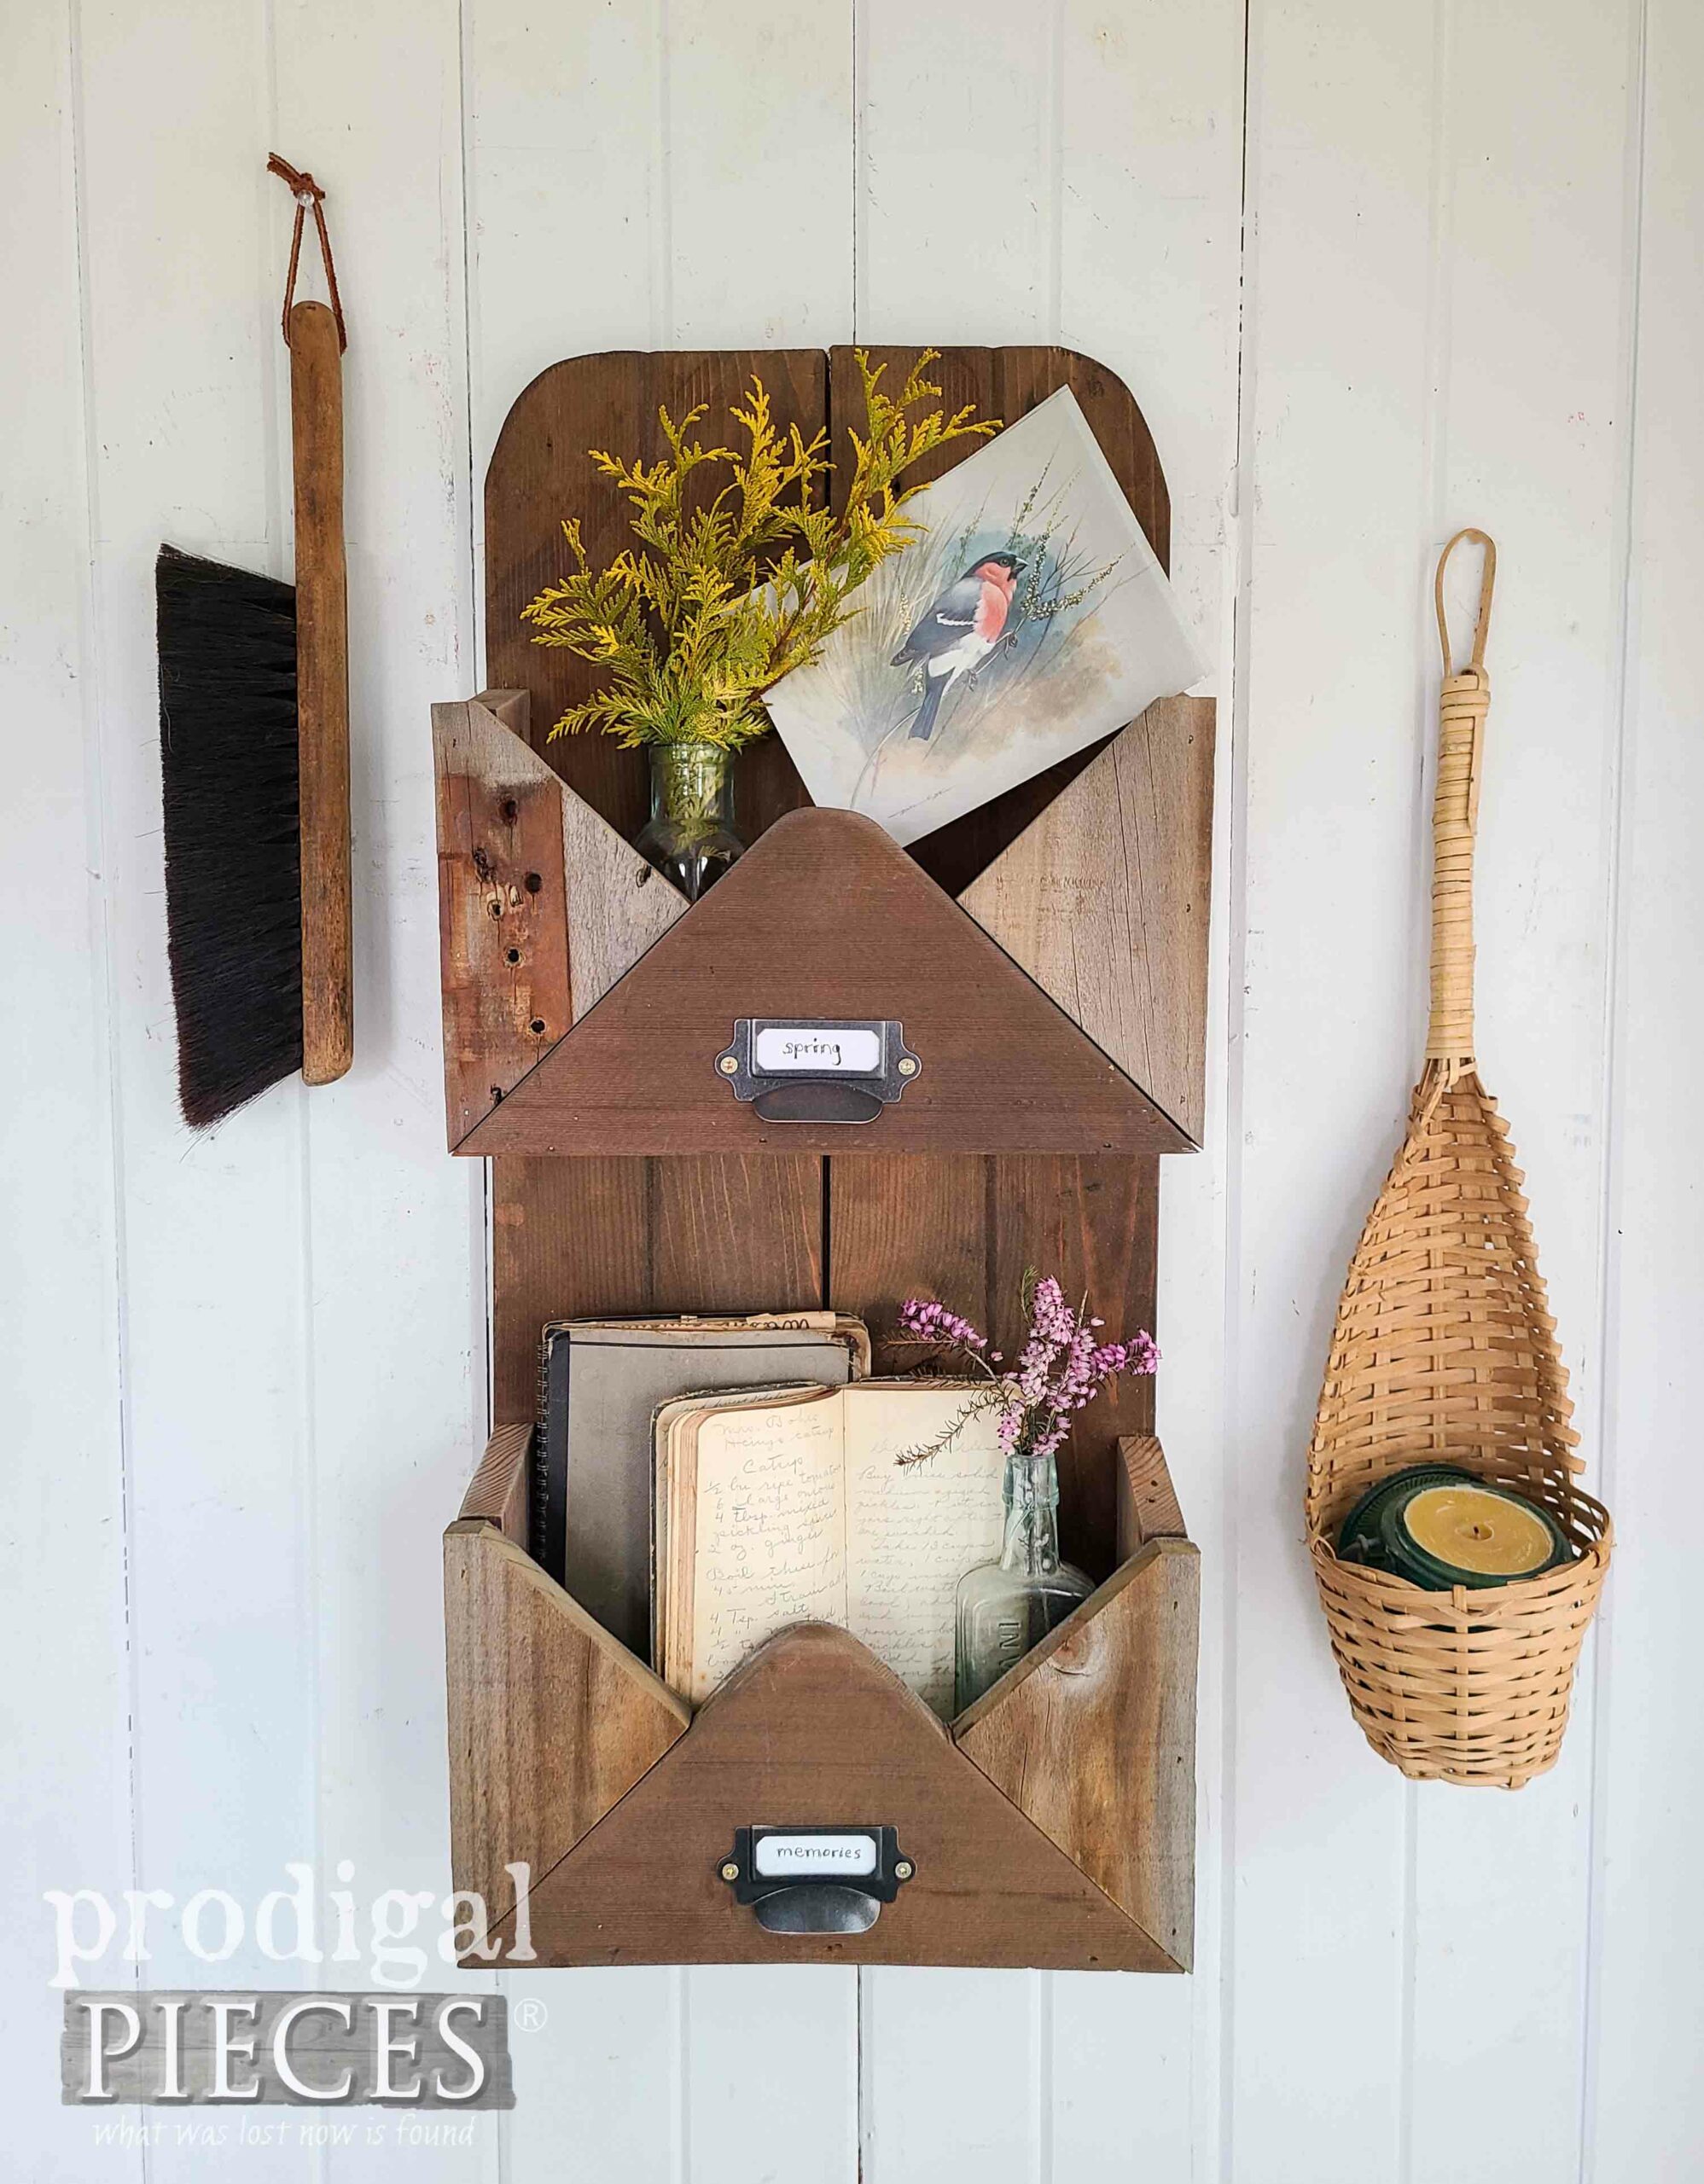
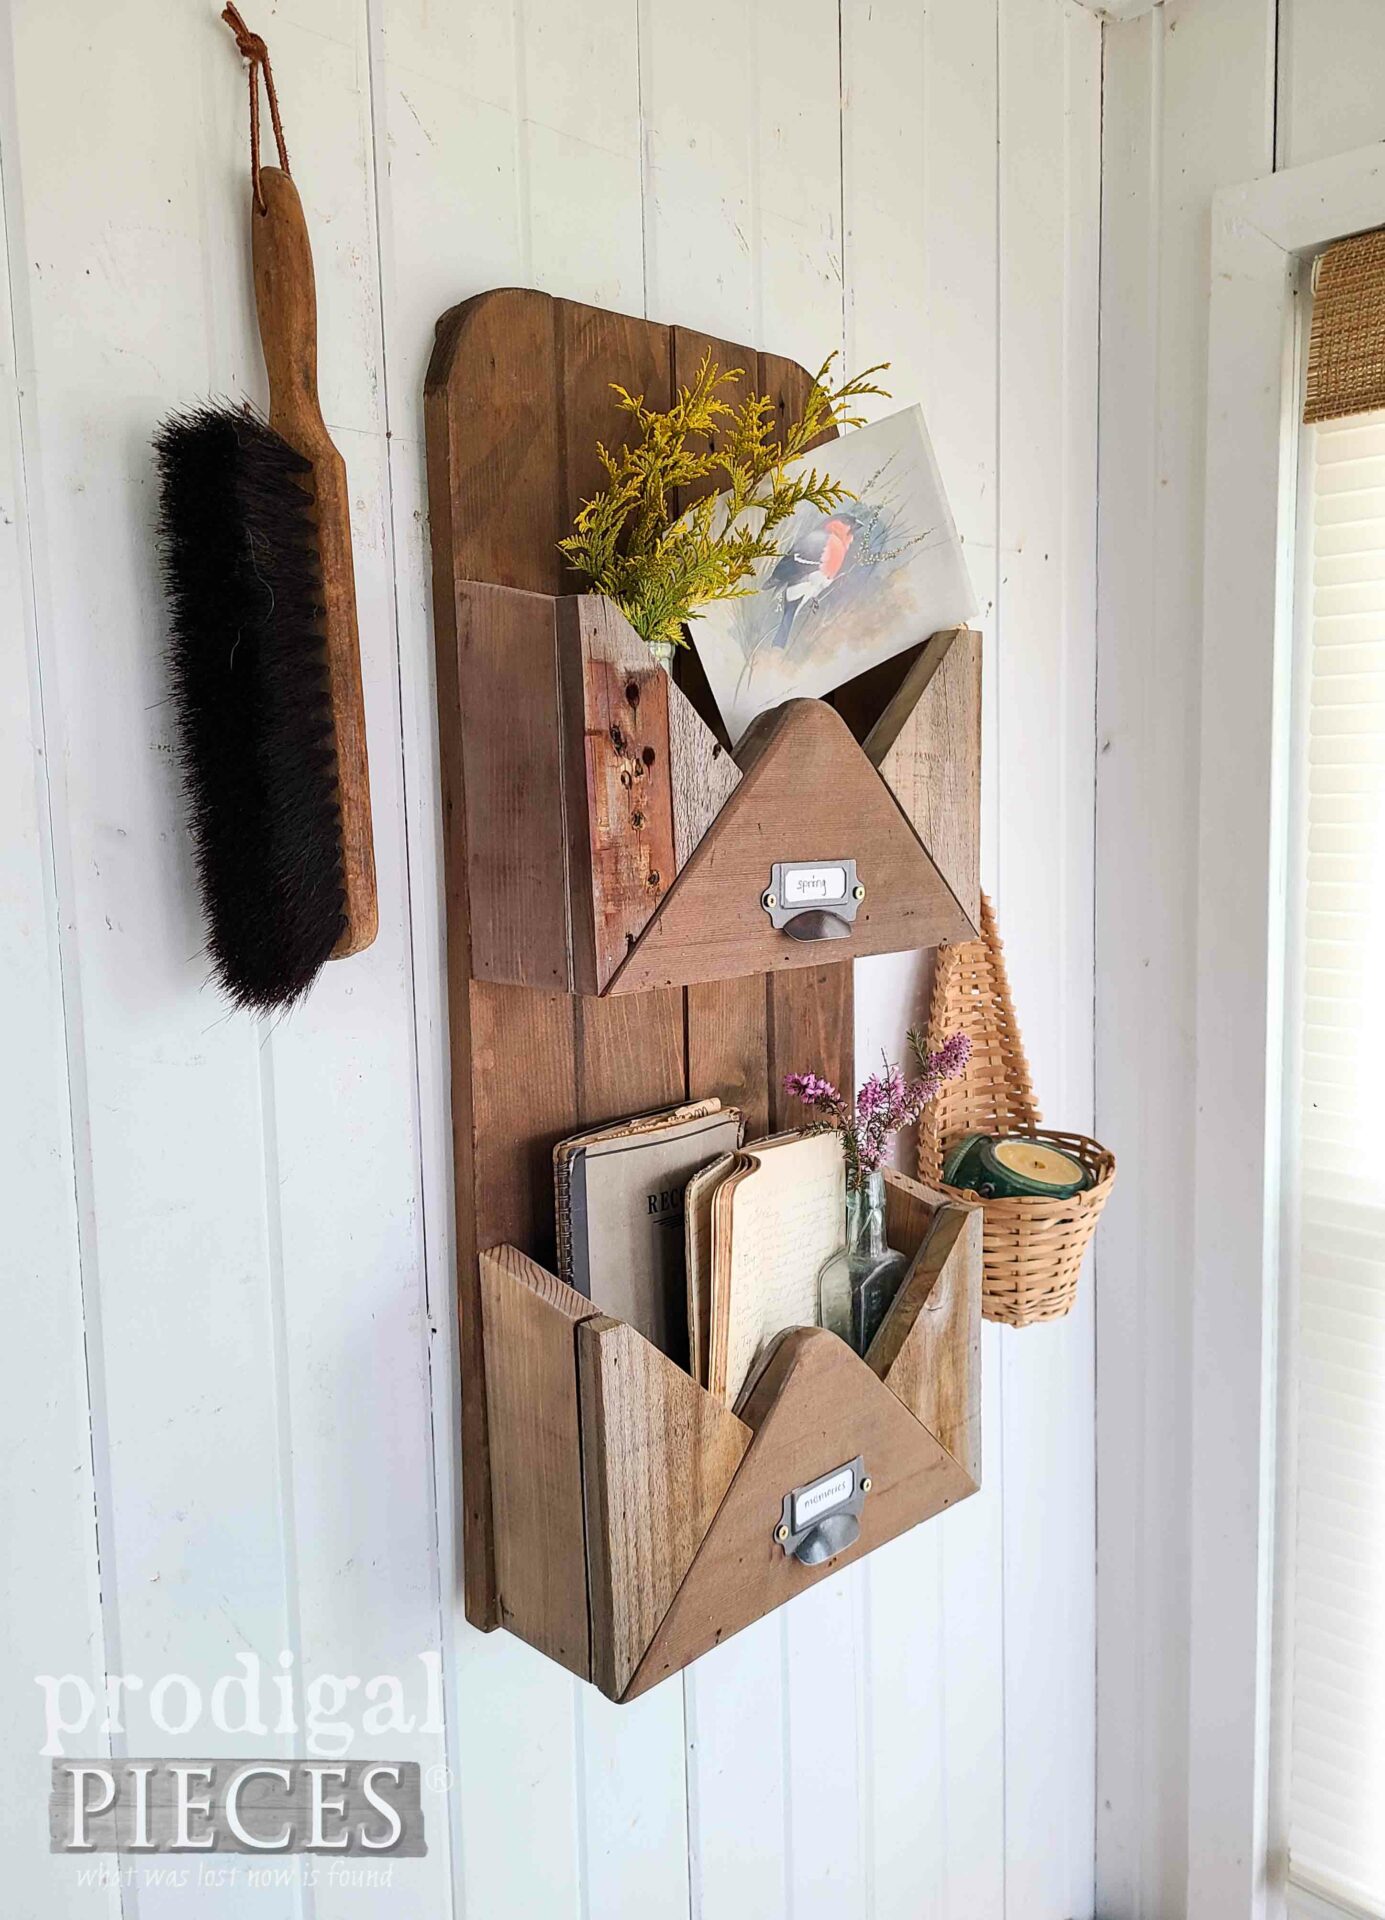
While I fill mine with bit and baubles, you could use yours for daily grind stuff, toiletries, kitchen essentials...you get the idea. If you look closely, you'll see these vintage hand-written recipe books I found in the trash.
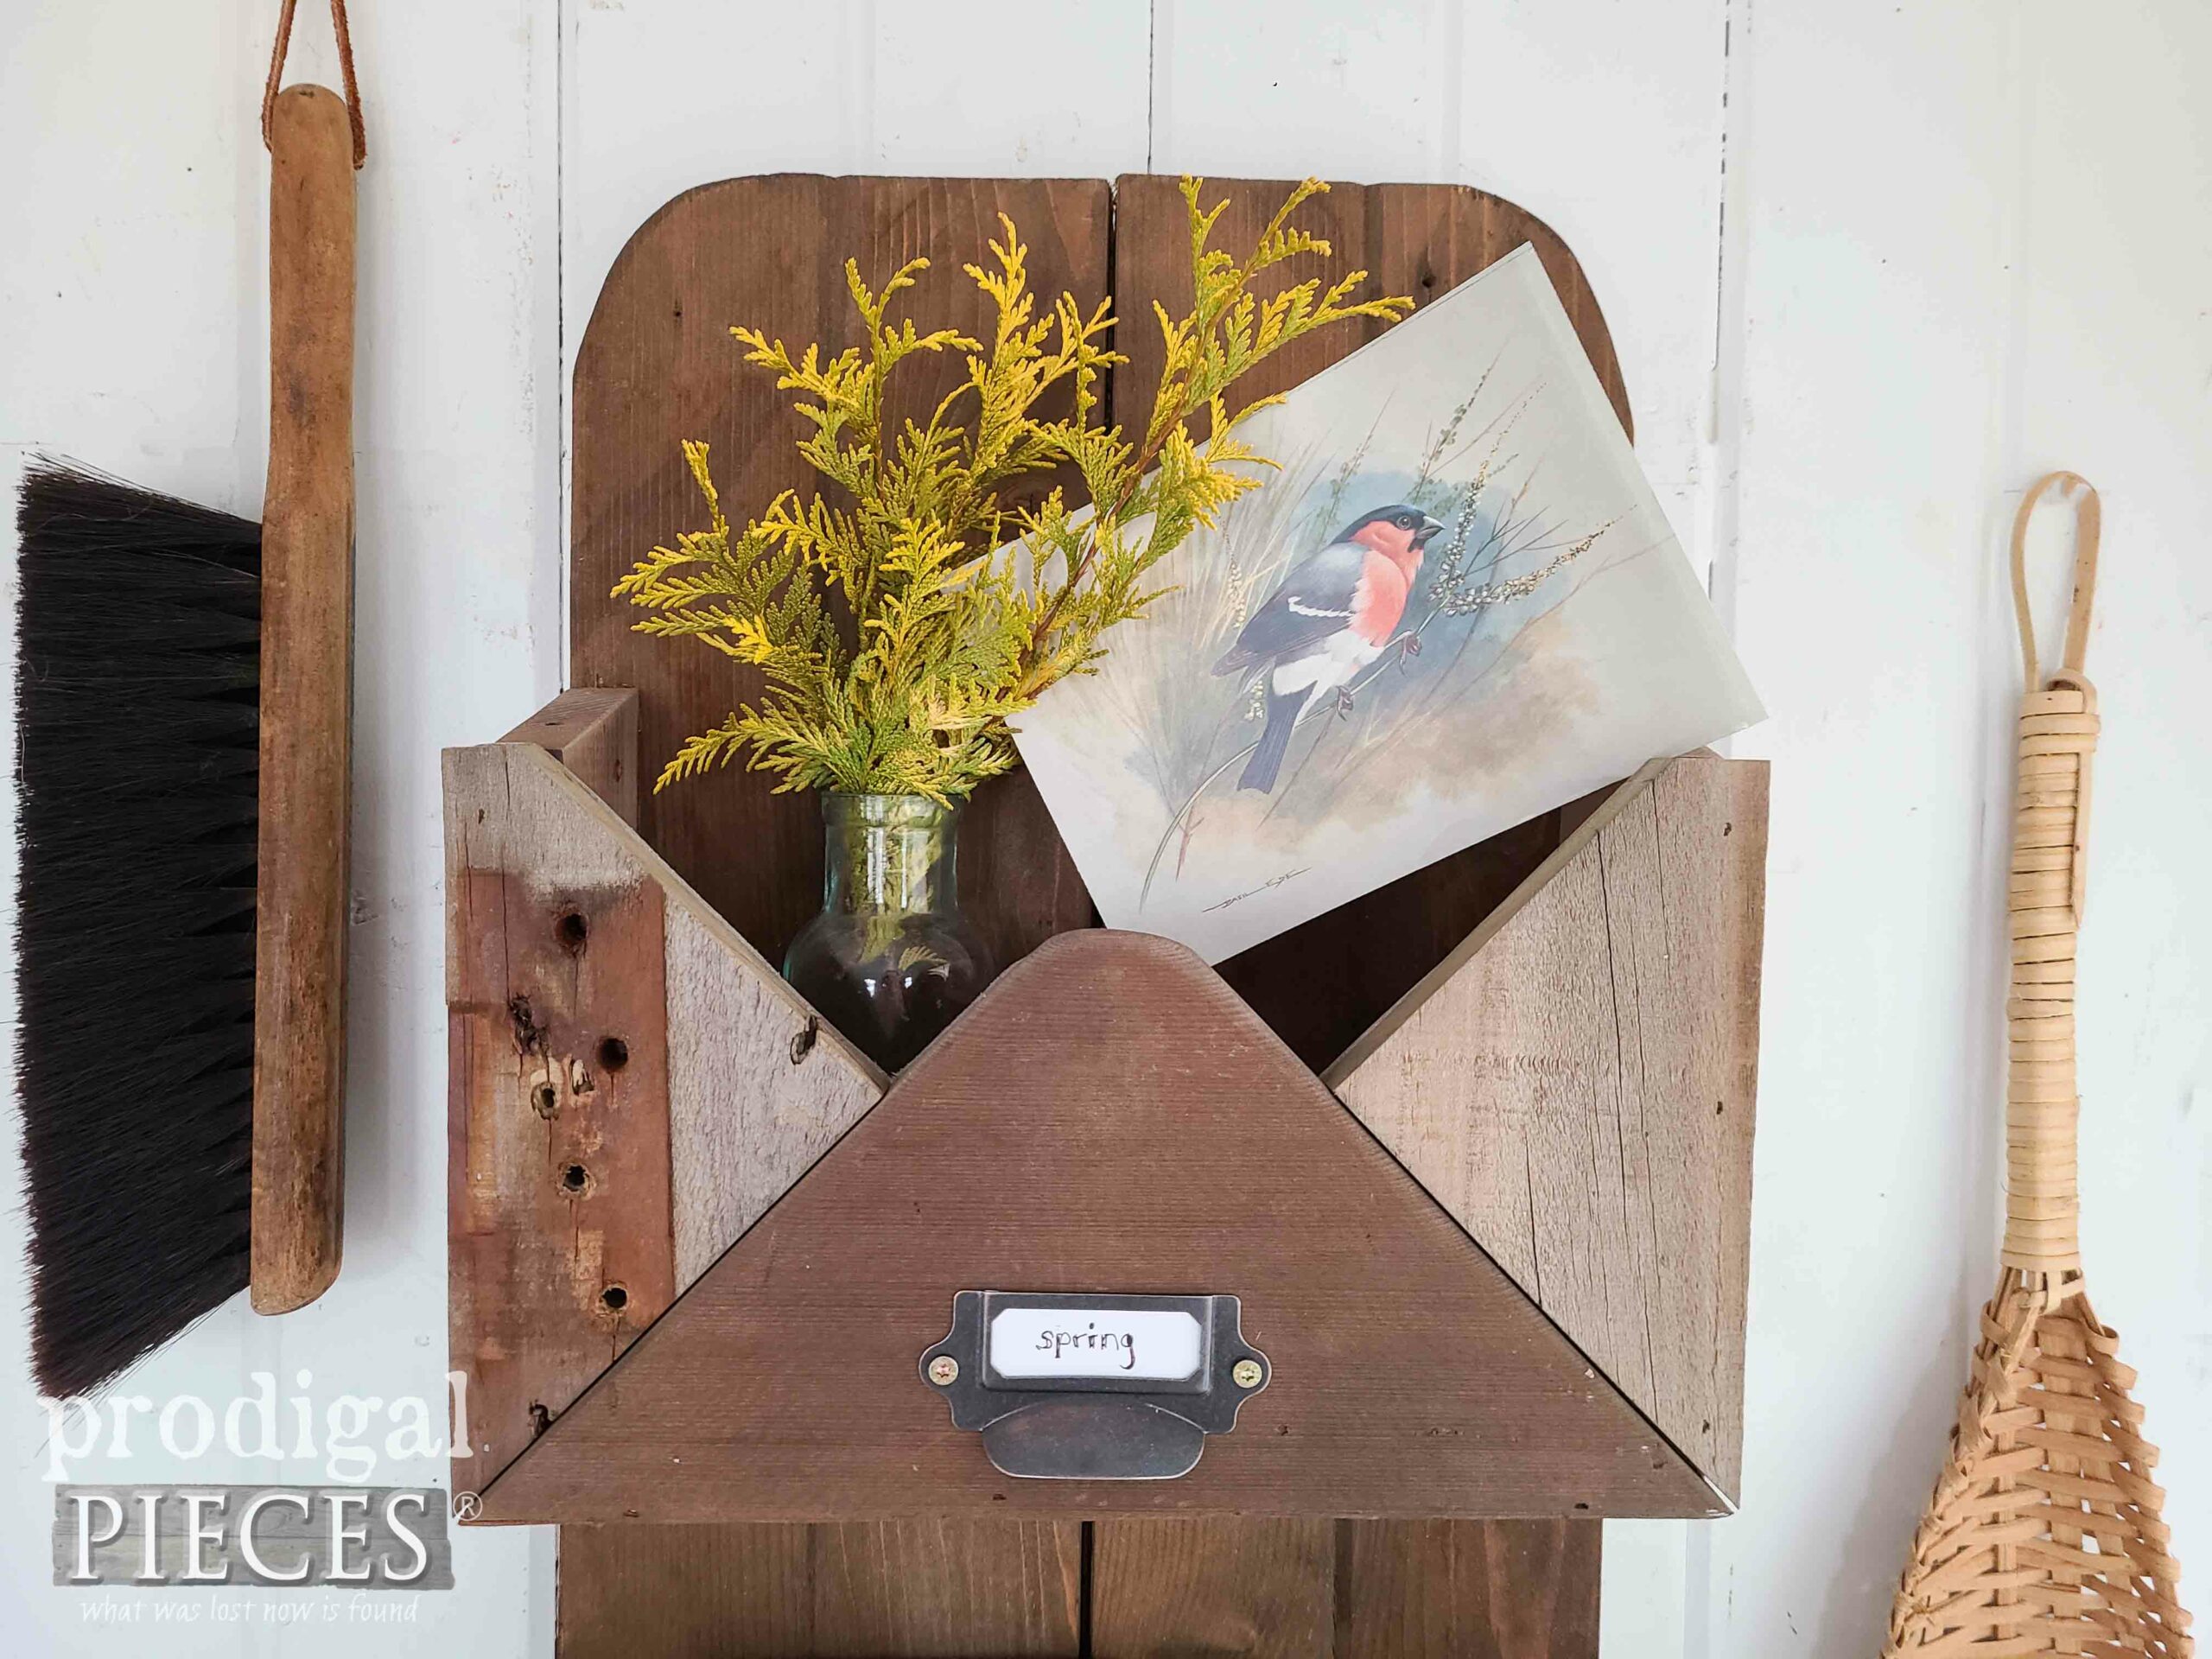
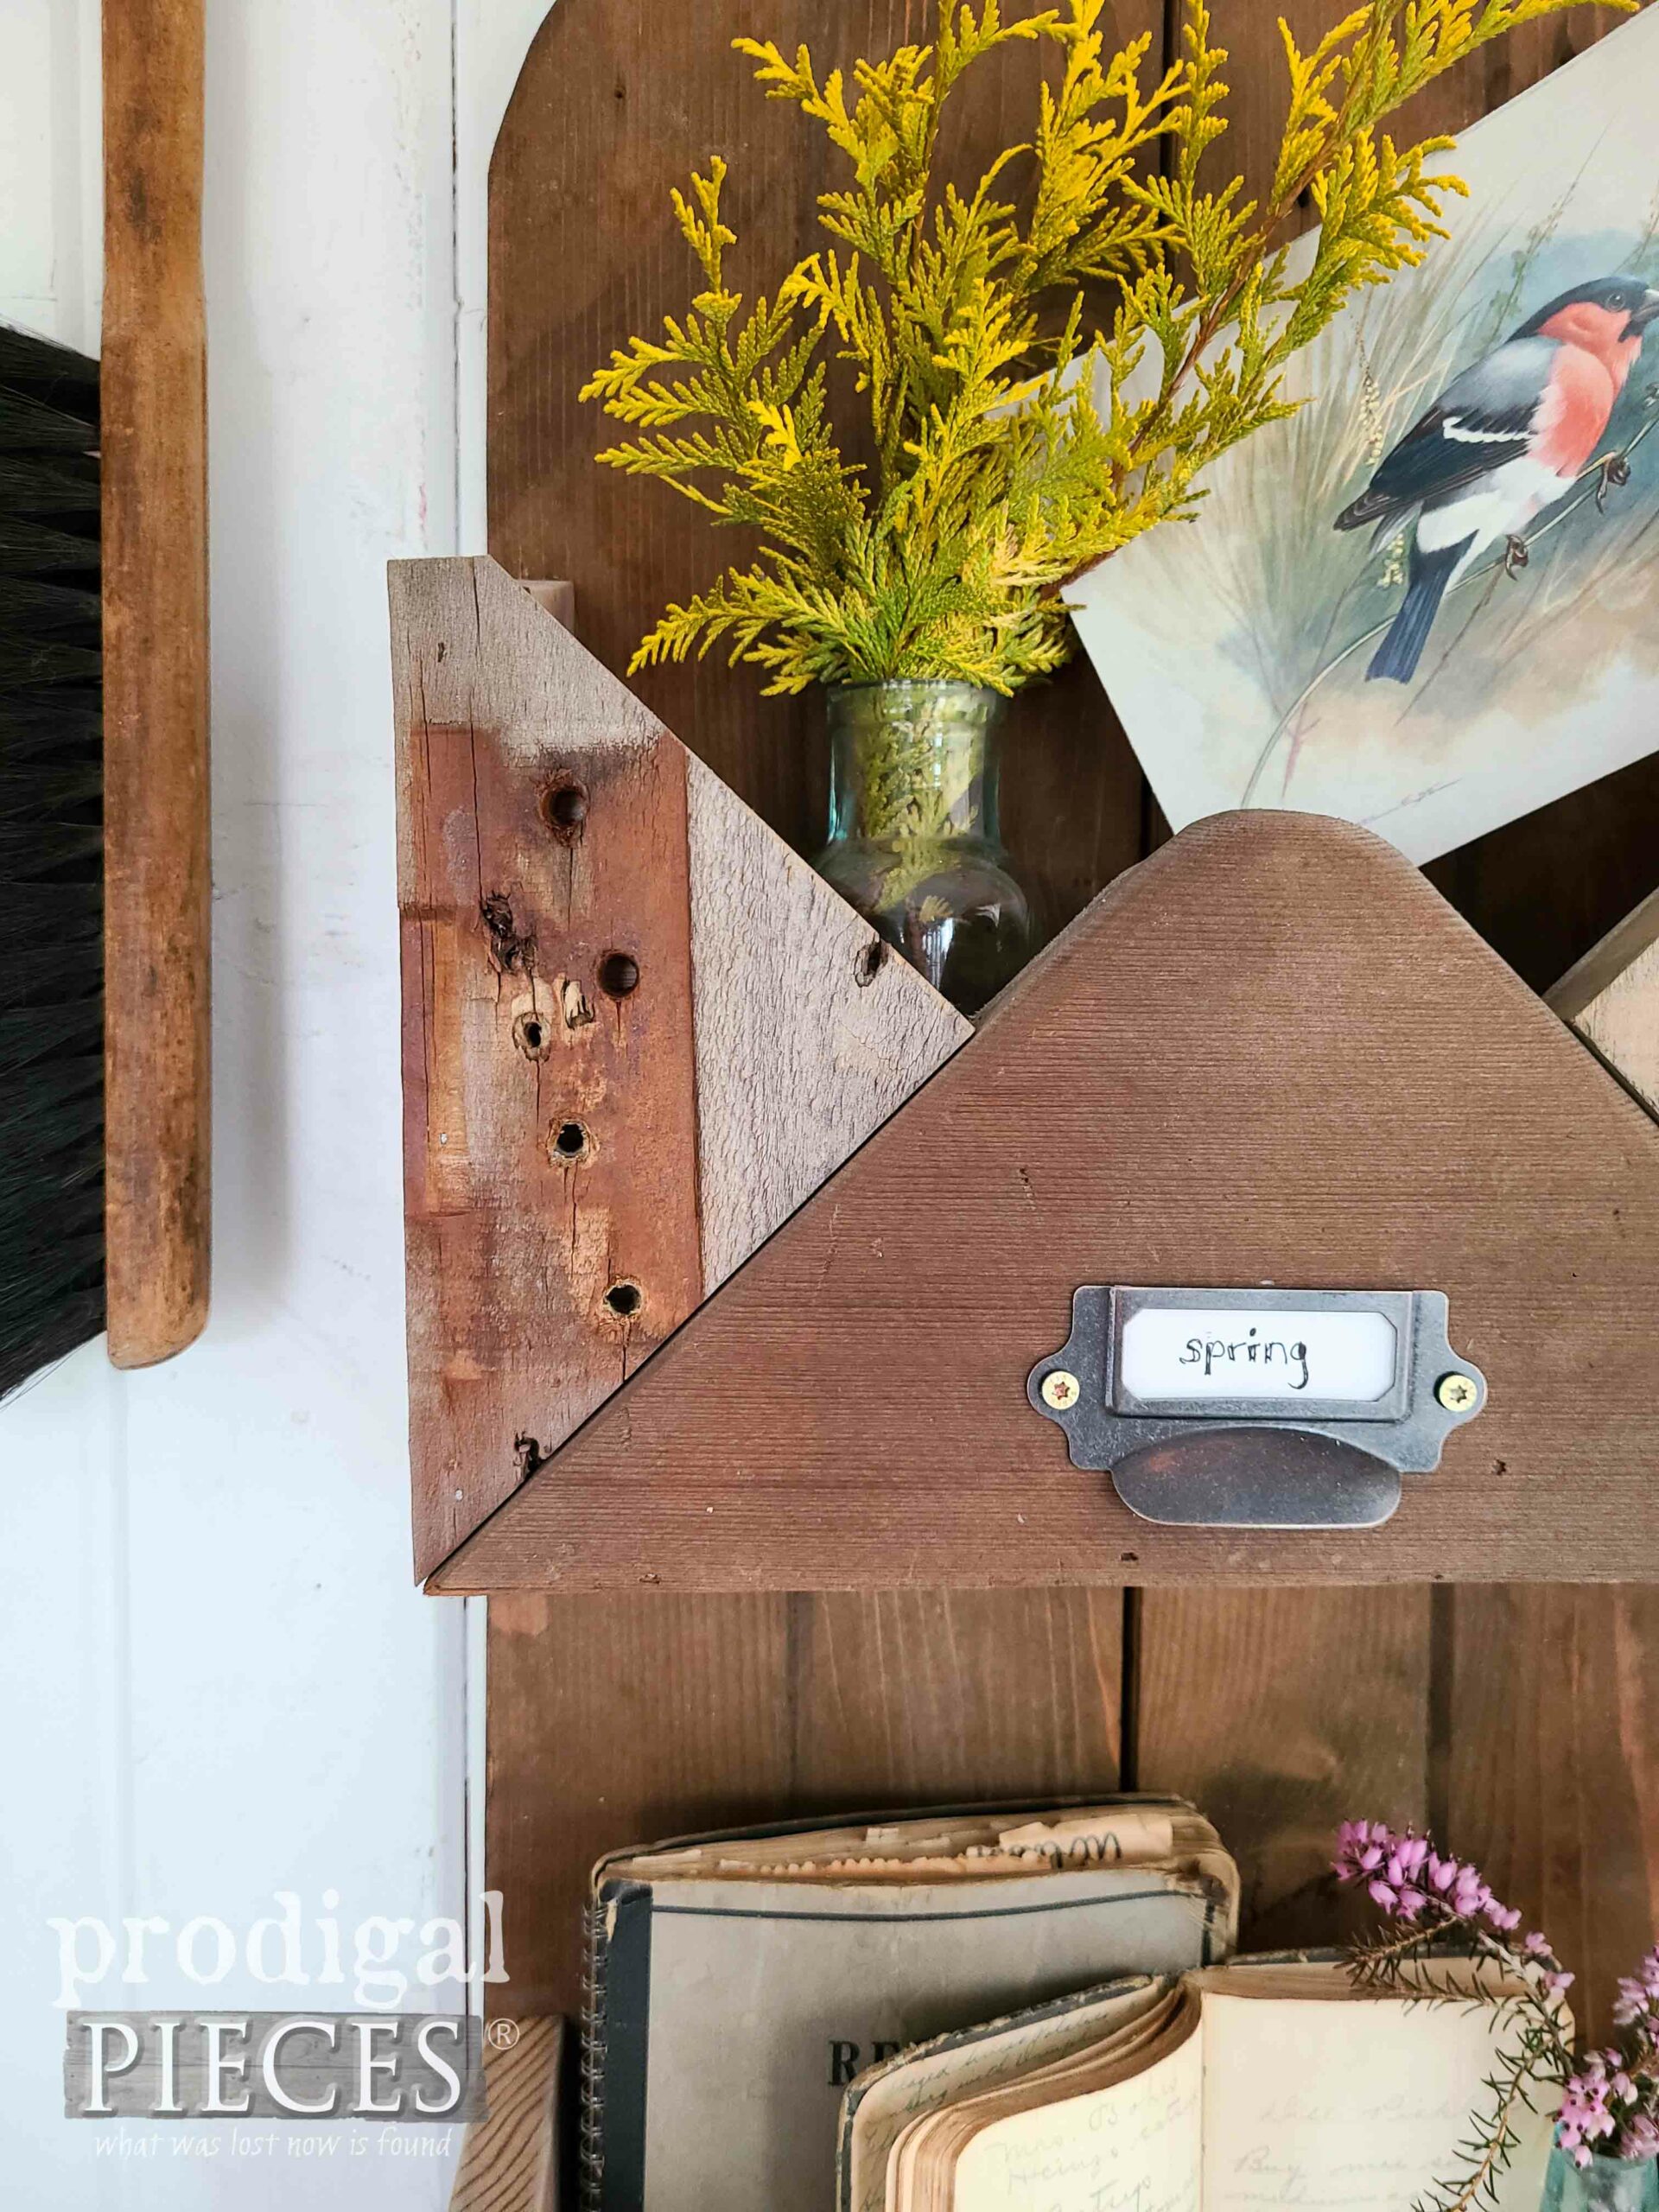
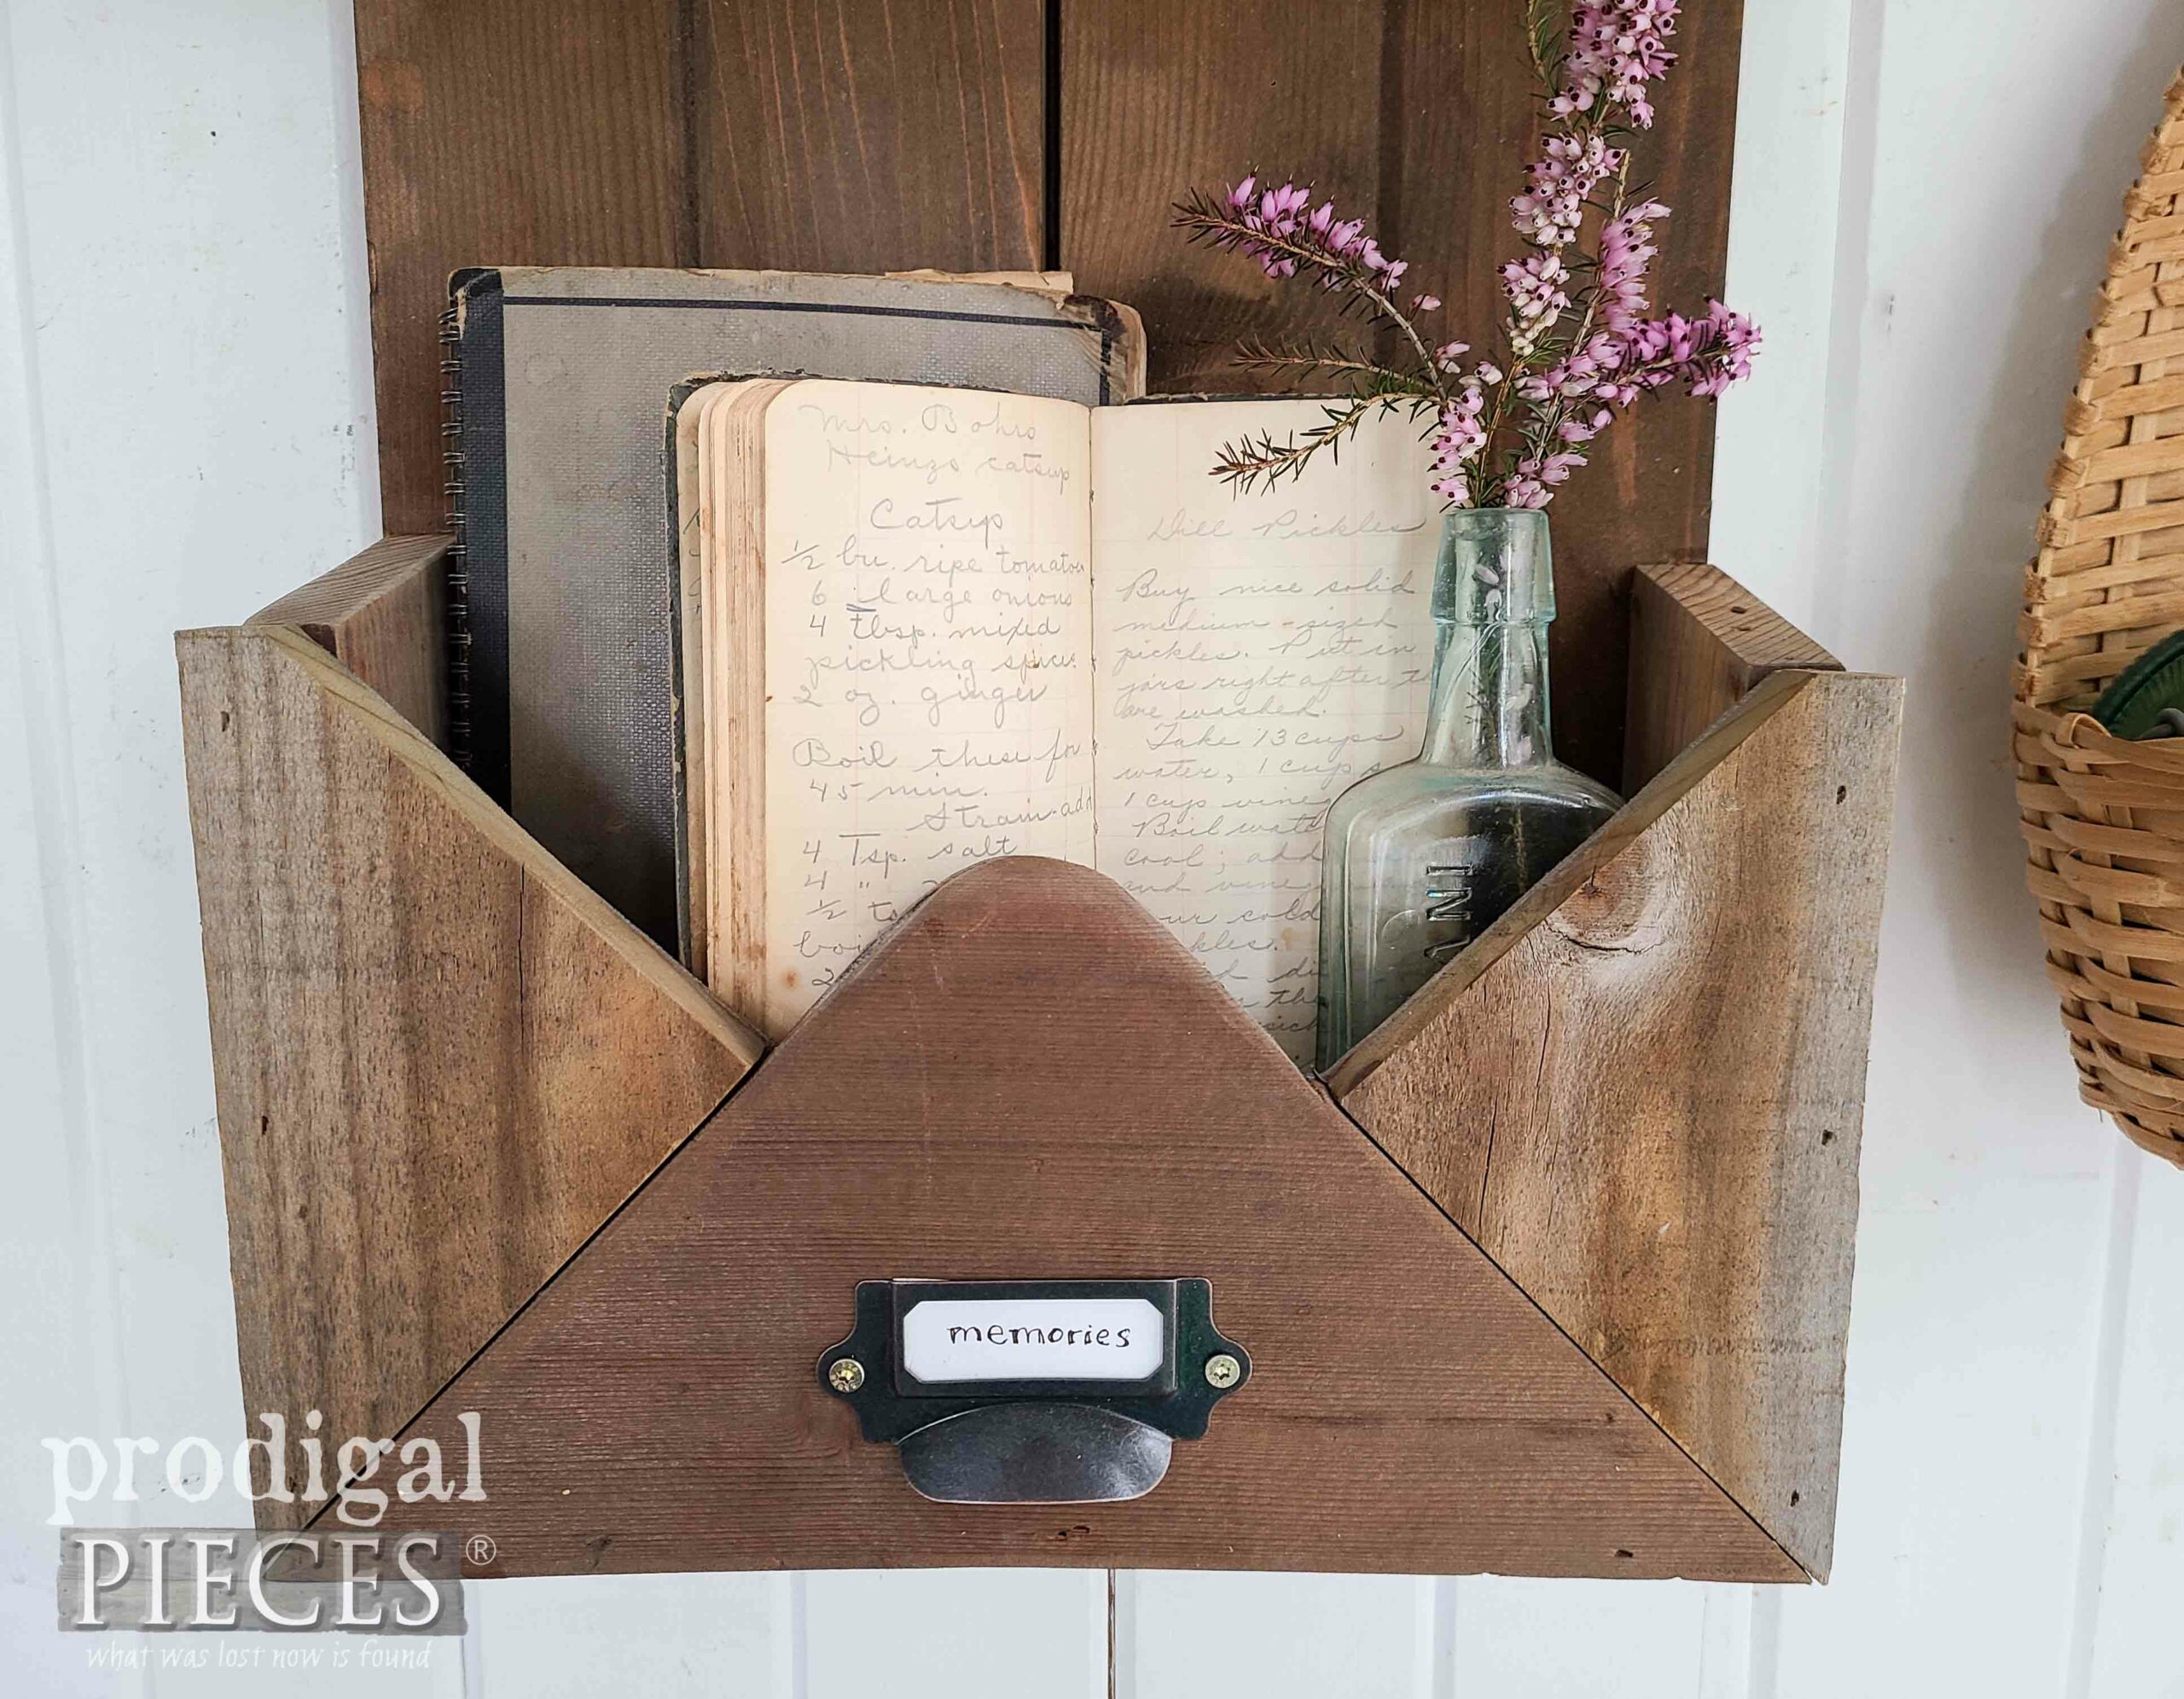
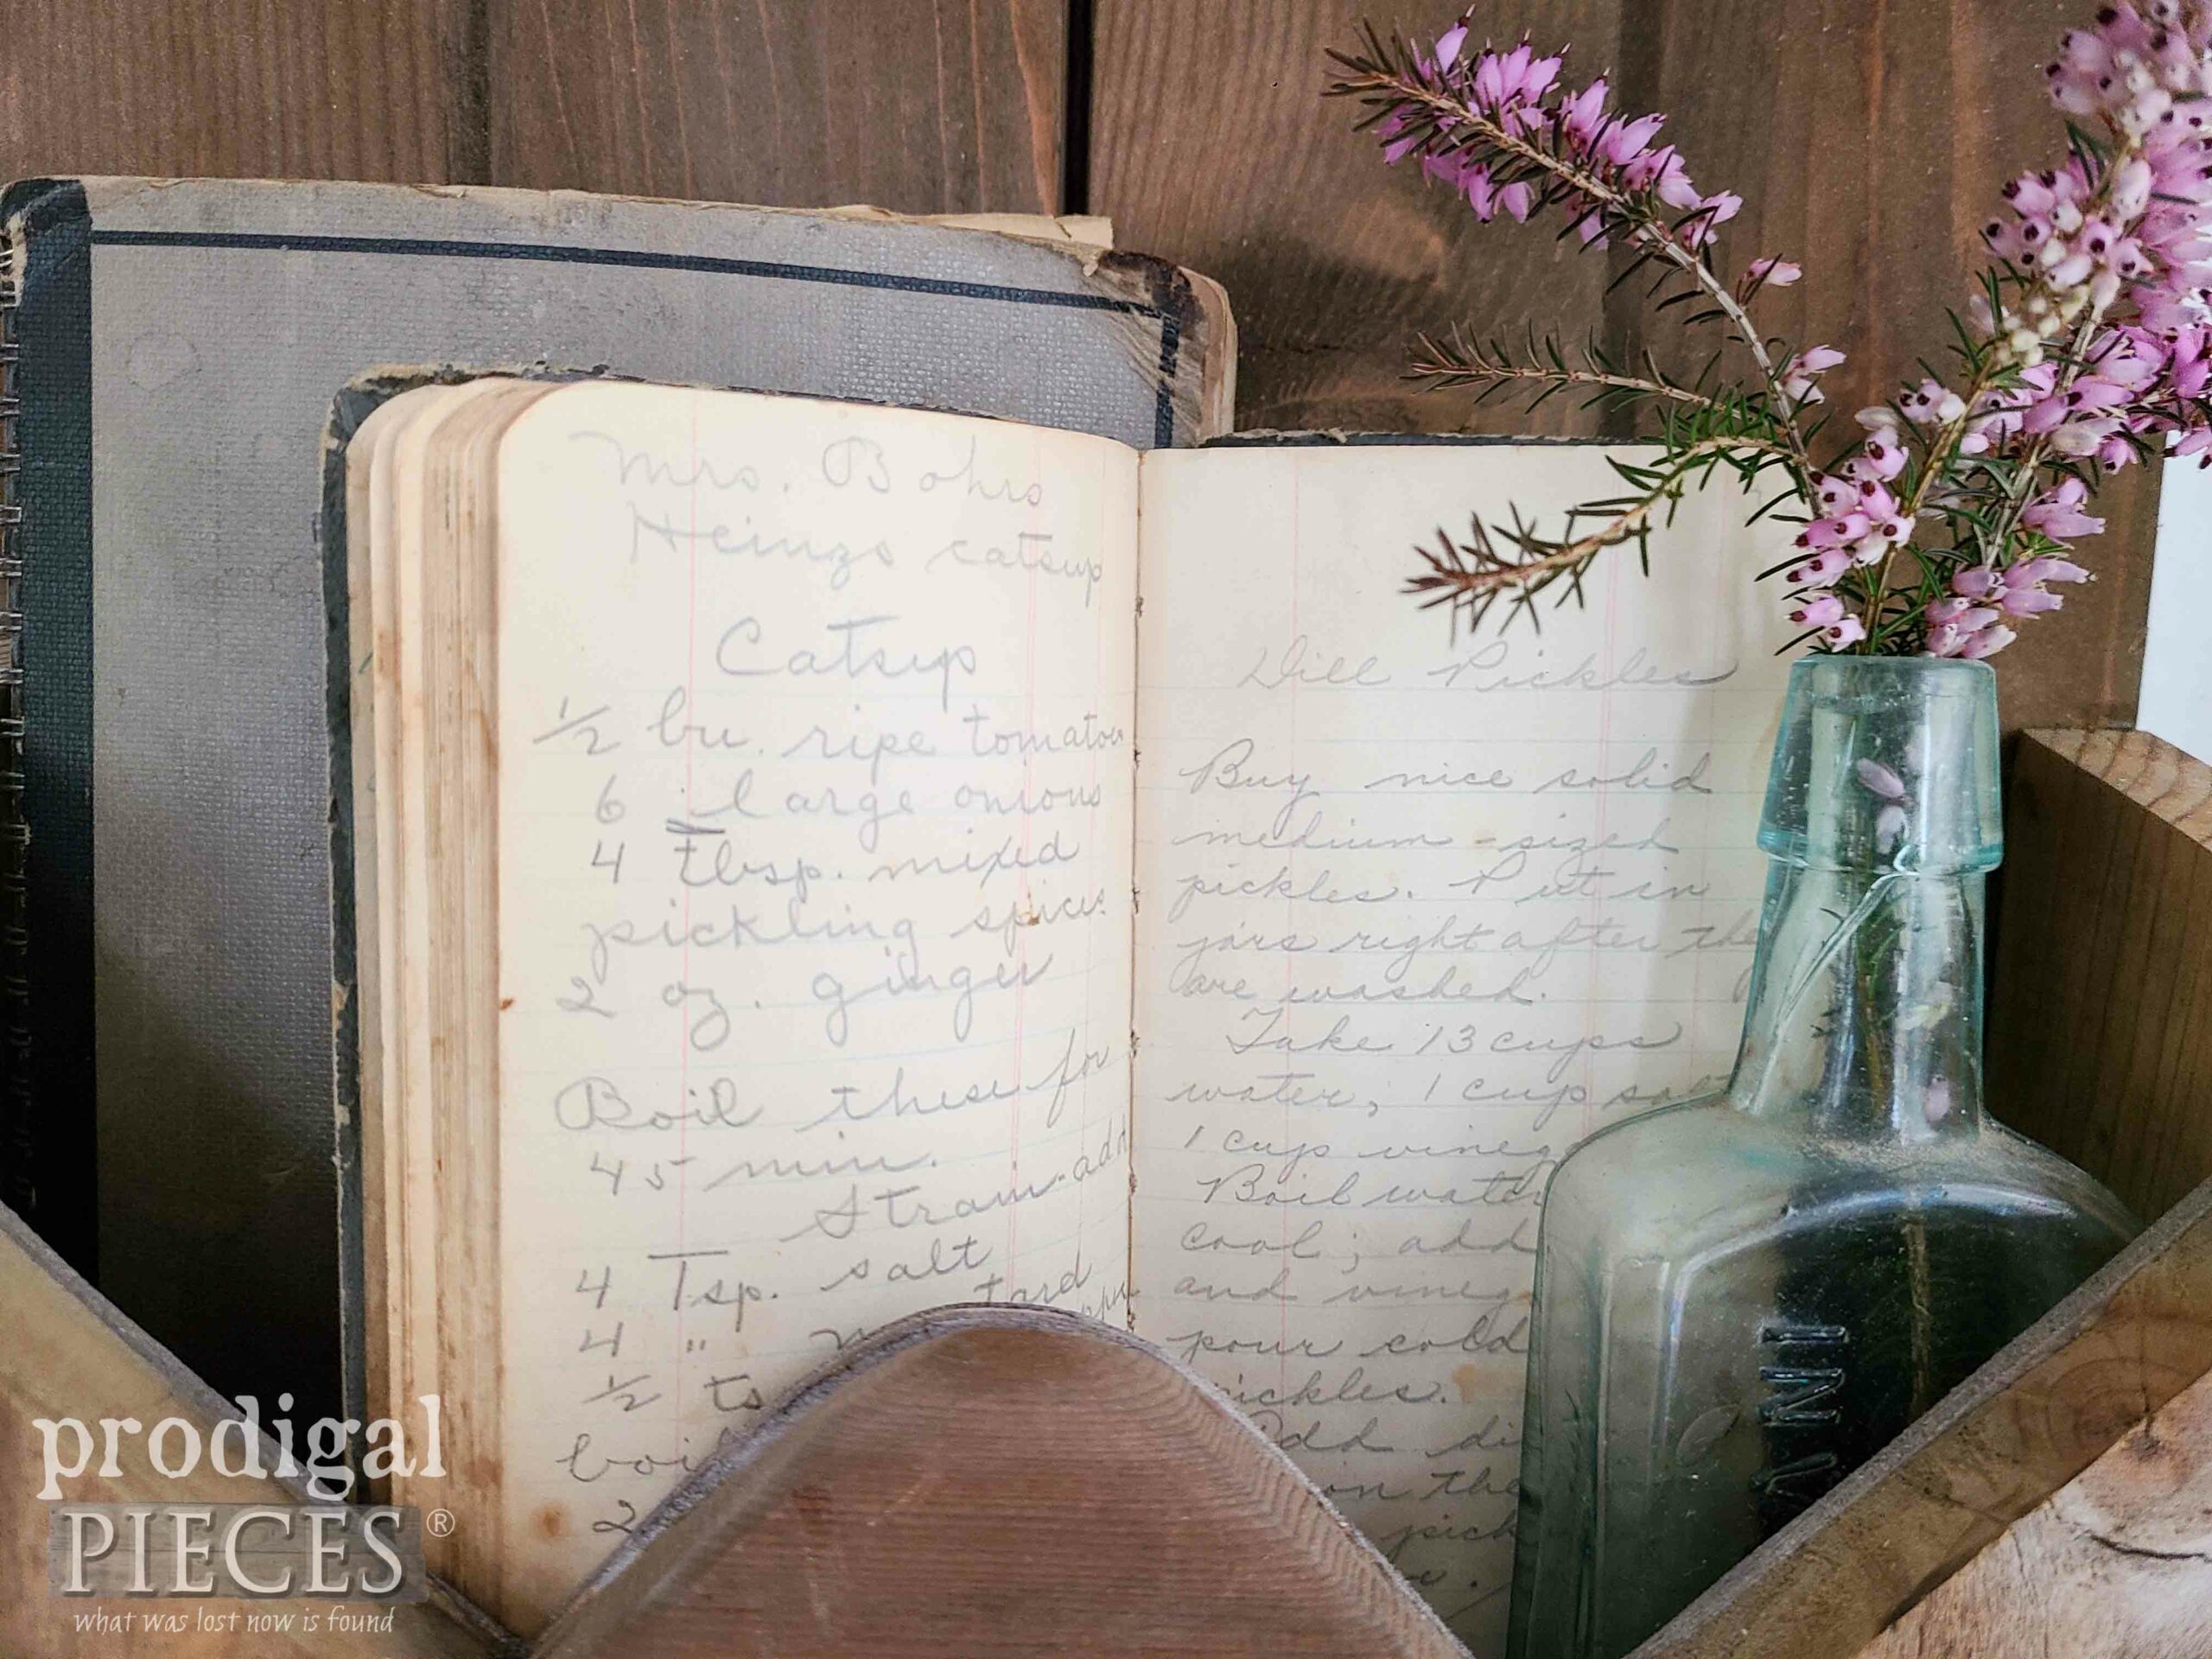
Aren't they amazing?!! What is more, I adore the attribution to the original recipe creator. It gives me goosebumps!
At this point, I hope you are inspired to give this build a try. I literally built this out of trash, so you can't tell me it's too expensive. tsk. {{wink, wink}}
However, if you're not the building type, you can find this and more in
my online store.

SHARE
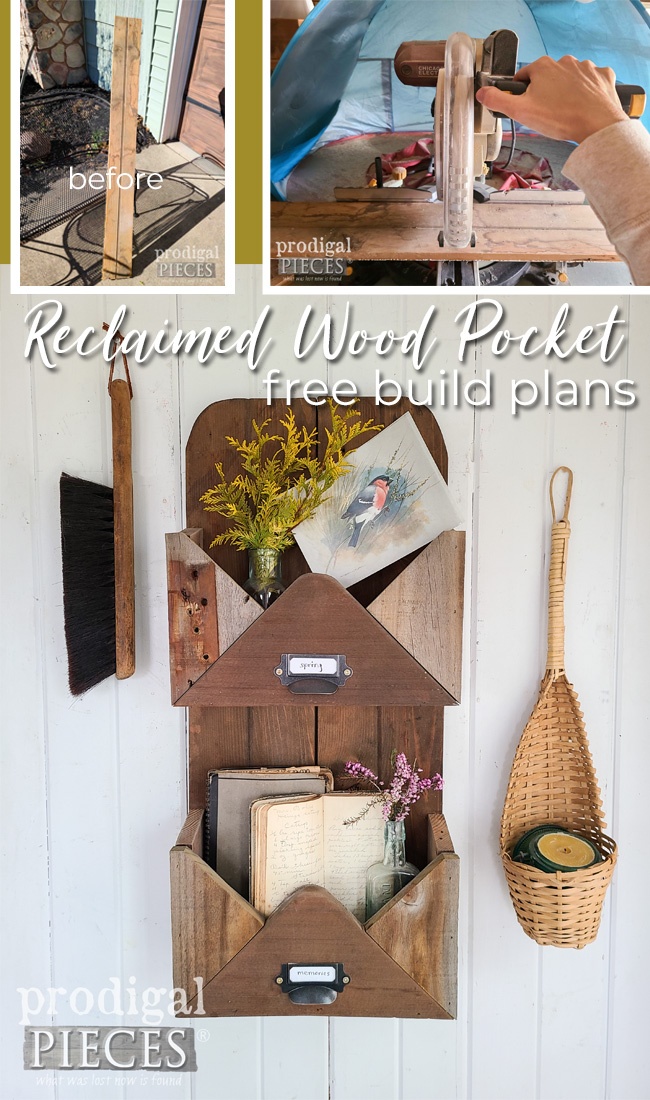
Before you go, leave some comment love below, and also pin and share my reclaimed wall pocket to inspire others. Next time you see wood set out for trash, grab it!
Before you go, be sure to
sign up for my FREE newsletter to see what becomes of this gem of a find.
Until next time!

 PINTEREST | EMAIL
Also, check out these other free build plans for you like this reclaimed wall pocket:
 What you're looking at essentially, is a piece of tongue and groove board that I save after a remodel of my family room this full of pine tongue-and-groove paneling. The original builders would flip the boards over and use the flat side as trim after they ripped the tongue off.
 If you flip it over, you'll see it was painted many coats of white. If I remember right, this was from the overhead beam I replaced with reclaimed beech instead.
 Obviously, this project can go any way I want. As I mentioned, however, I found inspiration in a picture saved in my files a while back of something similar. With that in my pocket, (pun intended), I see to create it in my own style using only trashure parts from the curb. I just love shopping Curb le Chic. tee hee!
 Although I use my miter saw, you can use most any saw, even a handsaw with miter box. I use that for a lighter cut on smaller items.

 Don't you know that as soon as I put that stain on, my 5 month old assistant has something to say about it. tsk.

 Don't forget, you can use a hacksaw and miter box to do this too. Or simply measure and mark with a carpenter's quick square as well.
 After that, trace onto a ¾" thick board and cut out on a 45° angle. Notice I'm using a very weathered fence panel that has gate hinge marks. My neighbor tossed the whole panel with rusty hinges, door, and all, and I nabbed it!
 Before we call this triangle set complete, we need to nip off the top corner at 7 ¼" to match the 15° angle we cut into our 8" side pieces.
 For the final triangle of our envelope for our reclaimed wood pocket, you will do the same thing except this time your base will be 12" on the long side cut to a 45° angle to a height of 5 ½".


 This is the backside showing with the pocket triangles face down.[/caption]
Notice that my boards are sandwiched onto the luan and that their thicknesses vary...that's perfectly fine and half the fun.


 Once you have your pocket holes drilled, assemble with glue and screws by placing your pockets face down, glue the back edges, and drill from behind. I used a combination of 2" wood screws and 1 ¼" wood screws since the side pieces are at an angle. Also, notice I pre-drill holes along the bottom edge of the pocket as well.


 While I fill mine with bit and baubles, you could use yours for daily grind stuff, toiletries, kitchen essentials...you get the idea. If you look closely, you'll see these vintage hand-written recipe books I found in the trash.


 Aren't they amazing?!! What is more, I adore the attribution to the original recipe creator. It gives me goosebumps!
At this point, I hope you are inspired to give this build a try. I literally built this out of trash, so you can't tell me it's too expensive. tsk. {{wink, wink}}
 However, if you're not the building type, you can find this and more in my online store.

 Before you go, be sure to sign up for my FREE newsletter to see what becomes of this gem of a find.
 Until next time!


