 ANIMAL is the theme for today, and I have to tell you that my project has been in my brain for two years now...yes, TWO YEARS! I acquired a broken down antique Morris rocker when I needed parts for a custom rocking chair I was working on. (Read the full story here to catch you up to speed)
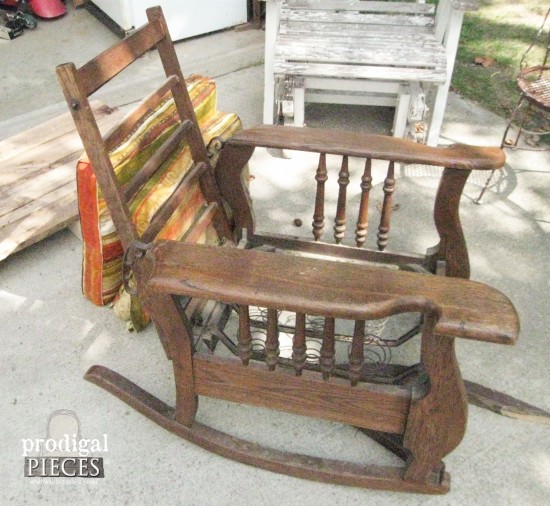
TRASHURE
Over the years, I've used the springs to create Christmas tree toppers, the rockers to make custom signs, and the arm rests for a fun beachy project. I've made use of all the parts except the back rest, spindles, and the base. The back rest will be turned into something functional soon, the spindles I am waiting for the holidays to roll around. Here's the leftover base: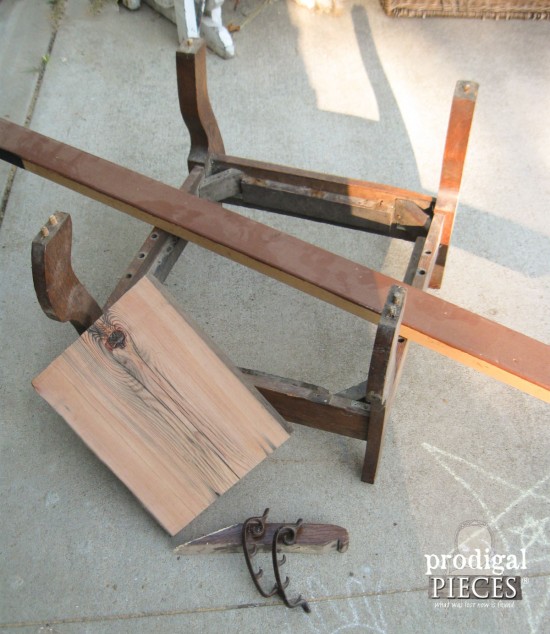 There's a piece of the other broken rocker, a remnant slab of first growth reclaimed wood we used to make these custom kitchen shelves, and the cast iron pieces that adjusted the rocker back. Aren't' they cool?
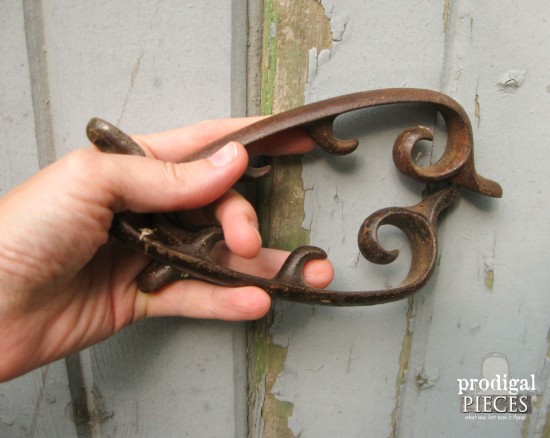 Next, when I turned the leftover base upside down, I saw an animal. The legs looked like a hoofed animal, and what better time to get my rear in gear and do this thing up right than our makeover day? So, here we go...
DIY TIME
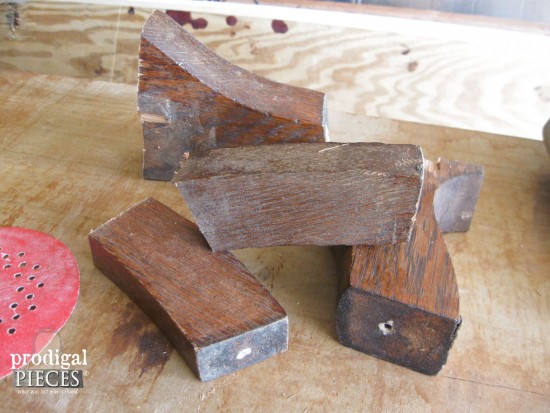
First, to start my game table, Im taking off the pieces that held the rockers on. That is some solid wood, friends!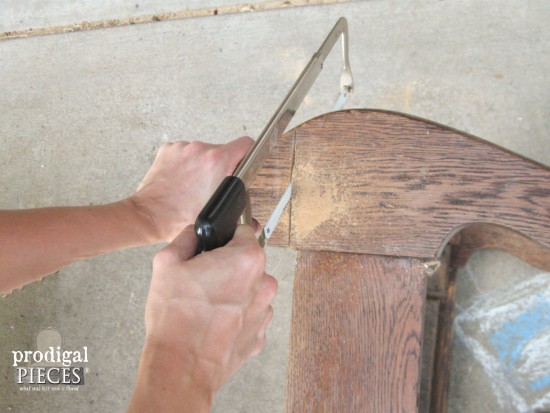 Here are the leftover pieces, and I already see something in them, do you? Head HERE to see...hee hee hee.
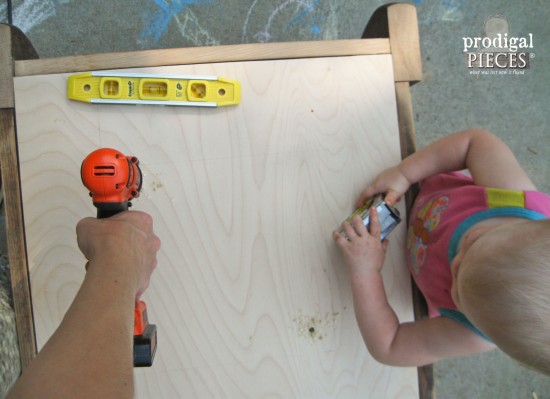
 After that, I asked my hubby to jump in and cut me a tabletop to fit inside the base. Of course, I was photo-bombed by my little one who loves to watch her mama work. I'm getting ready to use my jigsaw to cut out the center of the game table by drilling pilot holes.
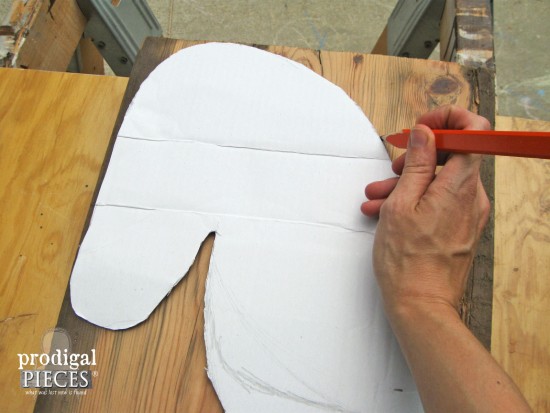
 Originally, I was planning a deer or moose using those cast-iron parts, but somehow my brain kept leaning toward a horse. After that, I make a pattern and then cut it out of that reclaimed wood slab I showed you earlier, again using my jigsaw. (that is one of my absolute favorite tools, and if you're itching to give one a try, I've got a DIY tutorial to get you started!)
THE REVEAL
Finally, after more cutting and building, here is what my game table looks like.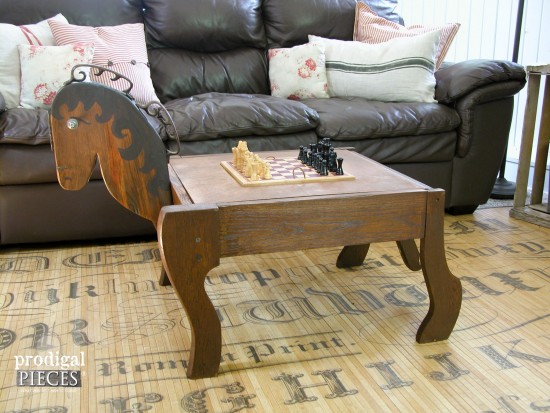 ...a game table made from reclaimed parts. Fun, eh? We love chess in our house and whenever I find a board or game pieces while thrifting I snatch them up. Eventually, I want each of my kids to have their own set. What better, than a chess board complete with storage below?
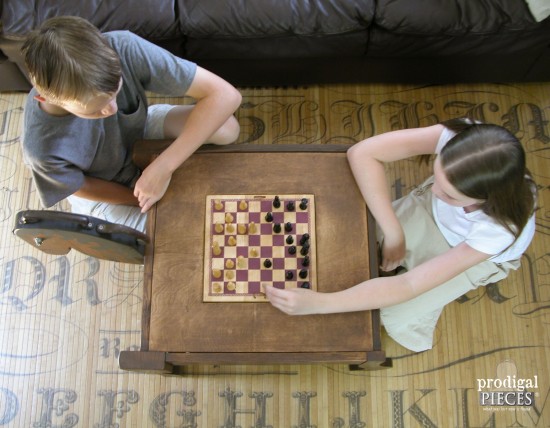
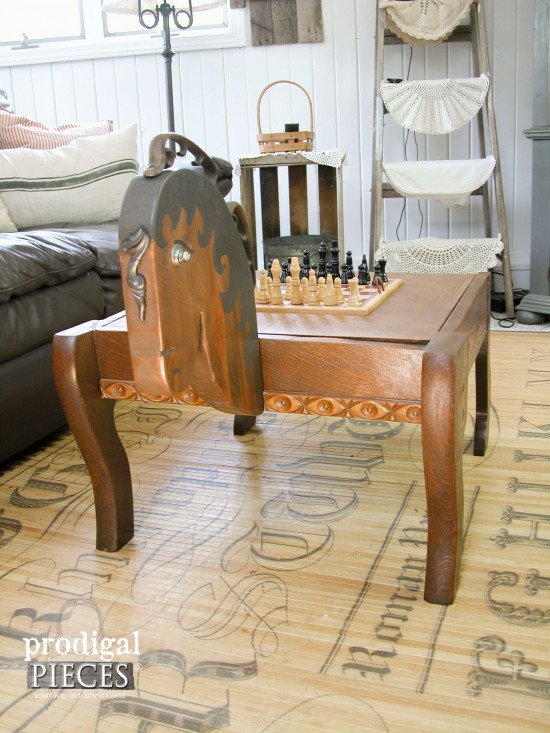
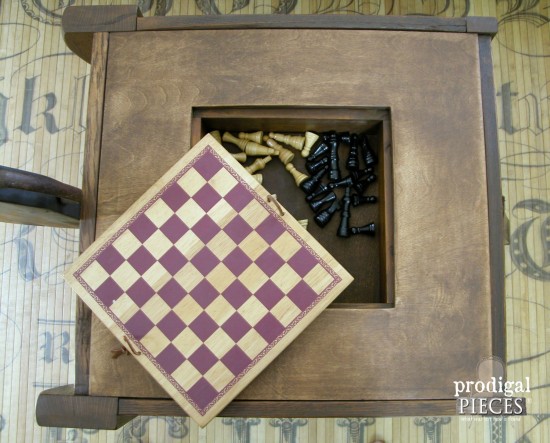 Almost all the parts for this piece were reclaimed or found second-hand. With that in mind, I even add on that creepy eye carved piece from my VW bus dresser, and that I mentioned in this recent post.
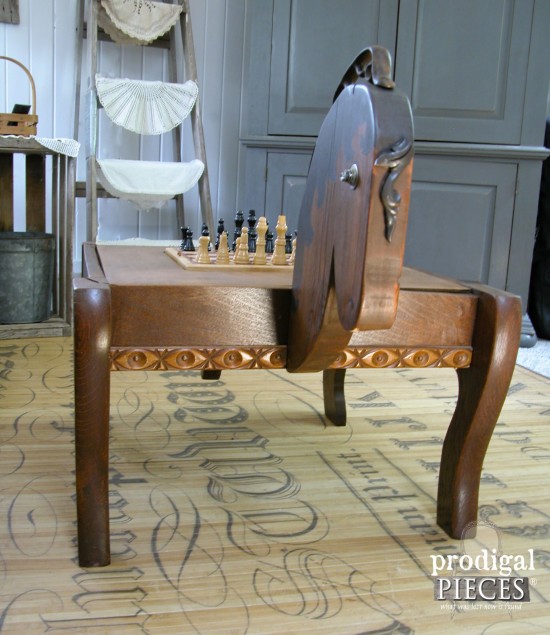
YEEHAW
Some baby crib springs for eyes, a broken piece of filigree from a past makeover for the horses' mane front. Then, there are those iron pieces that are now a mane. Funky fun, I tell ya!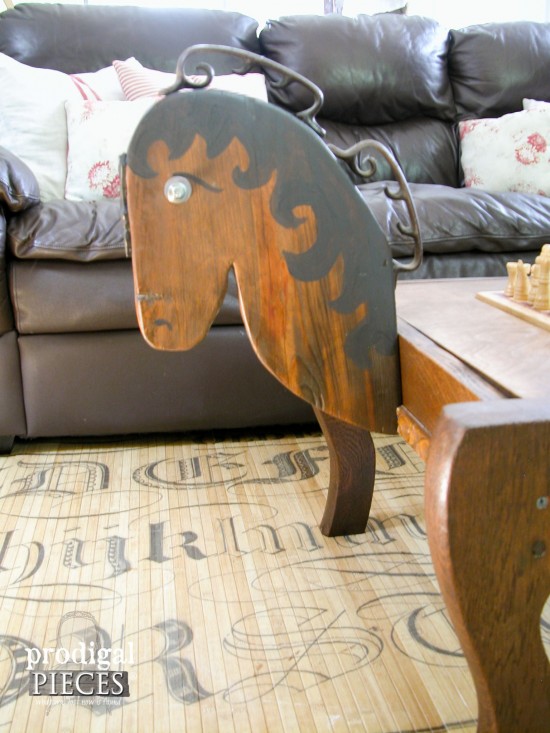 I even salvaged the rest of the rocker for a tail. Nothing goes to waste around here!
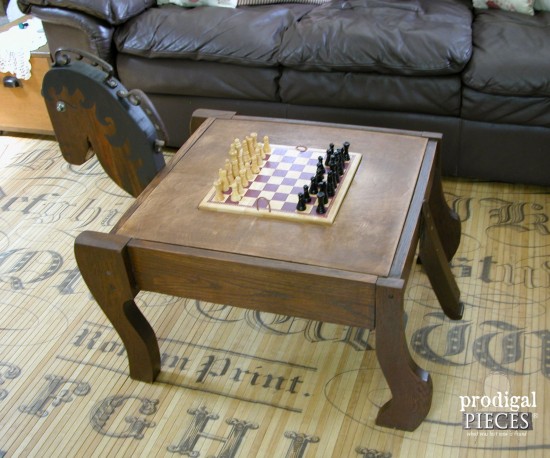 But that's not all...not only are we chess lovers, but LEGO lovers too. So why not make a reversible game-top, right?
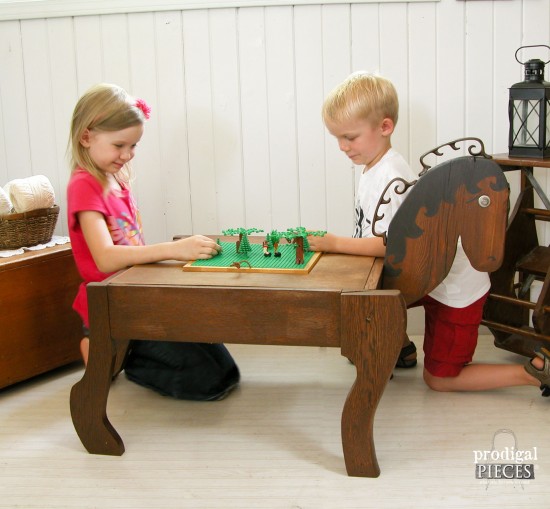
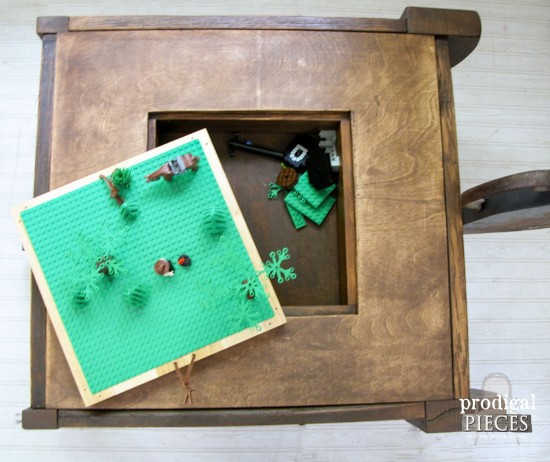 Can't beat a good repurpose. What is more, I'm glad this game table is out of my brain after two years of holding it in. Furthermore, if you love this game table, you can find it in my online shop available for purchase.
[metaslider id=30251]
SHARE
Likewise, I'd love it if you would pin and share!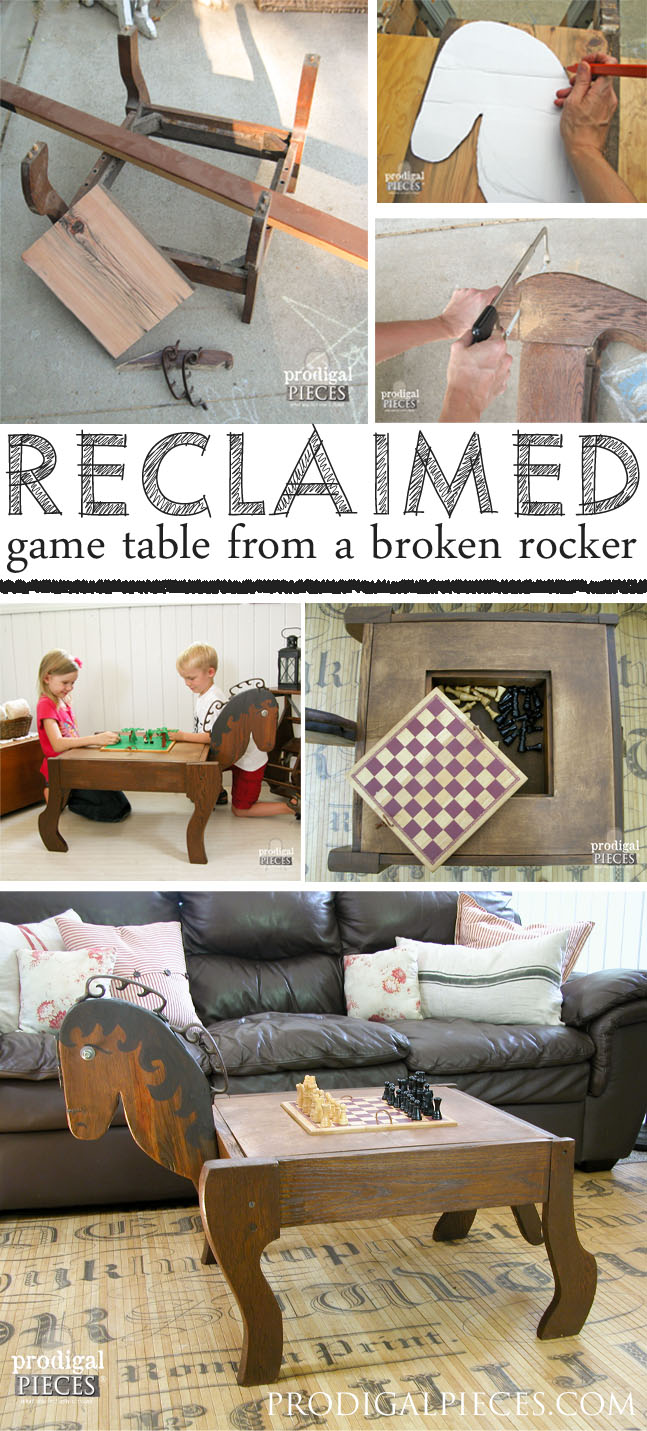
Also, here's more of my repurposed work like this game table:
 Before you go, come see what my furniture friends have created for the ANIMAL theme. ♥
