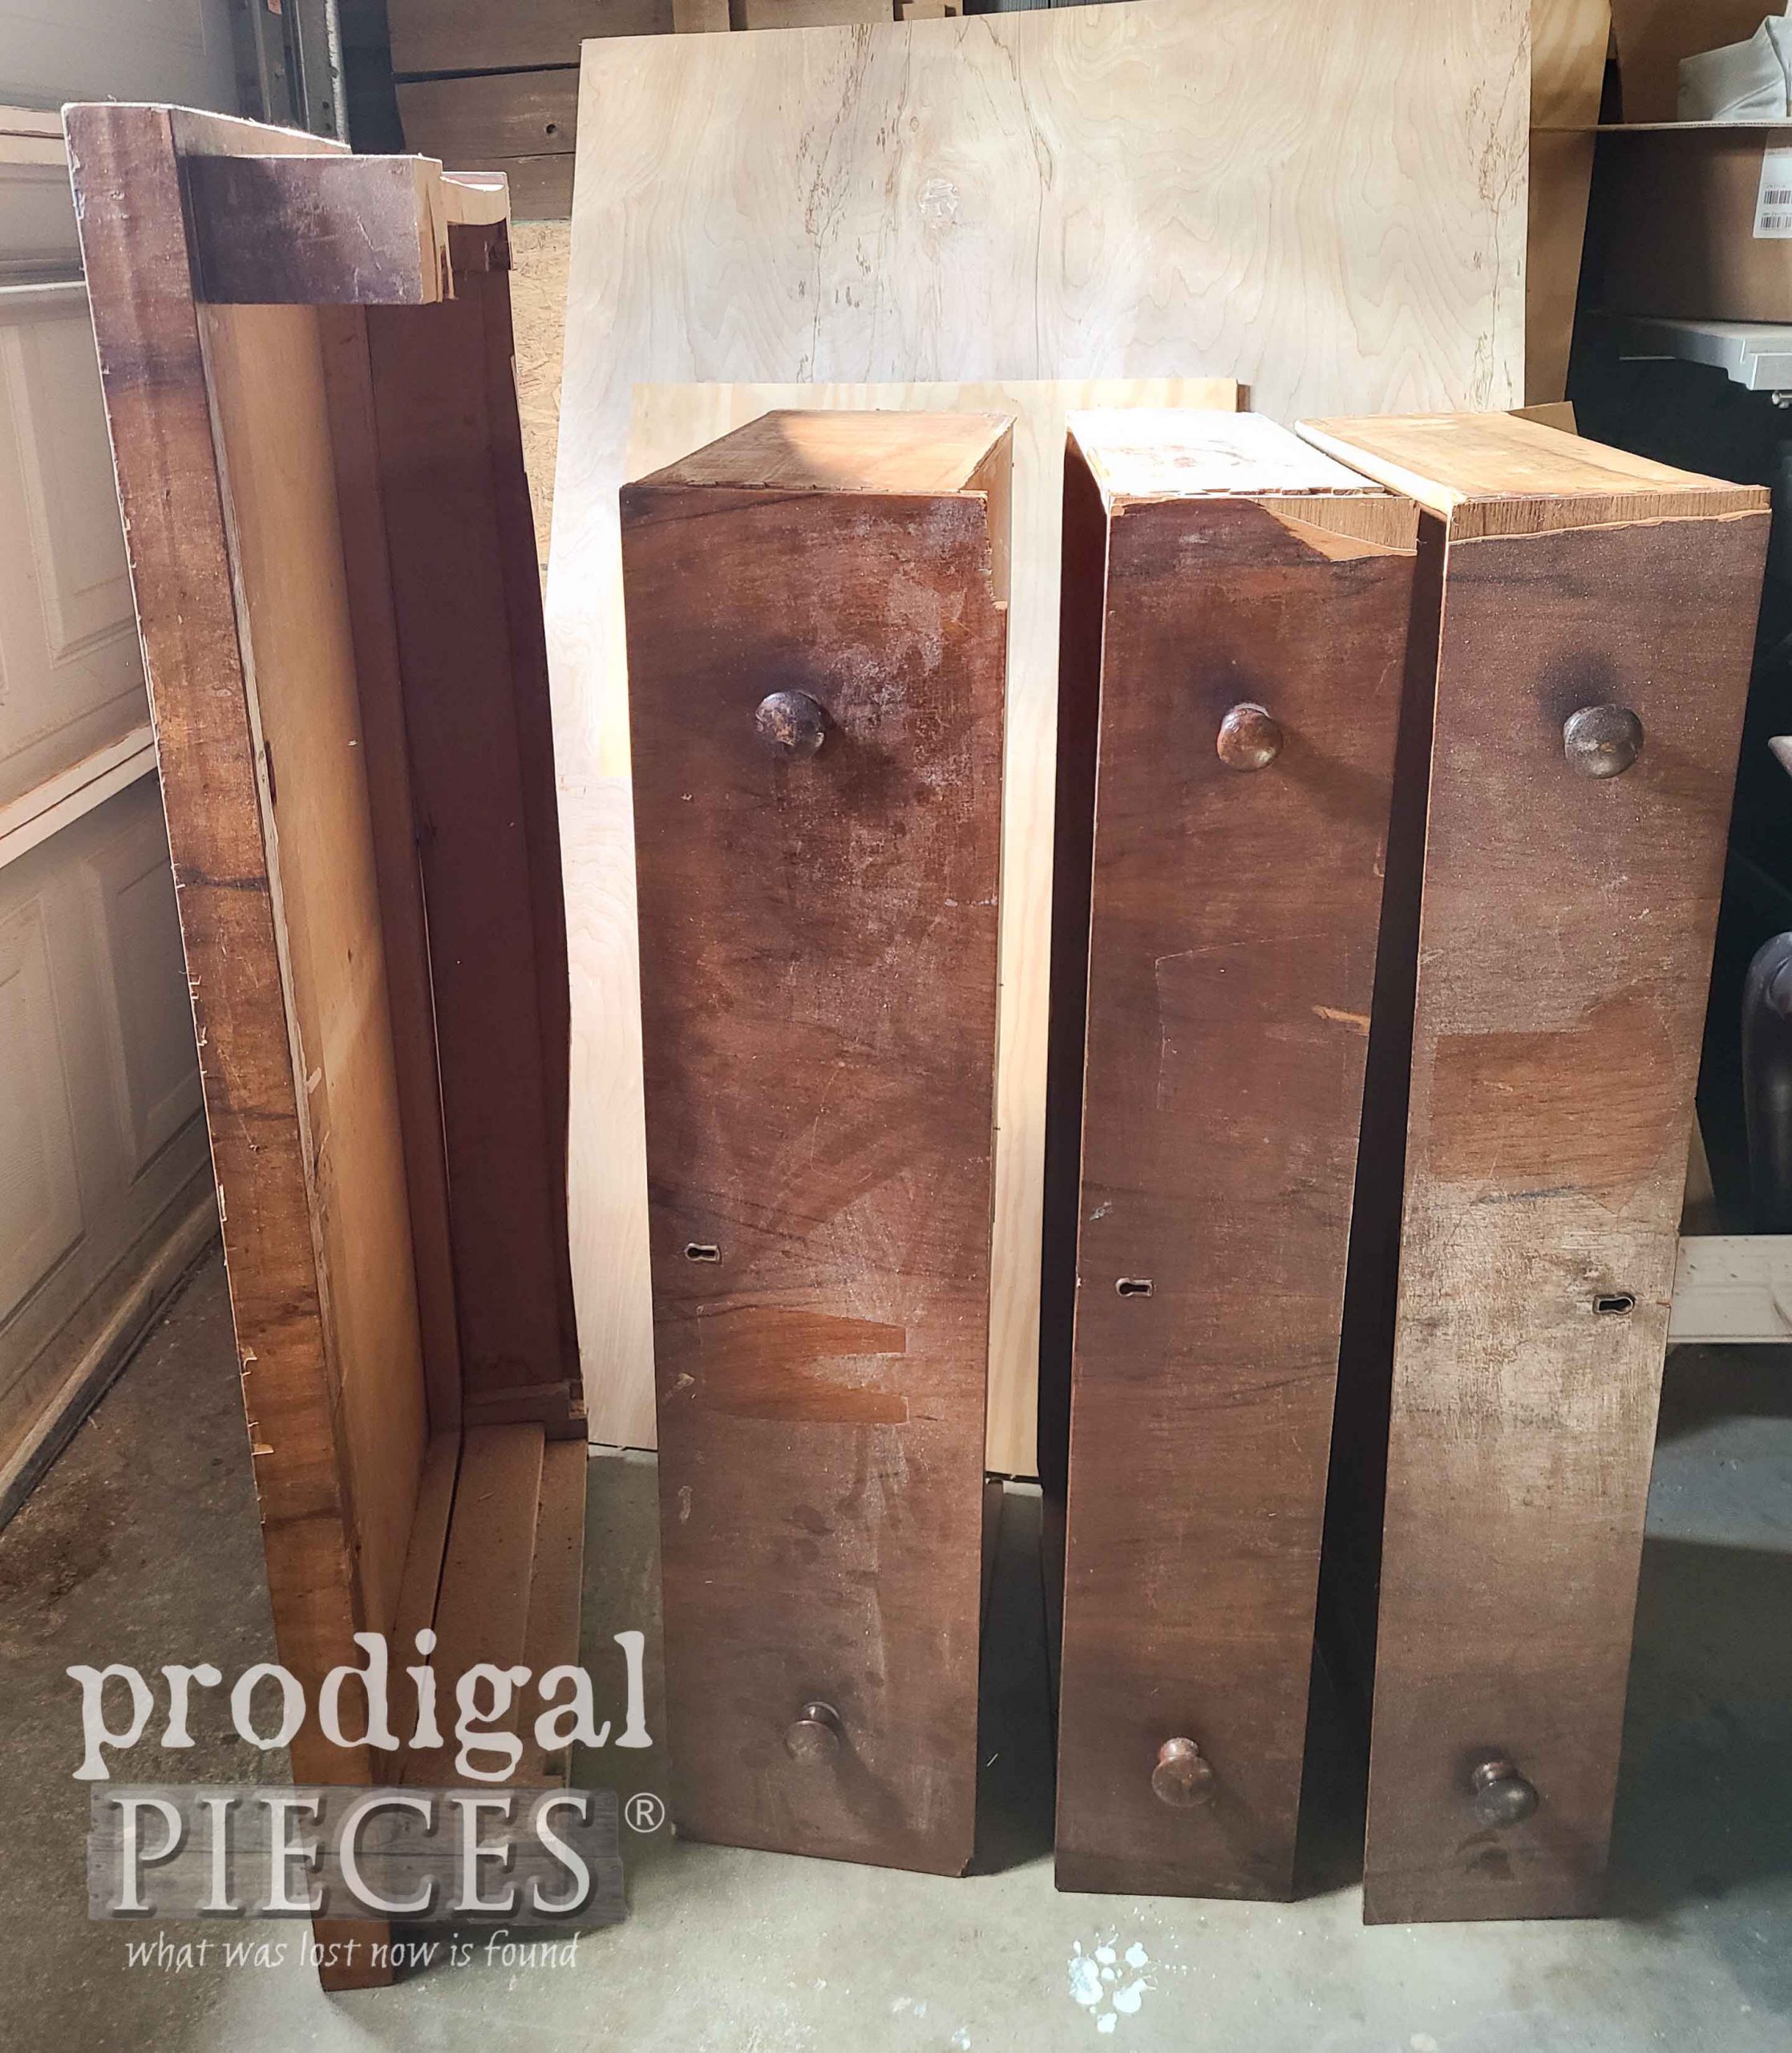
 At the beginning, what you're looking at is the top of the chest and the broken drawers. All these leftovers are prime for upcycling. Do you see it?
Previously, if you check out the first post, you see that the top had contact paper covering this damaged veneer. Yeah...that isn't a small spot of damage.
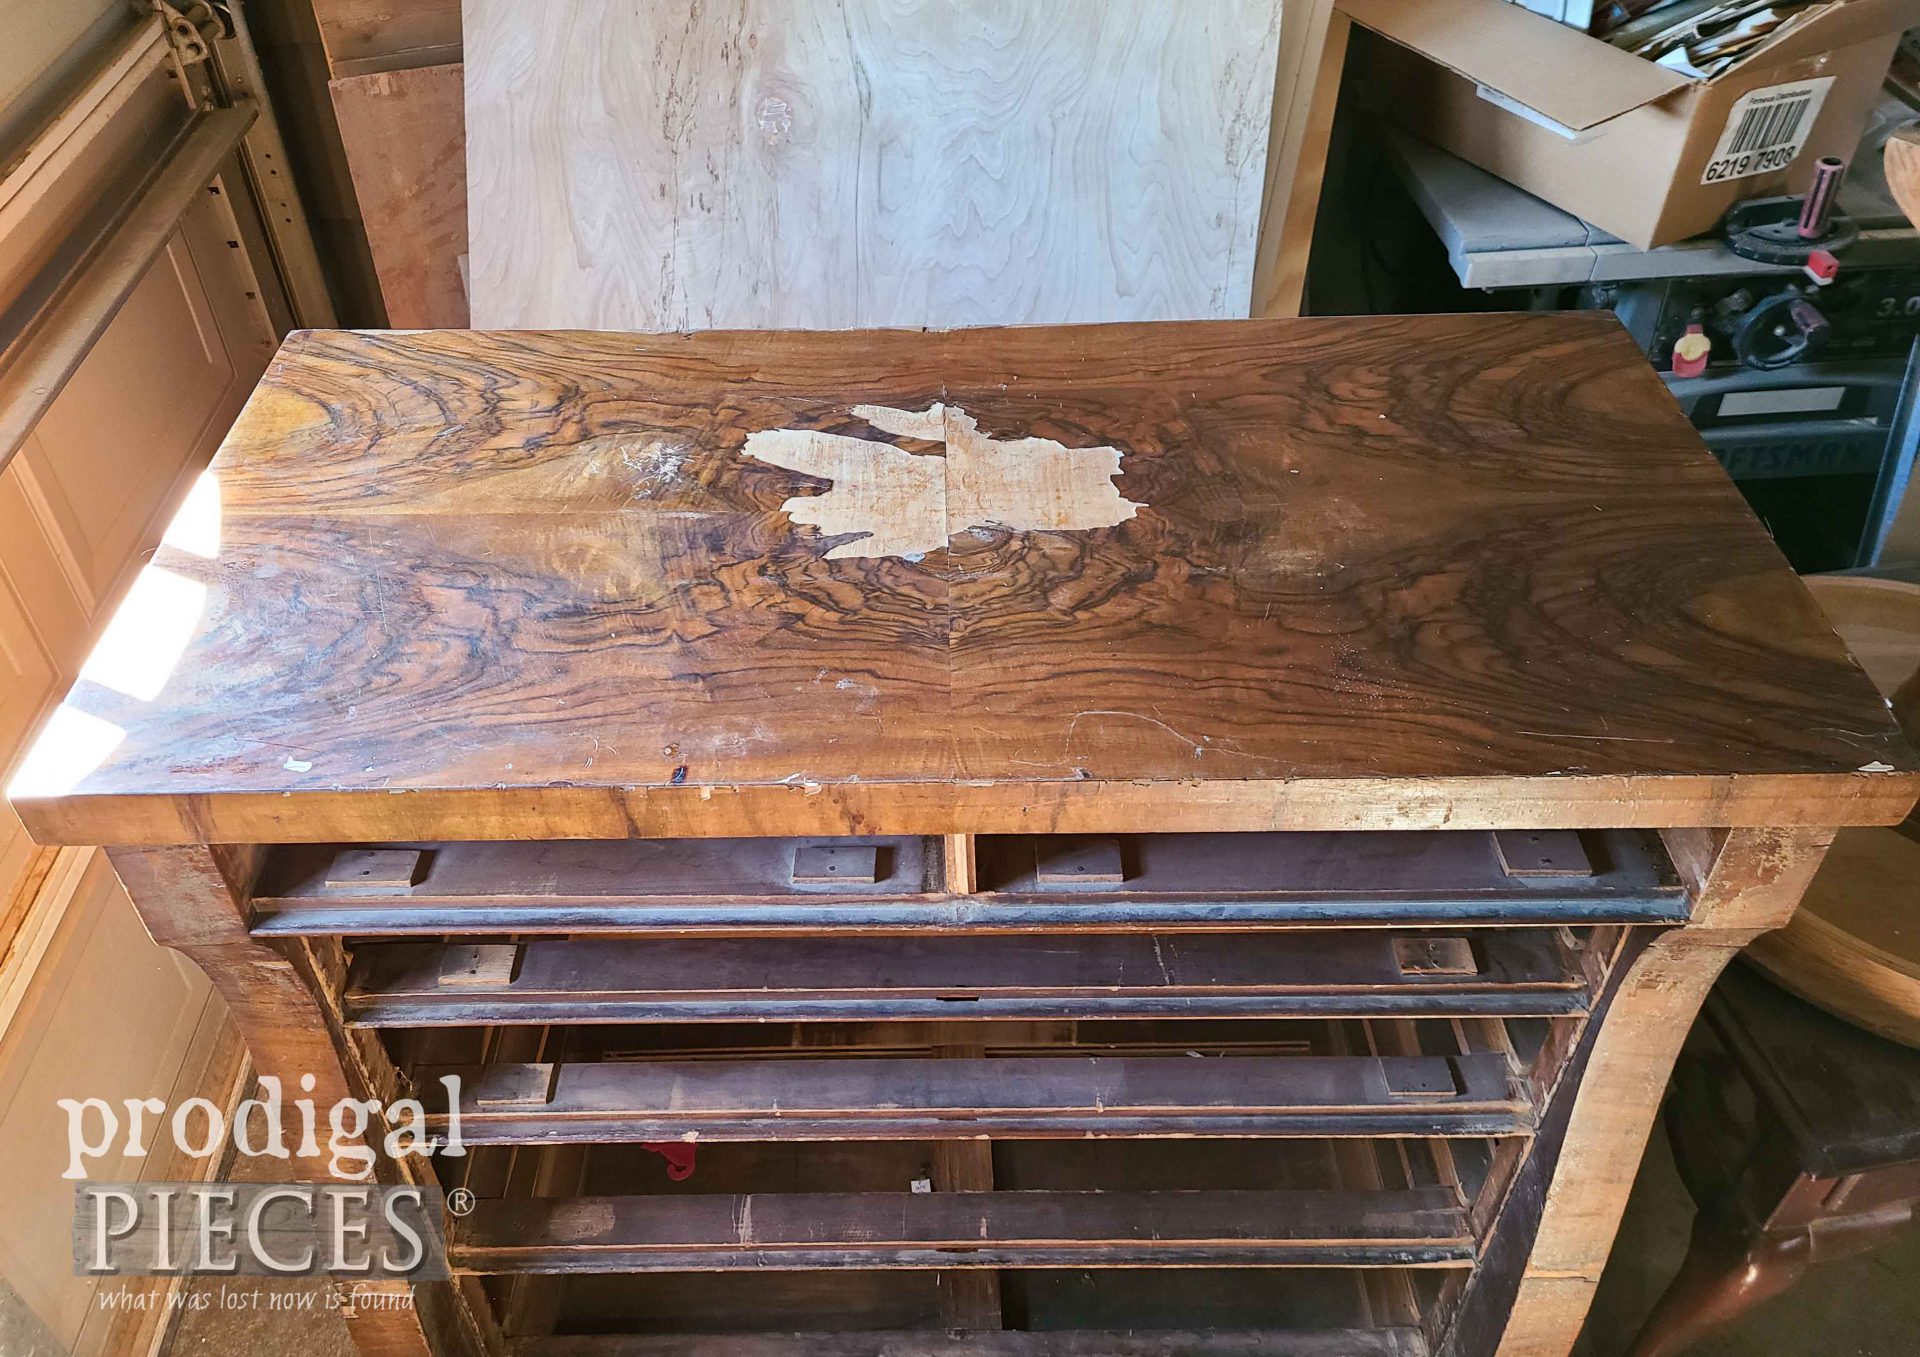 That's what led me to cut off the entire top and build the bench from the base. And, because I'm a waste not want not kinda gal, the rest of the chest needs a new life too.
DIY TIME
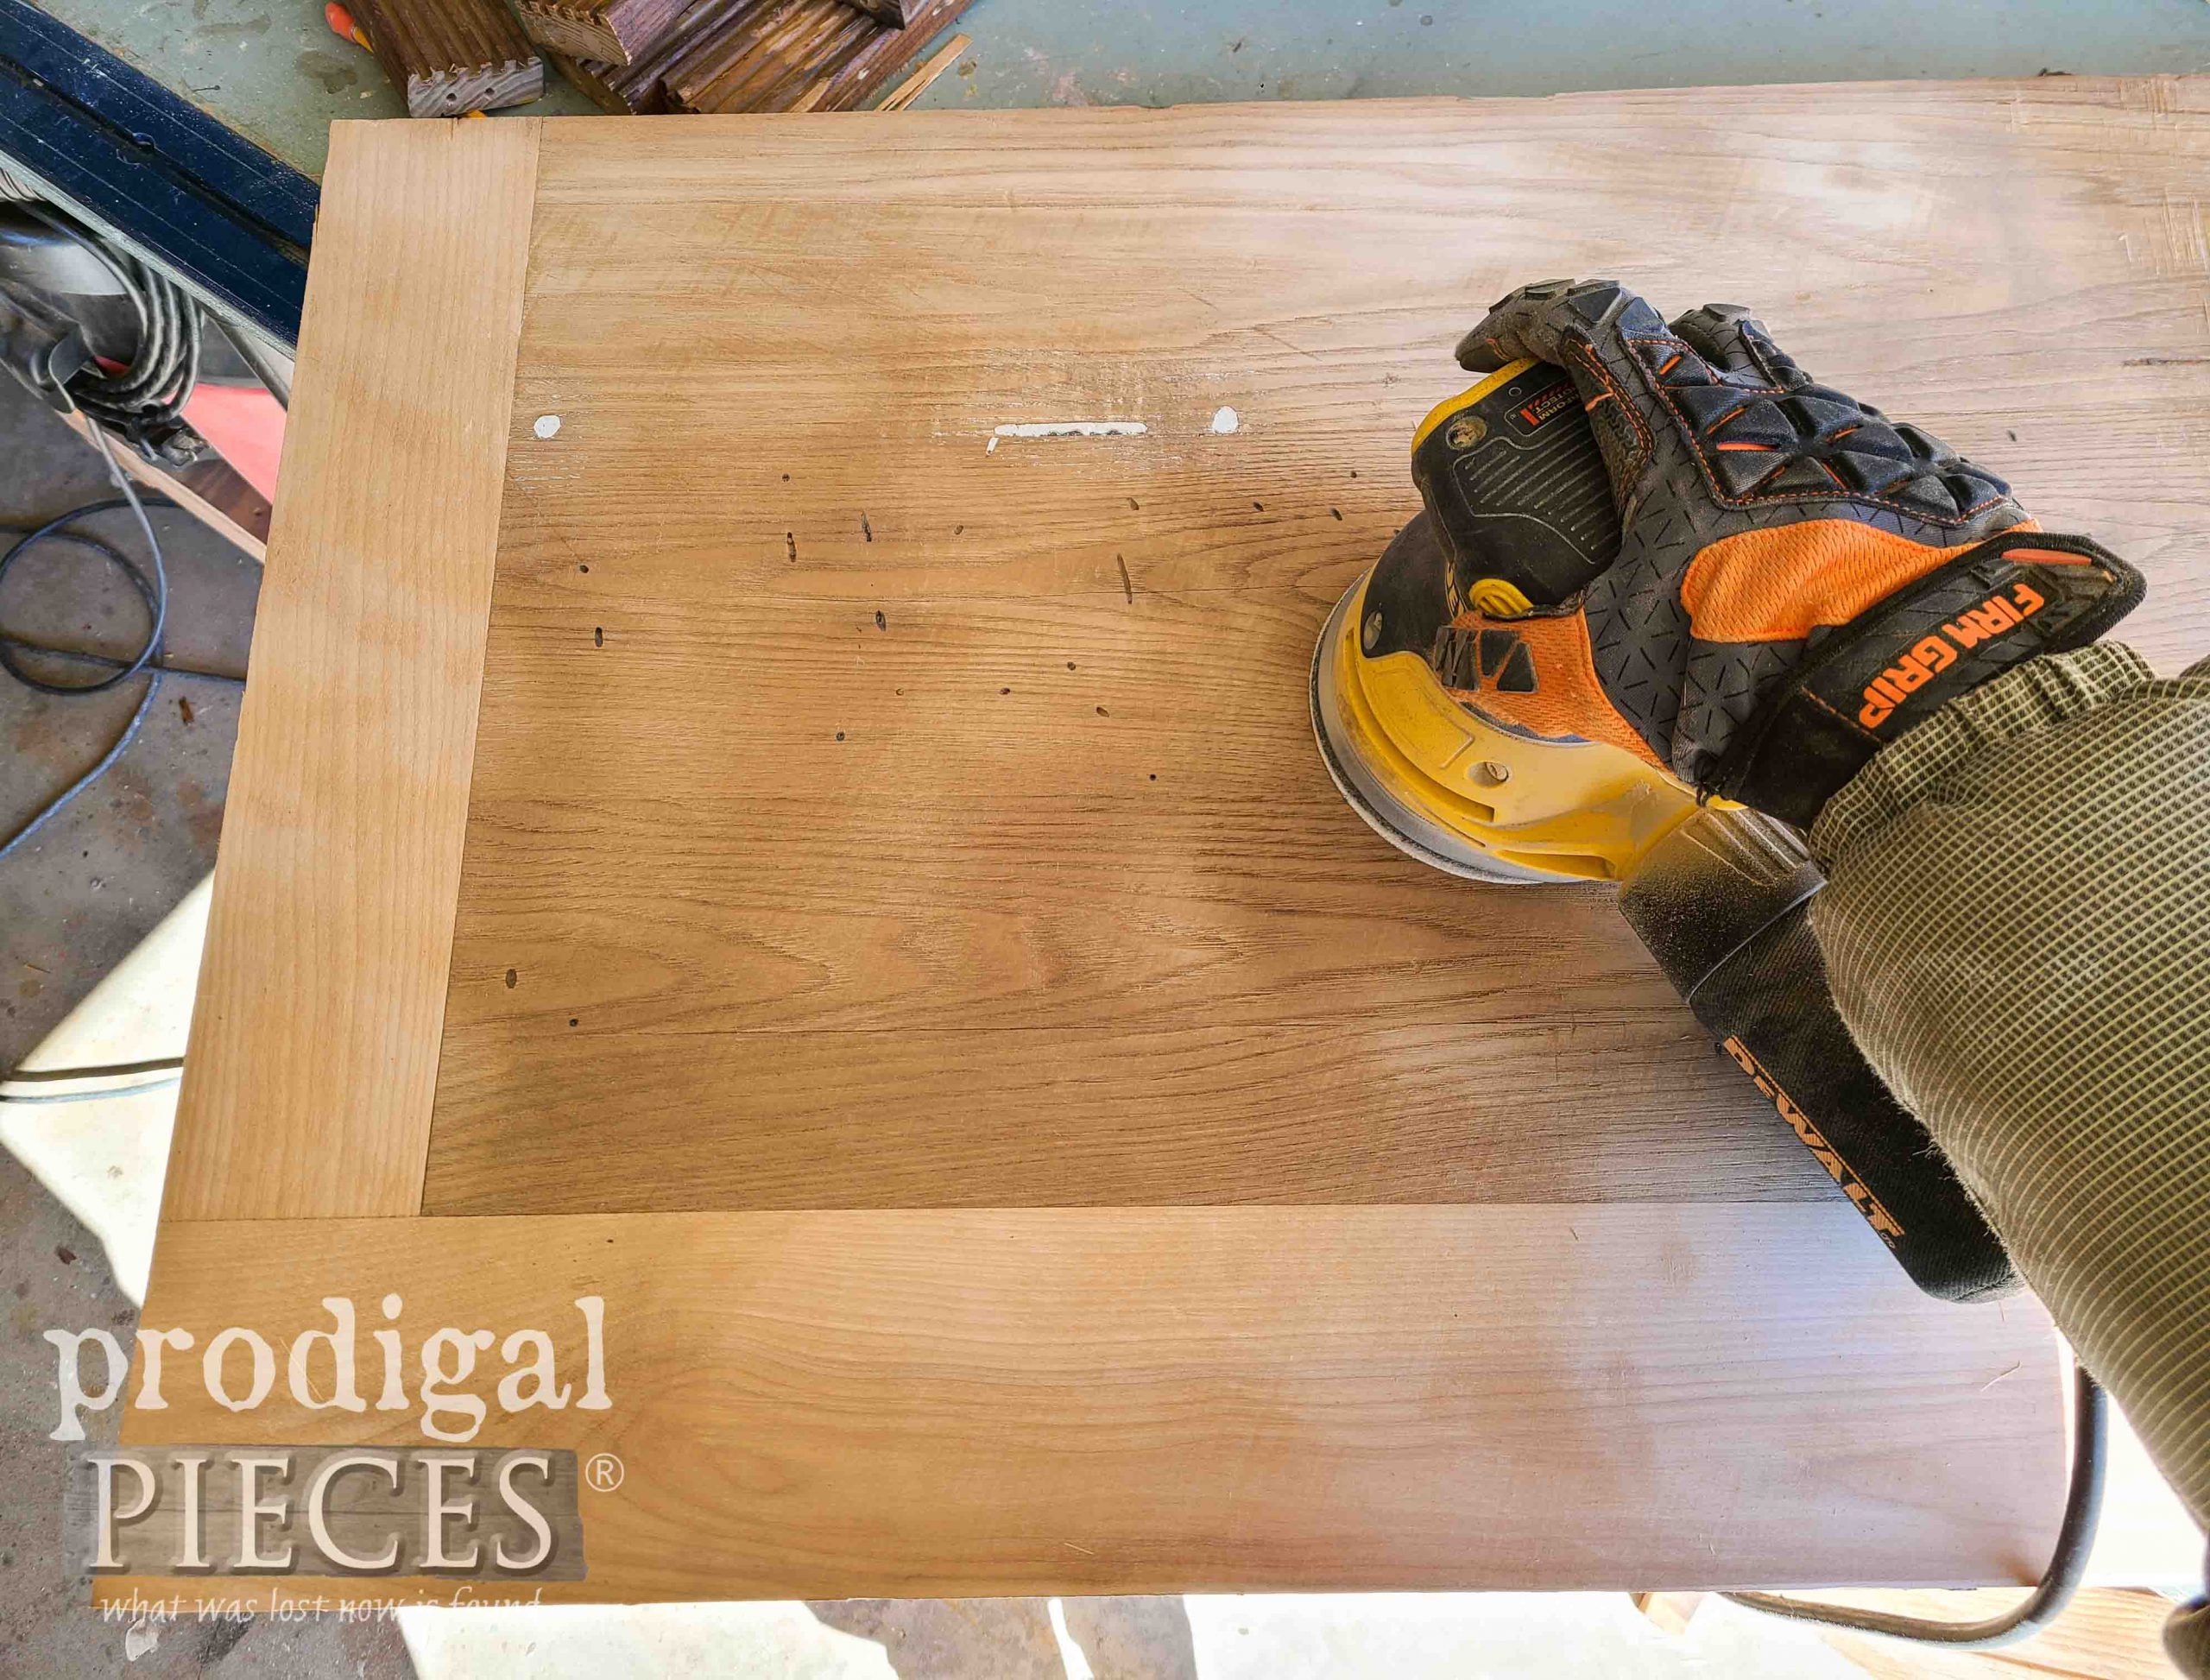
First, I remove the two thick layers of veneer. In addition, you can see what I've done to remove veneer in past posts with my towel soak method. However, this time, it is coming off easy enough I don't need to use it.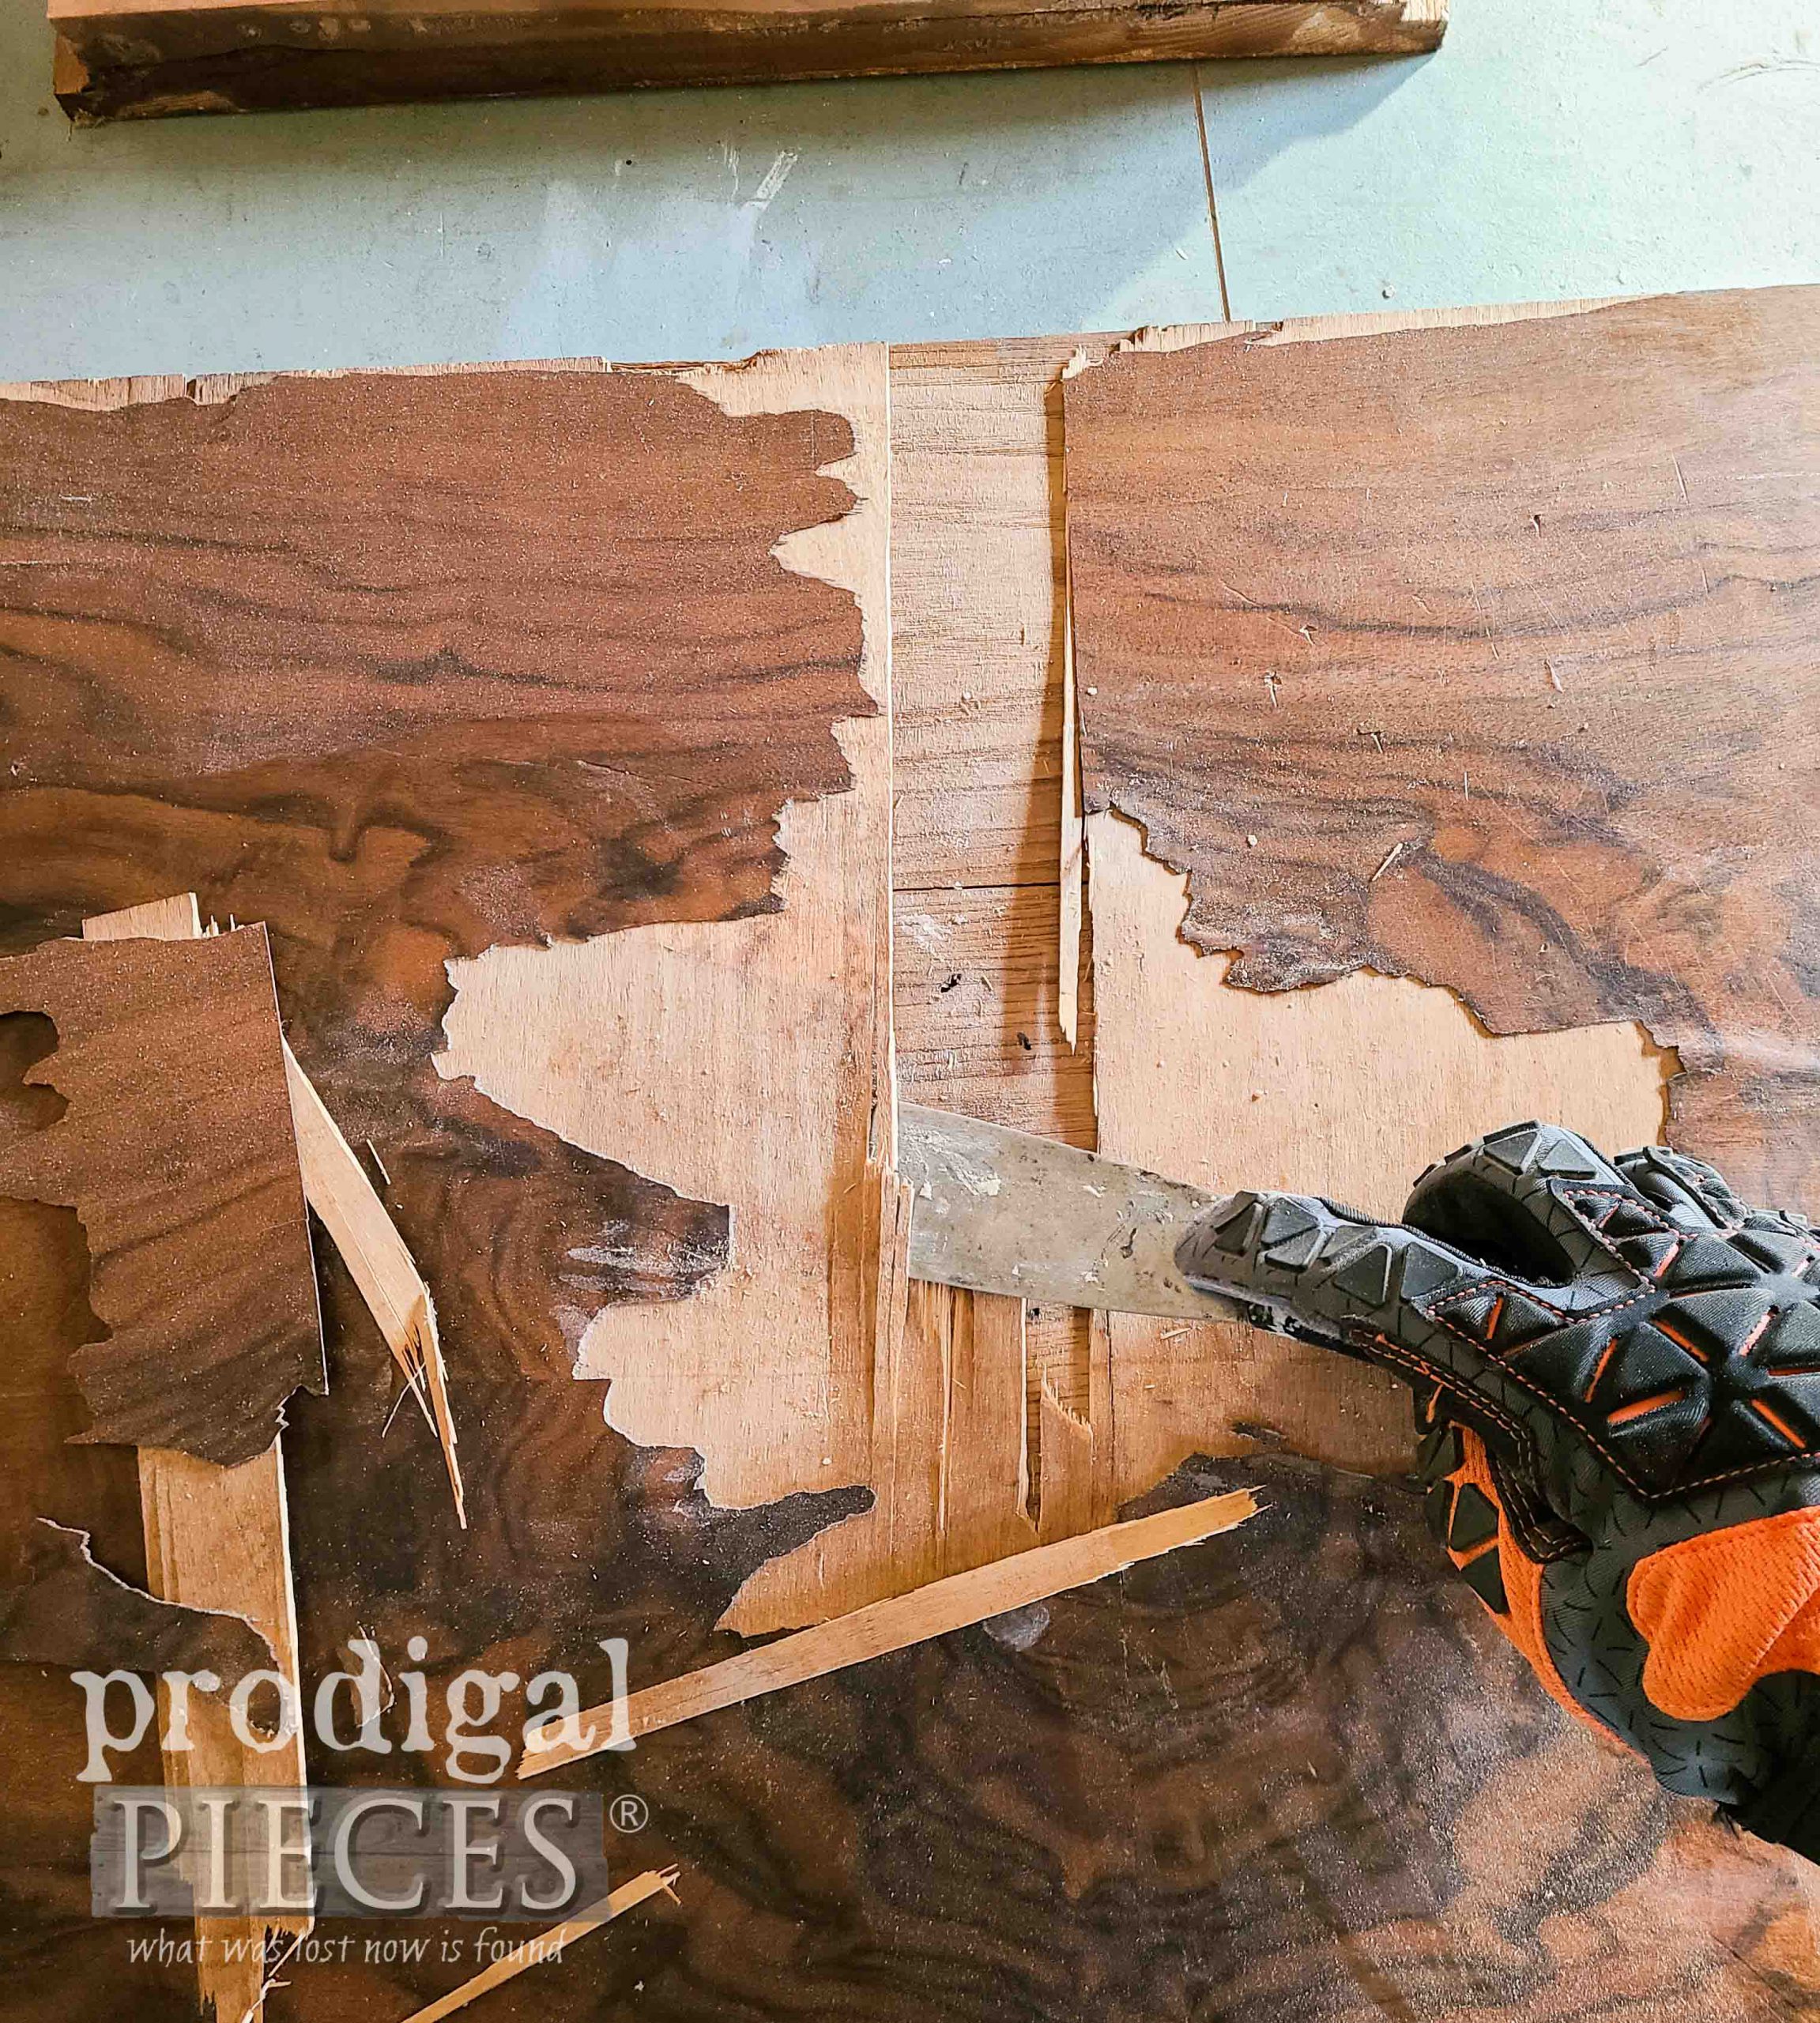 Underneath it is looking pretty good once I hit it with my sander.
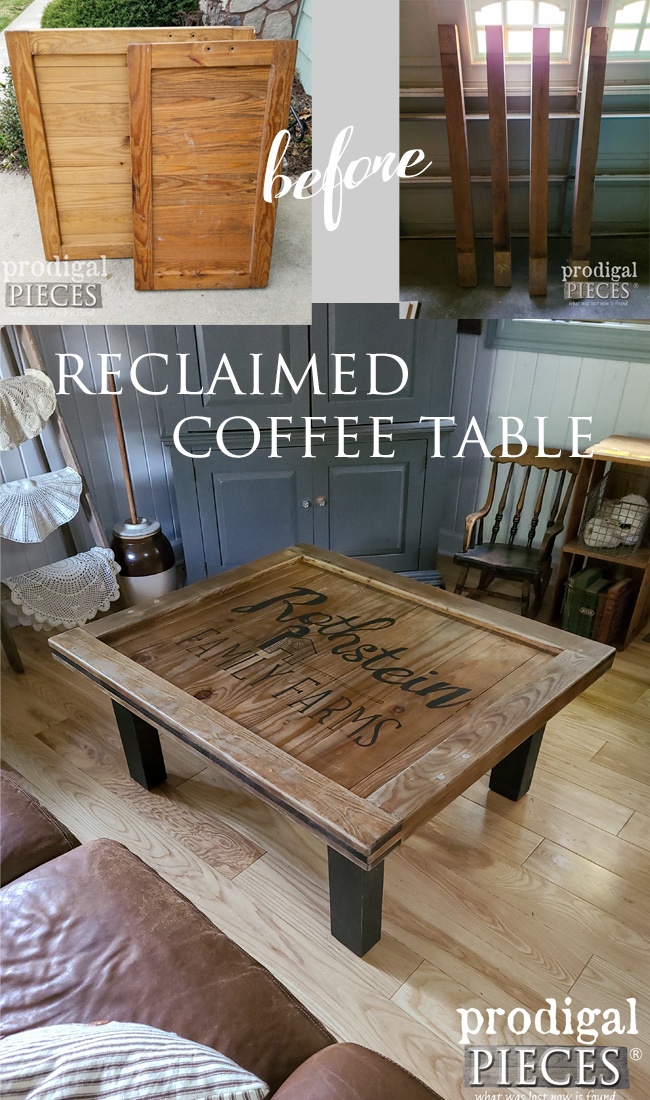
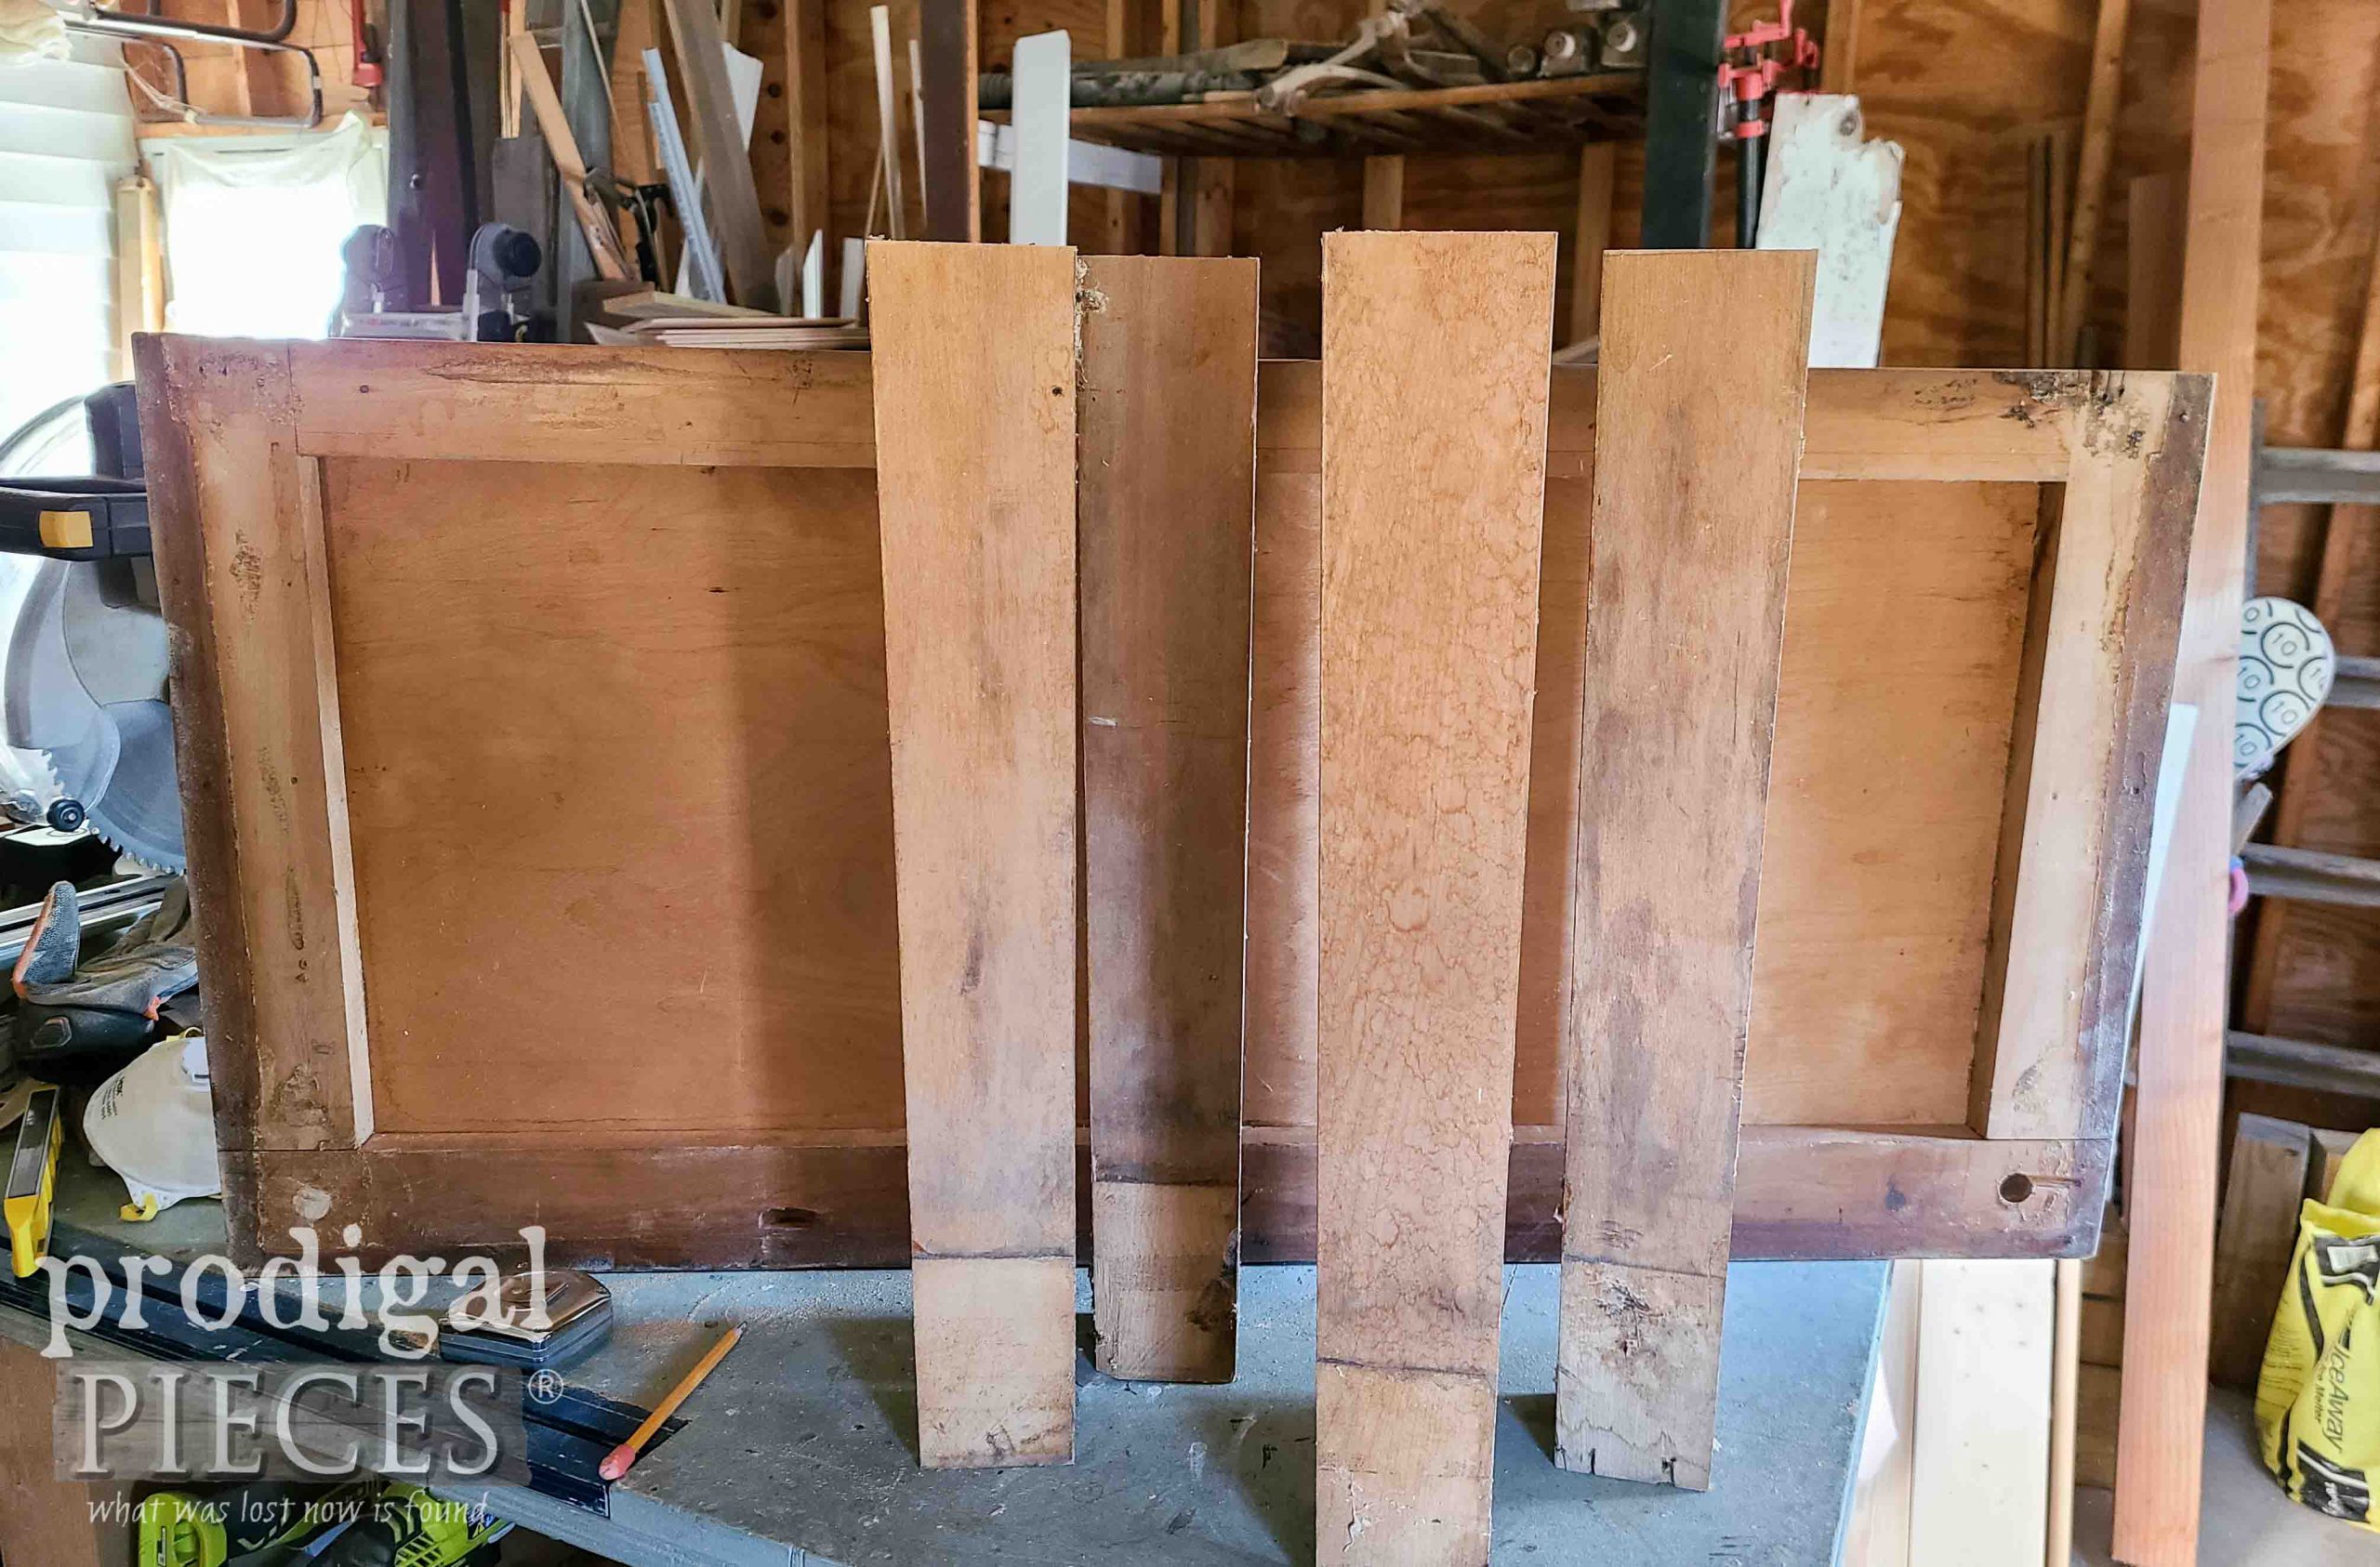
 Next, it's time to dig into my stash. If you've been around for a couple months, you can see how I took some curbside finds and made two coffee tables. In order to make those tables I used parts of a beaten up upright grand piano. The scraps are going to help me finish this project off right. Just look at those oak beauties! Too good trash.
NEXT STEPS
Oh, and Lily is here to supervise. What a hoot!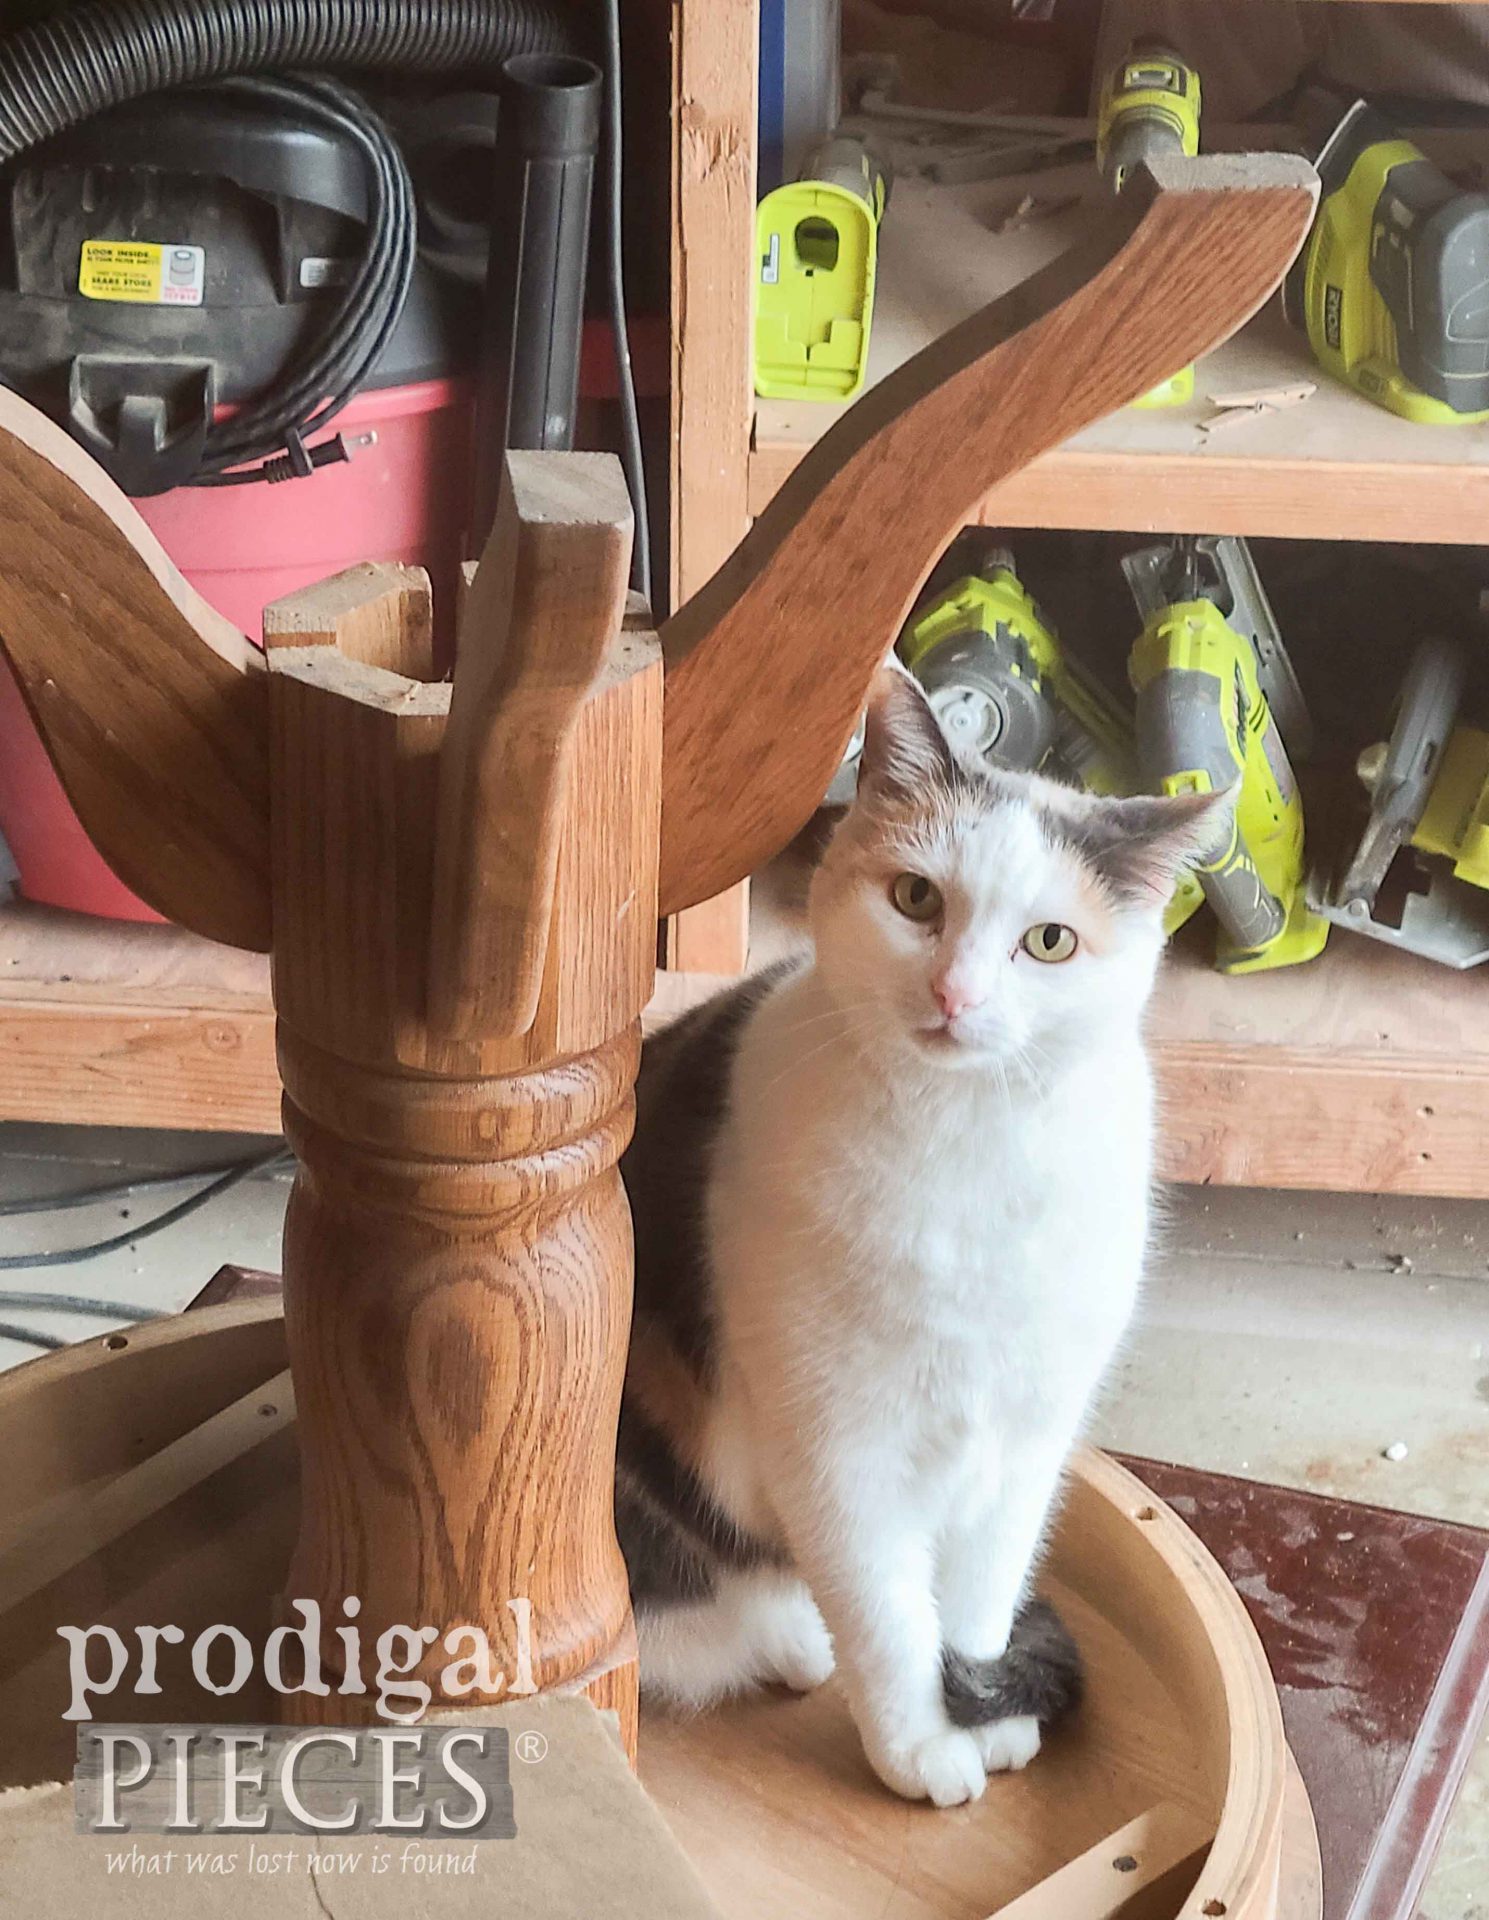 Last, but not least, I'm making use of the drawers. After a few whacks of a hammer, the fronts are ready for a chop. Don't worry I plan to make use of every bit of them.
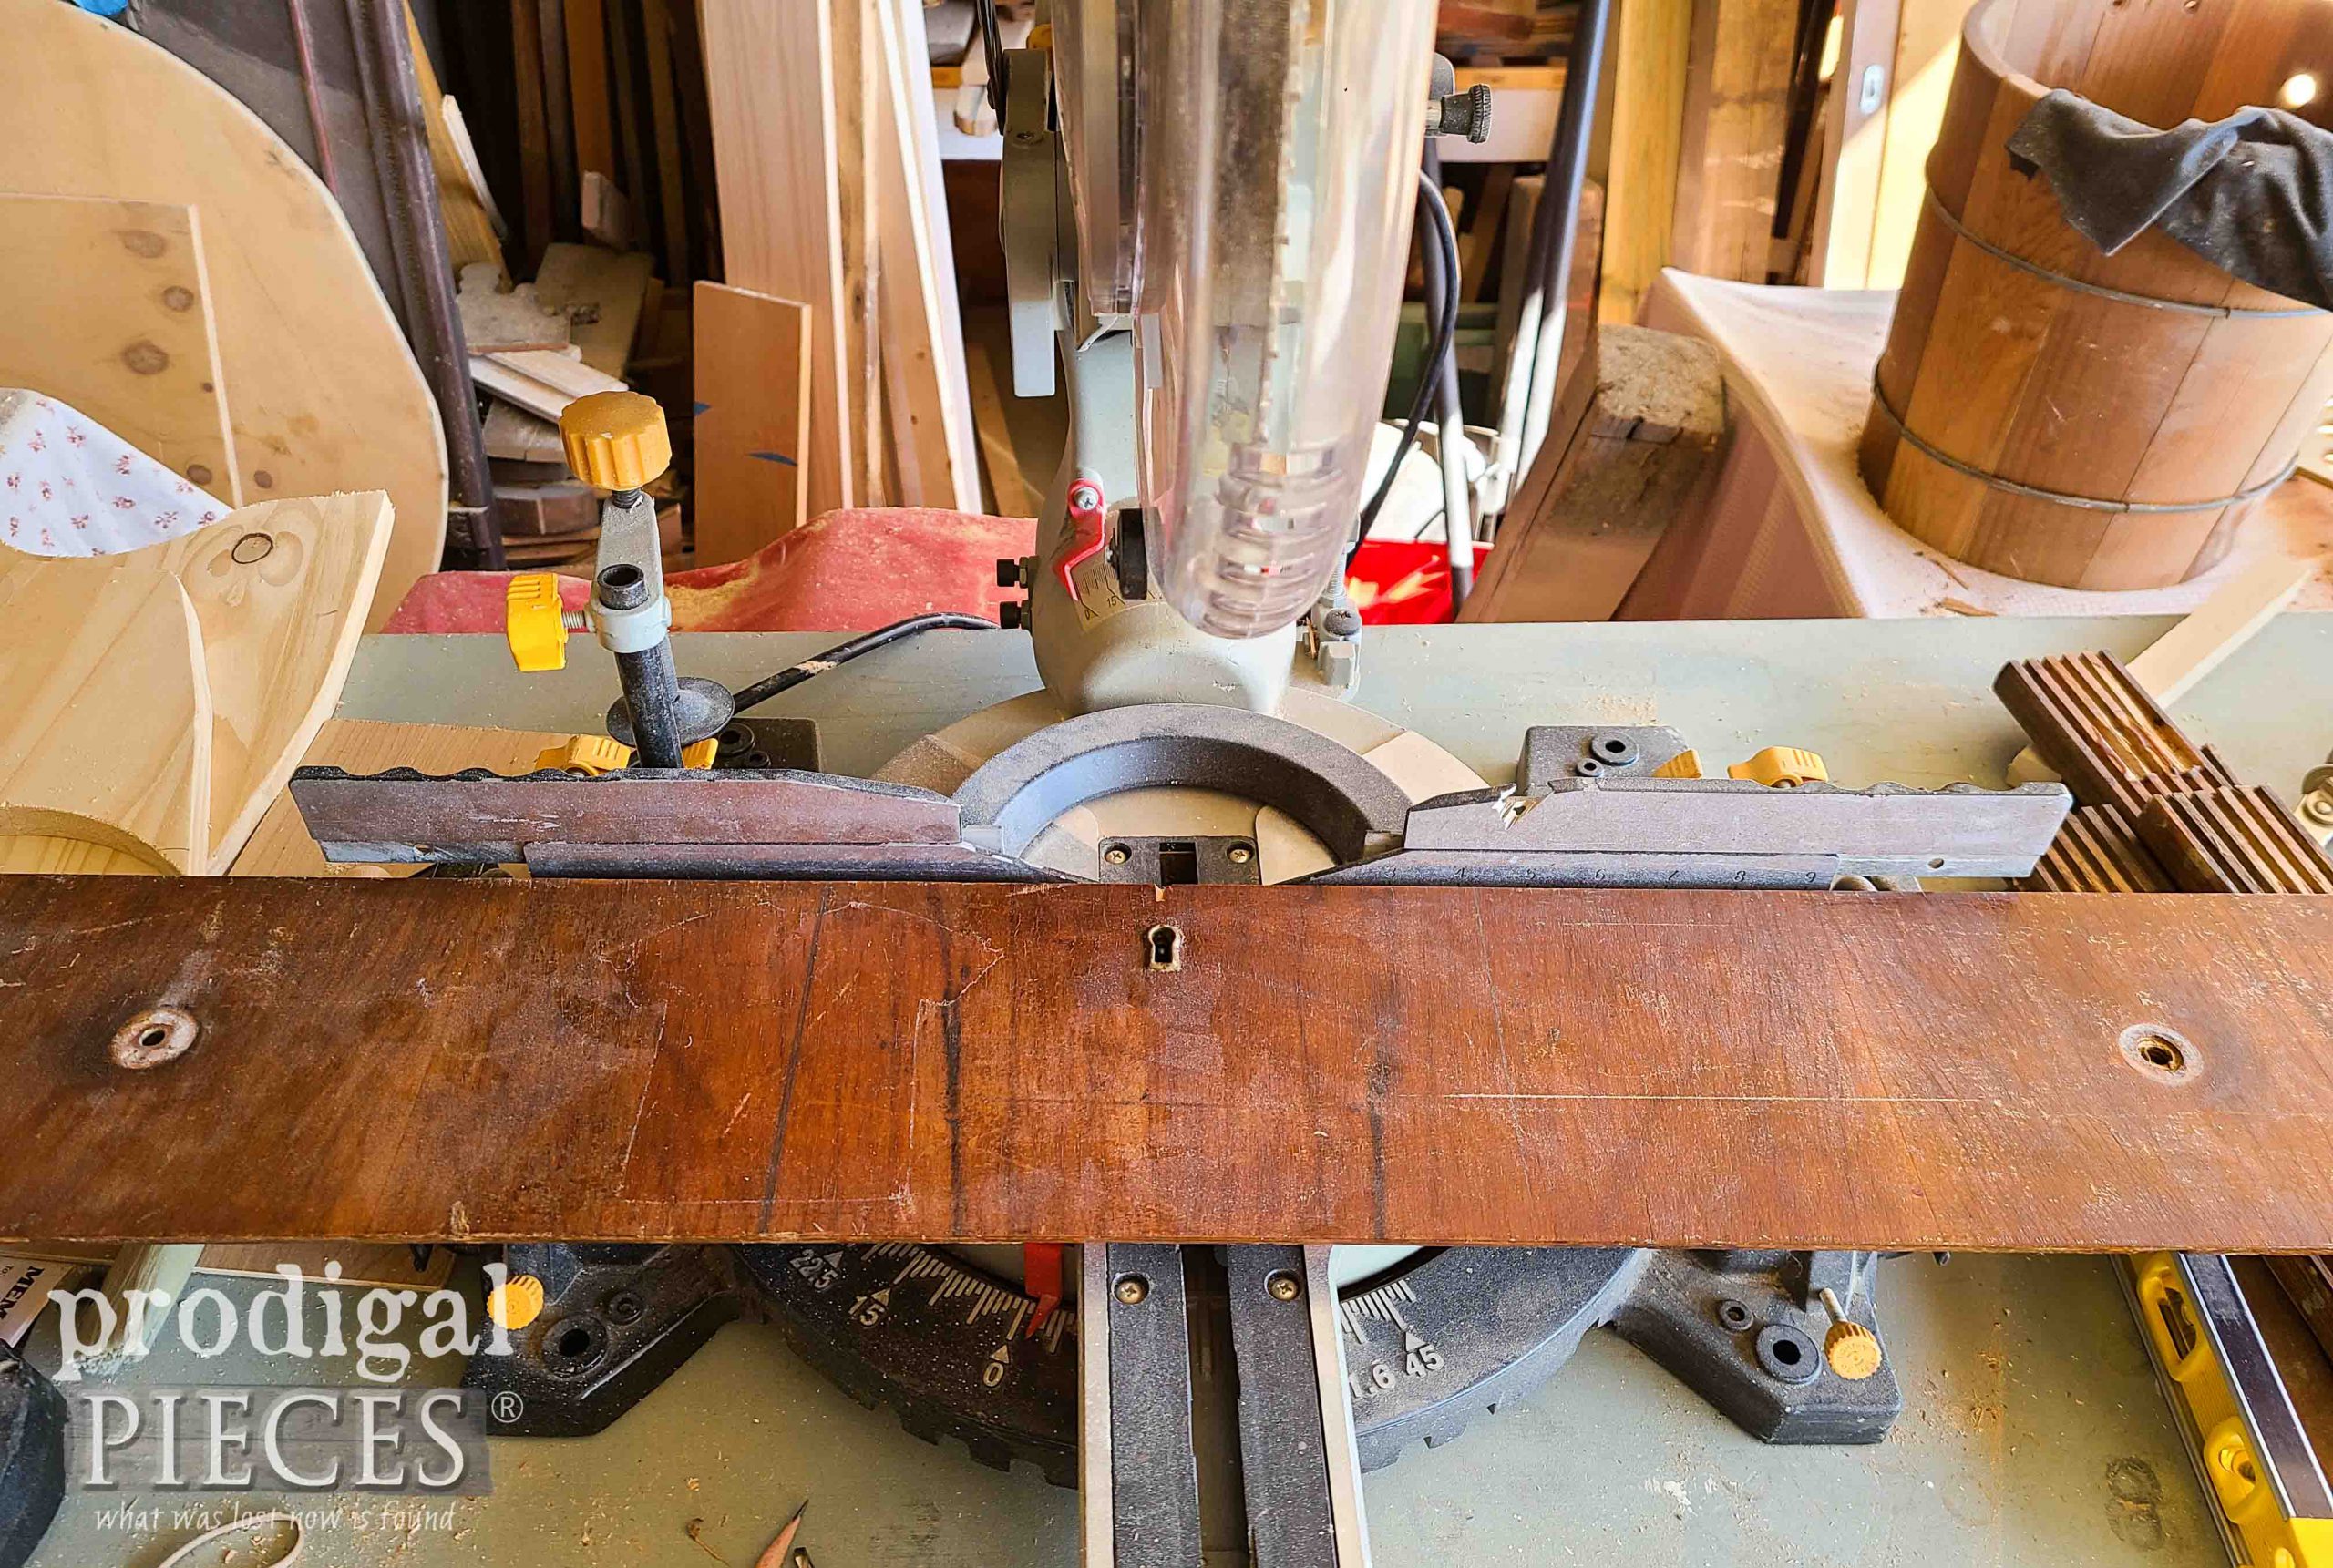 I cut the fronts to length and then use my pocket jig to make joints so that I can use the fronts as the skirt of my reclaimed bench. Afterward, I use a reactive stain to give it a uniform color and a poly topcoat.
THE REVEAL
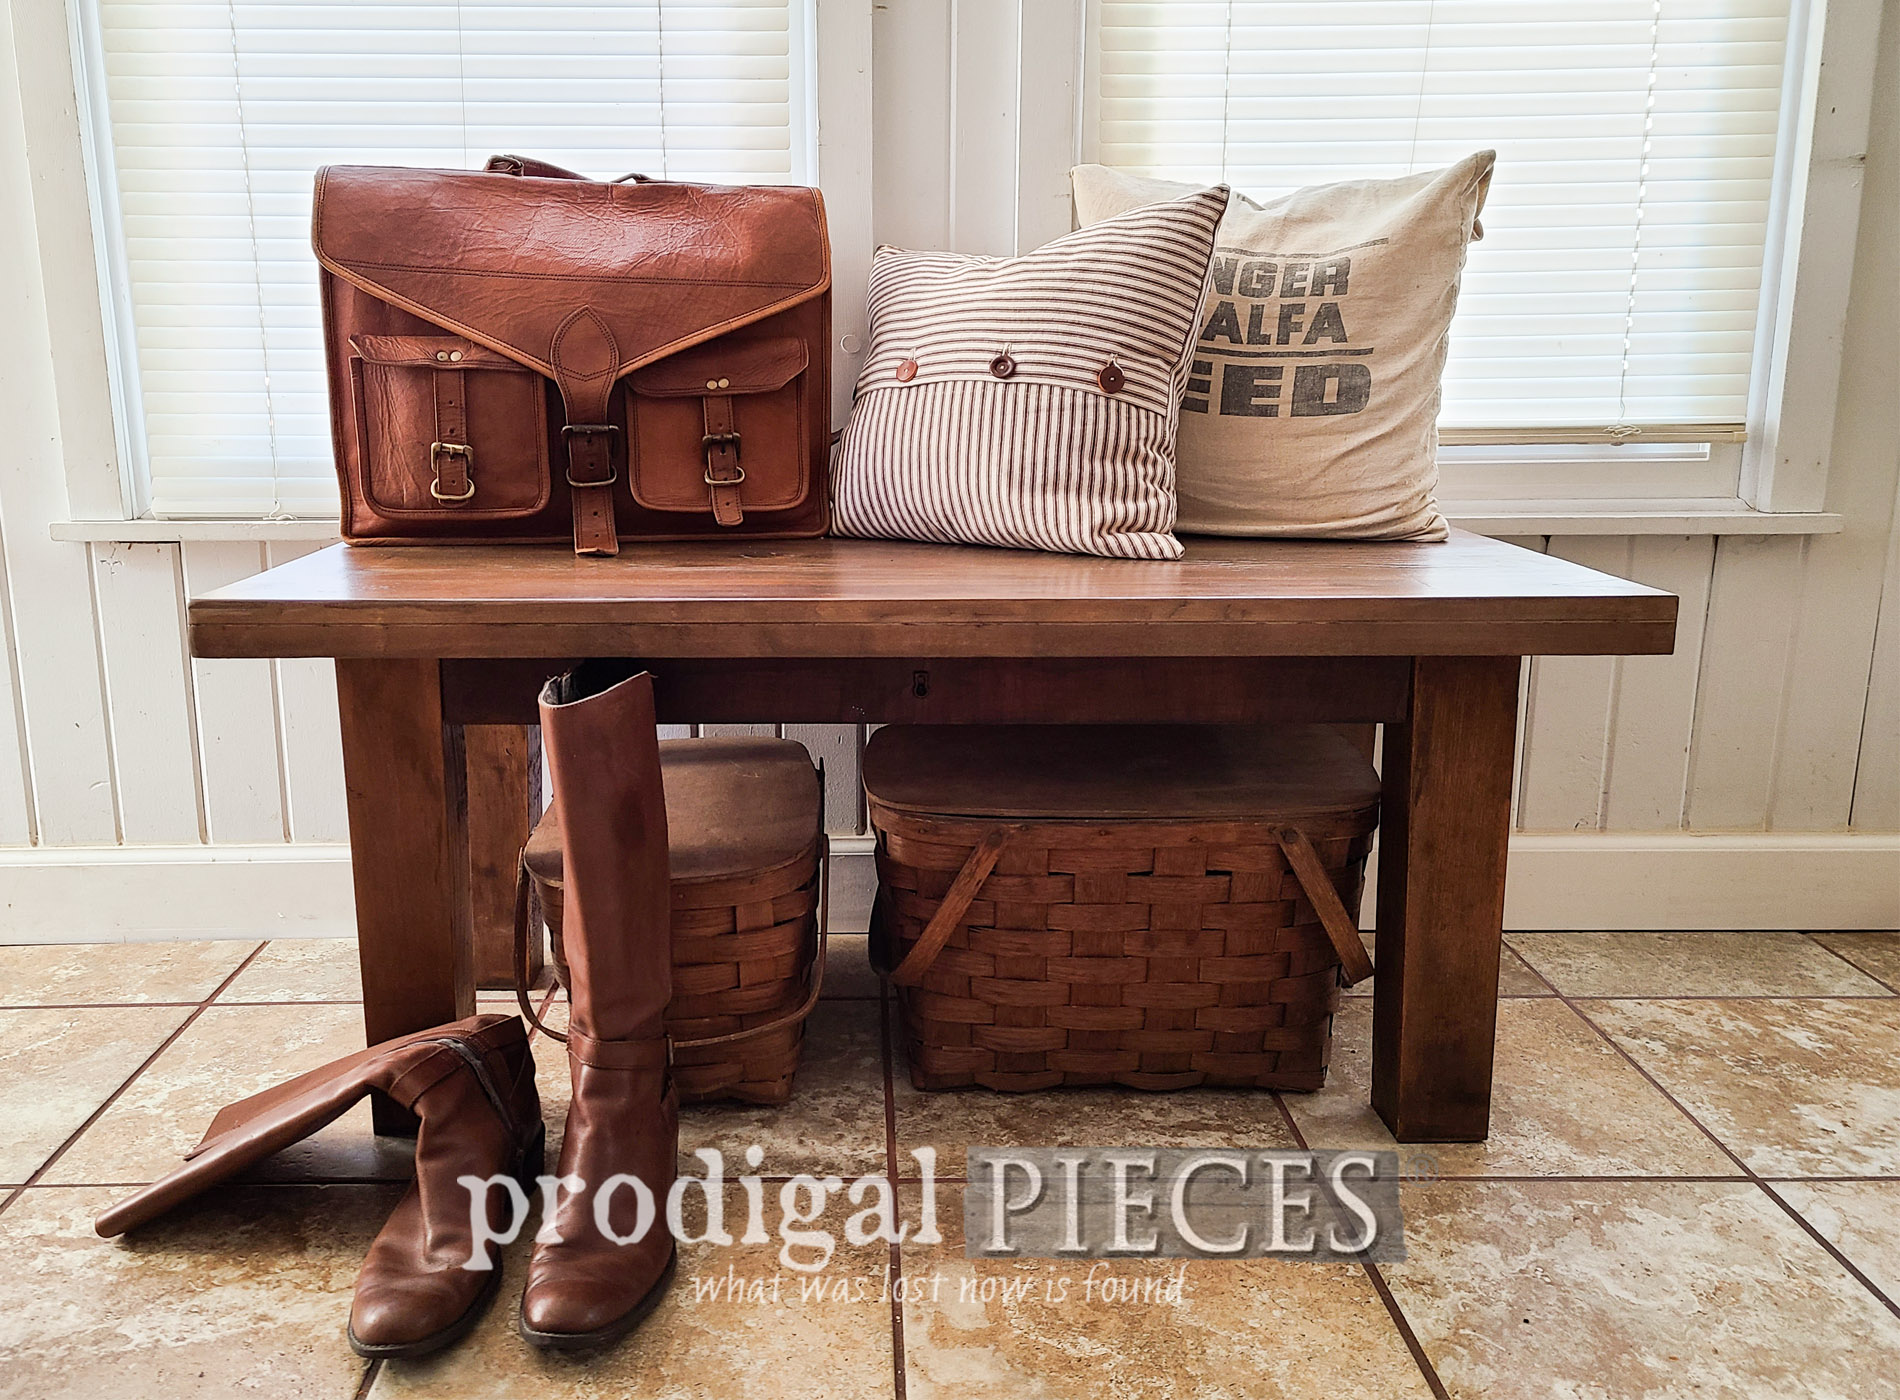
Finally, here's my reclaimed bench ready for a new lease on life.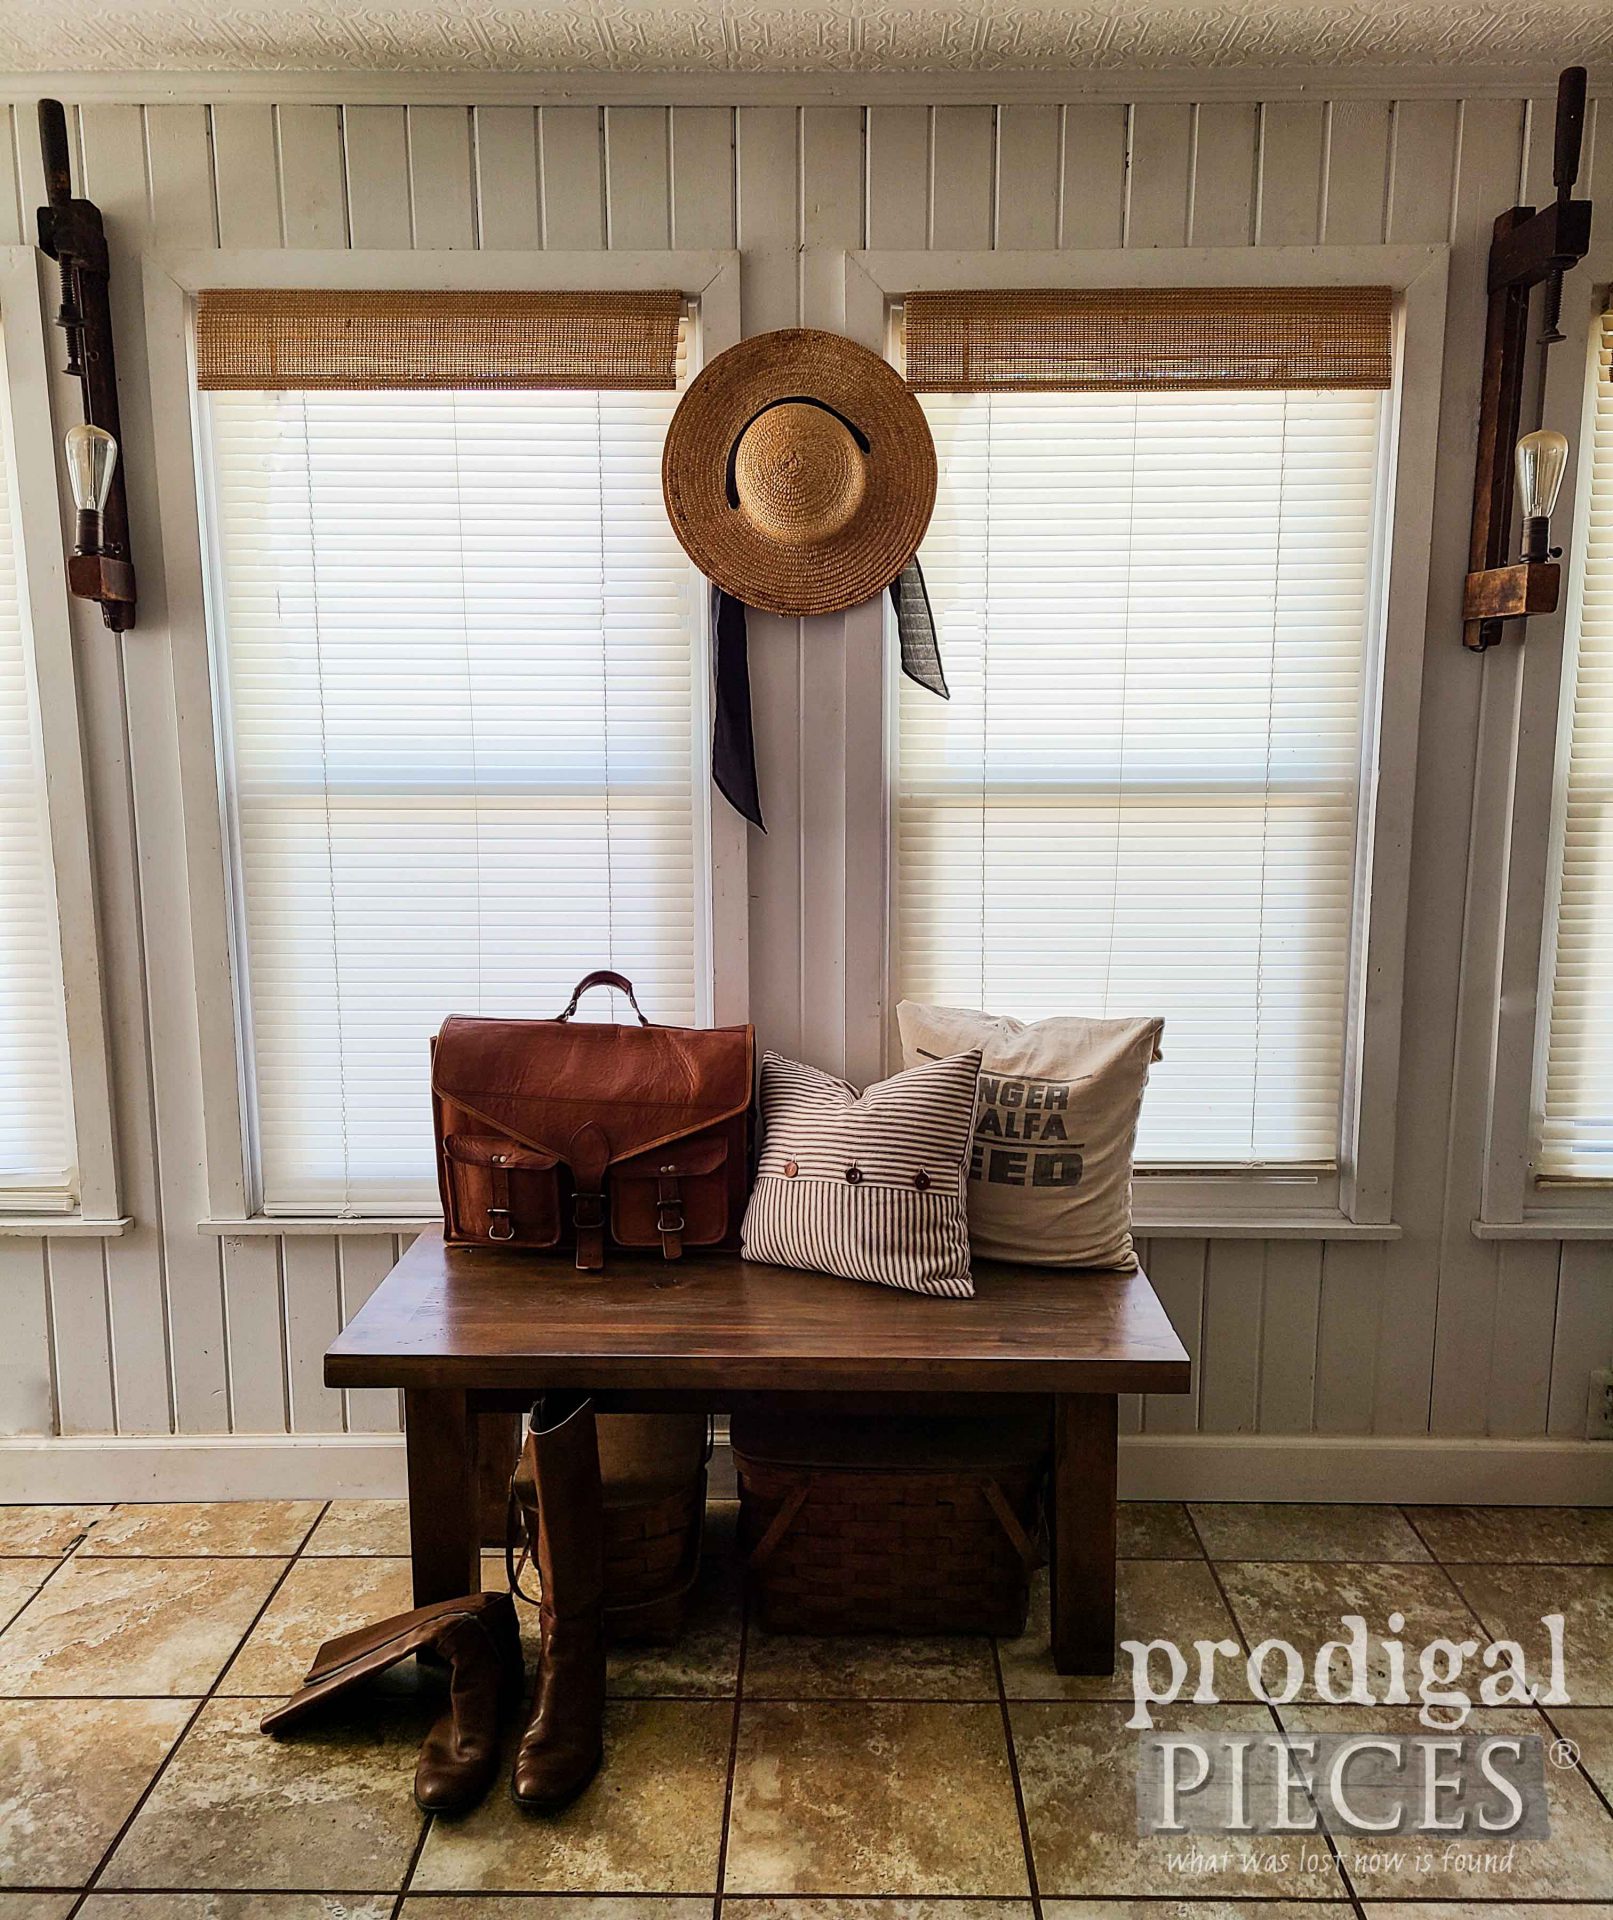
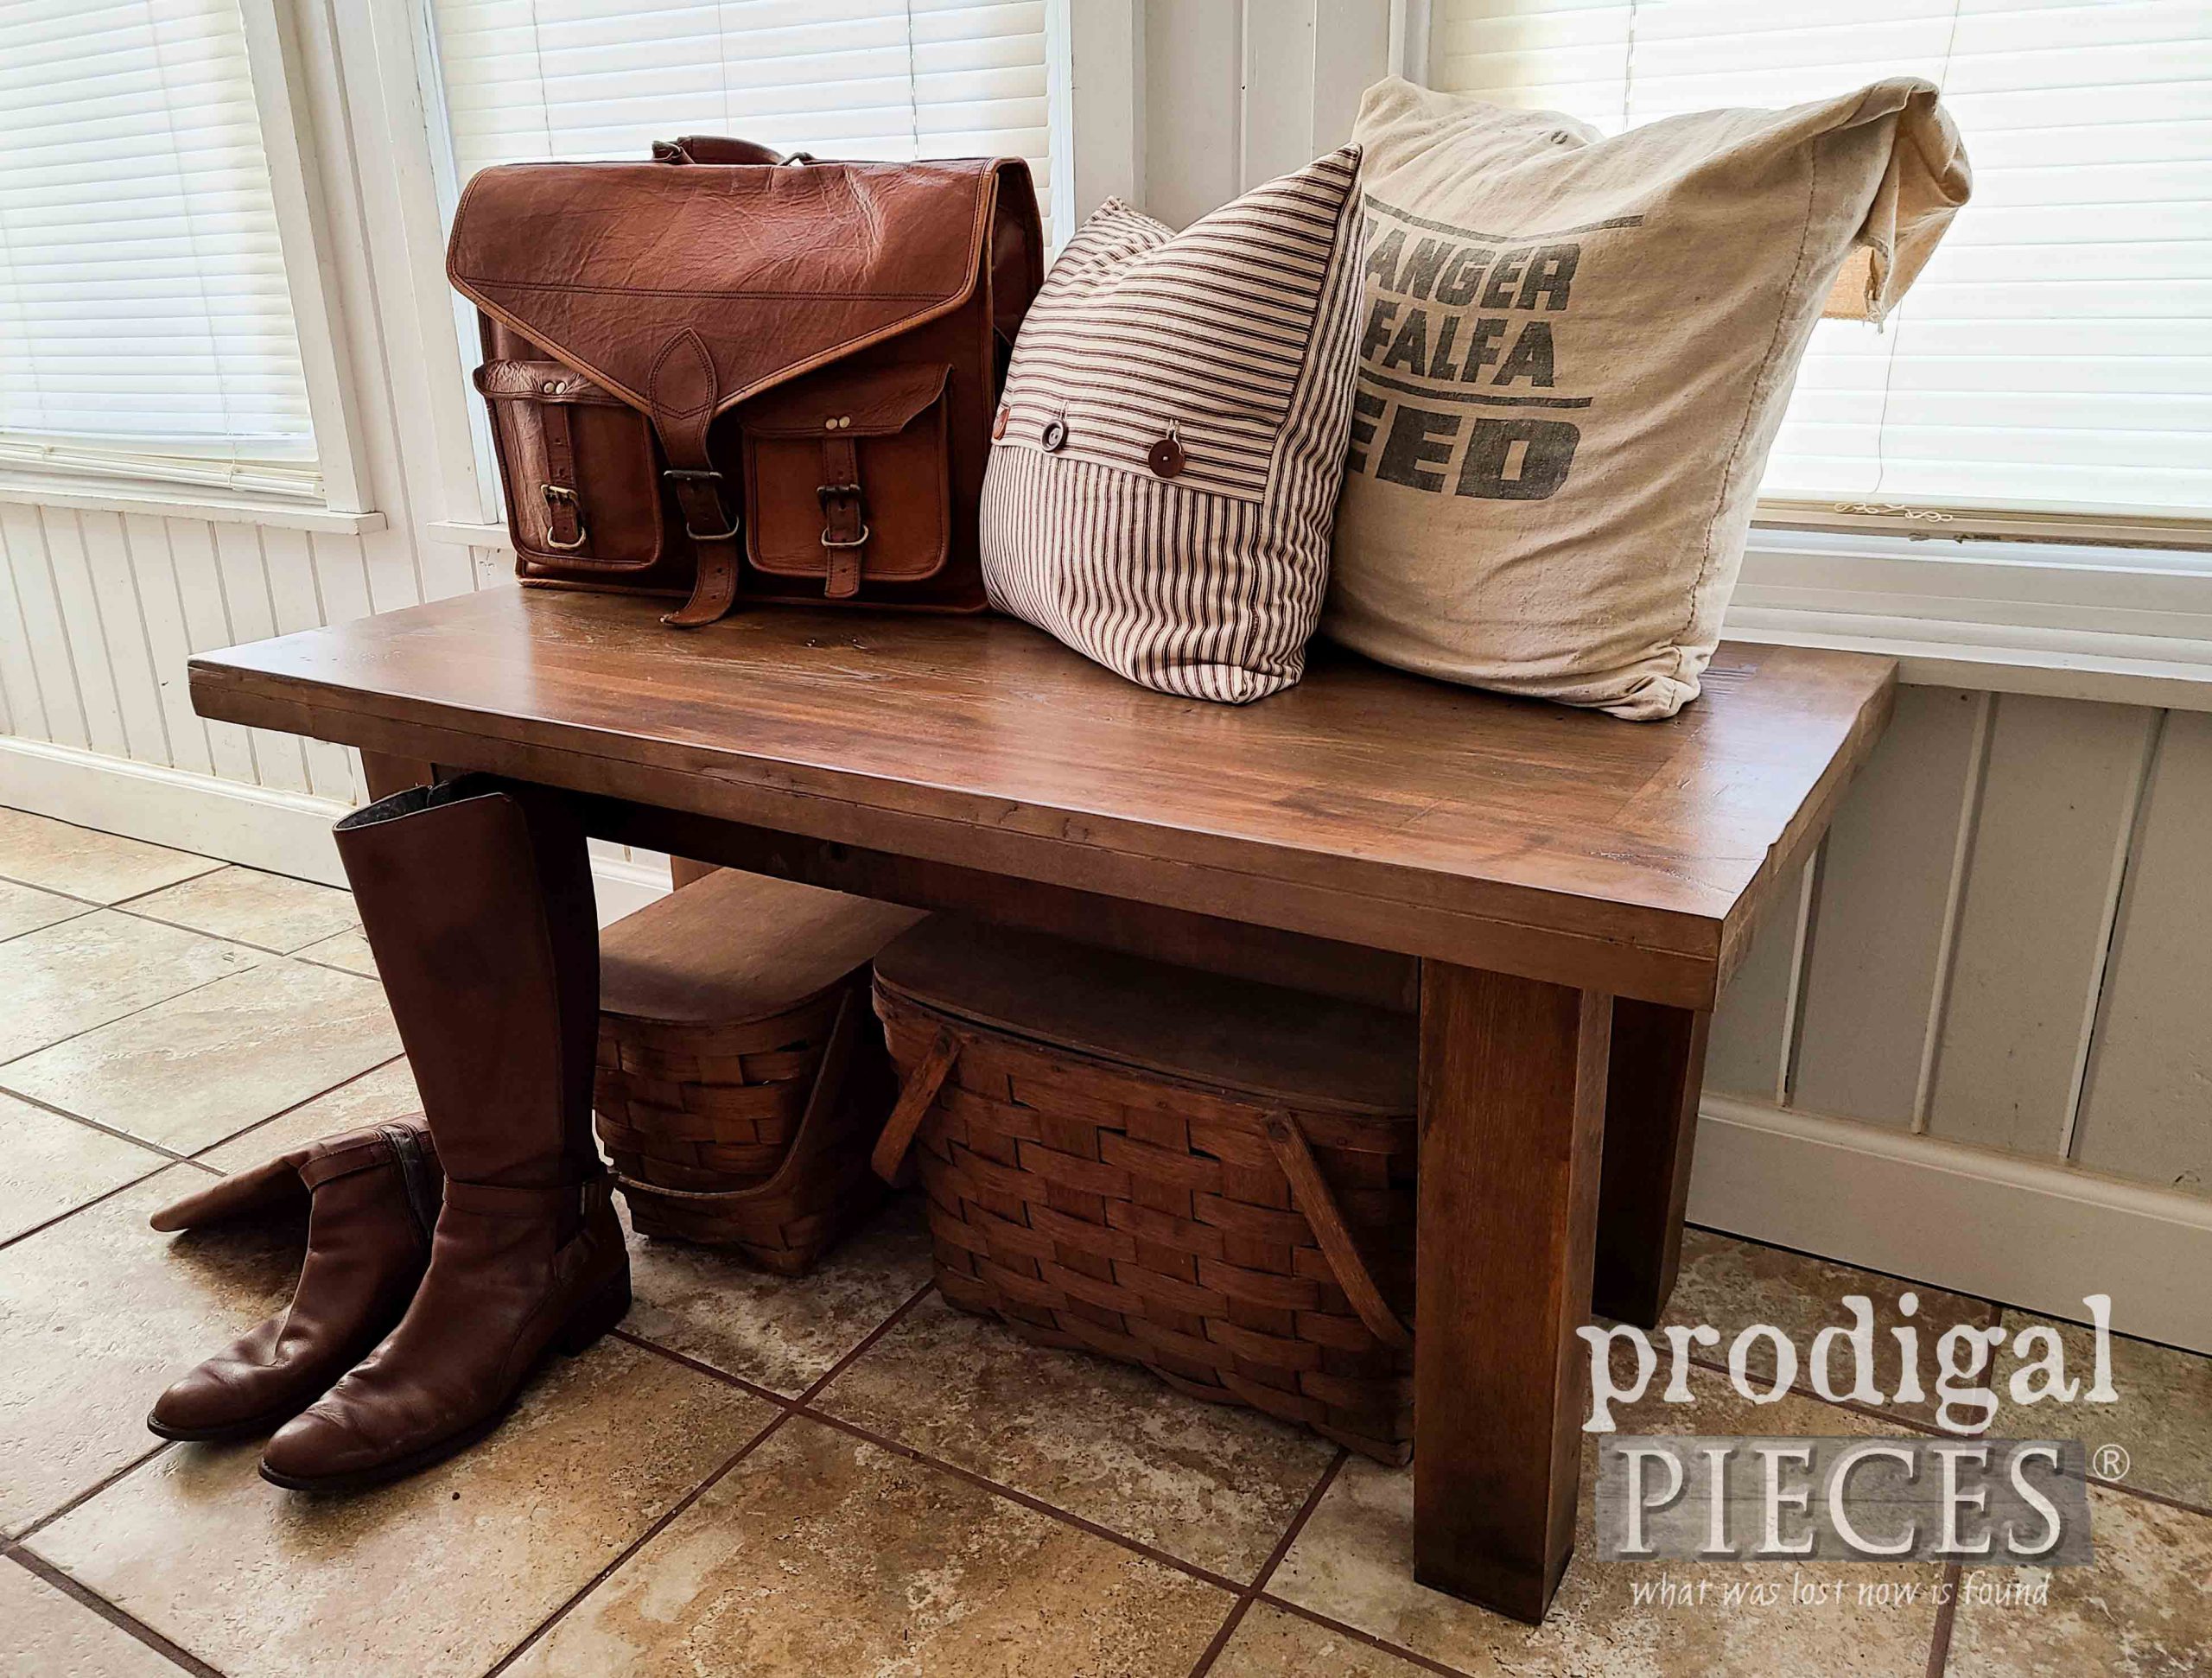 Indeed, I do believe I'm smitten. My favorite part...the skirt.
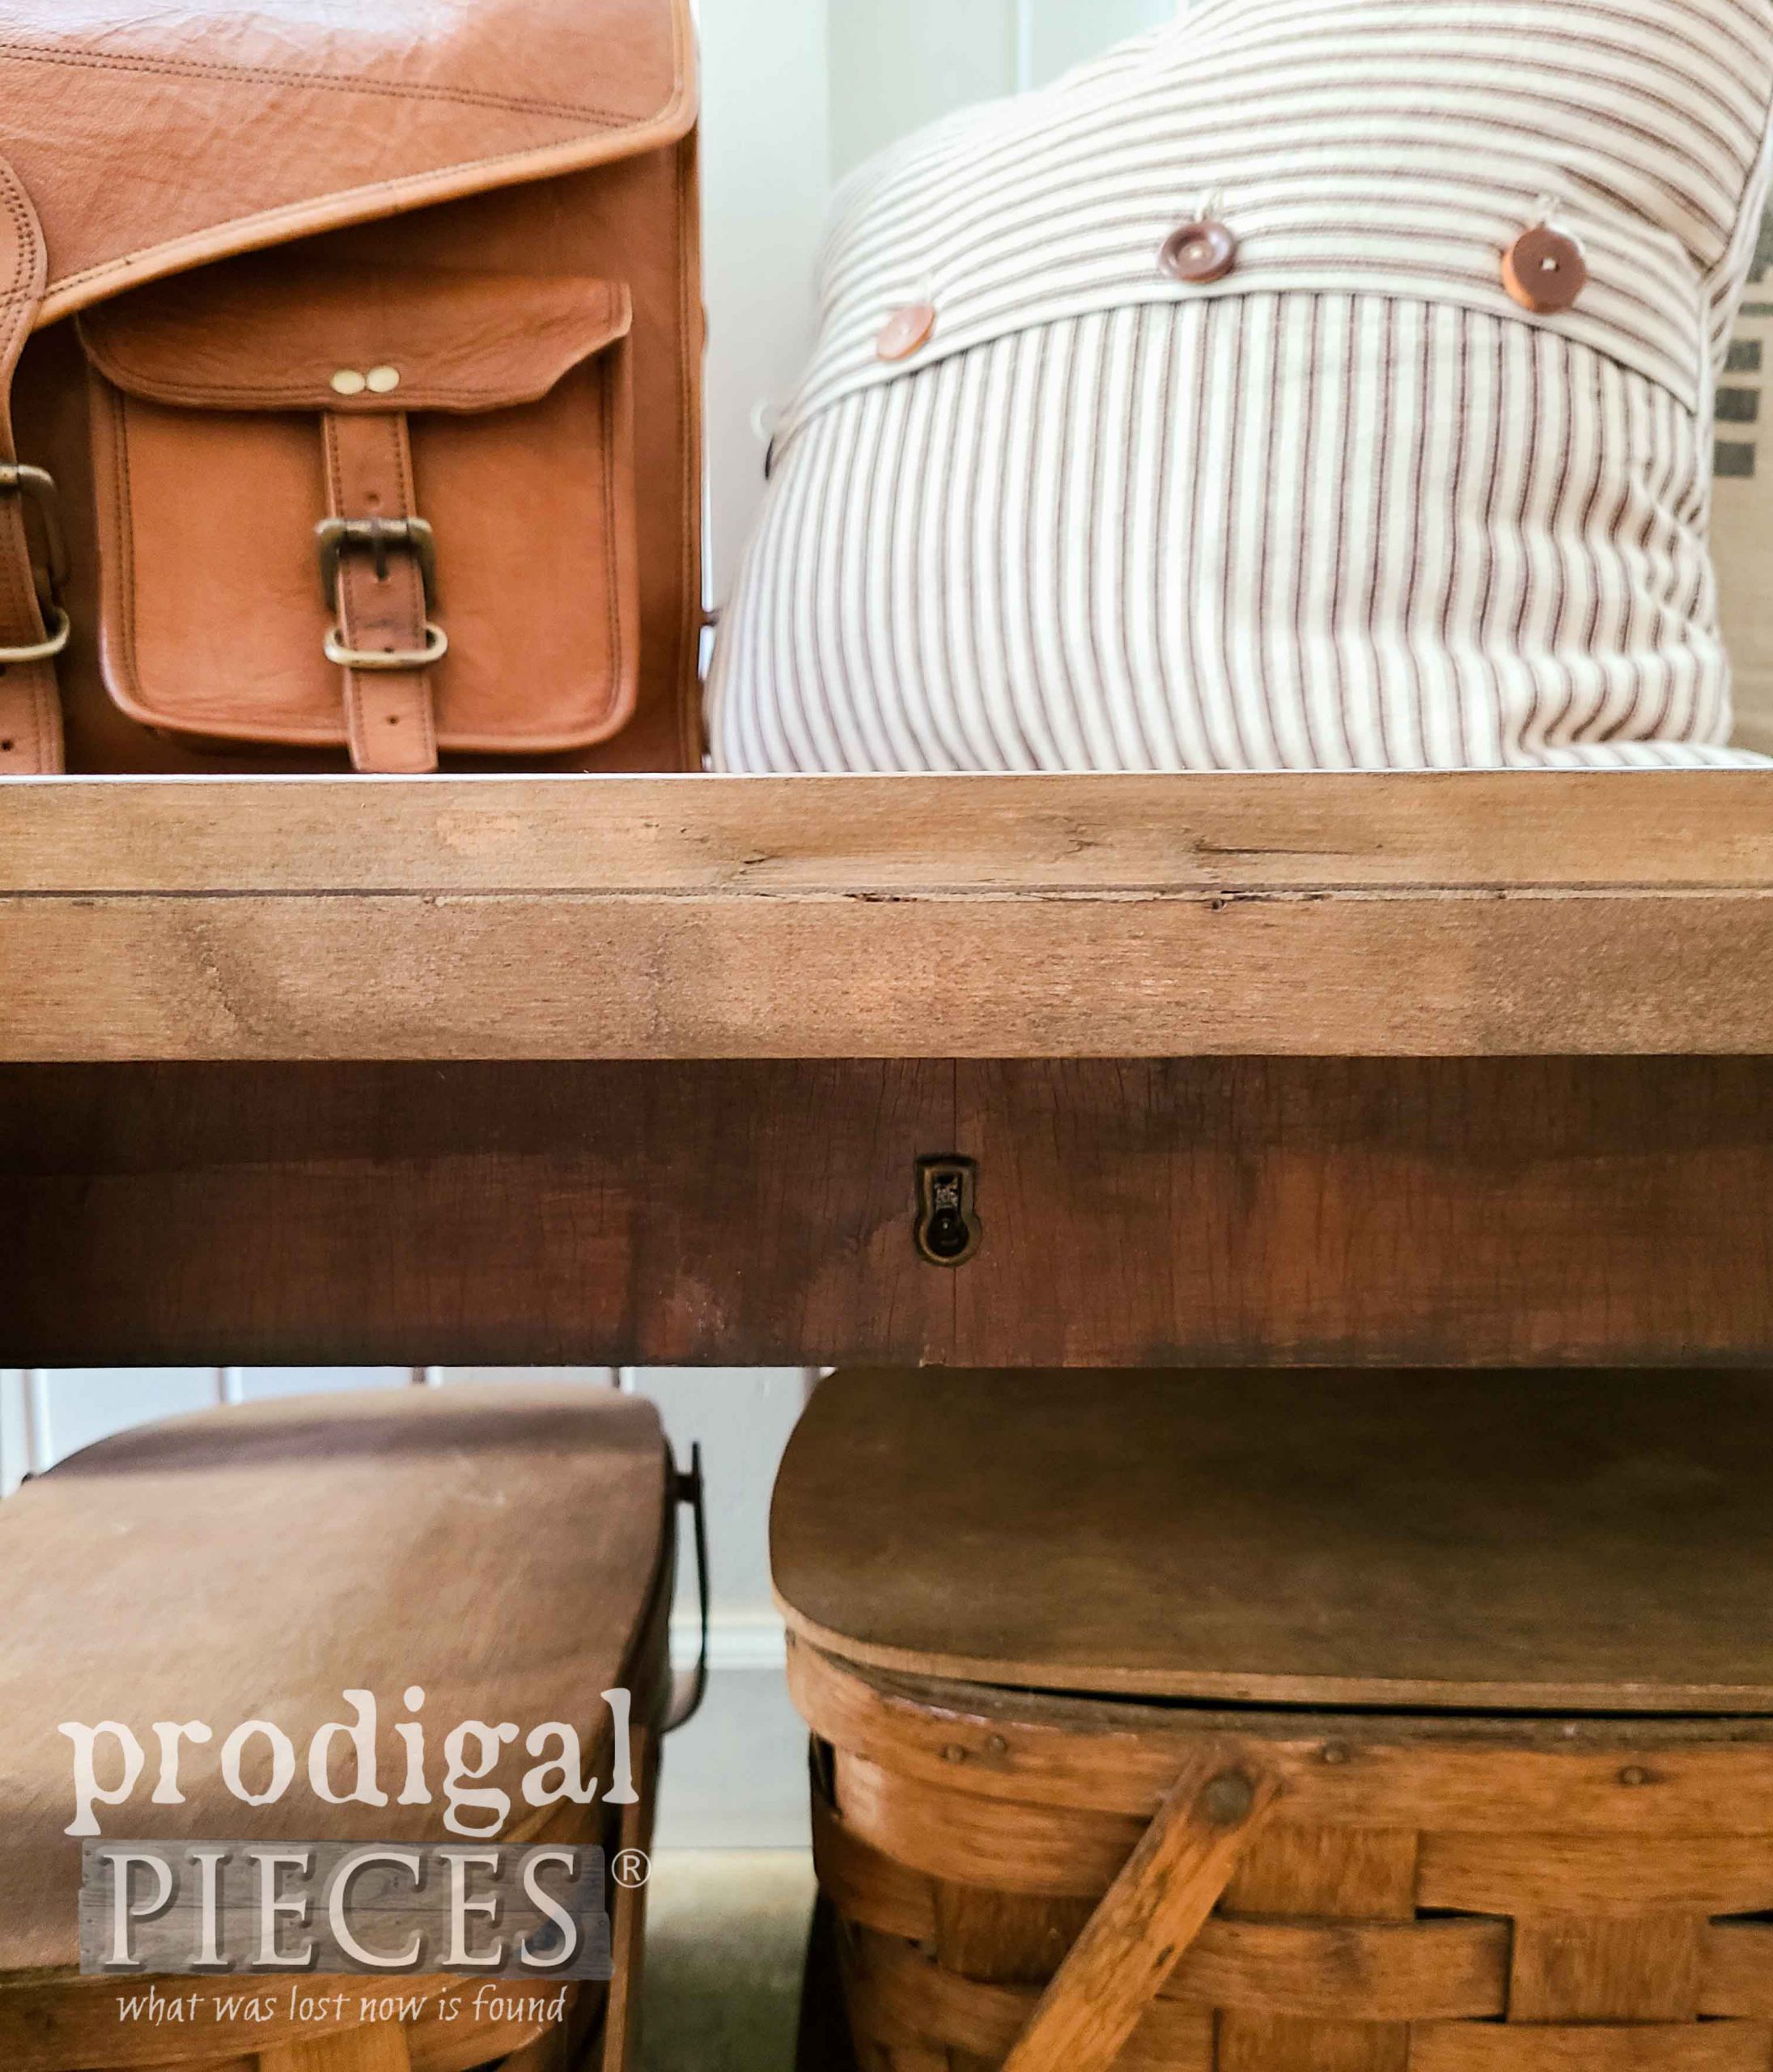
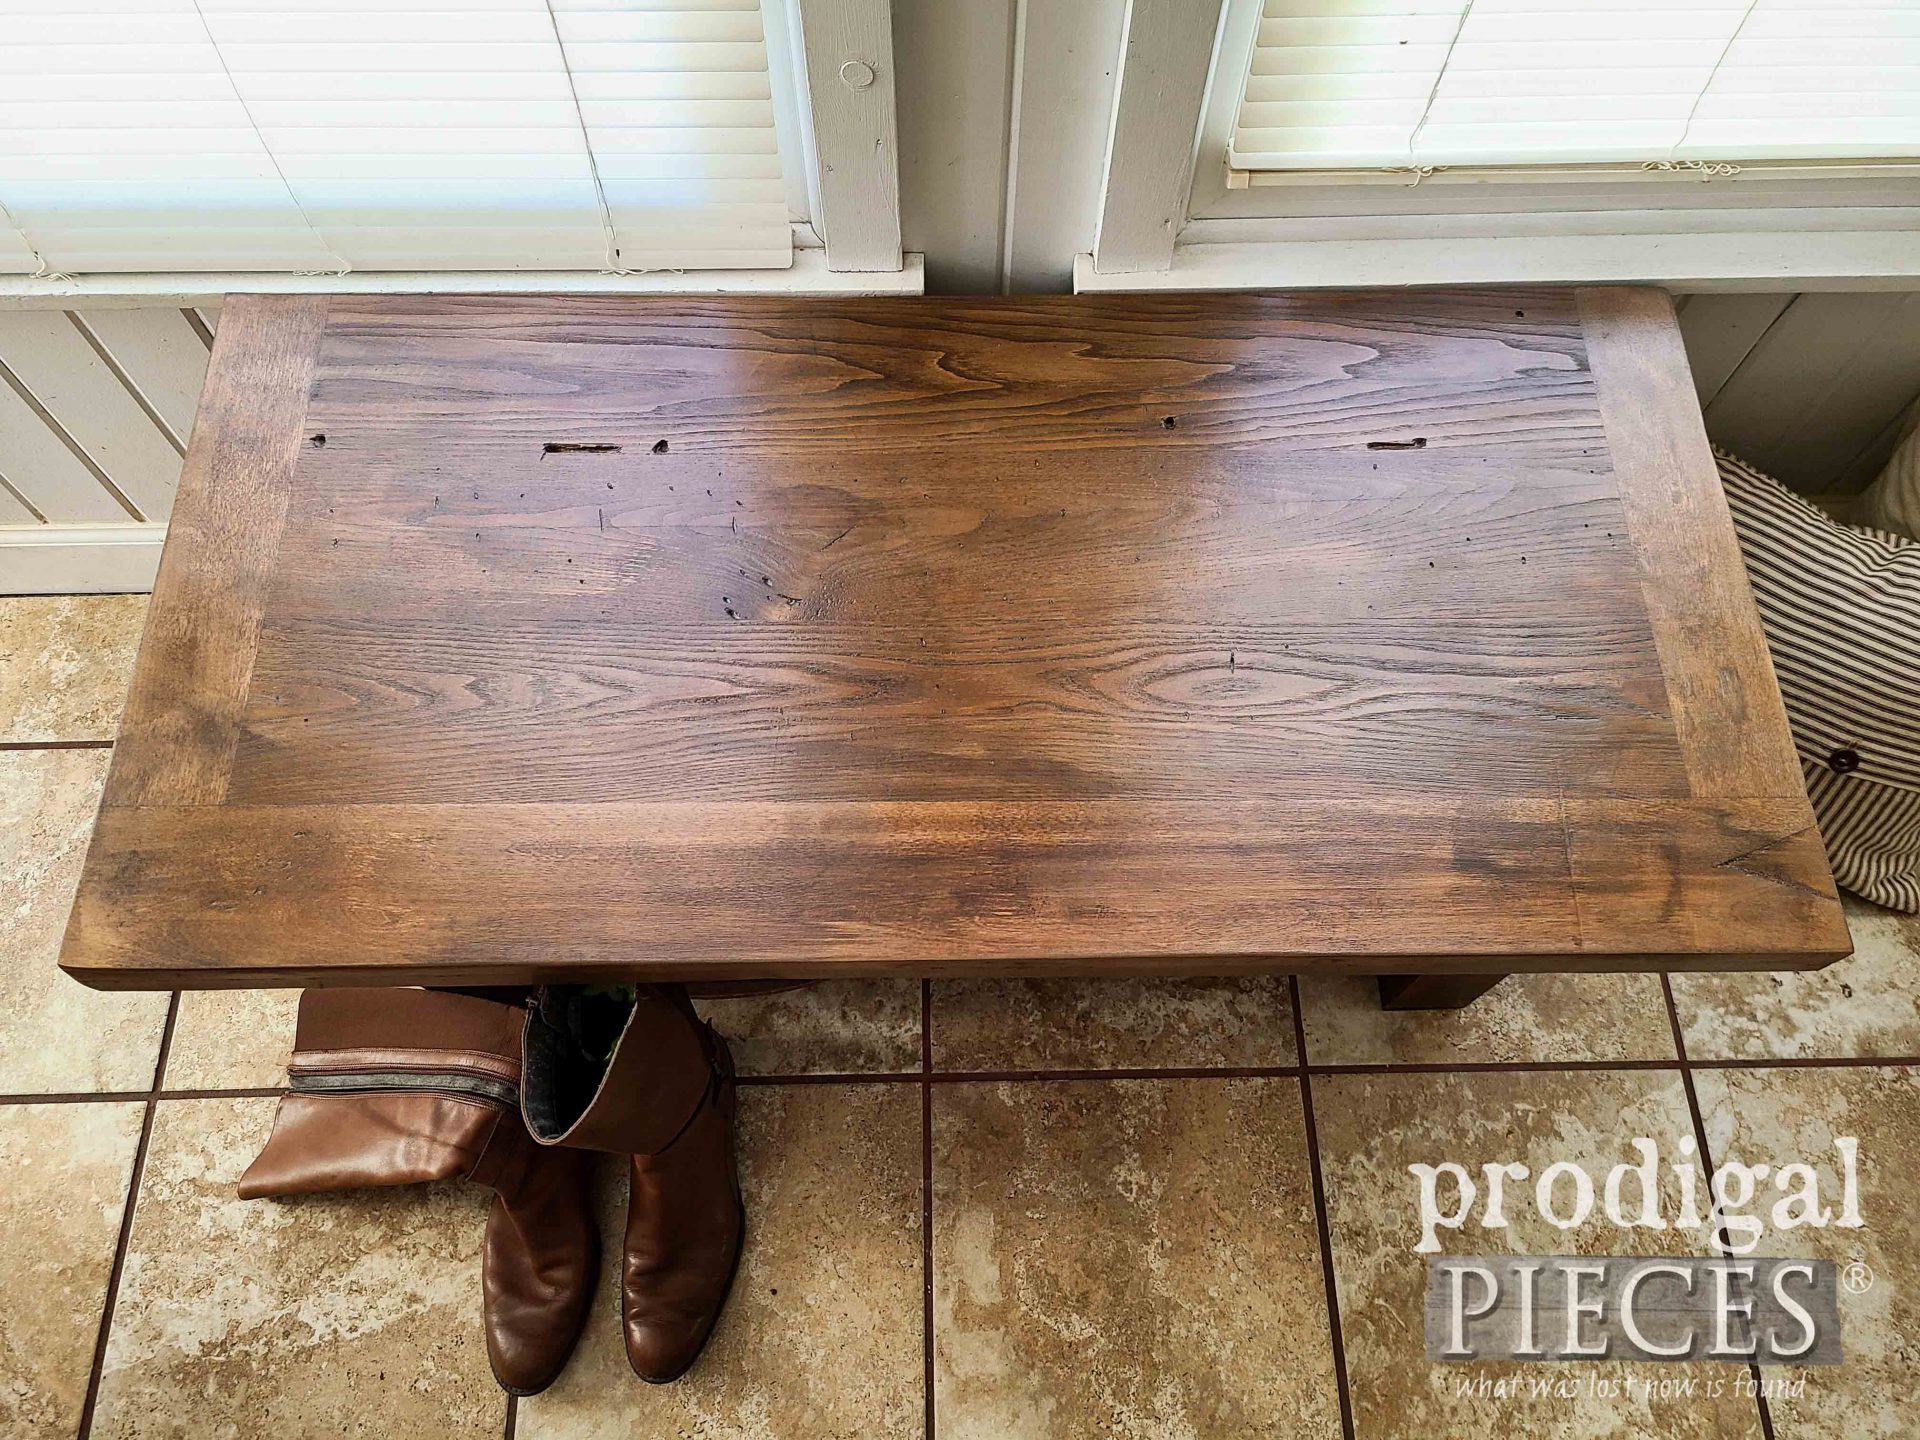
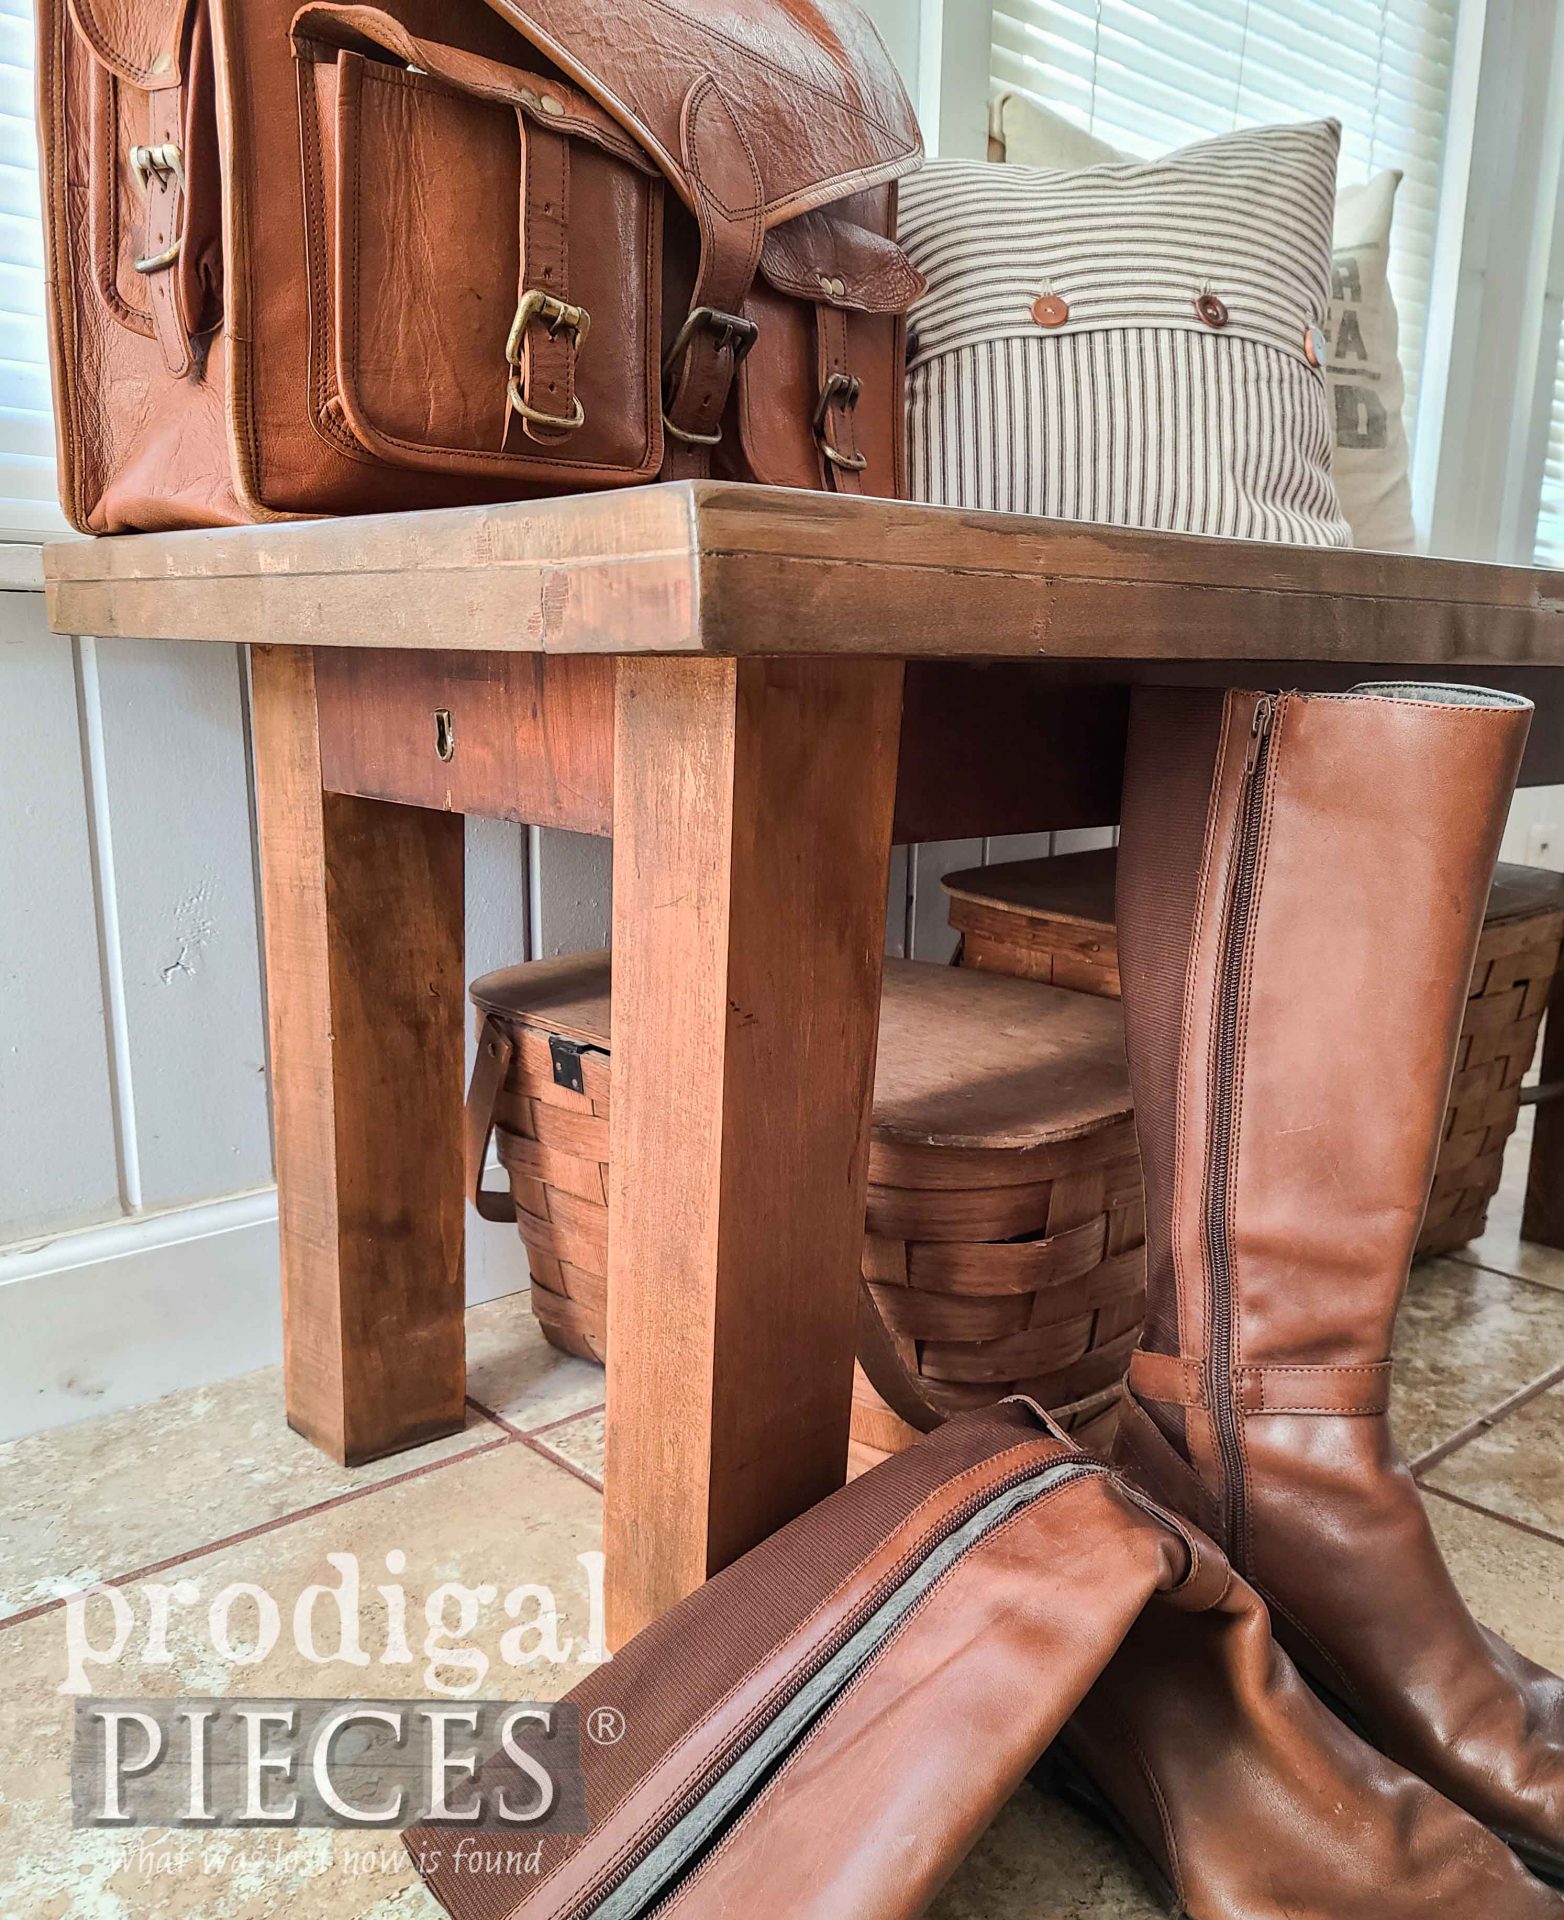 Also, my misfit drawer fronts with original escutcheons are just the right touch, don't you think? I'm a sucker for all things old. Oh, and then there's my other favorite...the top.
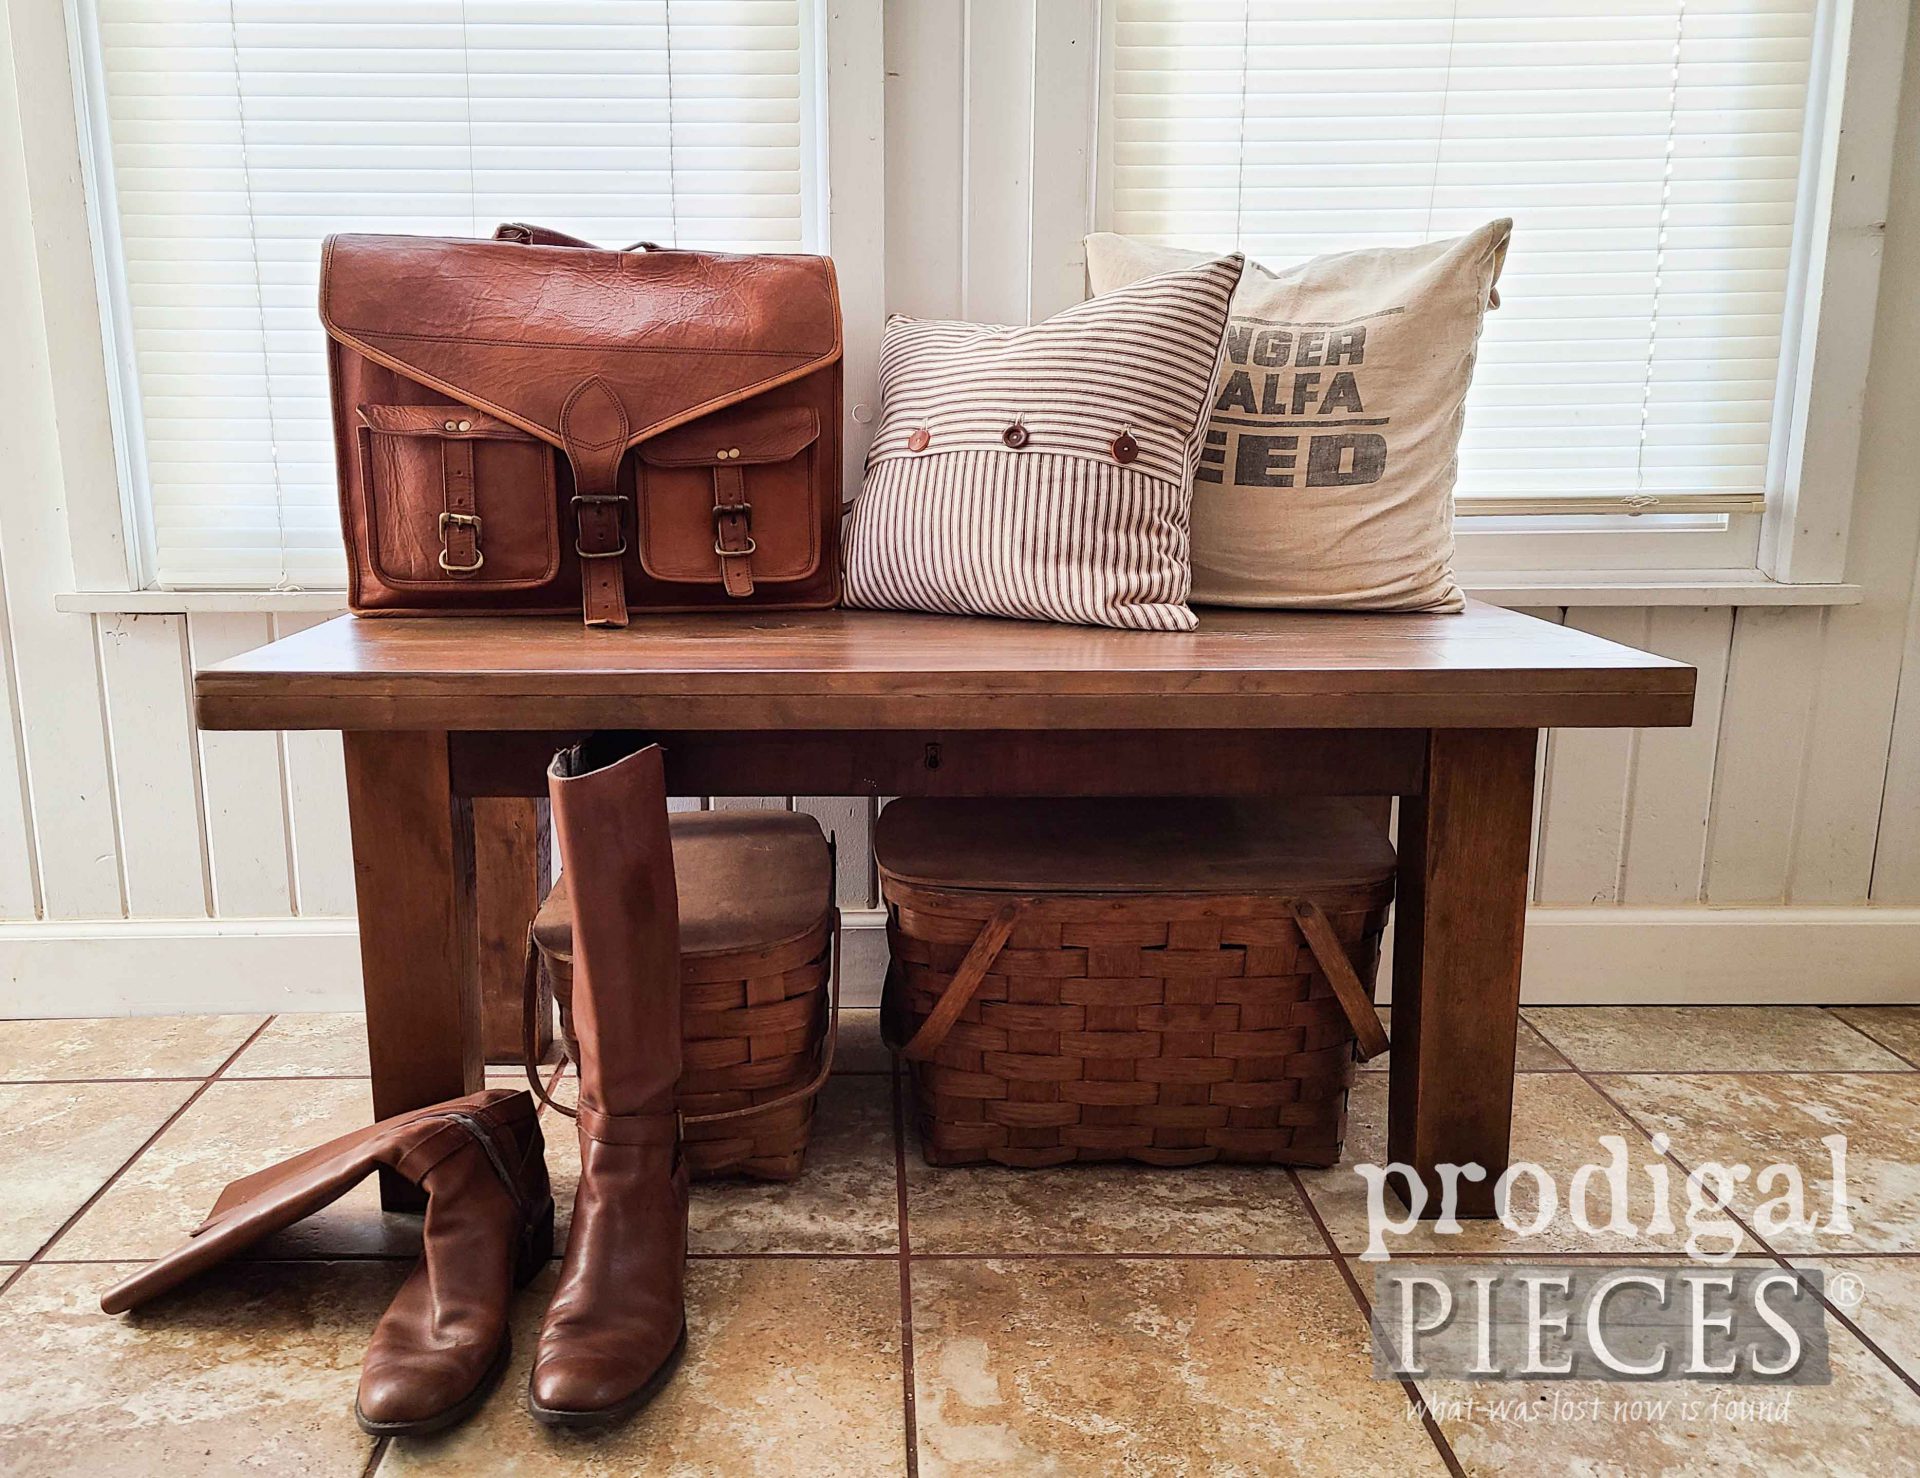
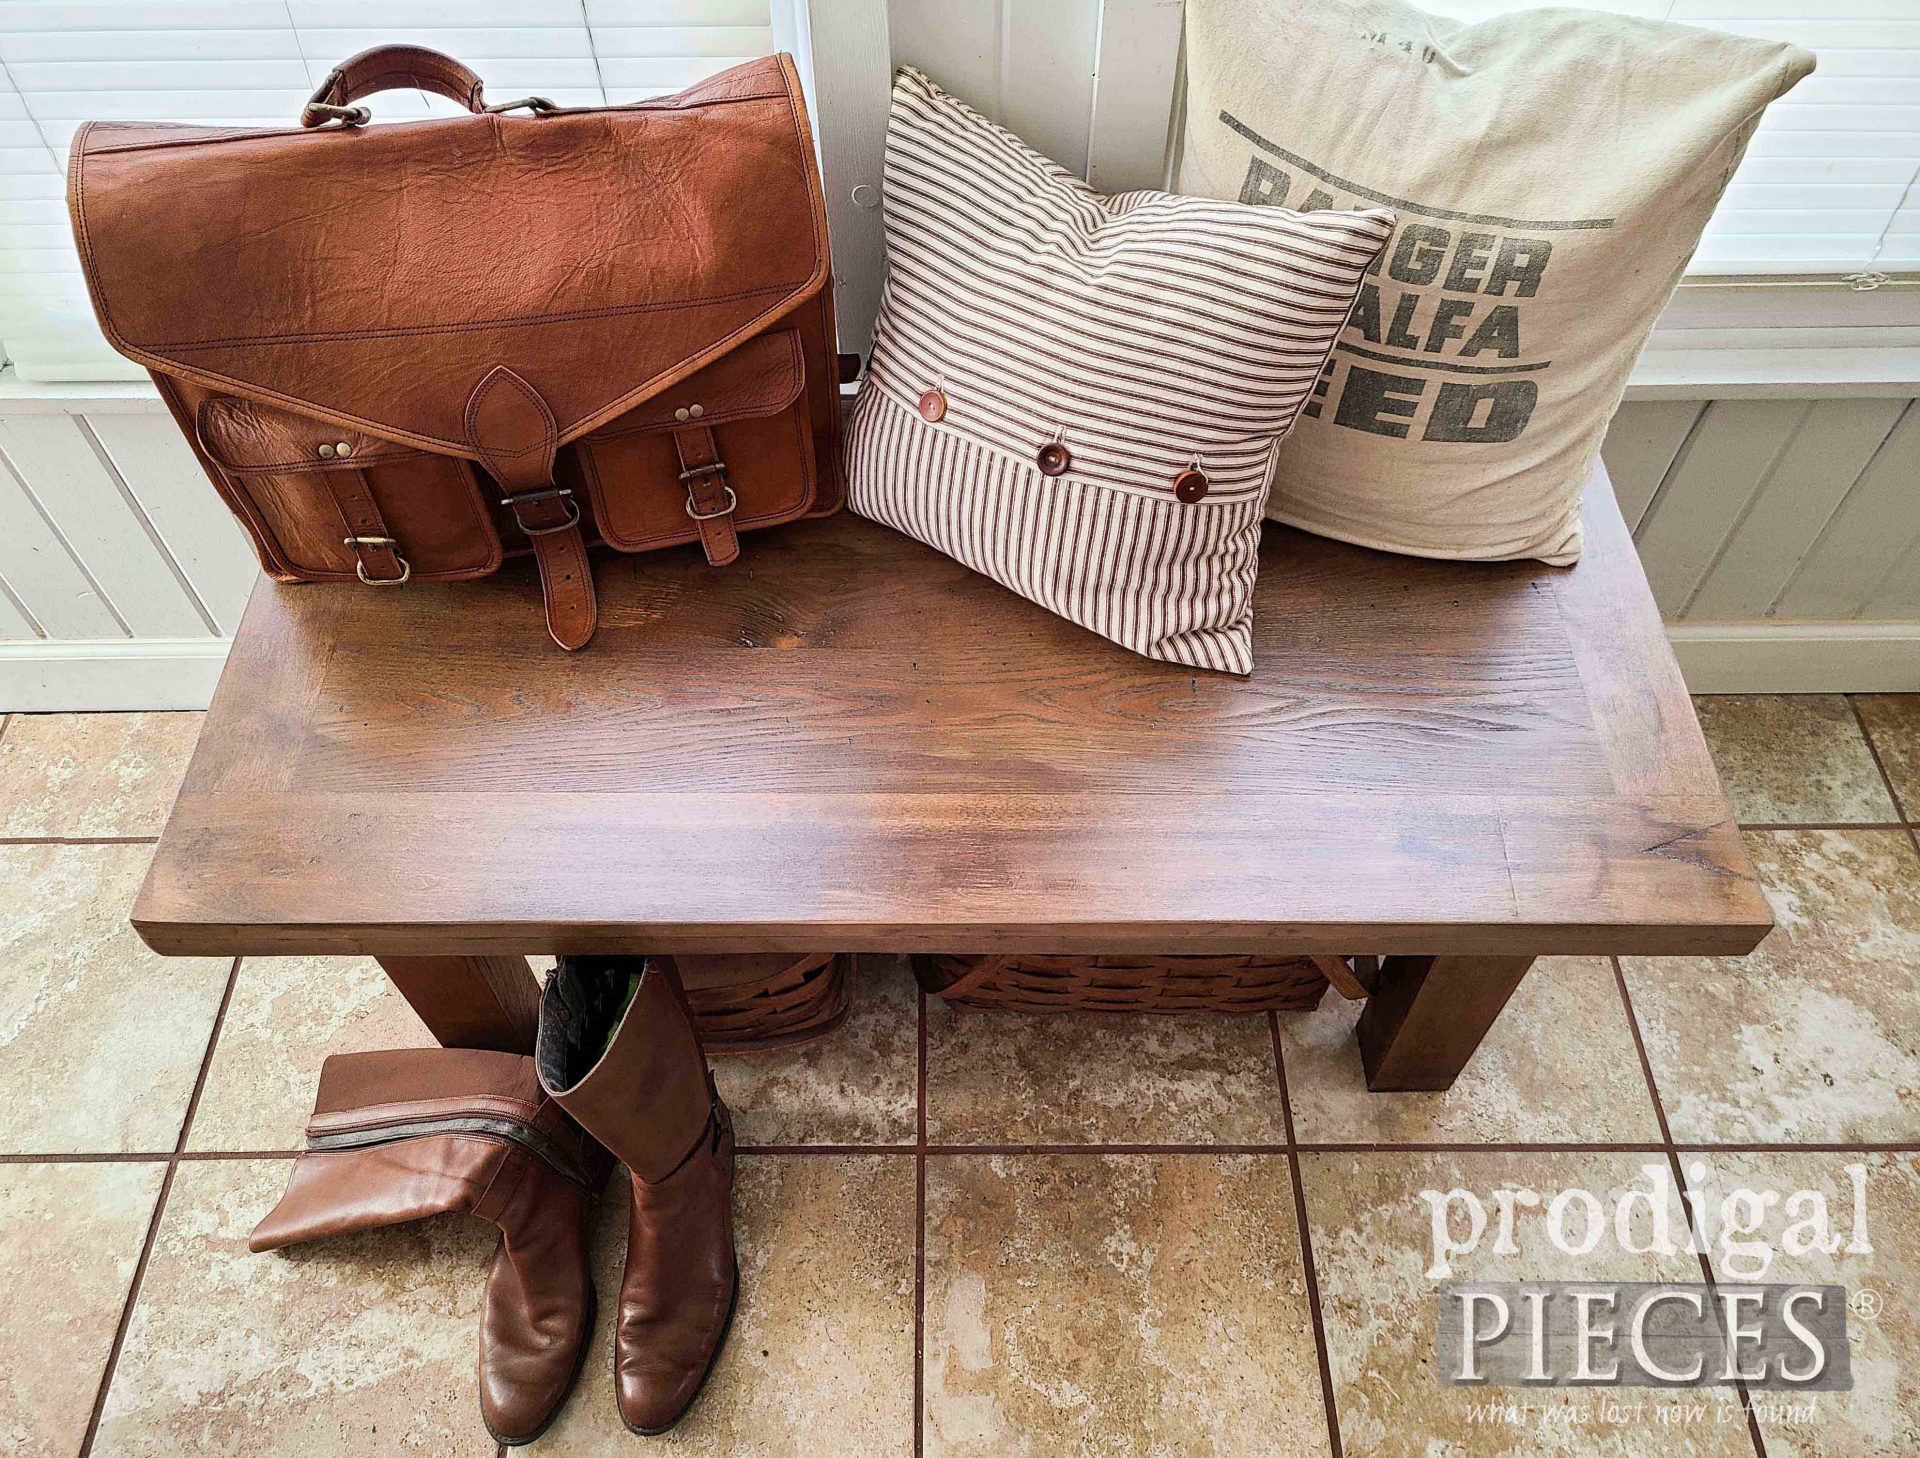 That grain is gorgeous and so are the worn holes and character. In spite of the obvious, would you have guessed it was a dresser top married to a skirt of drawer fronts and antique upright grand piano parts for legs?
 As with all my projects, my goal is set on inspiring you. Maybe there's more to the things we consider trash? You know it. It's called trashure. Likewise, almost all my builds and creations like this bench is available in my online shop.
[metaslider id=30251]
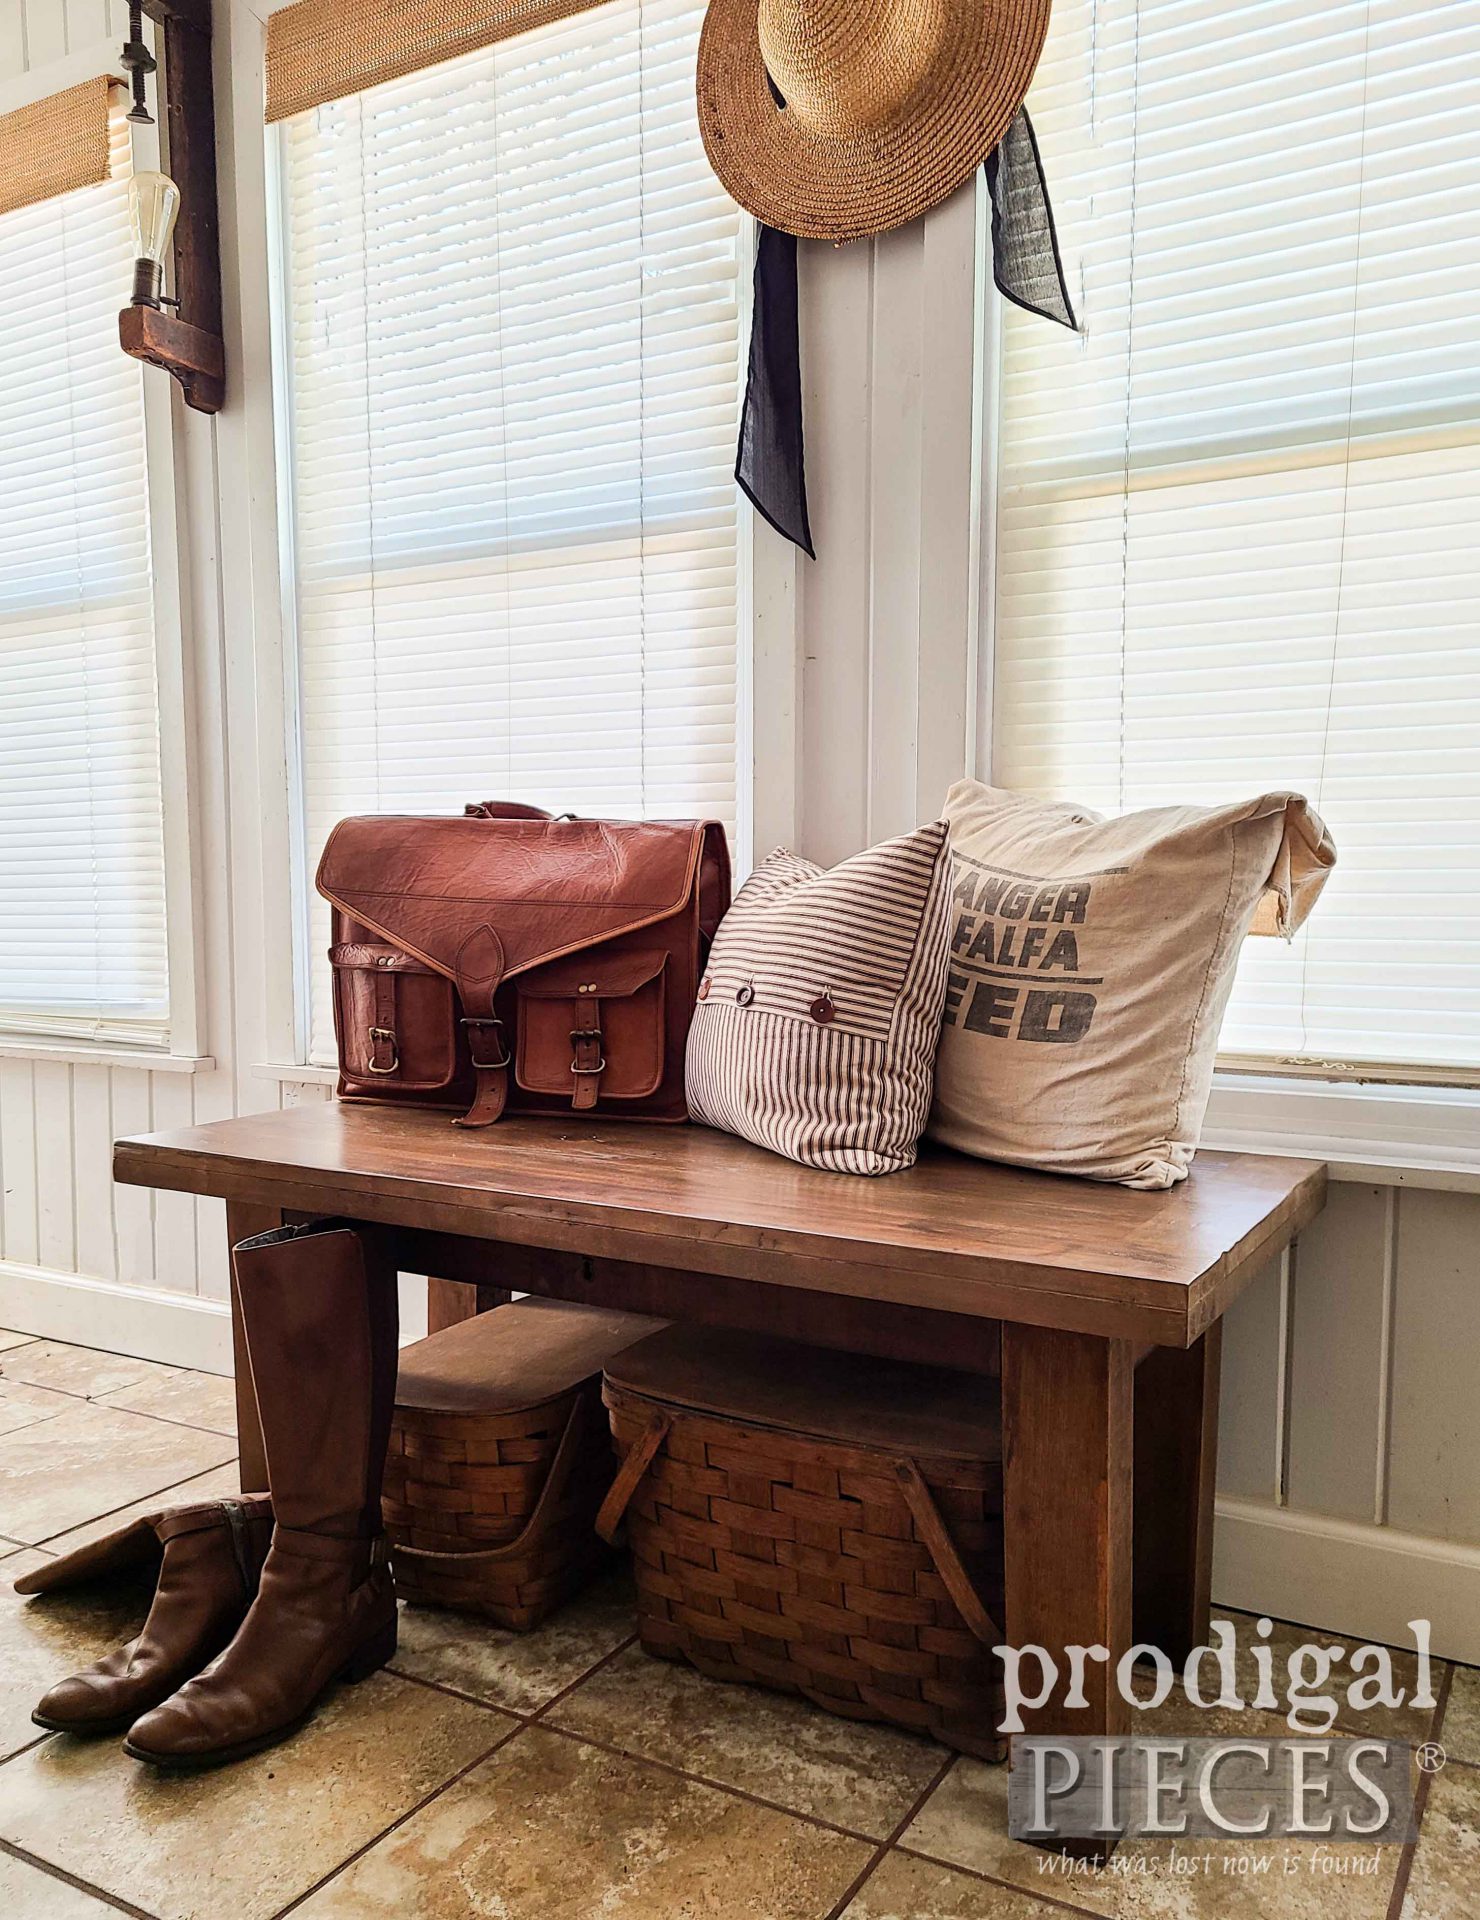 In addition, pin and share my reclaimed bench to inspire others to see the potential in the the trashure. You know it's there; it just needs new life.
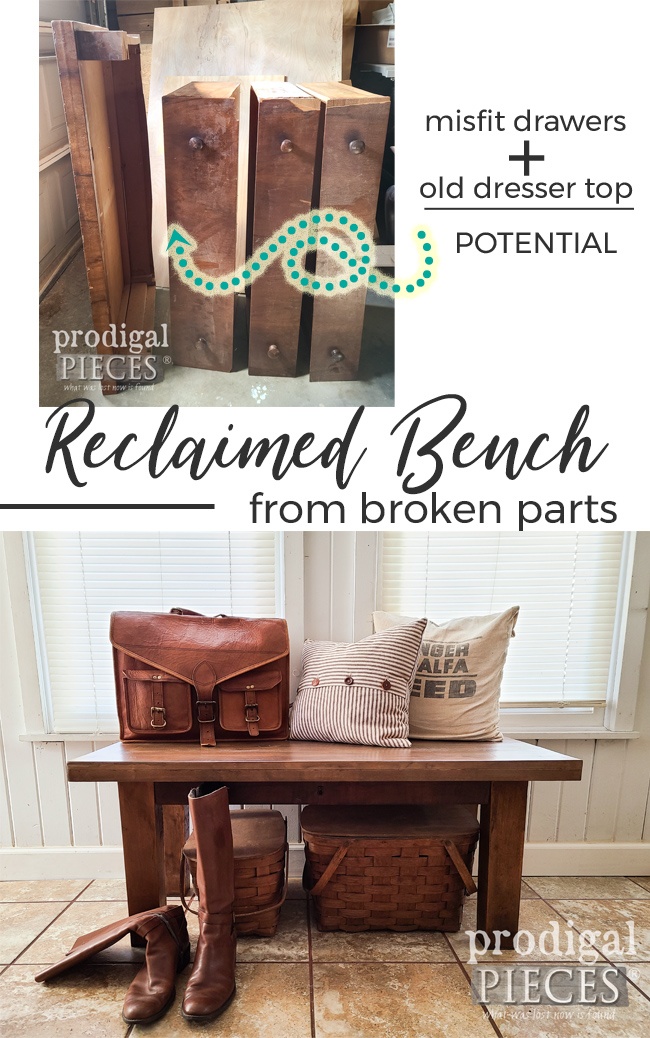
UP NEXT
Up next, Part 3 of my antique empire chest dismantling and upcycle is where the drawer parts become something more. HEAD HERE TO SEE.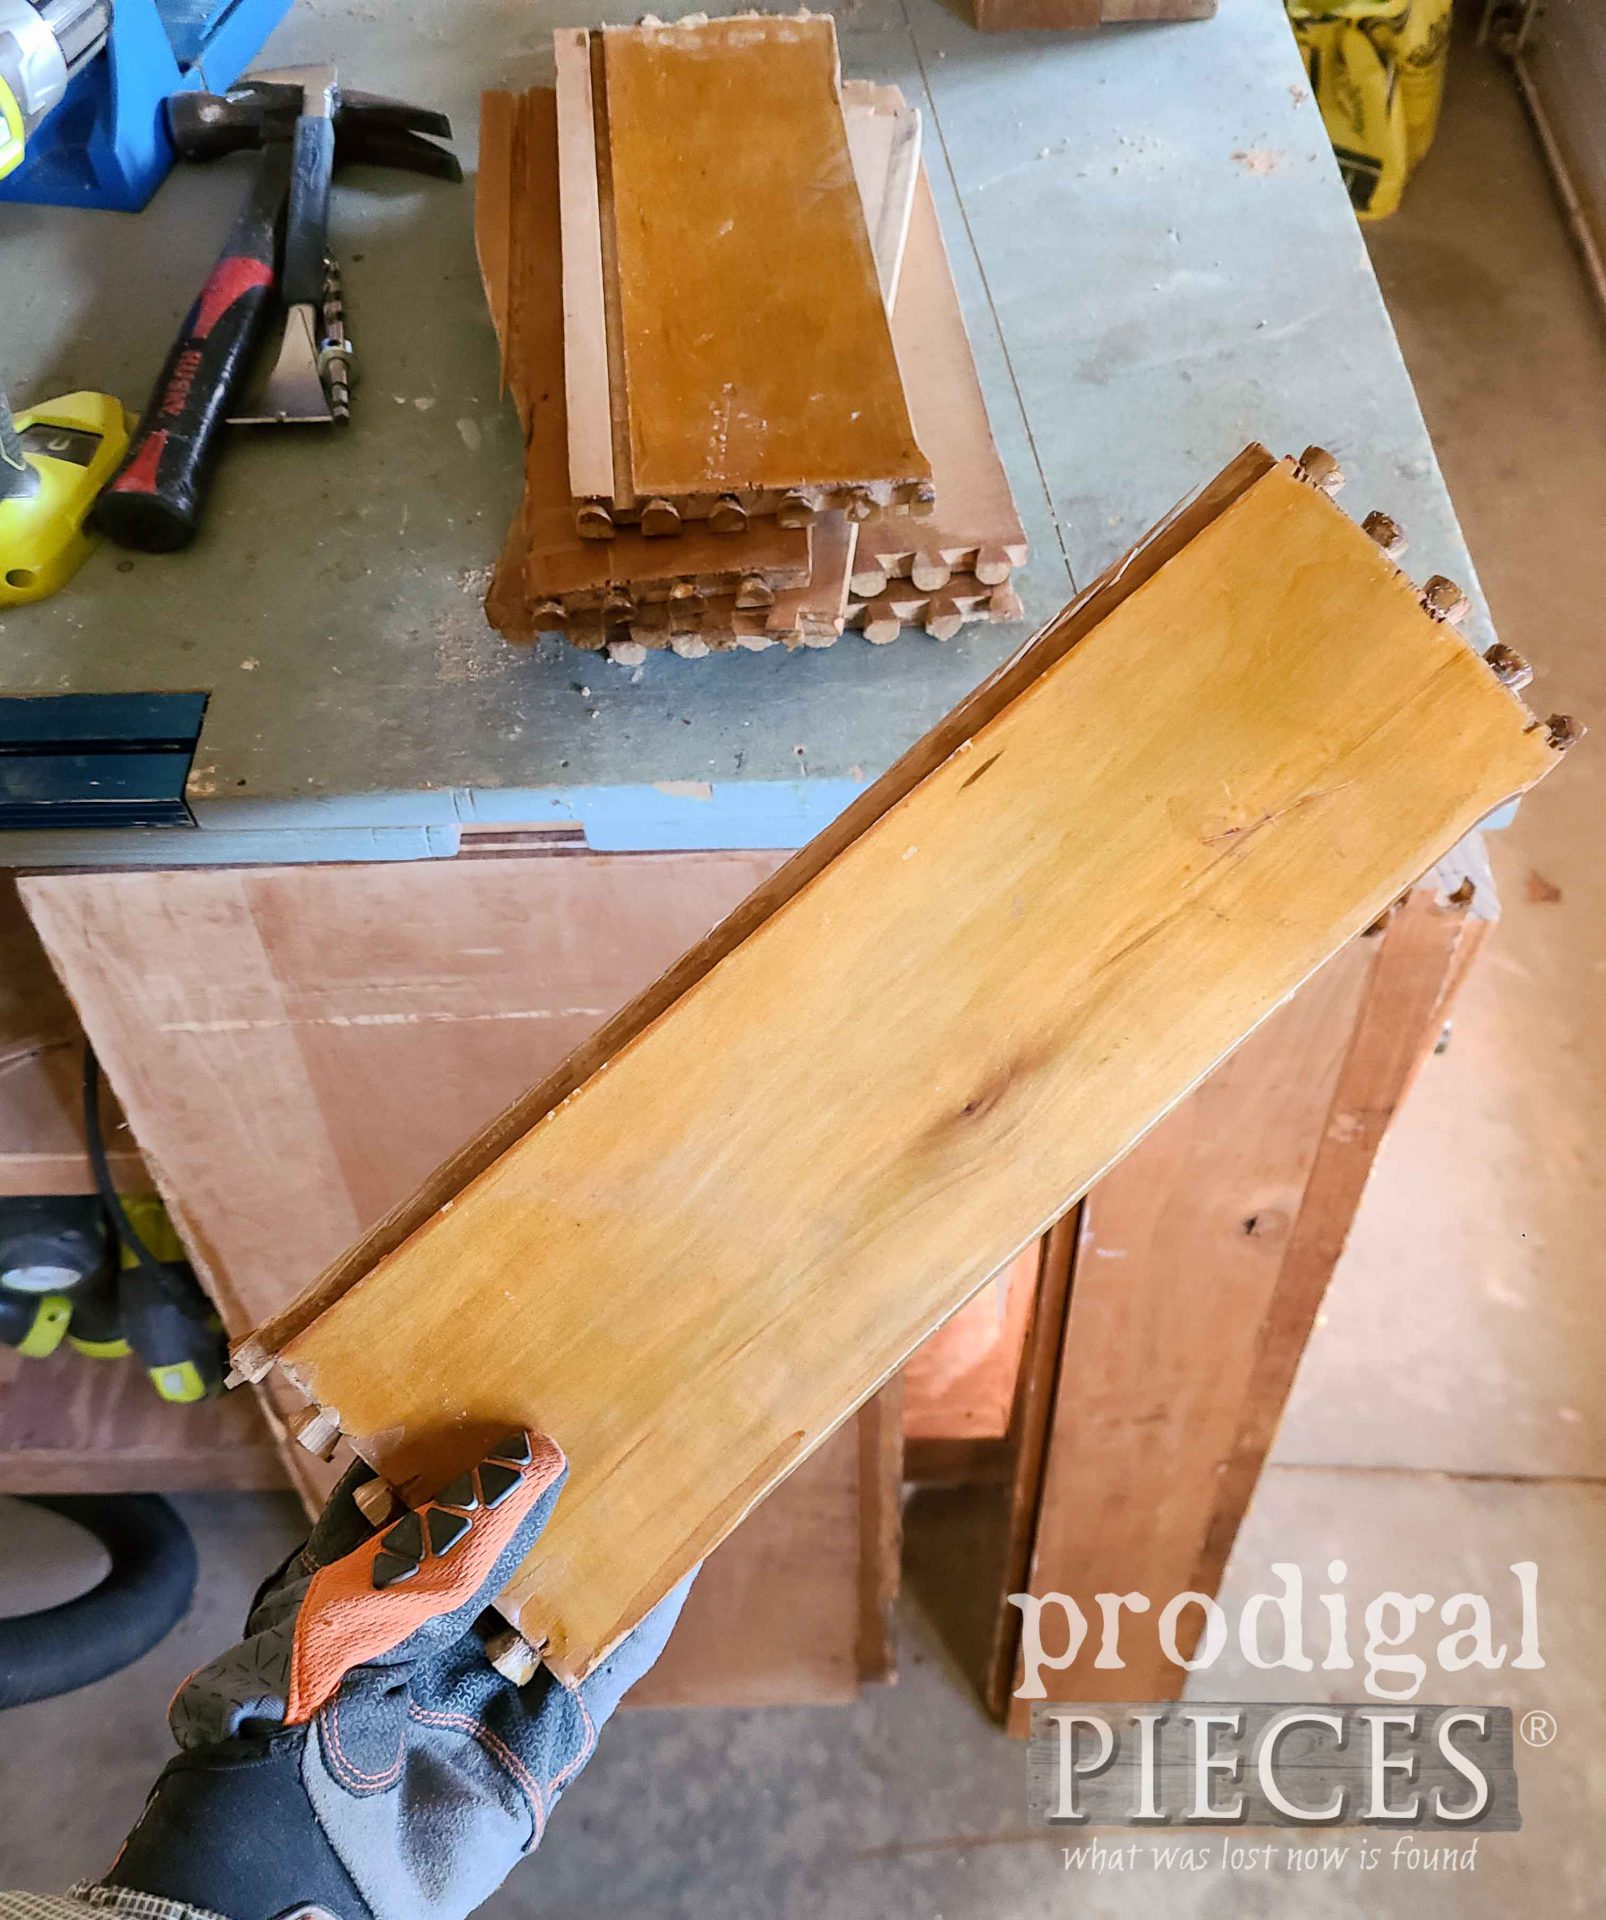 To get these DIY tips & tricks in your inbox, be sure to sign up for my newsletter. Next, time to see what my Trash to Treasure friends have for you!

MORE FUN
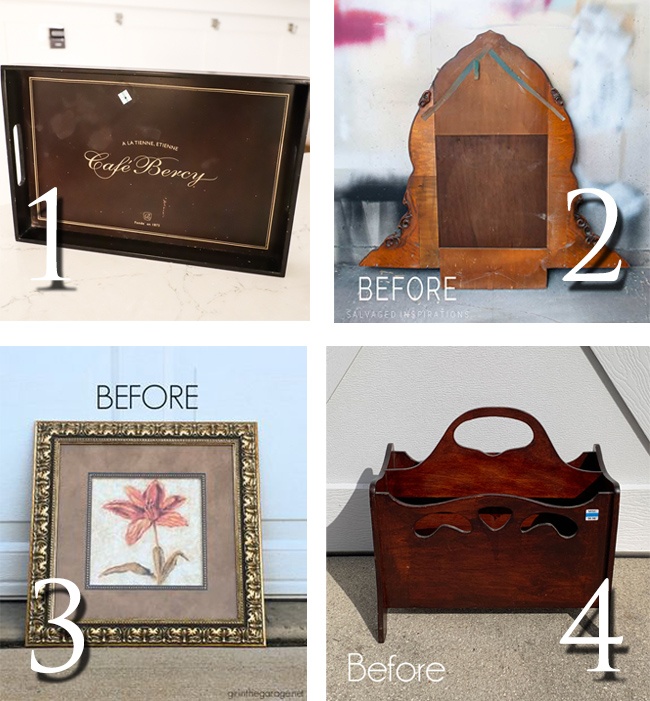
Last, but not least, it's time to check out these fun Trash to Treasure projects.
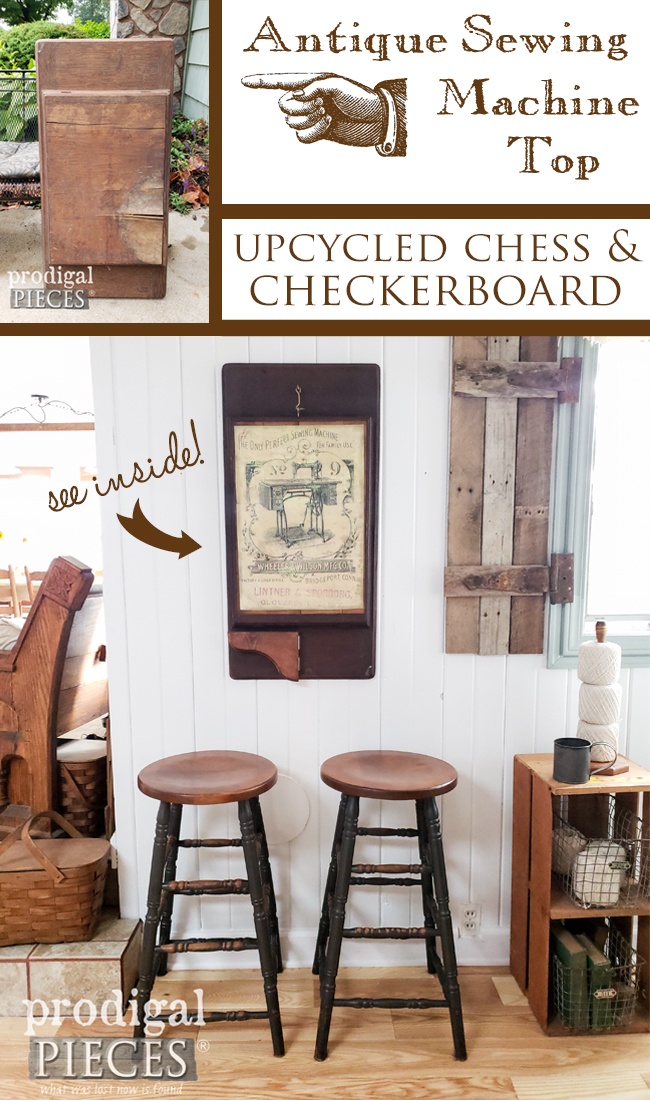
Also, more upcycled builds like my reclaimed bench:
