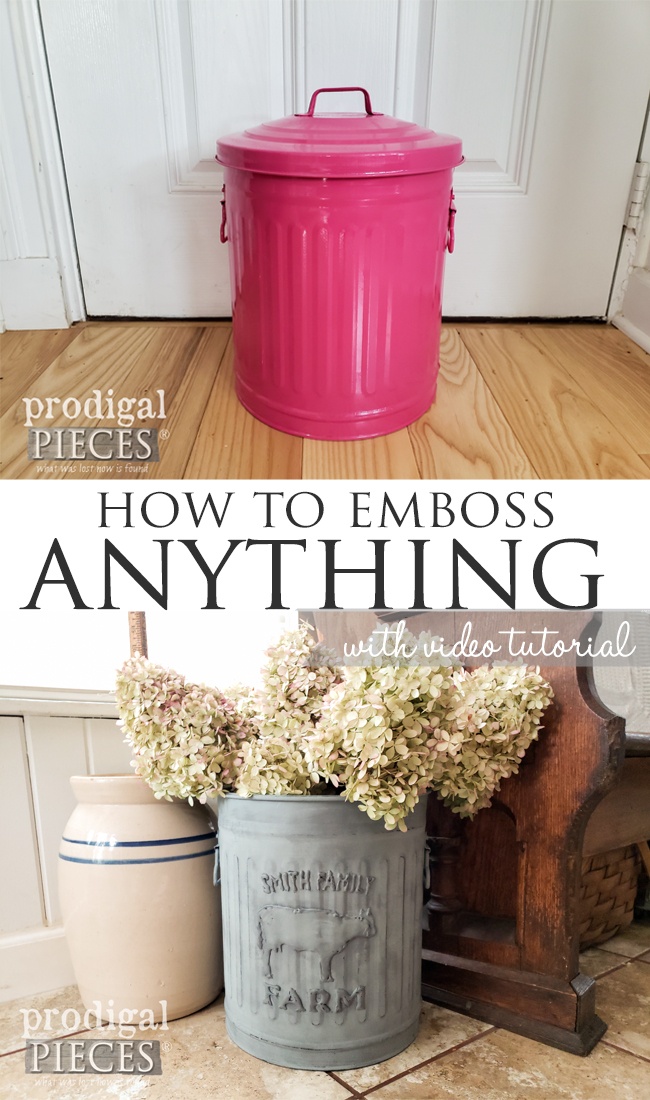
 If you've followed me over the last few years, you'll know that I already have a tutorial for this FOUND HERE. It was even featured in Country Sampler Magazine. While the original post is still valid, this time around, however, I wanted to update it. As a matter of fact, I have new photos, streamlined process, and video with this end result.
DIY TIME
Want to create one too? Let's get started...Materials & Supplies:
- window screen (new or old) this linked one can be separated into two projects
- keyhole hardware
- acrylic paint
- artist's brushes
- tape
- image or template - see tutorial HERE how to make your own
STEP 1
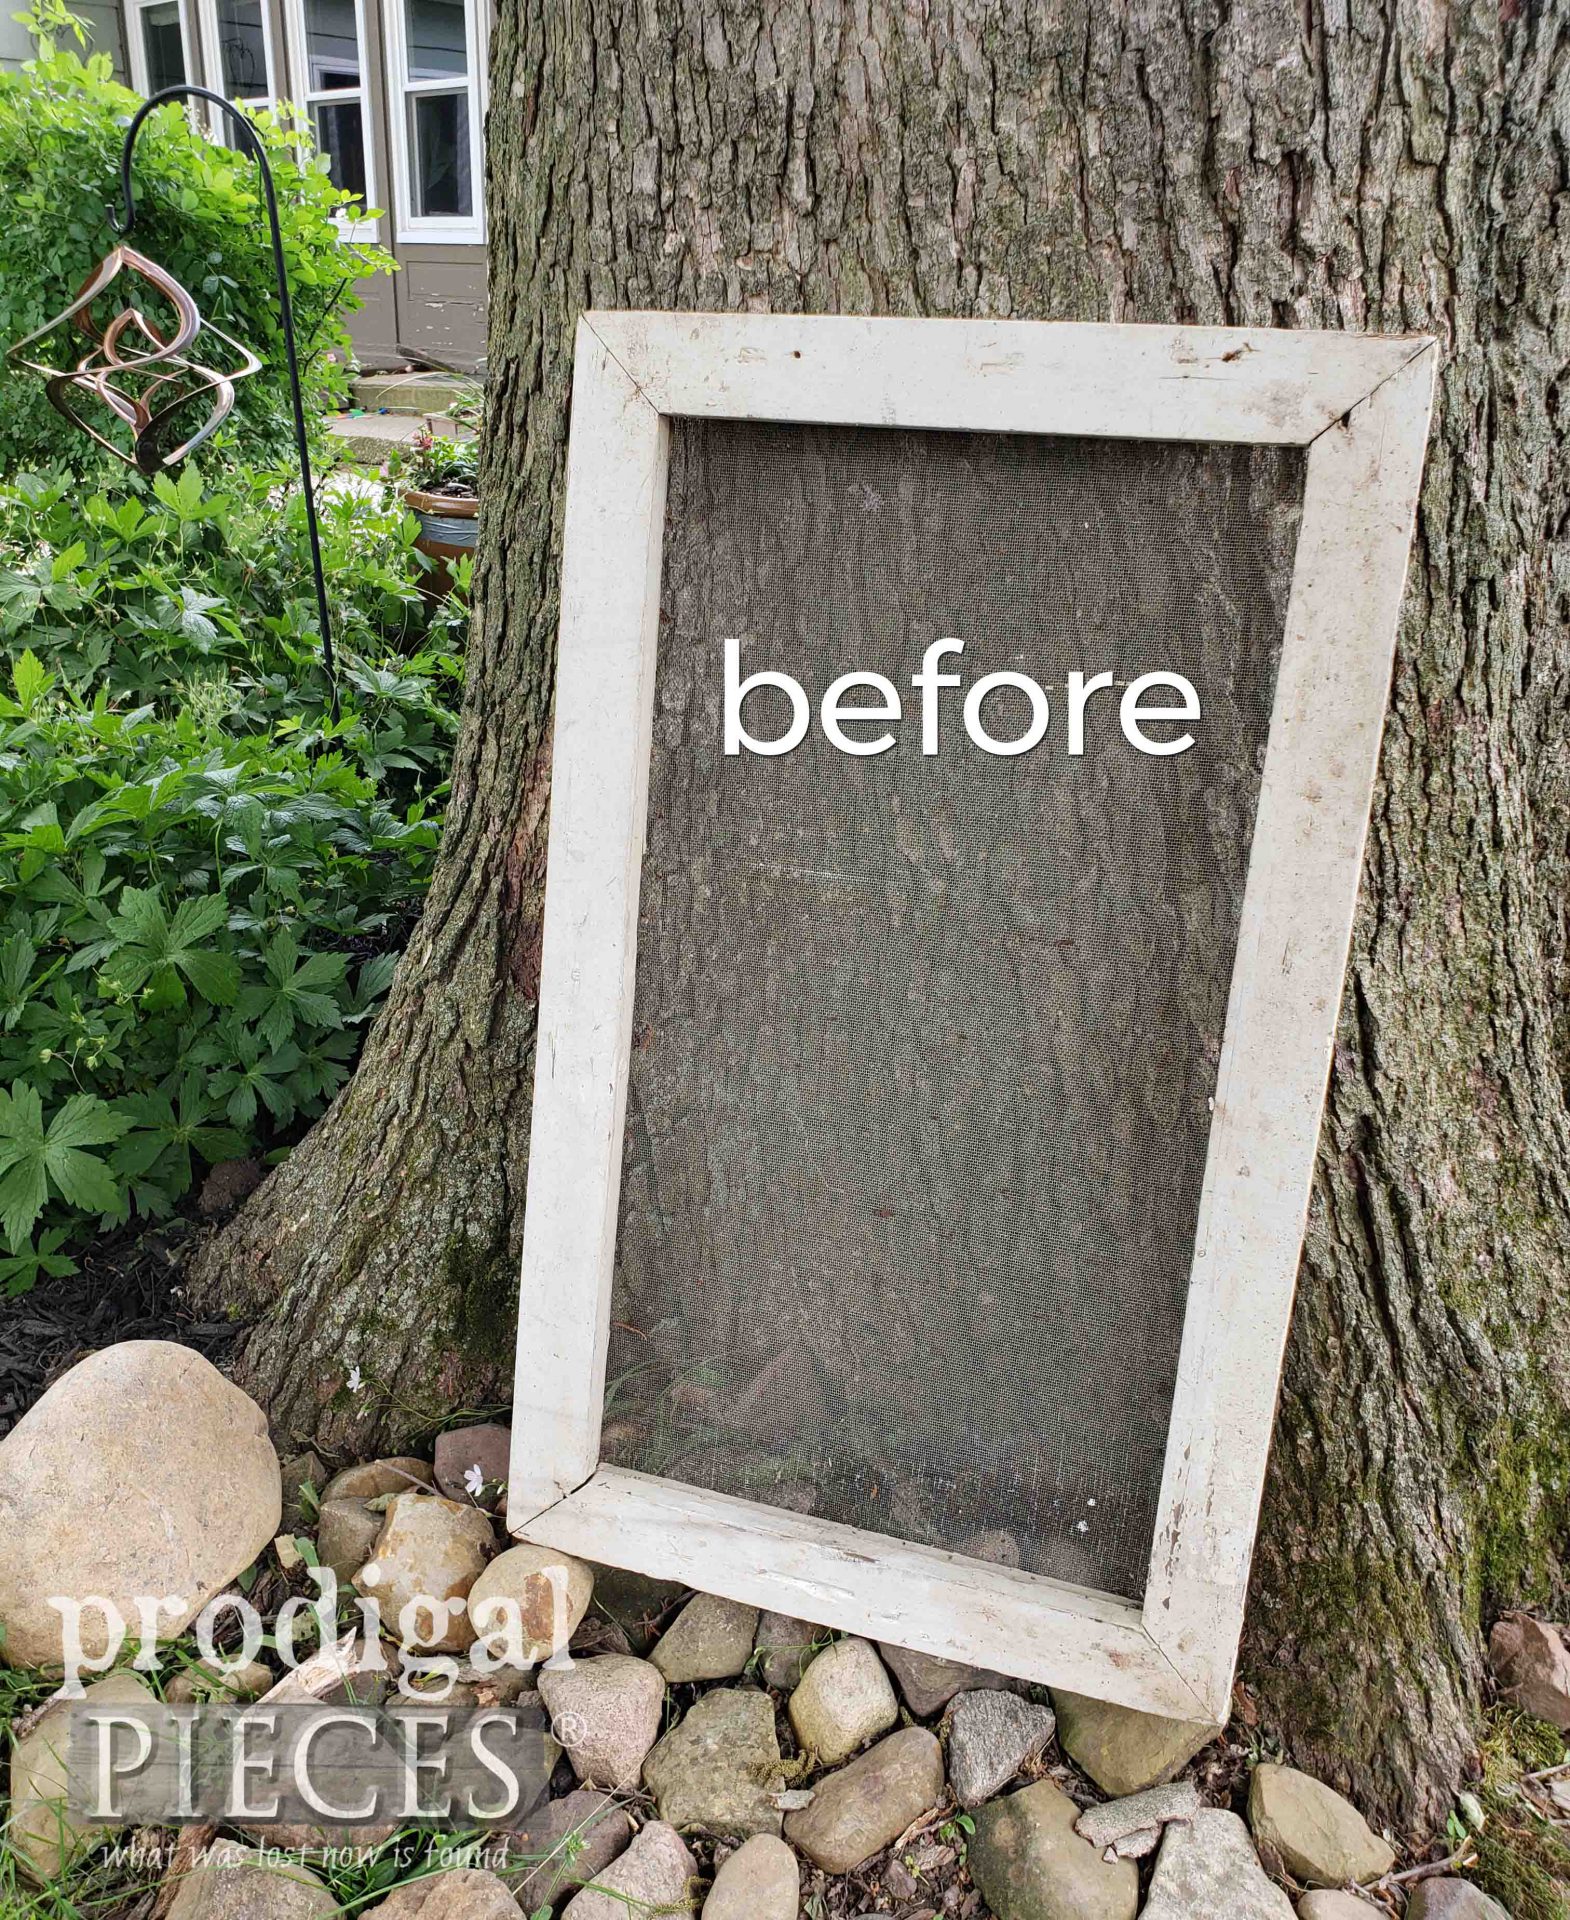
First, grab that old window screen you have tucked in your garage (or buy one too!) and give it a good cleaning. Then, we're going to add keyhole hardware so we can mount it to the wall. However, if you prefer, you can leave it off and just lean the screen on your mantel, etc.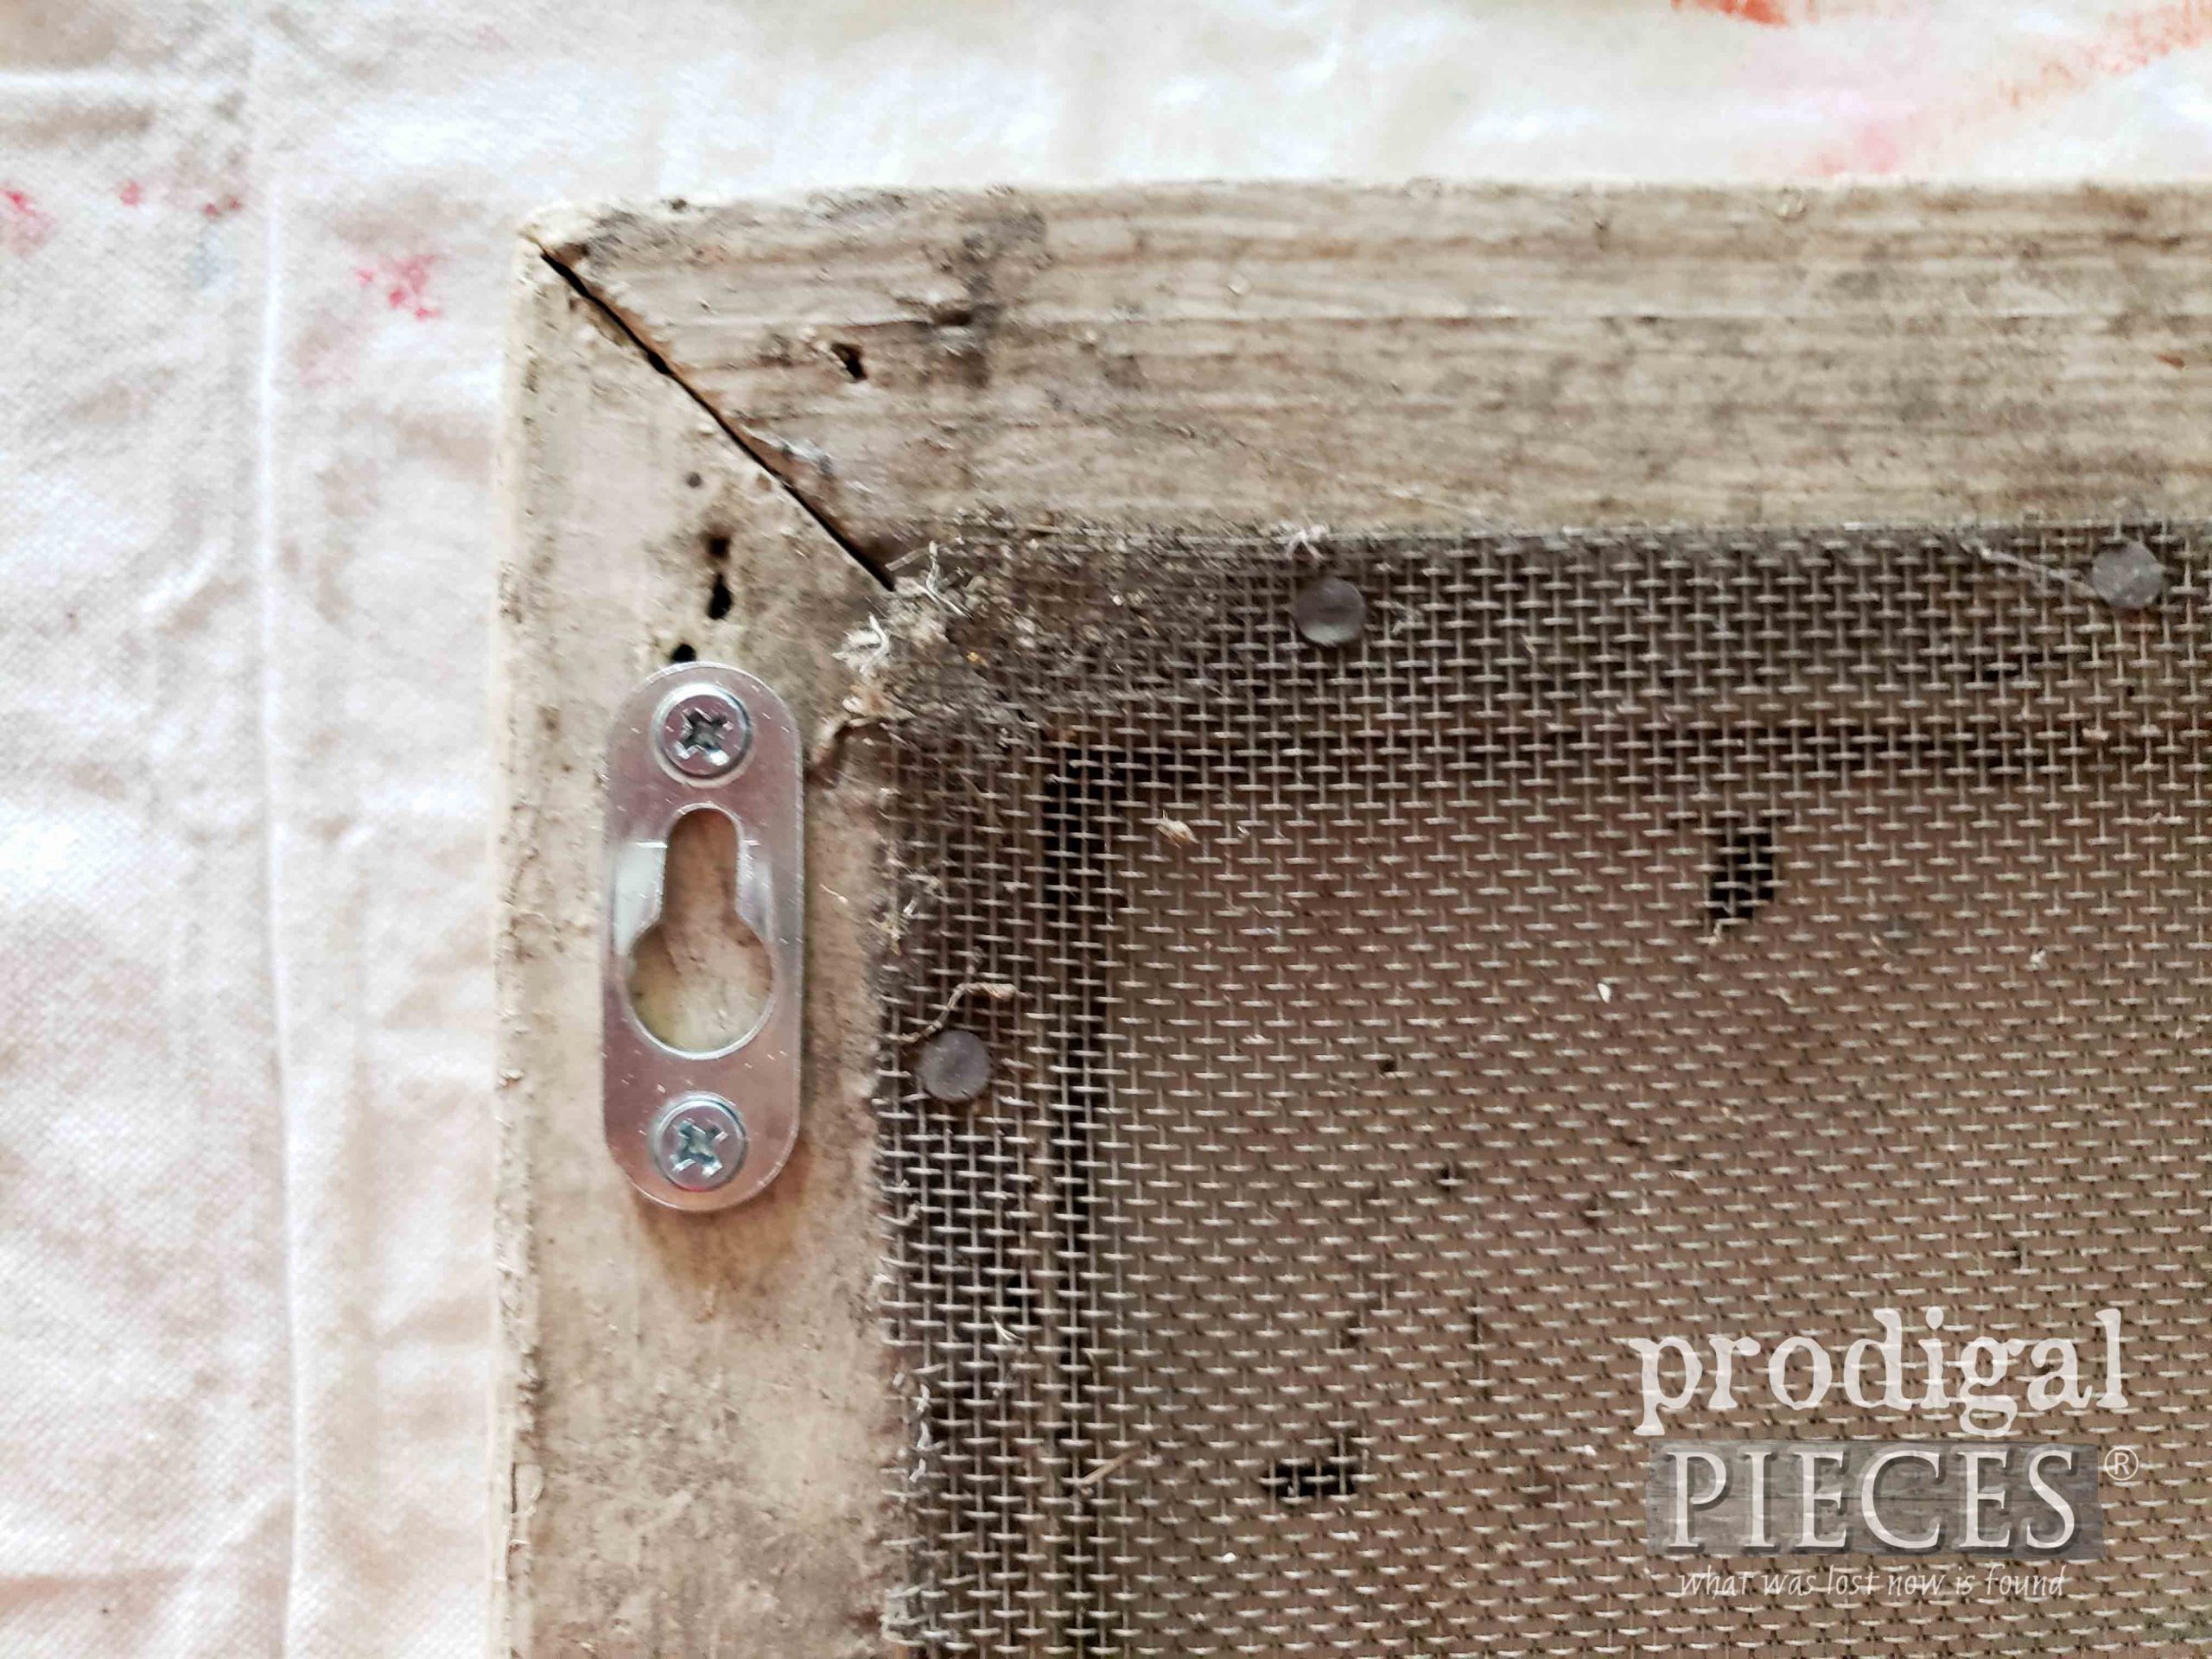
STEP 2
Next, it's time to tape on our design to the back. This is the part where you can use something you found, you designed, or purchased. The sky's the limit with this step. Have fun with it! After that, tape the design to the back and flip it over.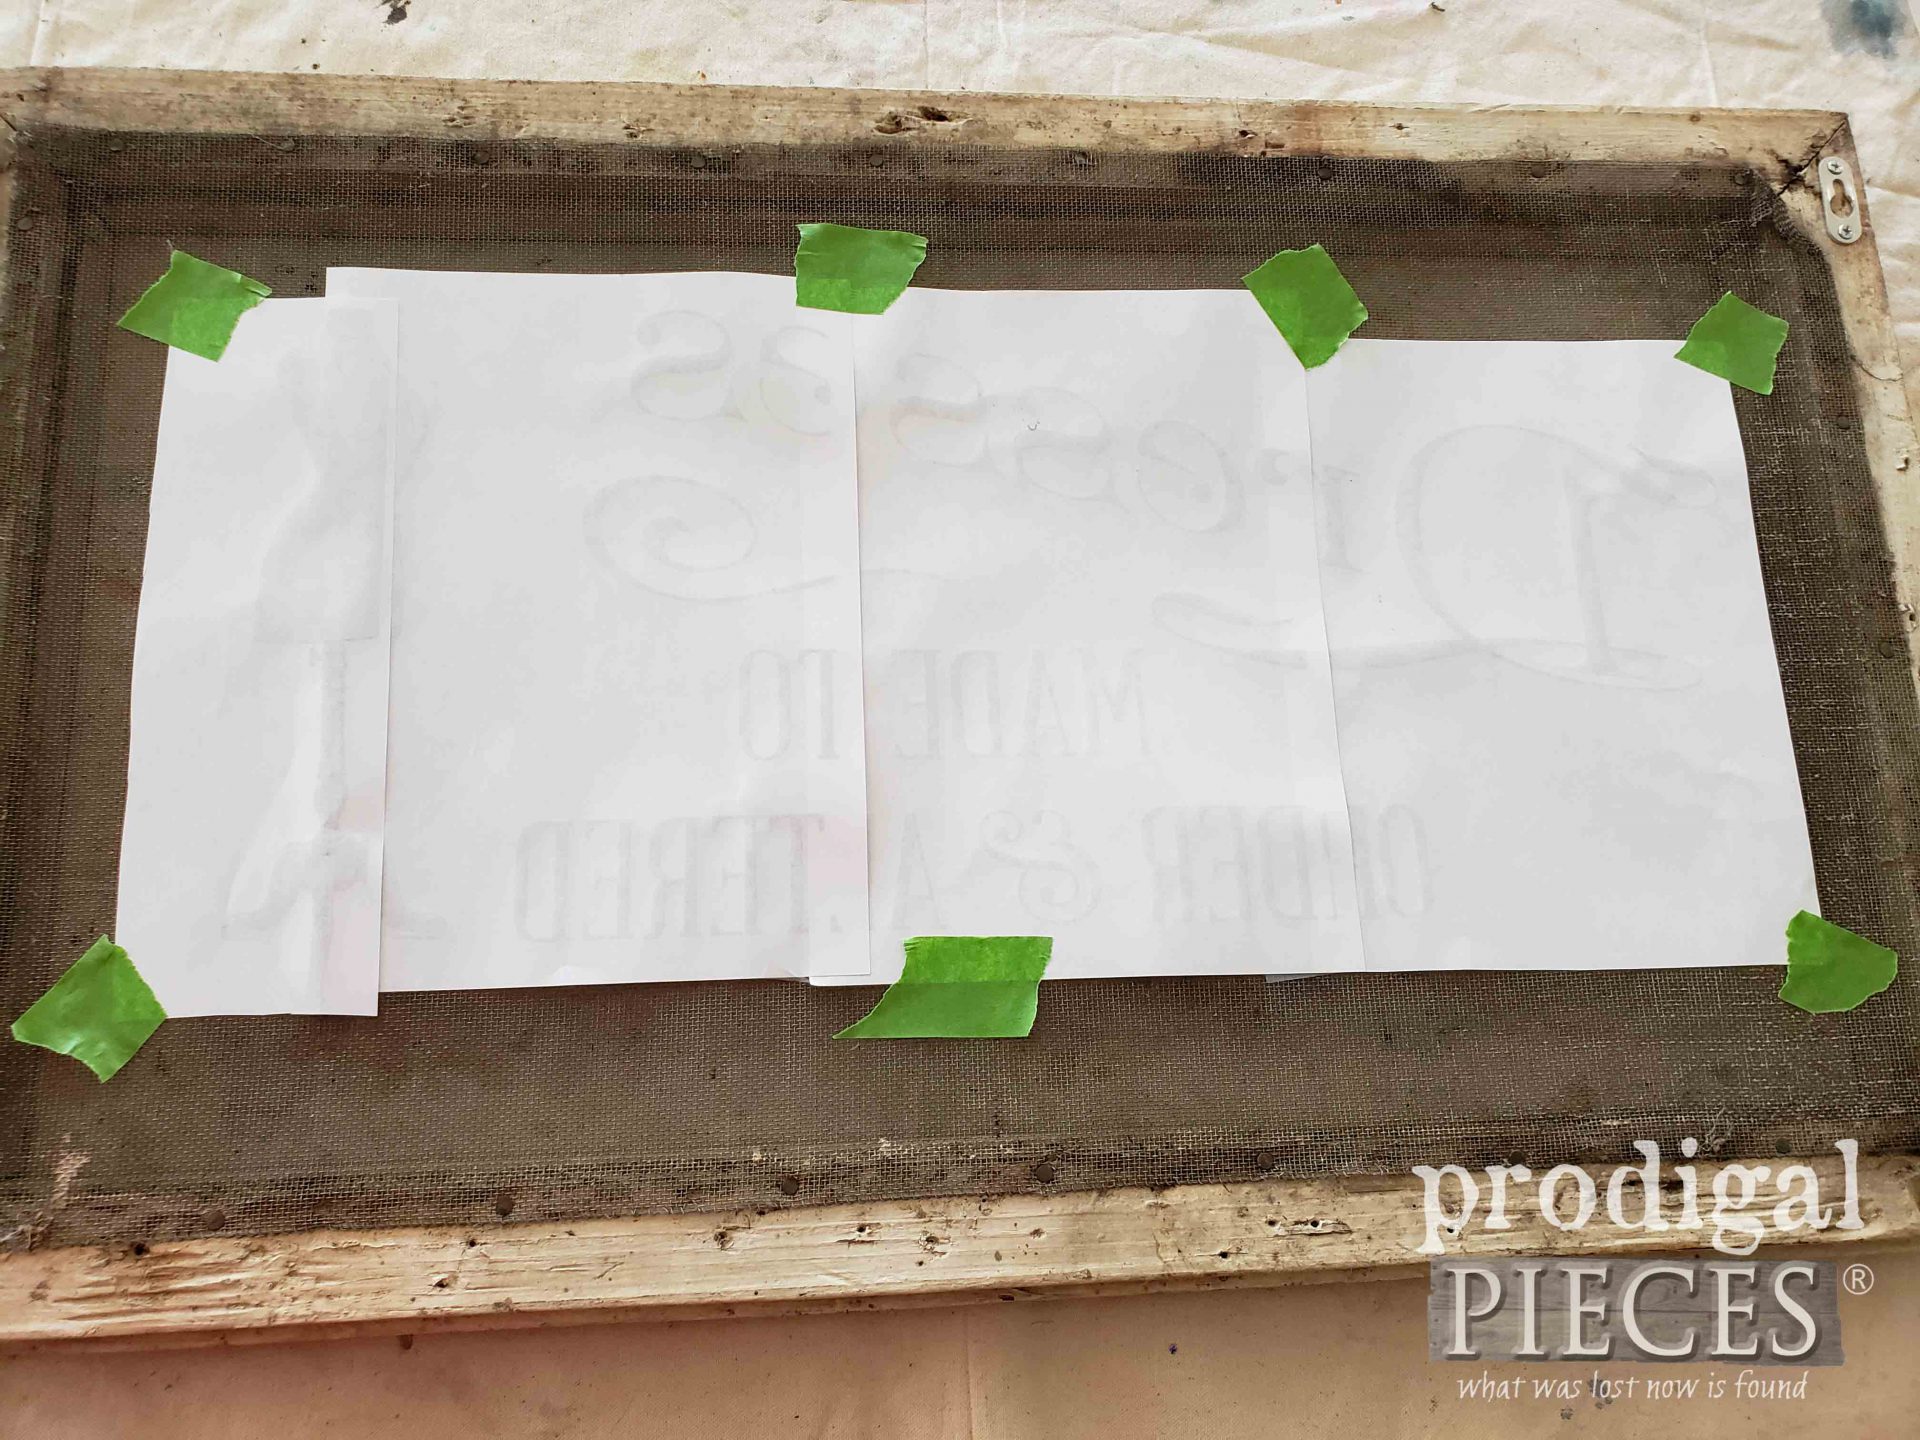
STEP 3
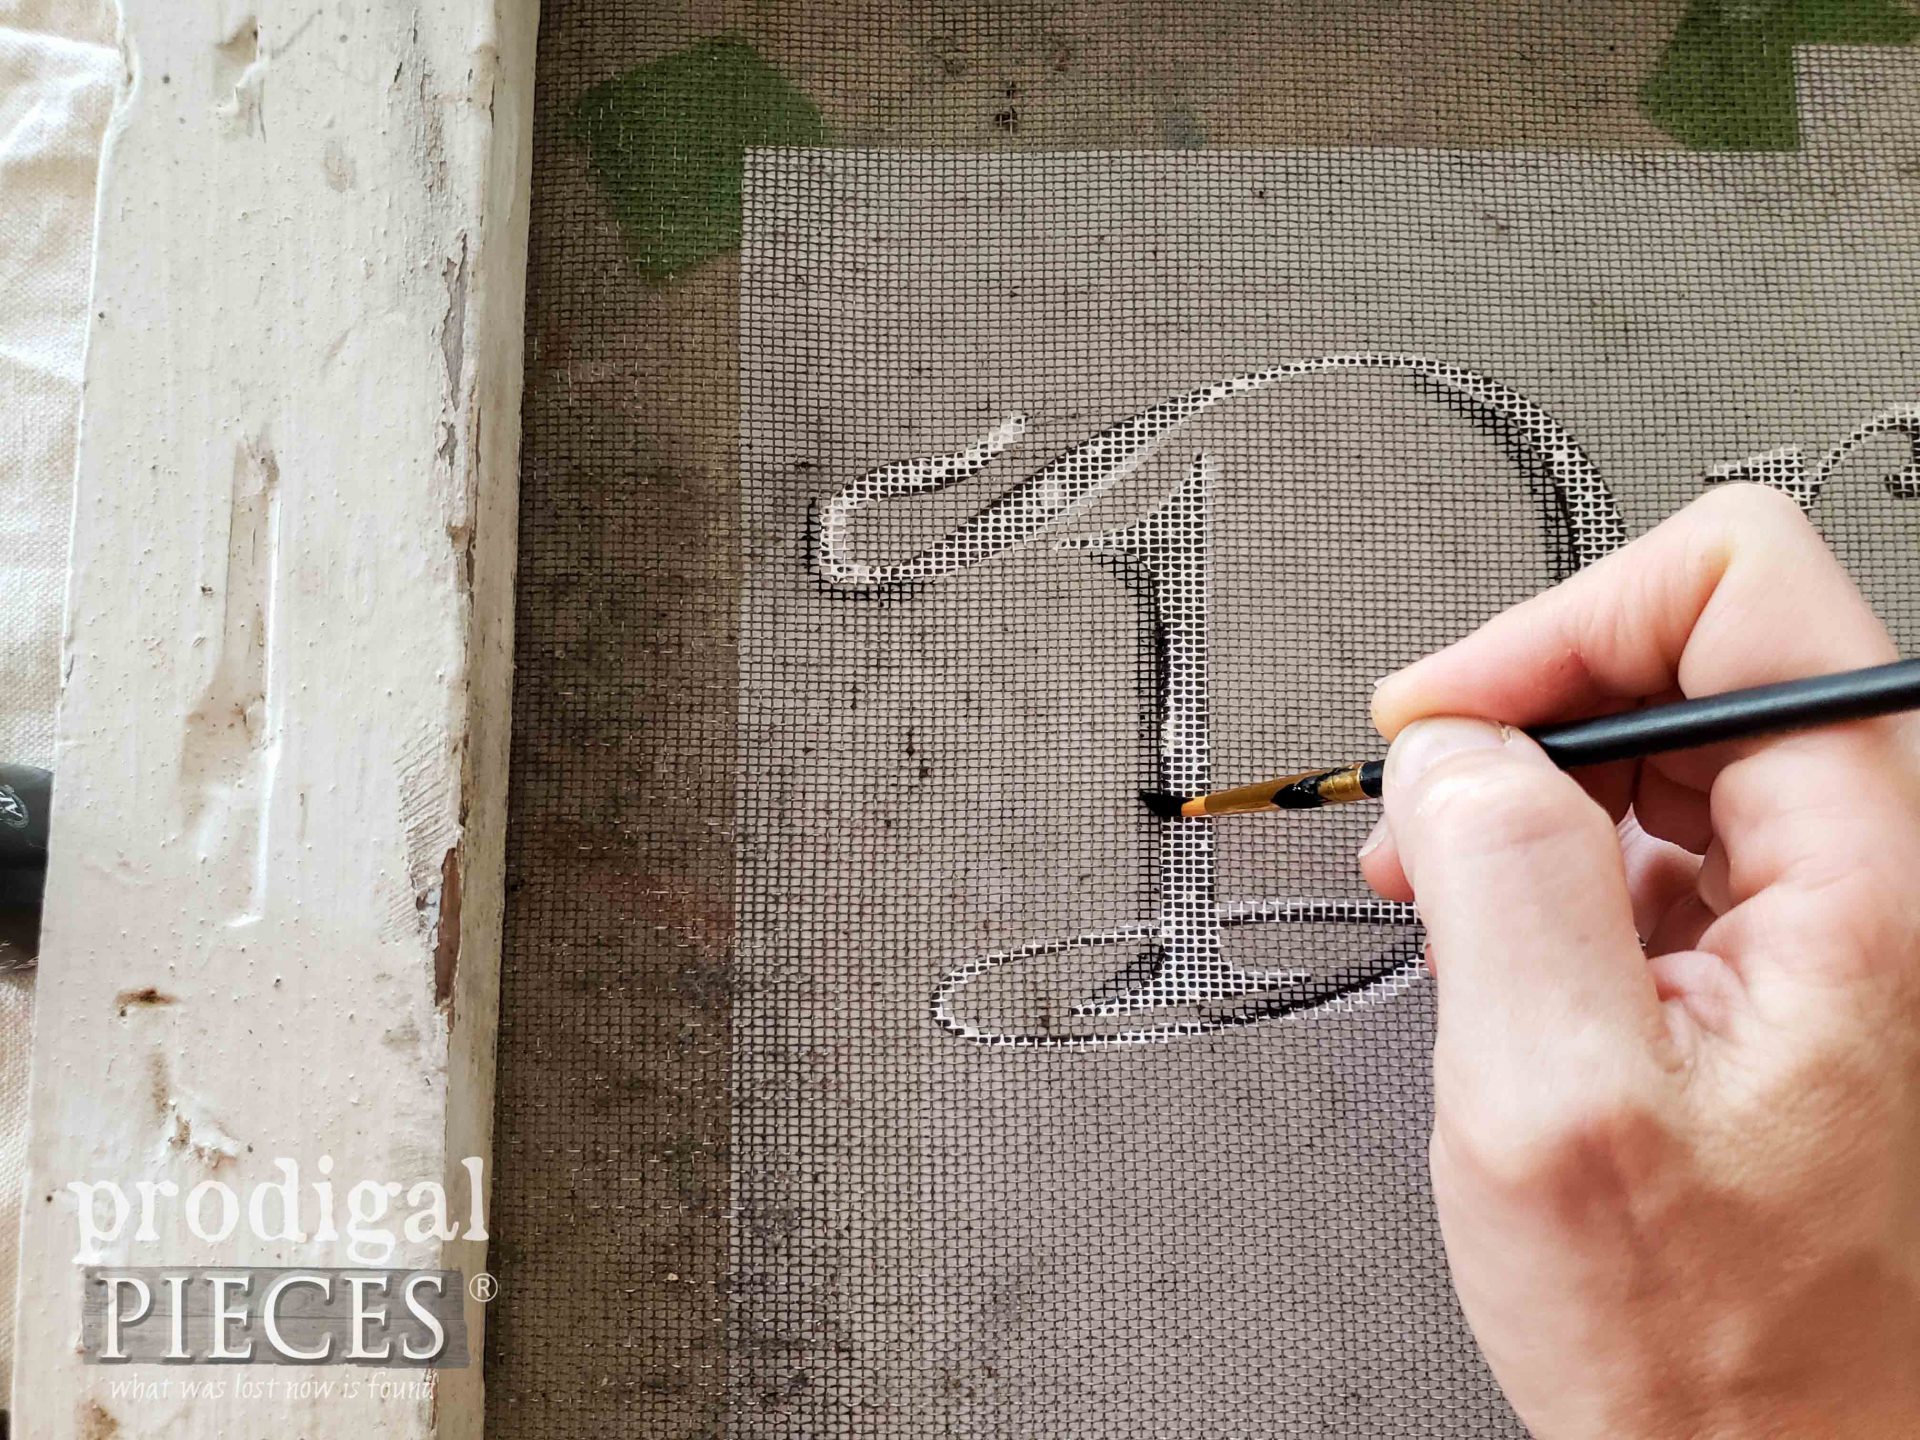
Finally, it's time for paint. I prefer to use round brushes when I'm lettering or adding typography. Also, I use acrylic paint to add the design. While painting, be sure not to fill the screen holes. However, if that is what you prefer for a more solid look. feel free to have at it. INFO BYTE: Did you know that back in the early 20th century, folks in Baltimore, Maryland would paint their home window screens? They needed ventilation on hot summer days but wanted more privacy. In order to do that, they would paint their screens with landscapes and murals to keep eyeballs out and let the cooling air in. Imagine a street lined with beauty in this fashion. eep! I prefer to start with my lighter color, white in this case. As a matter of fact, two coats make a definitive enough contrast, so take your time and do two coats.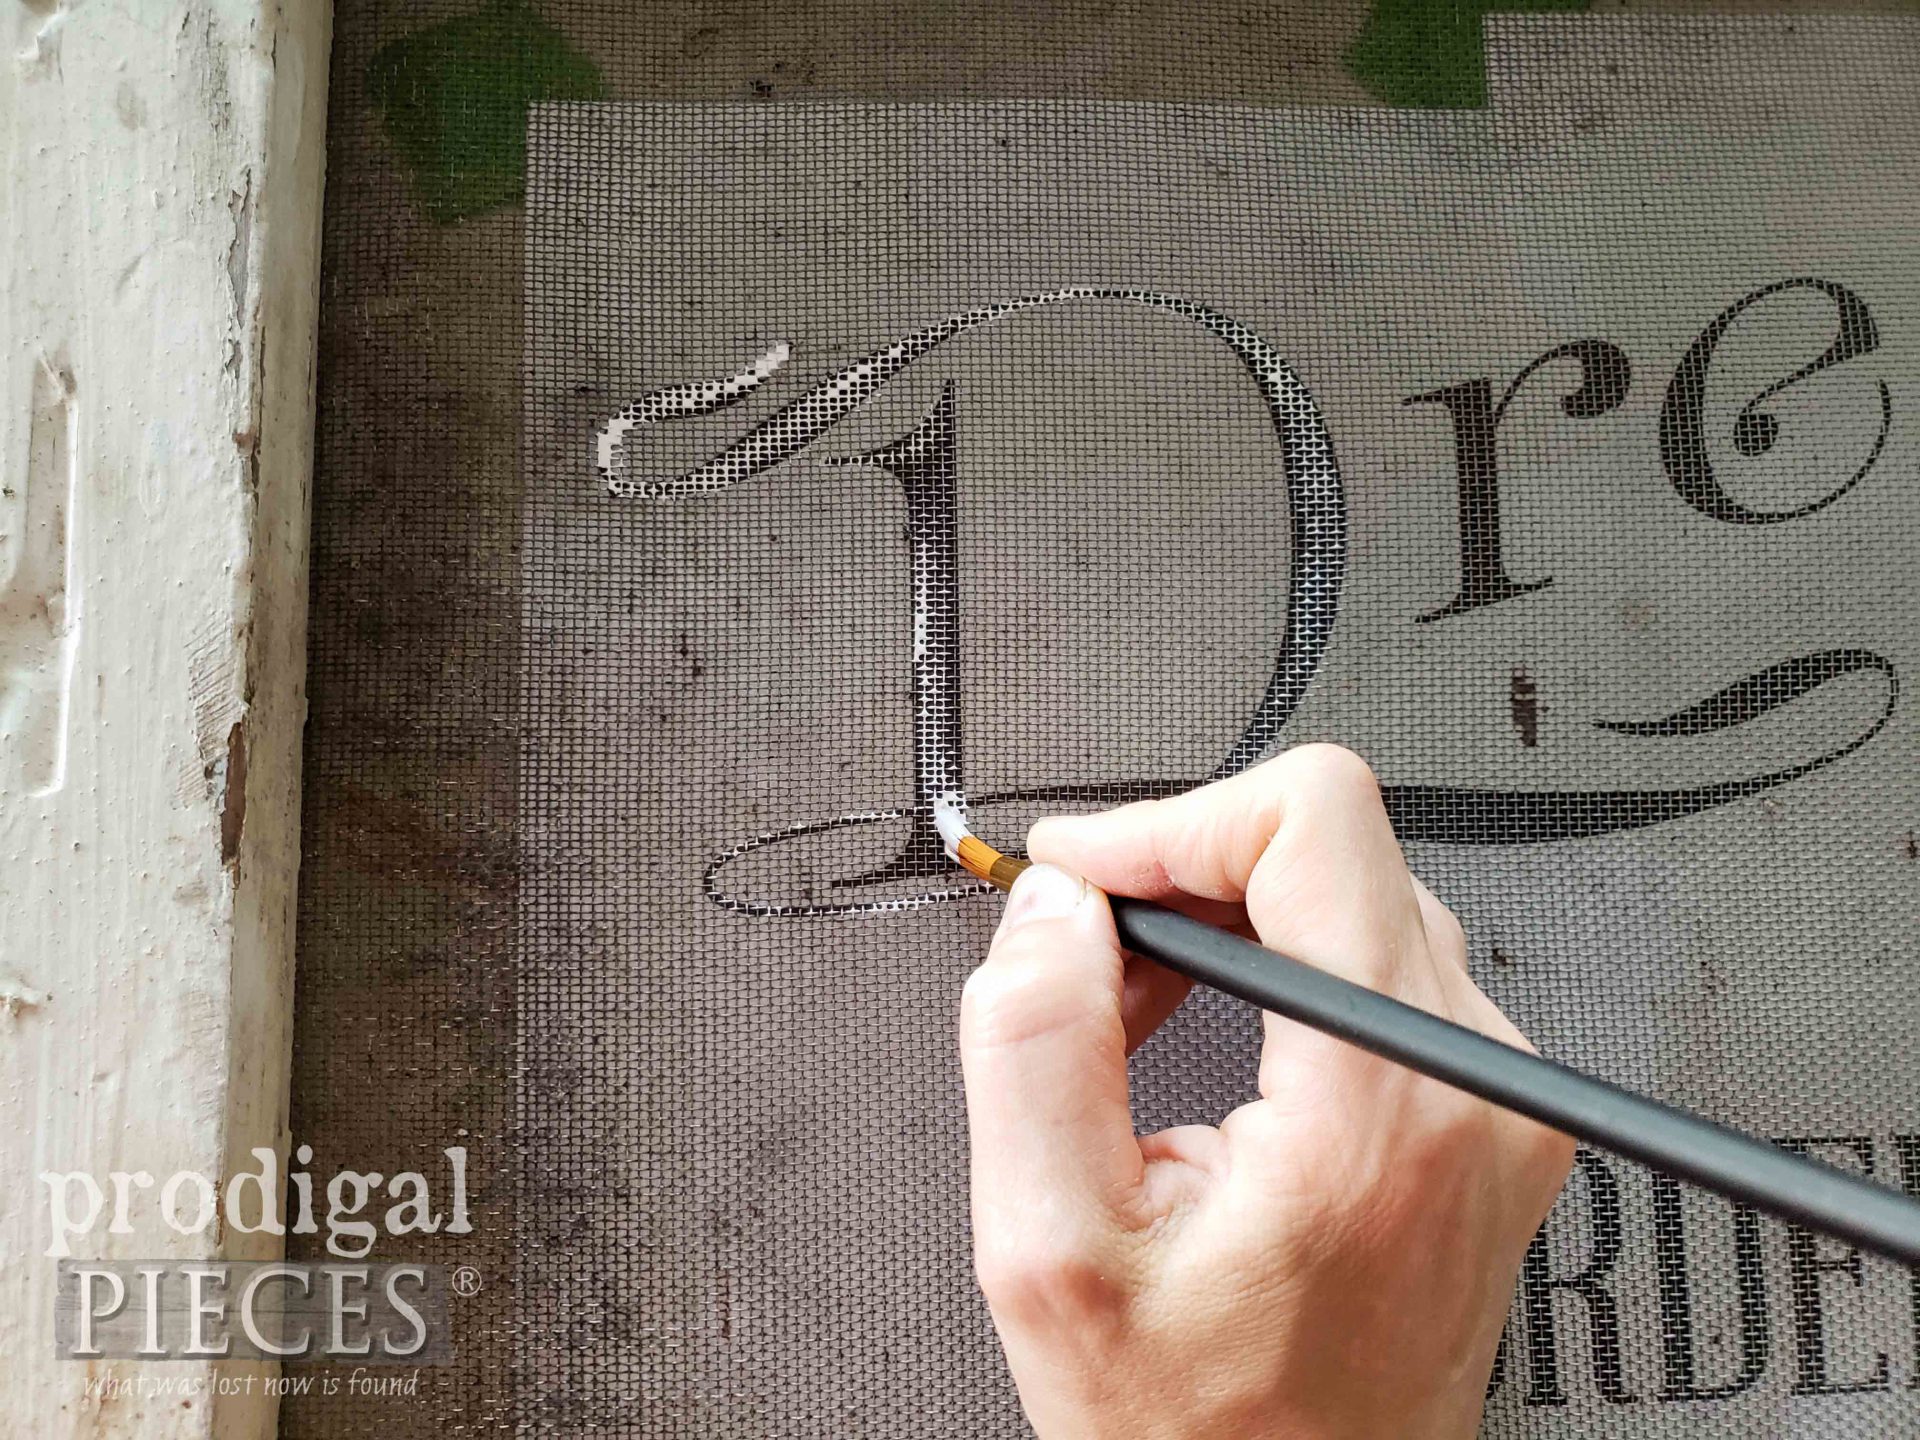 Then, once the white cures, I use a black to add shadows, accents, and depth.
THE REVEAL
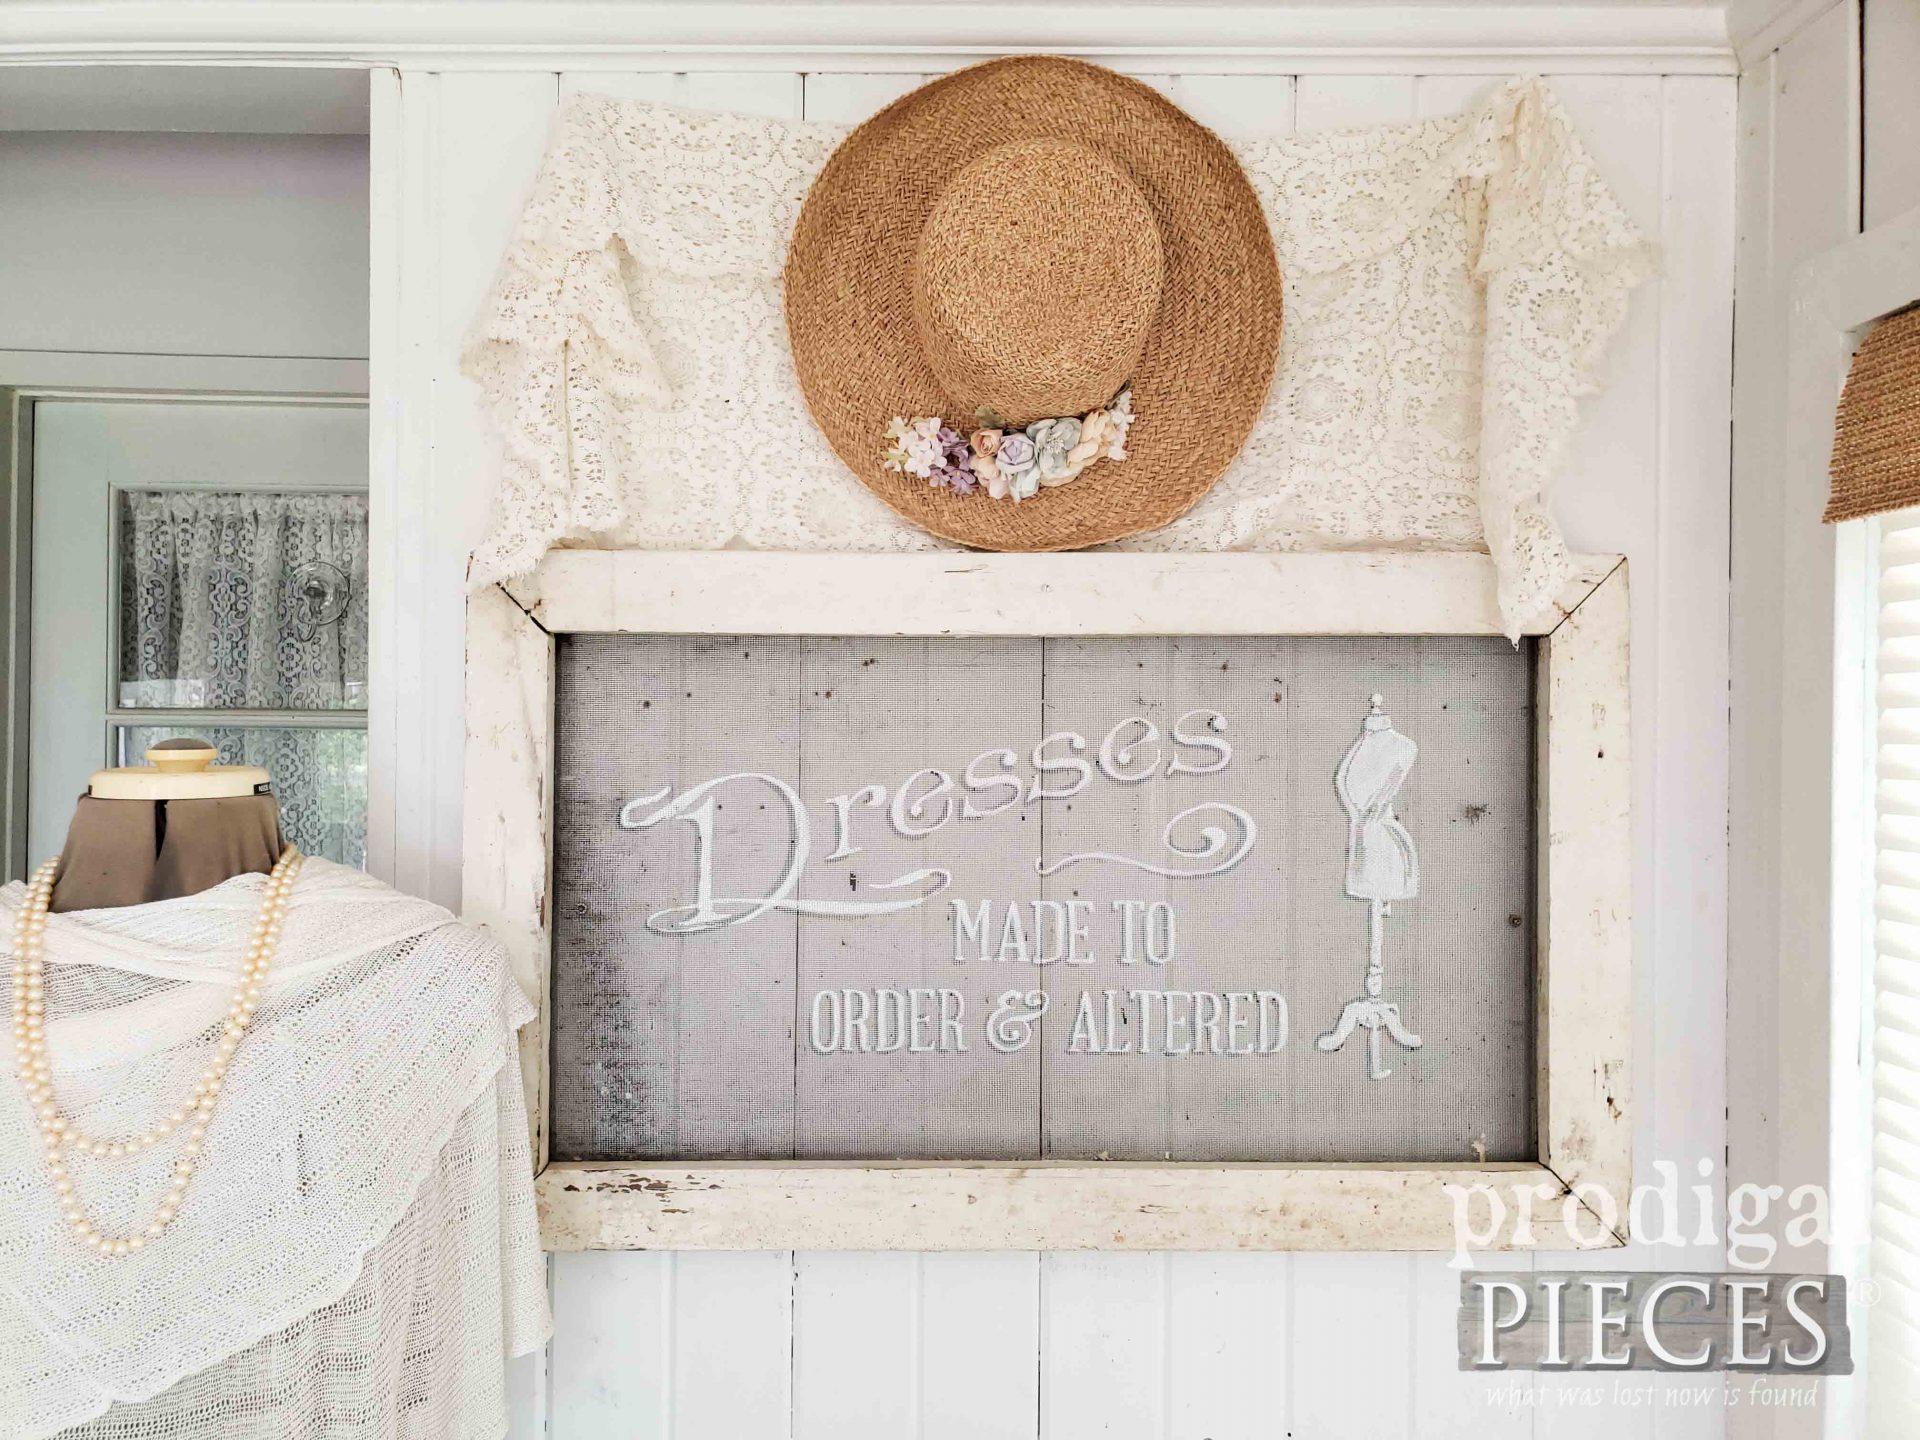
Finally, the painting a window screen project is complete. Wasn't that easy? I know you can do it too!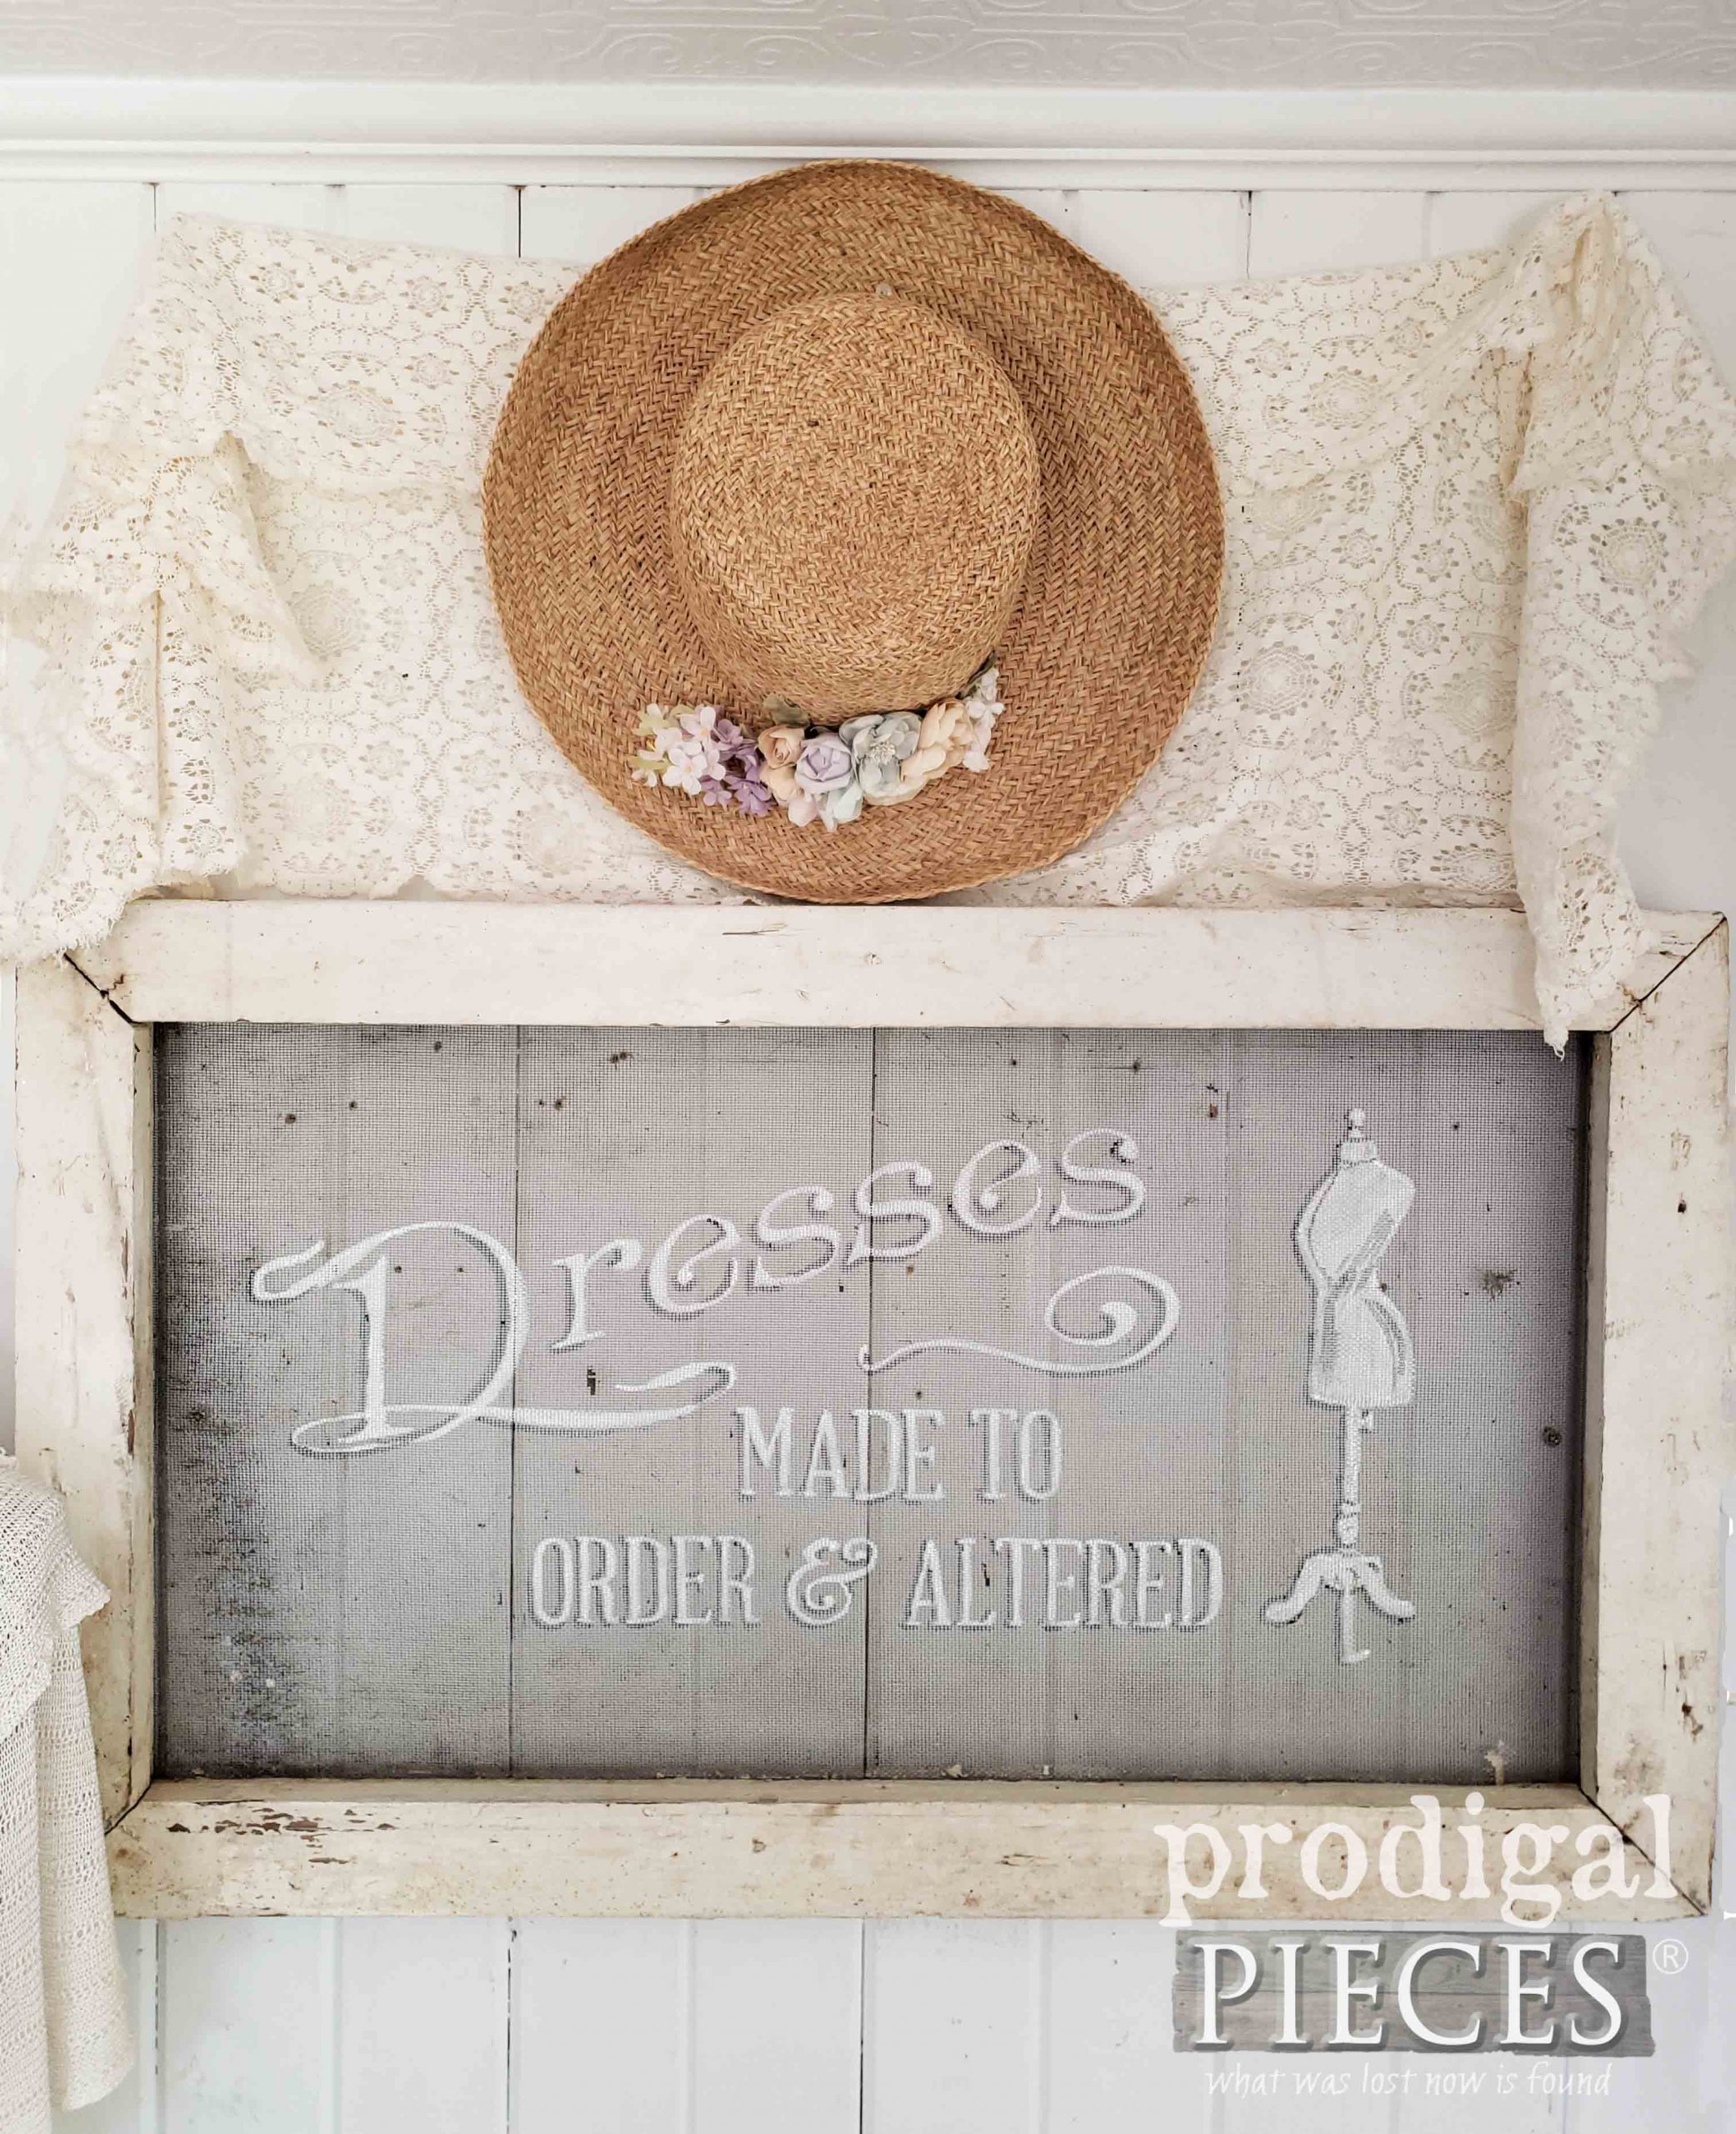
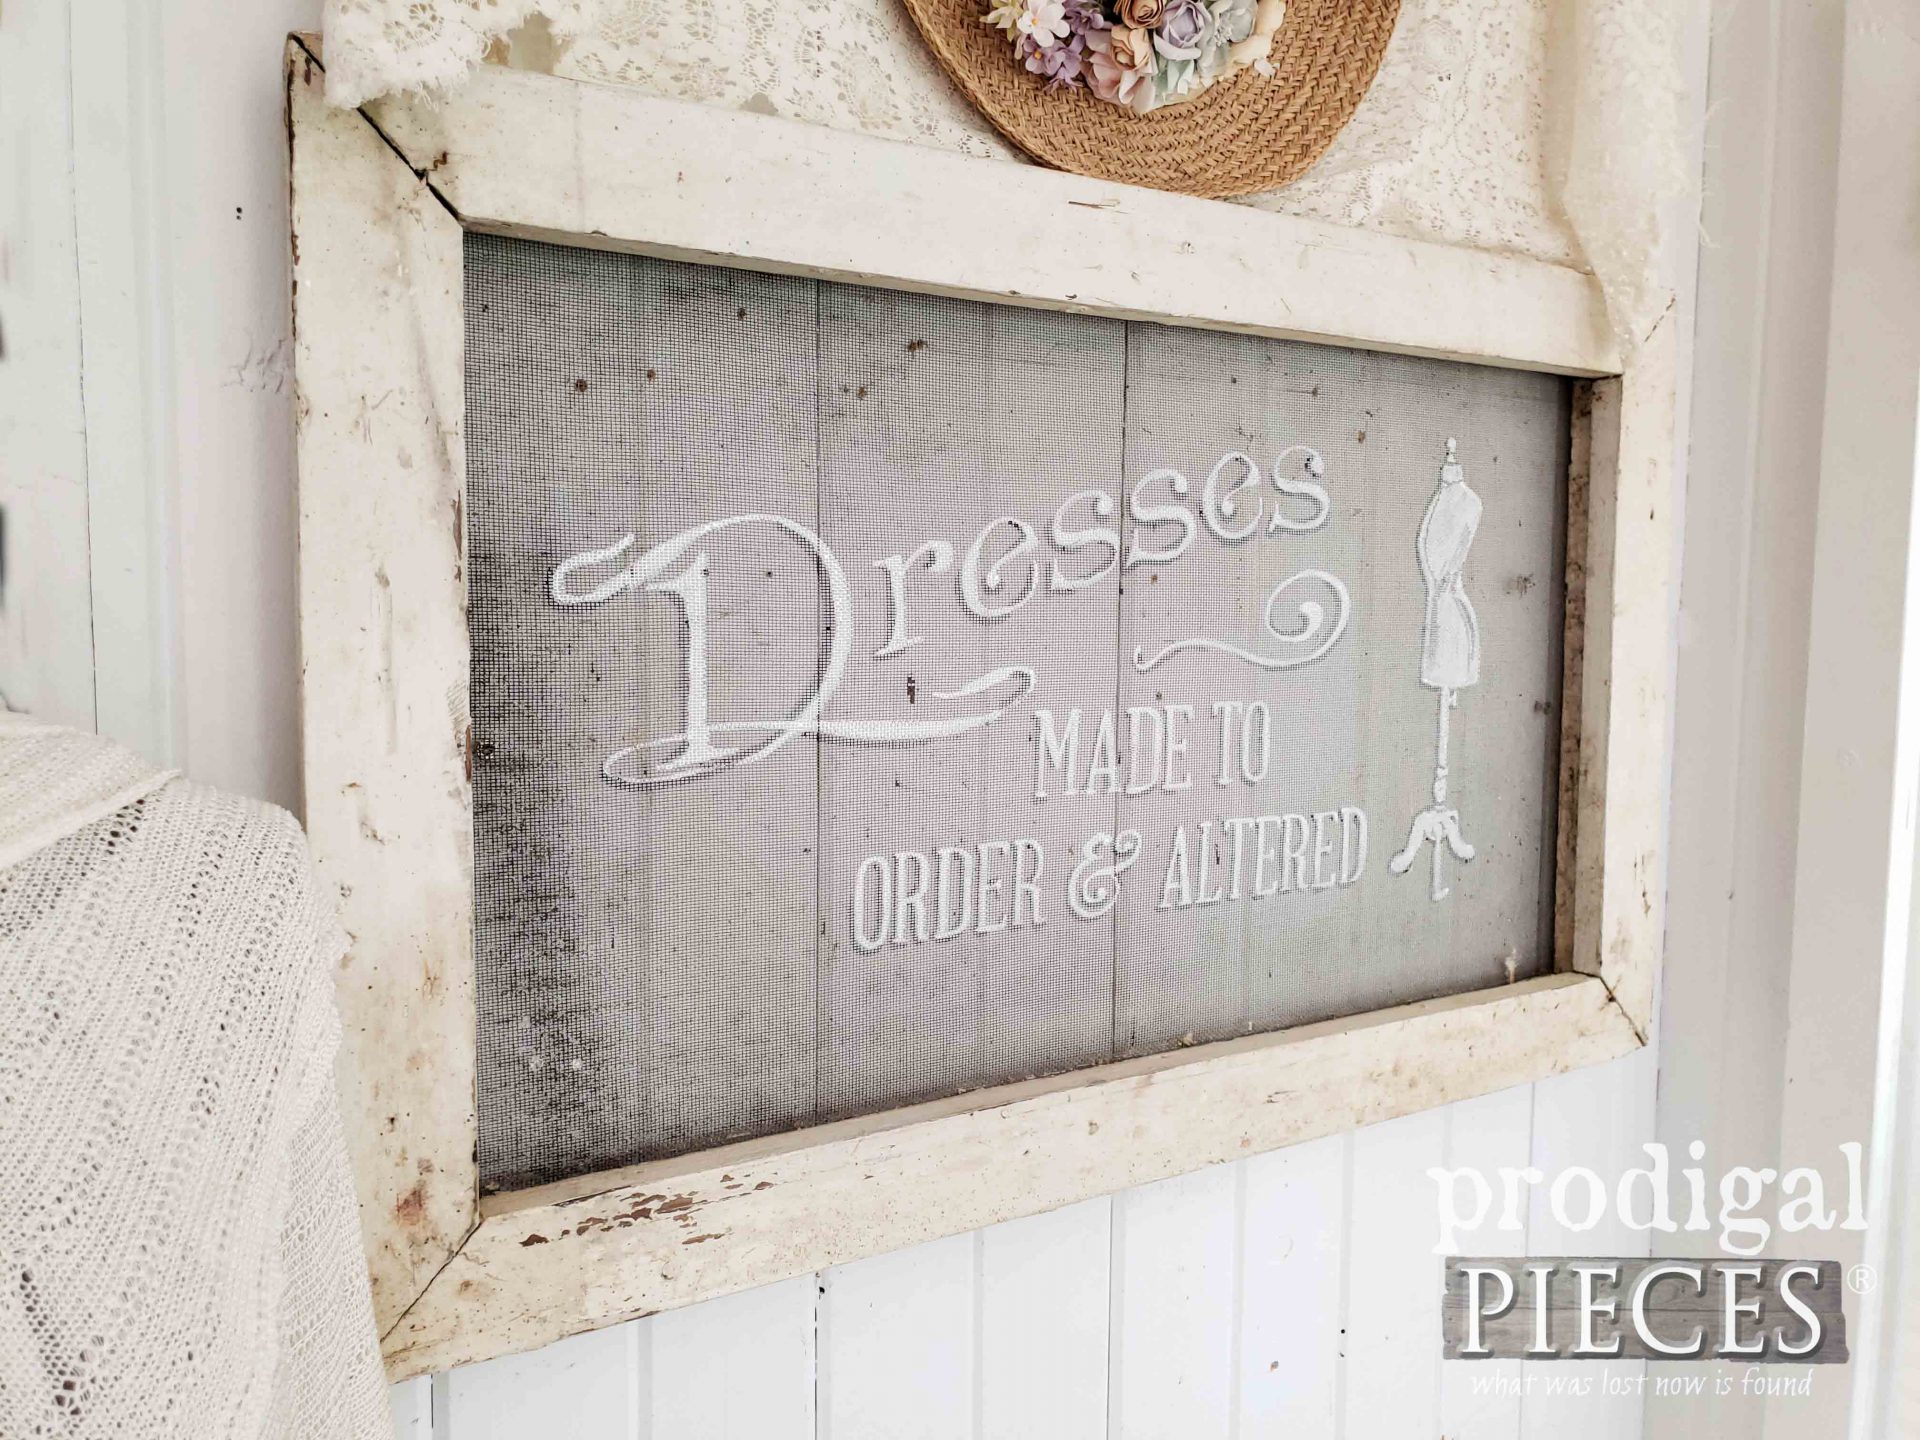 Additionally, I kept my design simple, but you could always fill up the entire screen with art. Now, I'm curious...what would you paint on your window screen?
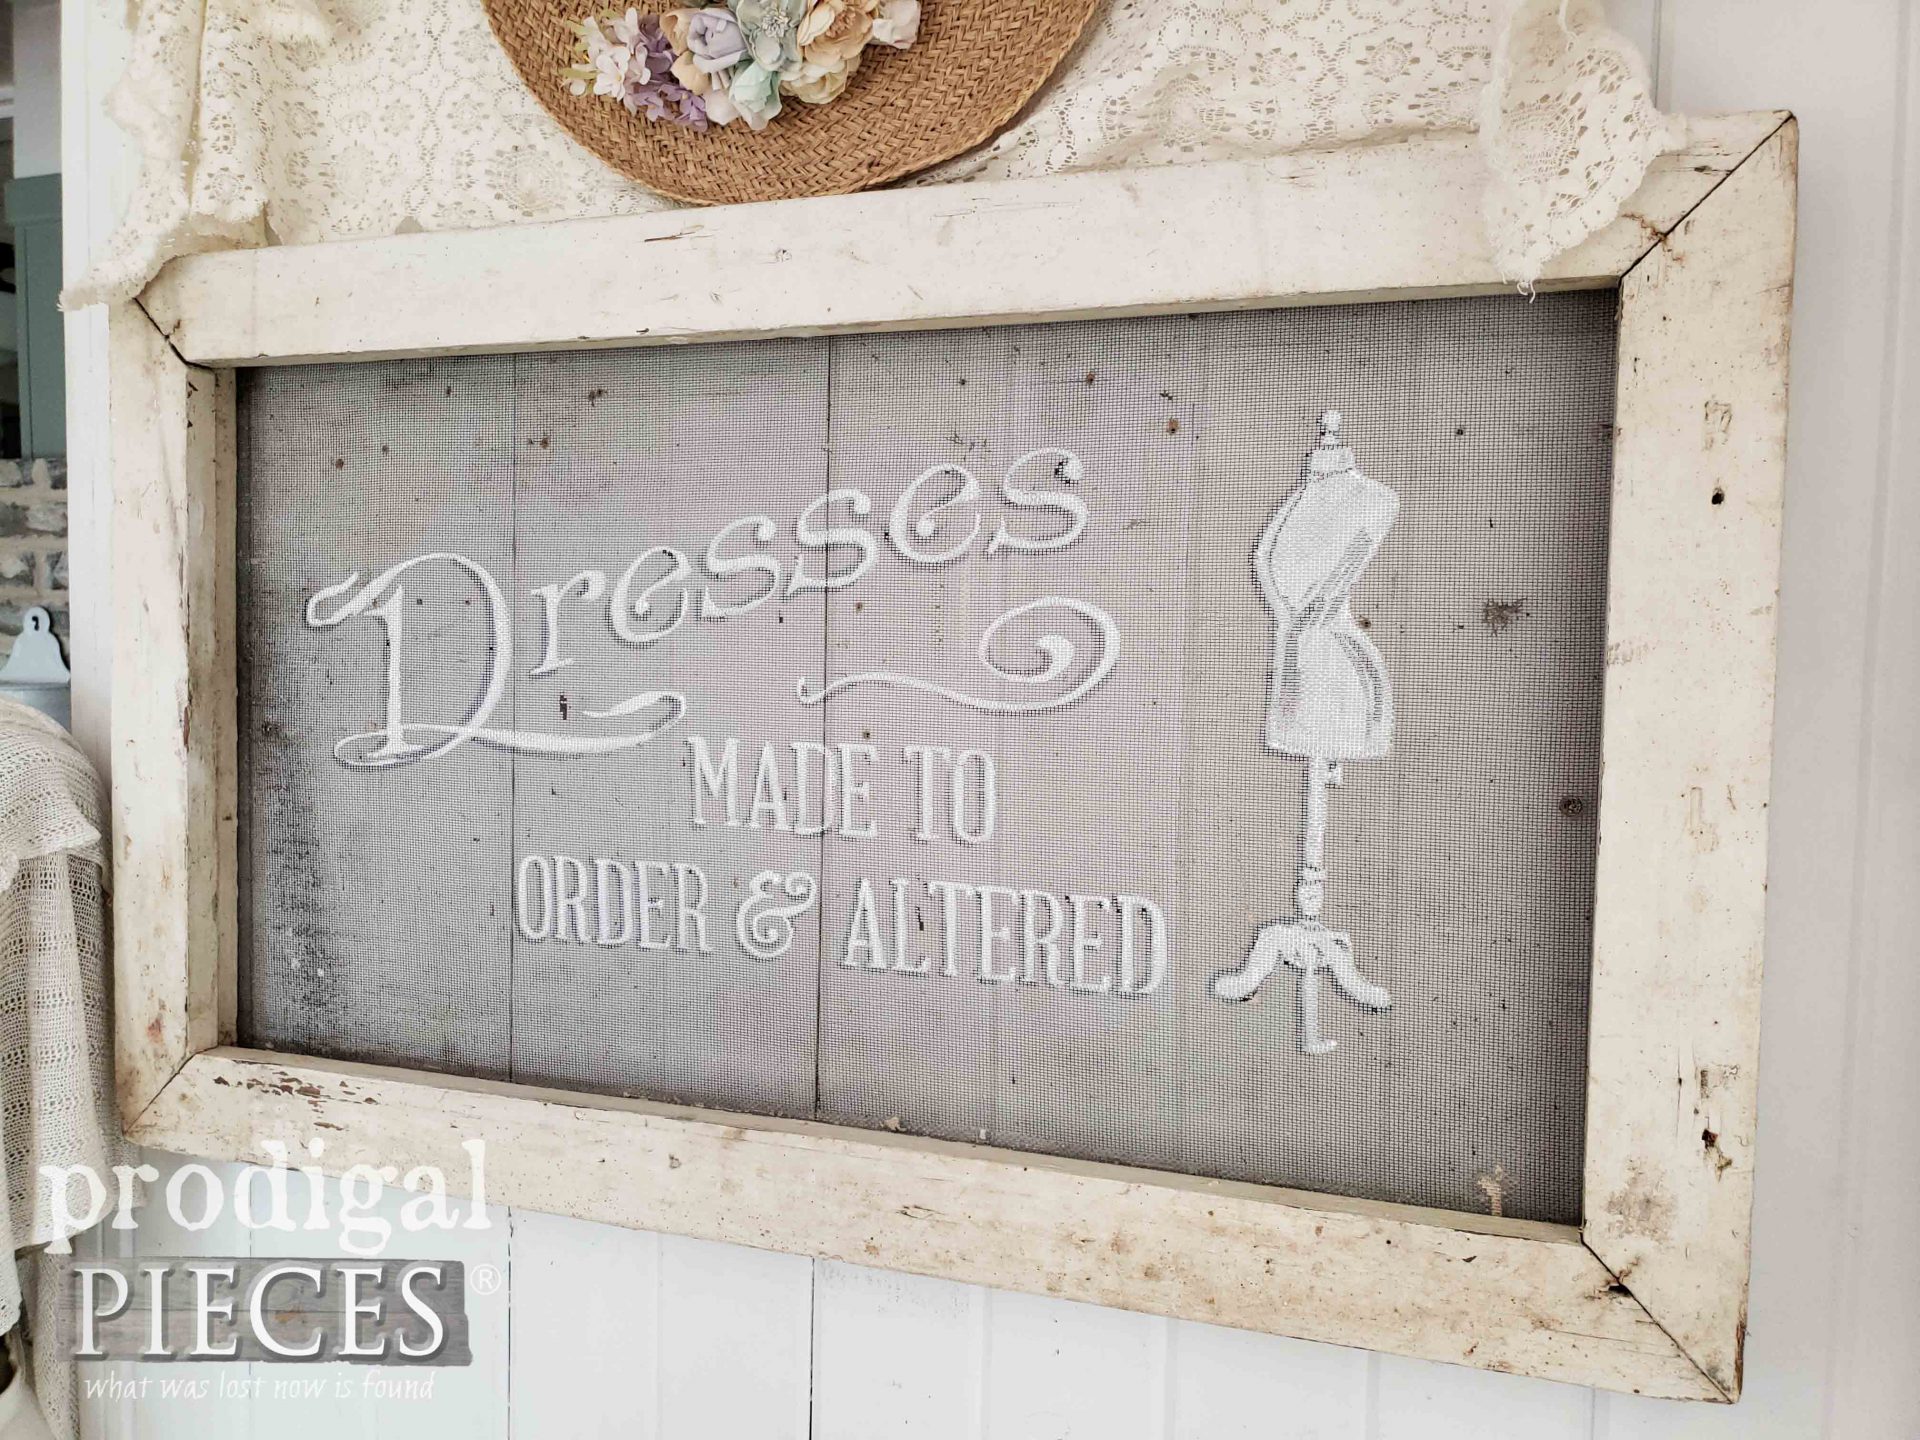
 If you'd like to make this painted screen your own, you can find it available in my online shop.
[metaslider id=30251]
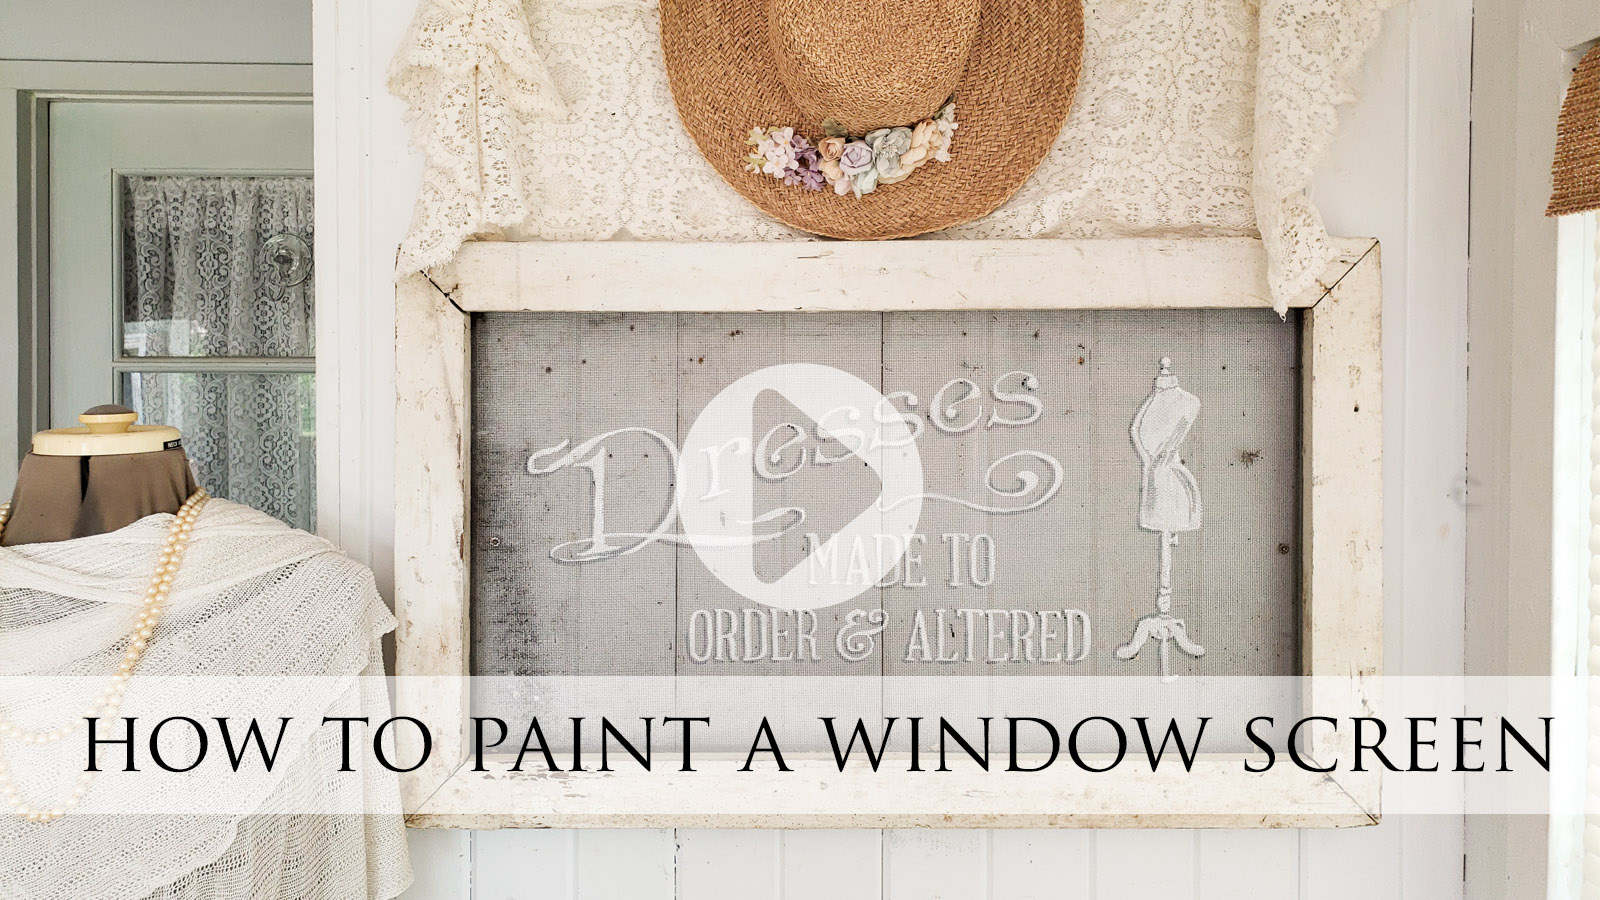
Also, pin and share my painting a window screen tutorial to inspire others to give DIY a try. Likewise, don't forget to check out my Trash to Treasure friends' projects below.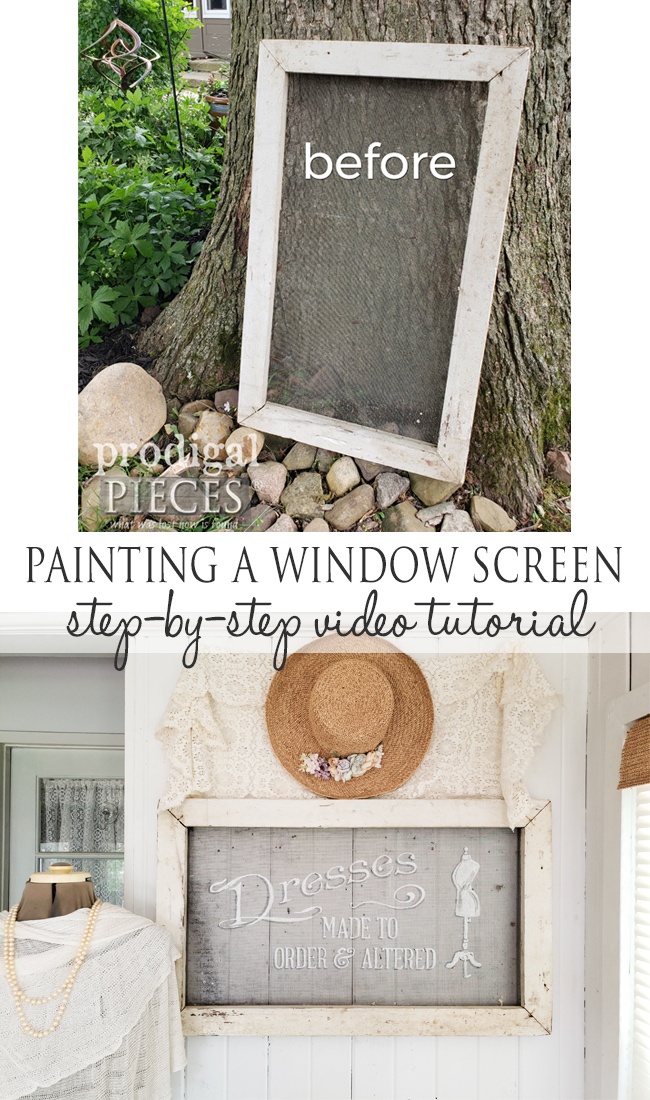 With that in mind, get these DIY tips & tricks in your inbox and be sure to sign up for my newsletter. PLUS, you will get your FREE Furniture Buying Checklist and special discount to my shop. What is more, it's time to see what my Trash to Treasure gals have for you below!


 While you're at it, check out these fun makeovers:
In addition, more projects like my painting a window screen tutorial:
