 At first glance, there are scratches across the top surface. Also, this piece is made of mixed materials (wood and particle) that has water damage. It most certainly needs some help to make it look new.

DIY TIME
First, I use my sander to take the surface finish off and get rid of the lumps from the water. Once that's done, I fill in any nicks and dents with wood filler and sand again. Now, I'm ready to add a stain/odor-blocking primer as a base. You can see how I've used it for smoke-filled pieces HERE. Next, I get to start my painting fun after the primer has cured. For this, I'm using my brush with a white acrylic in eggshell finish.
 Then, after two layers of white paint cure, I begin to add my grain sack layers using painter's tape. If you love this effect like I do, you can see how I've used it in these past furniture and fabric projects HERE.
 Last, I use my grain sack stencil to create even more dimension to my painted side table makeover. Likewise, if you'd like to try this grain sack style, you can see my son's tutorial in this post. Then, to top it all off, I apply a natural wax to seal it and protect.

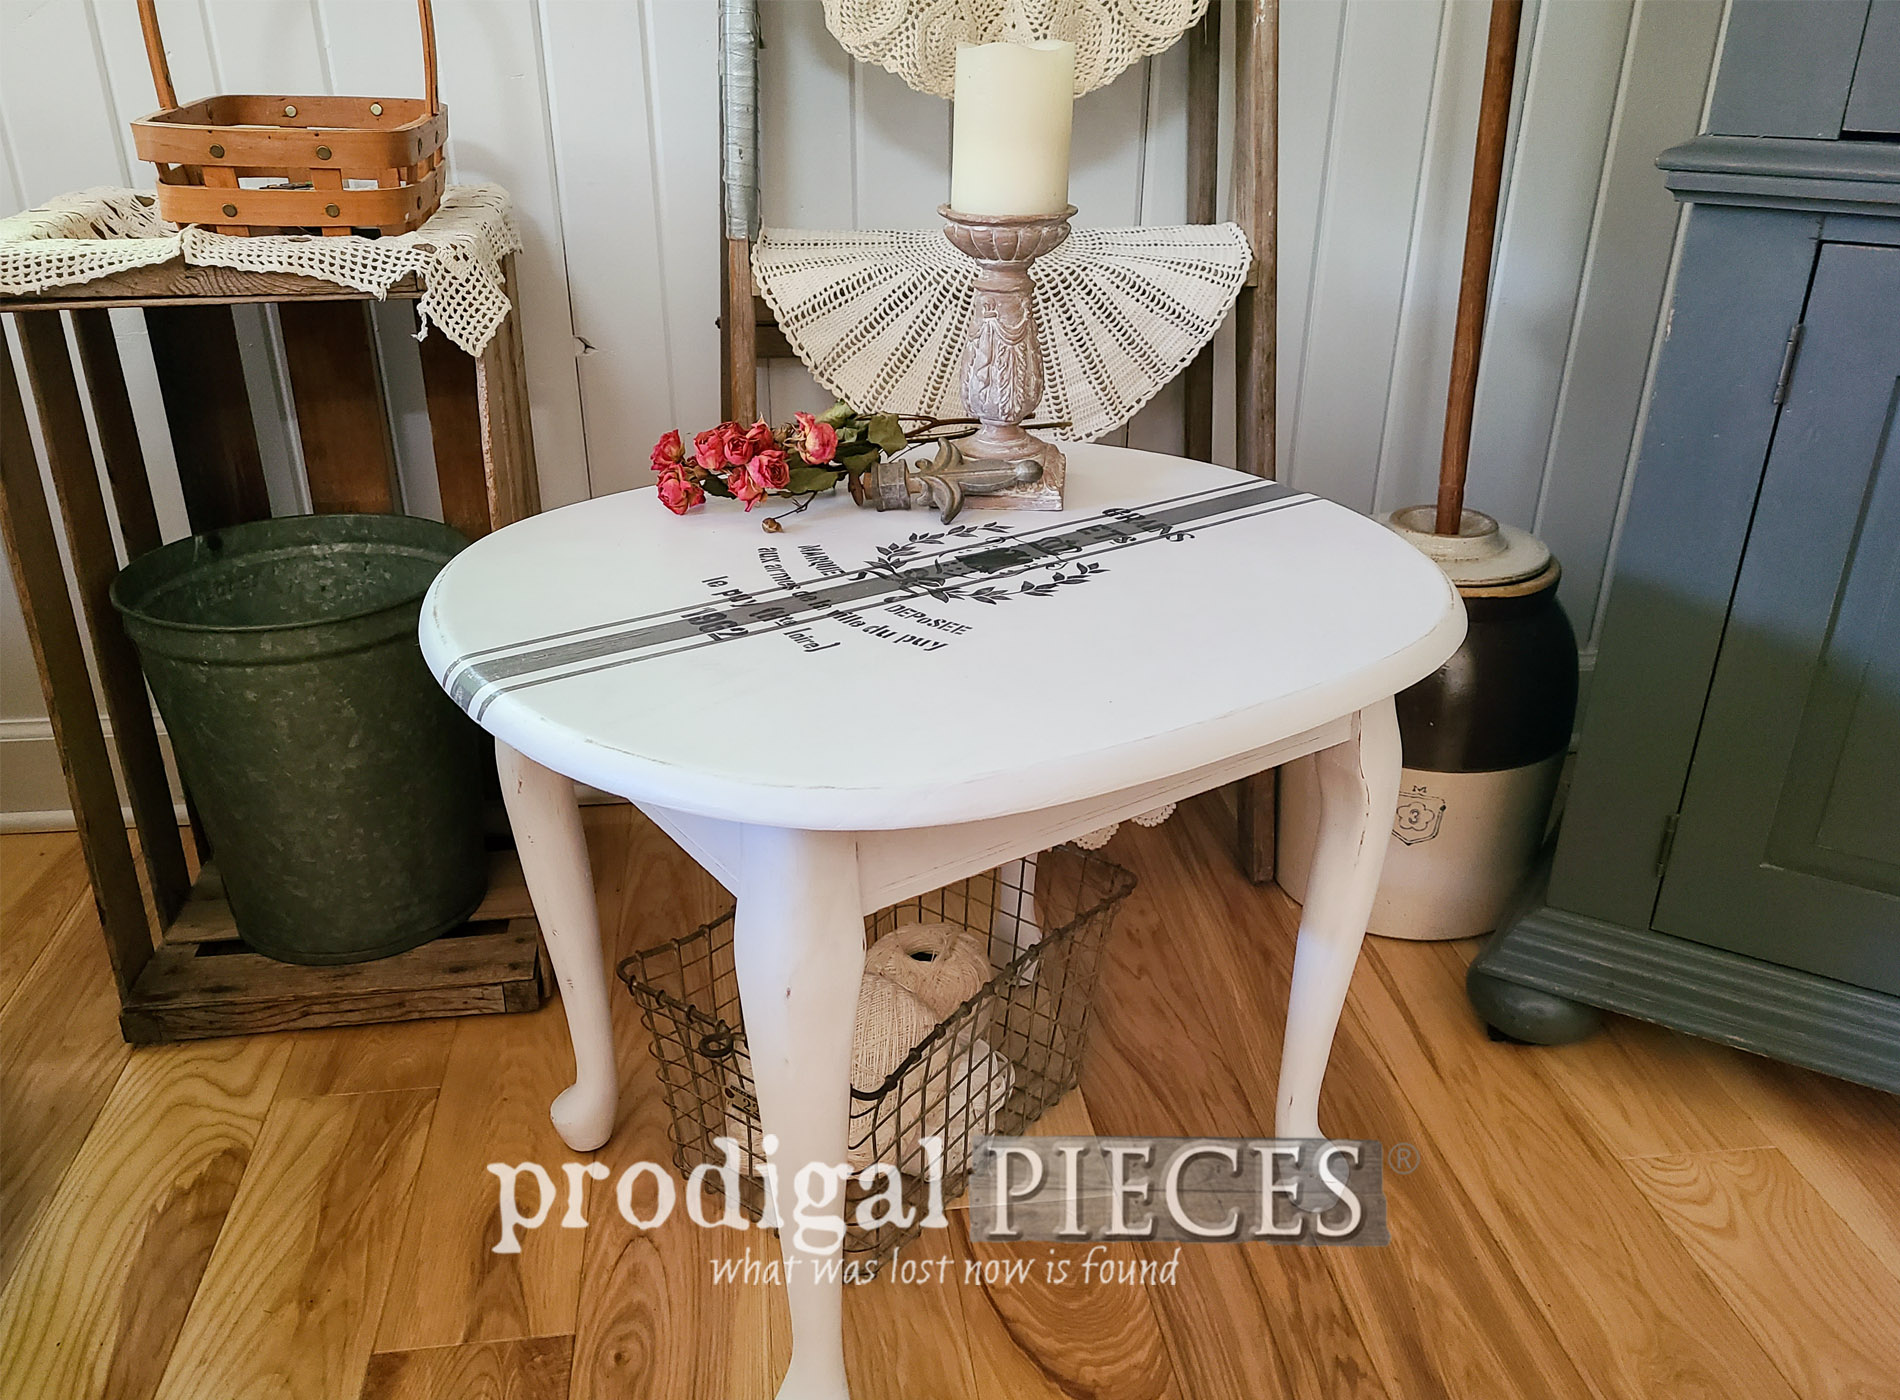
THE REVEAL
Finally, here it is! Quick, simple, and easy painted side table makeover, don't you think?
 Like I've mentioned before, I love Queen Anne style legs, and this one is now finished proper-like. tee hee.

 Can you tell I had fun with this? I truly think it is like night and day.
 All it took was a bit of DIY elbow grease and know-how with the right products. Finally, this little cutie is ready for a new home.
 In addition, if you'd like to add it to your home, you can find it available in my online shop along with other furniture, vintage finds, and handmade items.
[metaslider id=30251]
So...I'm curious...what would you have done with this table? I'd love to hear your ideas or questions you may have. Likewise, pin and share my painted side table to inspire others to not quit on pieces that seem overwhelmingly hard.
SHARE
Additionally, next I'm sharing what these are and what I'll be doing with them. Come see their new life over HERE. To get these DIY tips & tricks in your inbox, be sure to sign up for my newsletter. PLUS, you will get your FREE Furniture Buying Checklist and special discount to my shop. Until next time!

Also, more projects like my painted side table:

