Who doesn't love stylish storage? However, in most homes (even mine) it can be easy to just stick stuff in places without thought as much to style. That's perfectly fine! In this case, though, I want to show you how easy it can be to update your home with a bit of DIY elbow grease using this Mid Century Modern bookcase as my example. Let's have some makeover fun!

At first glance, you can see that this is a pretty
standard bookcase. You may be wondering what makes it Mid Century? Well, the feet are tell-tale, and the age of the wood used. This is not your manufactured wood hot mess that most stores offer today (which is sad, unfortunately). {{Garth Brooks sings - I got friends in junky places, where the rust is my fix, and the broken pieces that call my name, 'cause
trashure is my game." YEEHAW!}}
MAKEOVER TIME
First, as you can see, there is oodles of wear this this bookcase. While I could take it all apart and refinish it, I'm wanting to go a different route since some of the wood has deep gouges.

My first step is to tighten up all the joints. In order to do that, I need to take off the backing and then glue and nail the joints back into a tight state. See the bottom corner in the picture above? Those gaps are no more. Yay!
Then, as soon as things are tightened up, I use my wood filler to tackle all the wear on top, sides, and shelves. Doesn't it look like a paint horse with all those spots?

Next, as soon as I can, I begin to use this seconds paint in a muted tone. Notice I'm using a micro-foam roller to quickly and easily apply a smooth base coat. Not only did I paint the case, but also the backing as well. Though, I left the feet in the original stain for a contrast.

TIME FOR TEXTURE
Finally, after two coats of paint cure, I want to do something fun with the backing to set it off subtly. Since I'm wanting to stay true to the MCM style, I want to add a texture to the back. While I debate on using paper, fabric, etc., I settle on creating a fabric linen-look using paint. I've done this technique before and it always works well when done right.
Since I've already painted the backing in the same color as the case, I'm going to use a mix of the beige color I have left in my pan and blend in a creamy white.

Then, once I have the color I desire, I roll it on quickly so I can do the next steps. Technically, you can use a product to lengthen the dry-time when doing larger surfaces, but I'm only doing one panel so I just use the paint as-is. Please pardon the darker photos as it is cloudy/rainy outside and I'm in my workshop.

After that, I quickly use my bristle broom to brush across the backing first one direction, followed by going in the opposite direction.


Do you see how it's creating that linen fiber appeal? I love it.
Last, when all the painting is complete, I apply a matte polycrylic to protect and seal my work and assemble the shelves.
REFRESHED
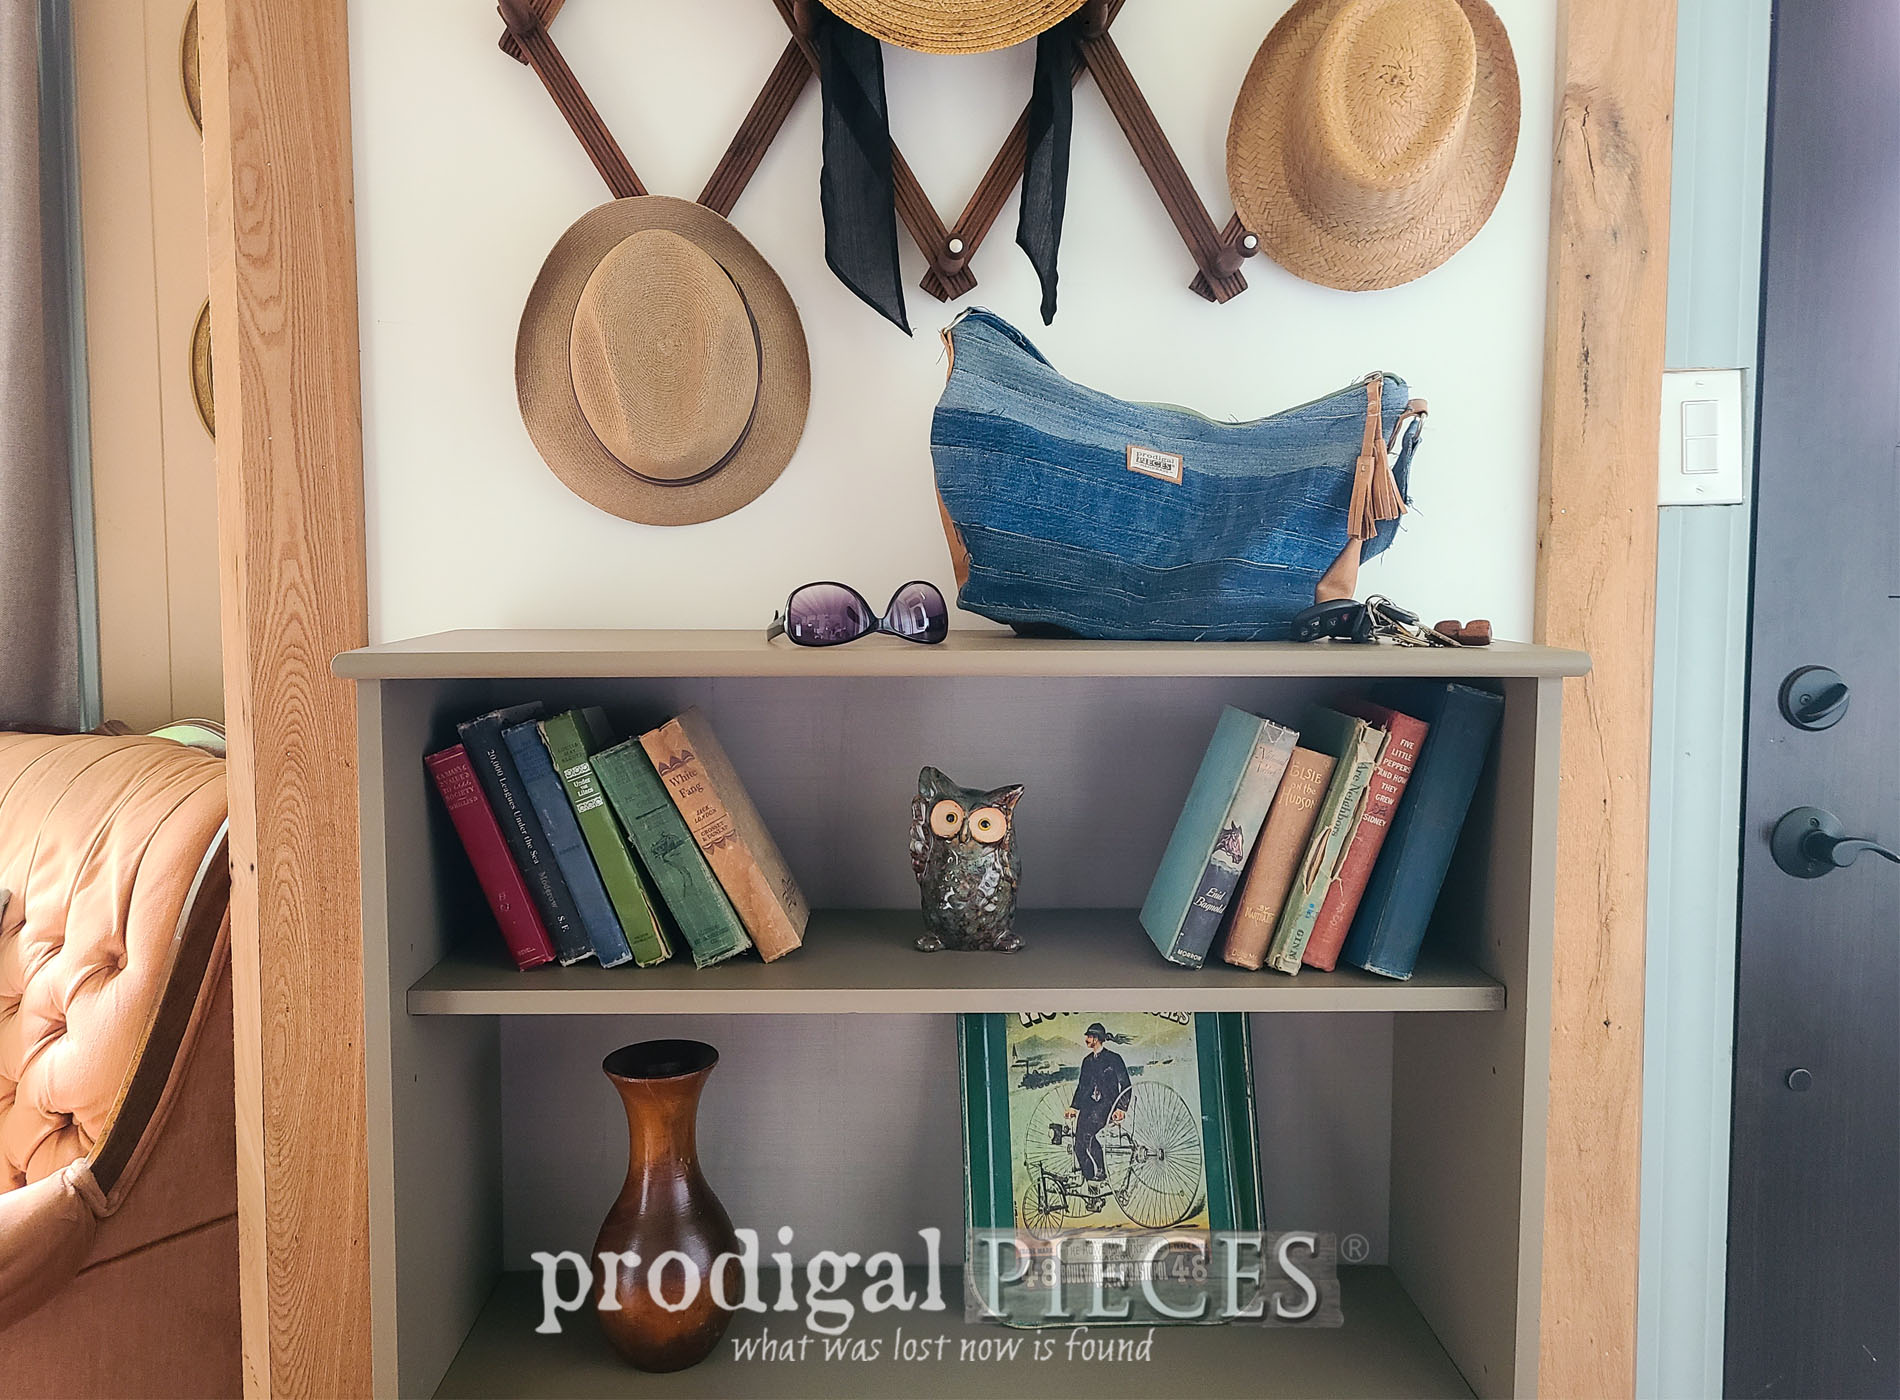
Here's my vintage Mid Century Modern bookcase all dressed up and ready to go with a brand new look.


The soft color is just what I was after and I've become hooked to it for many projects including this
medicine cabinet makeover.


Additionally, my love for linen in real both in the fabric world and also in texture. I wish you could see it in person, but these pics will have to do. Can you see it?

Not only is there no reason not to update your own furniture to suit you, but it's FUN!! You can create your own home story by just being willing to try. No one ever regrets the trying...it's the not trying that stays with you.

If you would like to add this piece to your own home story, you can find it and more in
my online shop. The selection is always changing, so take a peek.

SHARE
Okay, so now it's your turn. Won't you pin and share to inspire others to tackle their own DIY project?

Last, but not least, be sure to
sign up for my newsletter to see the fun Imma gonna have with this country blue gem YEEHAW!!
Come see HERE. Until next time!

 PINTEREST | EMAIL

Also, more makeovers like this Mid Century modern bookcase: