As another month rolls by, it's at the last Tuesday that I get to share with you another
Reduce, Reuse, REFASHION project. yahoo! This is a fun time for me as it gives me a chance to work with other textiles and (hopefully) inspire you to give this a try as well. Take a look at these adorable pants I found at the thrift store with brand new tags on it. They're about to become a ladies' smocked blouse. Check it out...


When I first found the pants, I was hoping they were in my size. Sadly, they are a size small and too short for me. However, I couldn't resist the ticking stripe and so home with me they come. Also, I notice in the store that the smocked waistband is coming loose from the legs. Not a problem for me.
 DIY TIME
First order of business is to finish the dismantling of the smocked waistband that has already starting. I use my seam ripper to take it off the legs of the pants and set it aside.

Then, once I have the waistband off, I cut up the leg seams to open each up for making the most use of the fabric. I'm a unique sort that I like to make my own patterns. Many years in the making using desk calendars or recycling my paper to make my patterns. Here's a stack of some of them. Notice
my upcycled sweater dog coat pattern is on top. I miss my dog, Teddy. sniff.

Also, here's my doodle of my vision for the pant fabric. I, honestly, don't know if I'll have enough fabric, but there's only one way to find out.

Next, I pull out a pattern I made for a nursing nightgown a decade or so ago, and use it to cut pieces for my blouse. These are to be the sleeves.

After that, I cut the smock top, and then the rest of the leg becomes the skirt of the blouse. My goal is not as much to show you how I did it, but that it can be done. This projects is pretty simple and straightforward with basic knowledge of sewing. If you want to try, there's only one way to start...today! Cutting up a pair of thrifted pants is affordable - you can even use clearance fabrics to practice on.
ASSEMBLY
Finally, now that I have my pieces, it's time to assemble. I use a combination of my serger and sewing machine to add the sleeves to the top, then add a casing for elastic on both the neckline and sleeves. Handy tip: I use my crochet hooks to pull the elastic through the casings and attach.


Next, I use elastic thread to add my top to my smocked middle, and then the bottom as well. This stuff is da bomb! Ever try using it?

This makes it handy to attach the pieces while allowing them to stretch to fit. I will admit that I
totally forgot to use this on my first assembly. However, after getting completely stuck with my arms in an upright position while trying to make this thing go on, and while laughing my head off because I couldn't get it off by myself, I had a revelation. Maybe more like a head smack. ahem.
Yeah...elastic is a godsend.
THE REVEAL
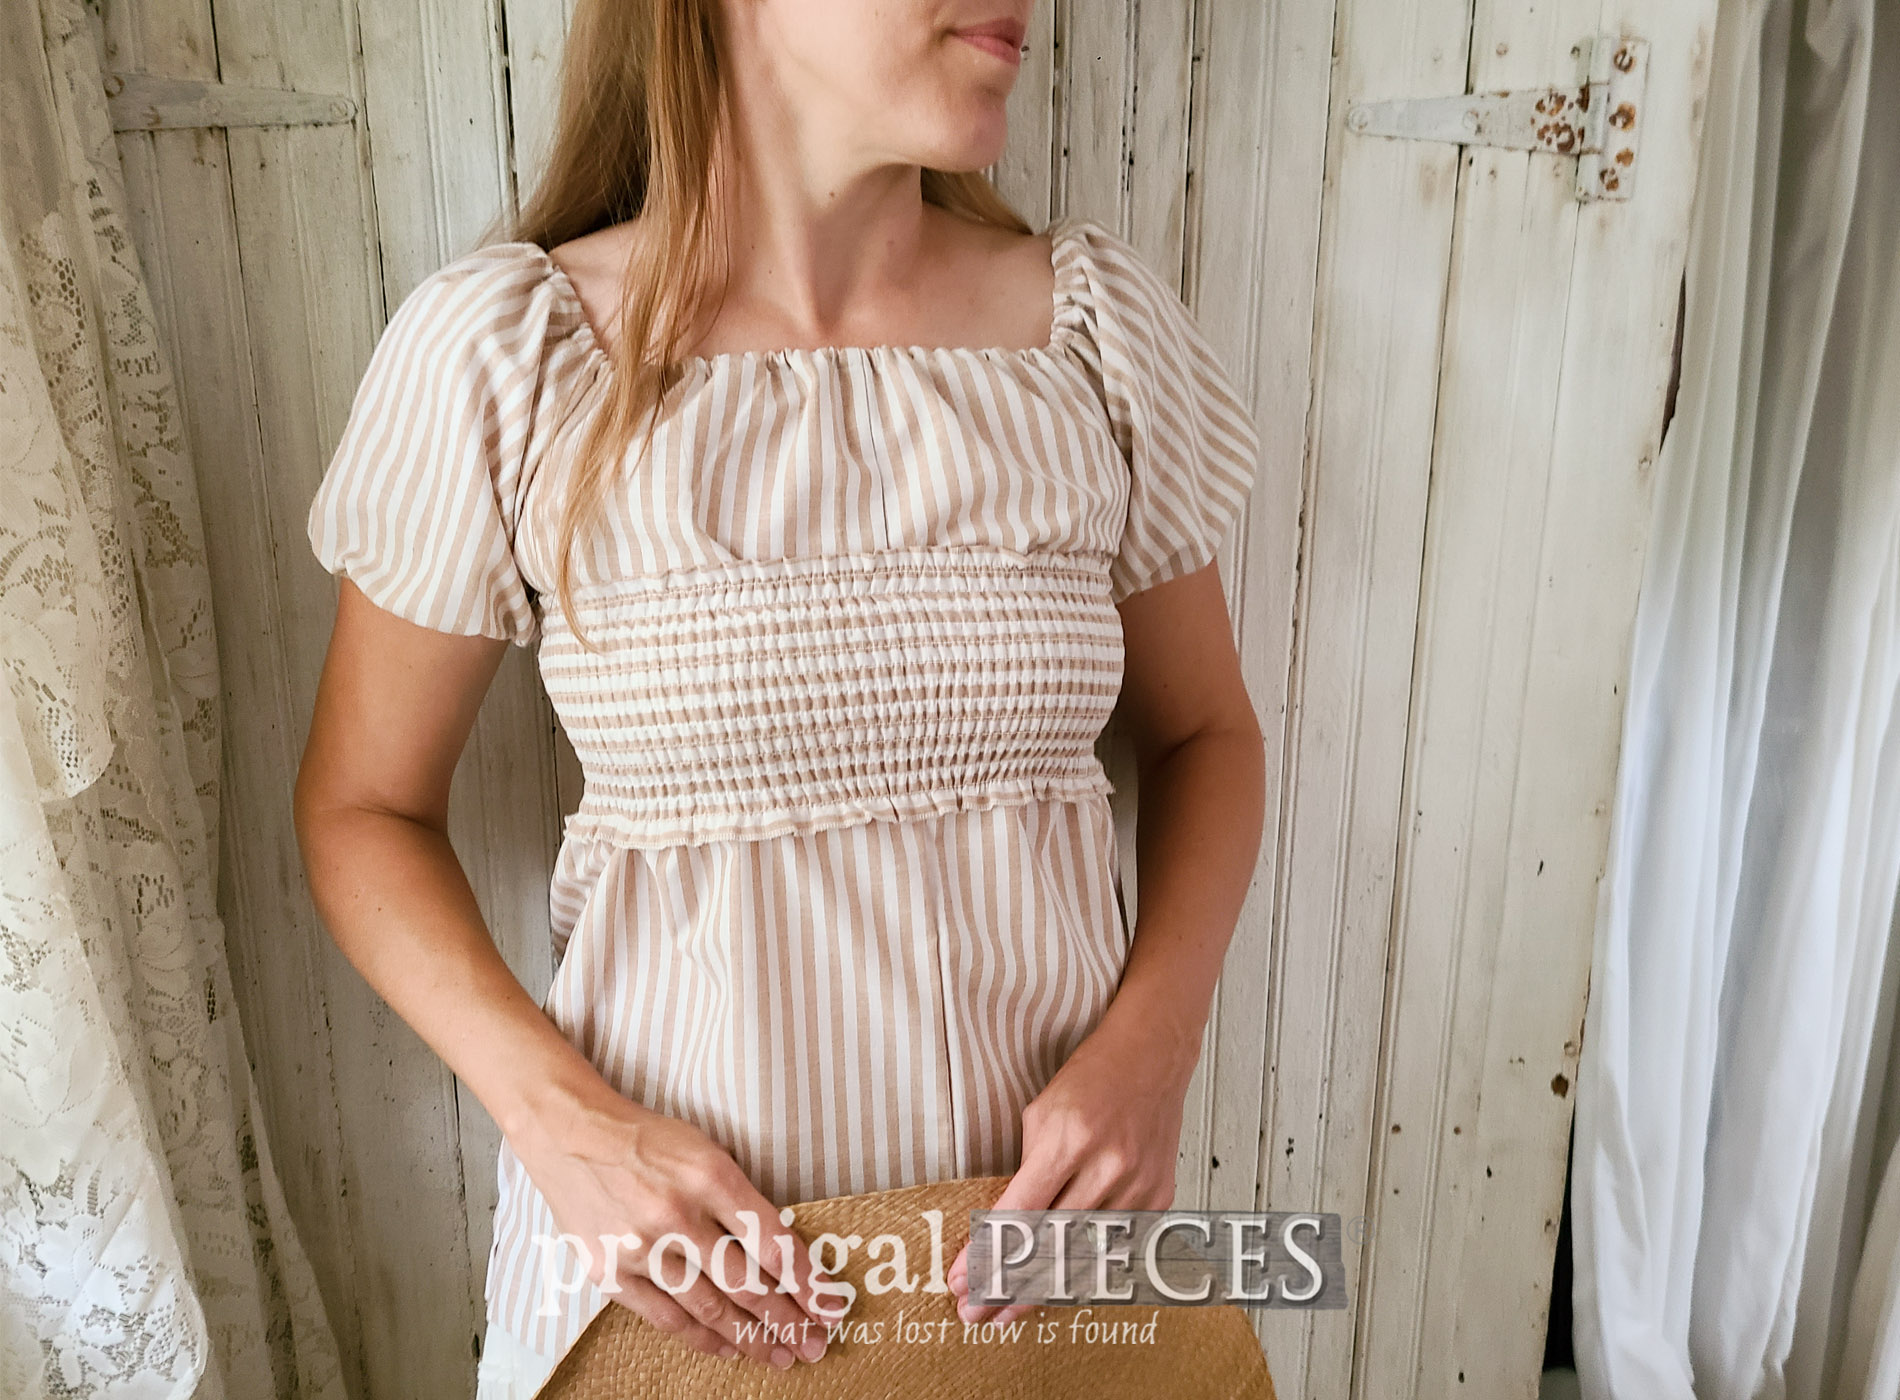
After using my seam ripper AGAIN, I finally got my ladies' smocked blouse together...and ON. woot!


My vision was a peasant style, comfy look and feel. I think I achieved that and I'm excited! It's the little things, right?


If you haven't tried your hand at sewing or it's been awhile since you gave it a go, be sure to try! It's fun, challenging, and even relaxing as well. Feel free to send me pics of things you've refashioned. I'd love to take a peek!


In addition, let's inspire others to give refashioning a try. Do pin and share!

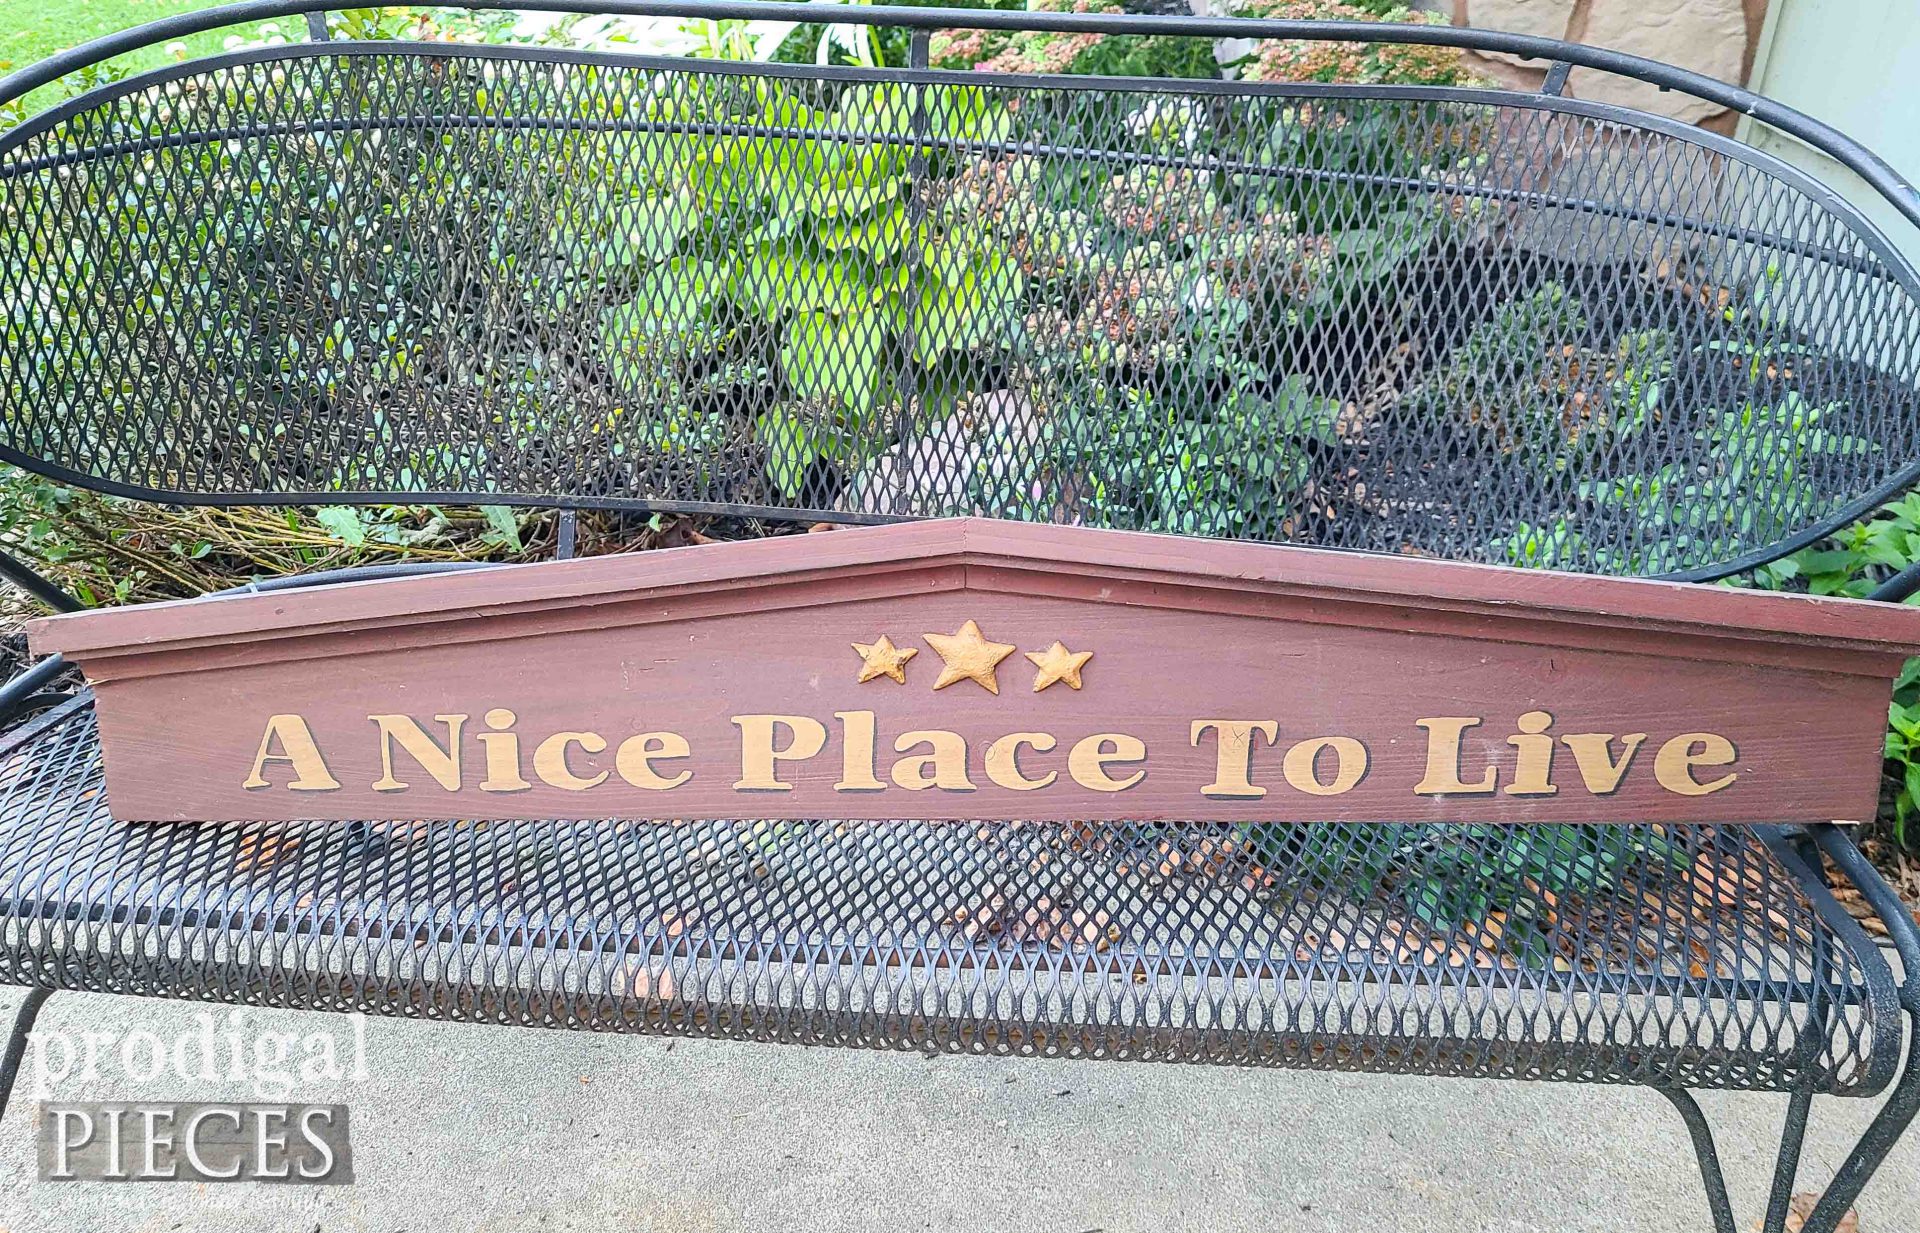
Up next, I'm eager to show this pediment piece in a whole new style.
See it in its new life HERE.
To get these DIY tips & tricks in your inbox, be sure to
sign up for my newsletter. PLUS, you will get your FREE Furniture Buying Checklist and special discount to
my shop. Until next time!

 MEWE | PINTEREST | GAB
Also, more refashion fun like my ladies' smocked blouse upcycle: