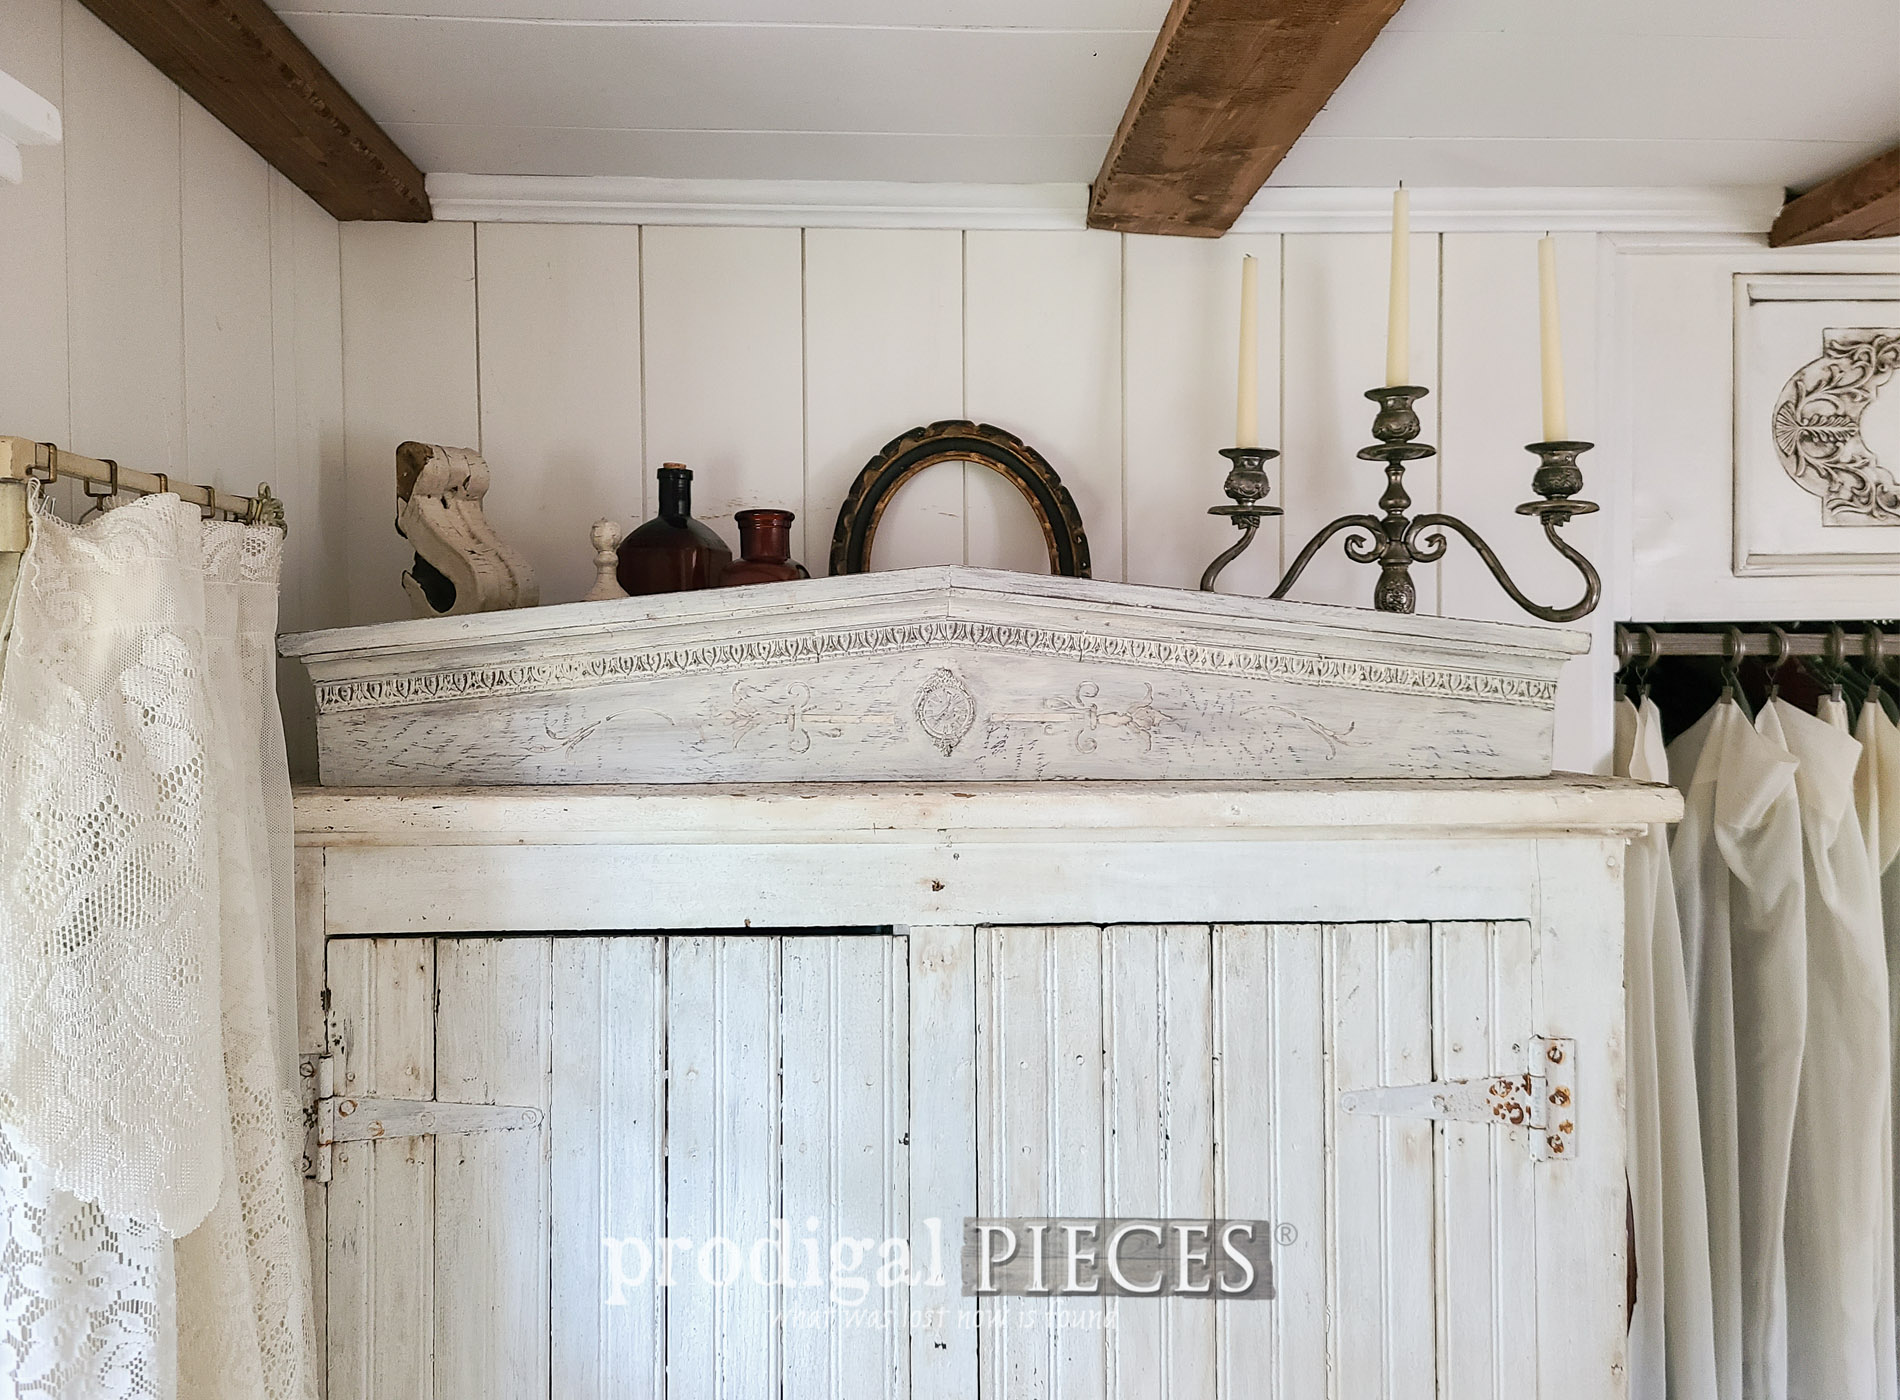
While I may not be to take off on adventures around the globe or even in the great U.S. of A., but I get to have my own little adventures right in my own home. They may not be grand, but they are fun, and I create memories. This time around I'm taking this box store decor and turning it into something more for my home...a farmhouse pediment.
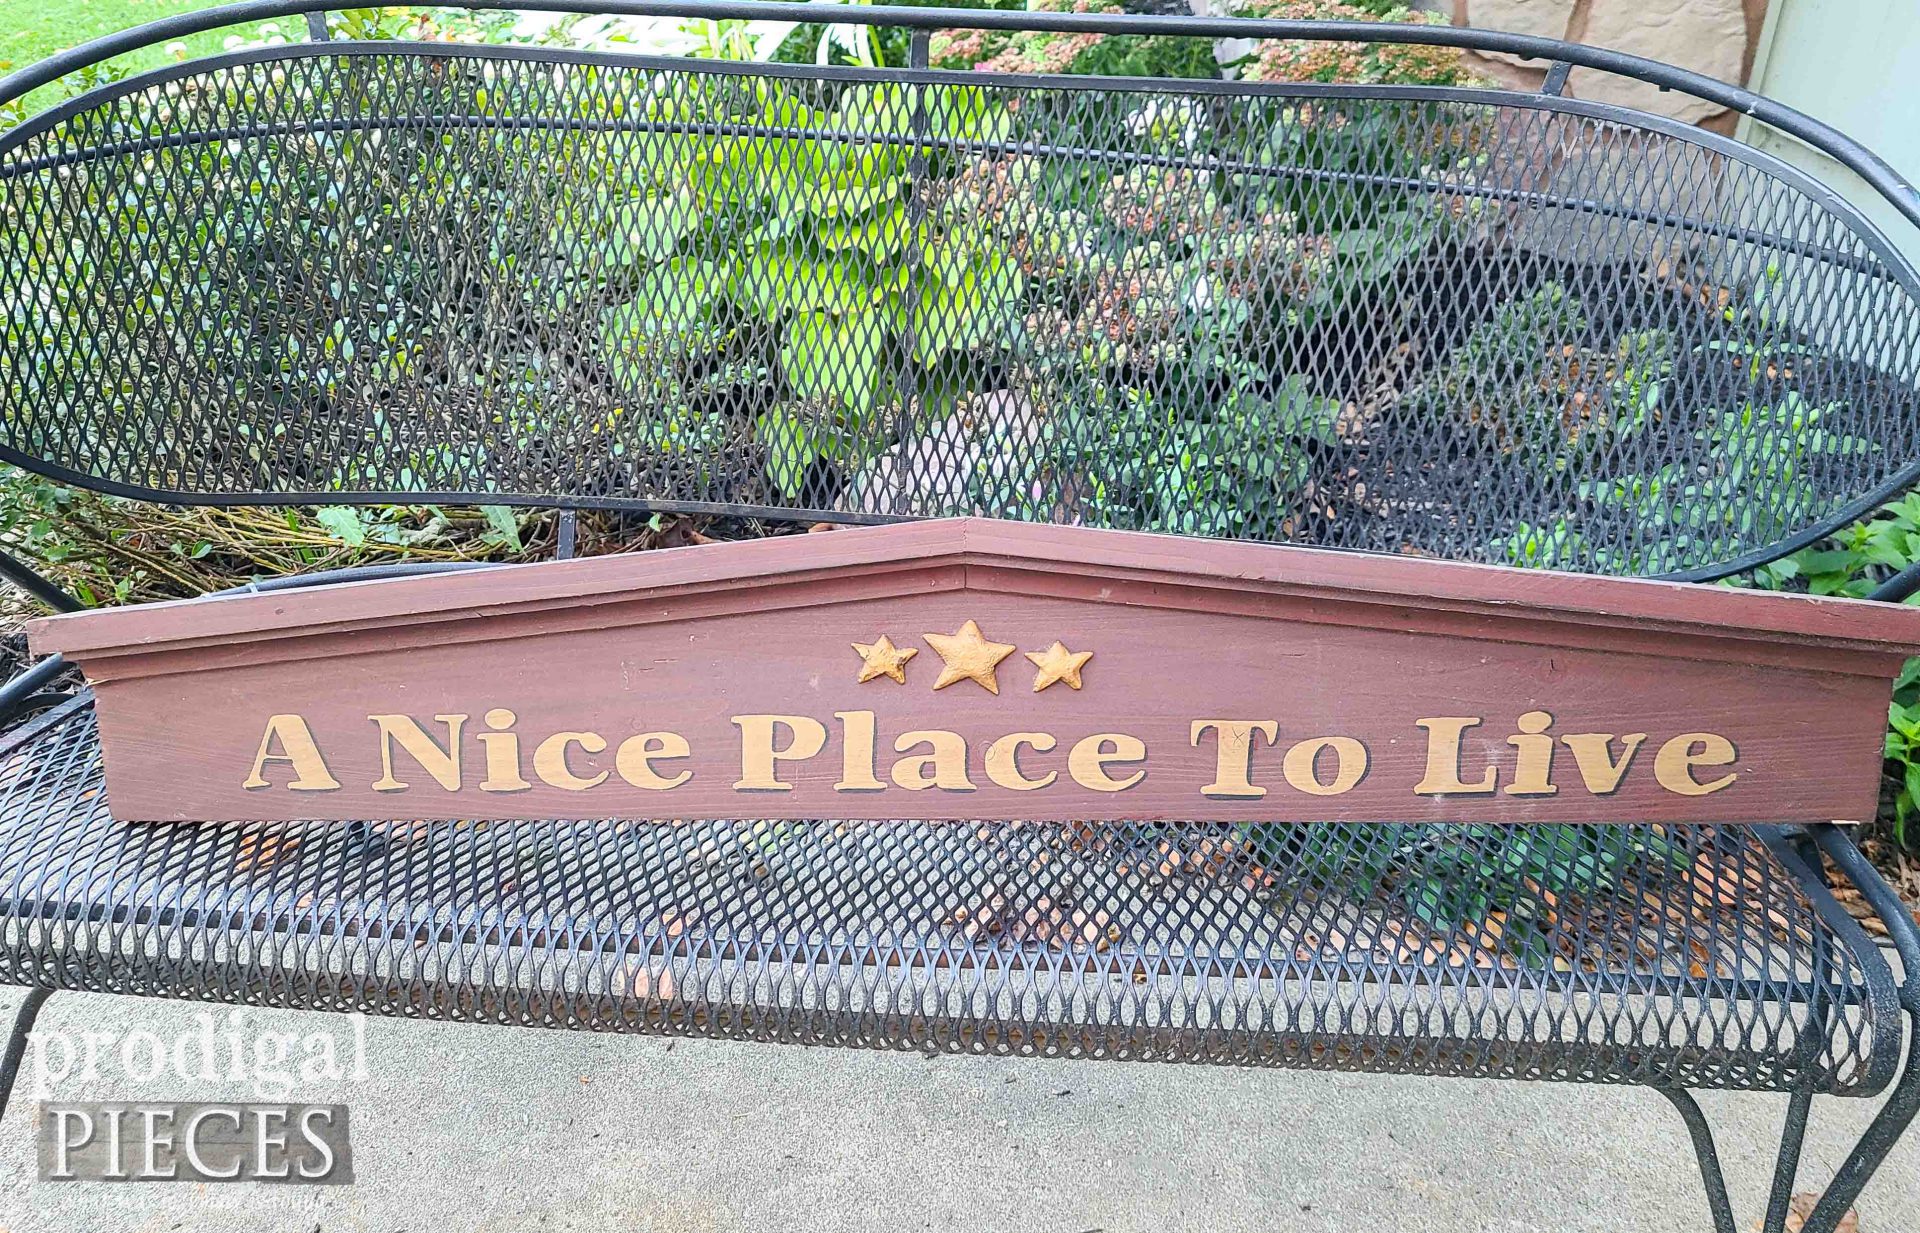
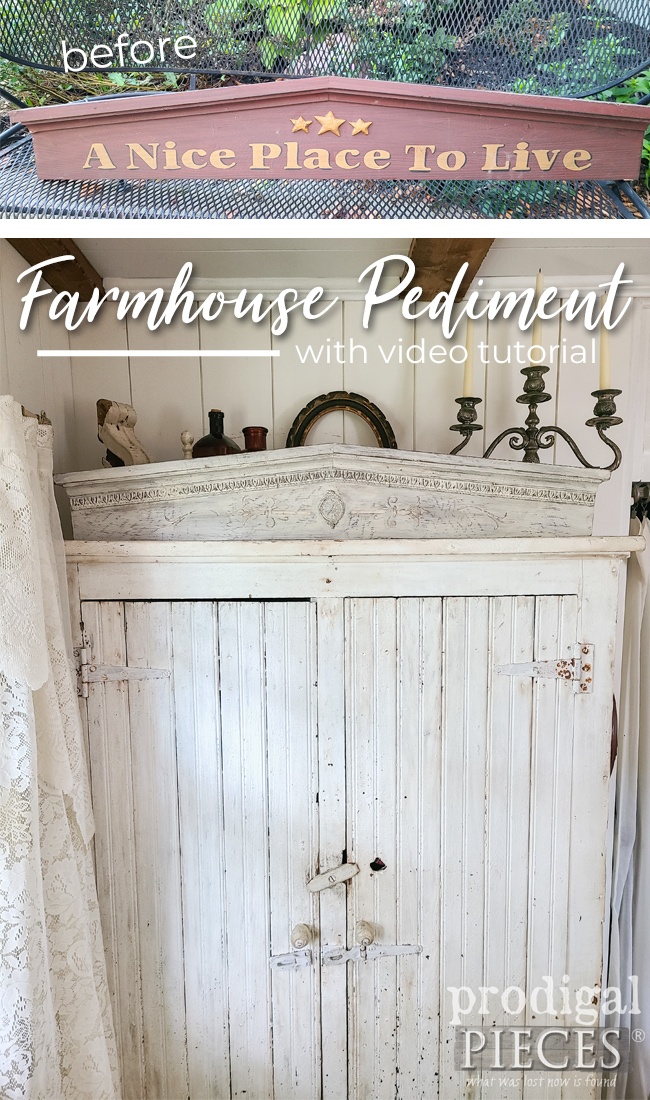
What you see above is a box store decor I found at a local thrift shop. It's quirky cute, but definitely is not something I would put in my home as-is. See what I mean below?
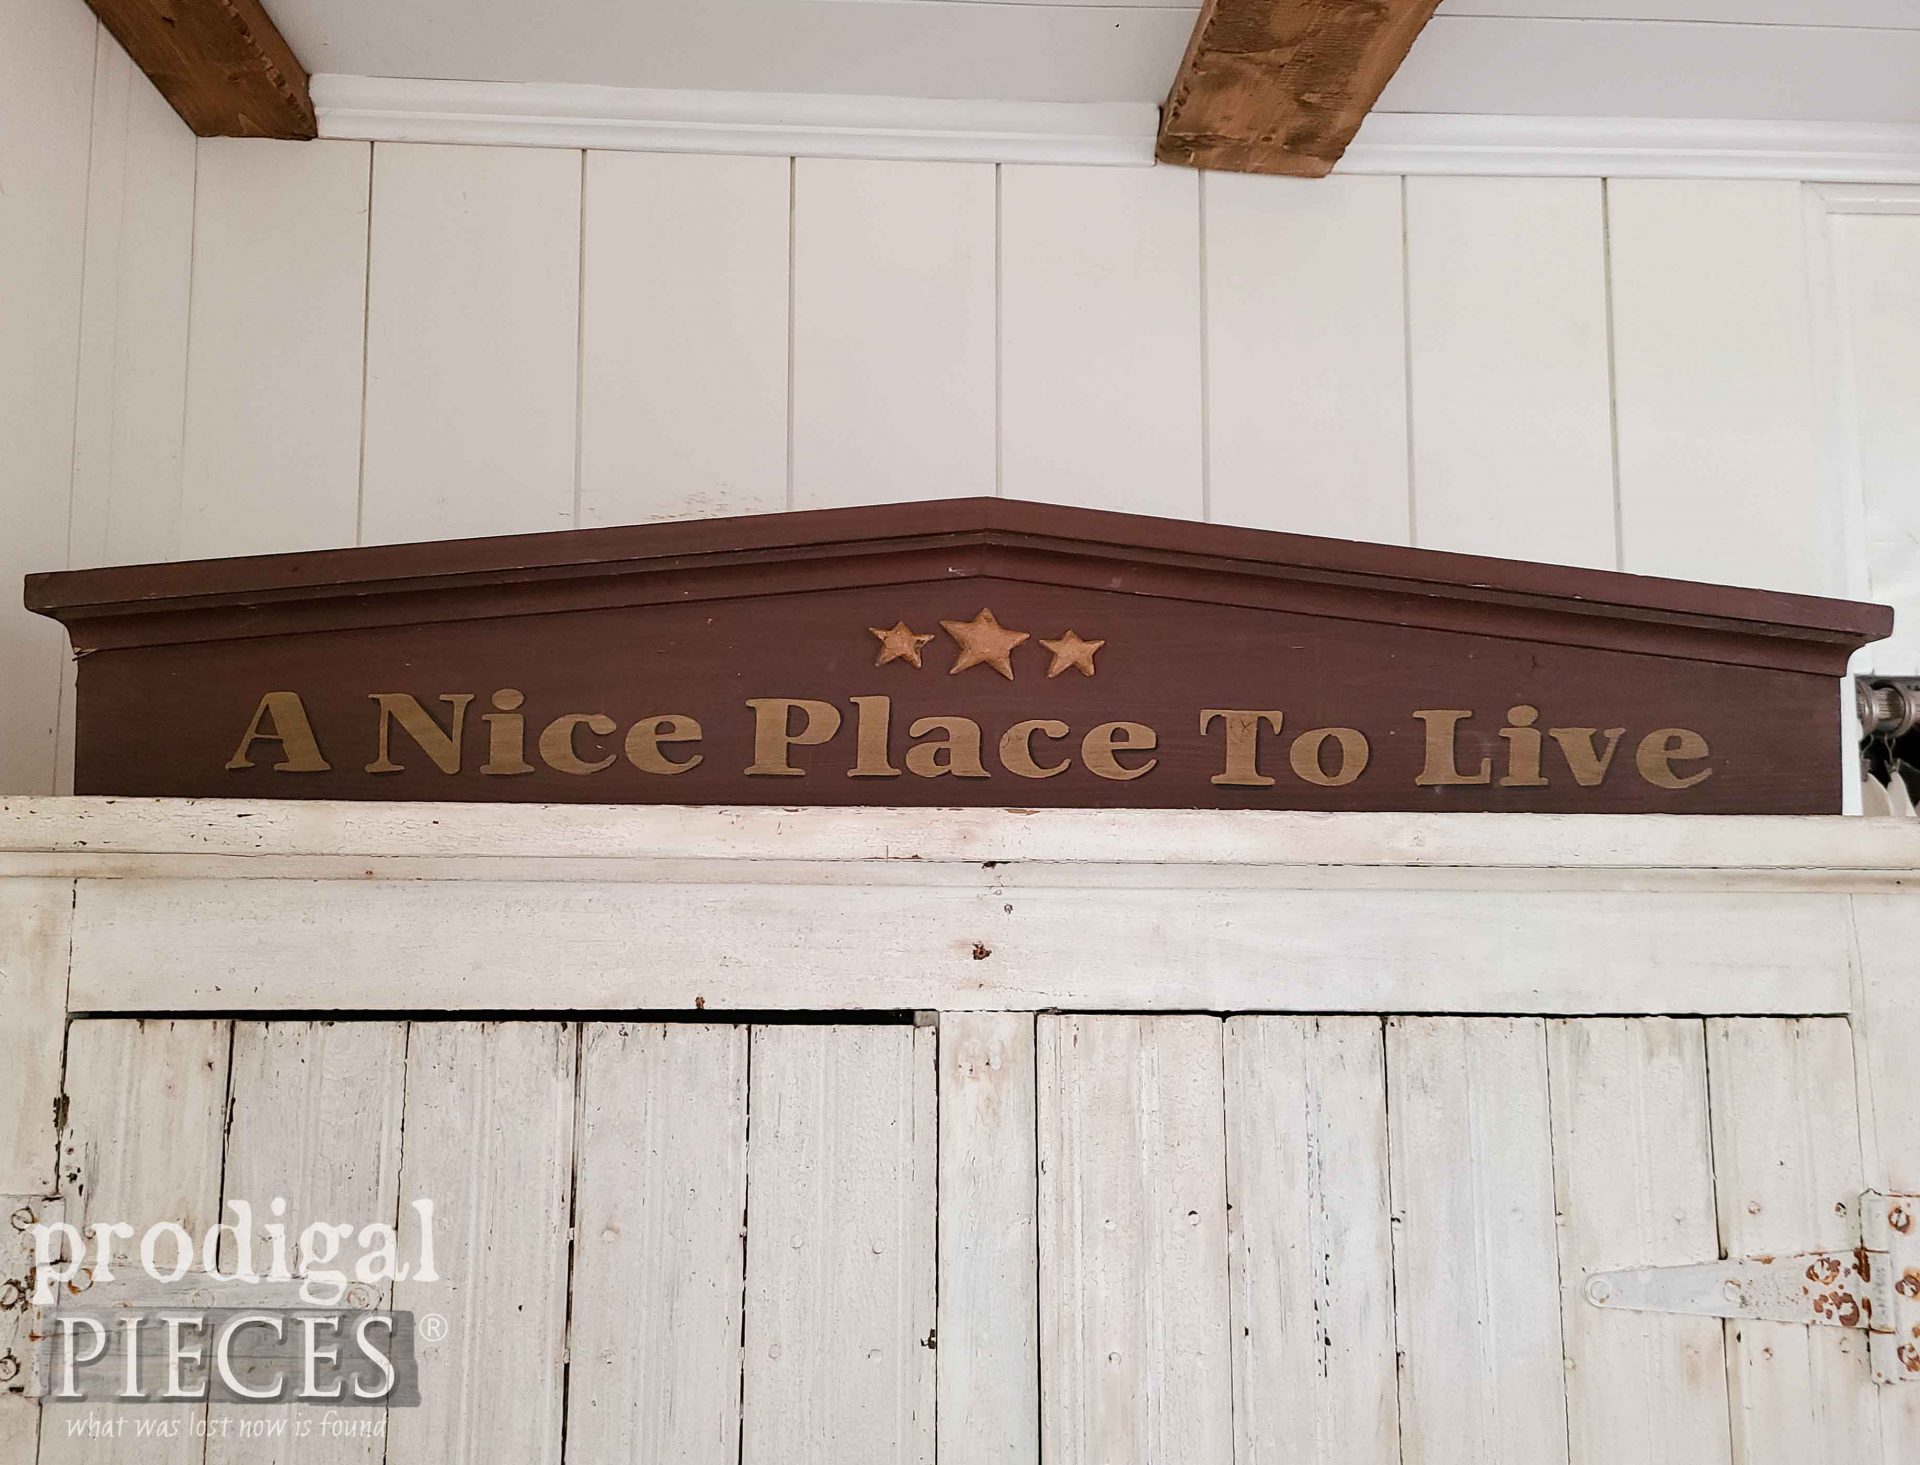
Maybe it's my sense of humor, but in my head when I read it, it has a snarky sound to it. haha. Time for a makeover! Full video tutorial below for you to follow along.
DIY TIME
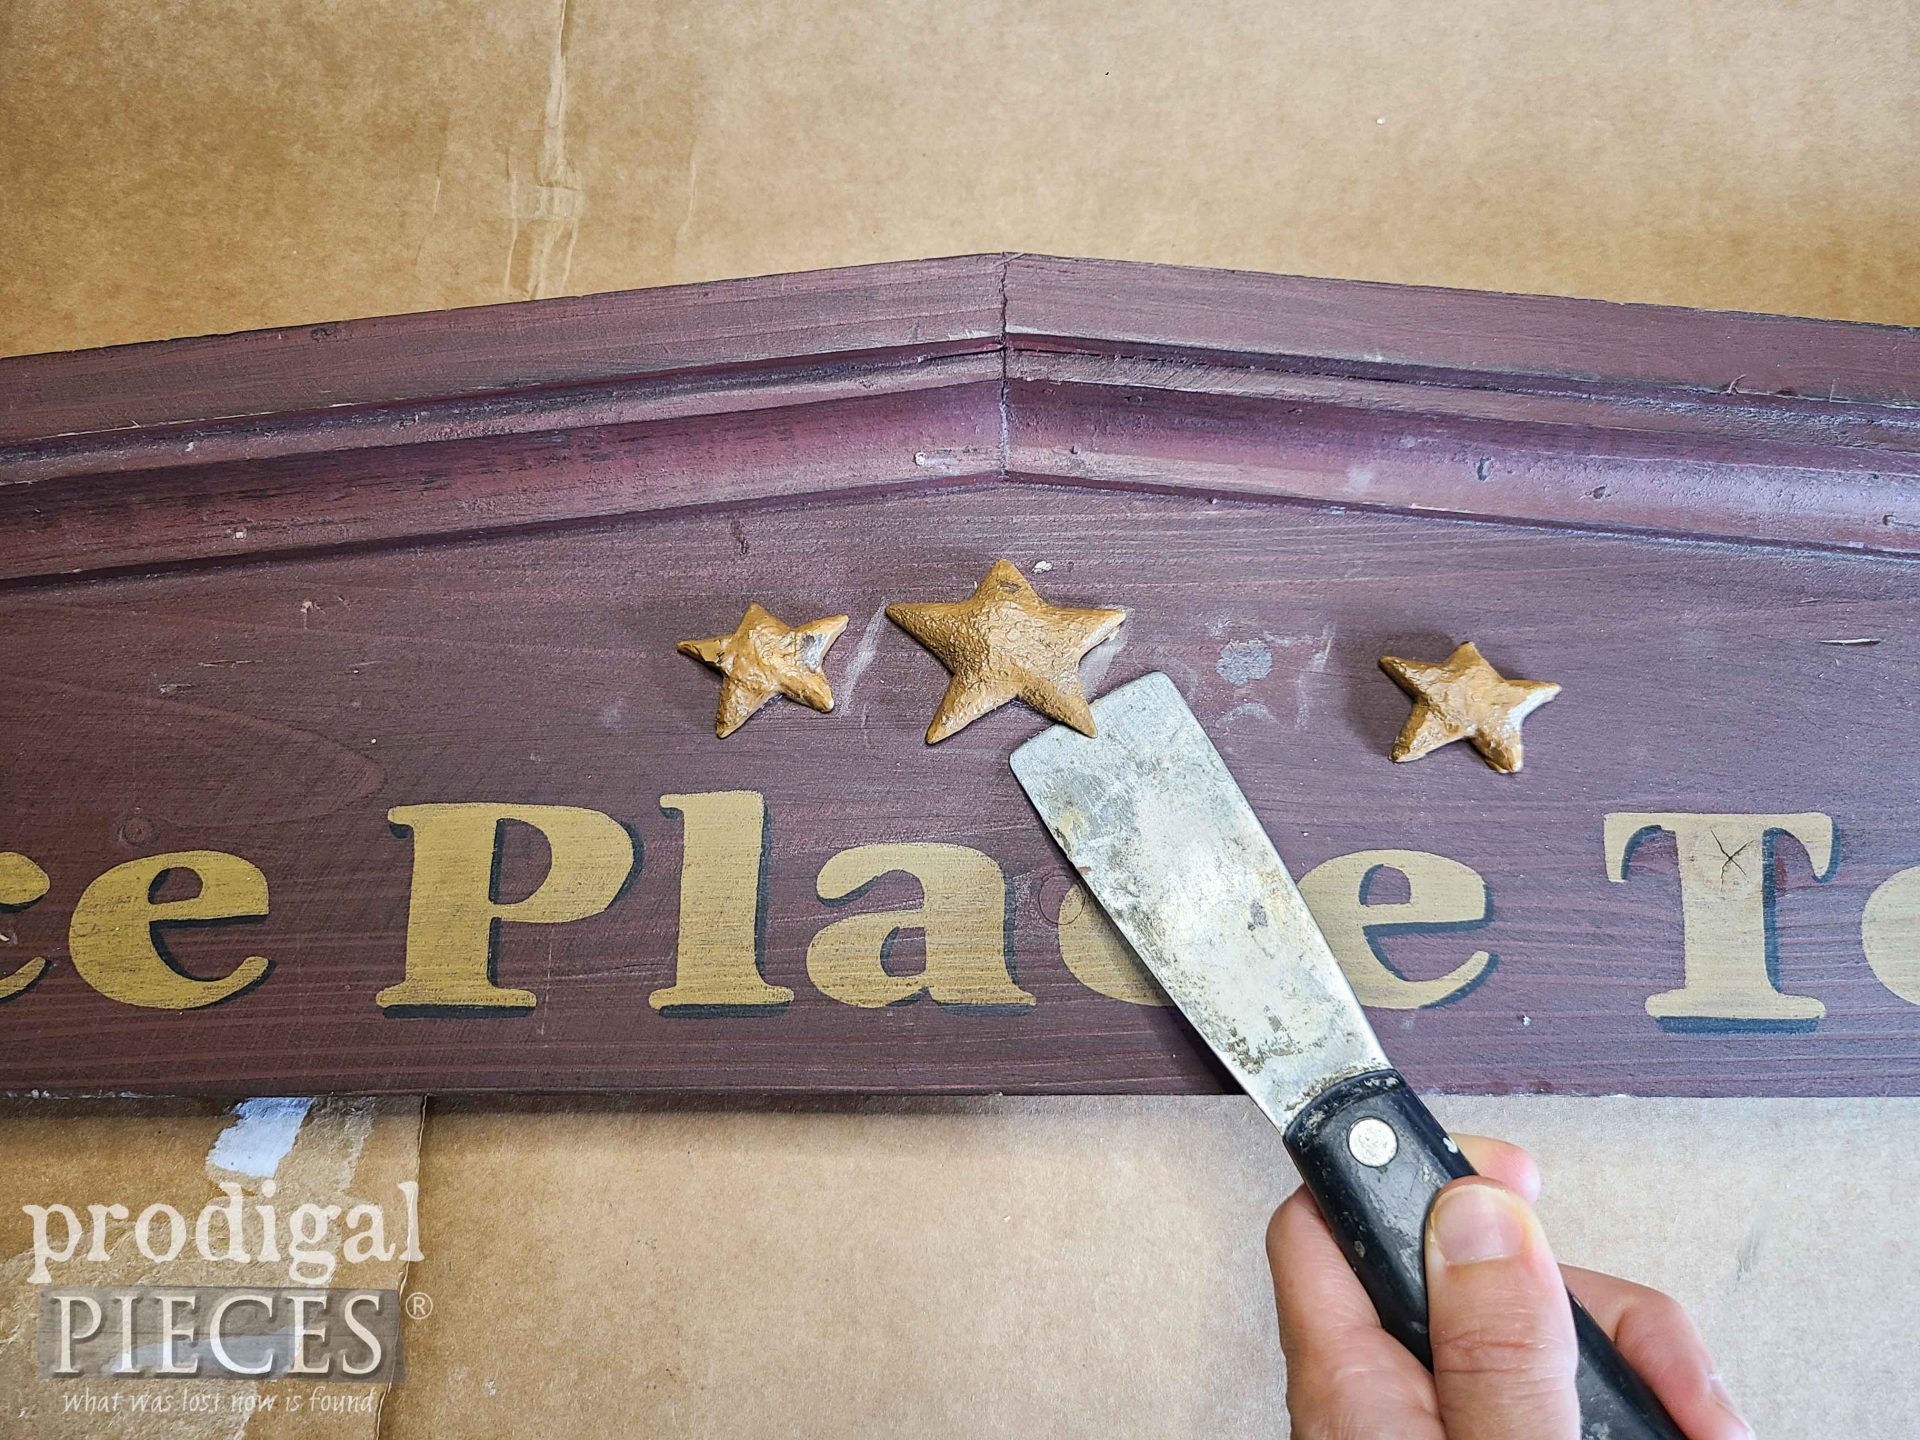
First, I remove those chunky stars and save them for another purpose. Nothing goes to waste around here. tsk.
Then, I create decorative moldings from my mold and hot glue. You can see how I've used paper clay and other mediums in this same mold in
these past posts HERE. Also, it can be used for food fun too.
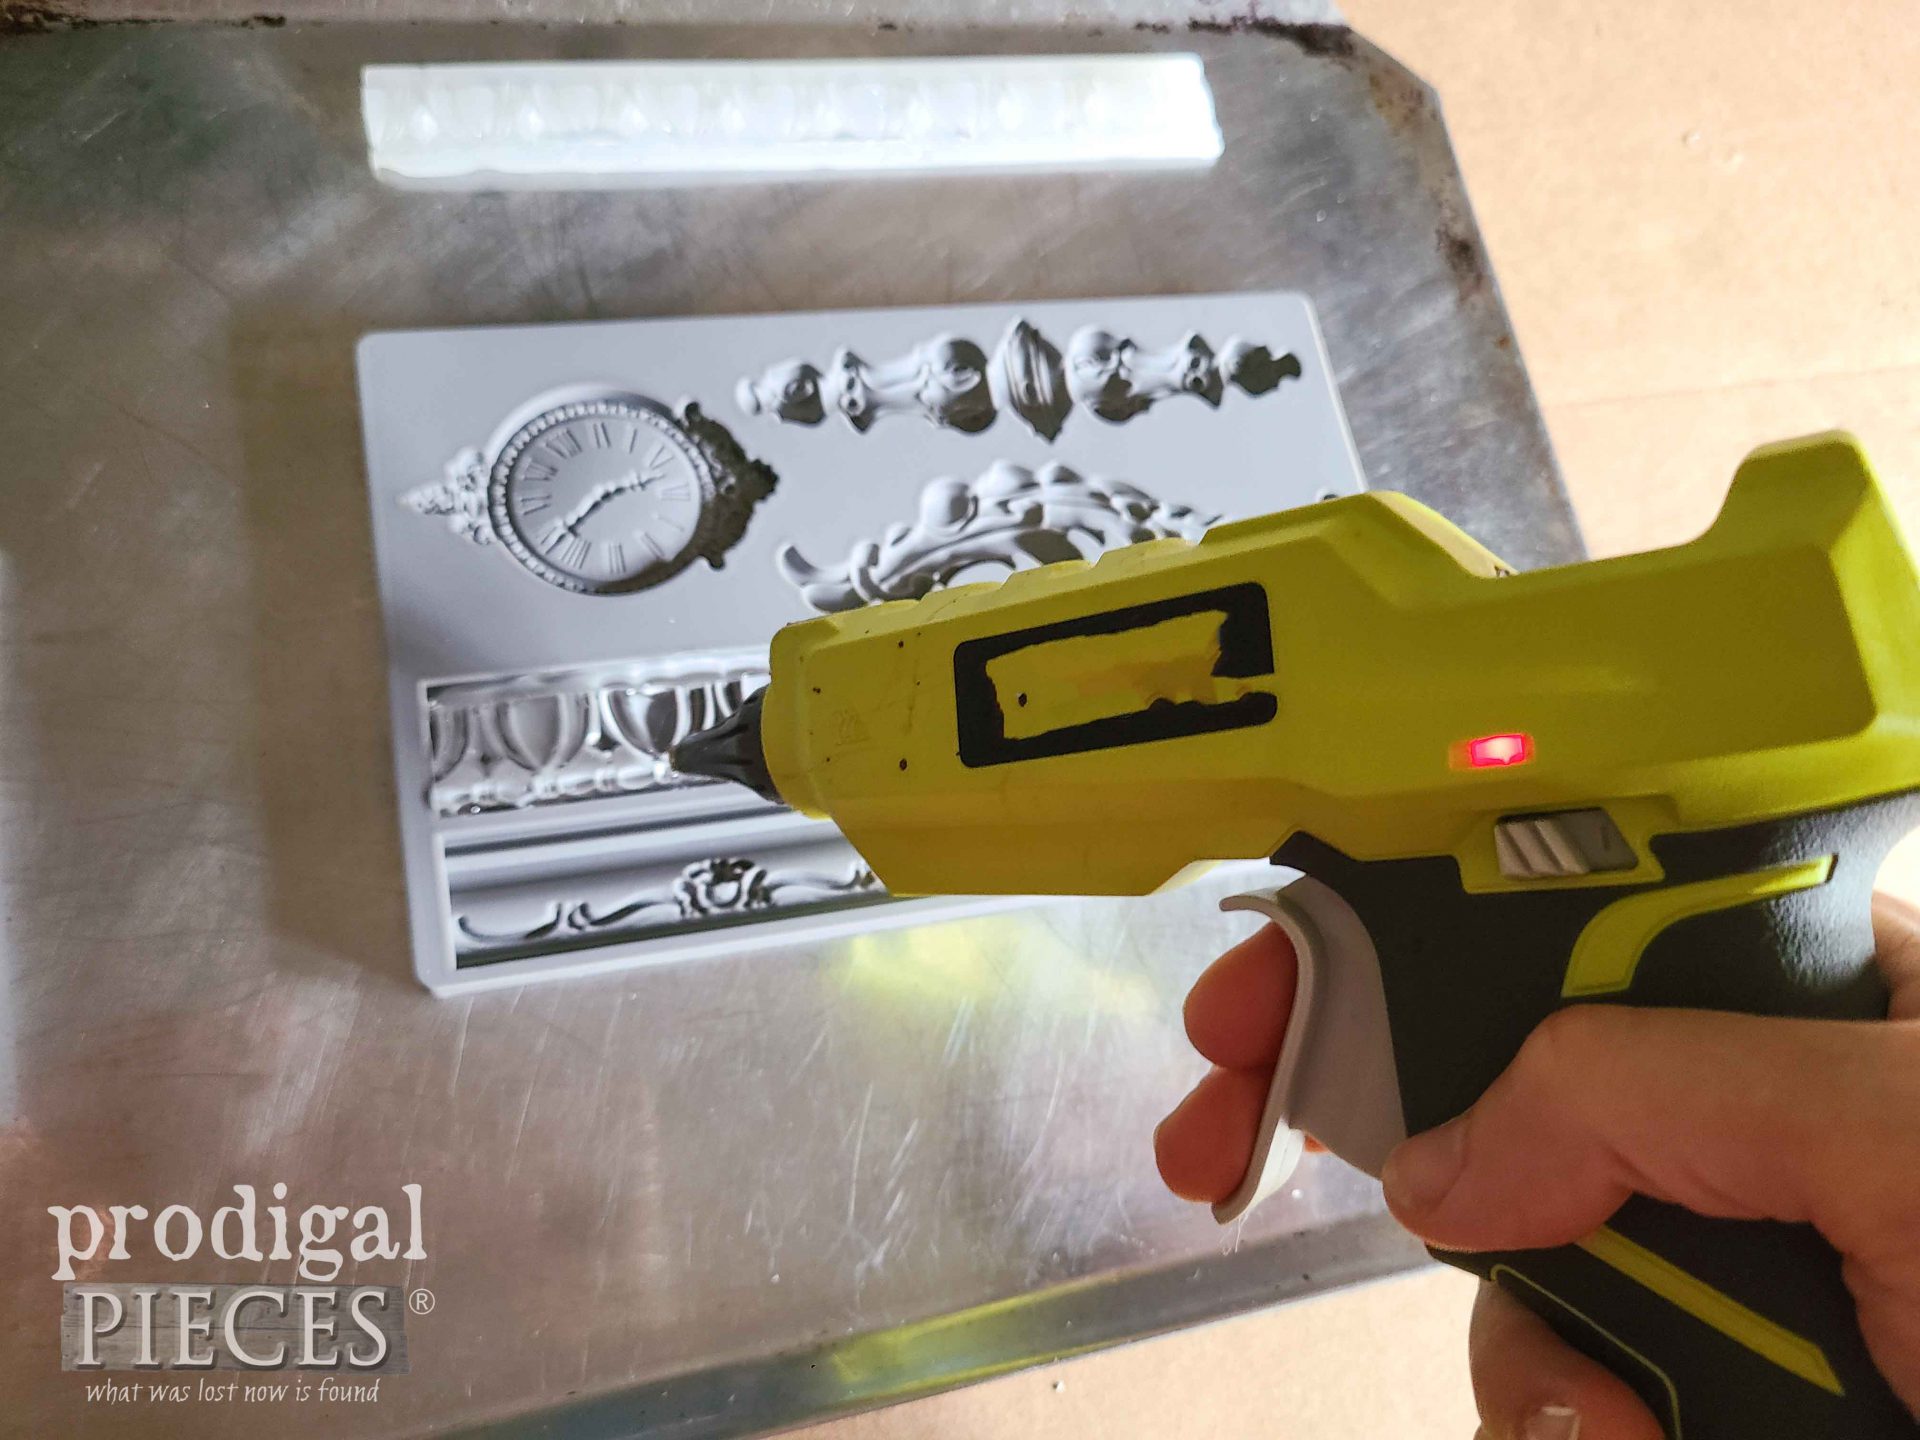
For my purposes, I need 5 strips of molding and I'm also making a clock you can see above too. Next, once that's complete I adhere them with wood glue and a few brads to hold them in place. (see video demo for details)
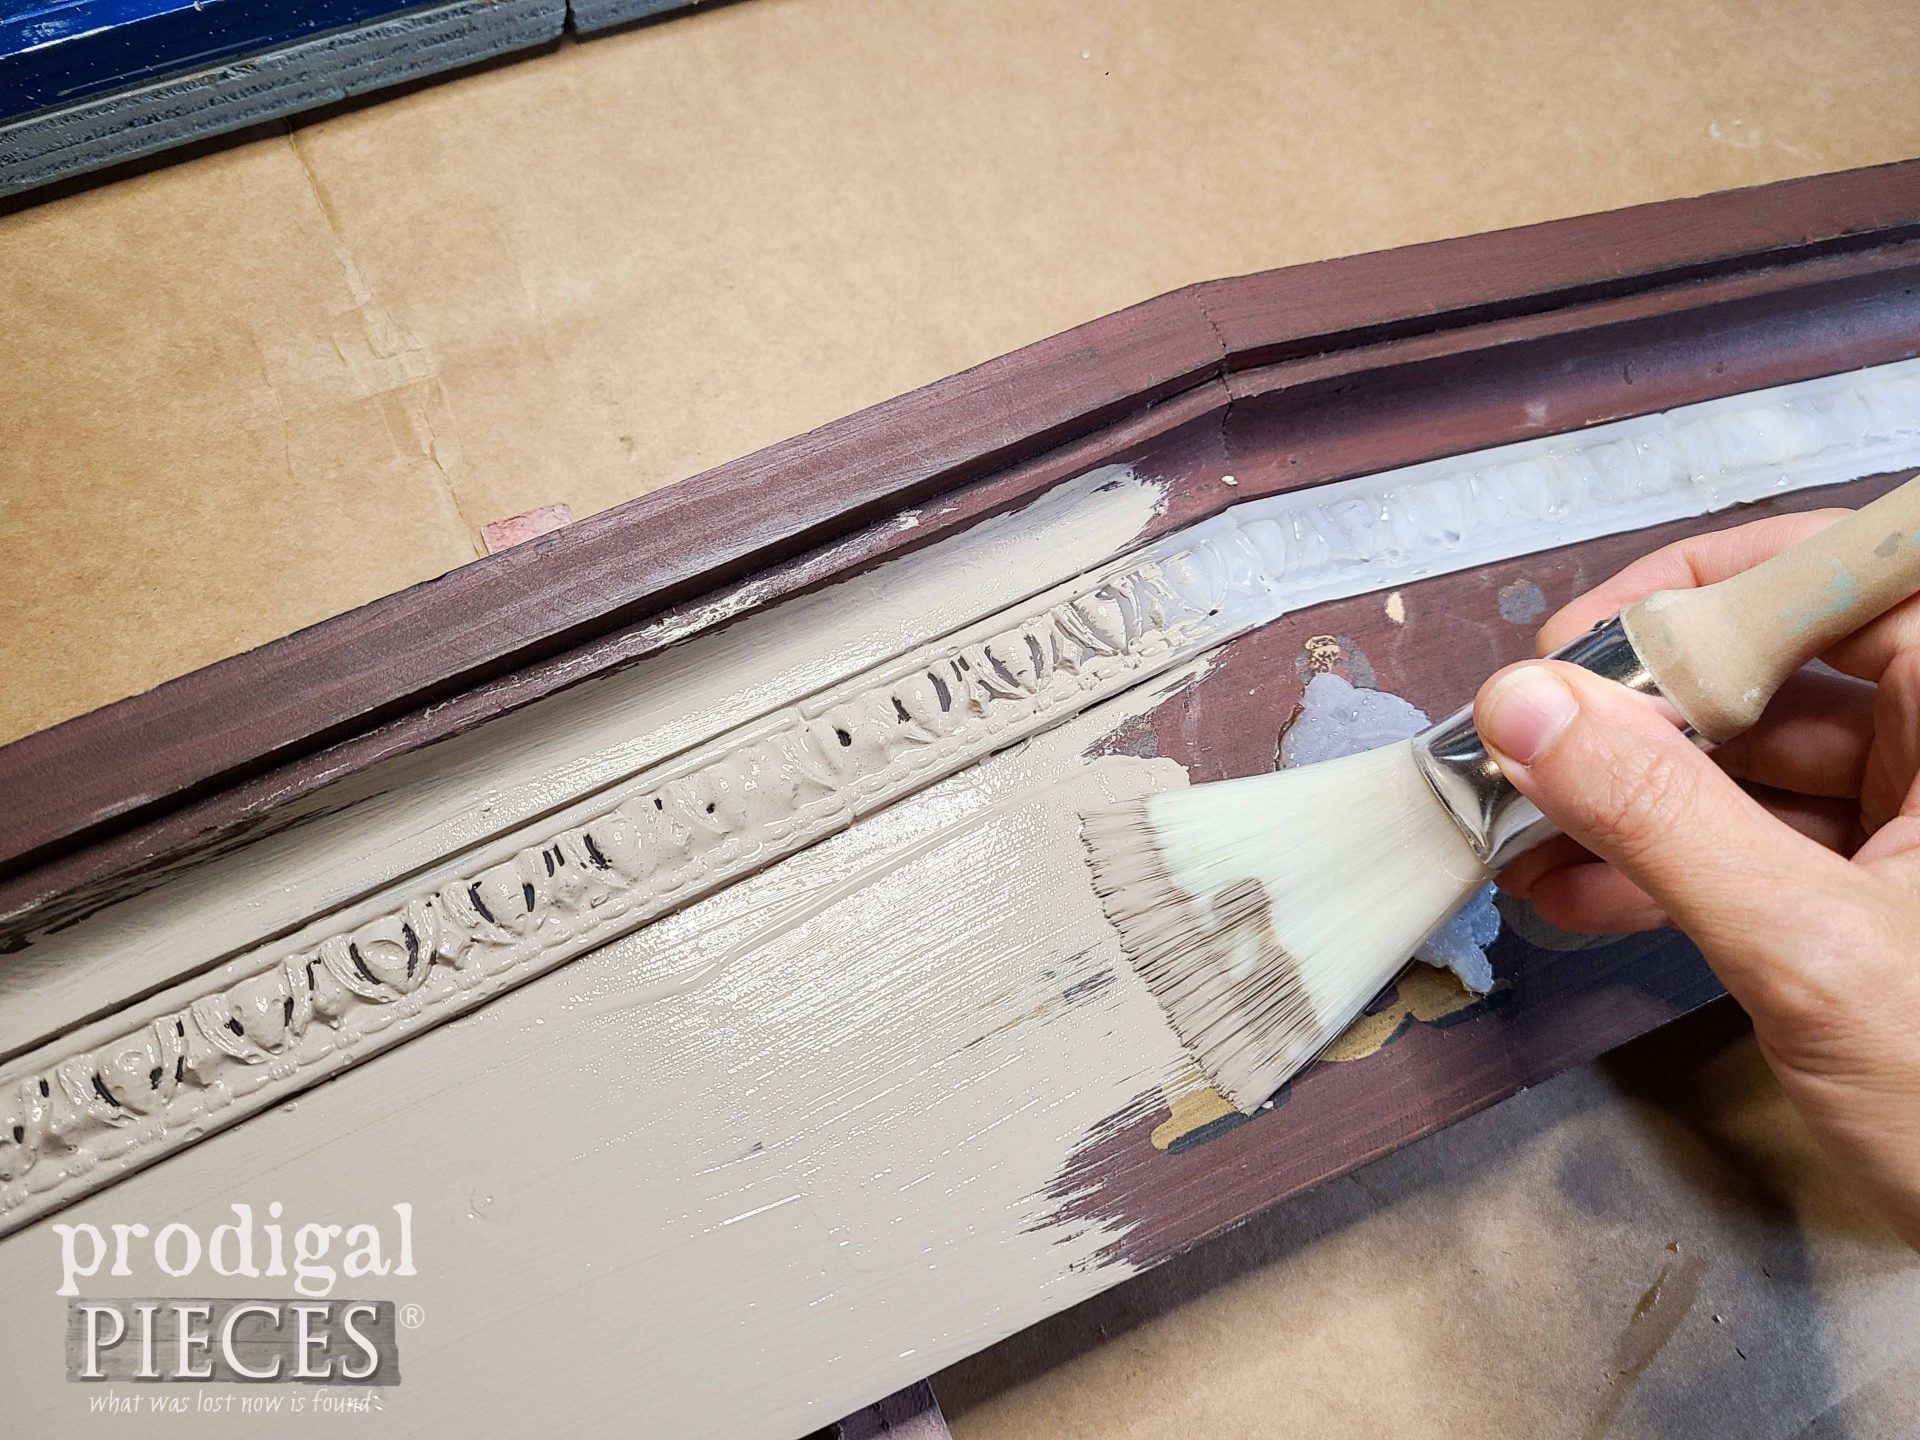
Now that the moldings are in place, I can apply my first layer, the base layer, of paint. I'm aiming for aged layers and this is how to start it. Check out this
video demo HERE too for extra fun.
NEXT STEPS
However, before I add my last layer of paint, I want a bit more depth and character to my farmhouse pediment. To do that, I use a stencil and spackling to create an embossed design. I've used this technique for many years and it always adds that extra touch I adore. Take a peek at these past embossed projects using stencils and spackling, but also hot glue as well -
HEAD HERE.
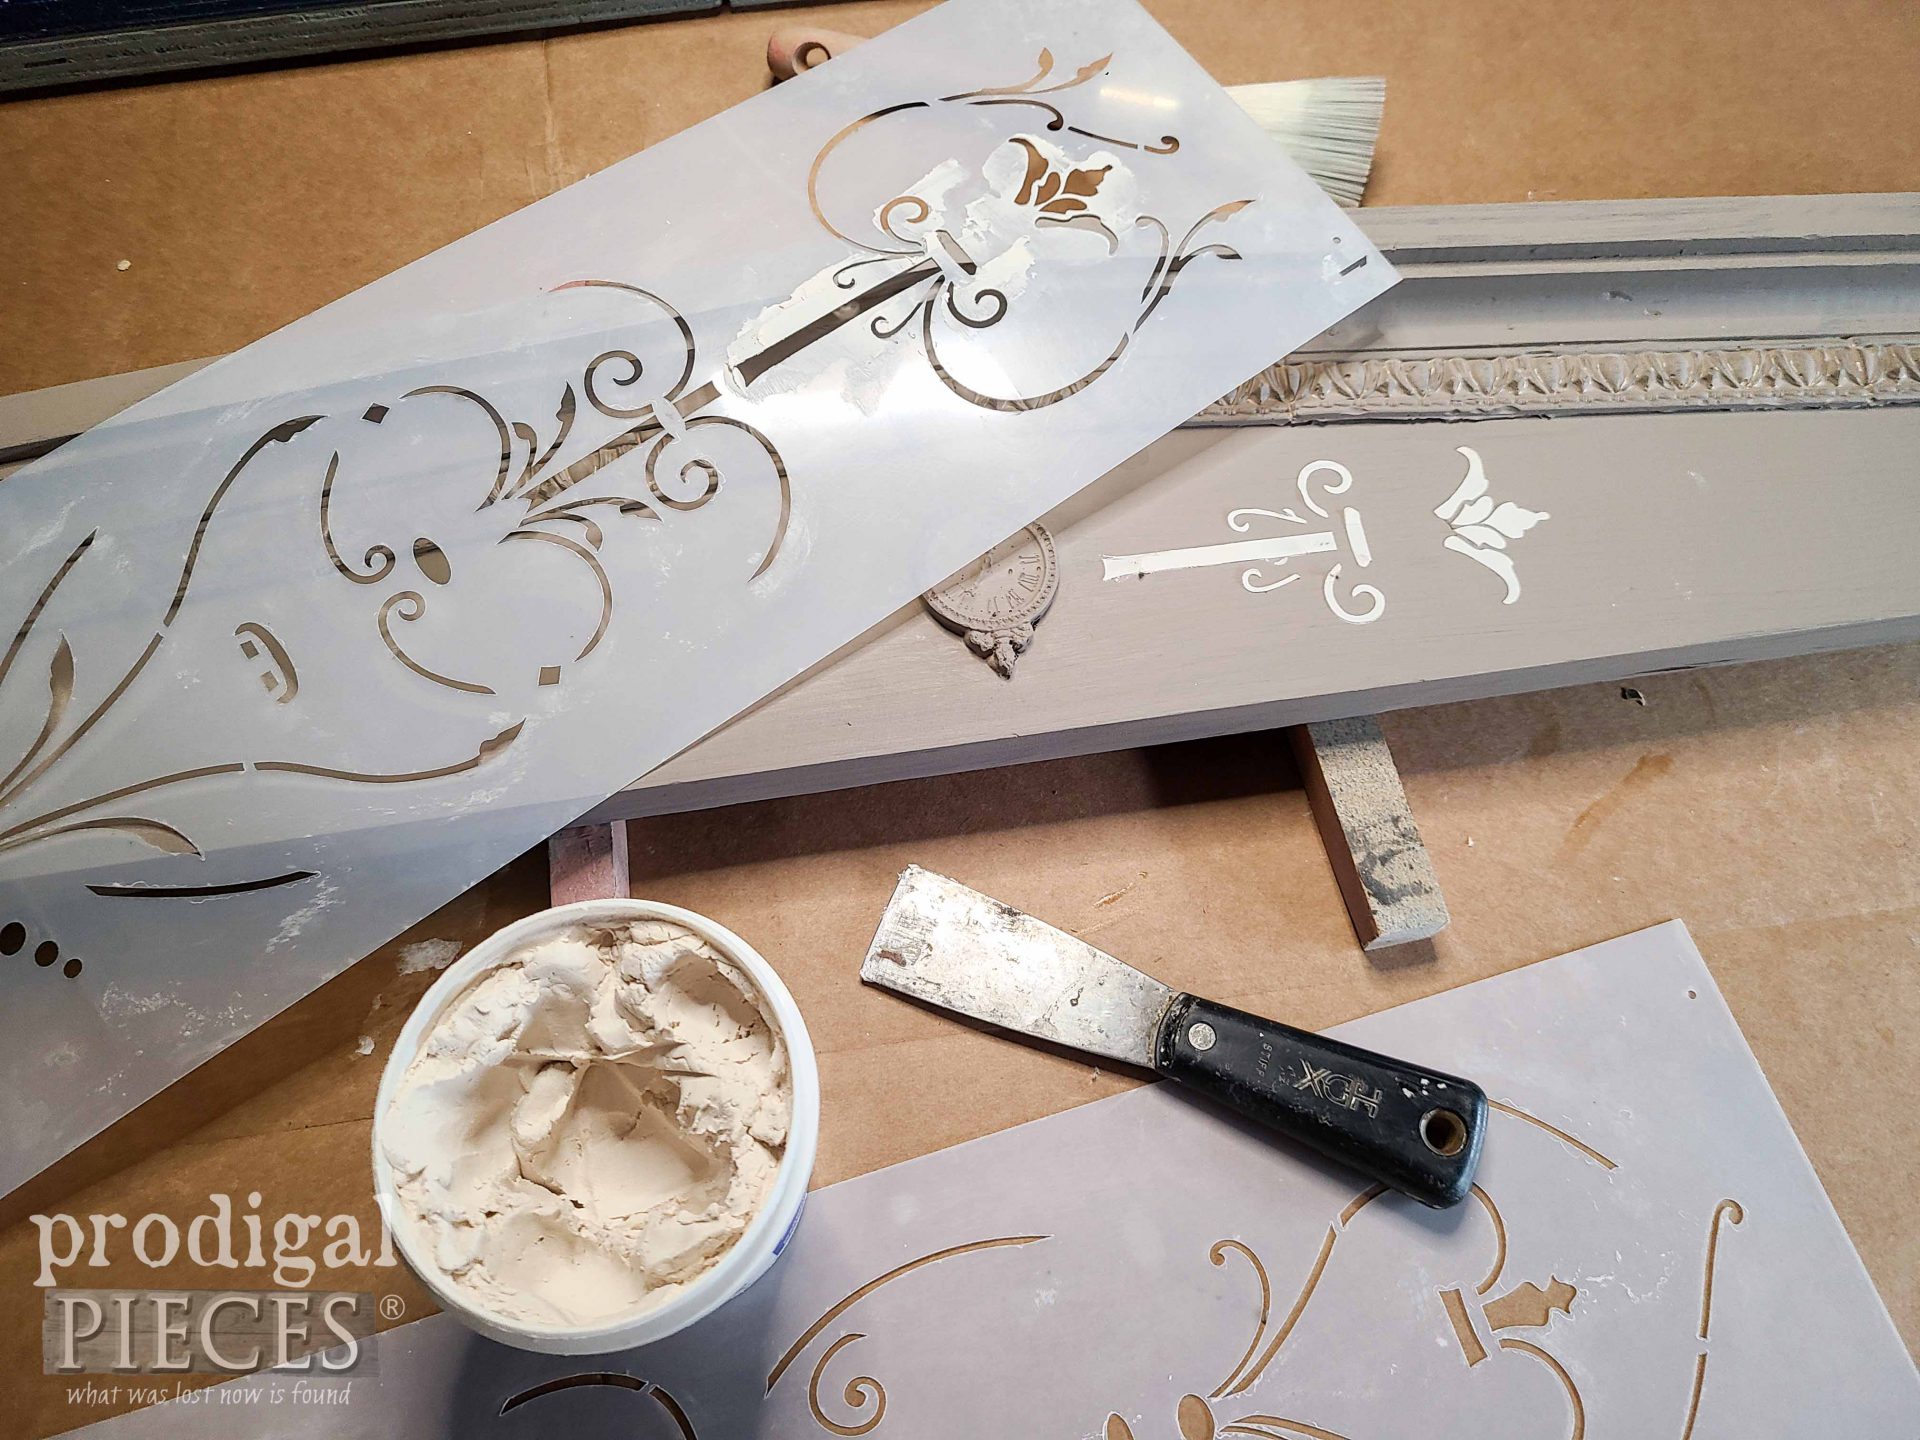
After the spackling cures, I apply my topcoat of paint in a loose fashion. I want the first layer to peek out here and there.
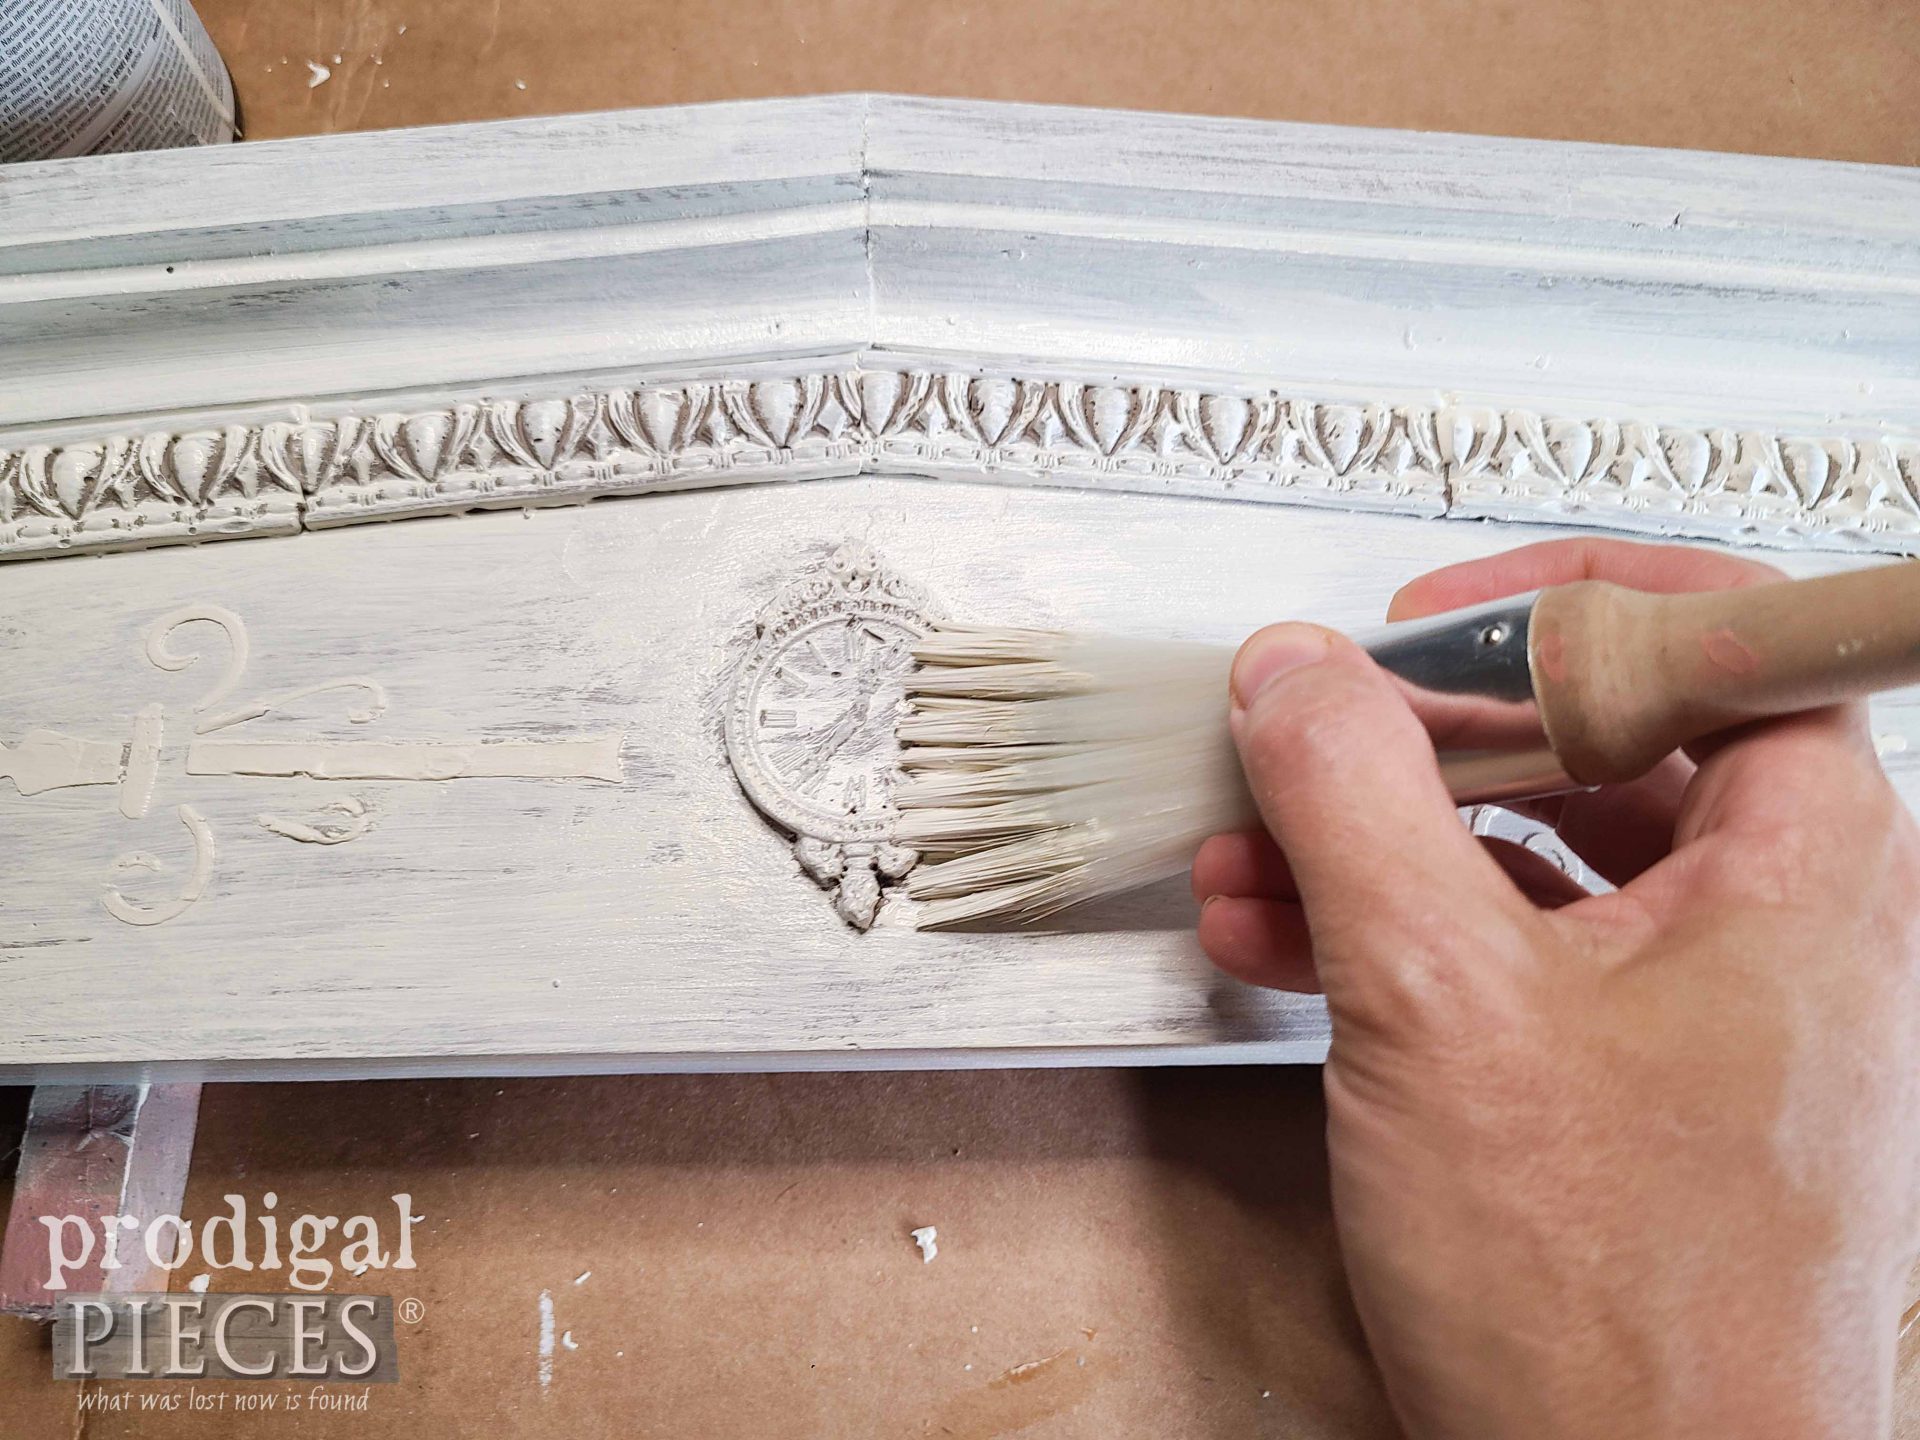
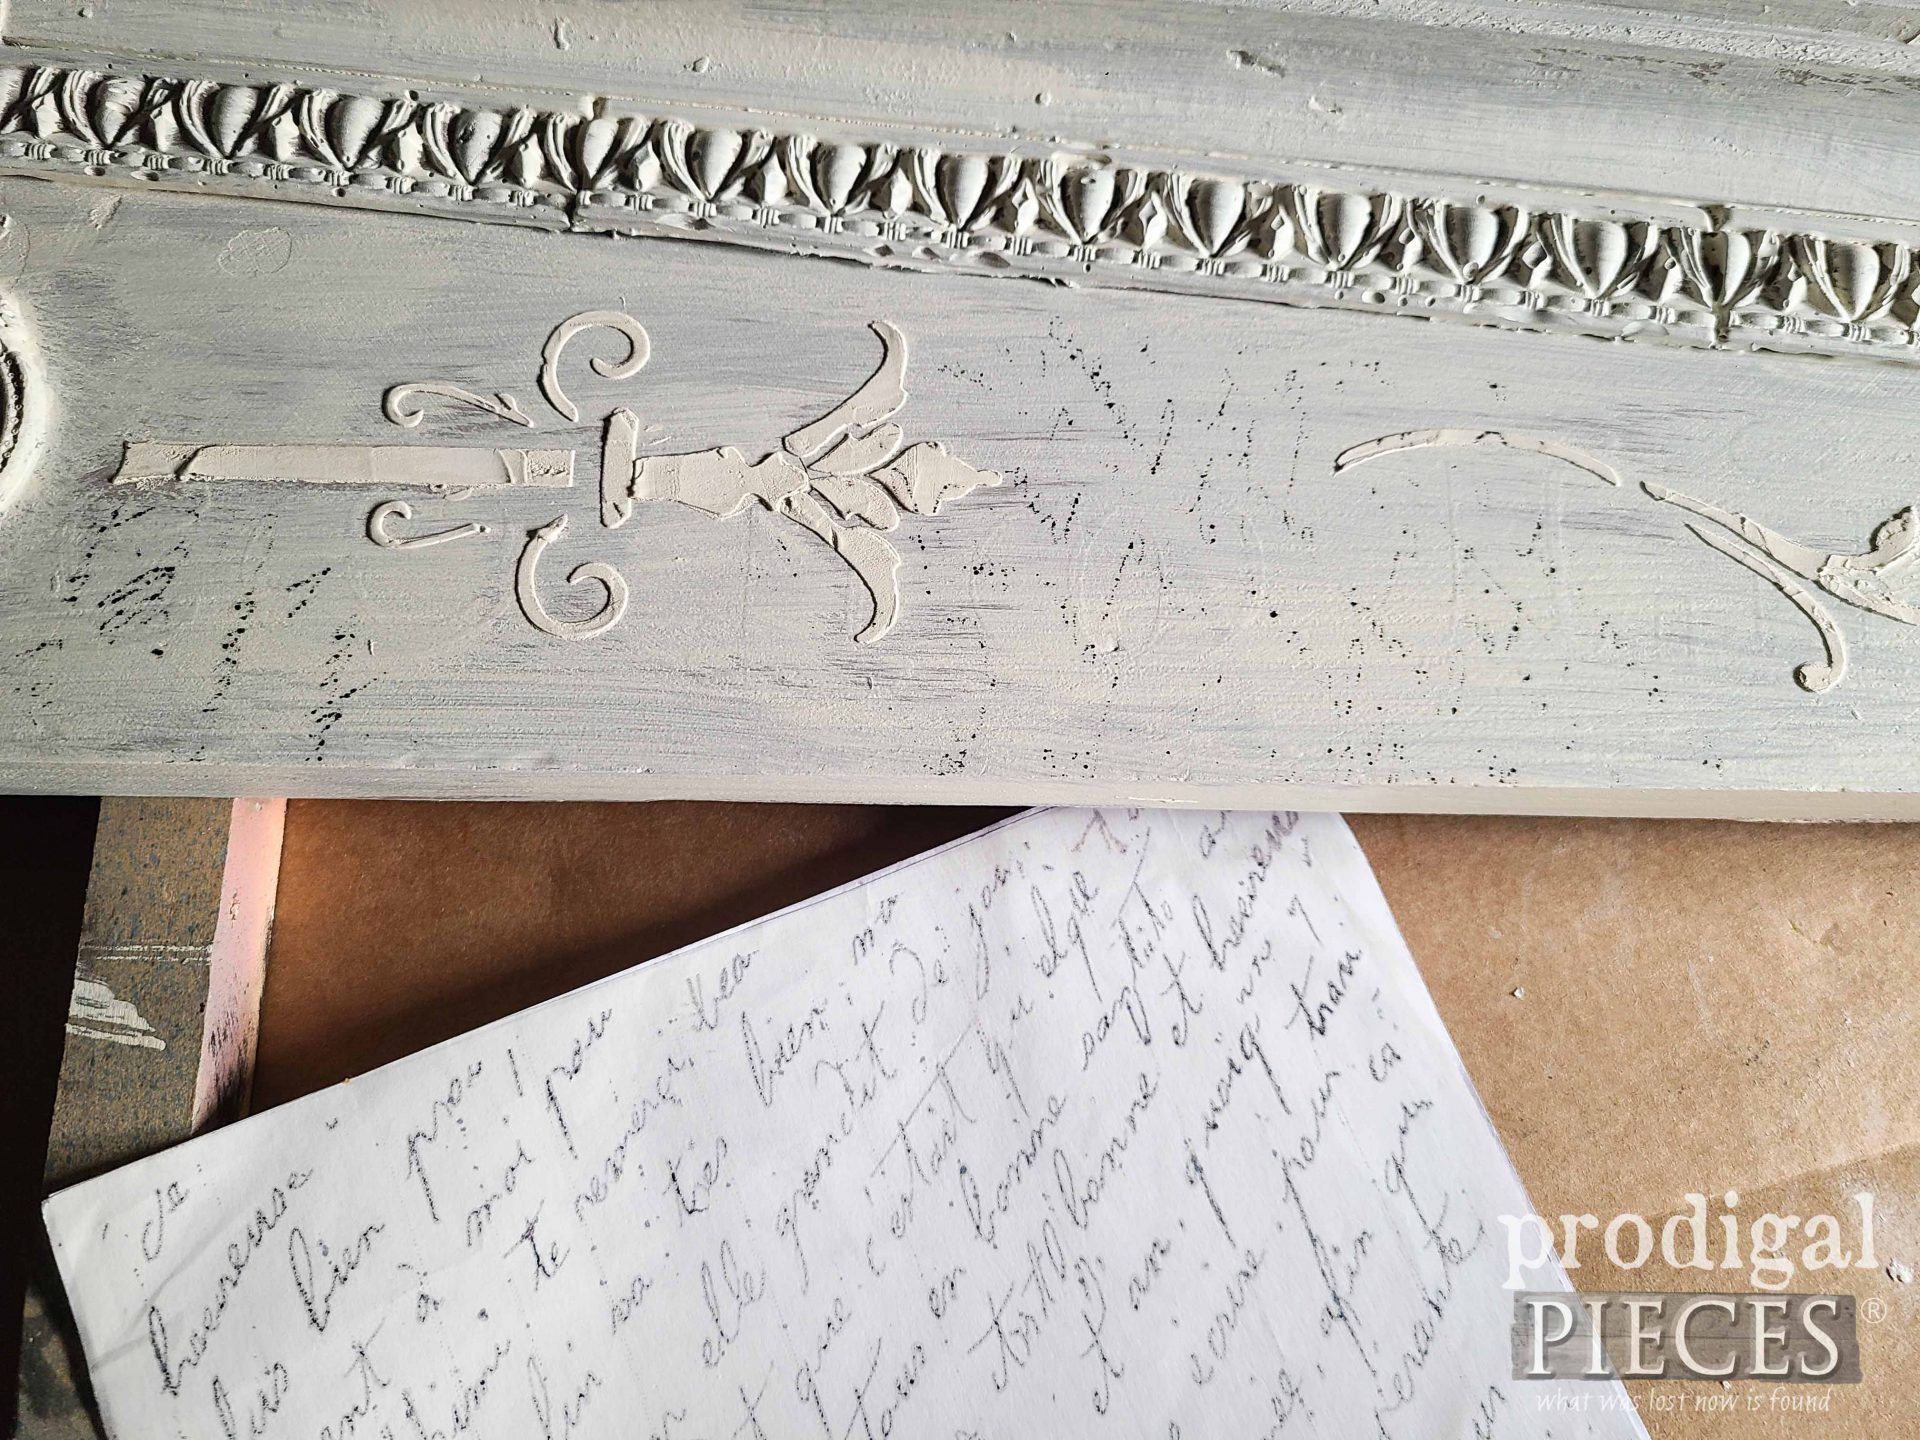
Then, once the paint cures, I use my DIY transfer to add a bit of
French script in random spots for even more dimension. You can watch the video tutorial how I create my transfer in this
wooden vase makeover post. Best part is you can wipe the page clean with rubbing alcohol and use it again and again.
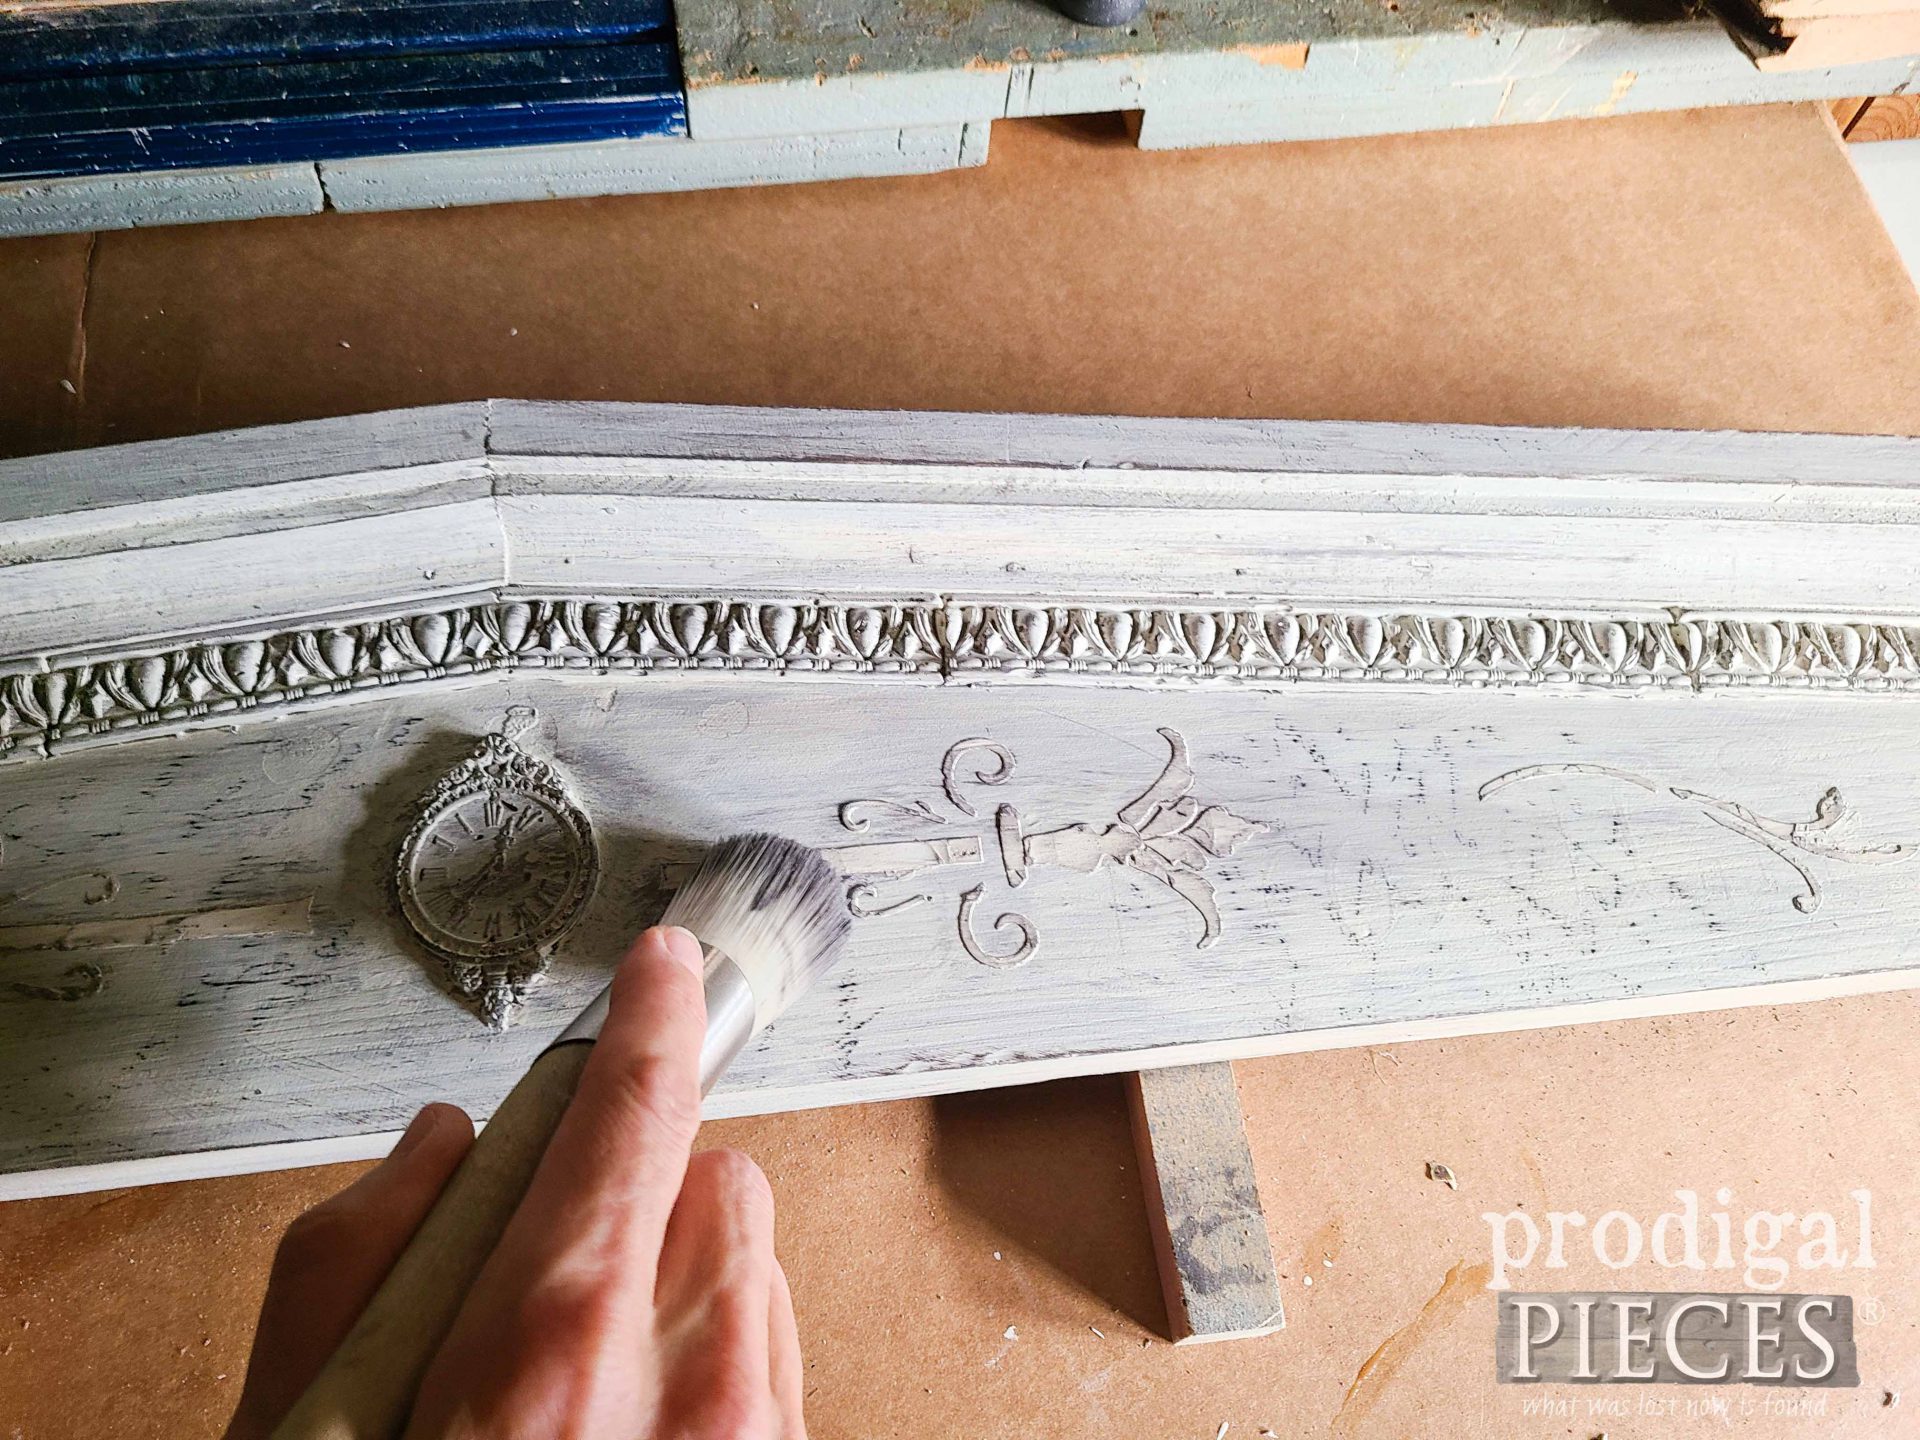
Last, but not least, I distress with a bit of sandpaper, and then use a gray wax to really bring out the details. eep!
THE REVEAL
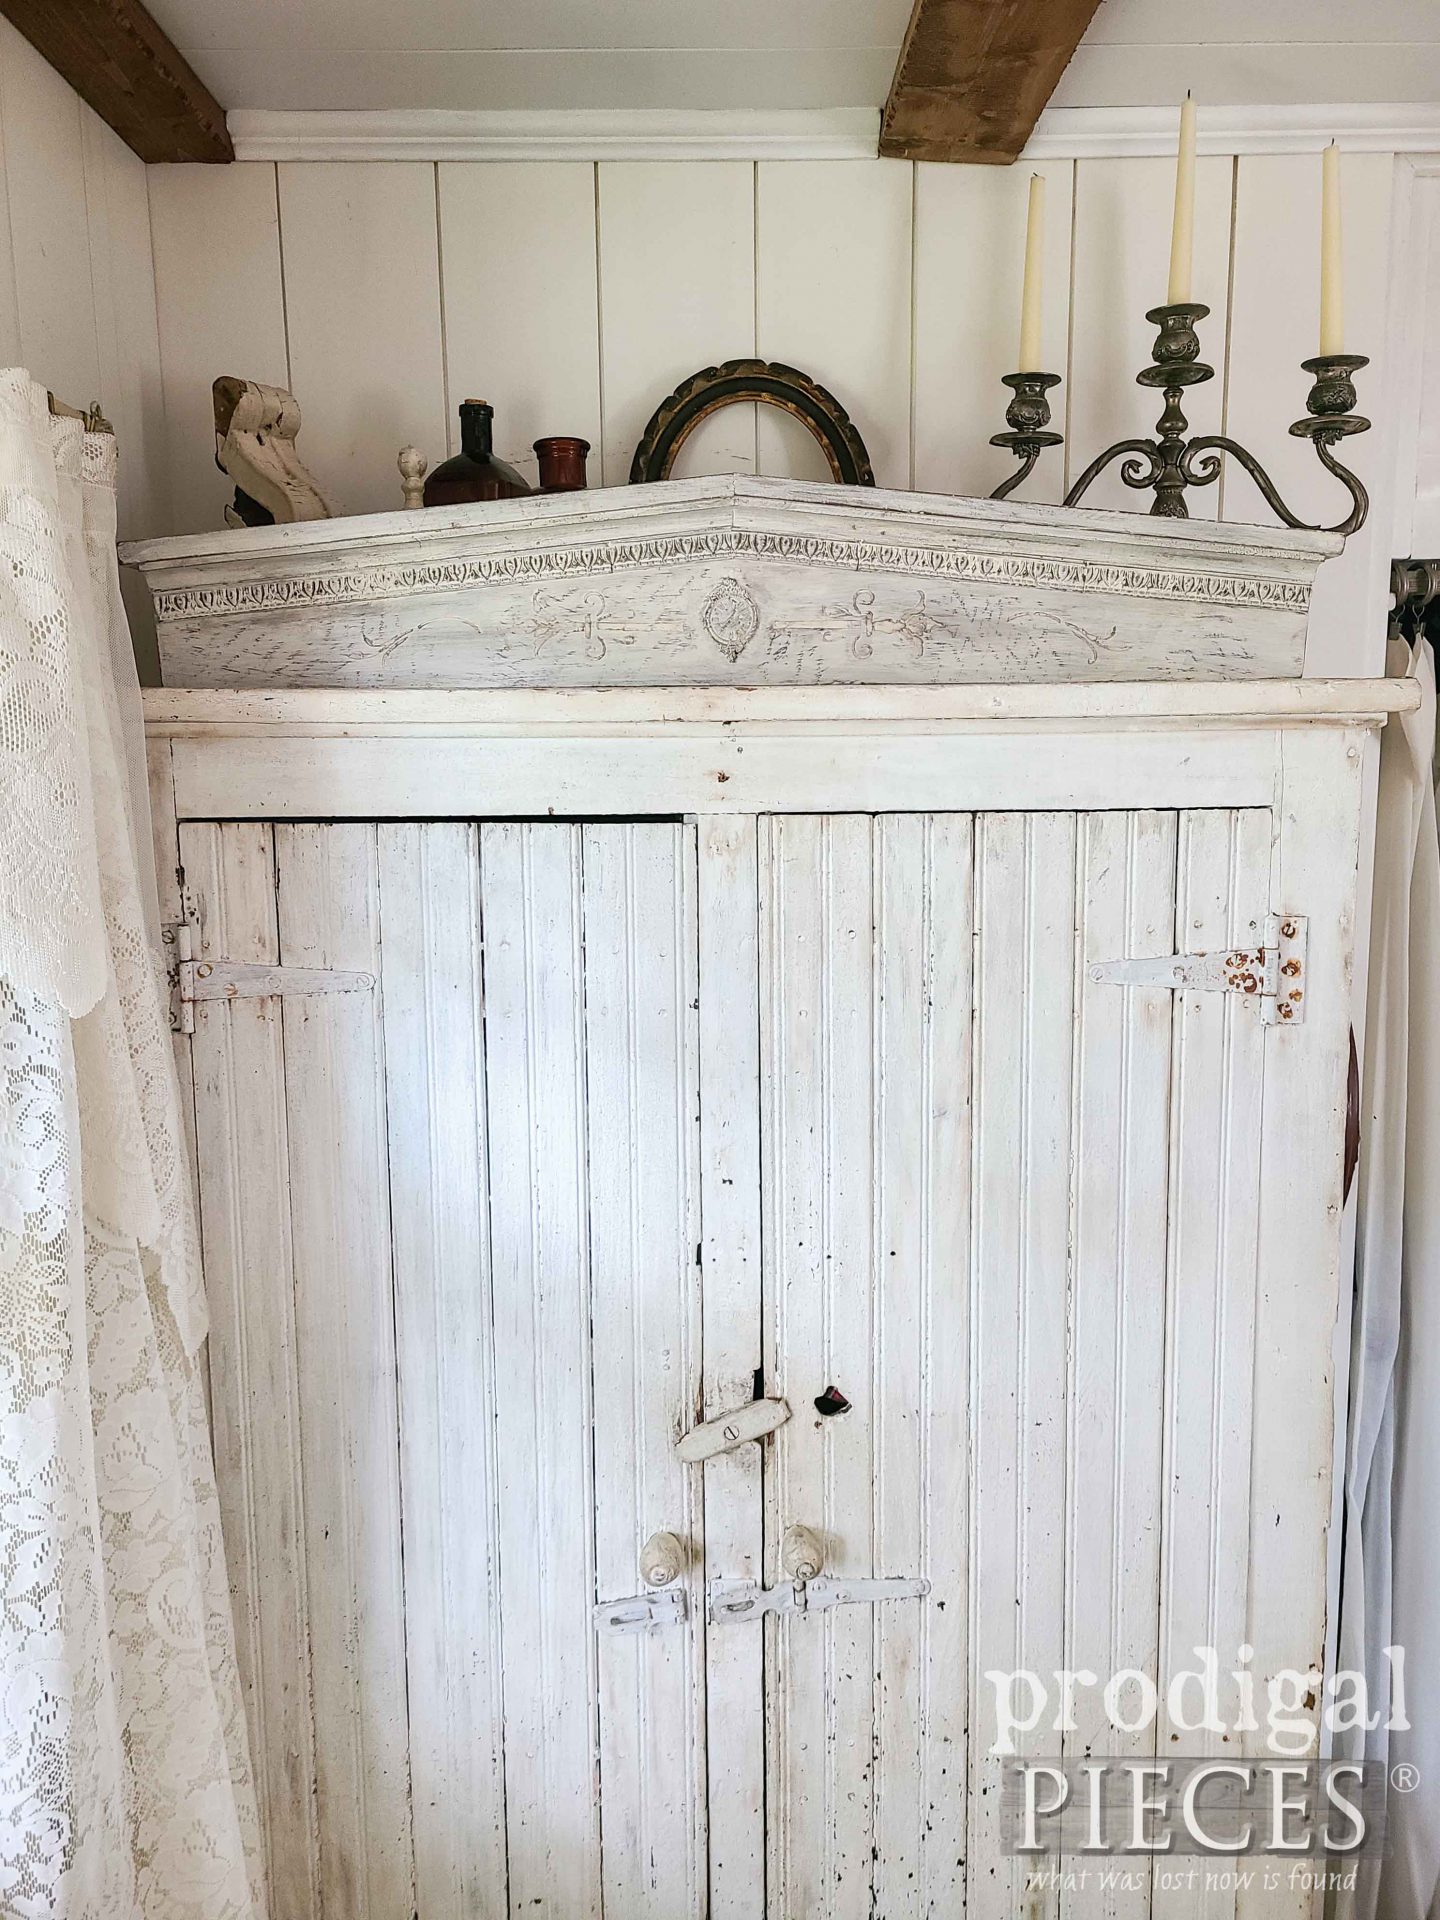
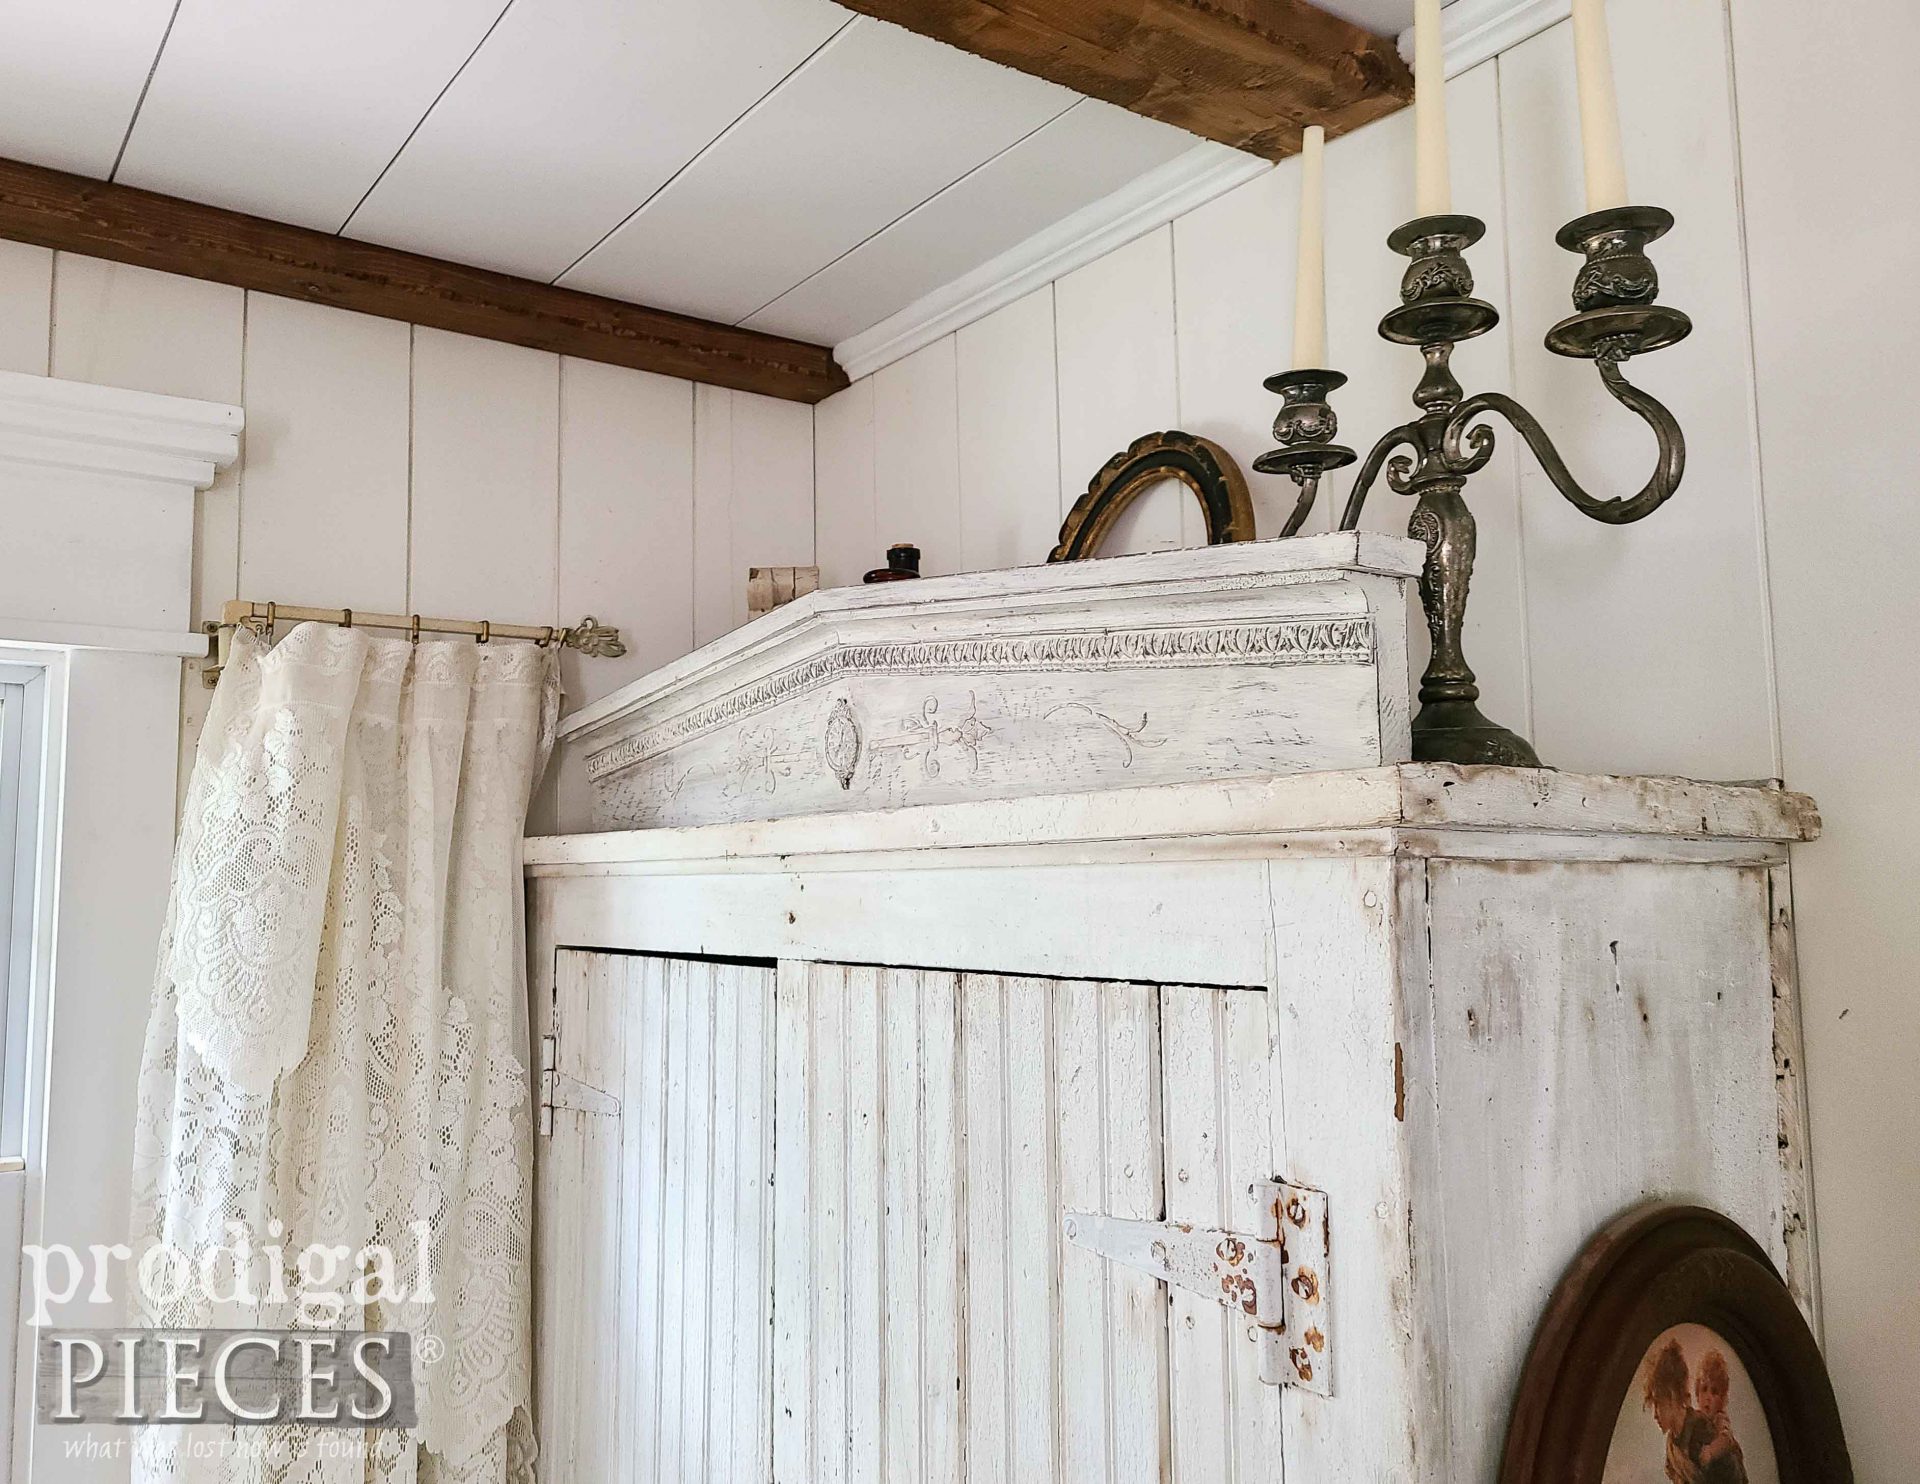
Finally, after our fun DIY stent of creative juices flowing, our farmhouse pediment makeover is complete. Can you believe it's the same box store decor?
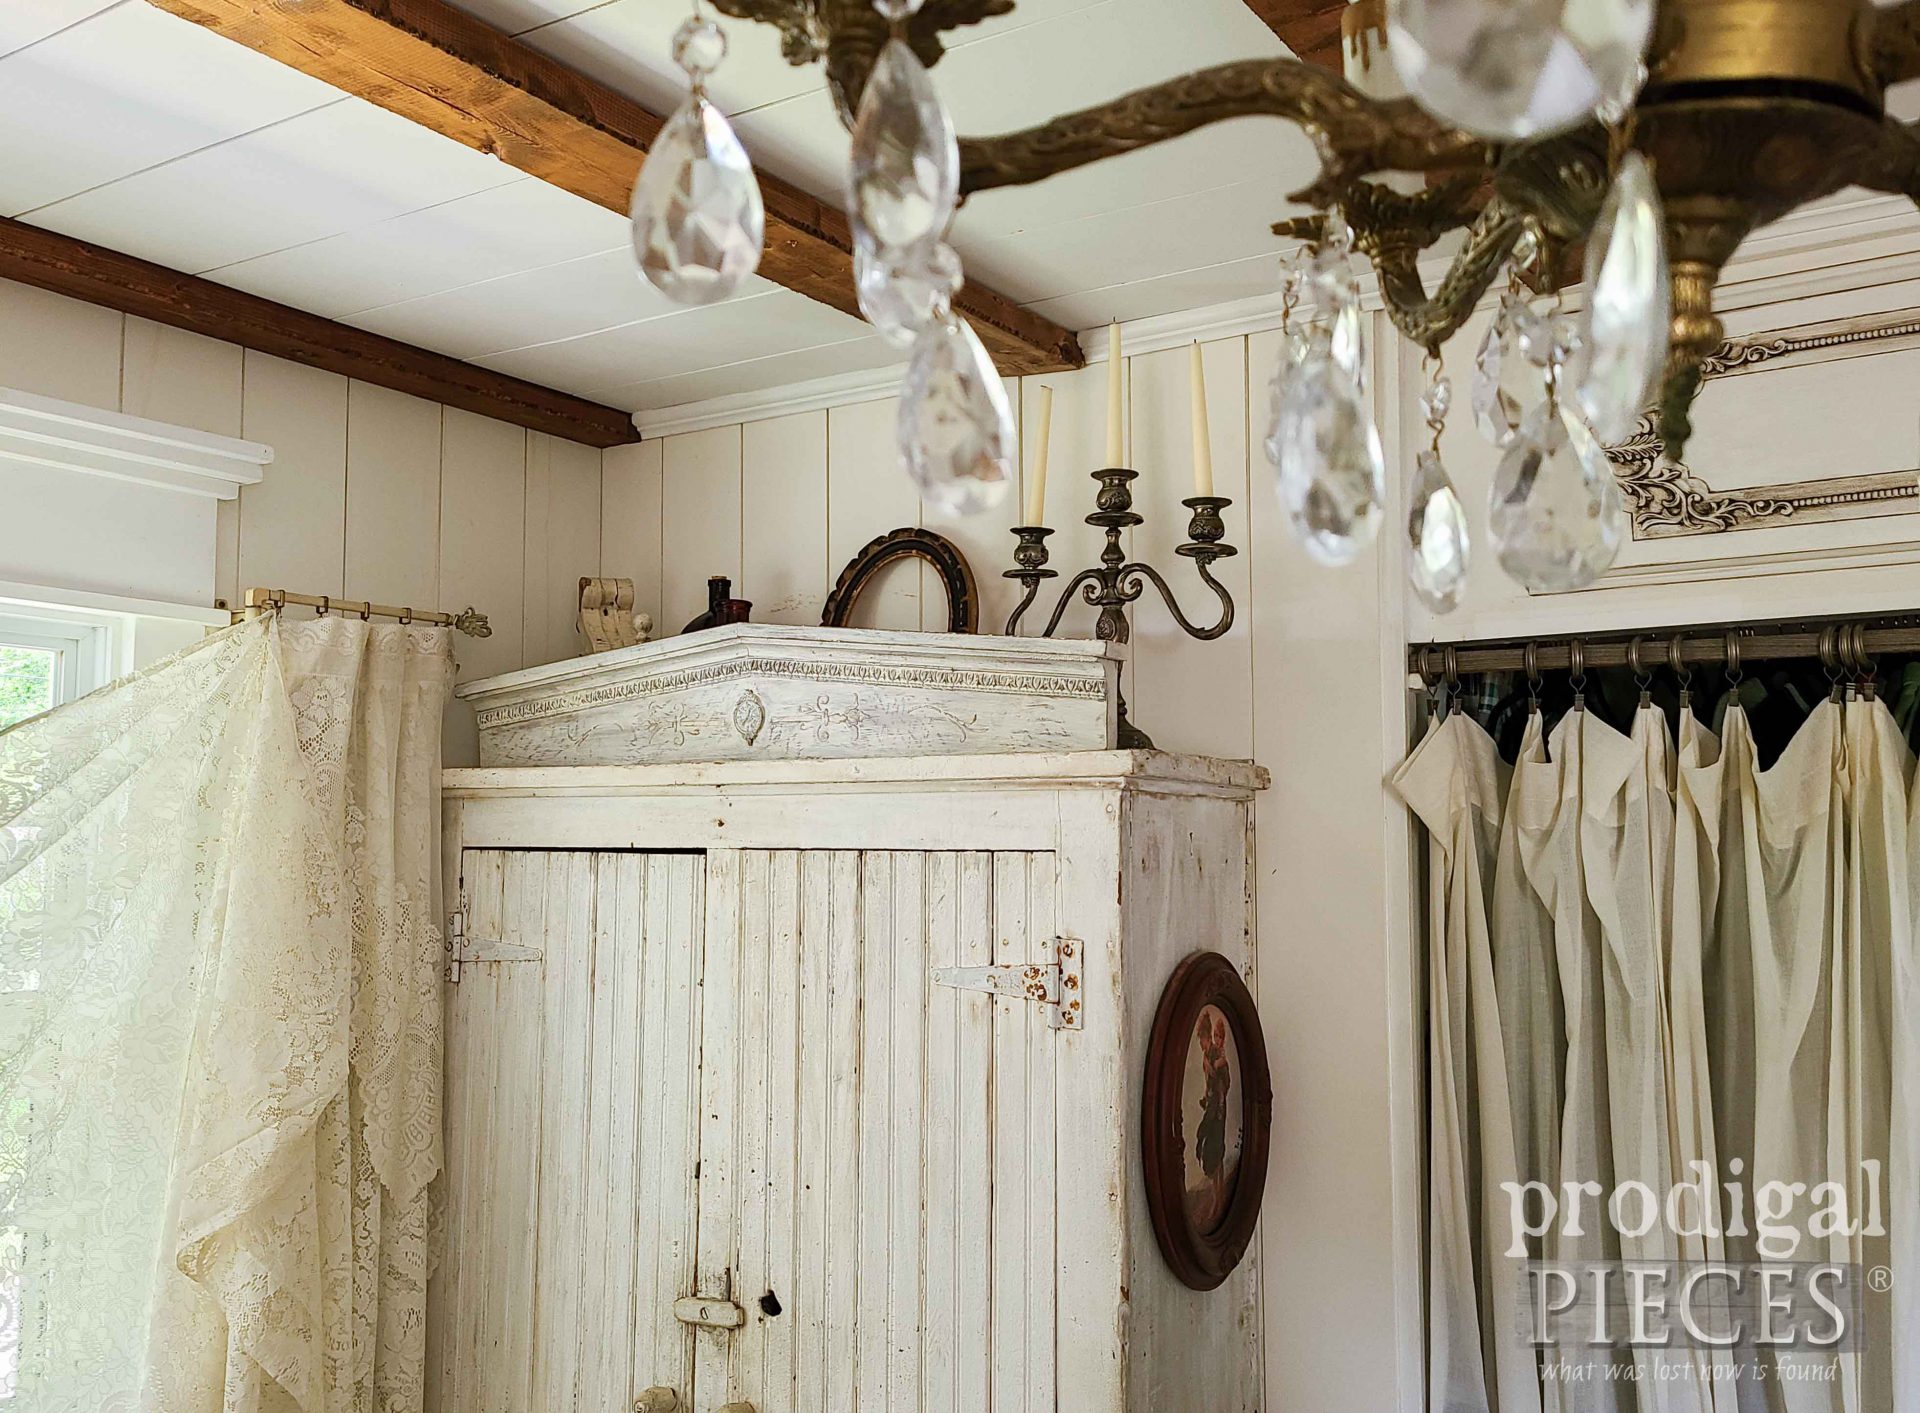
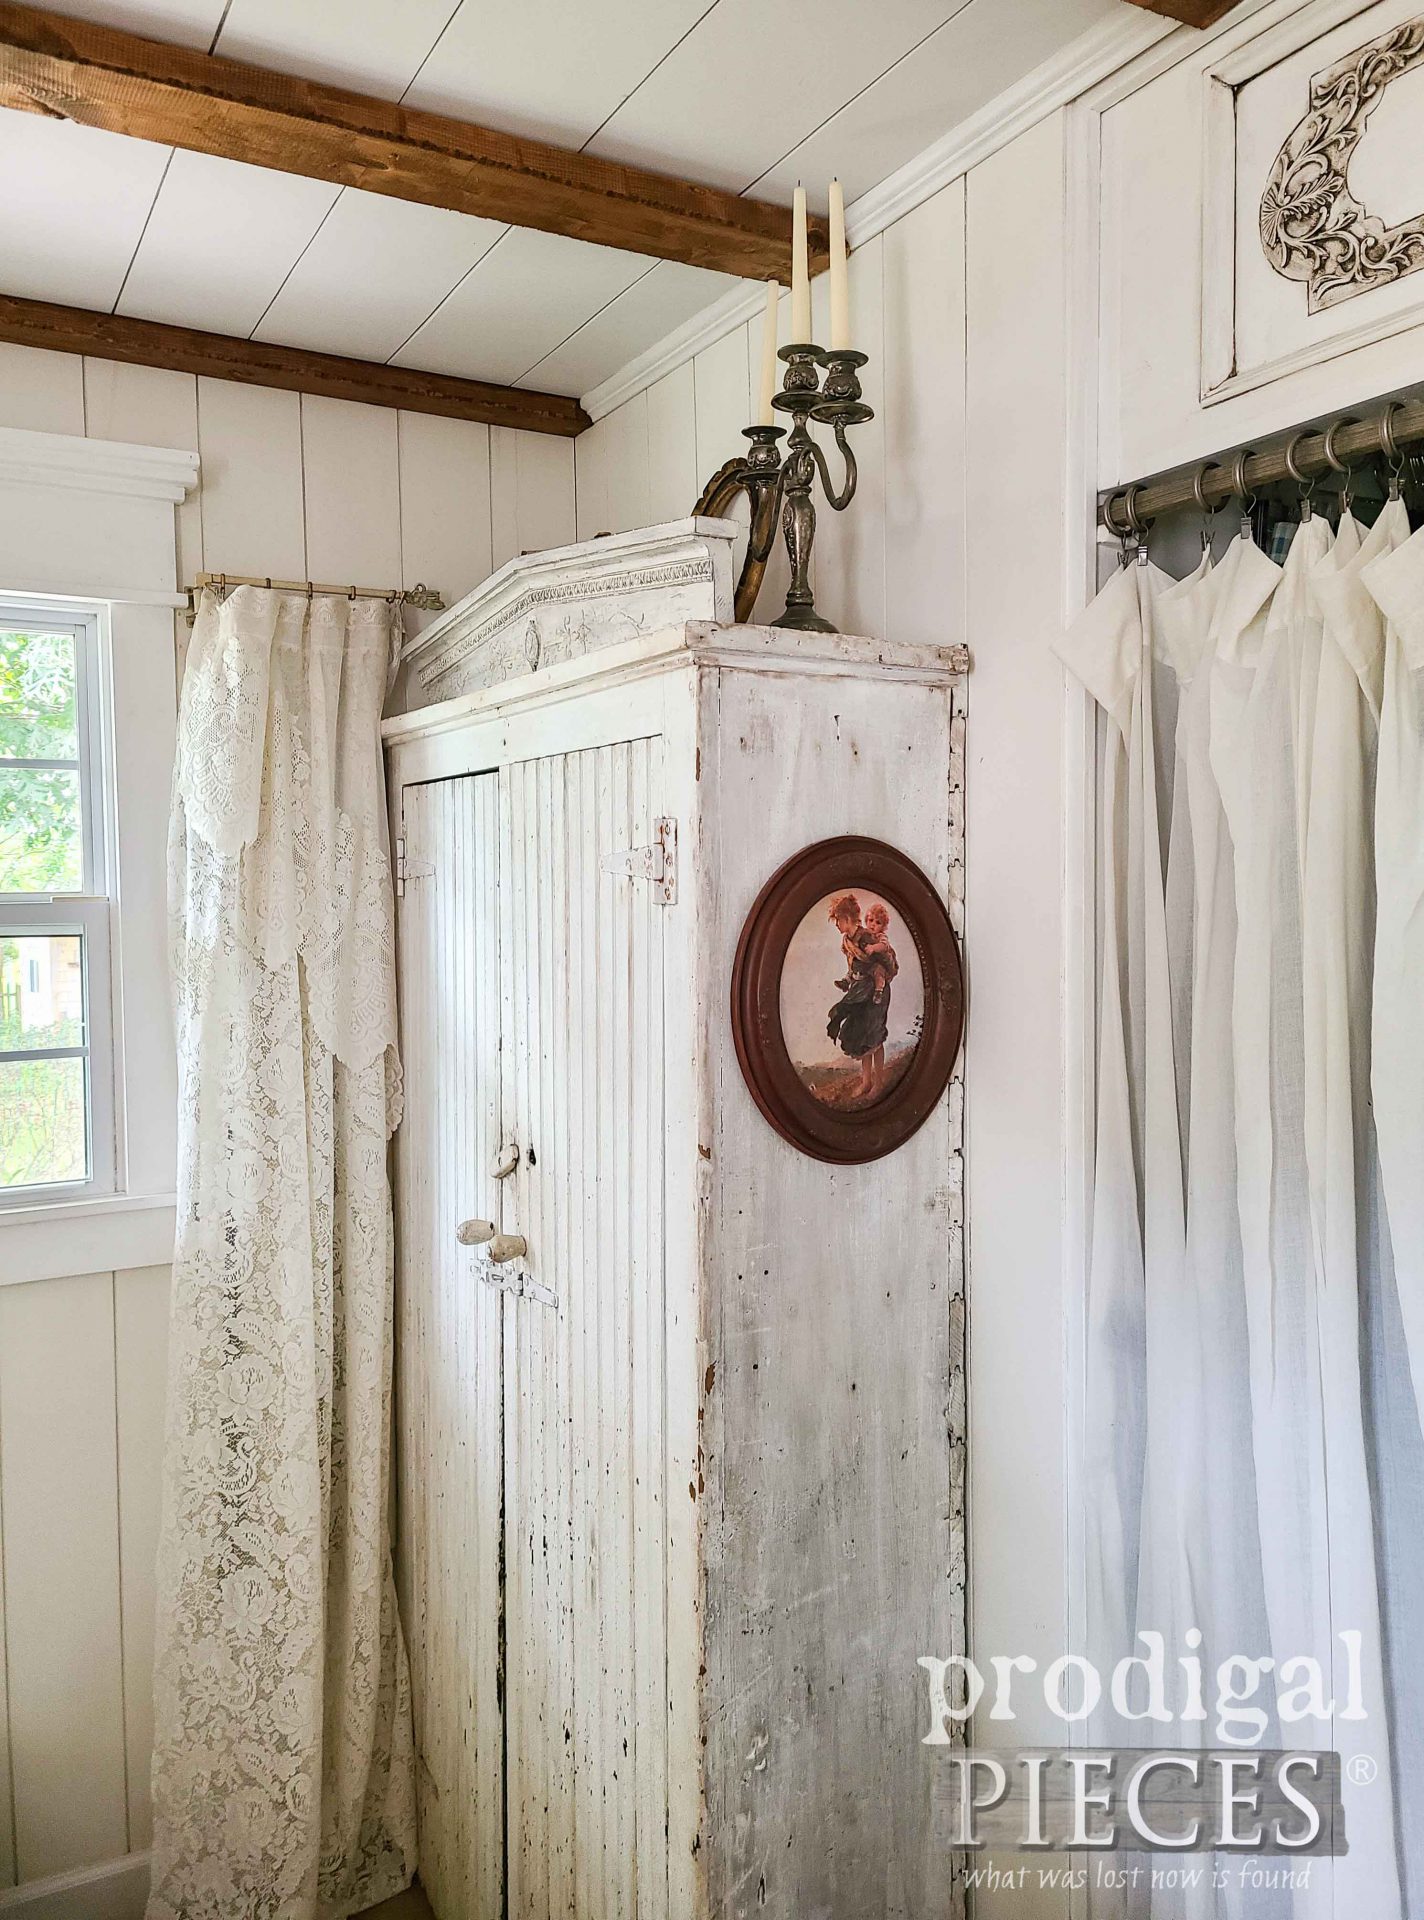
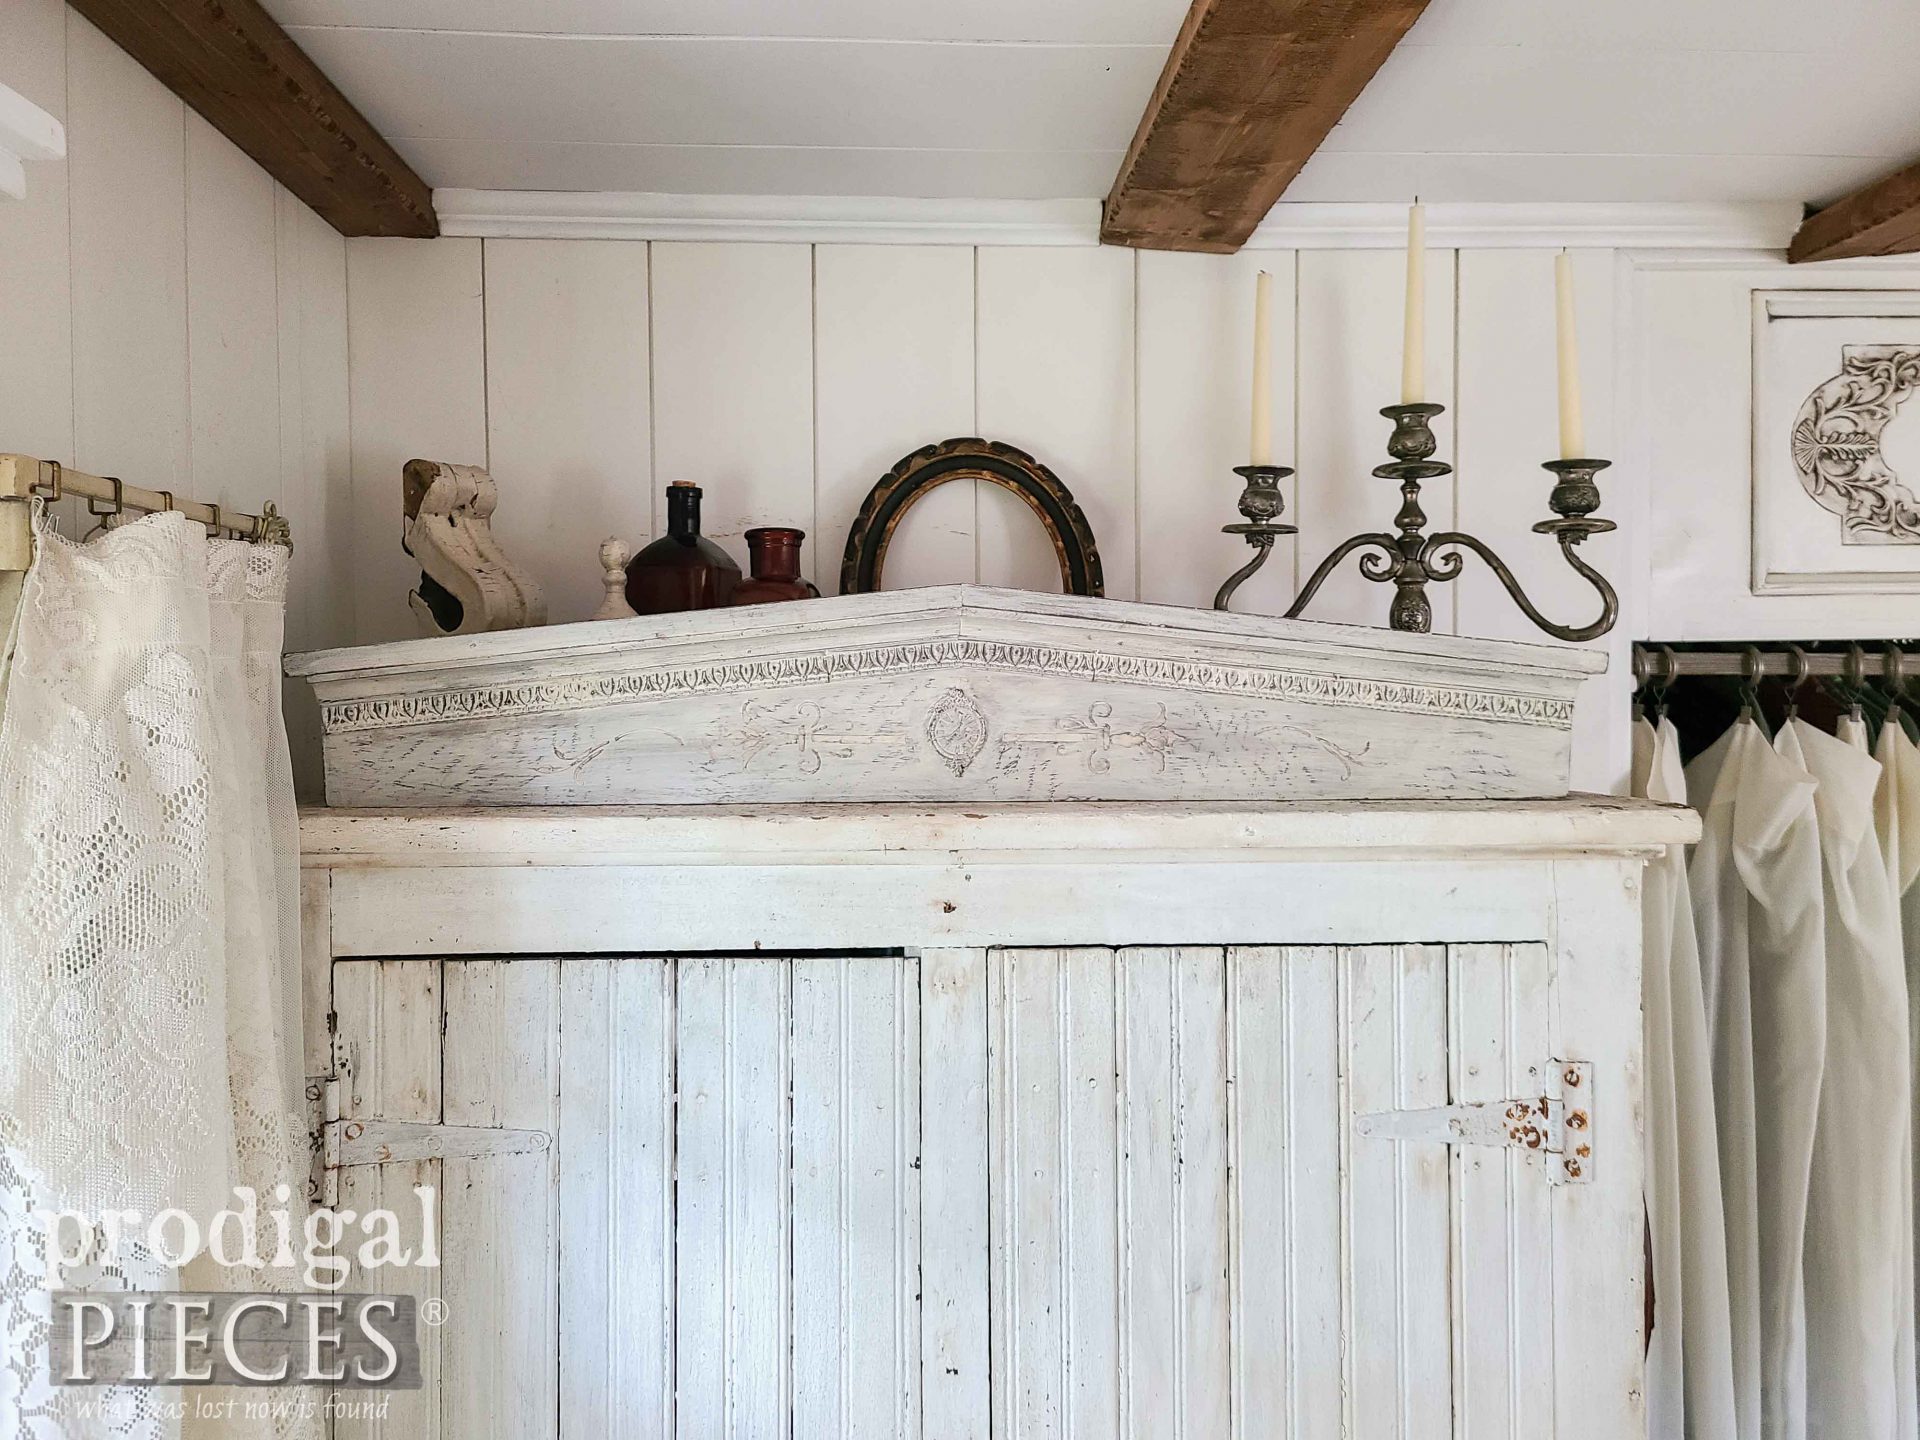
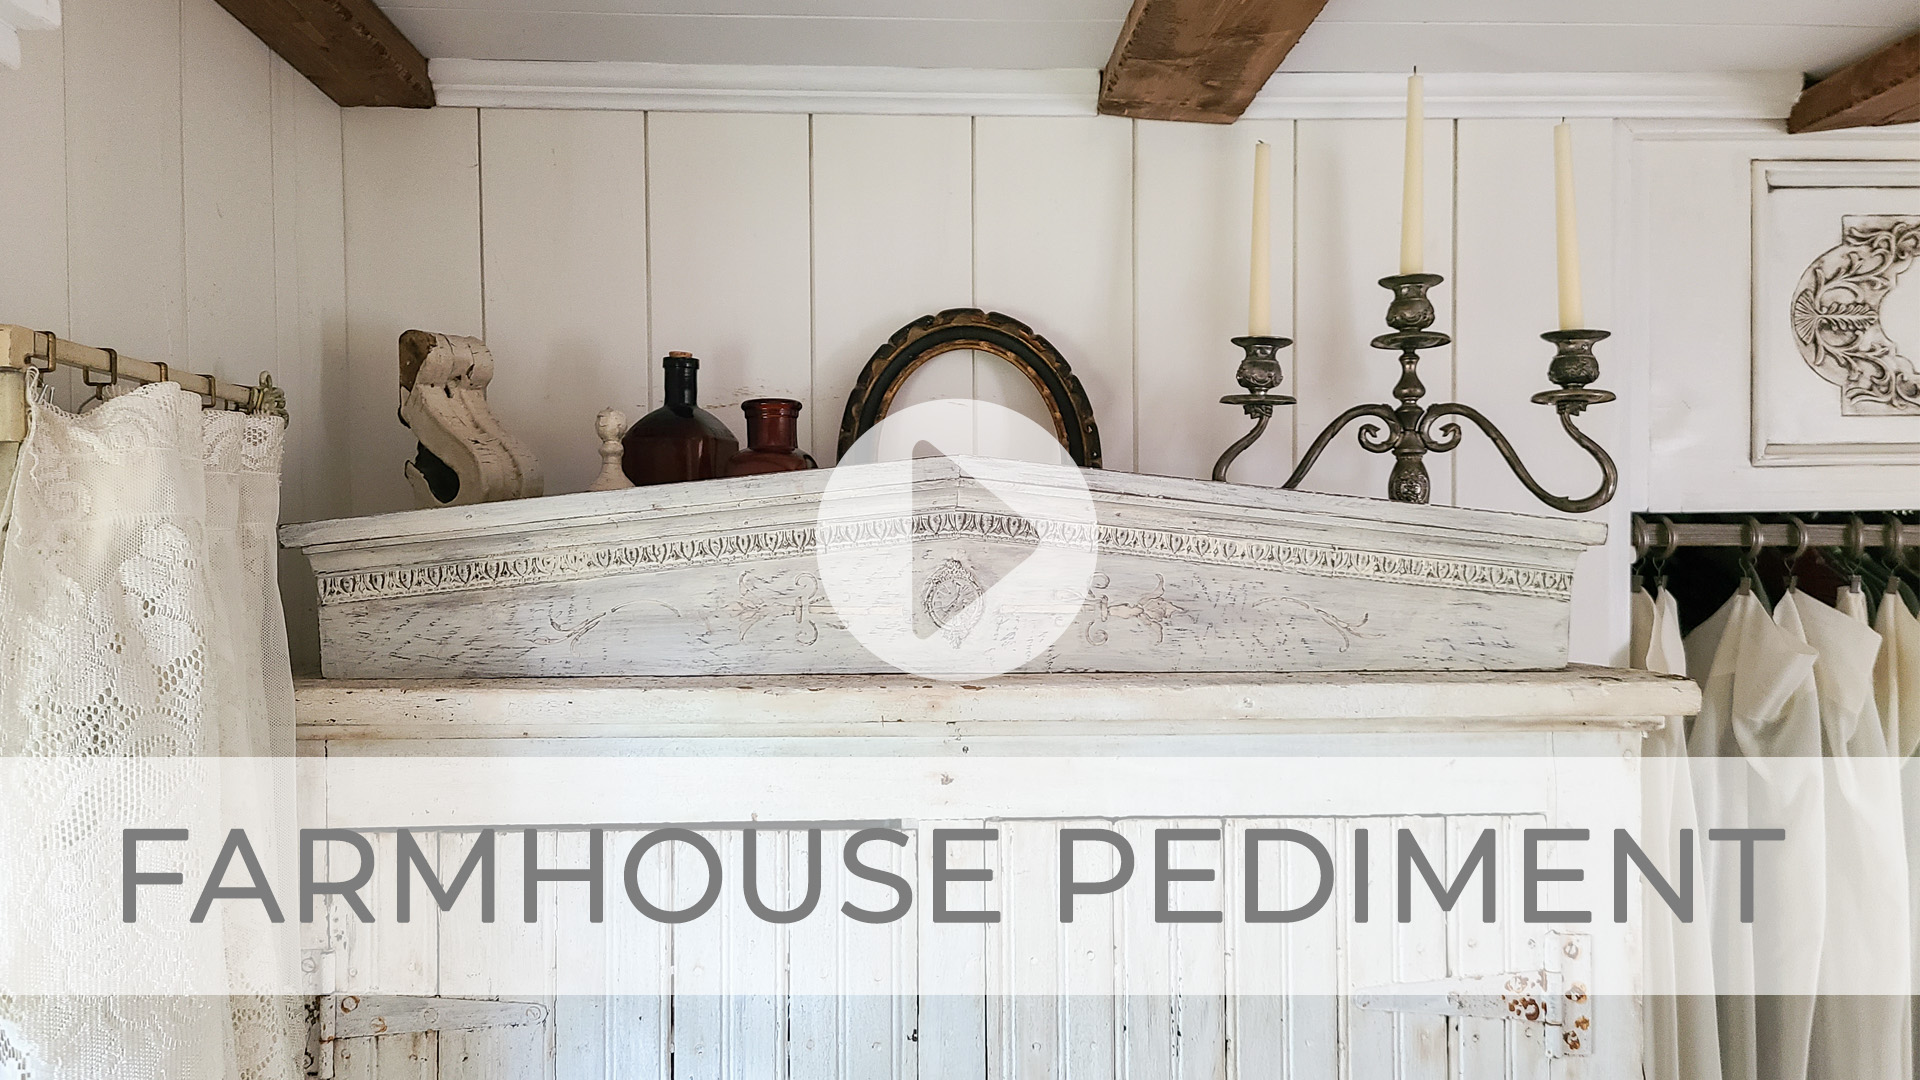
You could finish it in any form you like. However, this much more suited my style and tastes. I'm smitten!
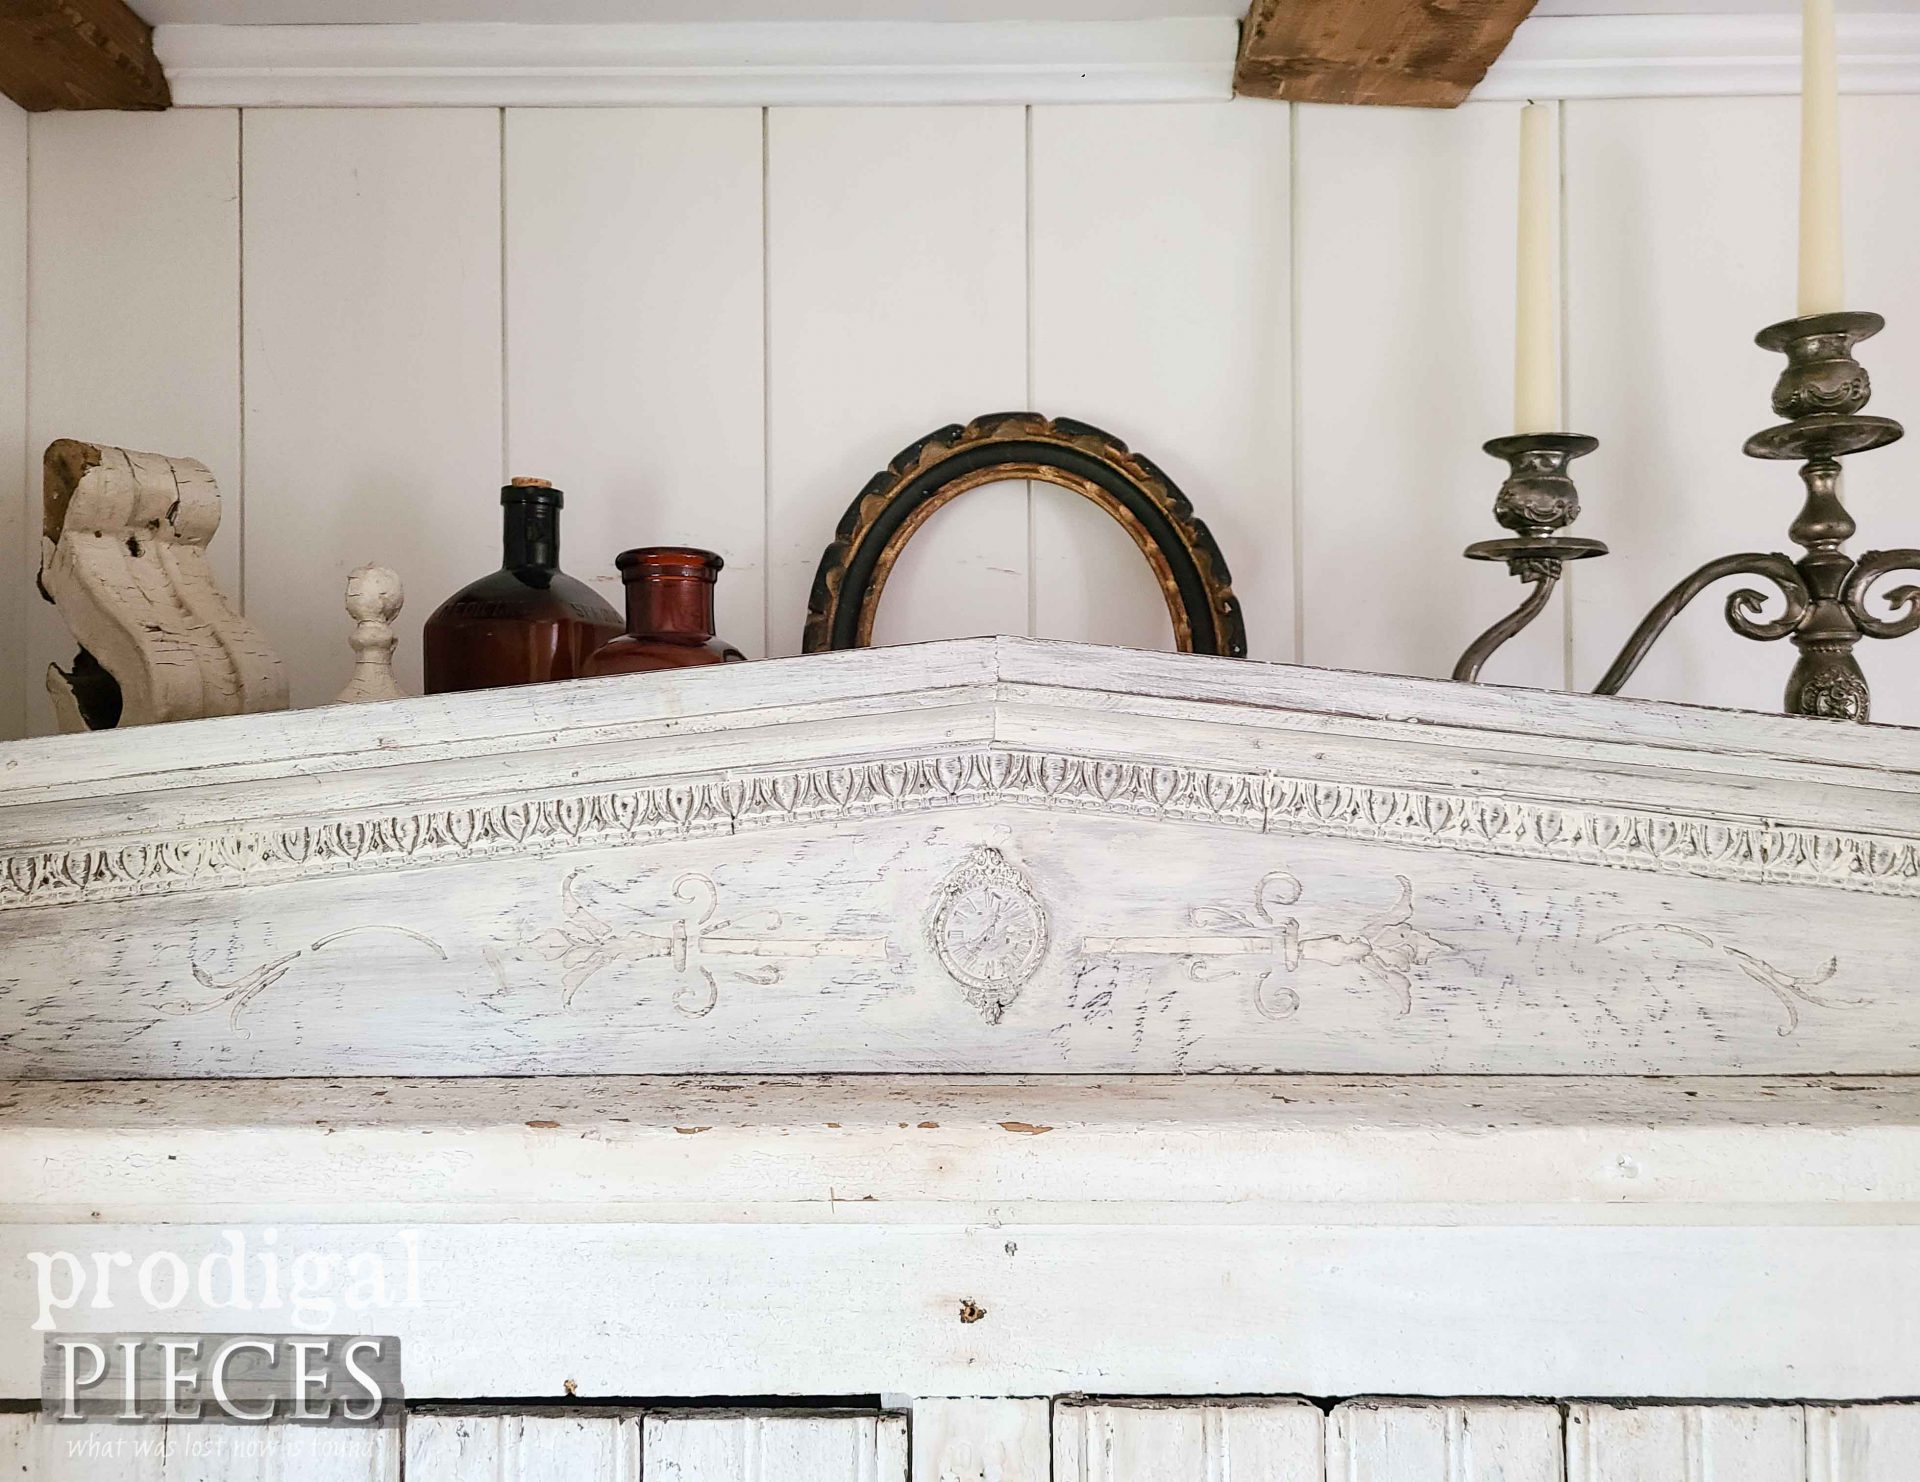
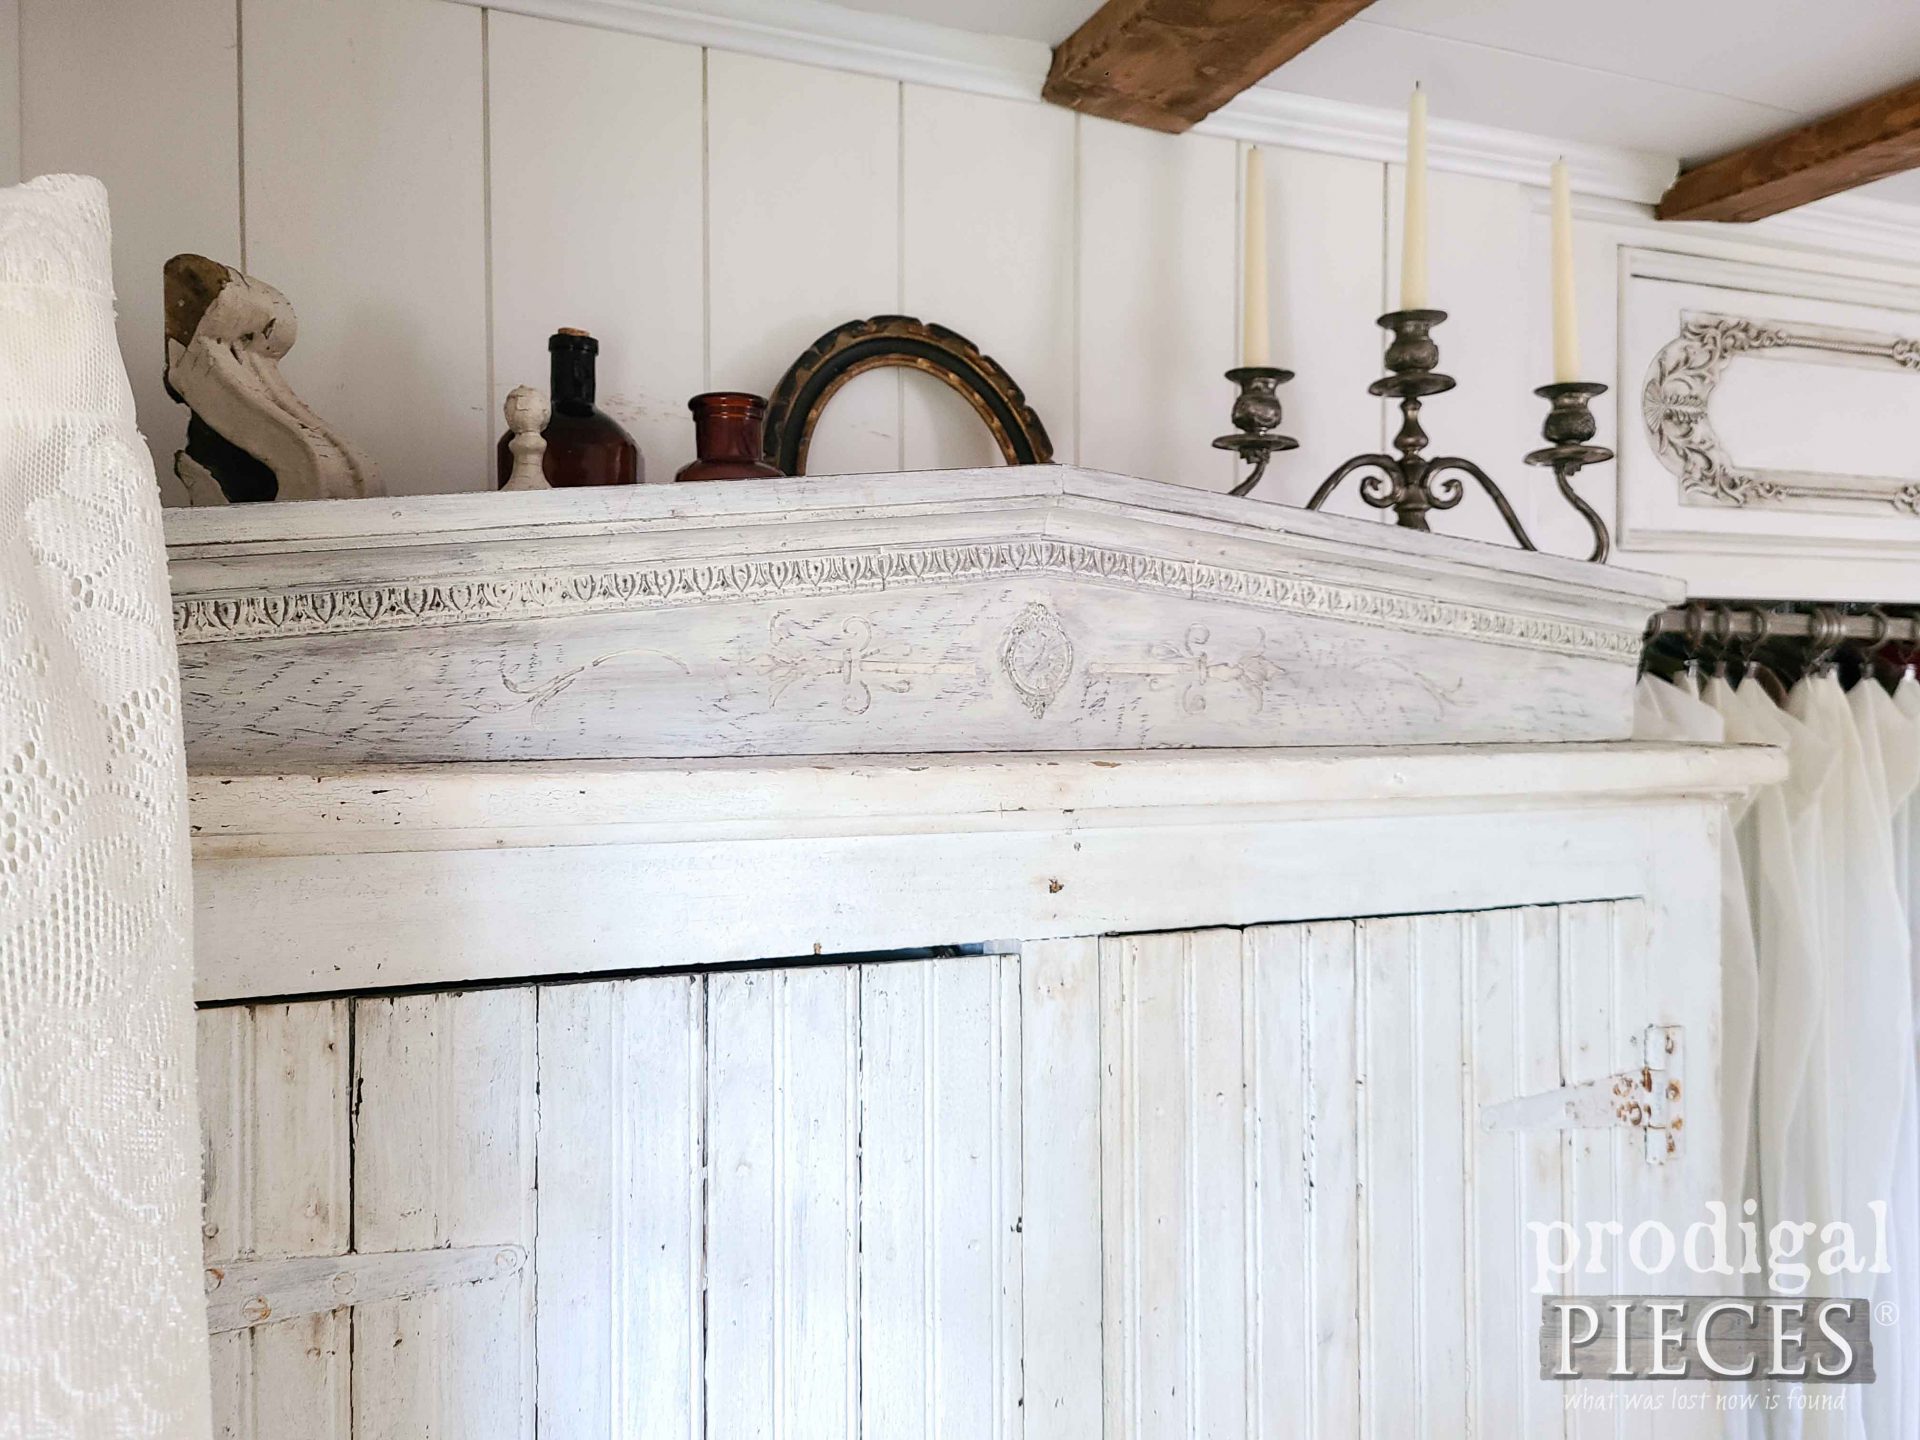
While I have it on my antique cupboard, it would be sweet over my door frame as well. Where would you put it? If you'd like to make this piece a part of your home, you can find it and so much more available in
my online shop.

In addition, do pin and share my farmhouse pediment makeover to inspire others to see past the box store decor to make their own home story.
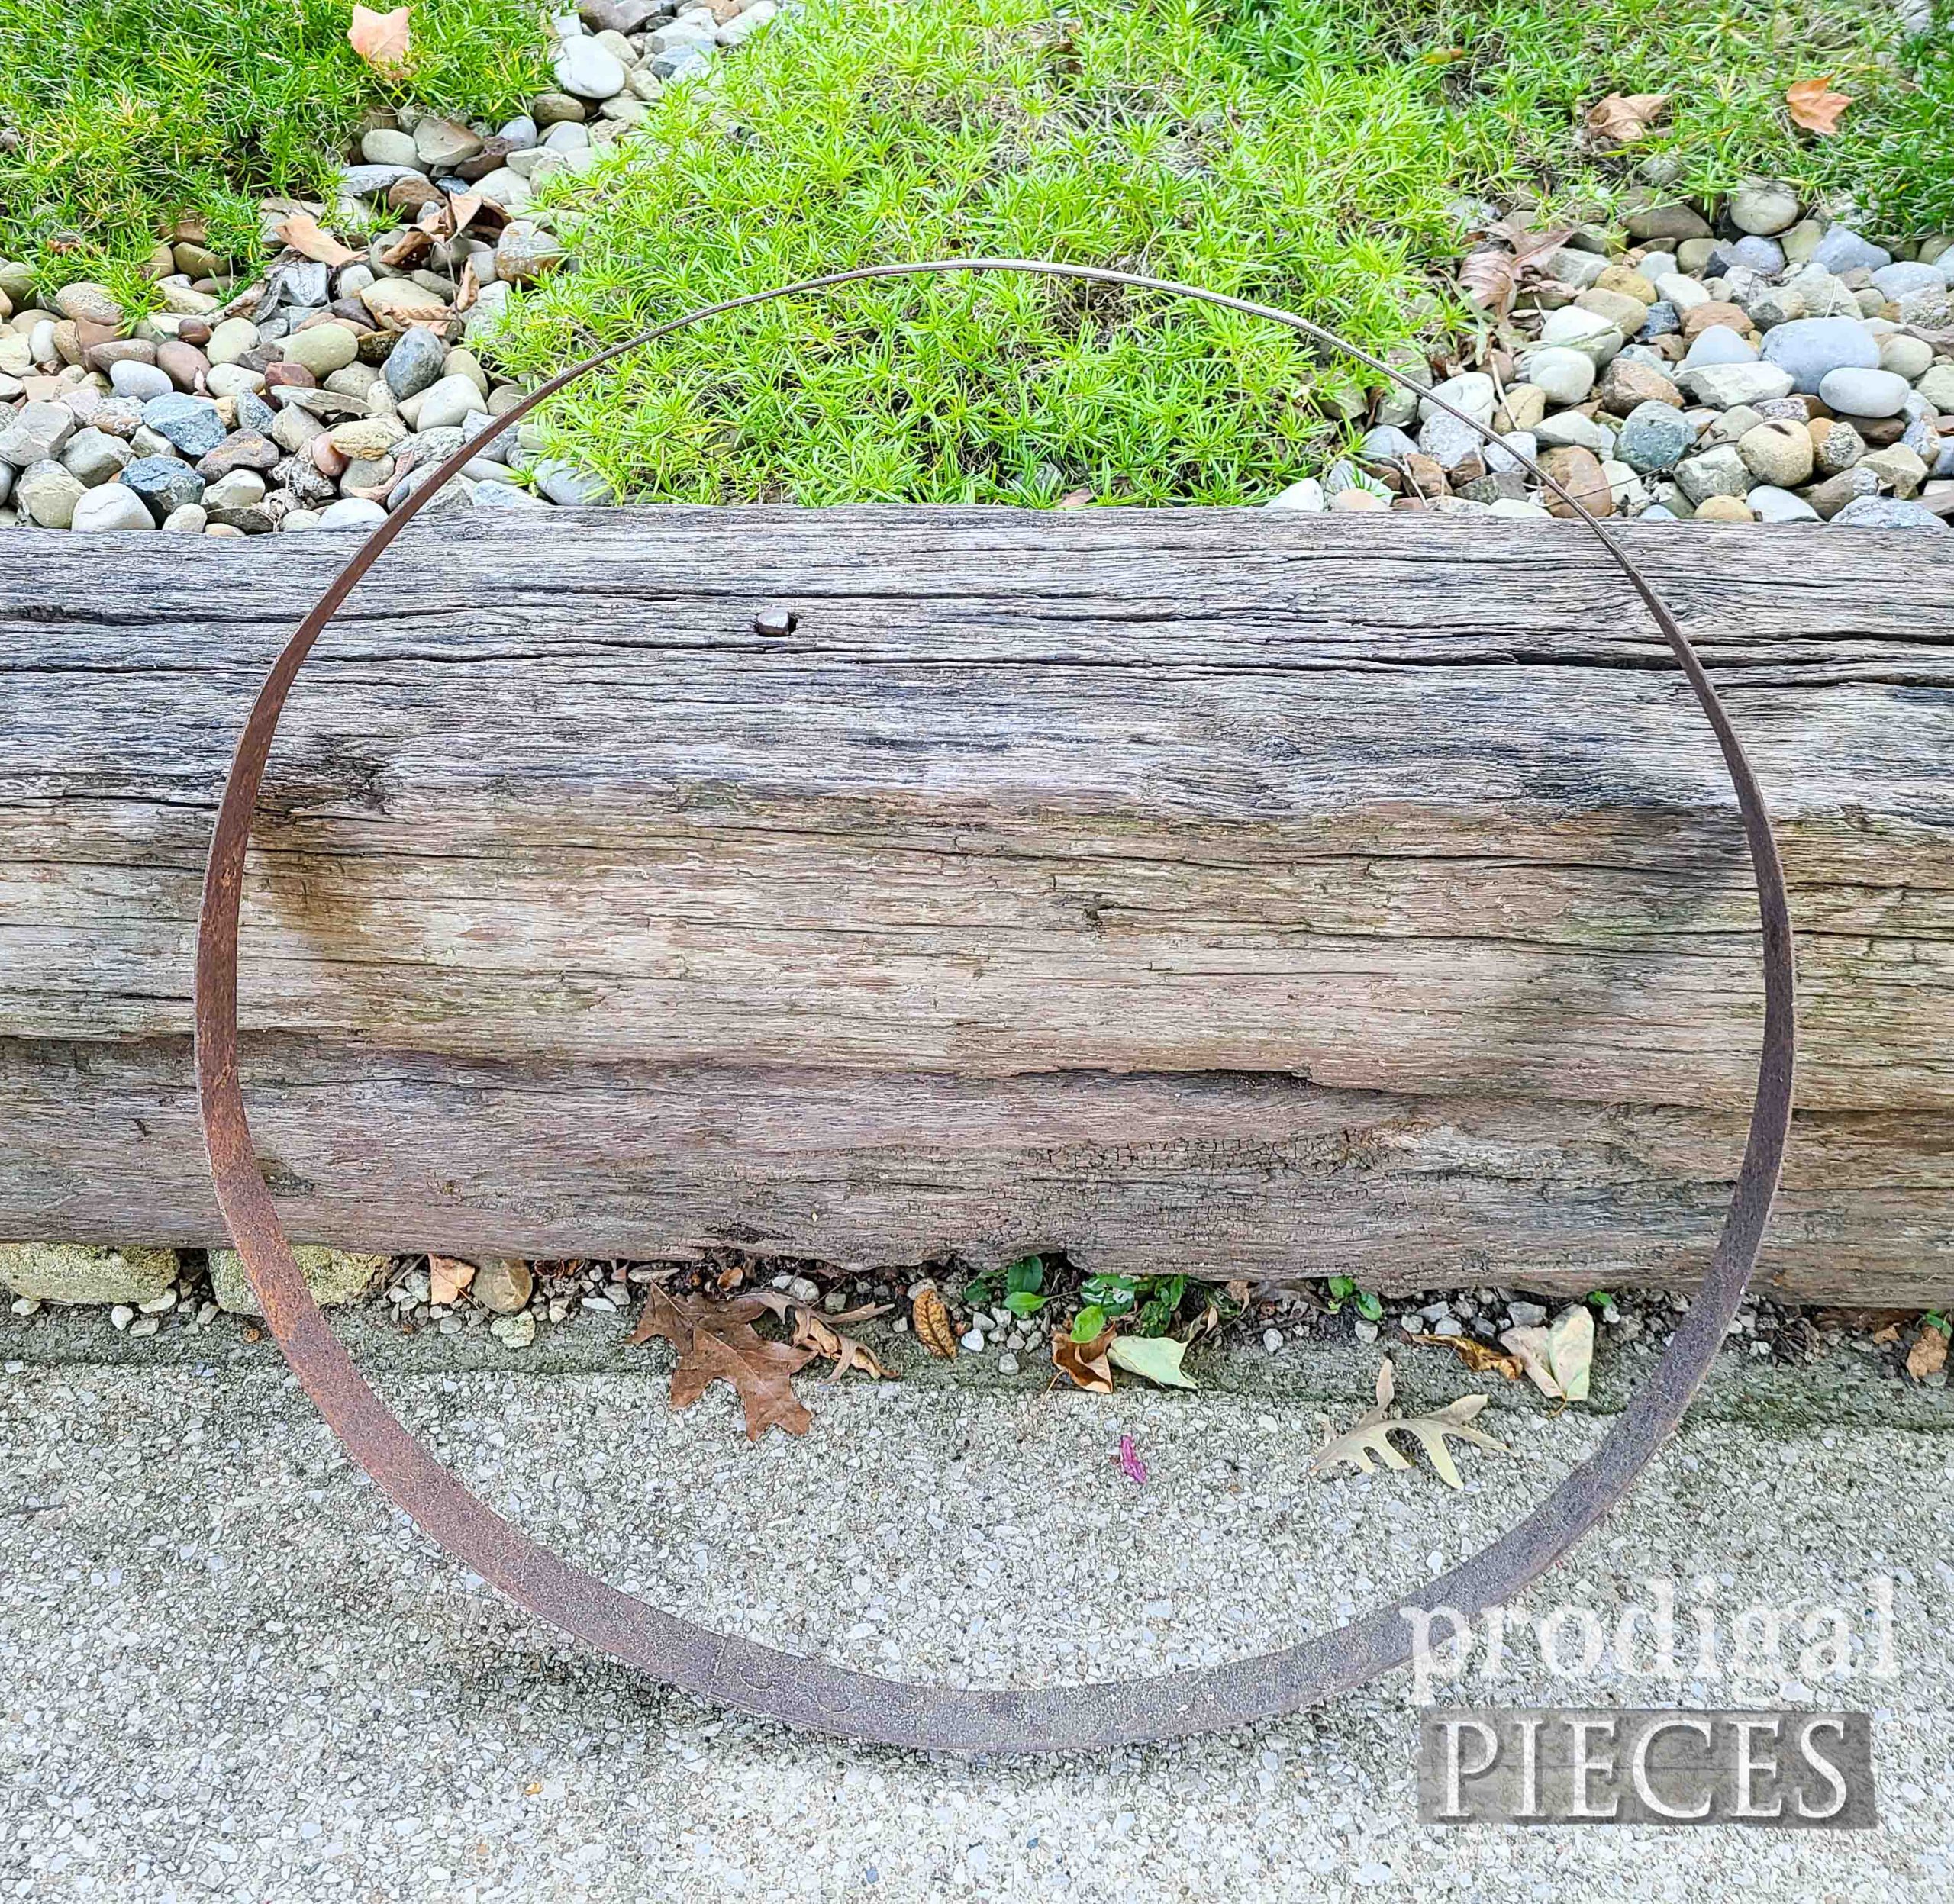
Up next, I am taking these freebies and making them into something new.
See its new use HERE.
To get these DIY tips & tricks in your inbox, be sure to
sign up for my newsletter. Until next time!

Also, more fun projects like this farmhouse pediment:
 What you see above is a box store decor I found at a local thrift shop. It's quirky cute, but definitely is not something I would put in my home as-is. See what I mean below?
 Maybe it's my sense of humor, but in my head when I read it, it has a snarky sound to it. haha. Time for a makeover! Full video tutorial below for you to follow along.
 Then, I create decorative moldings from my mold and hot glue. You can see how I've used paper clay and other mediums in this same mold in these past posts HERE. Also, it can be used for food fun too.
 For my purposes, I need 5 strips of molding and I'm also making a clock you can see above too. Next, once that's complete I adhere them with wood glue and a few brads to hold them in place. (see video demo for details)
 Now that the moldings are in place, I can apply my first layer, the base layer, of paint. I'm aiming for aged layers and this is how to start it. Check out this video demo HERE too for extra fun.
 After the spackling cures, I apply my topcoat of paint in a loose fashion. I want the first layer to peek out here and there.
 Then, once the paint cures, I use my DIY transfer to add a bit of French script in random spots for even more dimension. You can watch the video tutorial how I create my transfer in this wooden vase makeover post. Best part is you can wipe the page clean with rubbing alcohol and use it again and again.
 Last, but not least, I distress with a bit of sandpaper, and then use a gray wax to really bring out the details. eep!


 You could finish it in any form you like. However, this much more suited my style and tastes. I'm smitten!

 While I have it on my antique cupboard, it would be sweet over my door frame as well. Where would you put it? If you'd like to make this piece a part of your home, you can find it and so much more available in my online shop.


 In addition, do pin and share my farmhouse pediment makeover to inspire others to see past the box store decor to make their own home story.
 Up next, I am taking these freebies and making them into something new. See its new use HERE.
 To get these DIY tips & tricks in your inbox, be sure to sign up for my newsletter. Until next time!


