 This particular dresser was looking like it was embarrassed. It seemed like it was red in the face. When JC brought it home I wasn't exactly thrilled to see it as the owner didn't describe it well. First, there was a huge hole in the top that had been repaired and was the repair was shrinking. And it was among friends with nicks and dings all over.

DAMAGE
Then, there was the issue of the top being entirely too short - like ¾" too short from the back. Not to mention the finish was just awful. I'm assuming the gap was from a mirror, but also could have been a decorative piece that had gone missing. I couldn't really tell because the back panel showed no signs of hardware holes as it had been replaced, nor did it have any holes in the back top.
DIY TIME
What's a girl to do about that? I could replace the top, however, I felt it was much easier to just fill that gap with a decorative piece. We did the same to the chest of drawers we installed in our bathroom as a vanity. It serves as our backsplash and works awesome. Okay, so to get this looking like an industrial chest of drawers, I grabbed a hardwood board from my stash and cut it to length with my miter saw. Then, I sketched out my design and traced it onto the board. The best way to get the design is measure to find center, create a template exactly half the size, then trace it on both ends of the board flipping it at center. That allows you to replicate your design exactly on both sides. Once traced, I cut out my piece with my jig saw, then added pocket holes with my Kreg pocket hole jig. Remember my motto: toolsoverjewels !! {{happy dance}}
 Then, for the cosmetic wear, I simply used wood filler to fill all the dings then sanded smooth with my sander.
 I even decided to replace those knobs with new pulls, so I filled the holes and sanded those too. Next, I lightly sand everything down.

TOYS
Enter in a new This is when I begin to sing, "I love my tools, I love my tools! O how they make life easy." (to the tune of O Christmas tree). Yes, I do love to sing when working. tsk. Doesn't everyone?
No more drill bit slipping and I can know they will be level.
This is when I begin to sing, "I love my tools, I love my tools! O how they make life easy." (to the tune of O Christmas tree). Yes, I do love to sing when working. tsk. Doesn't everyone?
No more drill bit slipping and I can know they will be level.

FIX 'ER UP
I left the drawer fronts as they were. Then, I applied a black wax to the fronts. Brush the wax on and rub off with a soft cloth. In order for that decorative piece I added to match, it needed to peek a stain out from under paint. Next, I apply a cherry stain that is similar to the current color.
 Finally, I use two coats of a flat black paint.

THE REVEAL
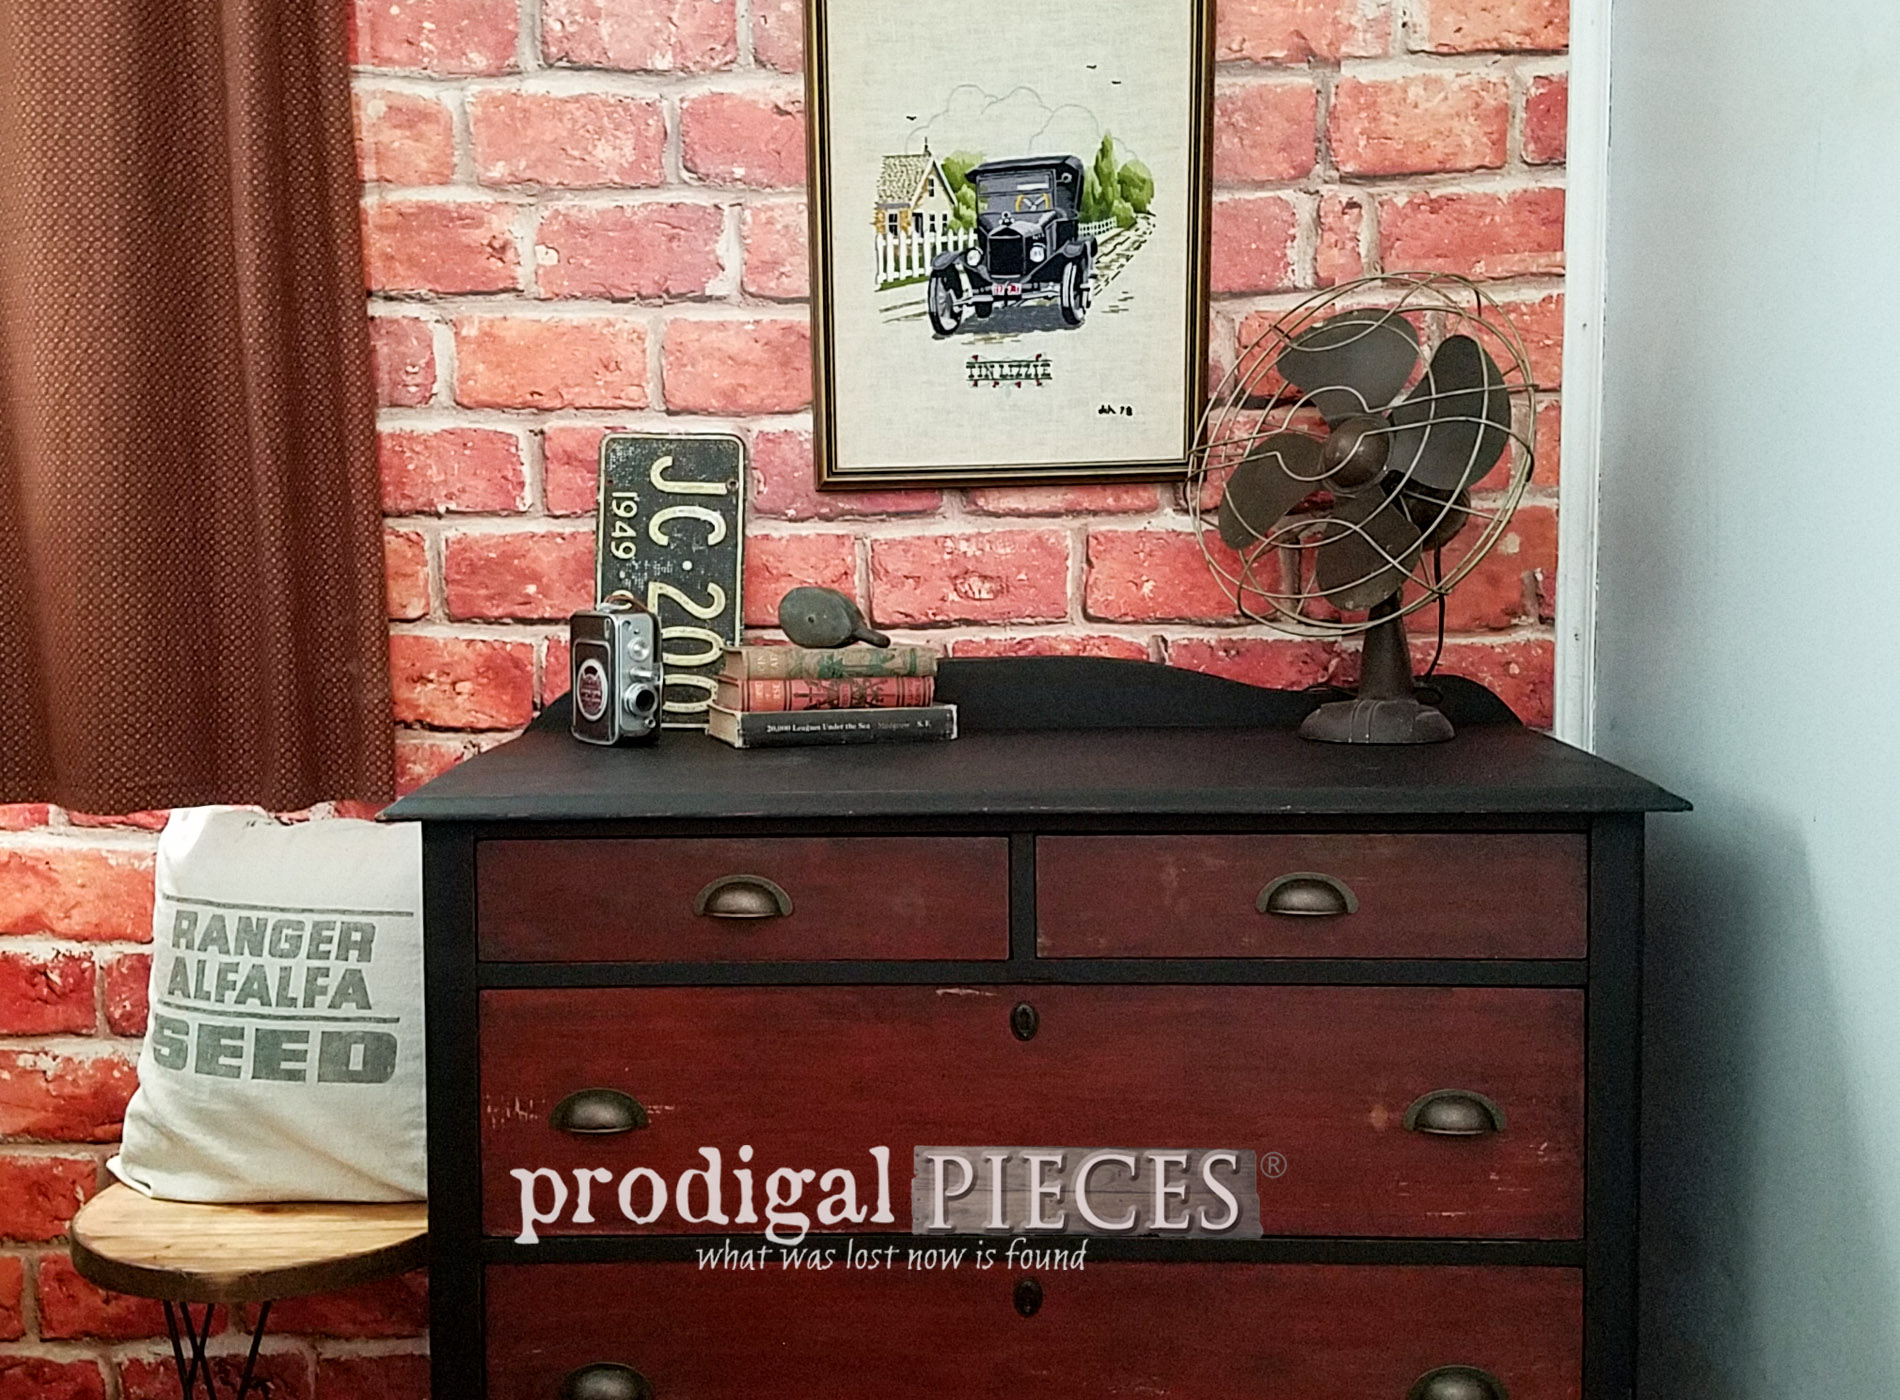
After two coats of paint letting them cure in between, then topping off with wax, my rustic industrial chest is ready to go. It's a far cry from the before, isn't it?
 That top, back piece I added really sets it off nicely and I'm glad I gave it a try. The bin pulls are extras I had from using in my kitchen remodel, they fit this piece perfectly. If you look close, I even added a couple of escutcheons to make it look like it has skeleton key holes. The metal accents I added match the original steel casters. I have a thing for casters...mmm....
 I have this set up in my boys' bedroom again our faux brick wallpaper we installed a few years ago. Isn't it cool? You can see our room makeover in this post.

TRASHURE
The Tin Lizzie embroidery was a piece I scored off the curb on trash day along with some other prints I wrote about in this blog post here. I just love it! I found the velocipede at a thrift store and painted black. Gotta love thrift stores, right? And just for fun, I lined the drawers with a paper. Who doesn't love to peek at pretty things even on the inside too? I know I do.
 Like most of my project pieces, this industrial chest of drawers is now available in my online store. We ship most anywhere, and the best part is our costs are half of most and we can ship more than one piece of furniture for the same price.


SHARE
Also, pin and share this industrial chest makeover to encourage others to give DIY a try. We can make our house our home for so much less.
Up next, I'm taking this old barn screen and turning into fabulous farmhouse decor. See the after HERE.
 Likewise, stay updated and be sure to sign up for my newsletter. Until next time!


