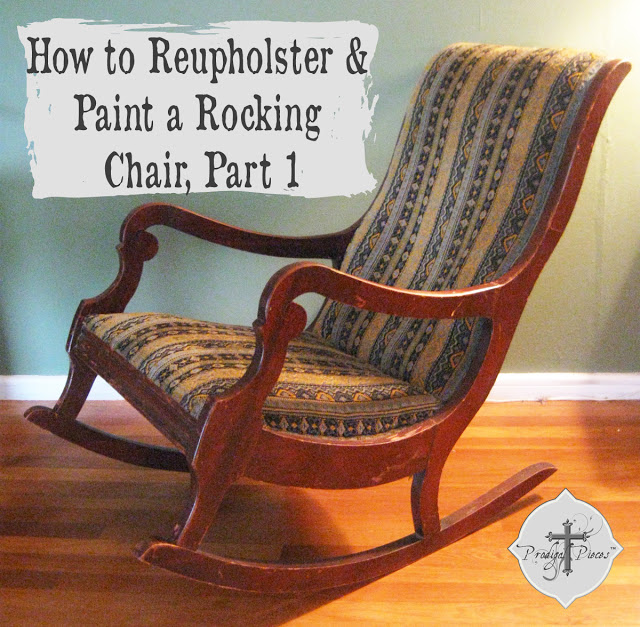
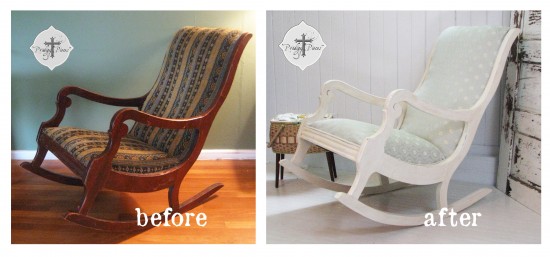
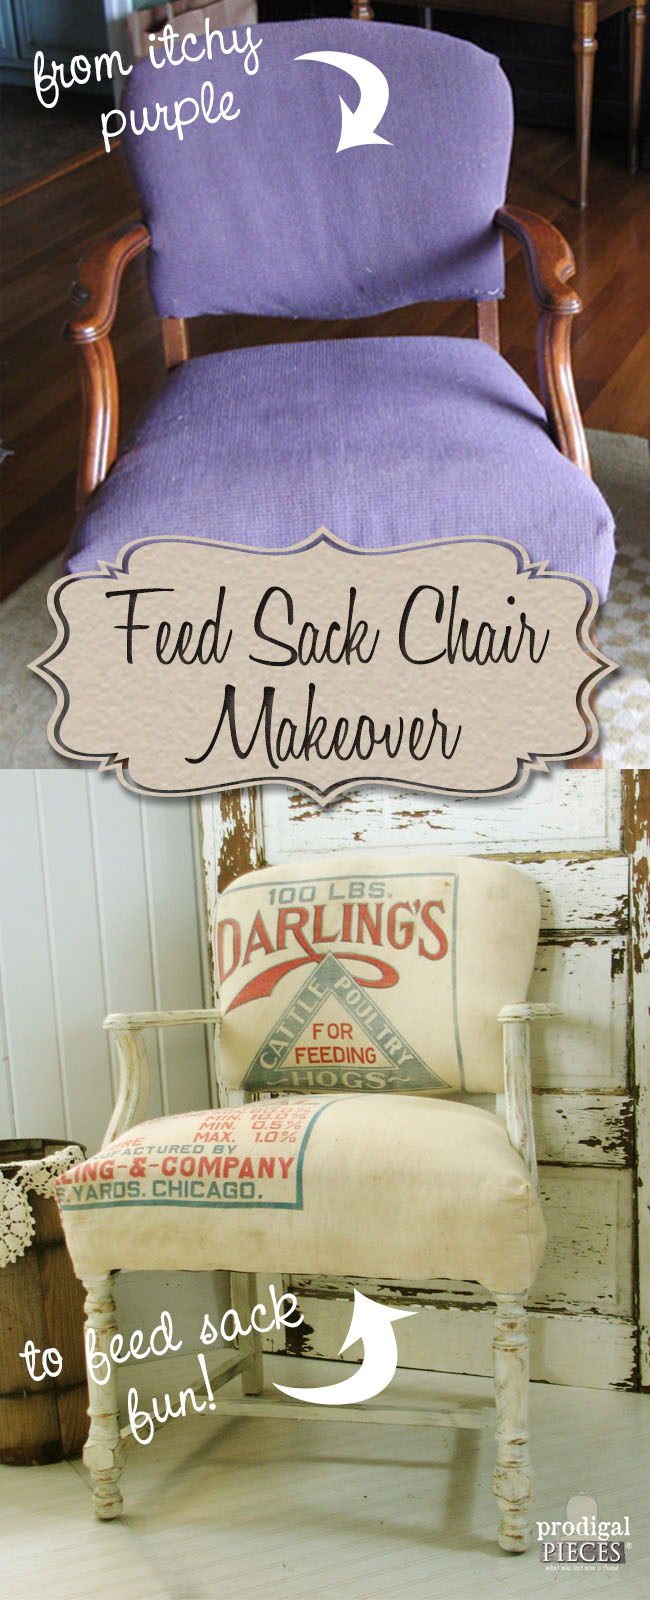
I hope everyone had a better Independence Day than we did. 4 out of 5 of my children had a very high fever over the holiday weekend, so we basically stayed home and missed everything. Big bummer - no fireworks, no picnics and no sleep. But at least, at last we are back on our feet! One thing I did get accomplished was to give an antique rocker a face lift. I will not claim to be a professional, but am a self-taught furniture upholster fanatic. My great uncle and grandfather were in the business, and although I never was able to glean from him, I just claim it's in my blood.
I found this lovely curvaceous chair at a garage sale and the lady told me it was her grandmothers' chair. She hated to part with it because it was so comfortable, but as a newlywed consolidating furniture, only so much could stay.
The existing tapestry fabric had sort of a tribal flare it, but it was old, dirty and the wood finish needed some love.
DIY TIME
Follow along as I take this chair to a brand new look.
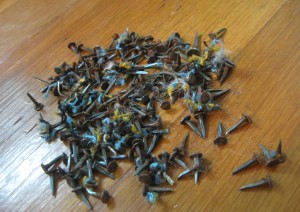
Like most any upholstery project, first you have to take off the old upholstery. I prefer to use a small pair of locking pliers, which allow me to grab nail heads and staples without destroying the woodwork. You need to keep the woodwork intact as much as possible so it can hold the new staples/nails you will be putting in.
OFF WITH THE OLD
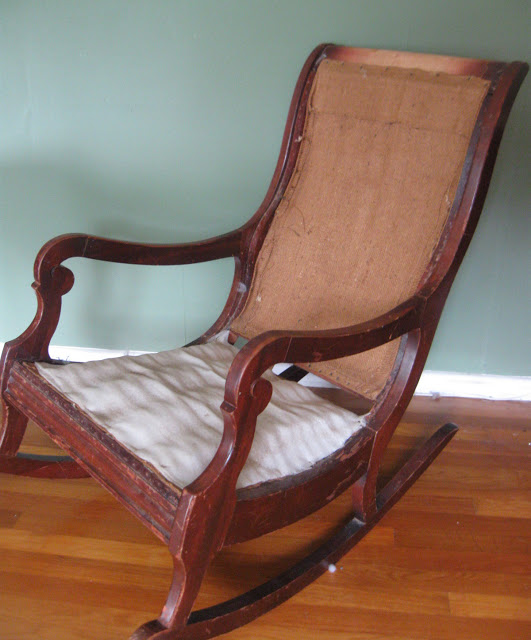
After the upholstery comes off, be sure to keep the batting, padding, and fabric pieces because you will need them in the near future. You may want to mark the pieces so you will know which piece goes where (ie. back, front, seat). I like to stack the padding with the matching pieces of removed upholstery so I keep it straight...barring no child decides to make a bed out of it.
Now you're down to bare bones of the chair. On my chair, all the interior parts were, for the most part, in great condition. That isn't always the case, however when you try to upholster an old chair. Sometimes you'll run into out-of-whack springs, or need to replace webbing.
REPAIRS
That lumbar support on the back of the chair had to strips of webbing that were still attached on one side, but need reattached on the other. I just added a few staples and some of the original nails that were pulled out. It's a good idea to have an upholstery hammer (smaller head than a typical household hammer). This is a must have to upholster so that you don't beat up your frame while trying to hit a tiny nail. I found mine while junking one time...I was so excited!
TIP: Use pliers to hold the nail so that you can hit it with your hammer and not your fingers!!
I love to see wood refinished to its former glory. However, this one is telling me to paint it. In order to do that, you'll need to sand out any imperfections. This will also give the wood some "teeth" for the paint to stick to.
NEXT STEPS
I used an electric sander for larger imperfections and hand sanded to give it teeth. Typically a fine paper is all you need, like 180 grit or finer(the higher the number the smaller the grain of sand, which results in a finer finish)
That's it for now. In the next post, it will be time to paint and finish the wood frame of the rocker.
Head here to see part 2.
Got questions? Just send me an email or post a comment and I'll try to help.
To get these DIY tips & tricks in your inbox, be sure to
sign up for my newsletter. PLUS, you will get your FREE Furniture Buying Checklist and special discount to
my shop. Until next time!

 MEWE | PINTEREST | GAB
More projects on how to upholster furniture:

 Like most any upholstery project, first you have to take off the old upholstery. I prefer to use a small pair of locking pliers, which allow me to grab nail heads and staples without destroying the woodwork. You need to keep the woodwork intact as much as possible so it can hold the new staples/nails you will be putting in.


