
 Back winter of 2011, we decided that since we were not able to sell our home and have our country living I so long for, that we would be putting our garden out in our front yard. We live on a quarter-acre lot and have plenty of room, but our back yard is completely shaded.
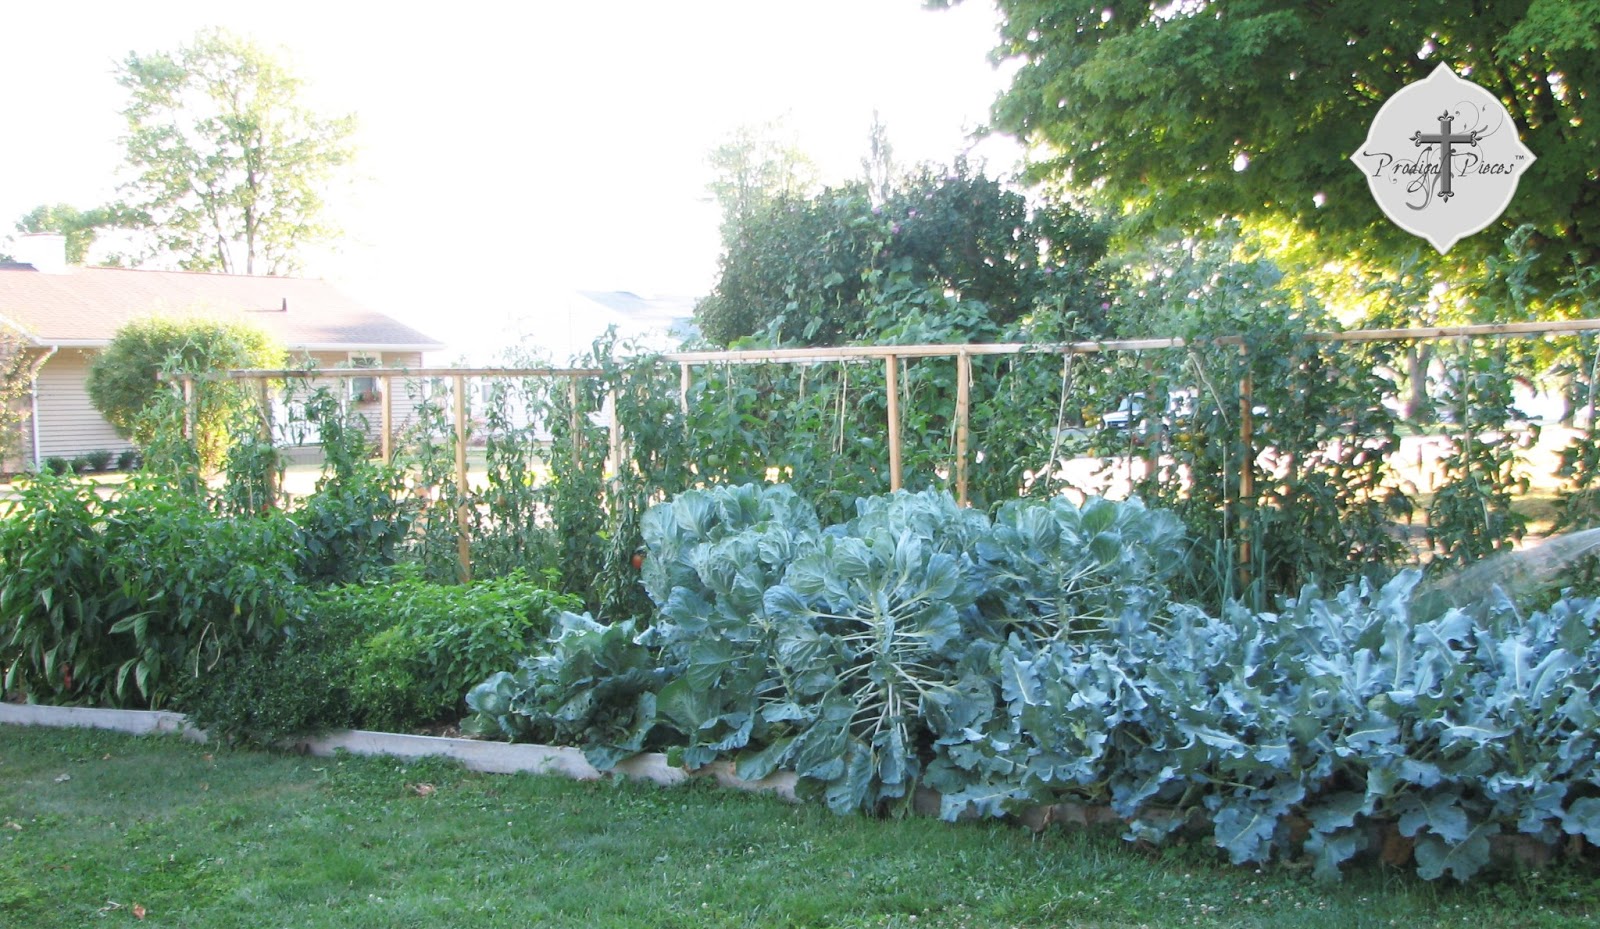
We knew we would be going against grain to put one out front, but I am never one to bat an eyelash at being different. I had in my mind raised beds and knew it had to be made out of a wood that would not leach chemicals into my plants. We couldn't swing the cost of redwood and knew barn wood abounds in our area. So, I decided to post a wanted on Freecycle for barn wood.
God is so good! We didn't just get some barn wood, but our pick of a couple of buildings on an old farmstead. Yes!
SO COLD
The only catch was we had to remove it ourselves... in mid-February in Ohio. Let's just say my husband and son deserve an award for being ankle deep in snow flying sideways removing barn siding with only a hammer, crowbar, and a screwdriver - there was no electric hookup! Can you believe I had a camera and forgot to take pictures!! Grrrr!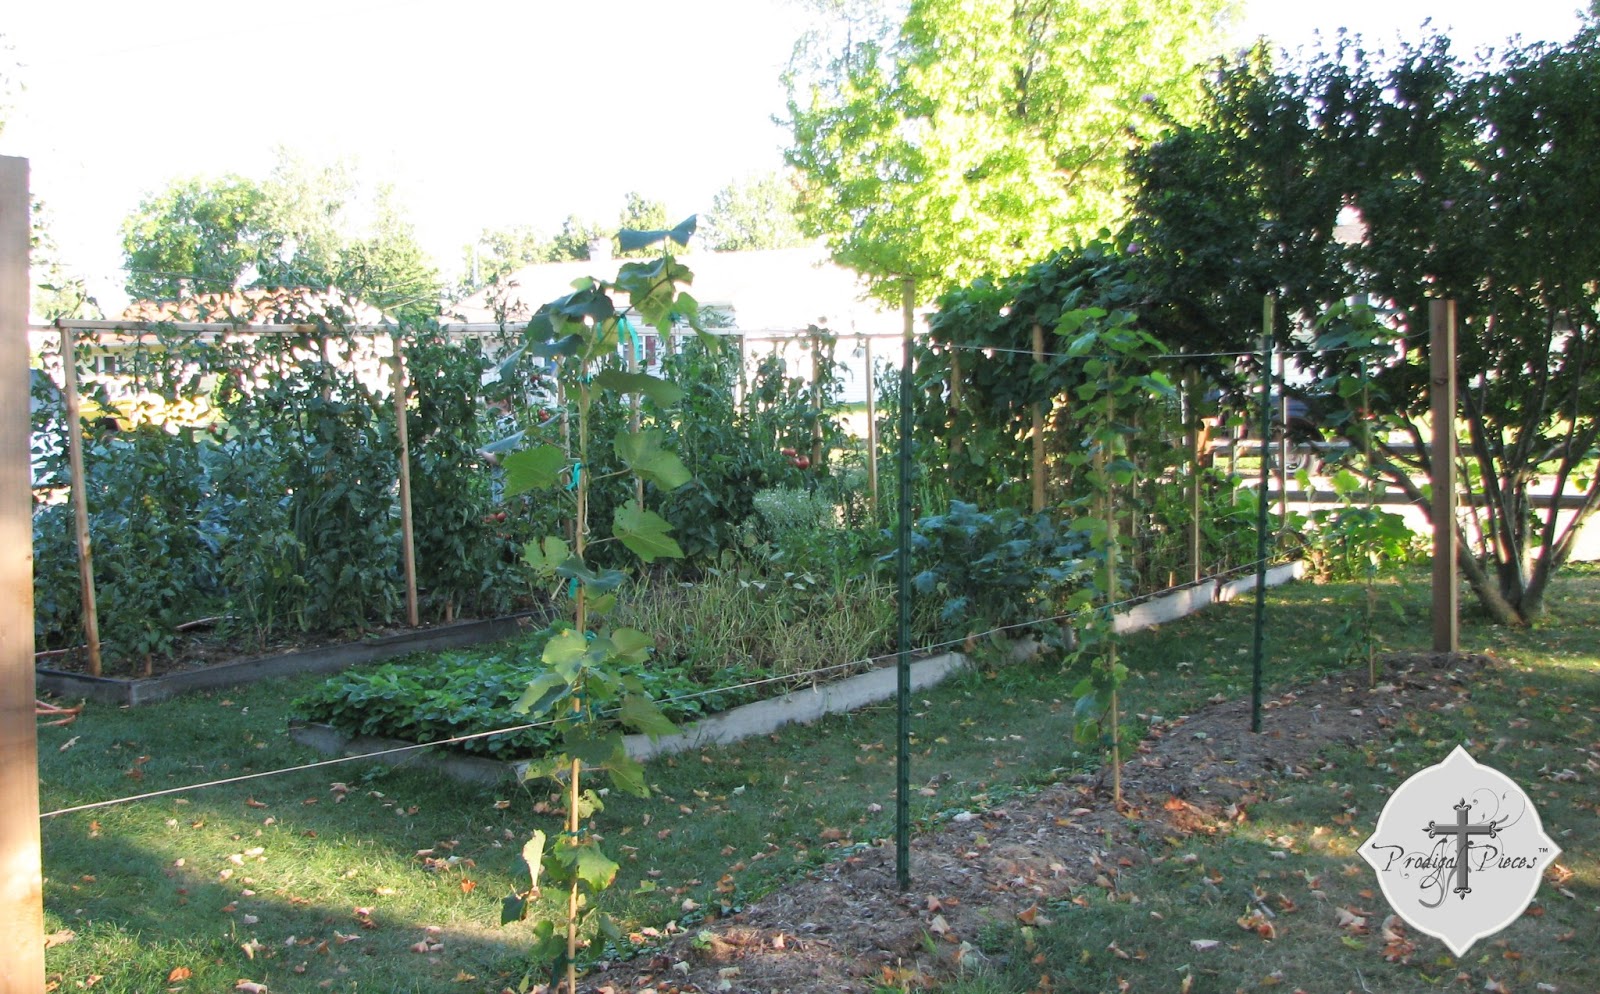
See the barn wood garden beds?
Back to the valance. After said garden was built, we had plenty of leftover barn wood to spare and I wanted something to dress up our windows - the ones I knew I would be making shutters for. 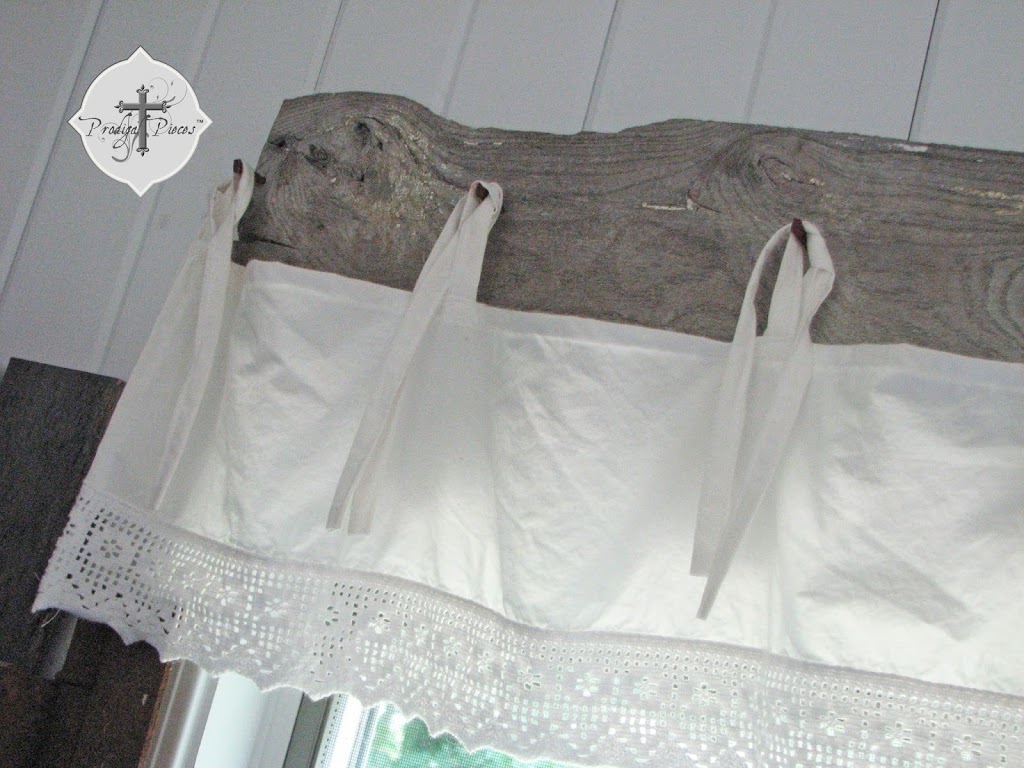 Now I realize not everyone has access to a homestead barn or even wants to attempt to tear one down. You could use driftwood, fence rails, or even new wood made old. Check craigslist free section for wood too.
DIY TIME
Materials list:- length of barn wood to fit your window
- tape measure
- chalk
- hammer
- hard cut masonry nails, rusted (rusting recipe below)
- drill & bits
- screws to mount valance to wall
- bedskirt or other desired fabric
- sewing machine
- thread
- pins
- desired fabric
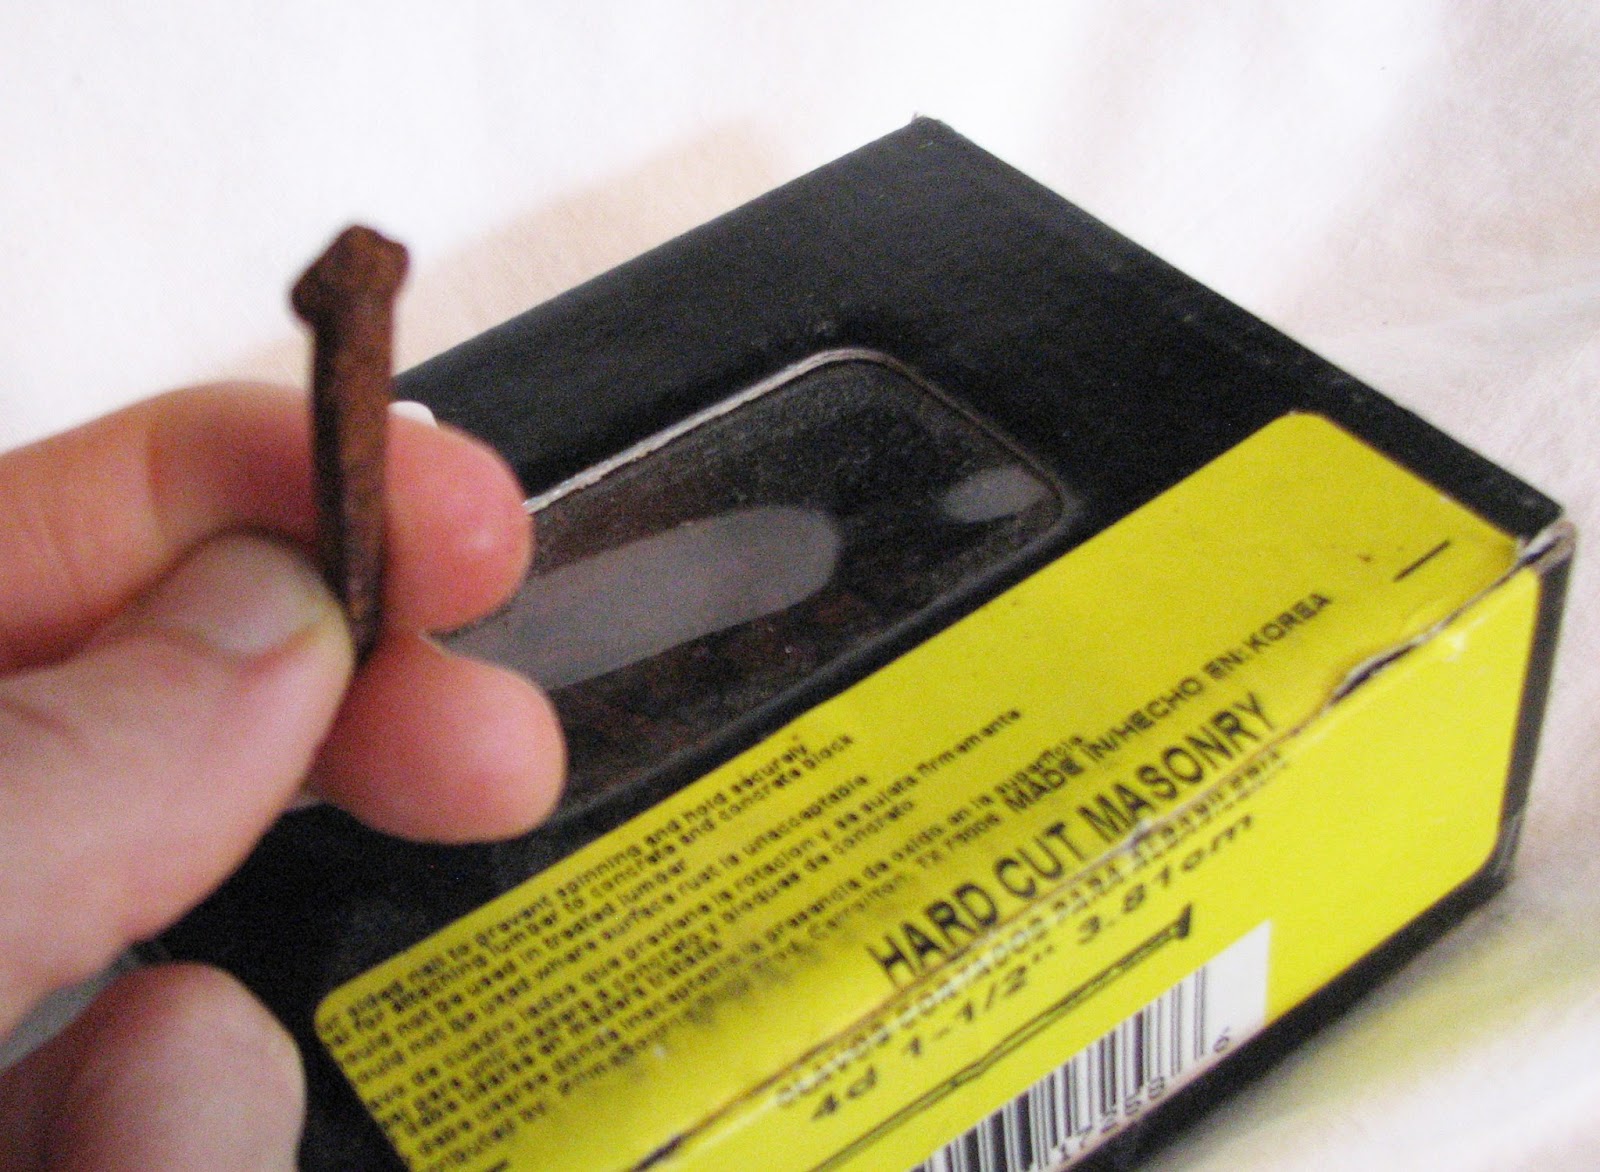
Rusting recipe:
- 1 pint hydrogen peroxide
- ¼ cup white vinegar
- 2 tablespoons salt
- In a large plastic bowl, combine all of the ingredients with a plastic spoon.
- Place your nails ( or other goodies you want to rust) in the solution. This will foam and bubble over time, so I suggest placing it outside and on cardboard or newspaper. Leave overnight.
- Drain off solution. DO NOT RINSE.
- With gloves on, place your objects on cardboard or newspaper to dry.
SEWING
Now onto the valance. First cut the barn wood to the length you need. You'll need to take the length of the wood and figure the spacing between the nails you desire. Mine were 6" apart. Next, to figure the layout of the nails, measure the width and find center - write it down. Your nails will be positioned 1" in from both ends, so measure your board and subtract 2" from the total. Take that subtracted total and divide it up by 6 (or desired nail width). It make not come up equal, so then you just get close to 6" (less or more), and then you will be using that number to space your nails 1" in from either end.
When you get your spacing, mark the board with a piece of chalk. You will need to drill pilot holes with a bit slightly smaller than the middle size of the nail. Go ahead and drill through because you can adjust the depth when you hammer them in.
NEXT STEPS
Now for the fabric part. I wanted a simple, rustic, clean window treatment to soften the room, and although I love to crochet, I did not have time to whip up 3 valances. So I decided to find a king-size bedskirt with crocheted edge since they have 3 sides that would fit my windows. I rarely buy anything new, so decided to find a used bedskirt, and I found a gorgeous Cath Kidston bedskirt on eBay for very little money.
Some simple sewing skills are necessary to complete the valance. First, cut off the bedskirt sides to the desired hanging length (mine is 9", with actual length 8" + 1" for top hemmed edge). Then, shorten them to the width of you barn wood piece, but also add about an extra 1.5" per nail width-wise so that it would have a ruffle effect once hung.
PANELS
Fold side edge of valance in a half inch, press. Afte that, fold again on itself another half inch, and press to get the finished edge. Now, fold the top edge of valance half inch down and press with iron. Fold again another half inch and press again.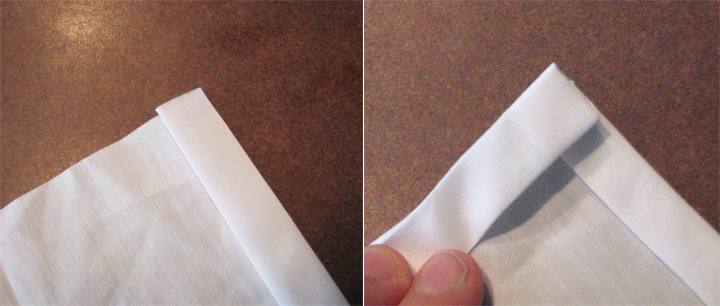

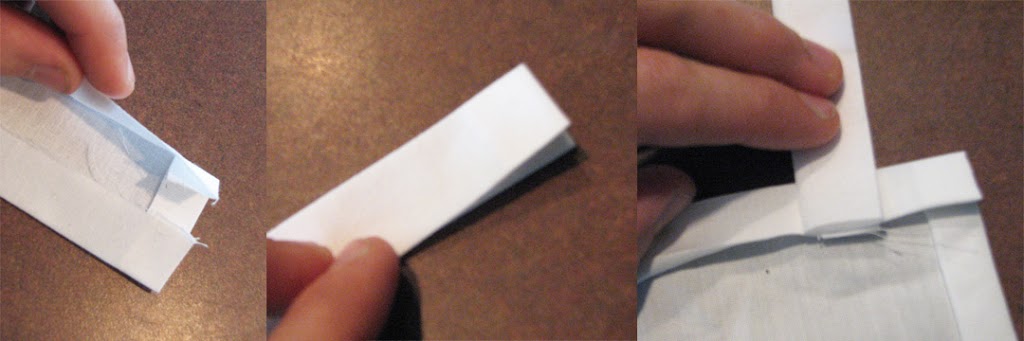
With the leftover fabric, I cut 2" wide strips 13" long (I had 32 nails to hang on and each needed 2 ties = 64 ties). Like making bias tape, fold top edge down and press. Then, fold edges inward to meet in the middle. Last, fold in on each other again and press. Do a simple stitch 1/8" in, down the folded edge. In the next step, you take 2 of your ties you already made and lay them on top of each other. Sew them down to the top folded edge, beginning 1" in from the side edge and about a half inch down from the top folded edge. Space them the width of the nails plus the extra you added for the ruffle. (my nails were 6" apart, so my ties were sewn 7.5" apart)
TIES
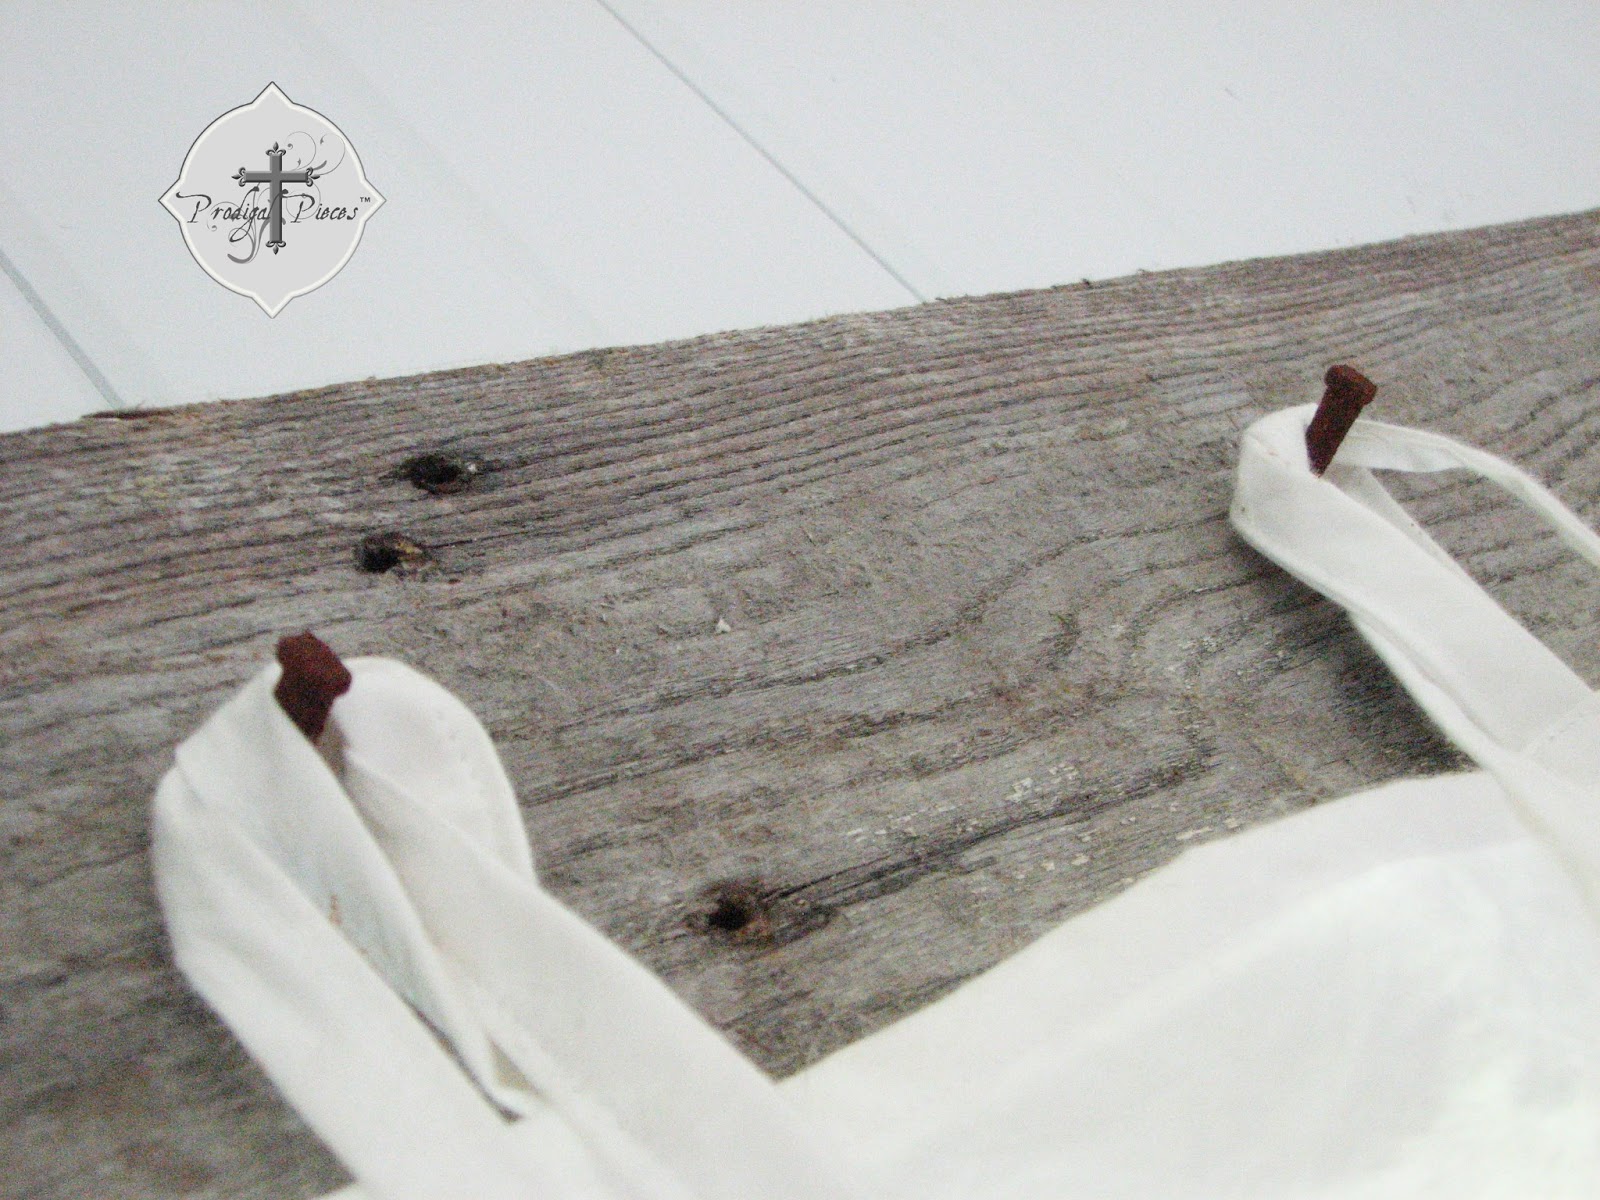
When you've completed attaching the ties all you need to do is mount the barn wood to the wall with your screws, and then hang the valance. Finally, step back and enjoy how you've repurposed barn wood and a bedskirt!
Have any questions? Just send me an email and I'll be happy to help. Also, become a follower to get more DIY tips in the future! Until next time!


Also, here are more reclaimed wood projects:

