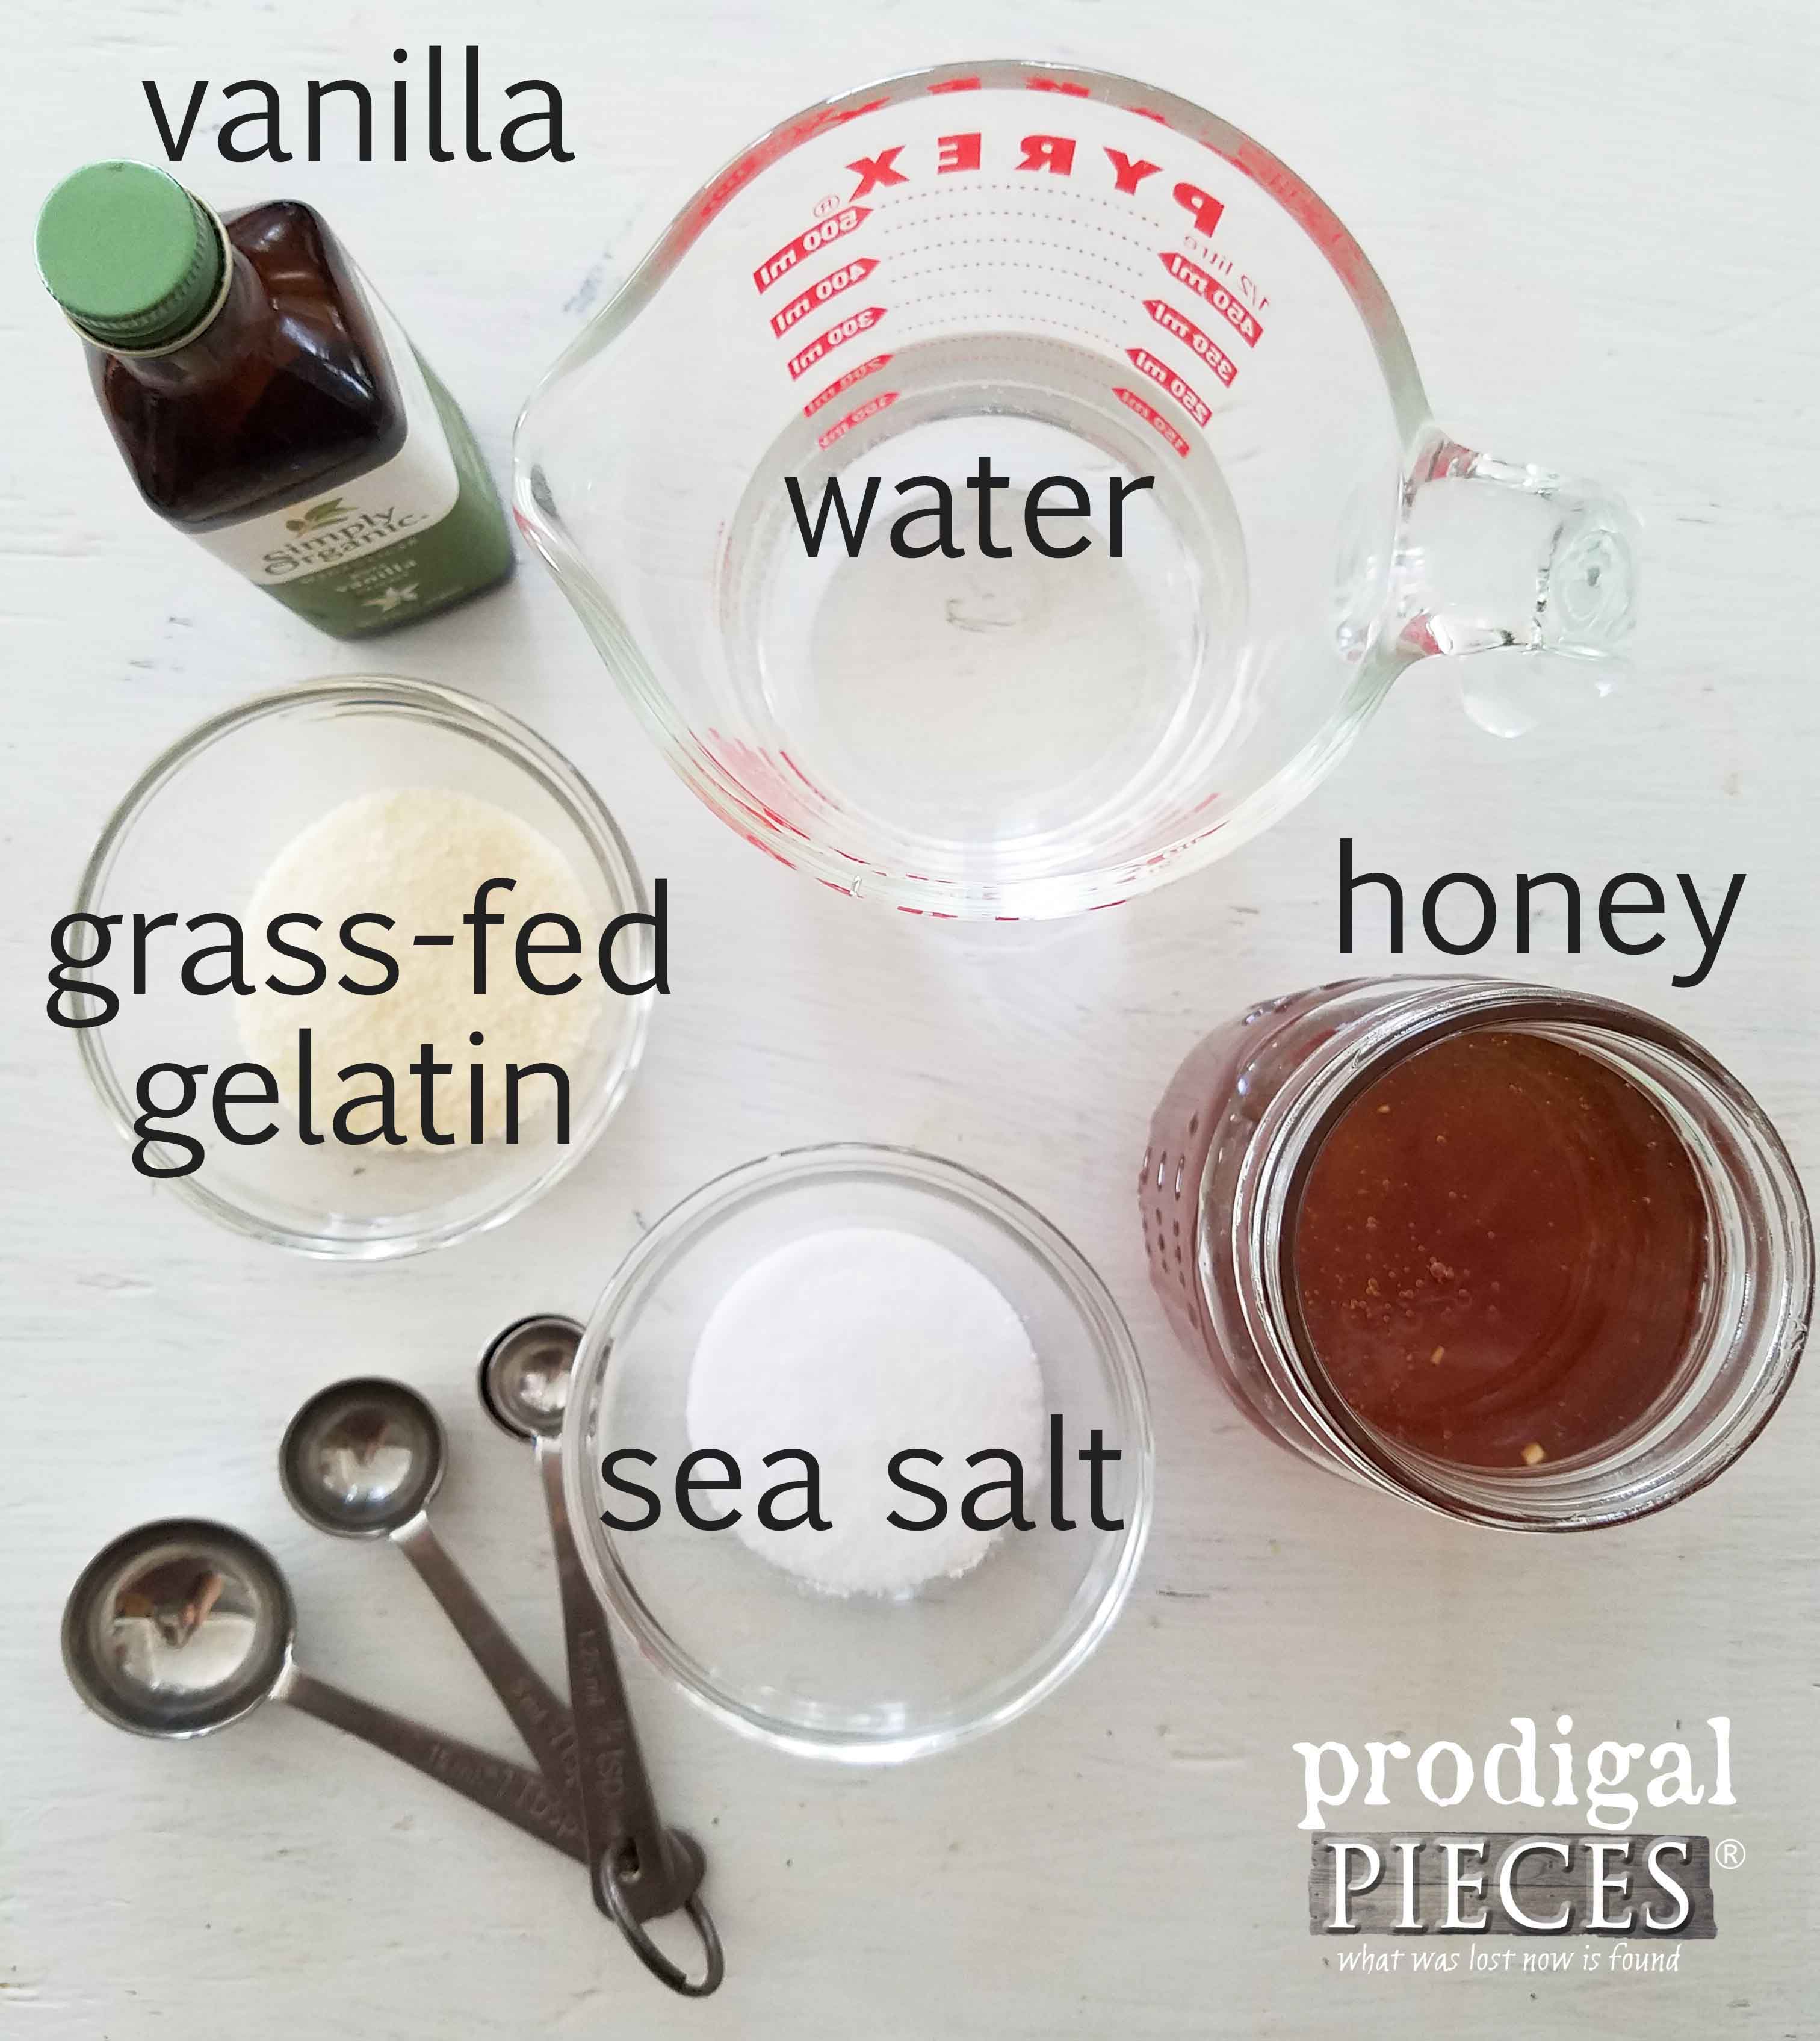
 All it takes is five simple ingredients to get these yummies ready to go.
Homemade Marshmallow S'Mores ~ Grain Free
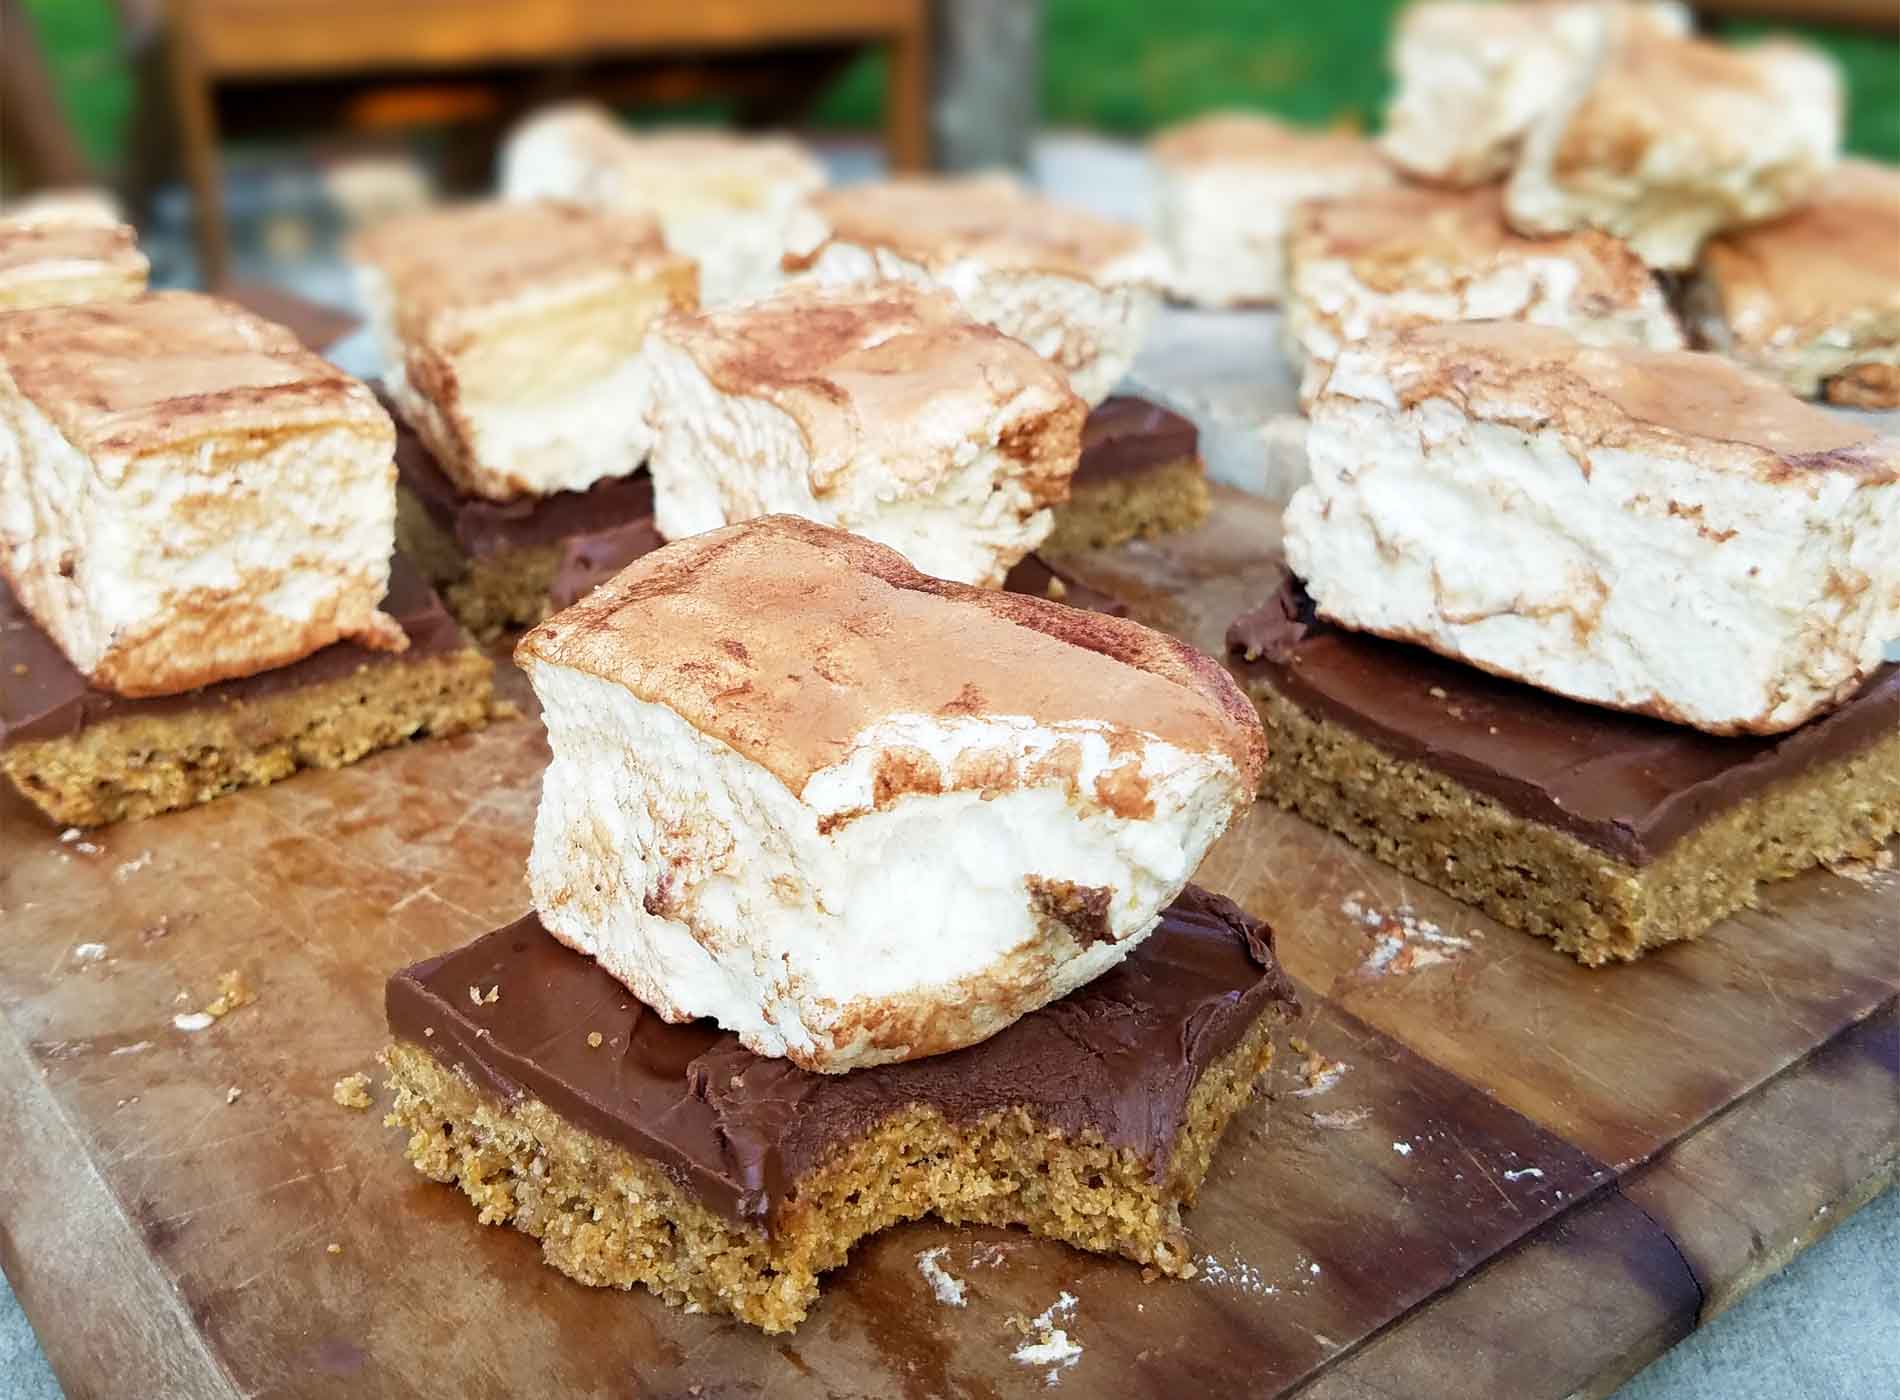
Have your s'mores and eat it too. These healthy grain-free treats won't last long. Just gather your ingredients and you'll be serving your family and guests a delight they will savor.
- 1 cup honey
- 1 cup water, separated
- 3 Tablespoons grass-fed gelatin
- 1 teaspoon vanilla
- 1/4 teaspoon sea salt
- 1/2 cup cocoa, coconut, tapioca flour (optional for dusting)
- 12-ounce bag semi-sweet chocolate chips
Directions:
- Gather your ingredients. These are simple and only require a bit of time in preparation but need to rest for about 2-4 hours for best setup. You can make these the night before and let rest overnight.
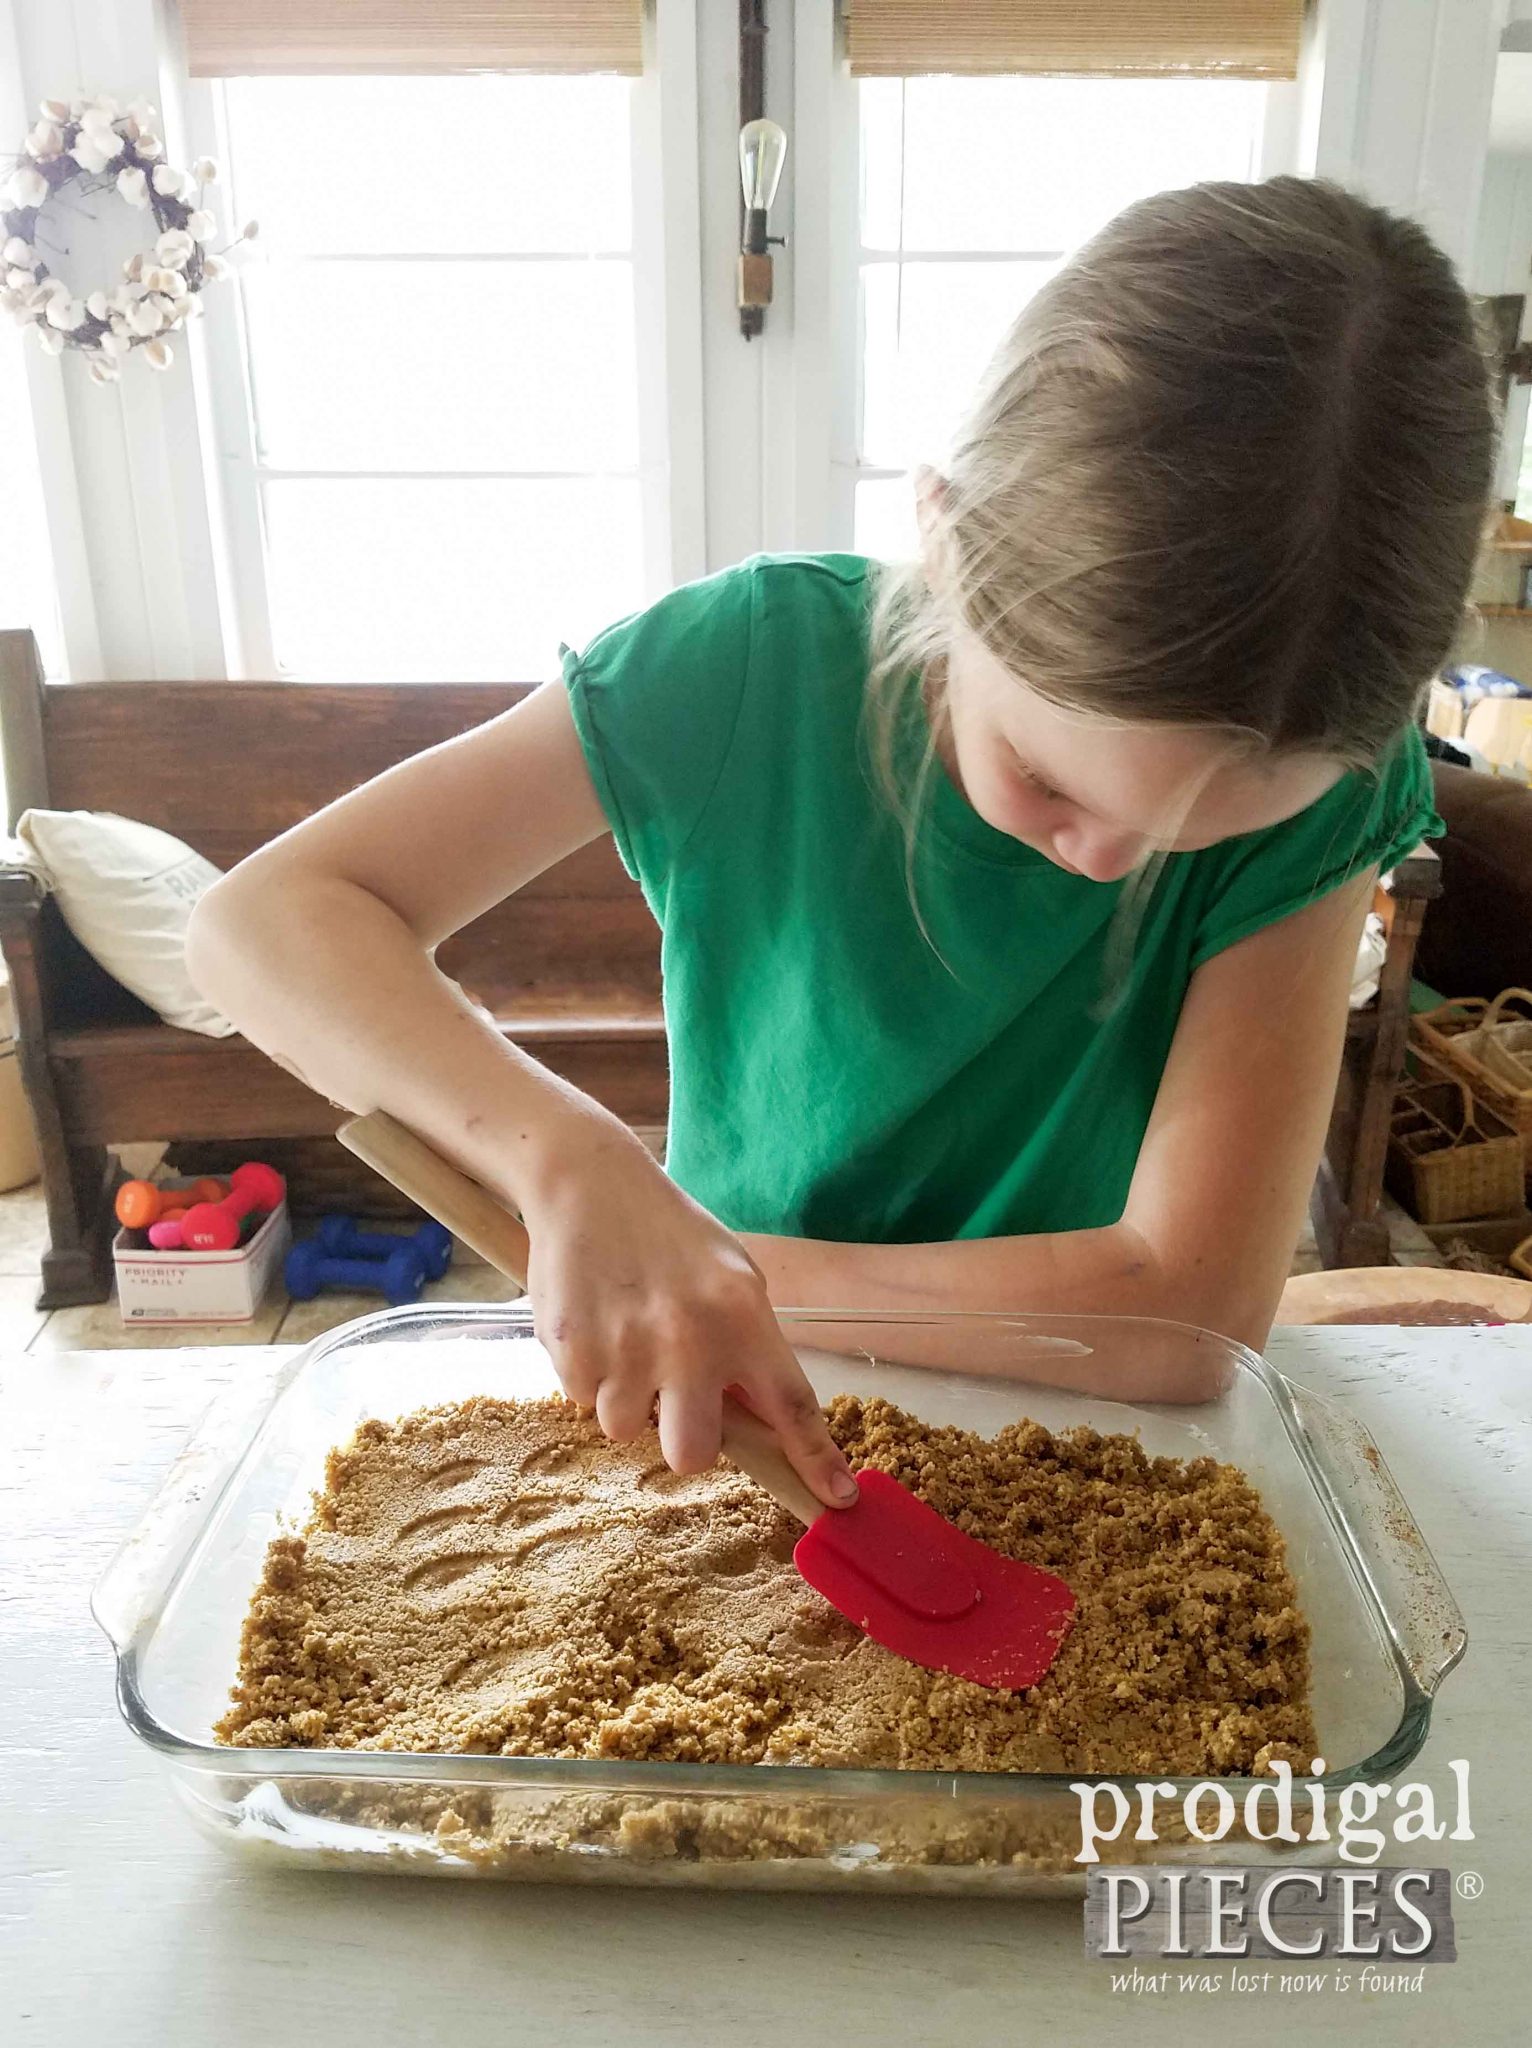
- Grease an 8" x 8" pan (or 11" x 7" like I used) with butter and line with parchment paper. Leave extra length to go up over the sides to make it easier to remove the marshmallows when finished. You can even use binder clips to hold it in place. Dust with cocoa, tapioca starch, coconut, almond flour, etc.
- In a mixer bowl, add the gelatin and 1/2 cup of the water. Meanwhile, take the other 1/2 cup water and add it to a small saucepan. Add in the honey, vanilla, and salt. Set the temperature to a medium-high heat, bringing the mixture to a boil. Place a candy thermometer in the saucepan mixture and continue to boil until it reaches 240 degrees (soft ball stage). This takes only about 8 minutes, so be sure to keep an eye on it. Immediately remove from heat after reaching soft ball stage.
- Add the honey mixture to your gelatin mixture by slowly turning on the mixer and streaming it in. When all is incorporated, turn up the speed slowly until you reach maximum speed (this will prevent spattering). Once at maximum speed, leave run for about 8-10 minutes until the marshmallow is thick and forms stiff peaks.
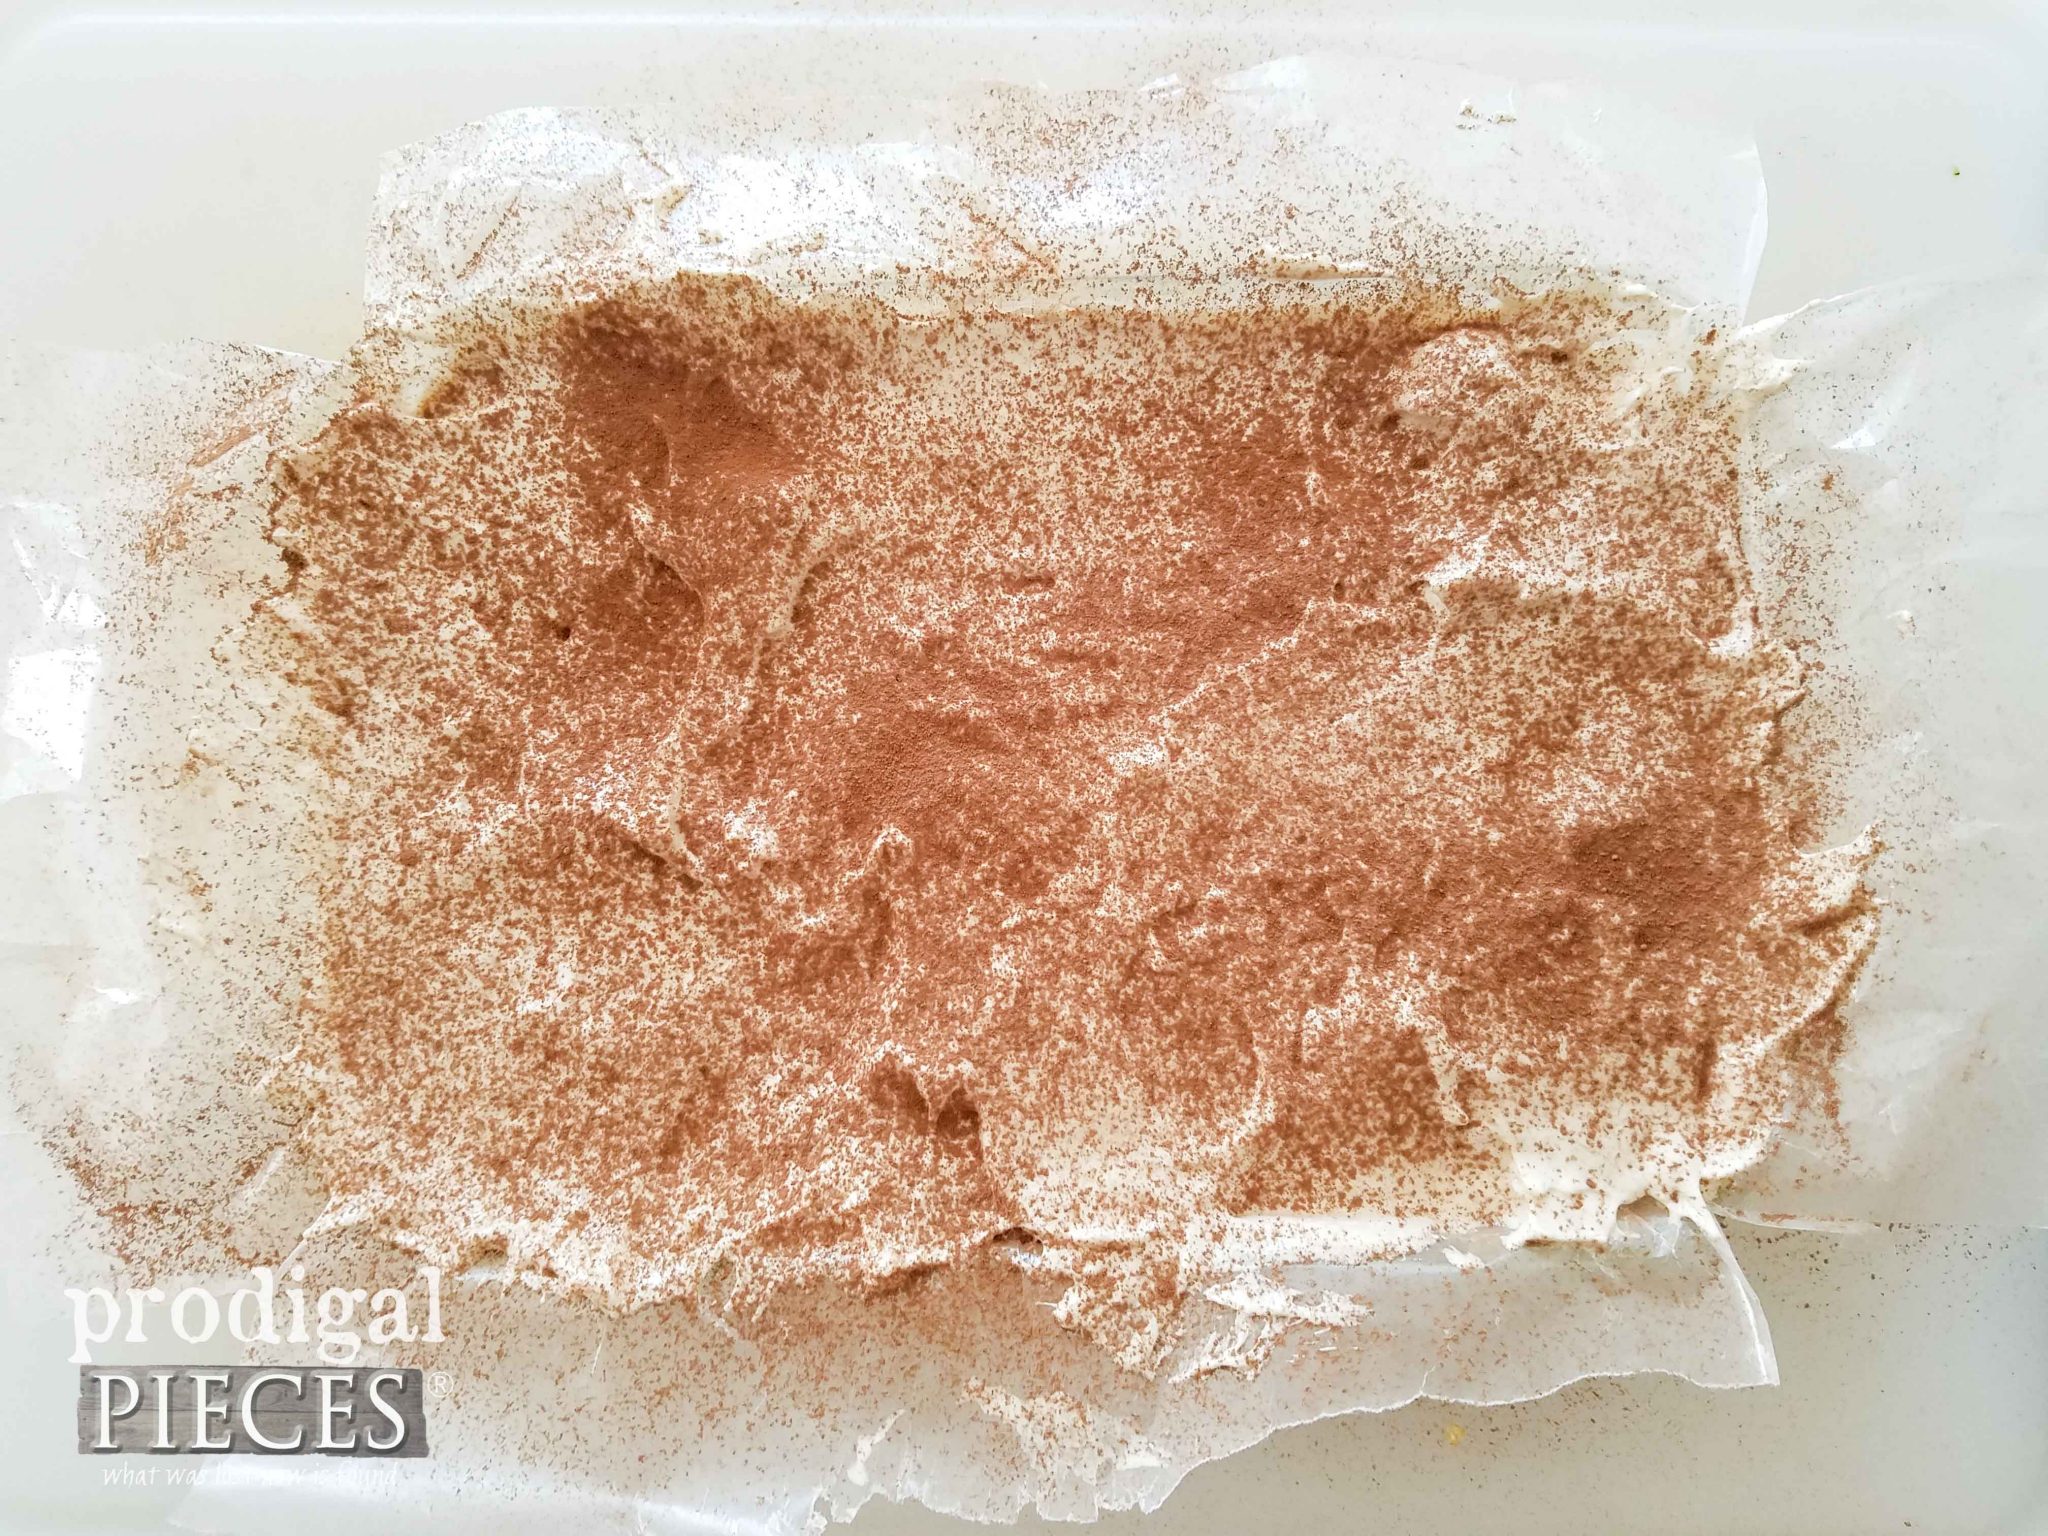
- Pour the marshmallow into prepared pan and spread until smooth. Top with a dusting of cocoa powers and let rest for 2-4 hours. I like to cut them when firm and let them rest longer to firm up the sides making them easier to handle. Note: When the marshmallow is soft, this is a great time to use this for piping onto cupcakes, on top of sweet potatoes or squash...you get the idea. YUM.
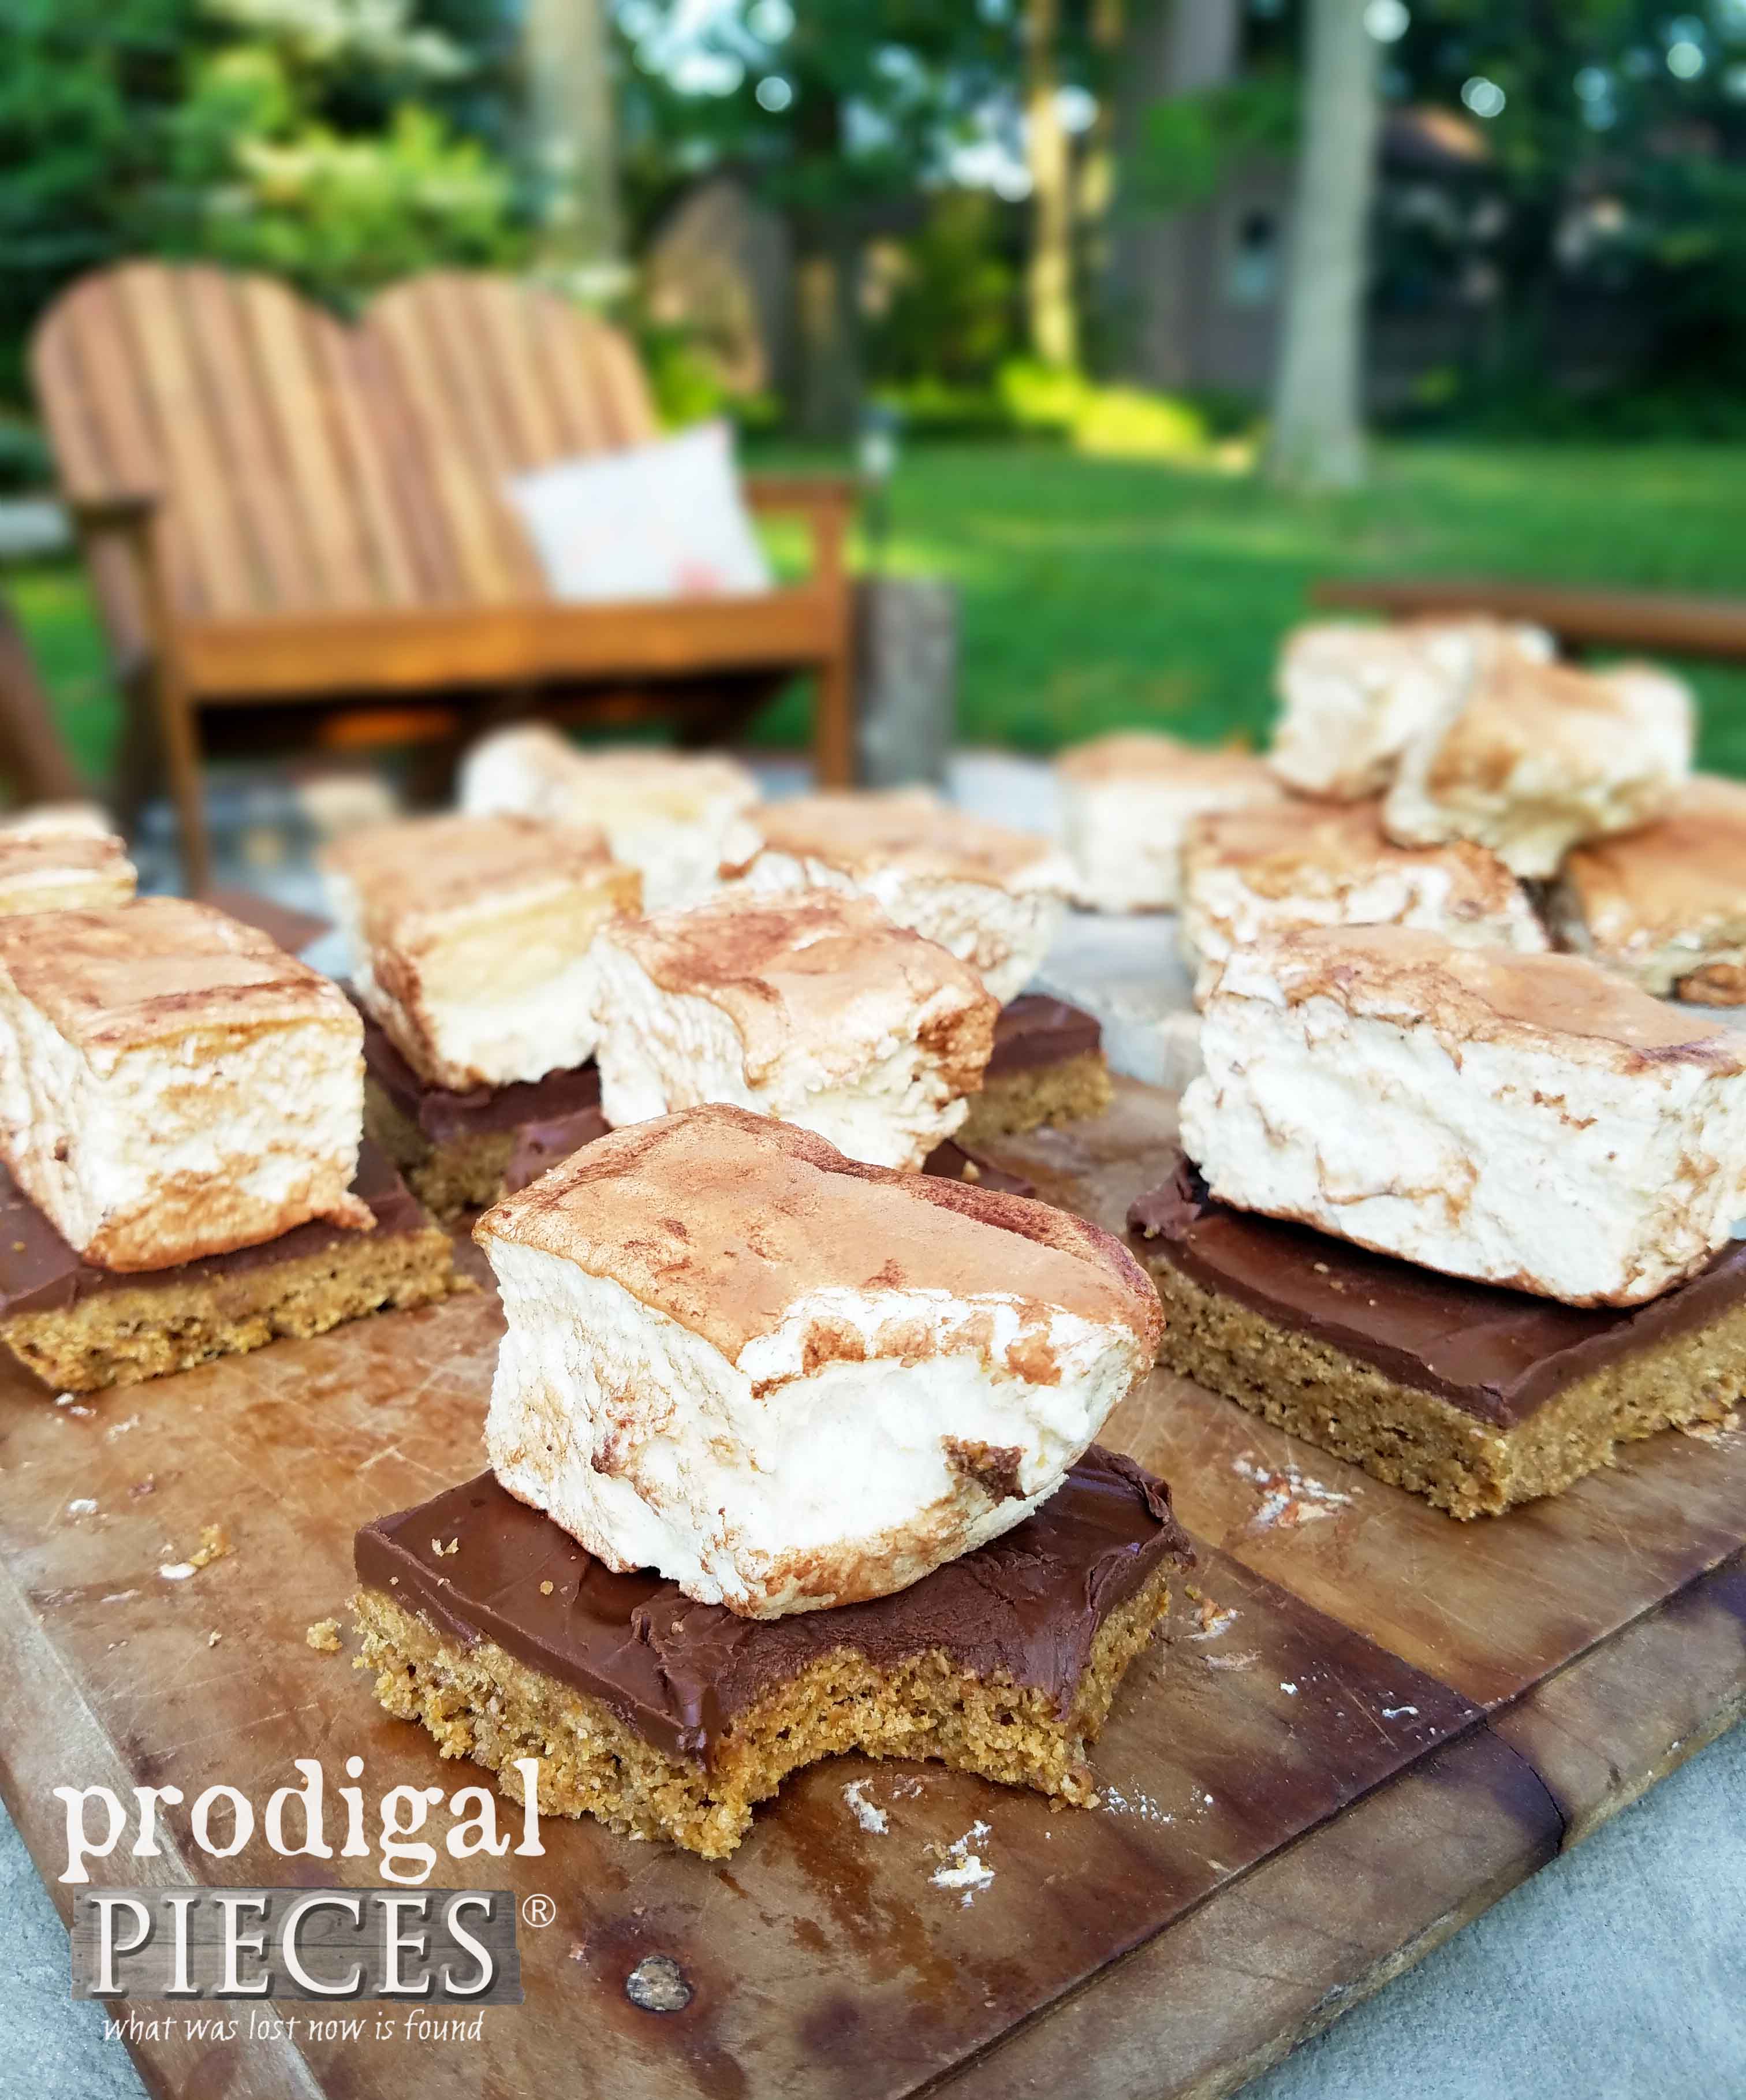
- Once your marshmallows have firmed up you can eat them as is or roast them for a tasty treat. We decided to roast and add them to a cookie crust topped with melted chocolate. You can find the recipe to a grain-free crust over on my blog. For the chocolate, melt one 12 oz. bag of chocolate chips in a double boiler with 2 T. butter. Pour onto crust. Next, let's head to the fire pit for more sweet fun.
COOKING
These homemade marshmallow s'mores begin by heating up 1/2 cup of the water, honey, vanilla, and salt. The goal is to reach 240°, the soft ball stage. It only takes about 8 minutes to get there, so stick around to make sure it doesn't hit hard crack stage.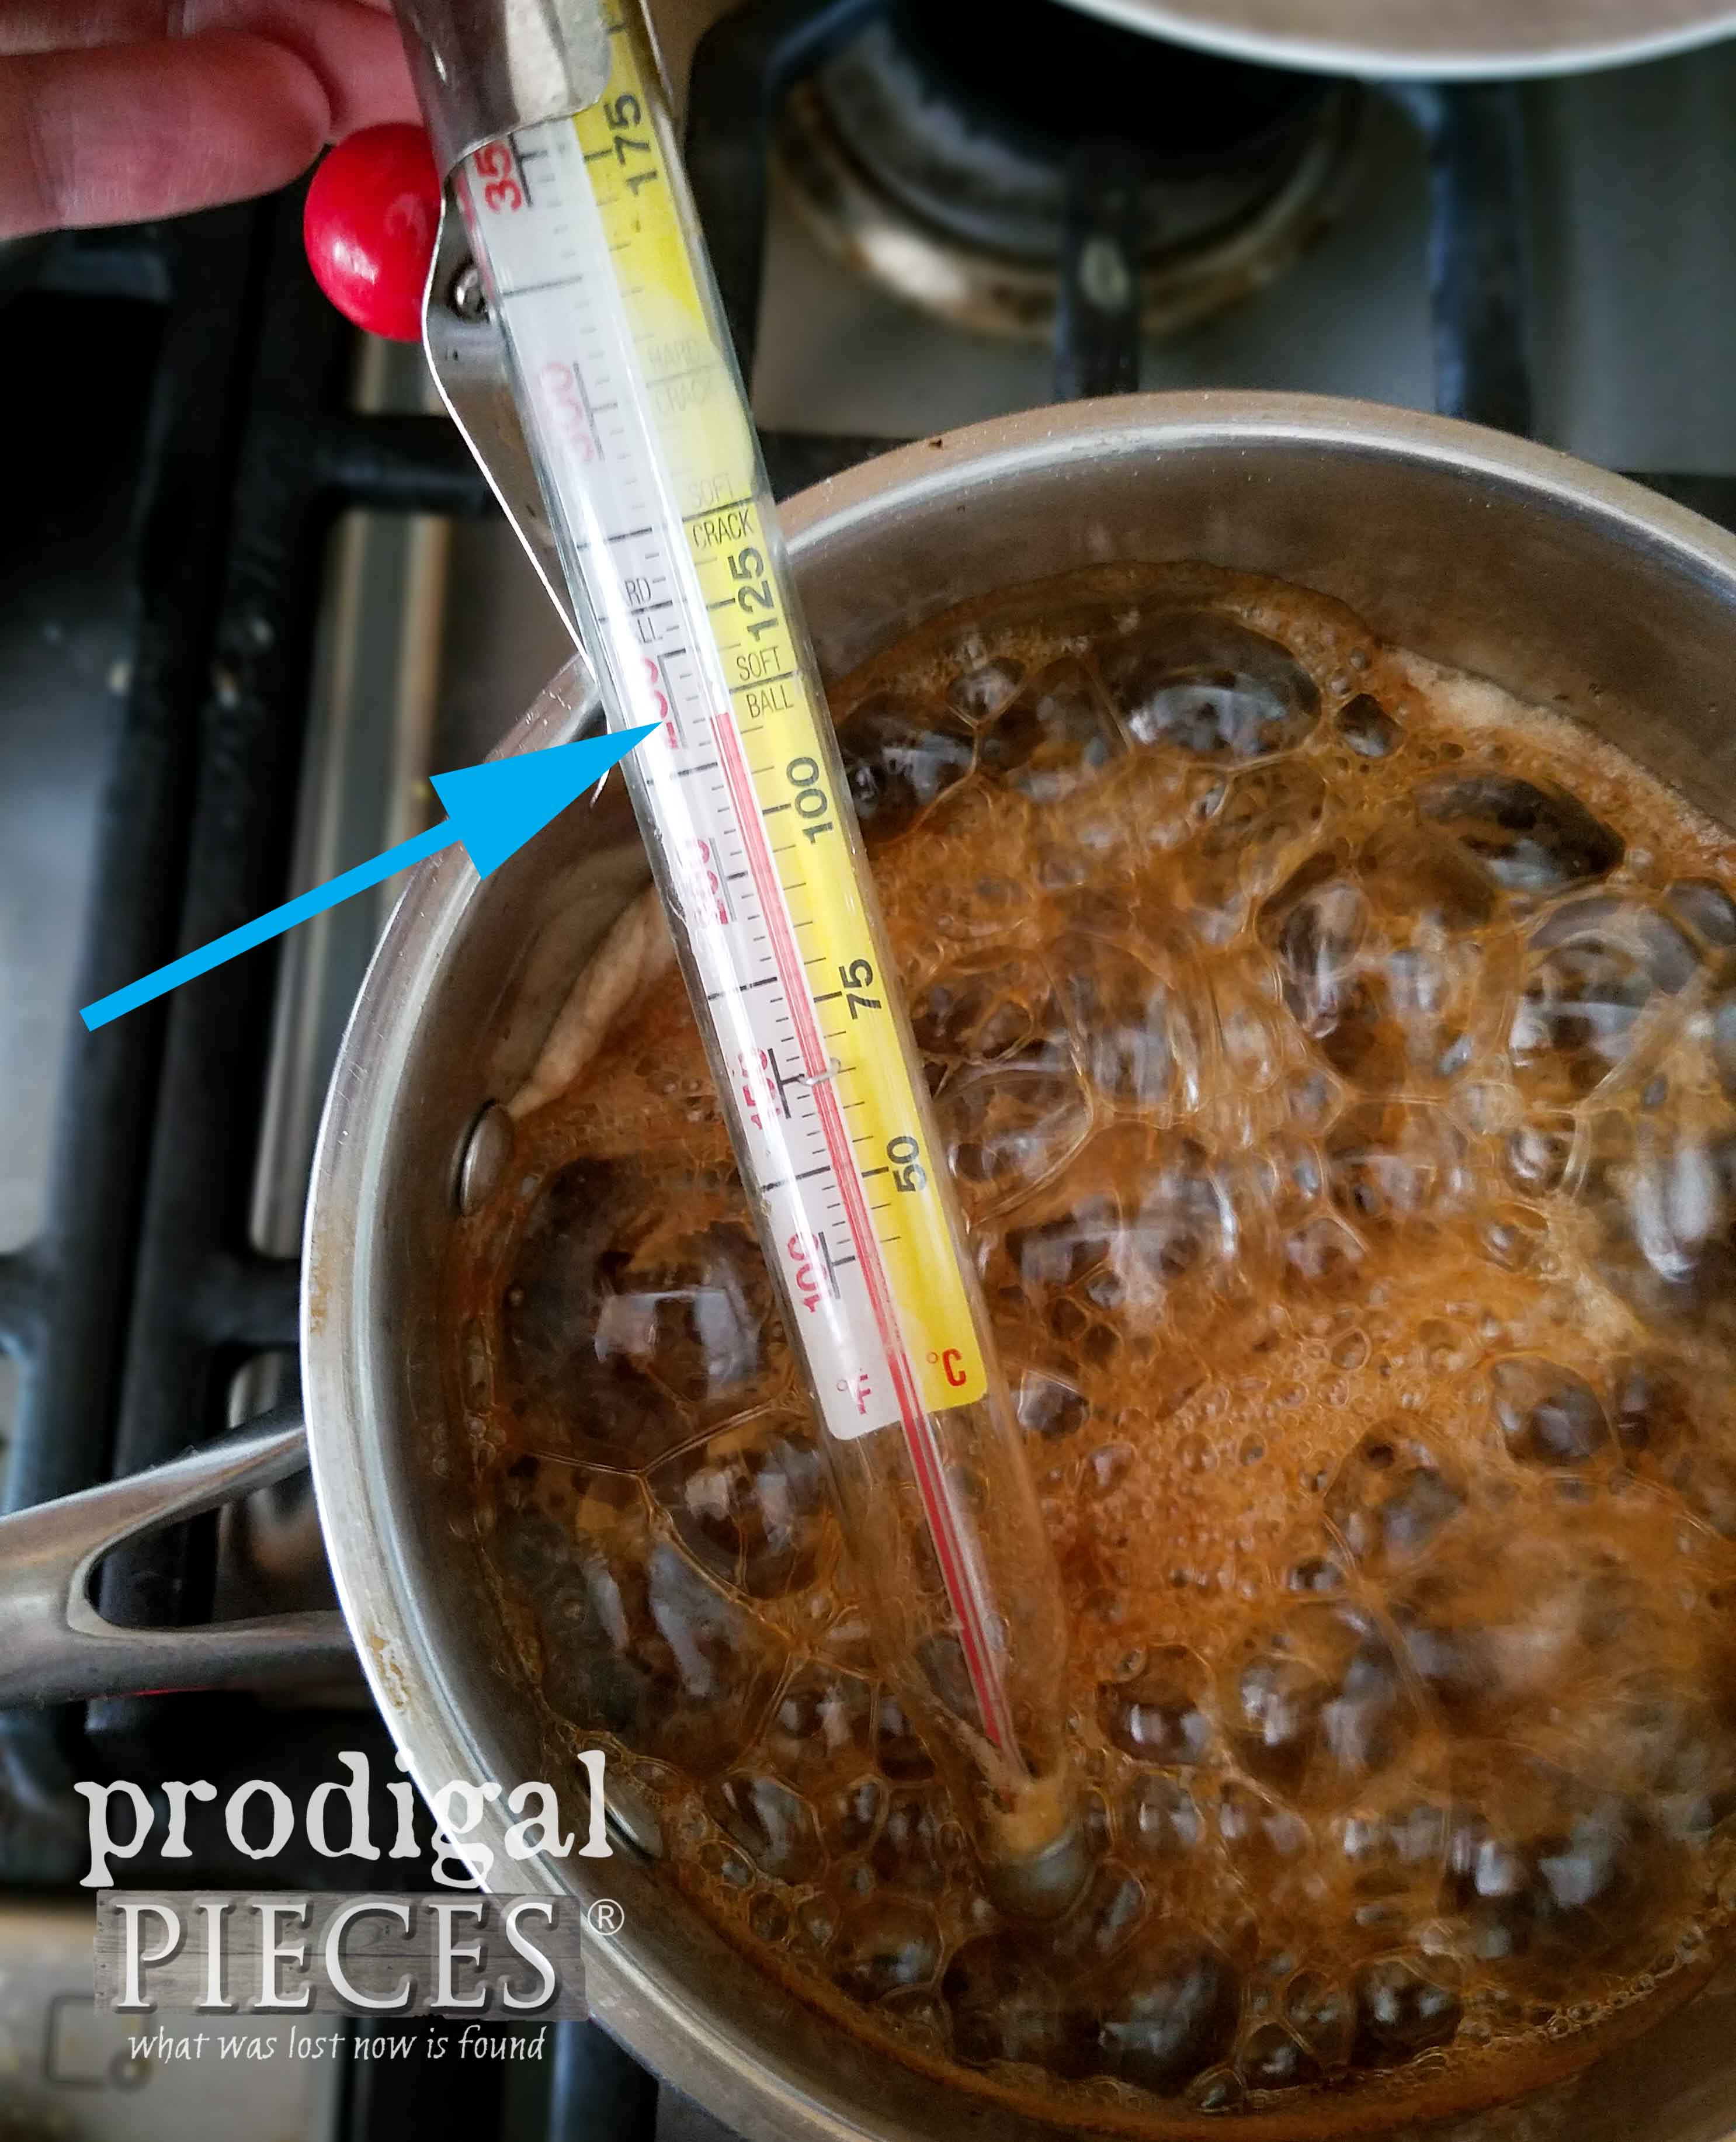 When ready, add it to the gelatin mixture you prepared as stated in the recipe above. Beat for about 8 minutes to get that stiff-peaked goodness.
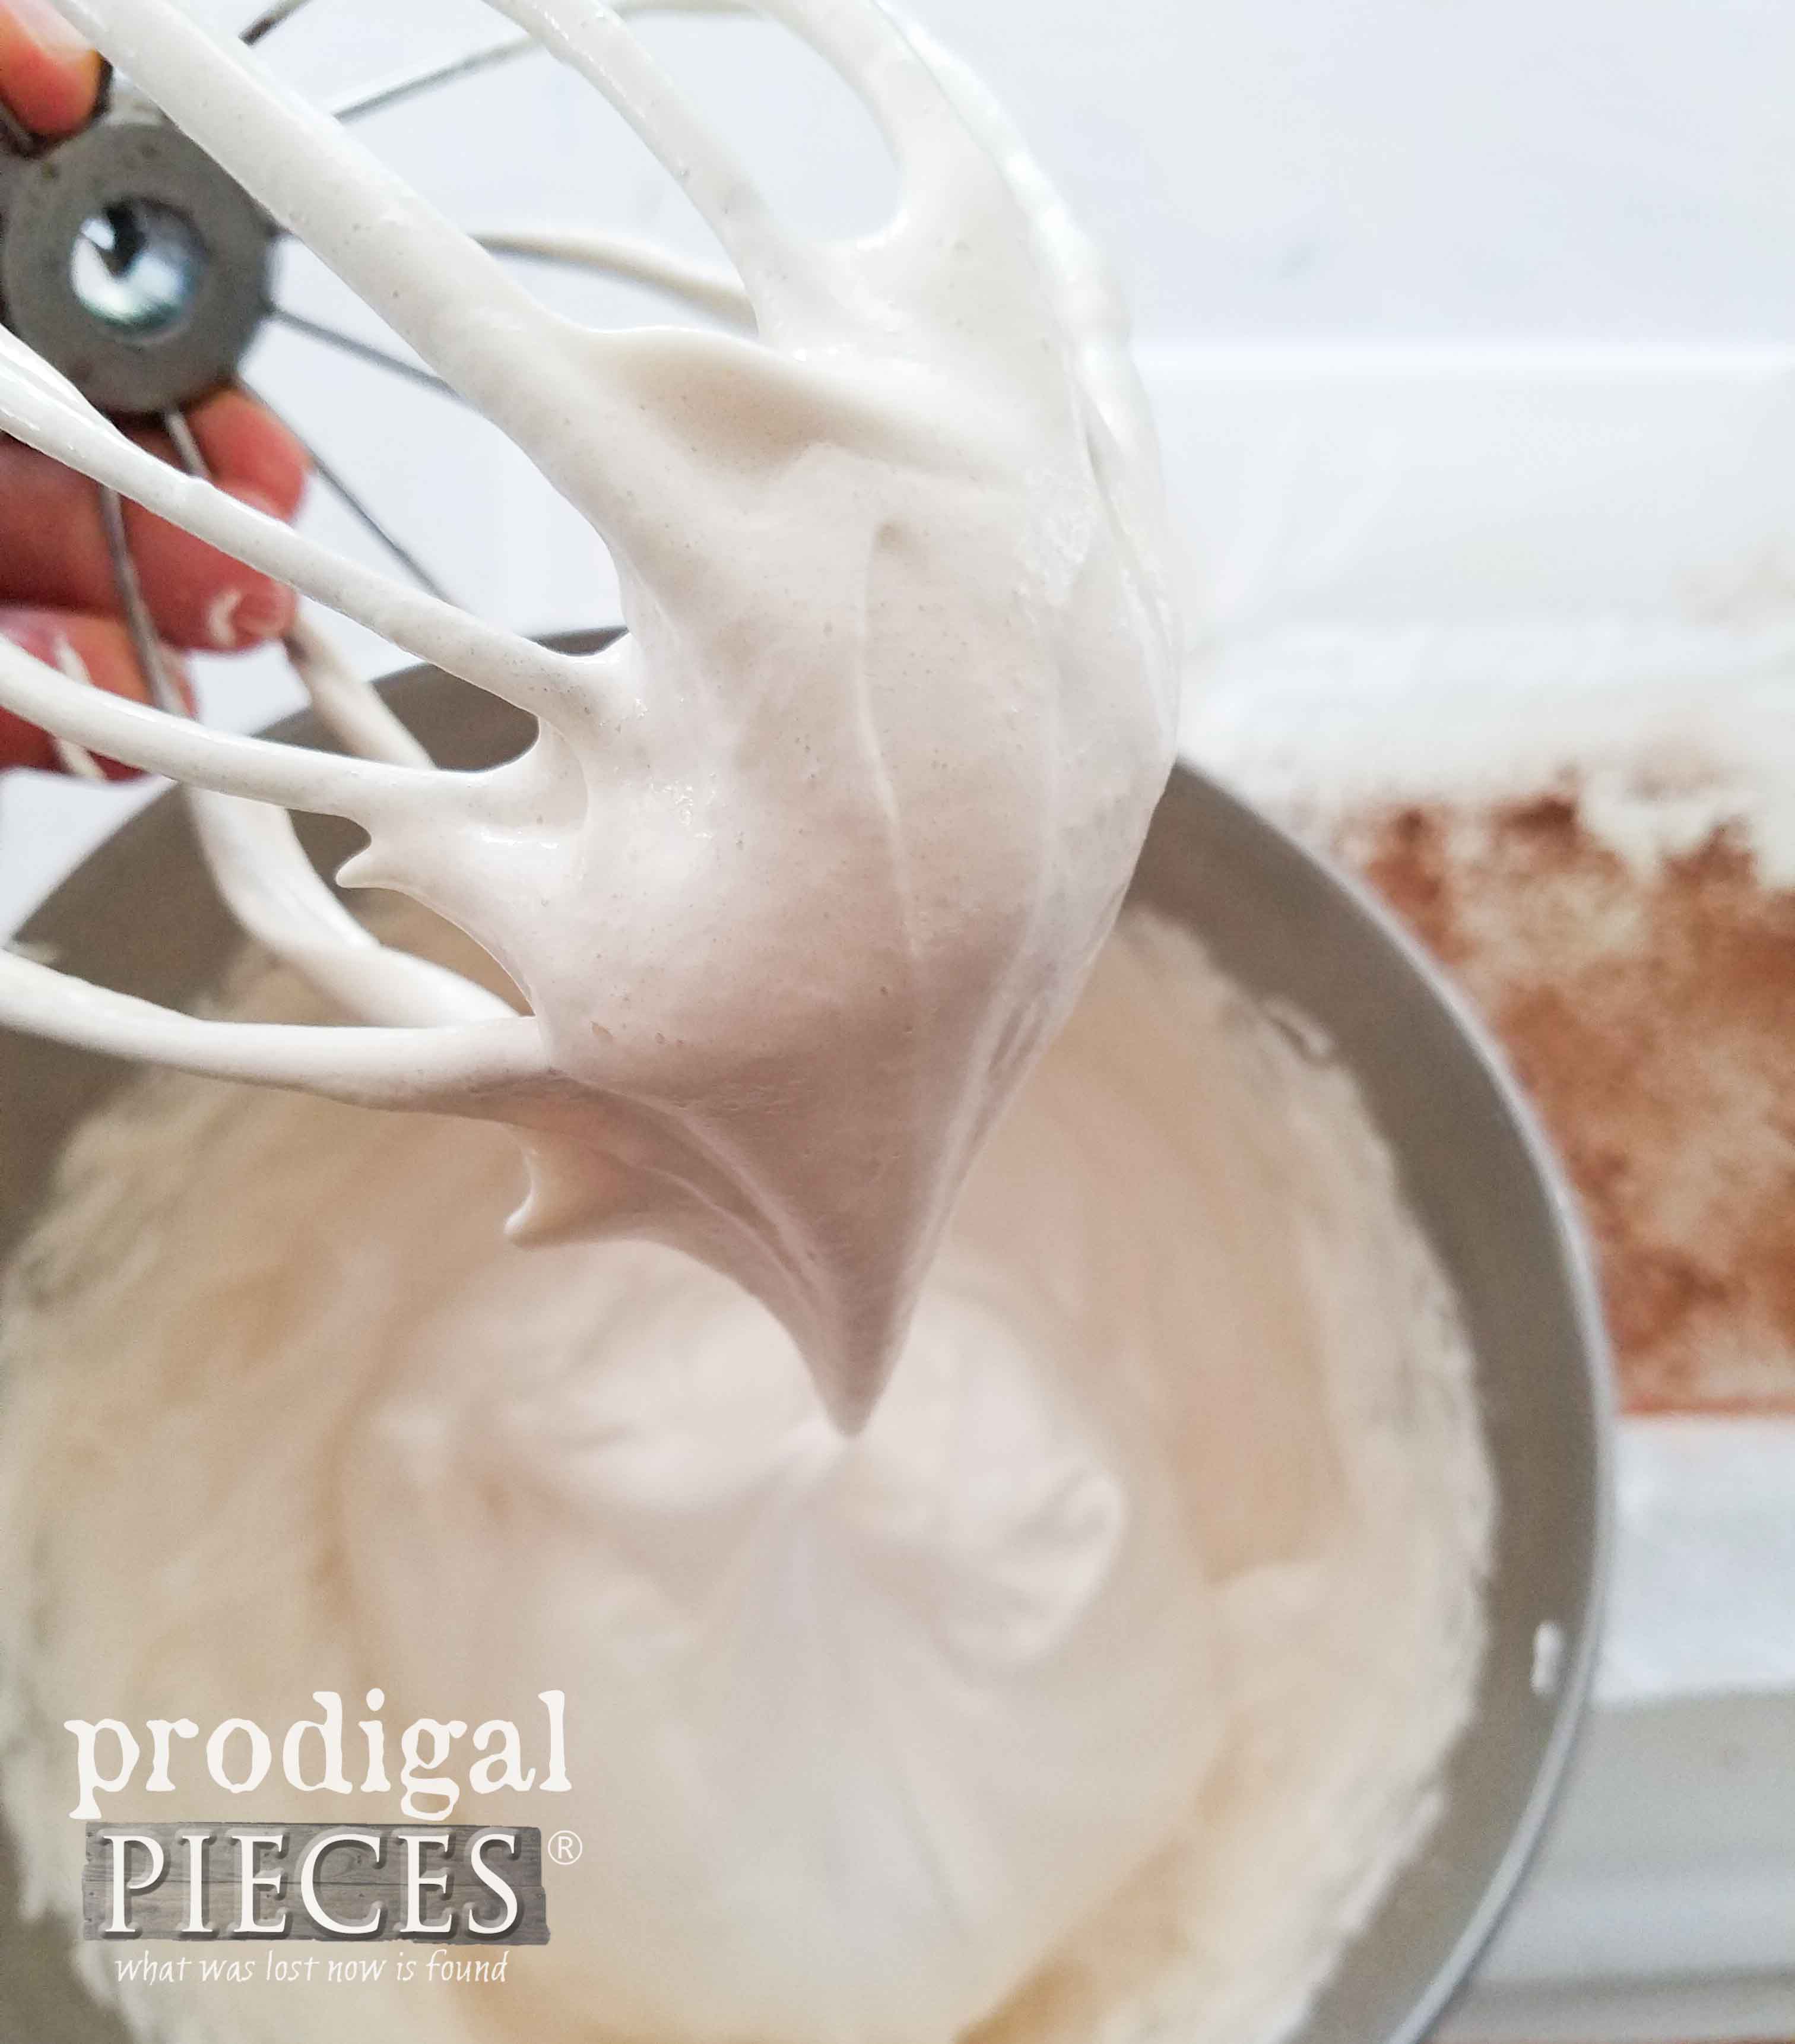
MALLOW GOODNESS
Instead of making marshmallows, you could use this fluff in this state to pipe onto cupcakes, fill cookies, top your yummy squash or sweet potato casserole, or even make Peeps. Then, to make the marshmallows, pour them into your prepared pan dusted with cocoa, shredded coconut, tapioca flour, or almond flour.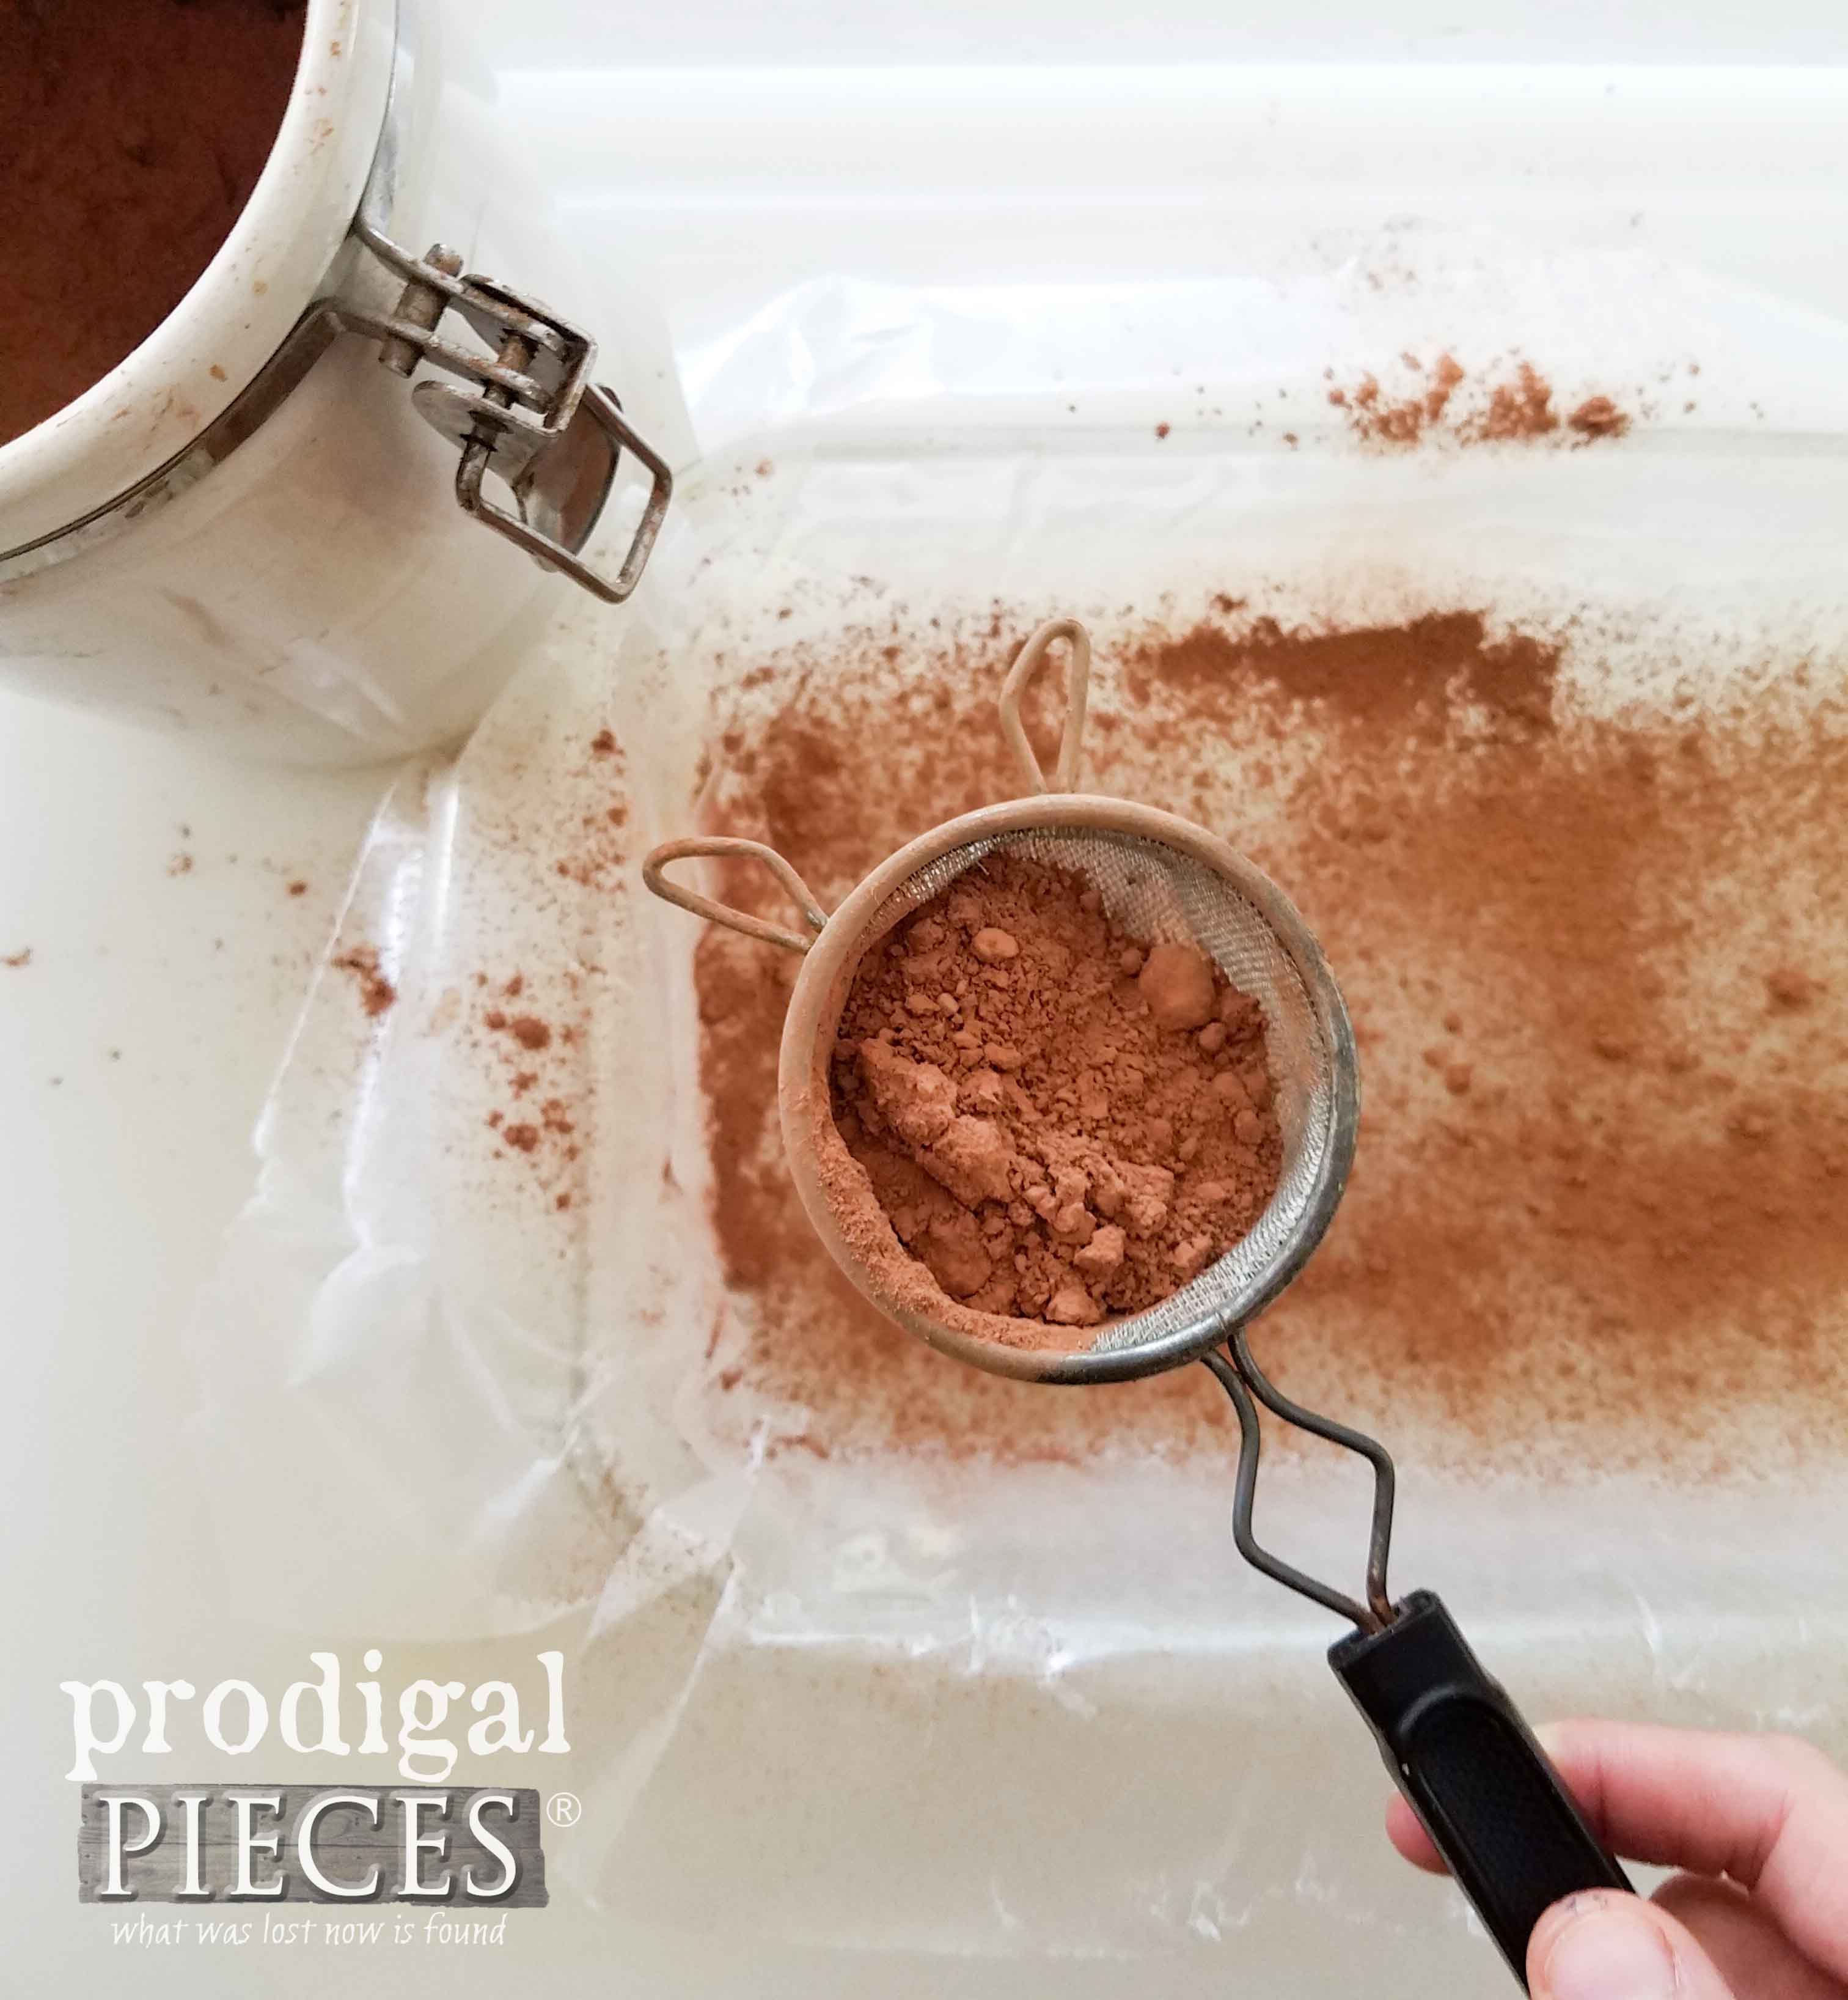 Once set in pan, let rest for 2-4 hours or more until firm. This is where making them the night before can pay off.
 While you're waiting, you can get your grain-free crust ready. Full recipe for the crust is over in my roasted stone fruit recipe near the bottom of the post.
 After the crust is baked and cooled, pour your melted chocolate onto the crust and let set.

LAST STEPS
Time to check your marshmallows. I like to cut them when firm and let them rest a bit more to allow the sides to get a crust on them.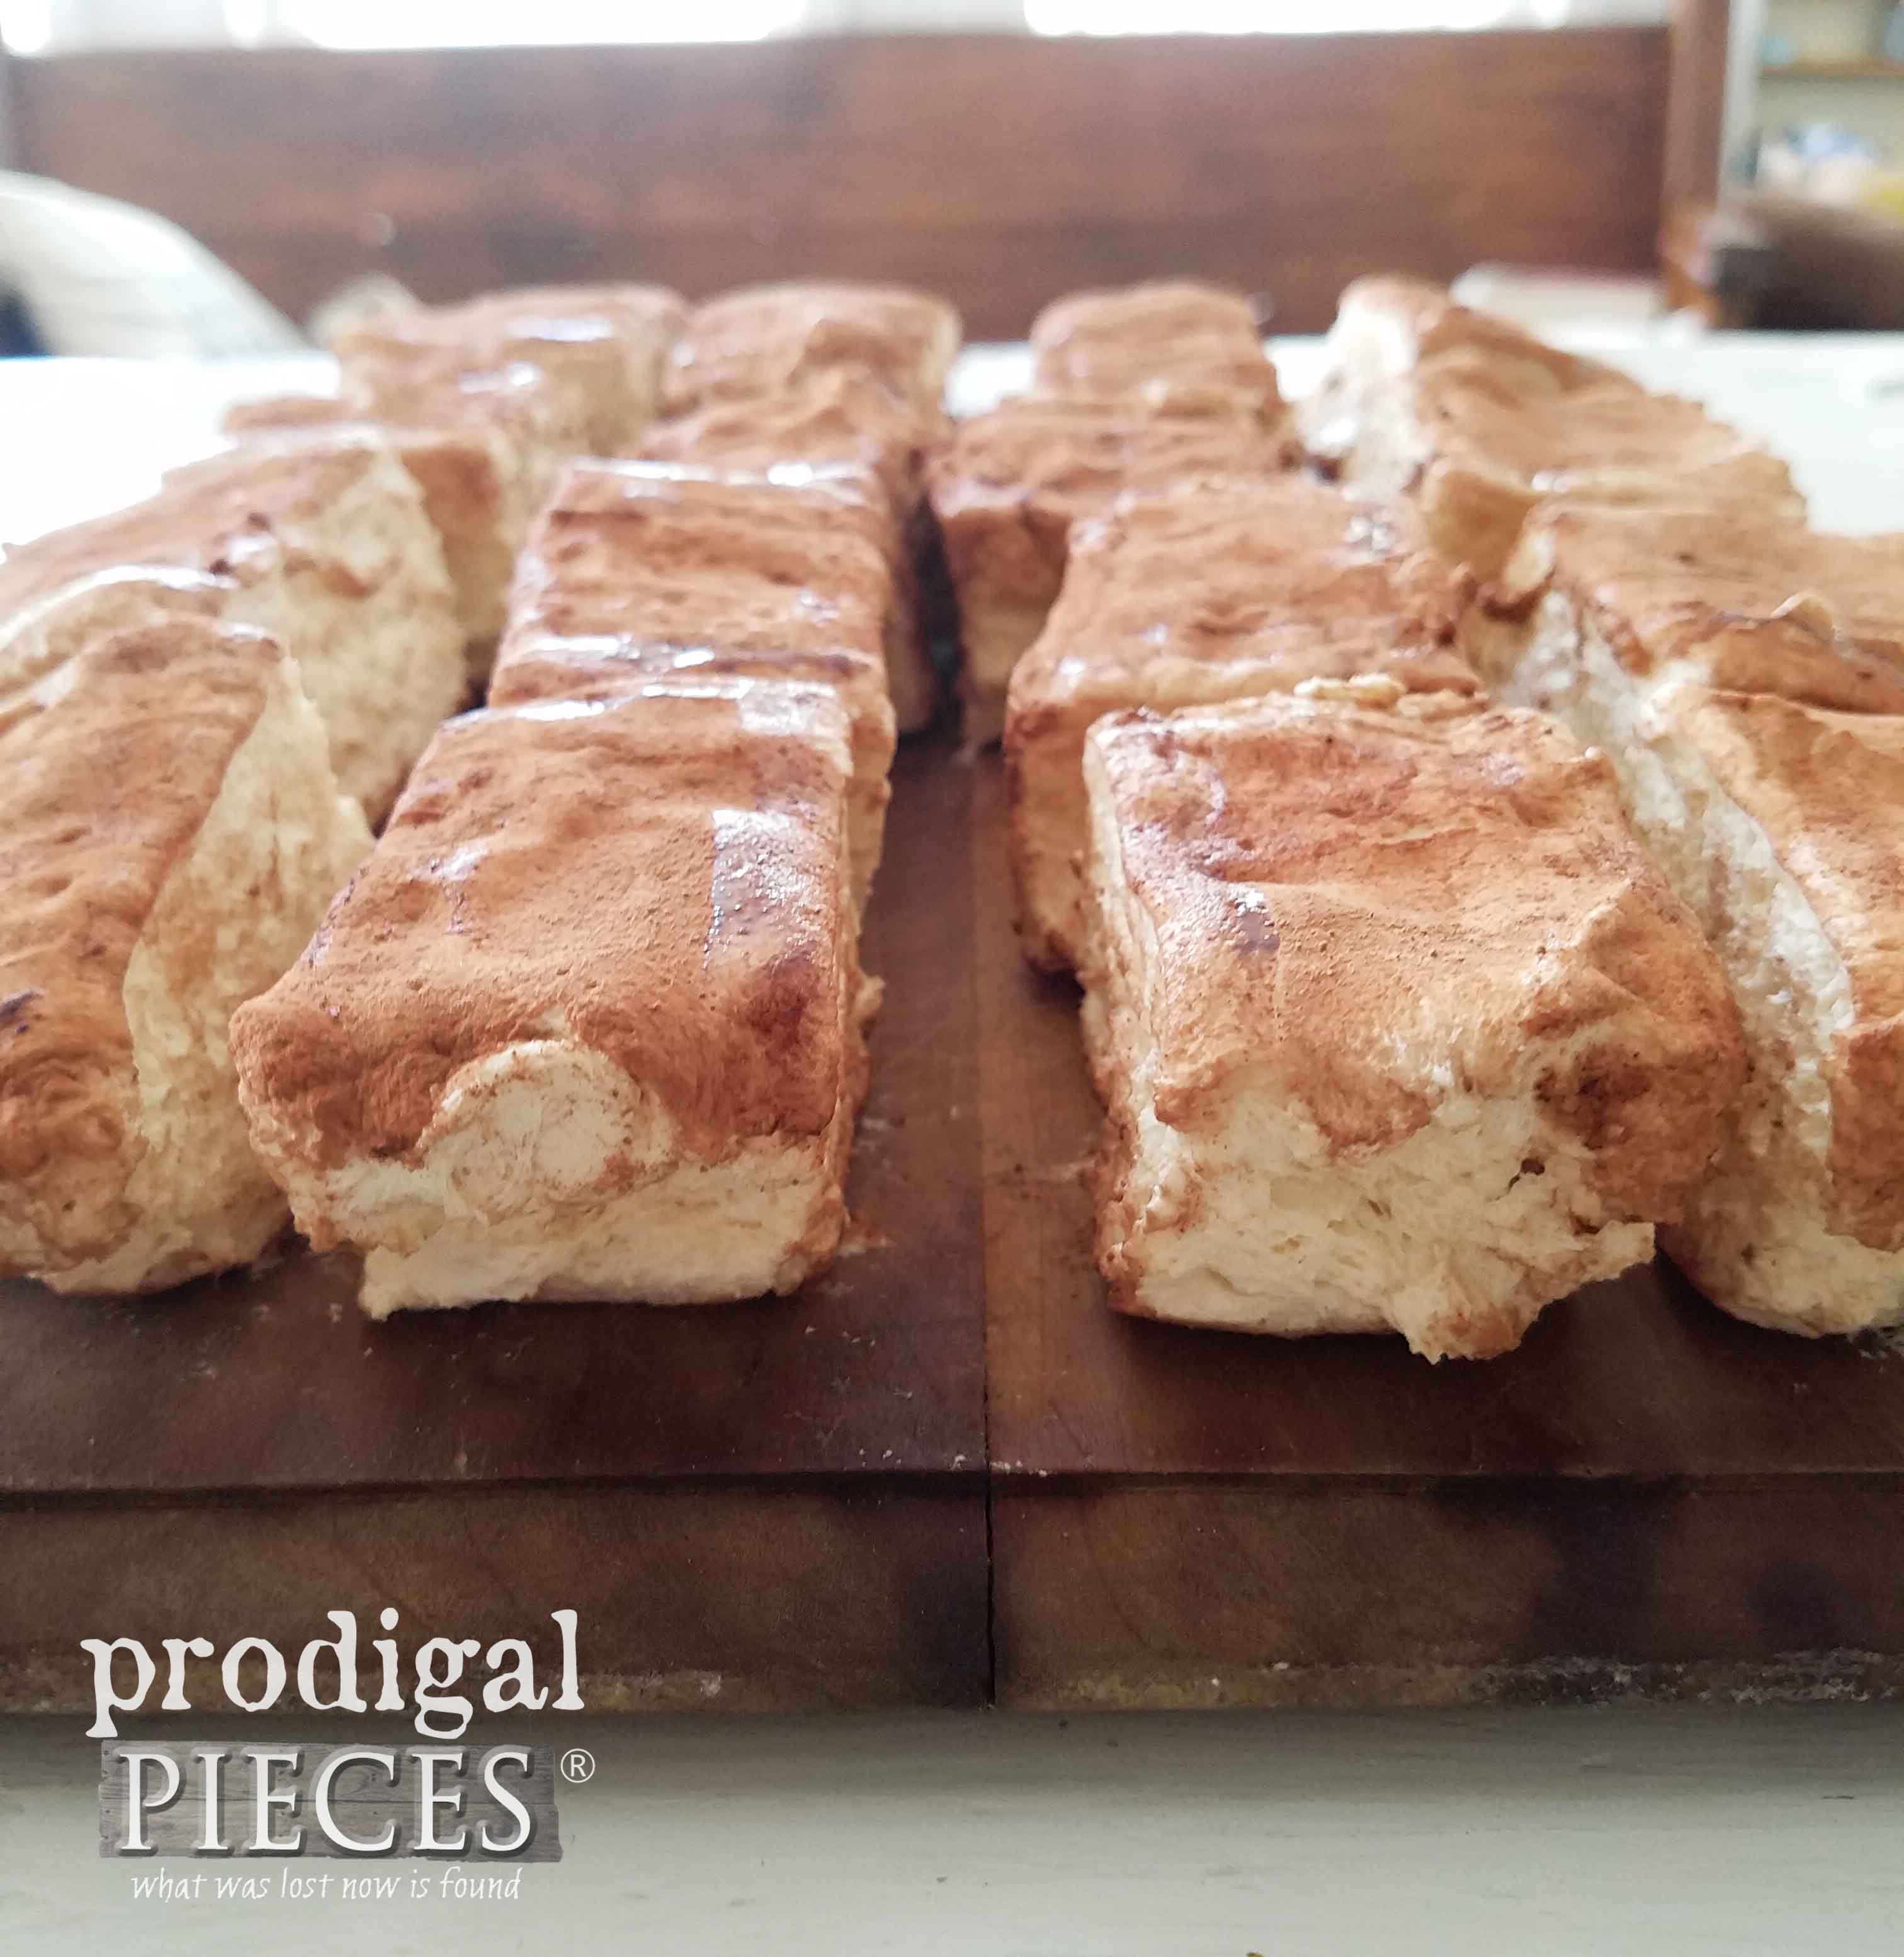 Trust me, when these delightful treats are ready they don't last long! My family of 8 and I take these out to our fire pit to give them a roasted flavor you just can't beat. Anyone else getting hungry?

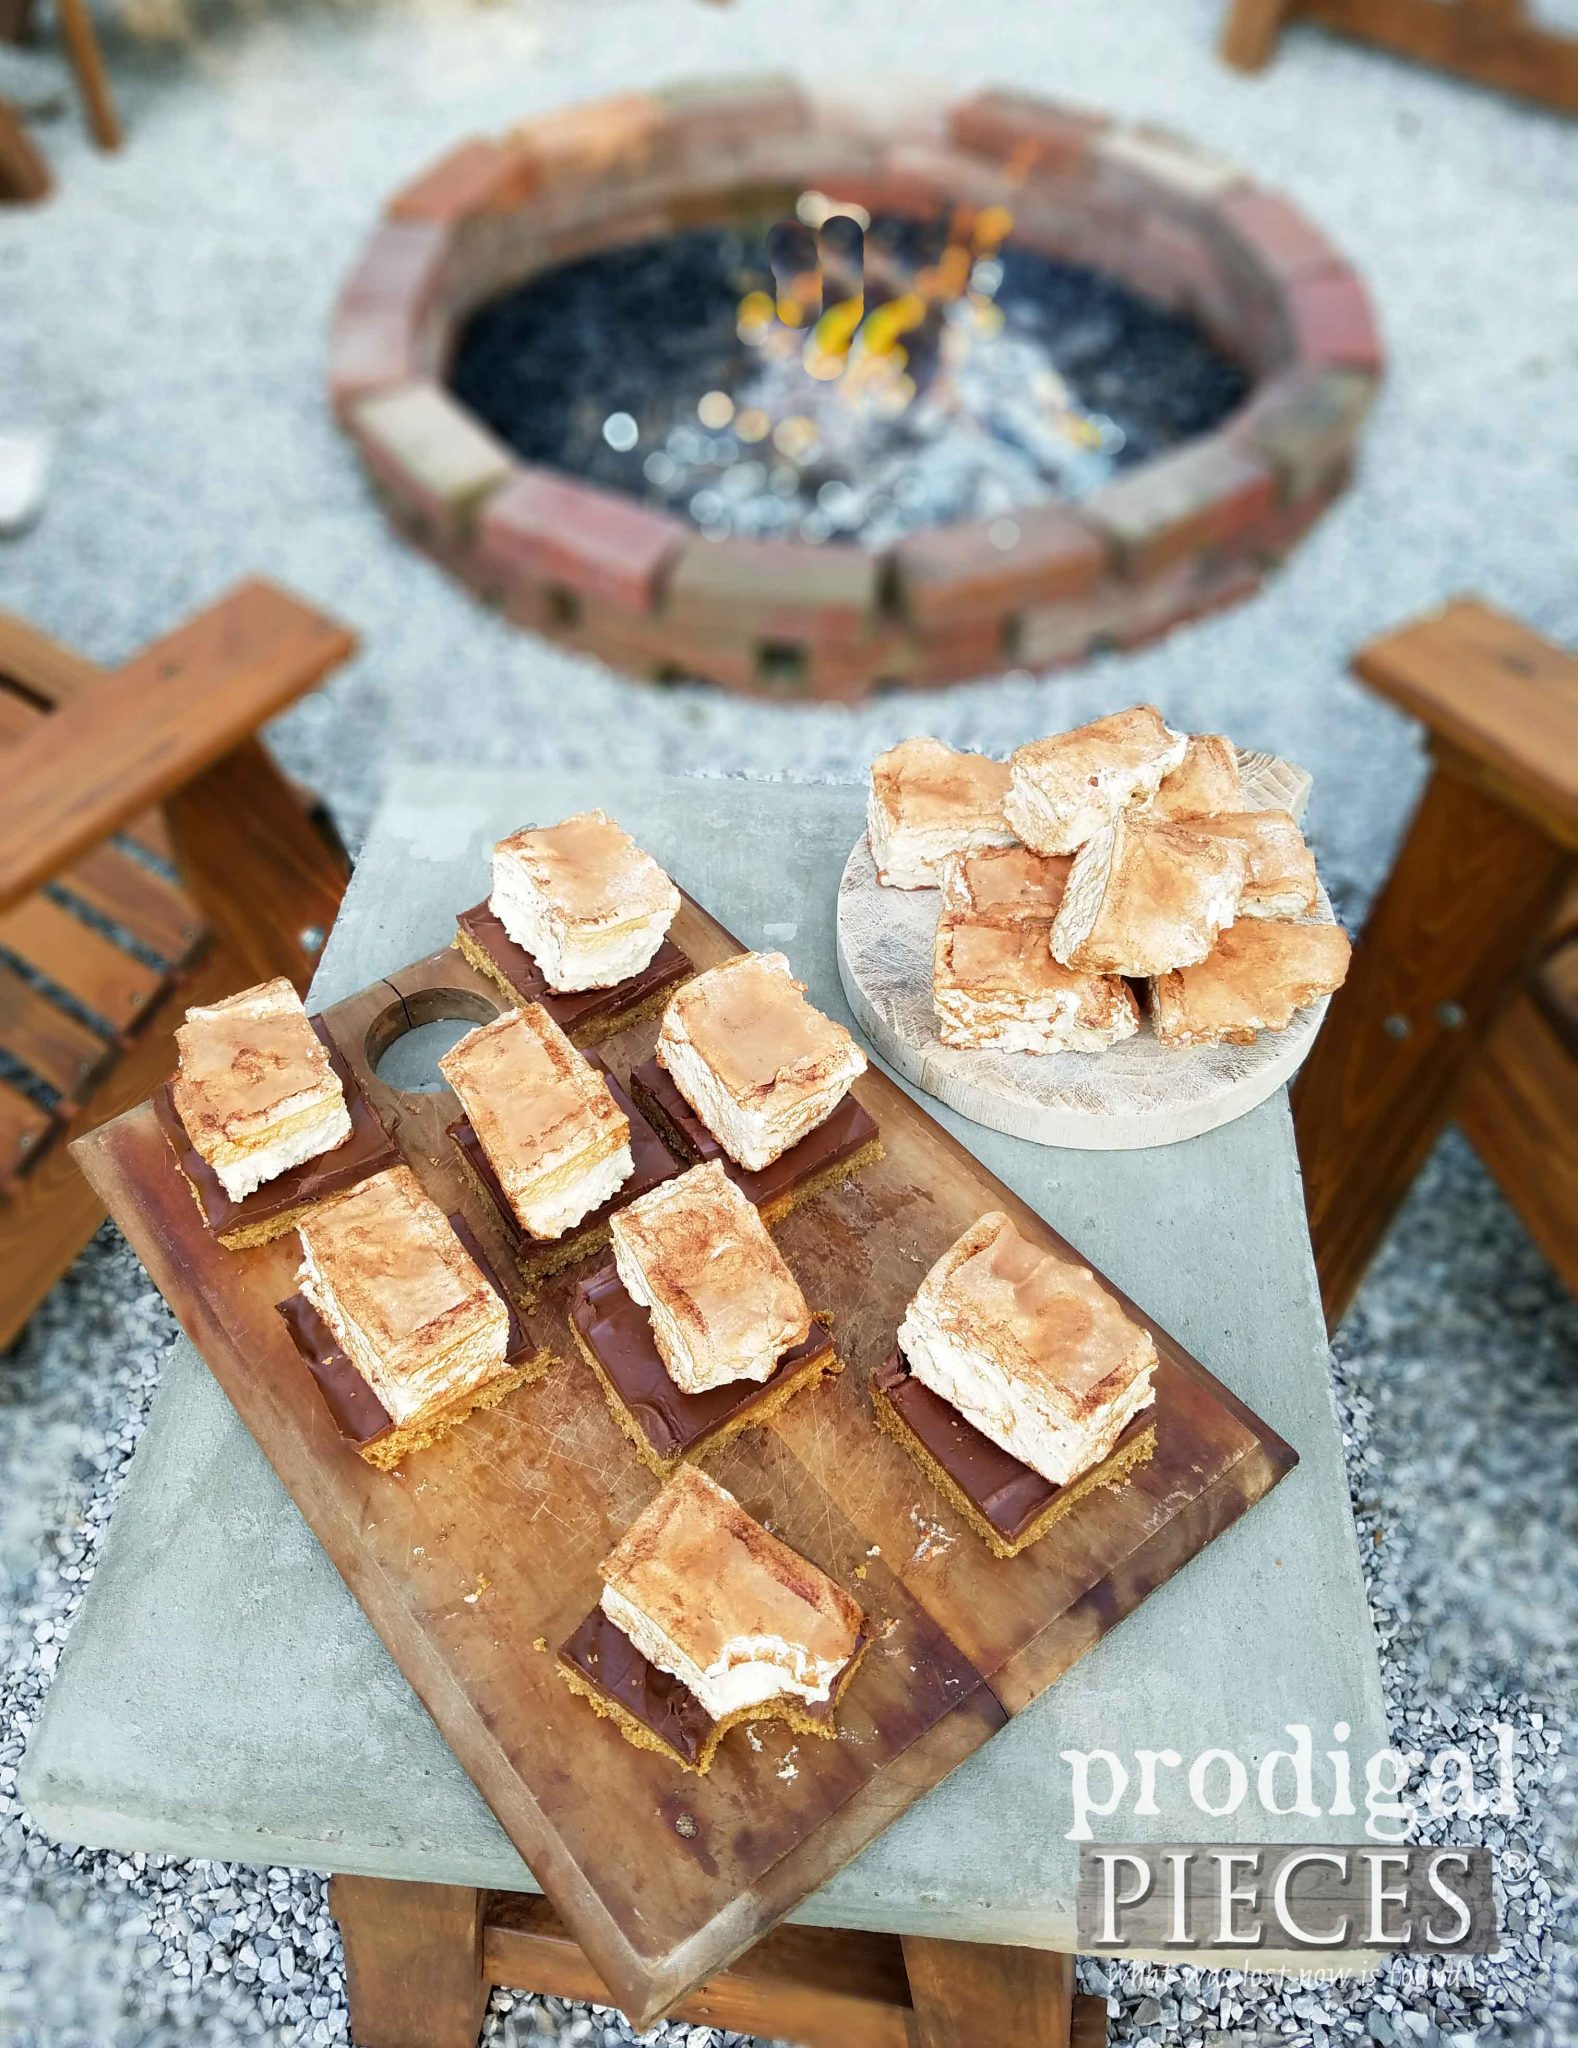 Time to roast your yummy homemade marshmallows and enjoy! You can refrigerate any leftovers (I'd be surprised if there are any!) for up to one week in a covered container.
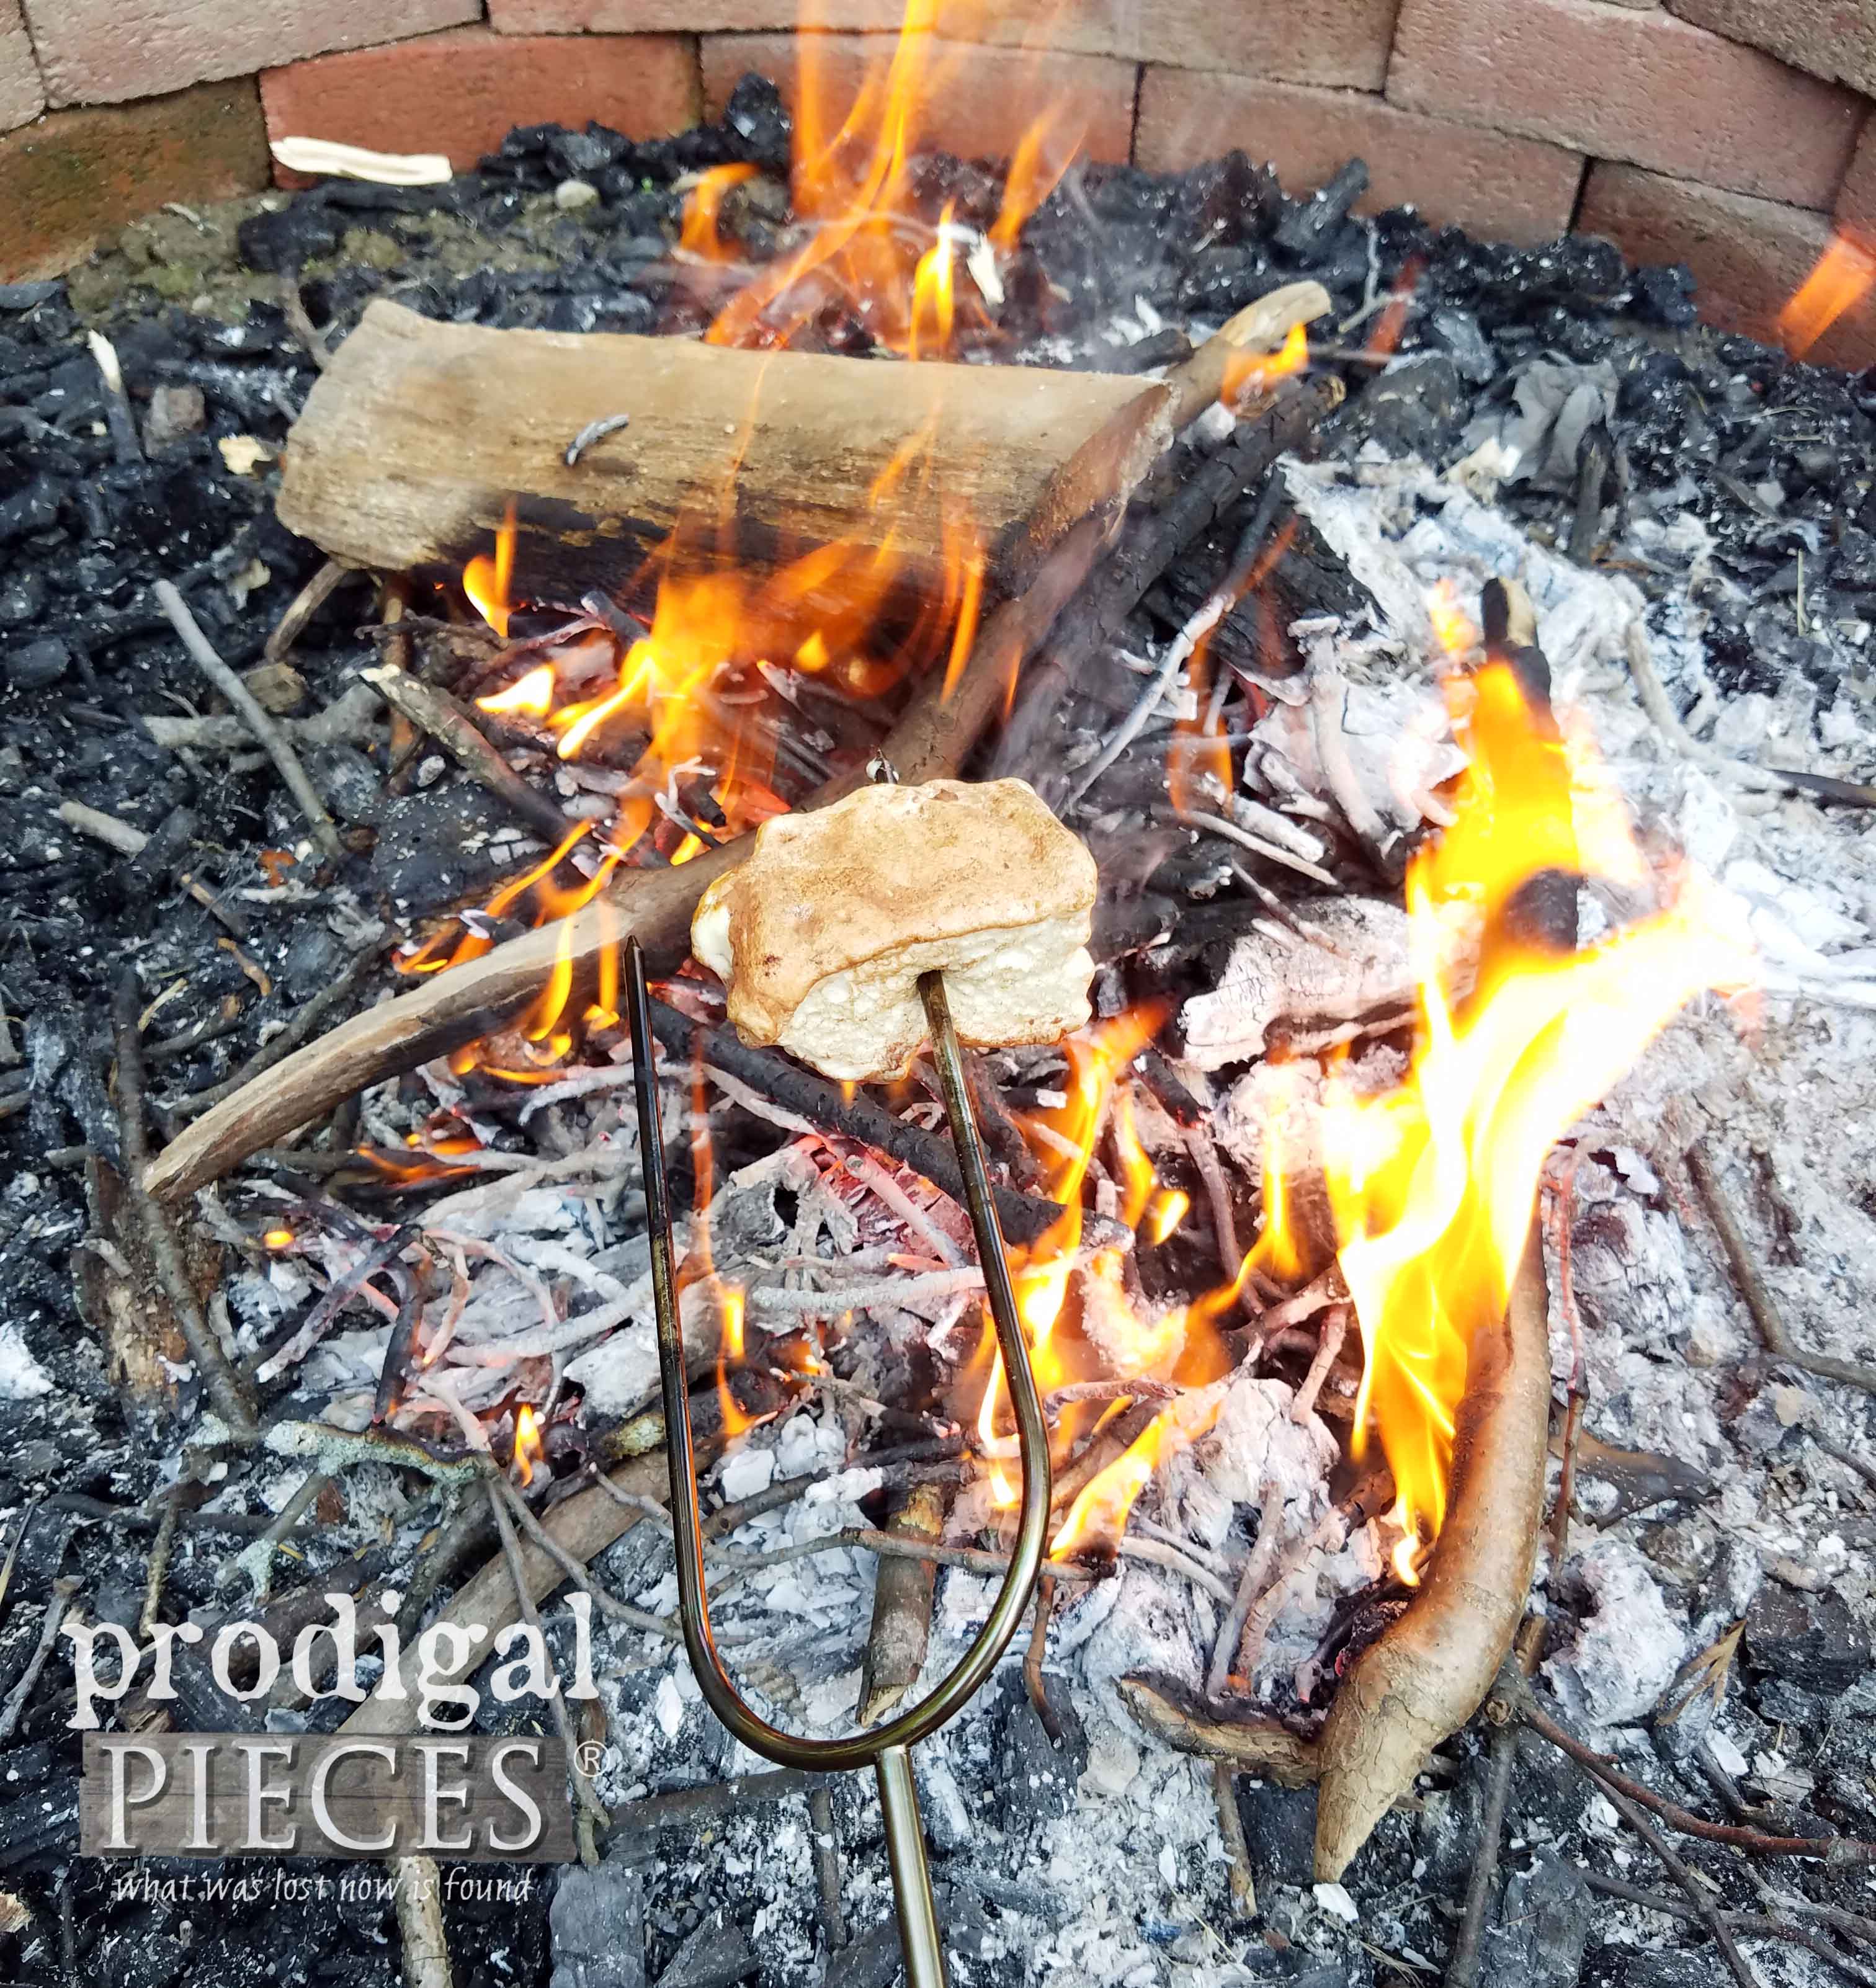
ENJOY
Now enjoy that yummy homemade goodness and the satisfaction of watching your loved ones and friends delight themselves in your efforts. Okay...I'm definitely hungry now. mmmm....
SHARE
I hope you've enjoyed learning how to make these homemade marshmallow s'mores. They sure beat the box store stuff and will leave you feeling good too. In addition, pin and share to inspire others.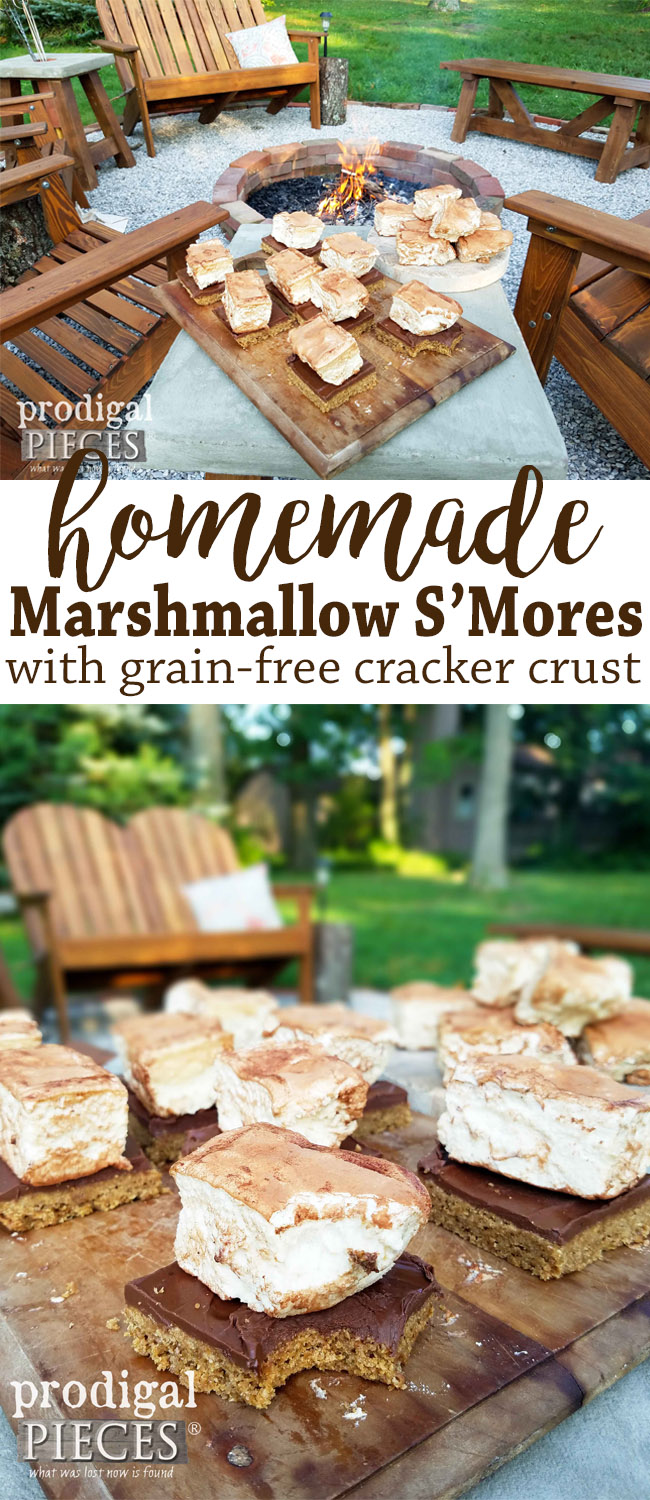 Up next is the next stage of our backyard makeover where you can see where we started by visiting HERE. Before you go, be sure to sign up for my newsletter. Until next time!

While you're at it, here are more recipes like the homemade marshmallow s'mores:
