Many of you know that my little birds have been leaving this mama's nest. As the proud mama with three adult children and and three near adults, I'm happy to say I watch them spread their wings and fly! As each one leaves, I help in any way I can, especially with my thrifty DIY knowledge. My oldest son,
Mr. I, has been in his first place for a few weeks now and still needs some things. That's what led to grab this free chest of drawers plus extras.


Not only am I'm able to pass along all these items to folks who are making a new path for themselves, but also get some DIY fun in.
However, when I get the chest home and measure, I find it won't fit up my son's stairwell. It's a very old home with a twisty stair that seems like only a boxed piece of furniture will fit up at this point. In the meantime, I'm assessing what this thing needs.

GET MY DIY ON
First, it does have all the drawers, but they're out of place and one has the bottom popped out. In addition, they're all missing their drawer guides hardware on the drawers and the guides inside are loose.


Also, the entire back is missing which makes it sway, so I'll have to remedy that as well as the chipped top. You can take a peek at all my previous trashure pieces in
my project gallery HERE.

Next, I wipe it all down with a vinegar/water ratio 1:2 to get rid of this weird grime on the top. After that, I fill all the chips and knicks with wood filler. Notice that the top is made of laminated pressed wood, but the sides, drawers, and the entire rest is wood. {{scratches head}} Likewise, you can read my tutorial on
how to paint laminate HERE.


Additionally, I fill some of the drawer pull holes so I can add new hardware and change up the style. And the inside was filthy too - ugh! Nothing a vacuum and wipe-down won't help, though, right?

Once the filler cures, I take it all back out to my workshop and add the new back I cut from luan and sand down all the pieces enough to give them tooth.

As soon as I clean everything up, I add new drawer guide brackets to the back of each drawer. These brackets are nice because they adjust to fit most any drawer guide. That makes it so easy when you get a misfit piece that needs new hardware.

COLOR CHANGE
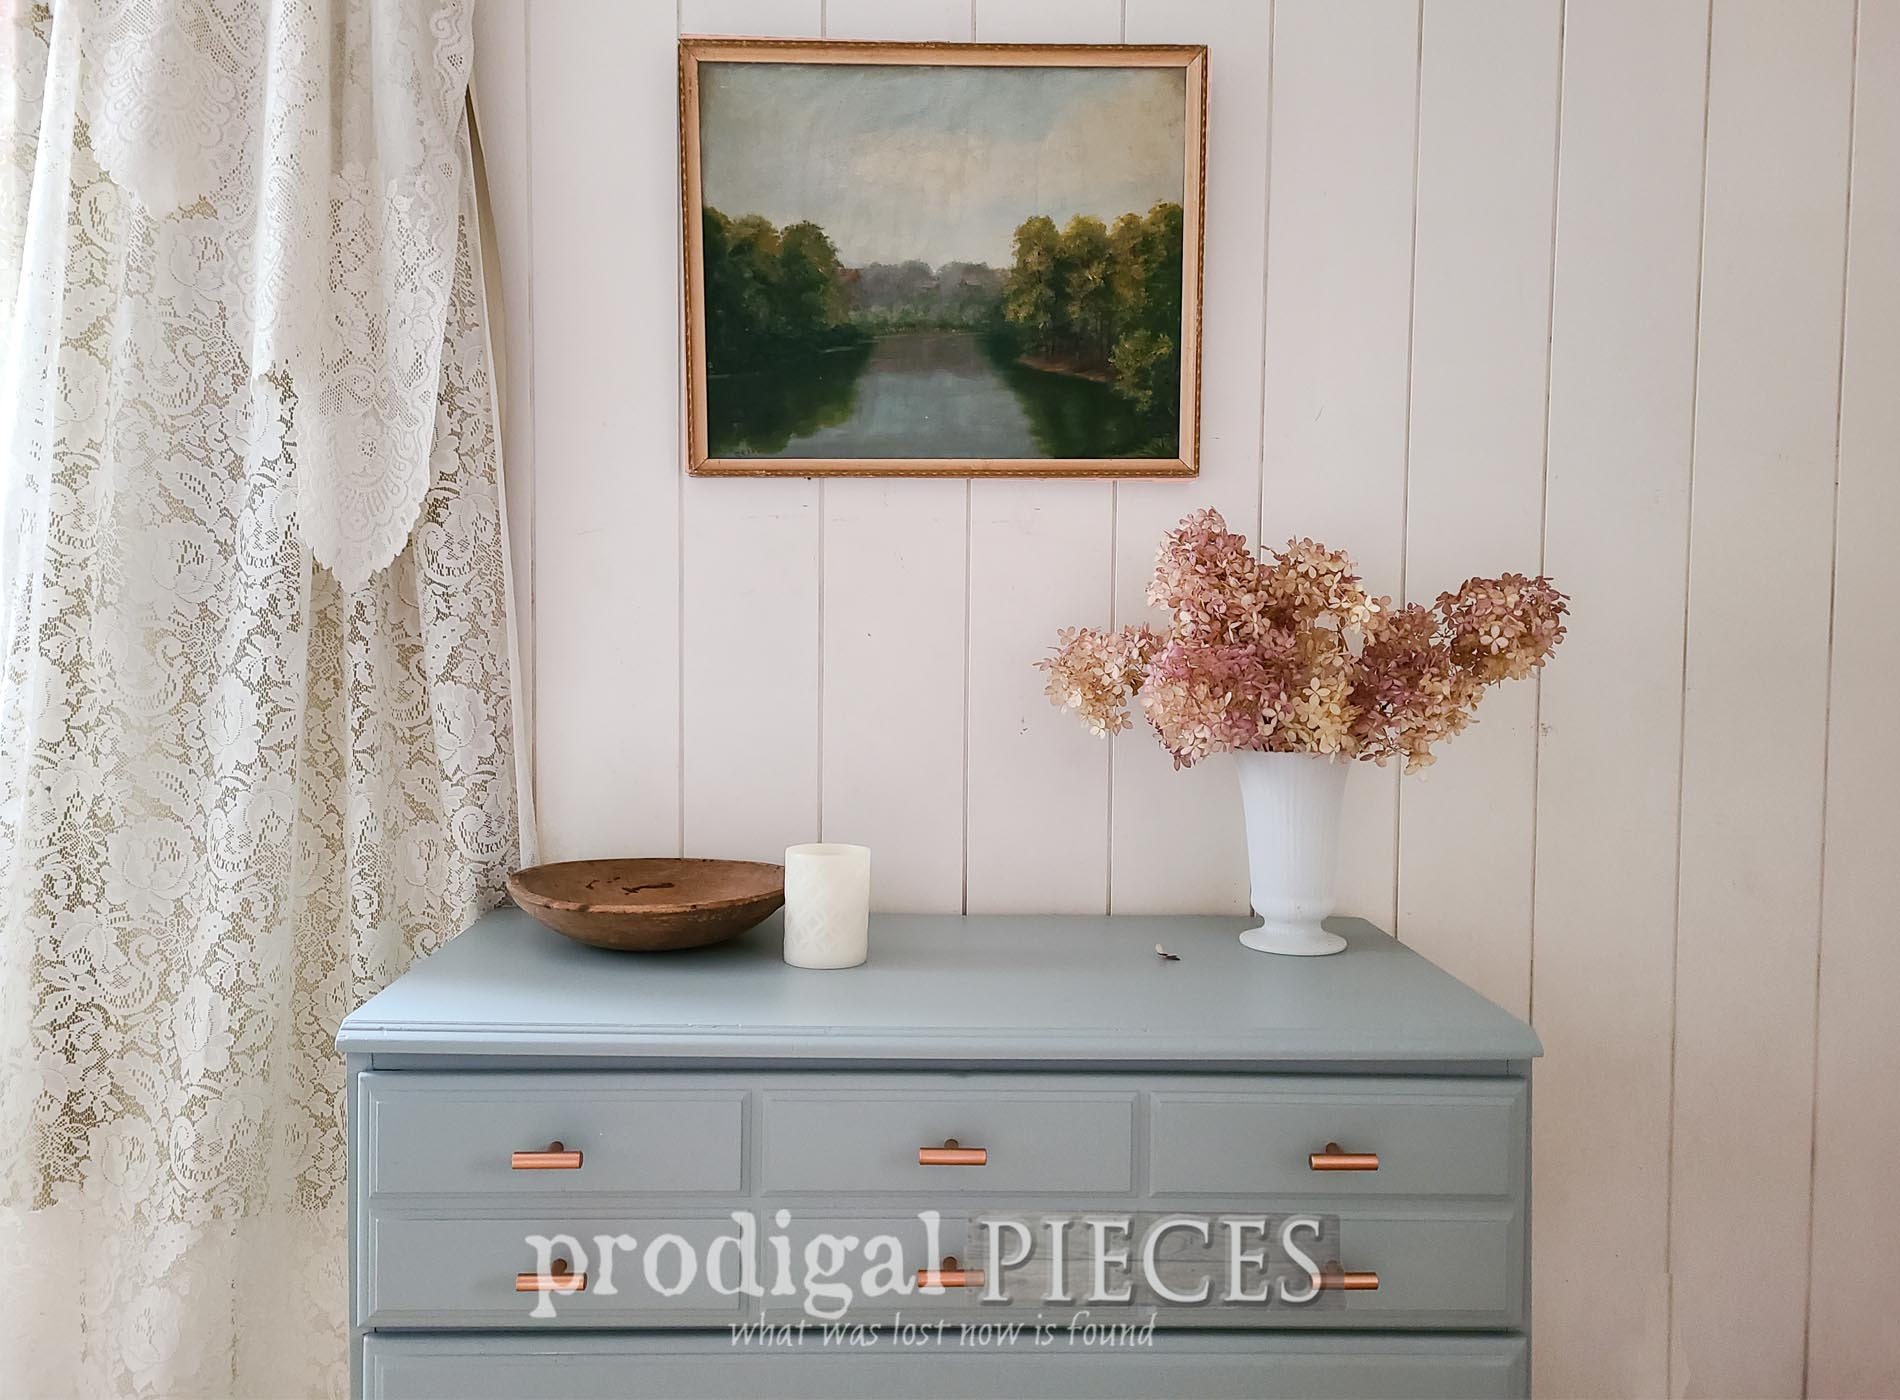
Last, but not least, it's time to unify this piece from its mix-n-match wood style but beginning with primer.

As soon as the primer cures for an hour, I apply two coats of paint -
my favorite slate green.

For the last bit of change, I add new hardware, and the entire vibe is new and has a modern touch.


I'm smitten! It took some elbow grease to just get it functioning, but outside of that it was simple for the updating. Isn't that green just the right shade?


Obviously, there are many ways I could have finished this piece. What would you have done to it?


Like most all my project pieces, I am full on furniture for myself. That means I am offering it to you in
my online store.

SHARE
As a sidenote, I did find another piece for my son that also did not fit, so we are still forming ideas! In the meantime, leave me some comment love below as well as pin and share to inspire others.

Before you go, be sure to
sign up for my FREE newsletter. Until next time!

 PINTEREST | EMAIL
While you're at it, here are other furniture makeovers like this free chest of drawers: