 My client, Laura, had just purchased my serpentine dresser and was so excited it was on the way that she was ready for another piece for her home. So fun, right?
DIY TIME
Laura's request for for a farmhouse hutch in the likeness of pictures she sent me. Thankfully, I was able to find this one through a local for sale ad. It had what she was looking for: open upper curio, with plenty of storage.
*post sponsored by HomeRight (see full disclosure)
Who doesn't love oodles of storage? tee hee. She like what I found, so we went and picked it up and I got to work. First, I filled in gouges with wood filler, and made repairs to parts here and there. Then, my sander and I had a bit o' fun. As soon as I finish sanding, I grab 3 different colors of waxes: white, gray, brown, and apply them in various levels beginning with the gray. Laura wants a sort of scrubbed look and I love the way the waxes work with the wood. Plus, I prefer to finish the stained parts before painting so that if I accidentally get paint on it, it won't ruin my work.
NEXT STEPS
Next, I needed to fill the original drawer hardware holes with dowel because she wanted a different look. Easy-peasy. Just tap in the dowel, and use a coping saw to cut it down, and sand it smooth. Since I'm planning to paint the rest, I wiped it all down with 2:1 water/vinegar mix.
PAINT
Now for the fun part - woot! First, I set up my hutch. You can see how I've used all my shelters in the past HERE. Then, I cover up all the hard work I put into the hutch countertop. Tape and paper go a long way, baby! haha.
Since I'm planning to paint the rest, I wiped it all down with 2:1 water/vinegar mix.
PAINT
Now for the fun part - woot! First, I set up my hutch. You can see how I've used all my shelters in the past HERE. Then, I cover up all the hard work I put into the hutch countertop. Tape and paper go a long way, baby! haha.
 Next, out comes one of my favorite tools, the HomeRight Super Finish Max Extra sprayer. (doesn't that name rock? sounds so powerful because... it is) If you've ever wanted to see how to set this up and use it, I created a video for it below.
 I fill the canister and do a quick practice test on a piece of scrap wood or cardboard to make sure my flow and nozzle settings are where I want them. Then, I have at it. For this project, I'm using Classic Gray latex in eggshell finish thinned to manufacturer requirements. (typically, 1 Tablespoon or less of water to 1 cup ratio)

 Those louver doors ain't got anything on me. woot! Sprayed in less than two minutes like a BOSS.
 You'll notice I'm painting everything in the gray. However, I add more details once everything cures. For instance, I whitewash blend the back of the hutch top, the drawer fronts, and the louver doors. Then, I use more waxes to create depth and texture.

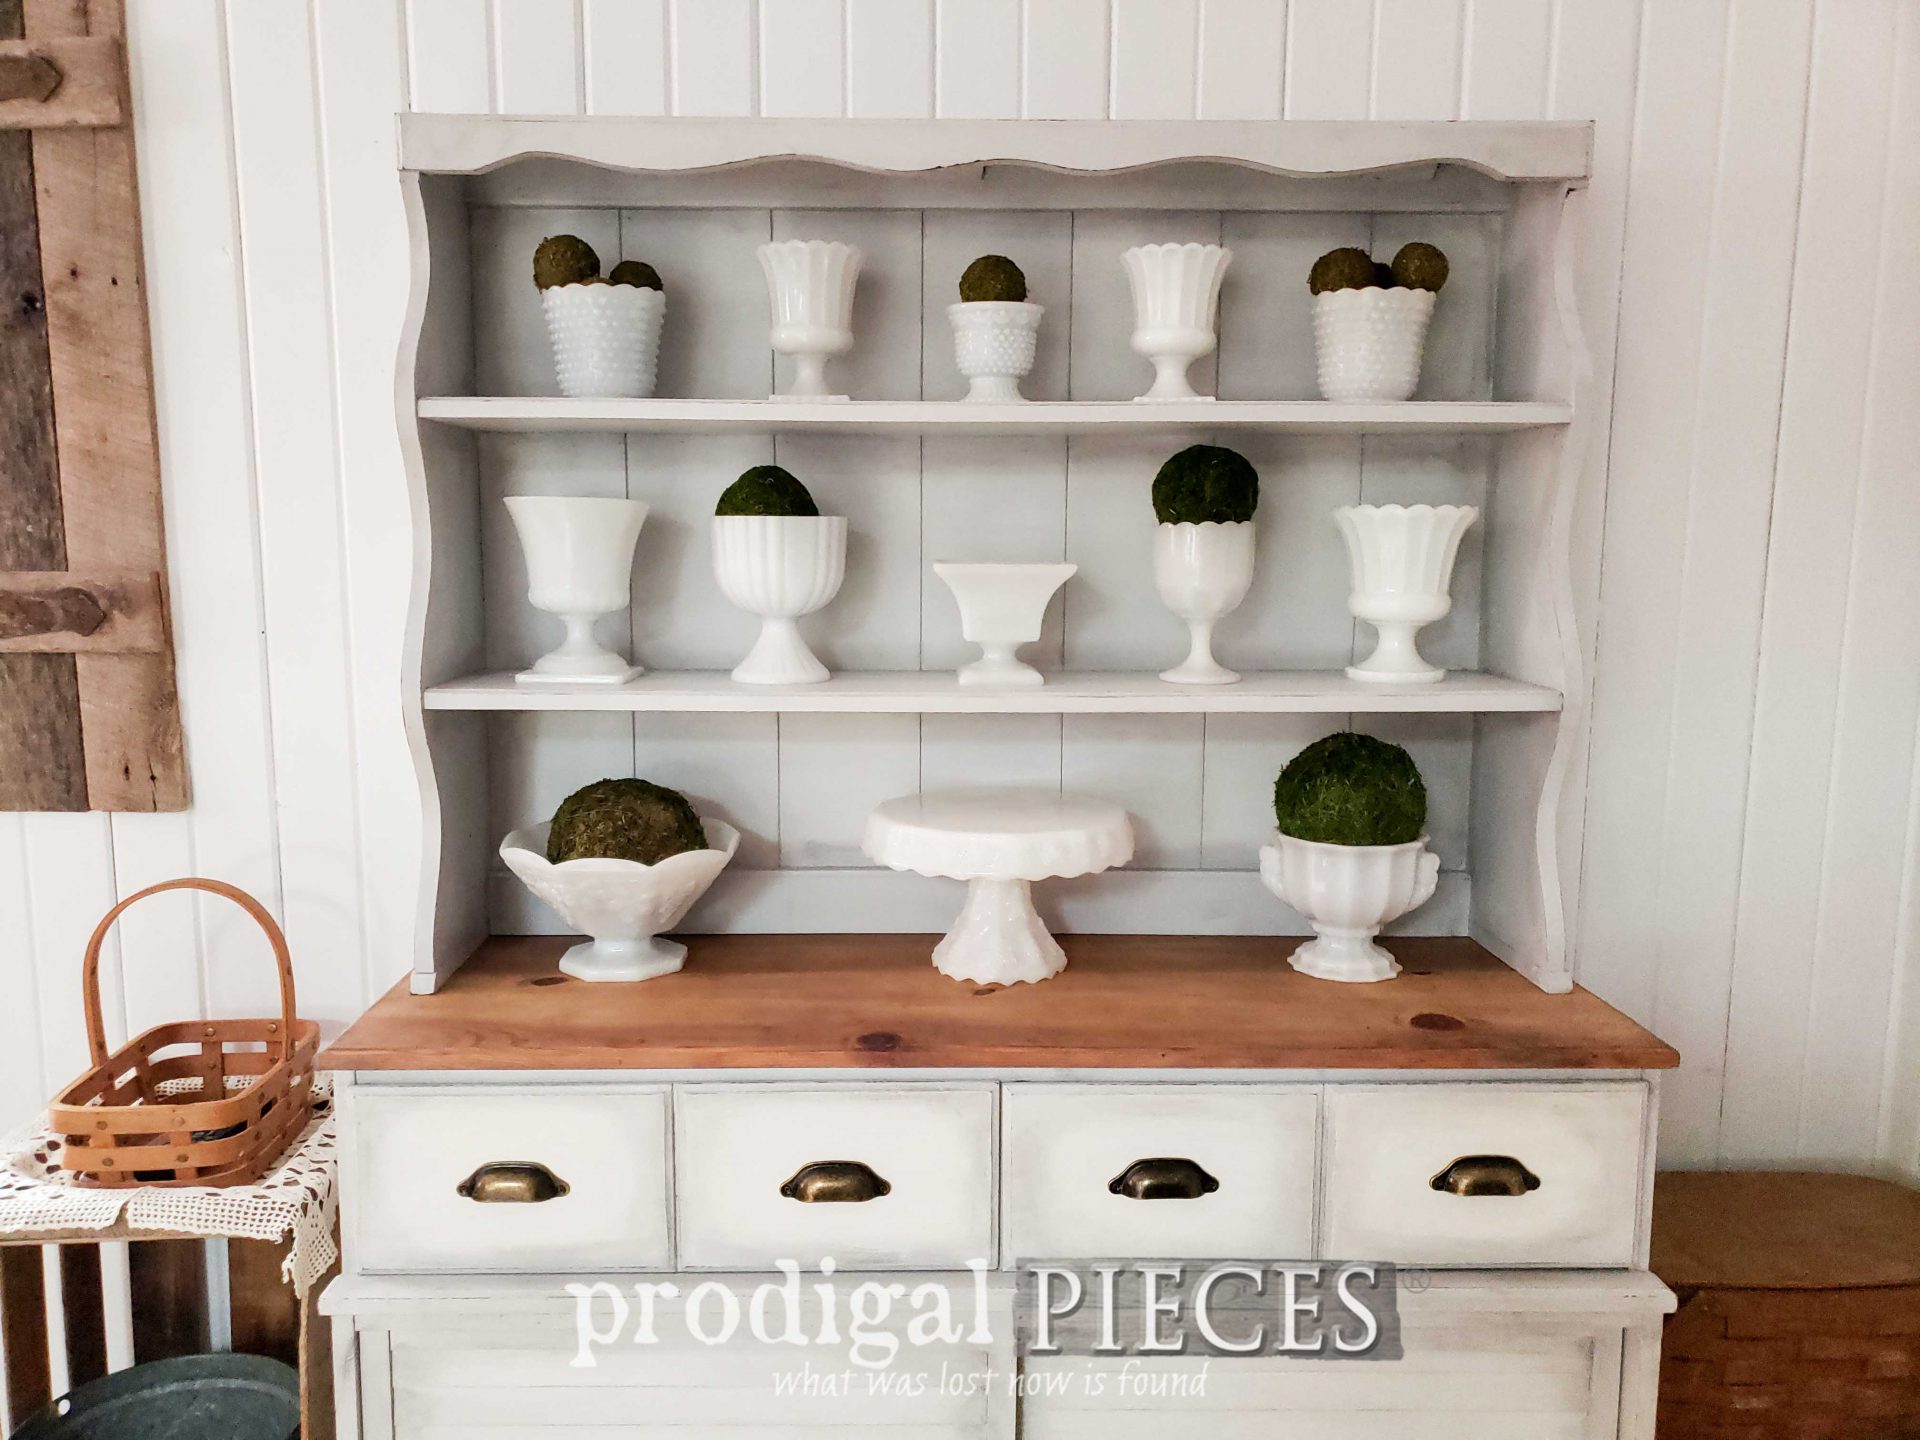
THE REVEAL
Finally, here is Laura's vintage farmhouse hutch with a completely new look.
 It's refreshed with paint, but also new hardware gives it an entirely new vibe. Then, there's my favorite part...the top surface.


 There's just something about raw wood that makes my hear pitter-pat. Sigh...even the knot holes add character.

 Are you feeling the inspiration? That's my goal. Sometimes we can get tired of what we currently own and have our eyes set on new. However, there's certainly no need to fret over what we don't have, but rather focus on loving on what we do have.


SHARE
While you're at it, pin and share to inspire others to take their dated furniture and give it new life. No need to buy new! Up next, this vintage goodie is going to not only get a new look, but purpose. See the new look HERE.
 To get these DIY tips & tricks in your inbox, be sure to sign up for my newsletter. Until next time!

Also, more projects like my farmhouse hutch makeover:

