One simple and affordable way to update and accent your home is to find pieces like this. They squeeze in most anywhere, plus offer storage potential. This little farmhouse wash stand is ready for a fresh update. Yay!

I found this locally and was instantly smitten. It's just the right size, has that rustic vibe I adore, and...has casters. My fave!! However, it does have some wear that I would like to tend to.

It's got the heat ring damage on top, chips in the edges, and mismatched hardware. In addition, it's missing the harp - the piece where the towels would hang. Because of that, there is about a ¾" gap at the back. You can see a similar one I restored over
in this post.

DIY TIME
Let's get this DIY party started! At some point, someone saw fit to cover this whole thing in a lacquer. Over time, that lacquer has ambered giving it the pumpkin vibe it now has. In order for me to remove that damaged ring and make this cohesive, I need to bring out my sander. First, I sand it all down to the raw wood.

Then, after I sand down the top, and remove that stain, I have to take the top off completely. The cabinet is separating from the top and I need to add screws to remedy that issue.
NEXT STEPS
Meanwhile, I also begin designing a sort of backsplash for my stand. I really debated on whether or not to add the harp and rod, but I felt just a backing would suit it better. I use my jigsaw and scrap wood to make a new piece. Additionally, you can see how I did the same thing to
this vintage dresser.

I used the front skirt of the wash stand to replicate the design and cut it into the wood. After that, while the top is off the cabinet base, I stain the top surface with a natural reactive stain. Isn't it this color pretty?

PAINTING TIME
Next, while the stain is curing, it's time to paint the cabinet. I'm tellin' ya these brushes are great for stains, paints, and polys both inside and outside the home. I chose an eggshell paint in a basic latex color called Bermuda. Fun!

Then, I use an antique white to lighten and brighten the inside. Much better!

To finish it all off, I add a hand-rubbed wax to the top, and then distress the bottom and accent with dark wax.
THE REVEAL
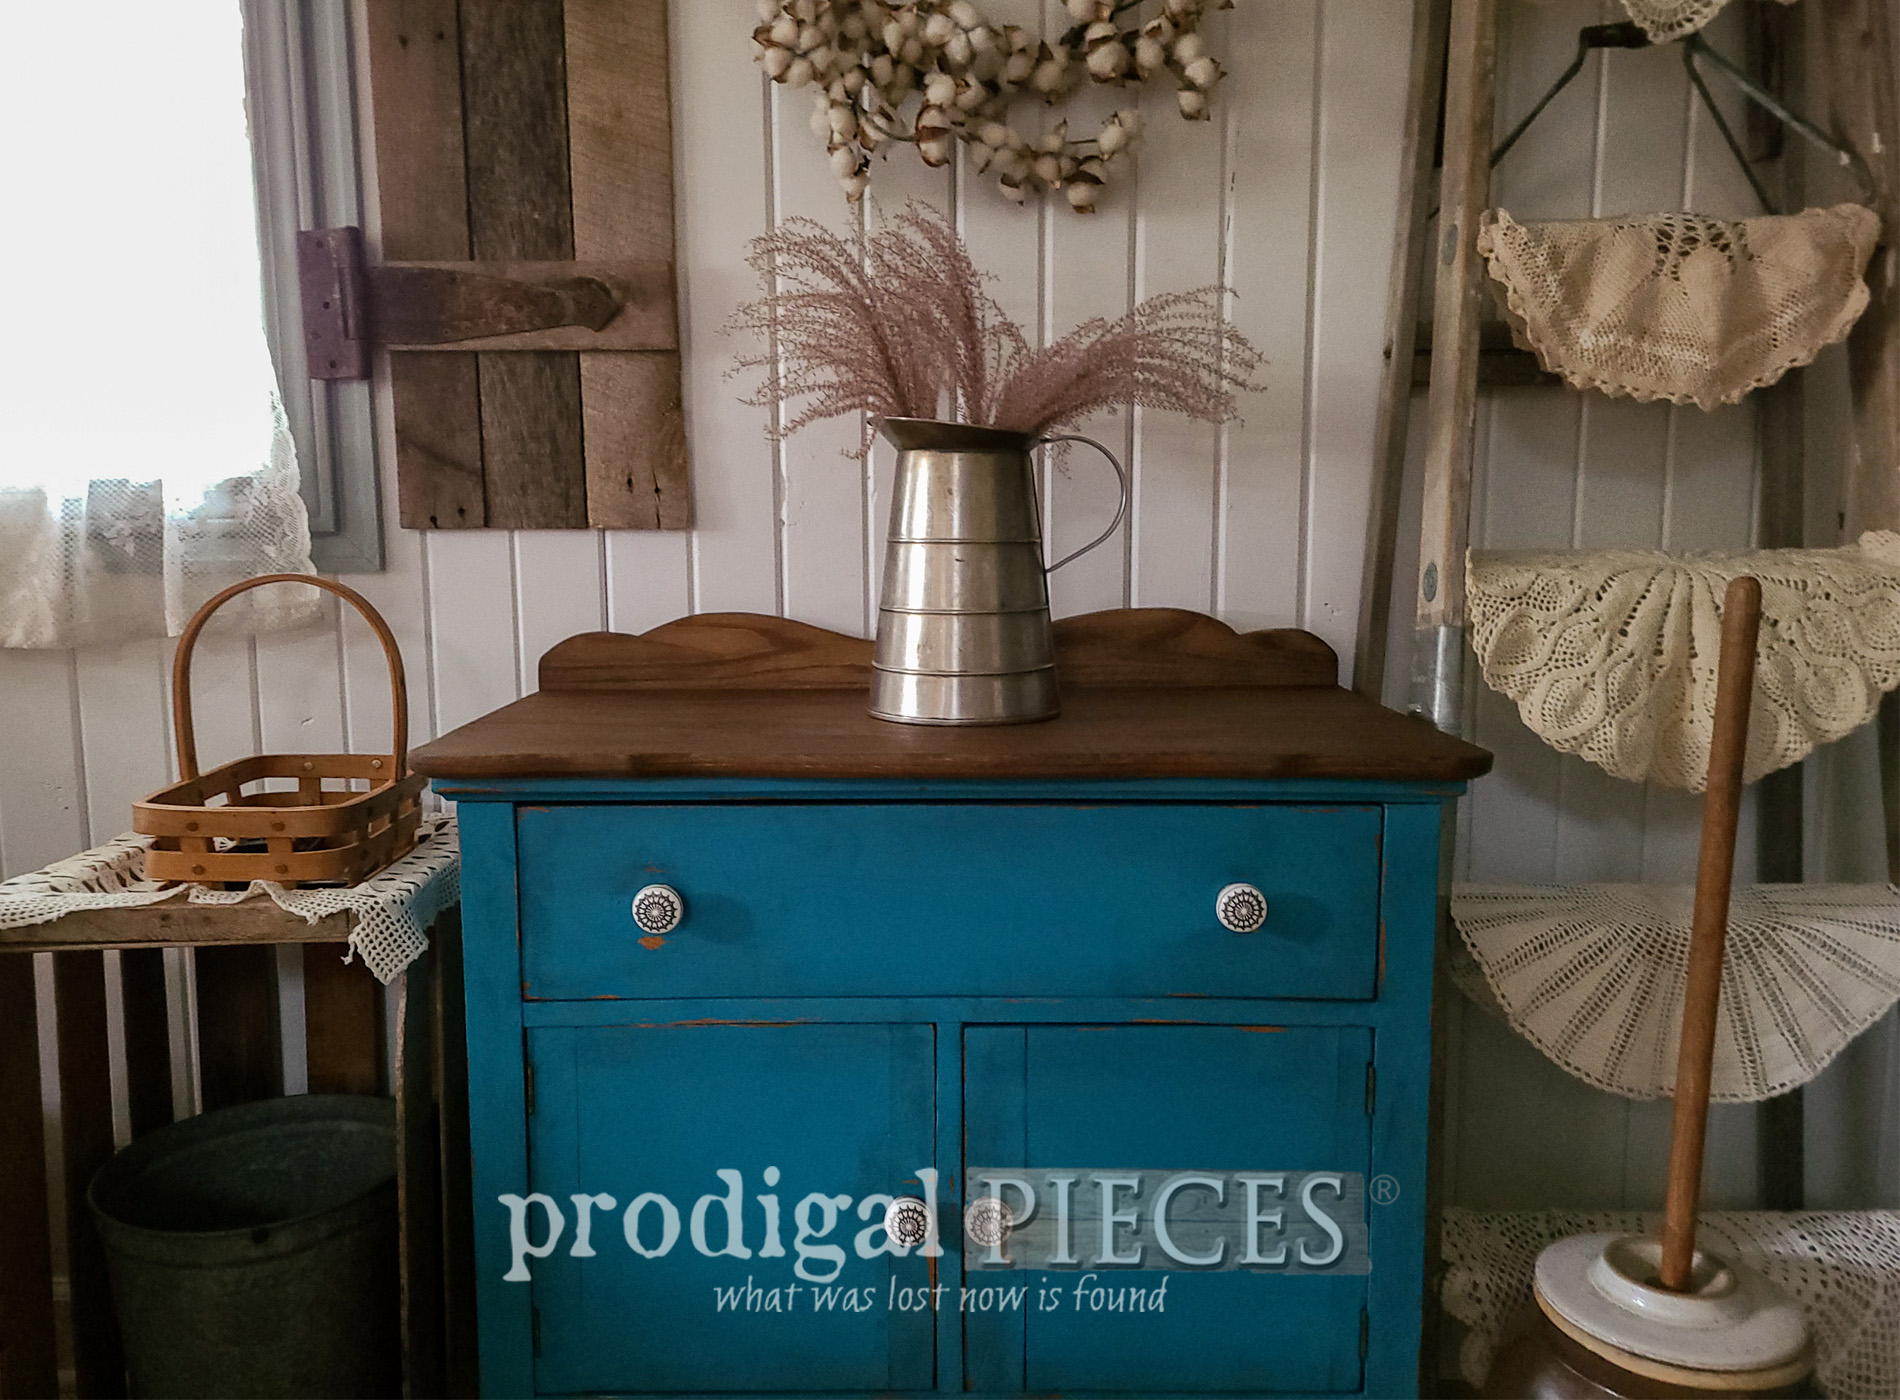
Finally, here is my farmhouse wash stand with a spunky new color and rustic vibe.


I'm so happy with the outcome. The damage has all been repaired, including sagging doors, loose stiles, and rails. aaaahhh...I think you can hear it say, "thank you". Do you love it too?


The inside makes it even more fun to tuck away linens, bedside essentials...you get the idea. I found the knobs in my stash that someone had given me a while back. They make the perfect statement and contrast.


Also, if you'd like to make this farmhouse wash stand your own, you can find it and more available in
my online store.


Likewise, help inspire others to give their furniture a fun new look. In addition, pin and share my farmhouse wash stand makeover.

Up next, I'll be tickling your taste-buds with these seasonal goodies. C
ome enjoy this tasty treat HERE.

Before you go, be sure to
sign up for my newsletter. Until next time!

 PINTEREST | EMAIL
While you're at it, here are more furniture fun like this farmhouse wash stand makeover: