Sometimes you fall in love with a design style, and it may seem out of reach, but it isn't. One of the popular trends right now is modern farmhouse chic. Crisp lines with touch of rustic. Today is
Furniture Fixer Upper day and I'm excited to share with you an simple update that turned this outdated piece into a farmhouse chic cabinet. Be sure to read through to see what my blogger friends have created for you too.

I choose this cabinet because I had a custom request for a client for a piece to fit in a kinda awkward spot in their home. They had limited space and didn't want it to be too tall, but also have drawers so their children could place their things in it.

So, you can imagine how delighted I was when I just started shopping and found this one that fit, but also had enough drawers. SCORE!!
There was a bit of visual wear to the bottom front inlays and minor imperfections here and there. Otherwise, we are good to go.

The inside of the drawers weren't exactly pretty, but a simple solution will fix that as well.

TIME TO START
This original color scheme didn't match the client's current decor, so first order of business was to use my sander and take off the finish on the inlay. Here is a side-by-side comparison after sanding one down.

Next step is to stain the inlays with a new color. In trying to match the client's current pieces in their home, I used Early American(
see on these pieces) and then a second coat of Provincial (seen
HERE) to get a rich color.

TIME FOR PAINT
Once the stain cured, it was time to paint the rest. When working on details, I like to avoid using tape and feel a steady hand works better.


When I got to the point of working on the drawers, I used my brush to make quick work of it. Oh, and in case you're wondering, I'm using the color Bleached Linen by Behr - the same color used
in these projects. I love it!
Next up is the hardware. It was a dull brassy color, but I chose to take it up a notch with some flat black spray paint by RustOleum. That's some good stuff, right there.

Last, but not least, to cover up those waffle board drawers. I typically use a wallpaper to do this job. However, because I wanted a bit of an industrial feel to this farmhouse chic cabinet makeover, I used this awesome Con-Tact Paper in Brushed Copper. Let me just say I love anything copper and my mind is reeling with the possibilities of this stuff!! More projects coming soon...promise. tee hee hee.

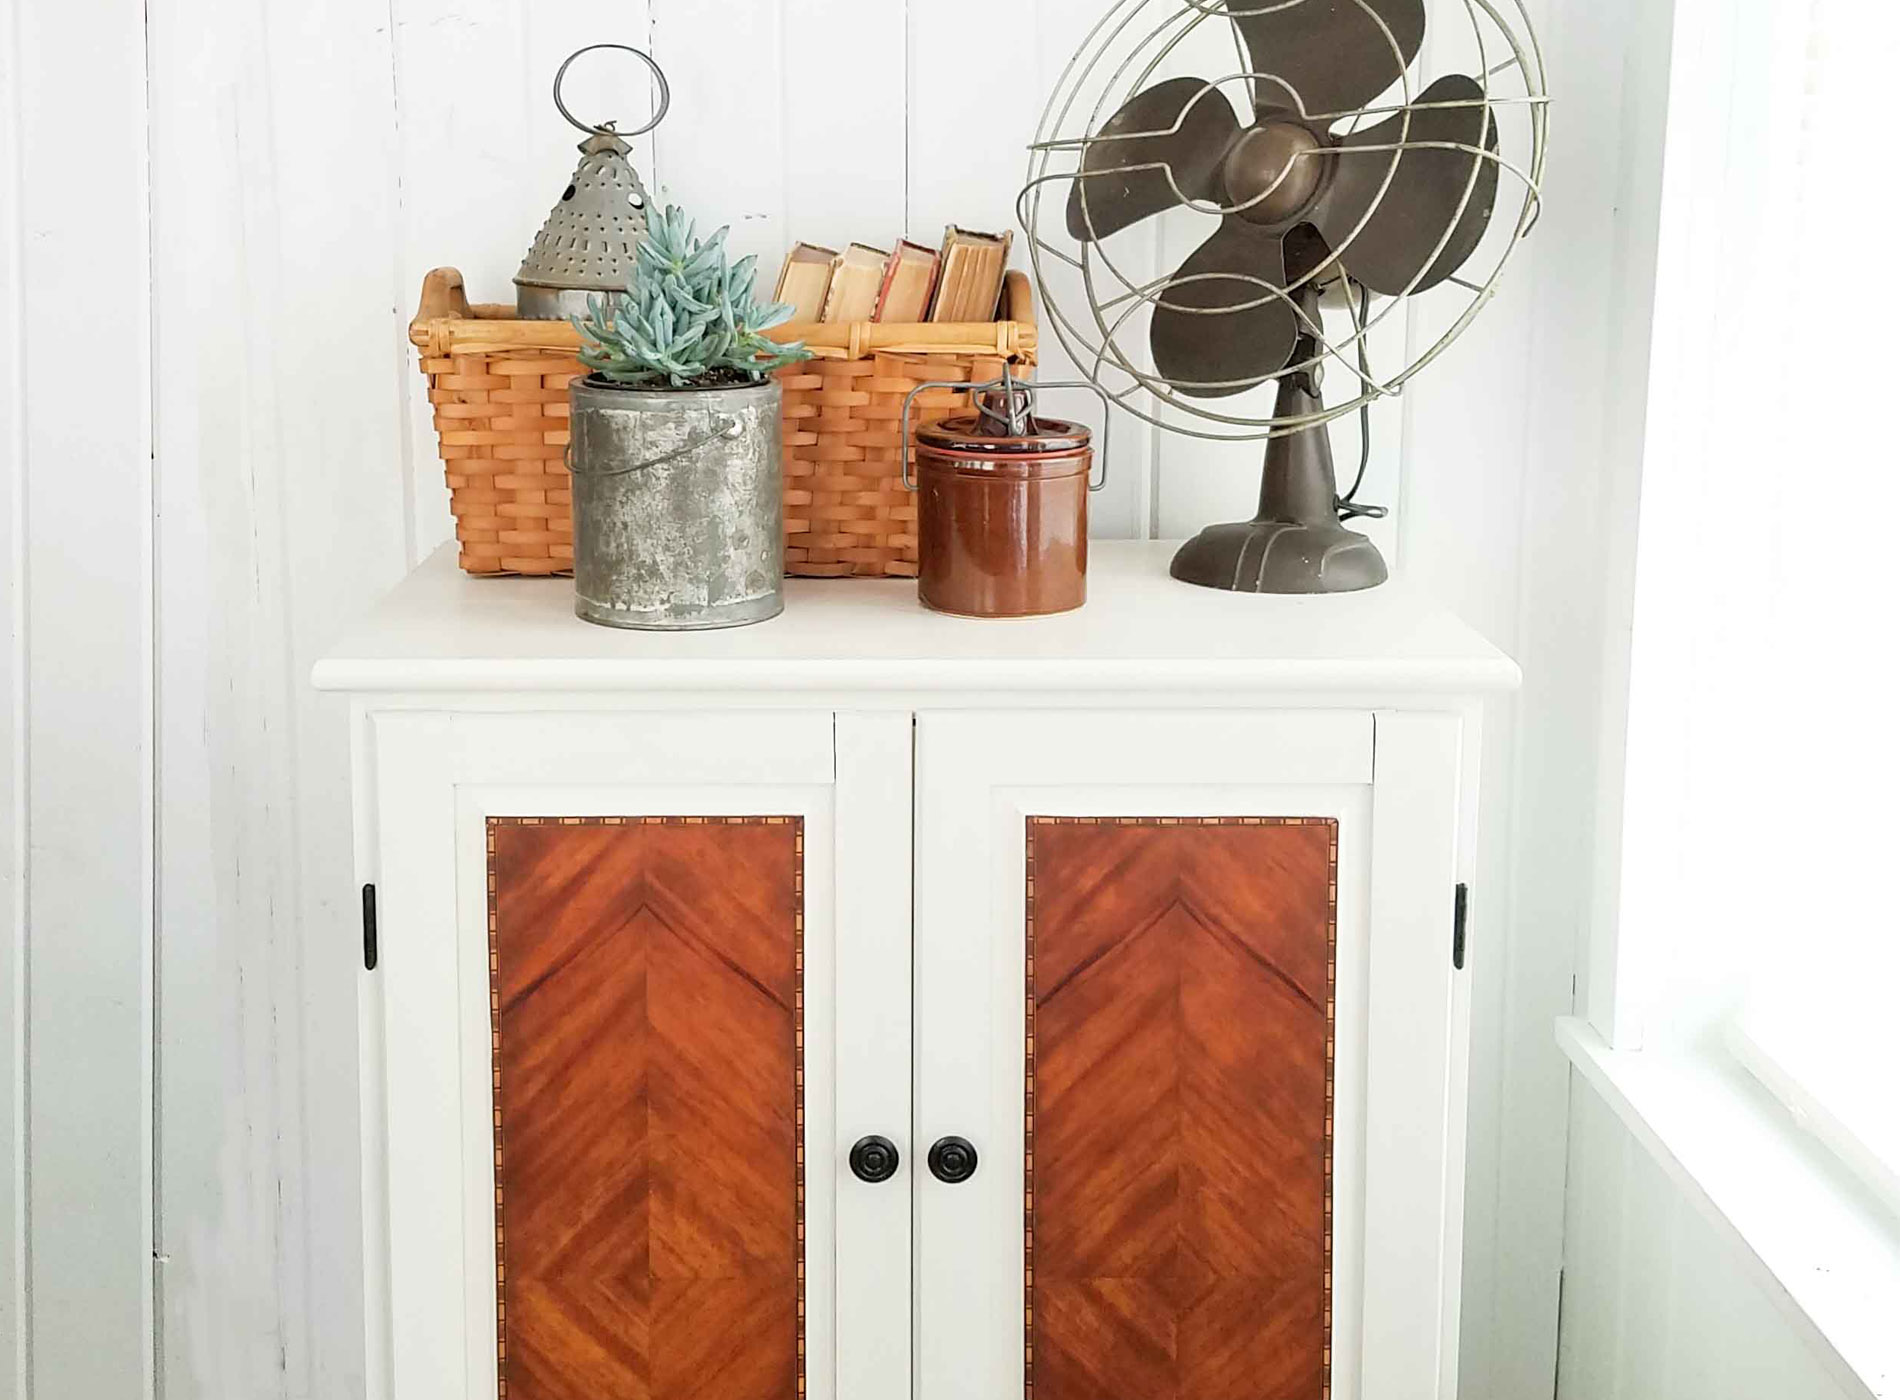
THE REVEAL
After that, we're all done and ready for the new owner. Here's what she had to say, "Oh my GOODNESS!!!! I ADORE IT LARISSA!!!! Ekkkkk......Thank you so very much!" That made me giggle. Thank you, Karen!

I must say, I love the refreshed new look and that the inlay was given a deeper tone.


My favorite part is the inside where I added some whimsy for her kids using my Old World Numbers stencil. I've used it with much success
in these makeovers.

And then the fun coppery good drawers. mmmm....


Likewise, I'd love it if you would pin a share this project to inspire others.

Up next, I have more projects and fun for you like this empire chest.
Head here to see and be sure to
sign up for my newsletter. Until next time!


 PINTEREST | EMAIL
WAIT!! You don't want to miss these awesome furniture flips by my friends!

- Petticoat Junktion
- Girl in the Garage
- Just the Woods
- The Interior Frugalista
- Confessions of a Serial DIYer
Also, more projects like this farmhouse chic cabinet makeover:


 I choose this cabinet because I had a custom request for a client for a piece to fit in a kinda awkward spot in their home. They had limited space and didn't want it to be too tall, but also have drawers so their children could place their things in it.
 So, you can imagine how delighted I was when I just started shopping and found this one that fit, but also had enough drawers. SCORE!!
There was a bit of visual wear to the bottom front inlays and minor imperfections here and there. Otherwise, we are good to go.
So, you can imagine how delighted I was when I just started shopping and found this one that fit, but also had enough drawers. SCORE!!
There was a bit of visual wear to the bottom front inlays and minor imperfections here and there. Otherwise, we are good to go.
 The inside of the drawers weren't exactly pretty, but a simple solution will fix that as well.

 Next step is to stain the inlays with a new color. In trying to match the client's current pieces in their home, I used Early American(see on these pieces) and then a second coat of Provincial (seen HERE) to get a rich color.


 Last, but not least, to cover up those waffle board drawers. I typically use a wallpaper to do this job. However, because I wanted a bit of an industrial feel to this farmhouse chic cabinet makeover, I used this awesome Con-Tact Paper in Brushed Copper. Let me just say I love anything copper and my mind is reeling with the possibilities of this stuff!! More projects coming soon...promise. tee hee hee.

 I must say, I love the refreshed new look and that the inlay was given a deeper tone.

 My favorite part is the inside where I added some whimsy for her kids using my Old World Numbers stencil. I've used it with much success in these makeovers.
 And then the fun coppery good drawers. mmmm....

 Likewise, I'd love it if you would pin a share this project to inspire others.
 Up next, I have more projects and fun for you like this empire chest. Head here to see and be sure to sign up for my newsletter. Until next time!

 WAIT!! You don't want to miss these awesome furniture flips by my friends!


