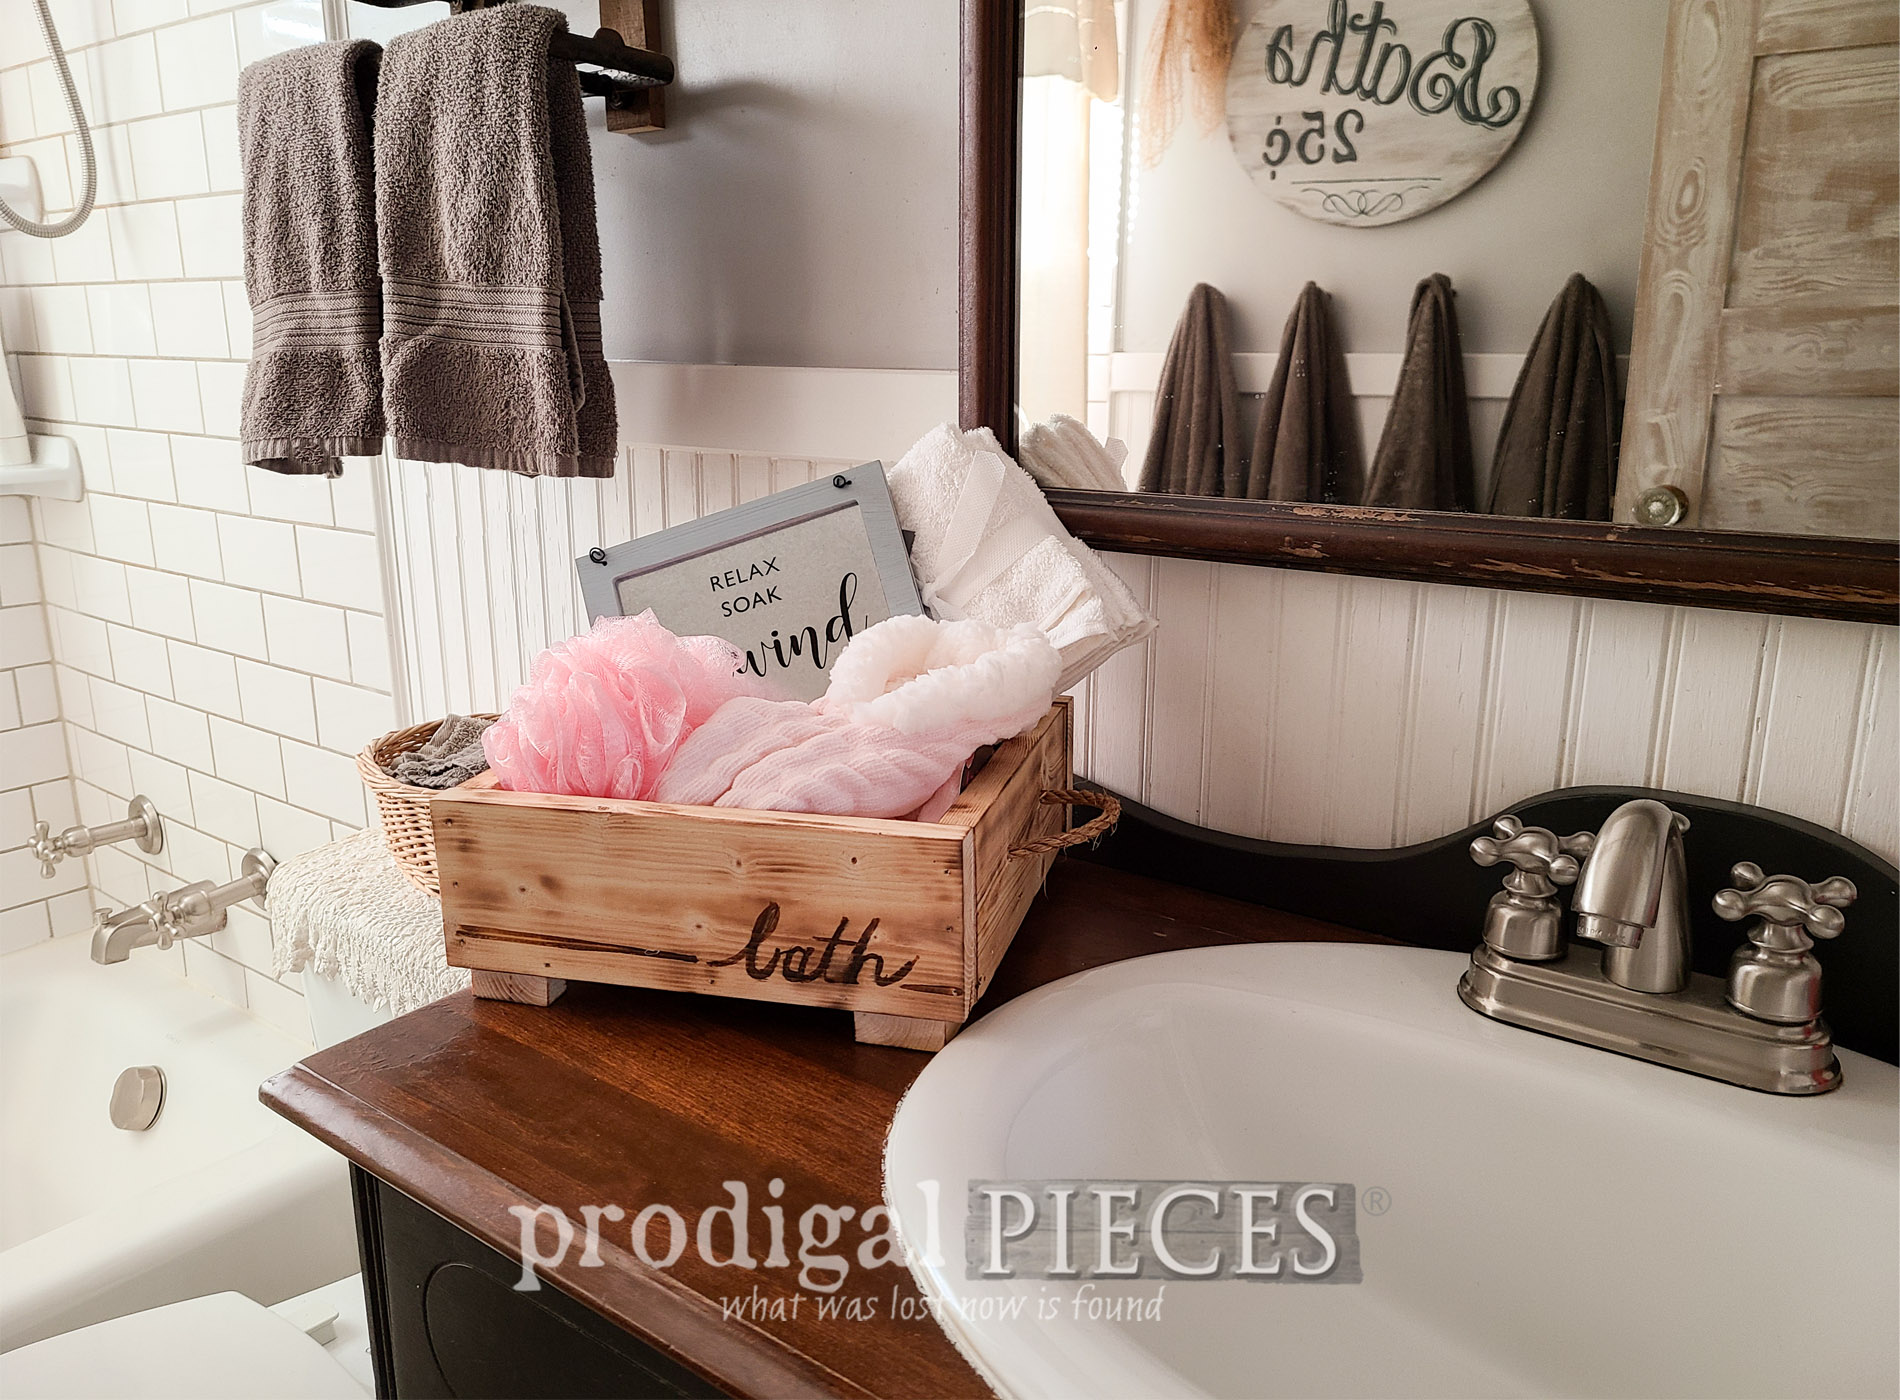
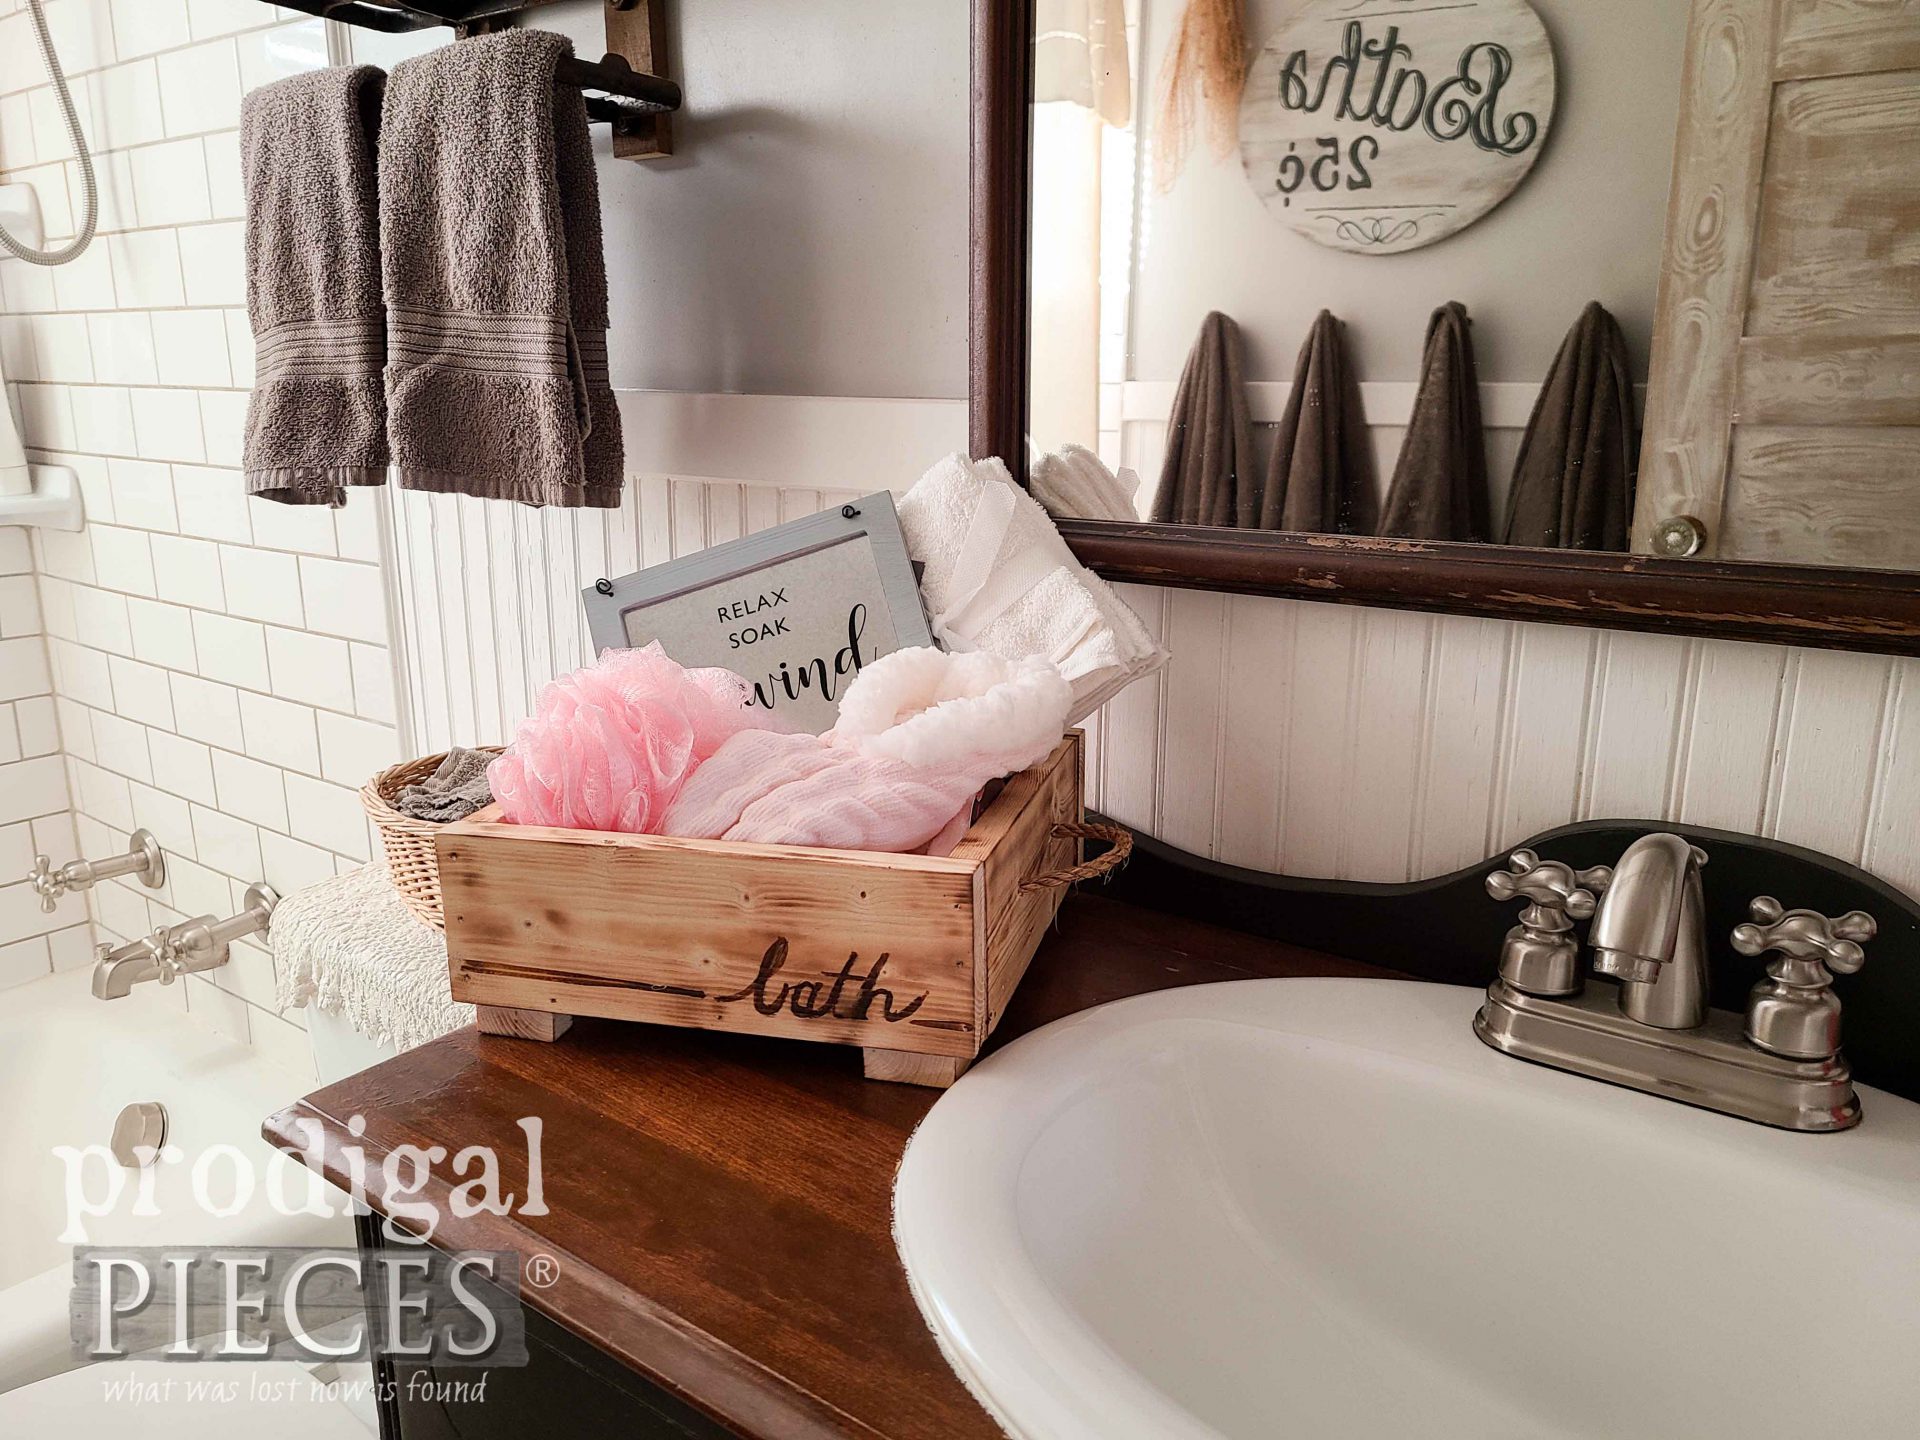
 Pssst...this will not only be done in less than a day, you will get oohs and aahs from those who receive it. It makes it fun to give and fun to make.
DIY TIME
Now, before you blow me off and think to yourself, "nah...I can't do woodworking". If you can put toy blocks together, you can build this. The best part is you can make this as fancy or as basic as your skill level dictates. But, don't be afraid to stretch your boundaries. TERMS OF USE: If you want to create a gift box, you agree to the following: it cannot be shared or distributed for monetary gain in any way, it may not be modified in any way, and you may not claim the work as your own. Most important, here's a diagram of the basic pieces you'll need: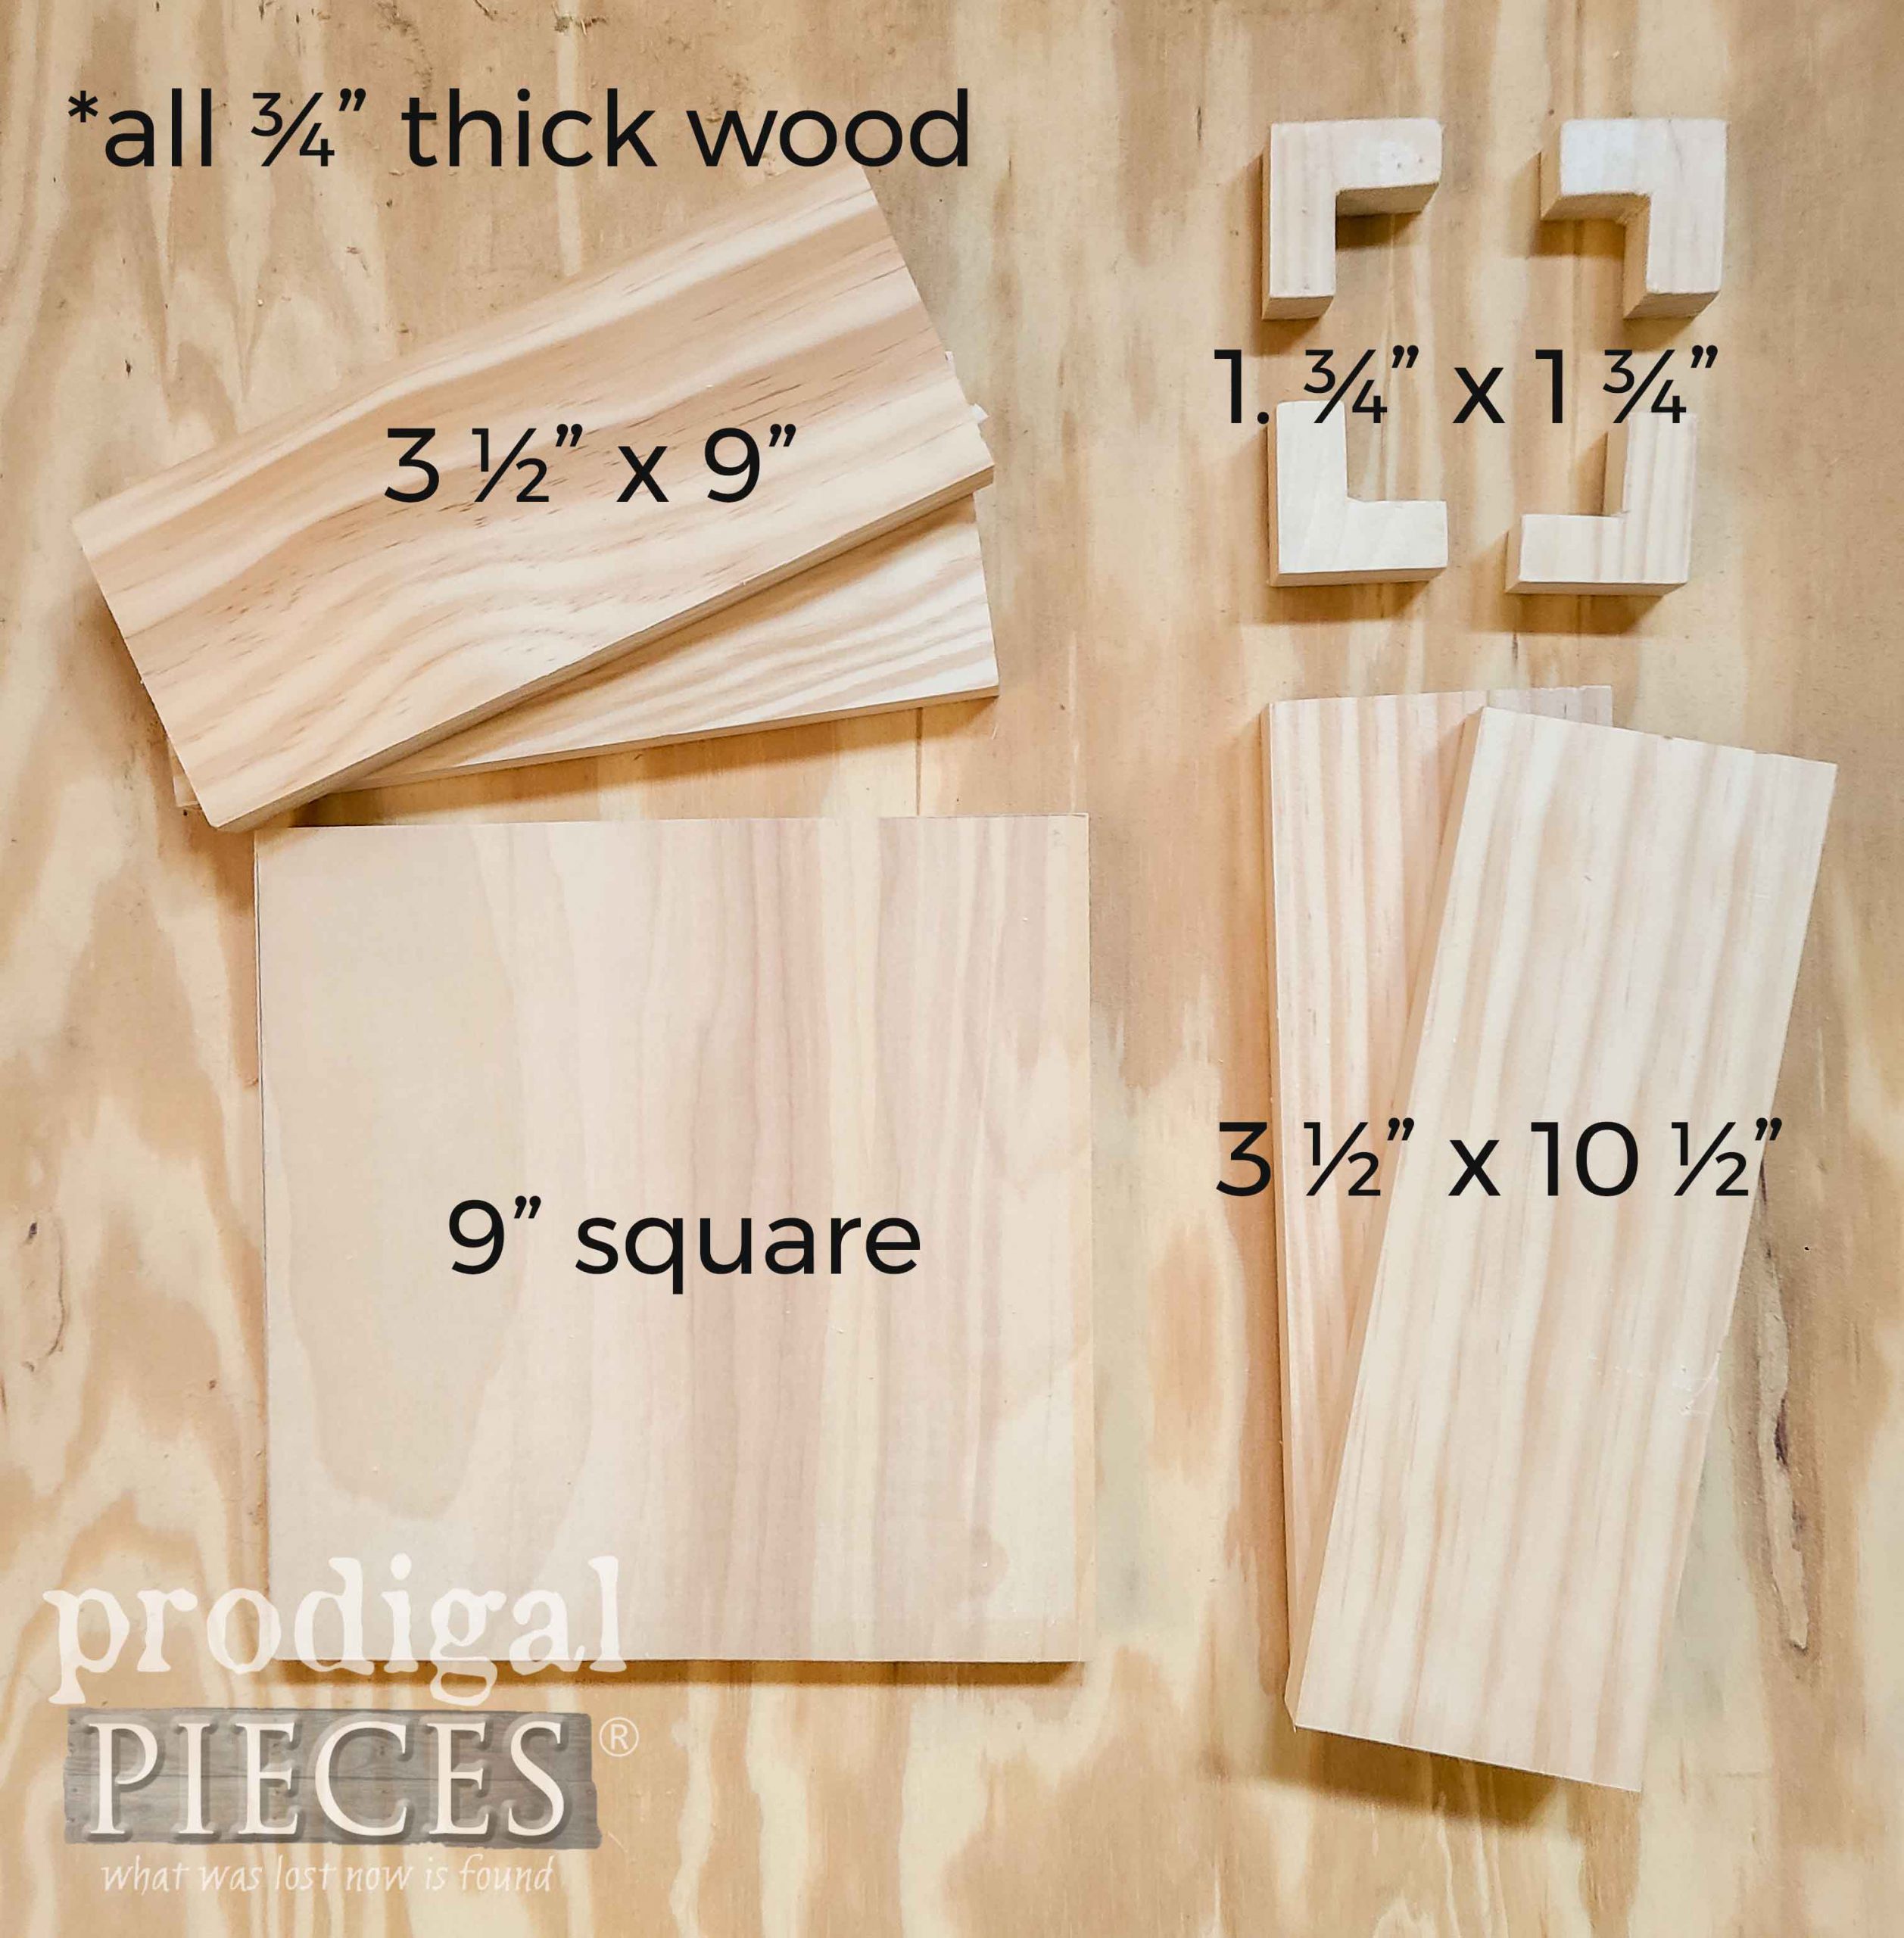
*post sponsored by HomeRight (see full disclosure)
My design is using heart pine and basic pine as well as a piece of plywood as base. However, you can use any species of wood you want. For costs sake, pine is the most affordable and is better than using all plywood (though plywood can work too). Also, I made a square box. Feel free to make rectangular, or any other shape your skills allow. BONUS: most big box stores will cut the wood for you if you ask, and it's free.Tools & Supplies:
- 1 - 9" square of wood ( I used scrap cabinet-grade ply I had on hand)
- 2 - 3 ½" W x 9" L boards
- 2 - 3 ½" W x 10 ½" L boards
- 4 - 1 ¾" L x 1 ¾" W feet (optional) These could be basic squares, L-shaped like mine, or leave them off, if you prefer.
- HomeRight Quick Finish Sprayer
- HomeRight Small Spray Shelter
- Wagner Heat Gun (optional, but oh so fun)
- HomeRight Turn Table
- paint or stain of choice
- extras - rope, bin pulls, etc.
- brad nailer (or screws or finish nails)
- 1 ½" brads
- wood glue
- ammonium chloride(optional)
STEP 1
First, decide whether or not you will be using a nailer or screws or nails. If not using a nailer, you will need to pre-drill holes on the bottom edge of your side pieces. This will prevent splitting. Then, we use the wood glue to add a bead to the bottom edge of one of the 9" boards.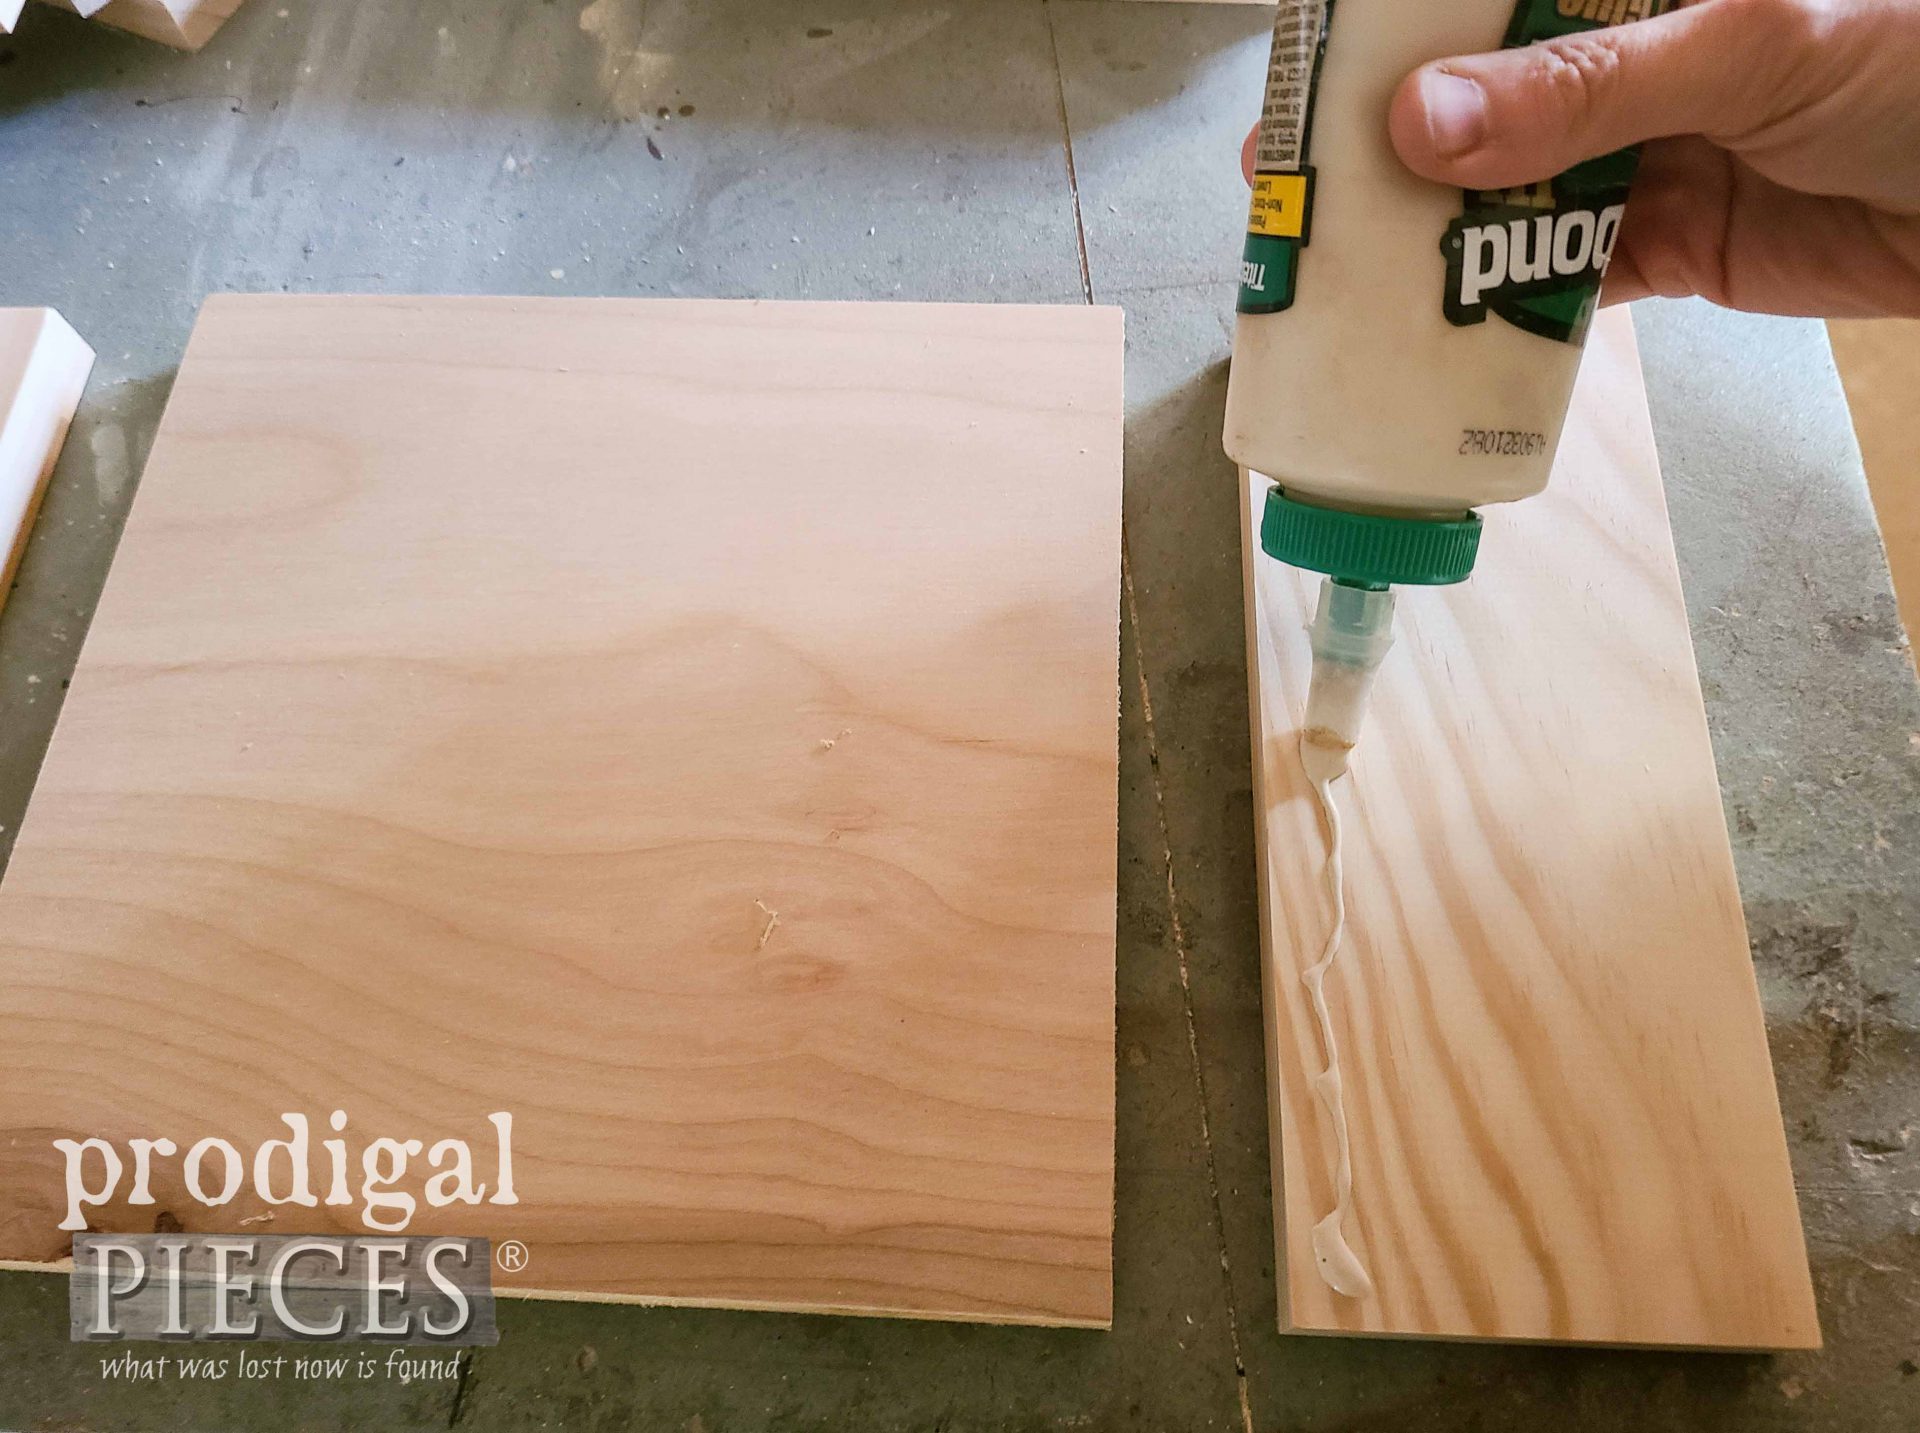
STEP 2
At the same time, make sure you're on a flat surface and attach the short sides first. I'm using my brad nailer and brads. Next, attach the long sides to the bottom edge and short sides with glue and brads.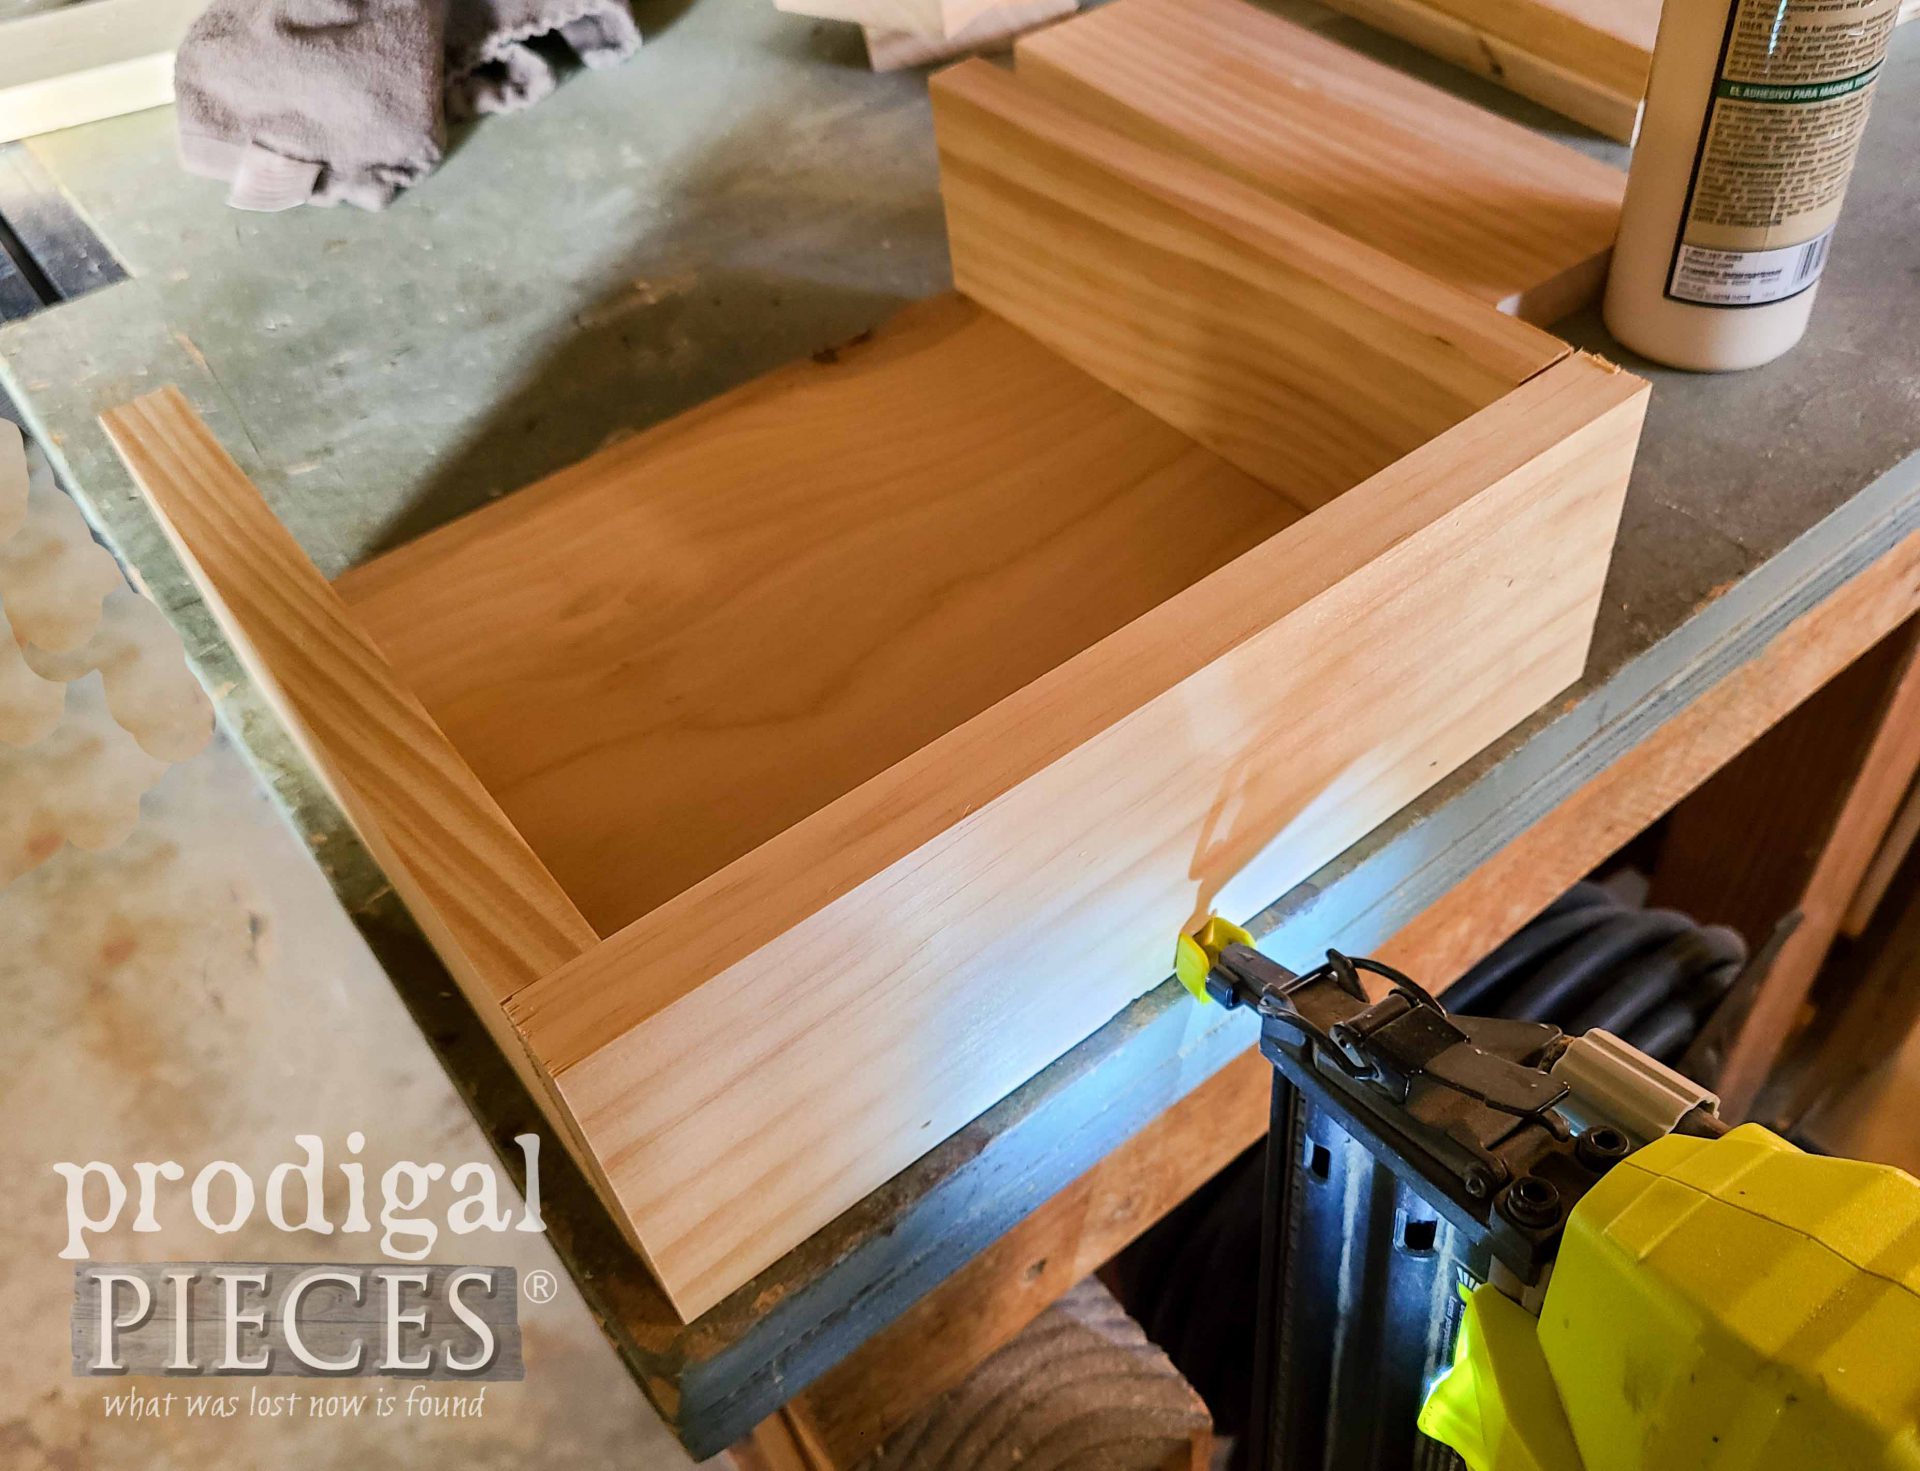
STEP 3
At this point, you can call it finished. However, I like to add a little height to my DIY wooden gift boxes. This is when you can add your feet with wood glue only or add brads/screws to make them more secure. Aren't they cute?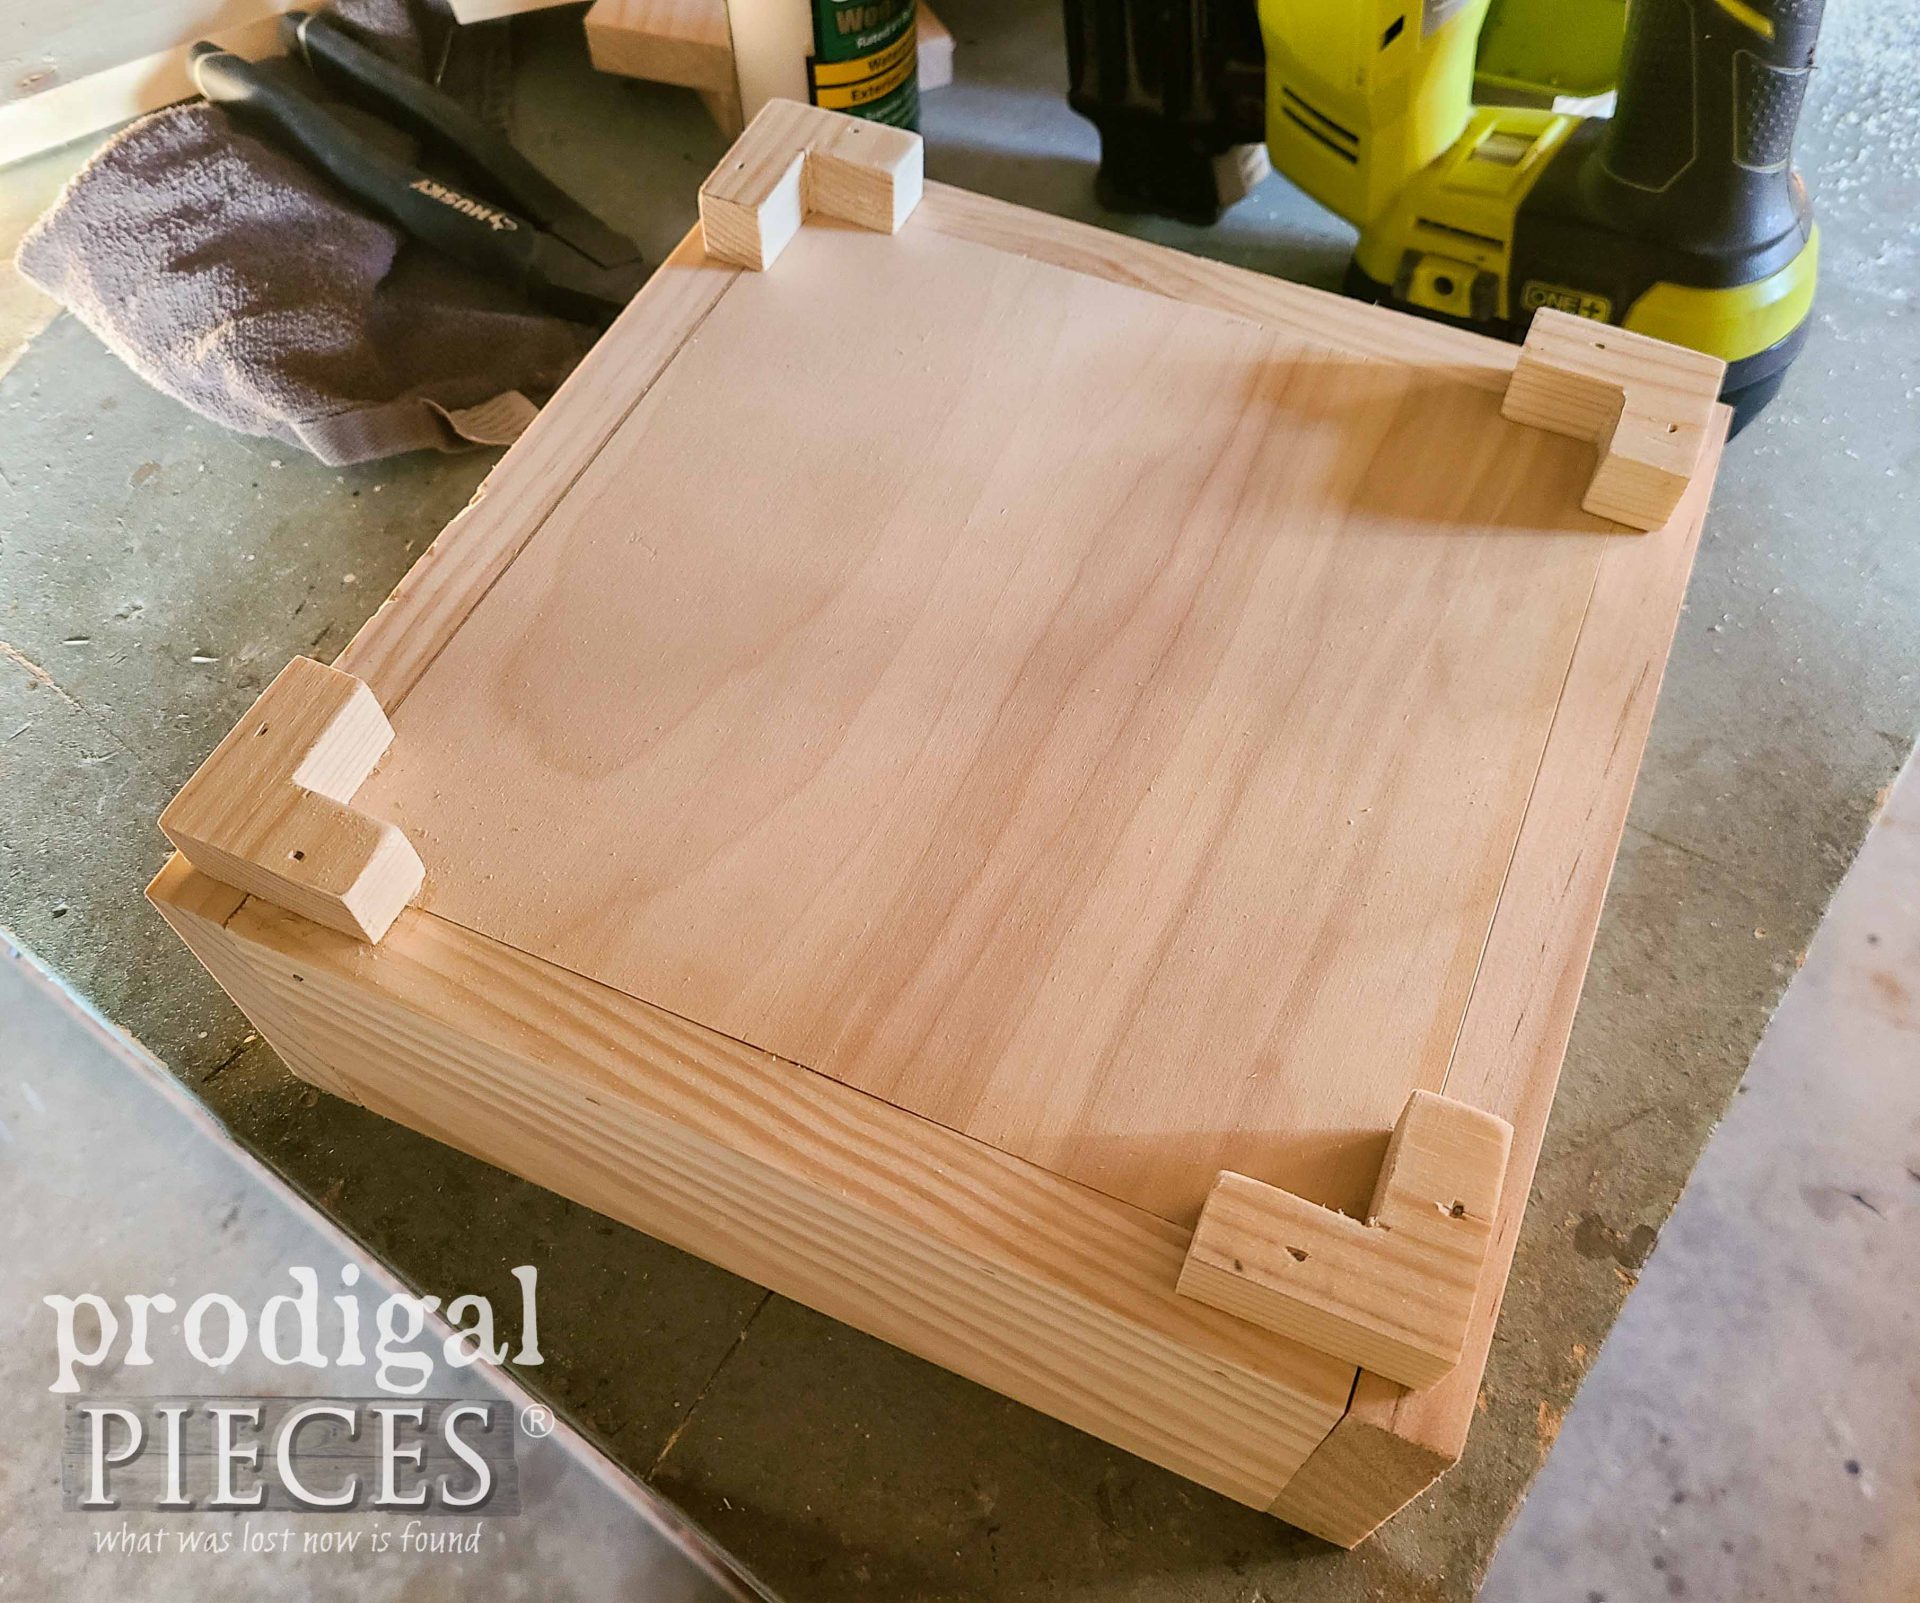
STEP 4
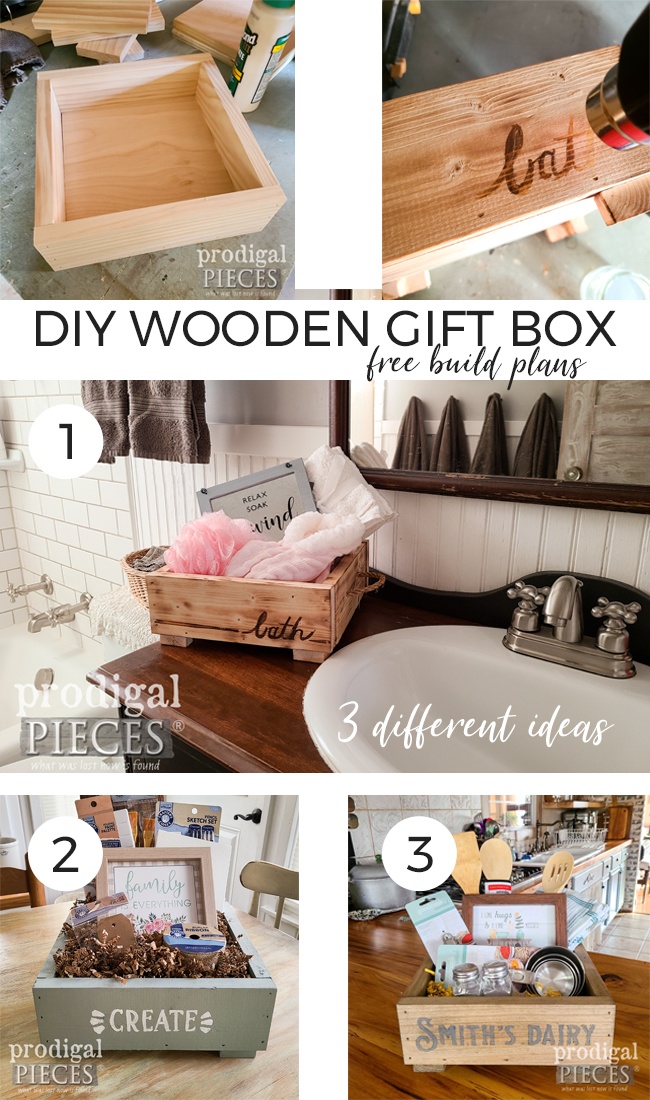
Our box is ready for the next fun step! You can choose paint, stain, or leave it natural. As I mentioned earlier, I have 3 different finishes to show you. Initially, I'll show you a fun technique using a heat gun. This is when I'll use the basic pine, knots and all. I heat up my heat gun and use it to lightly burnish the wood.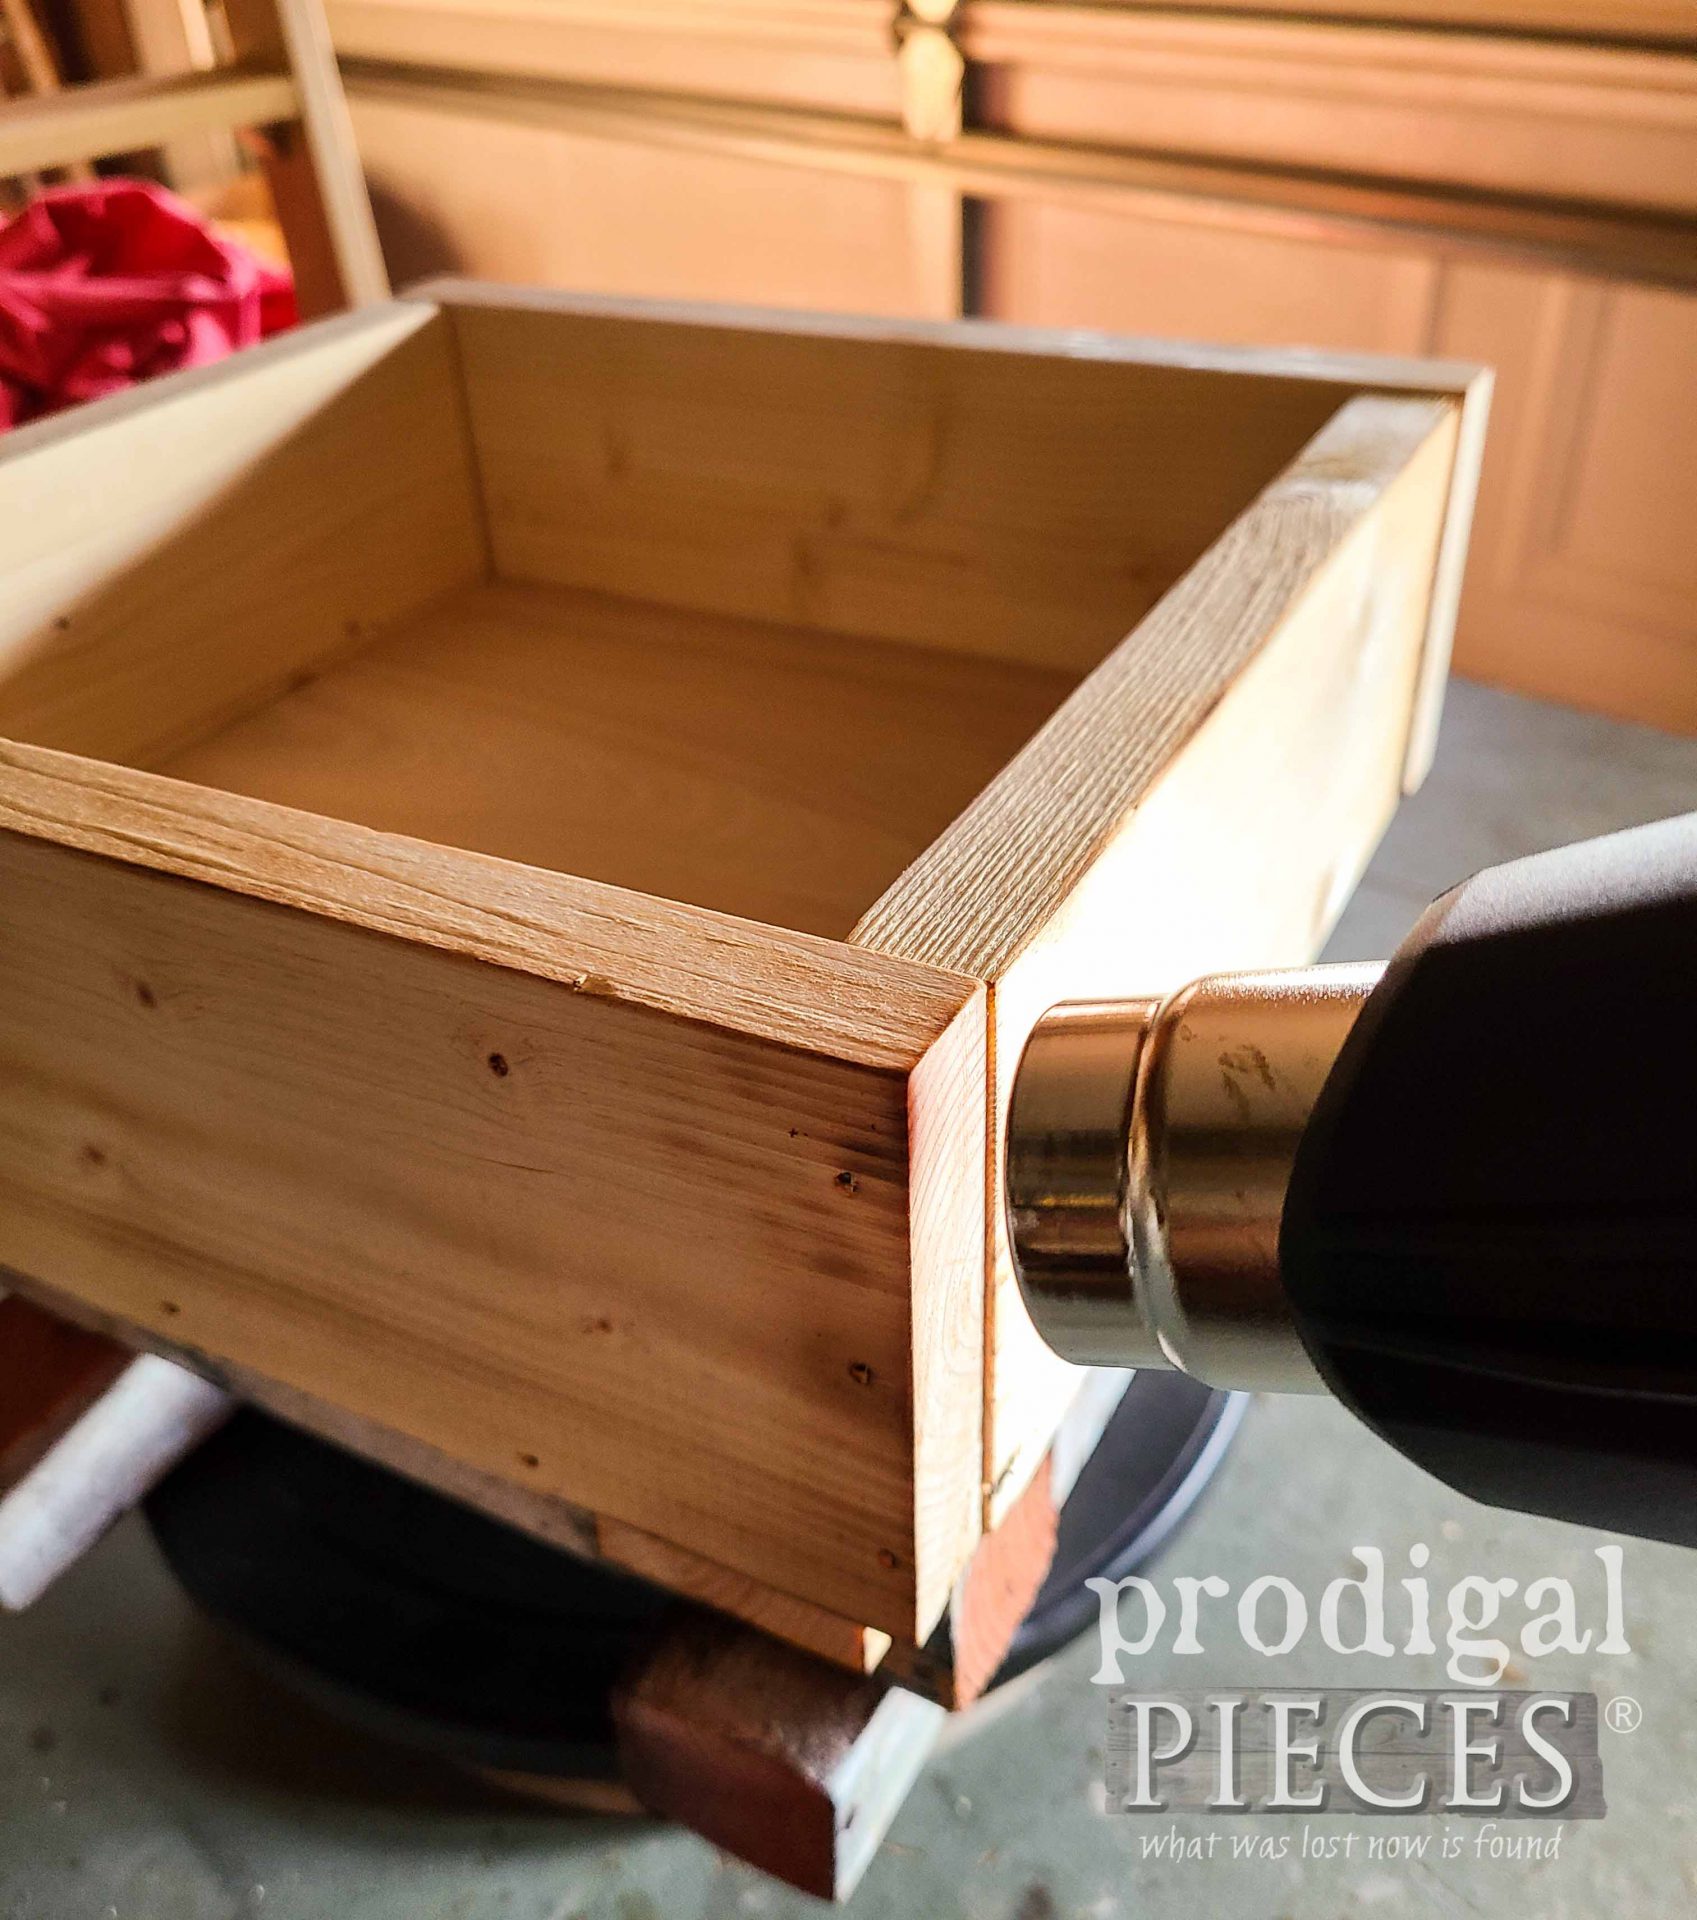 The heat scorches the grain accenting it. Specifically, I like to focus on the corners and edges for an aged appeal. For added bonus, I wanted to put a bit of typography. In this past project, I demonstrate how to use Ammonium Chloride to create works of art. Check it out...it's fun!
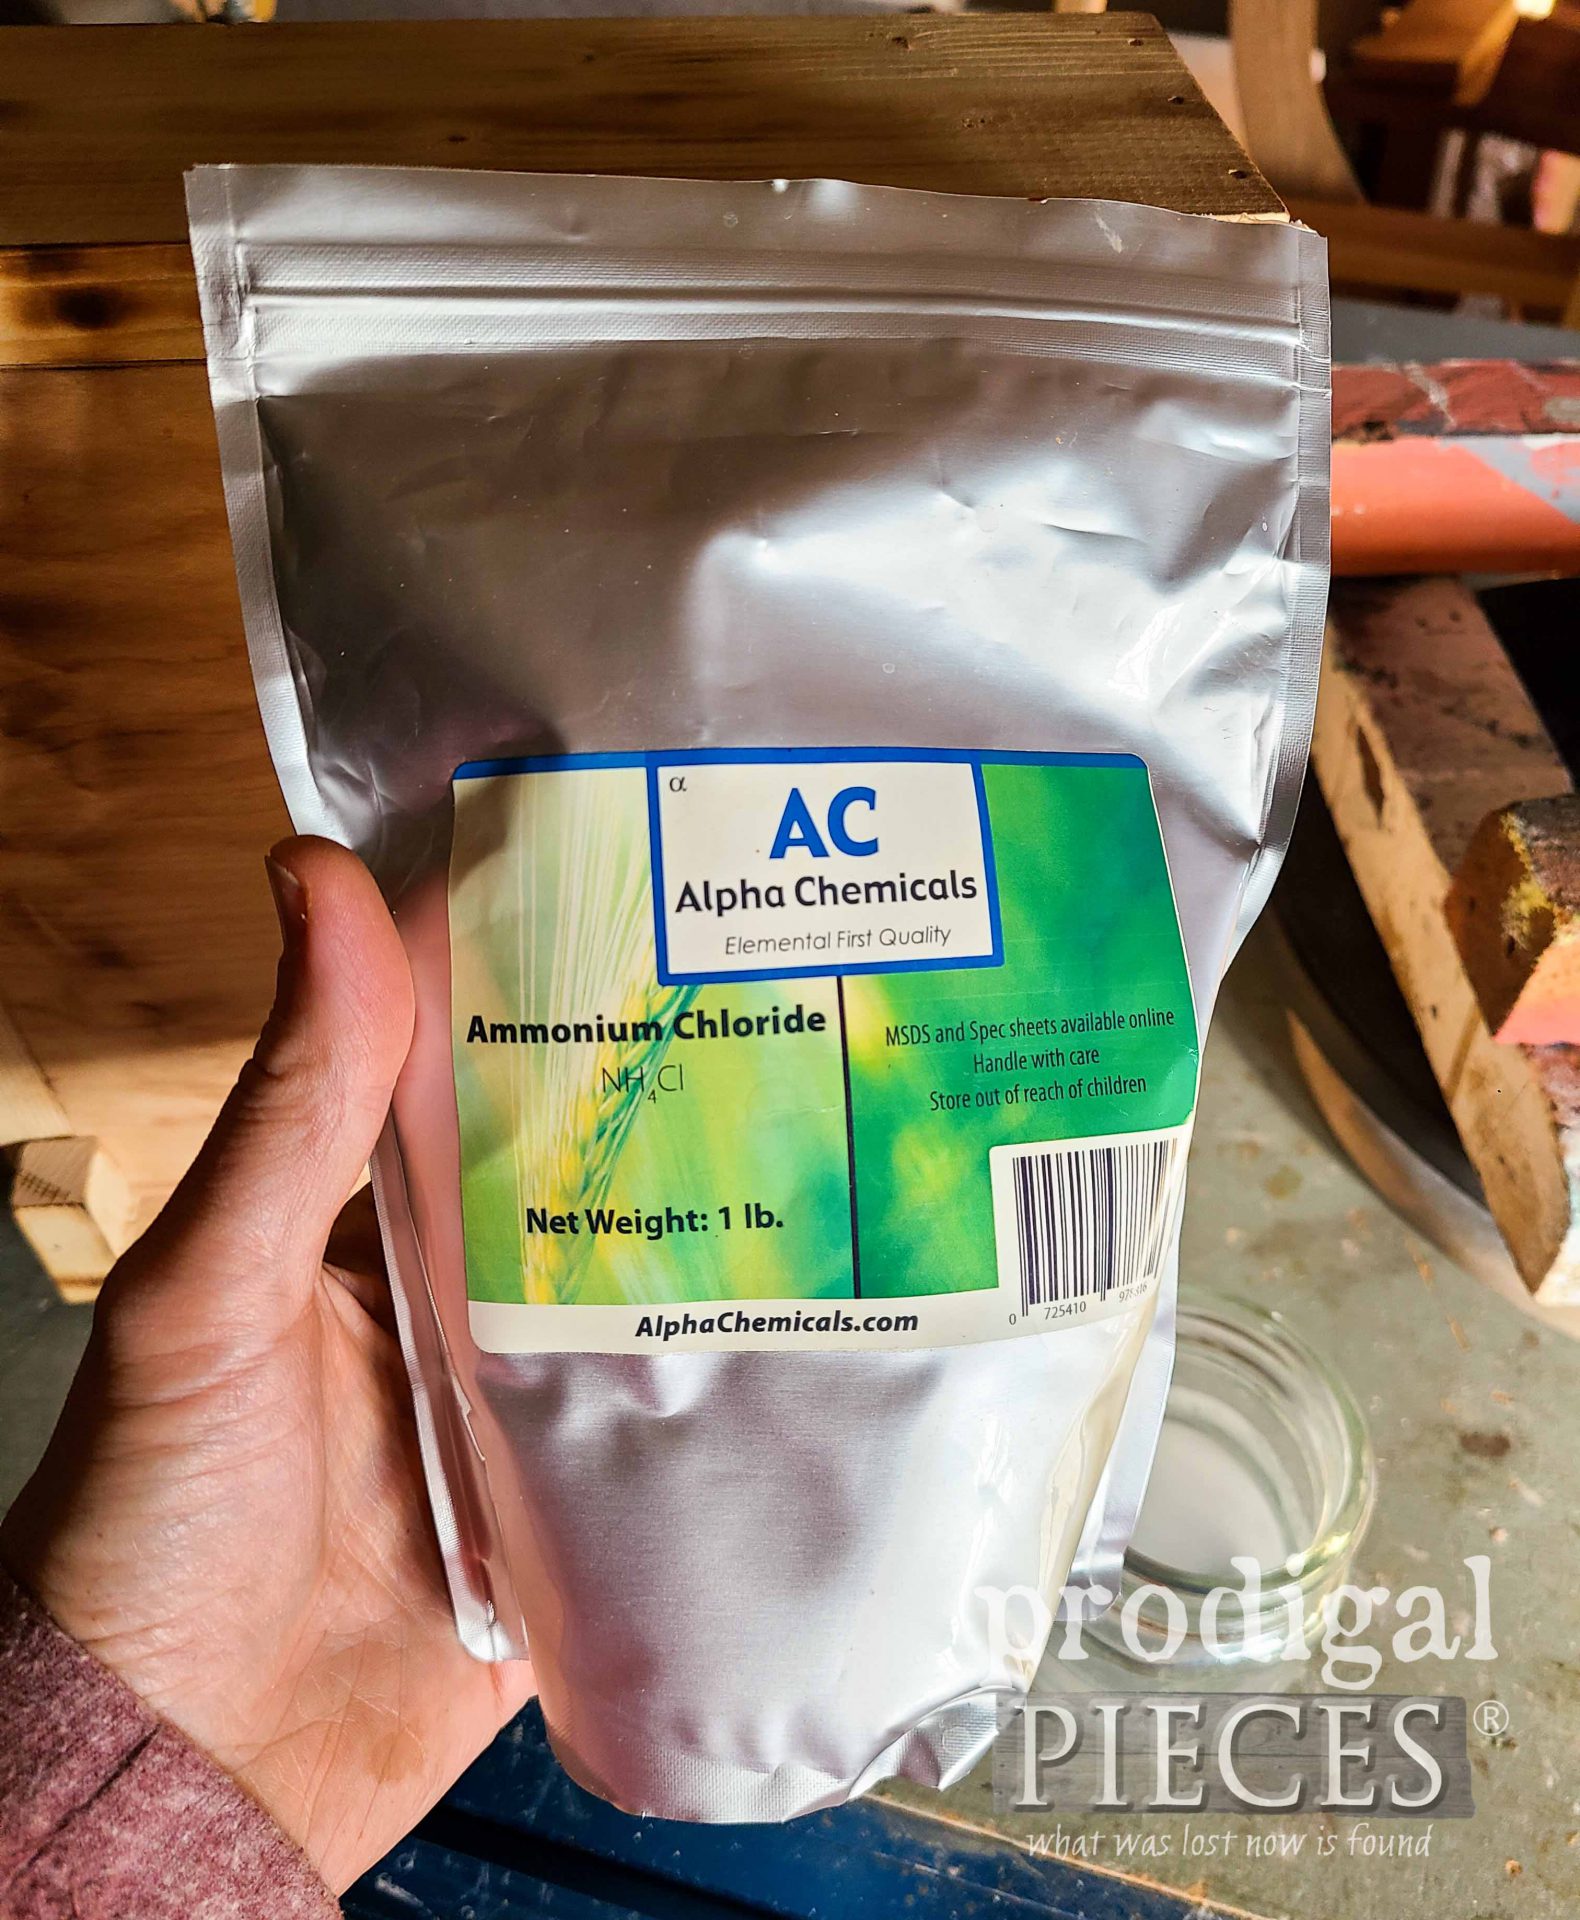 Simply dissolve 1 T into ¼" cup water. Then, brush on the wood for your own custom design. Use the heat gun to burn the chemical. I choose to use the word "bath".
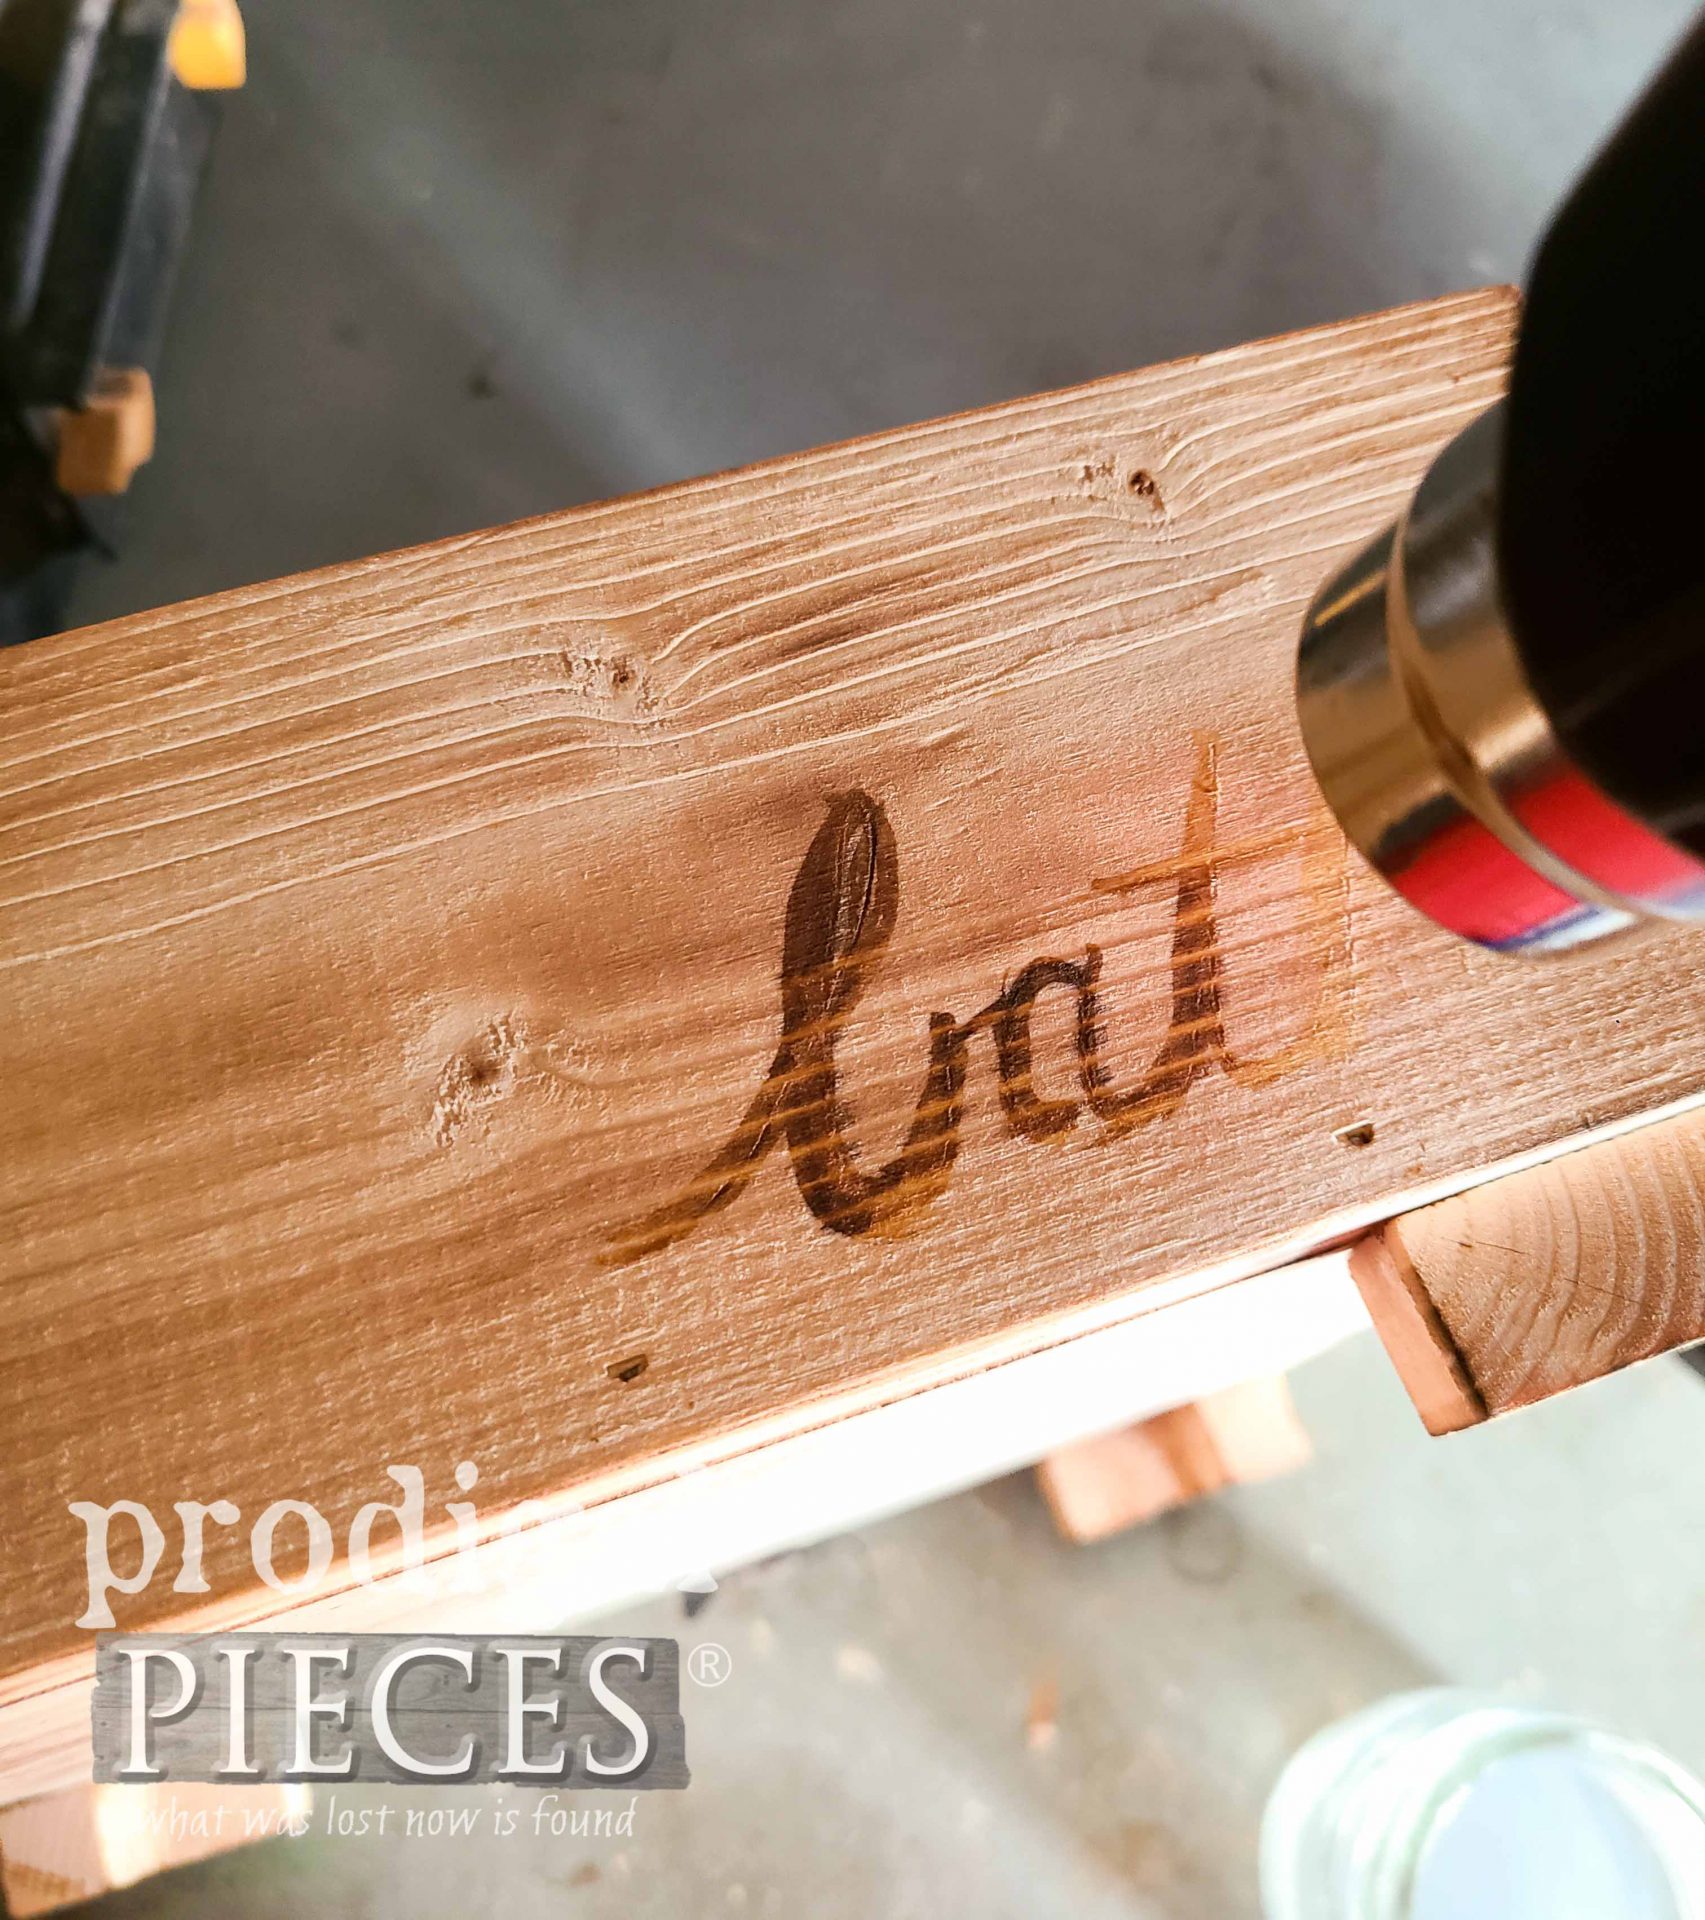 In addition, you can use this to stamp on a logo and create wonderful works of art. Plus, I use the heat gun to remove paint, old caulk, and even bend metal.
OPTIONAL STEP 5
It's at this point you can go crazy with details. For instance, you can also stain. Using the heart pine box and my HomeRight Quick Finish Sprayer along with my Small Spray Shelter and Turn Table. Then, I filled it up with reactive stain and knocked it out in 5 minutes. Really!! See it in action in this video below...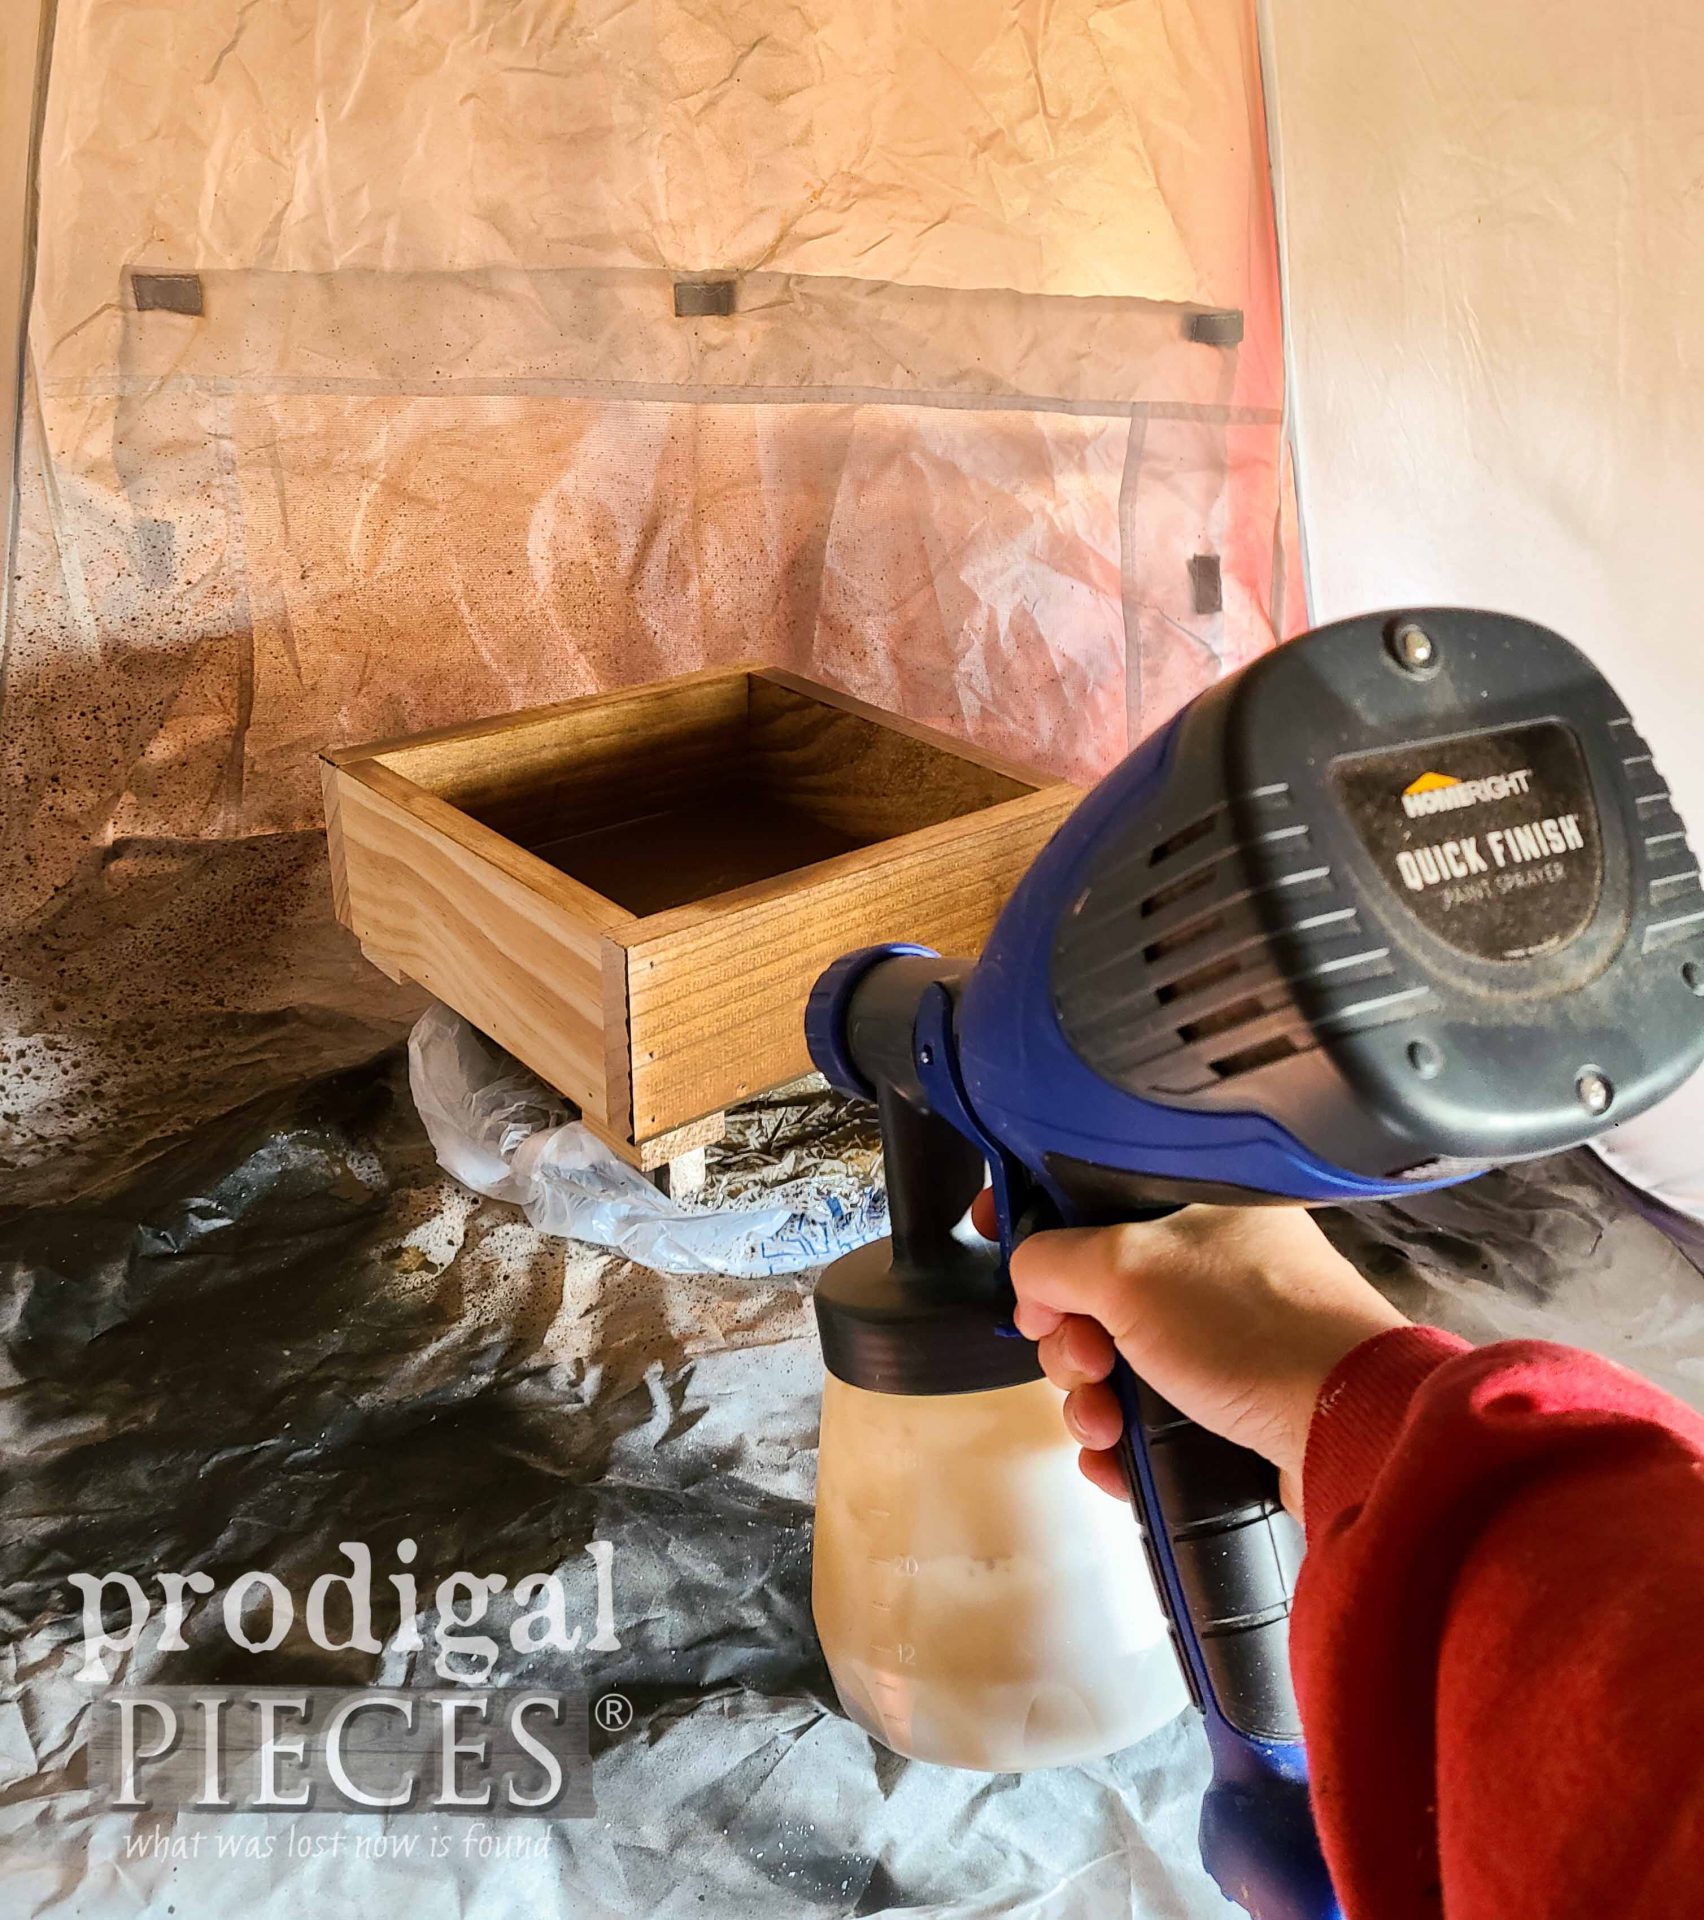
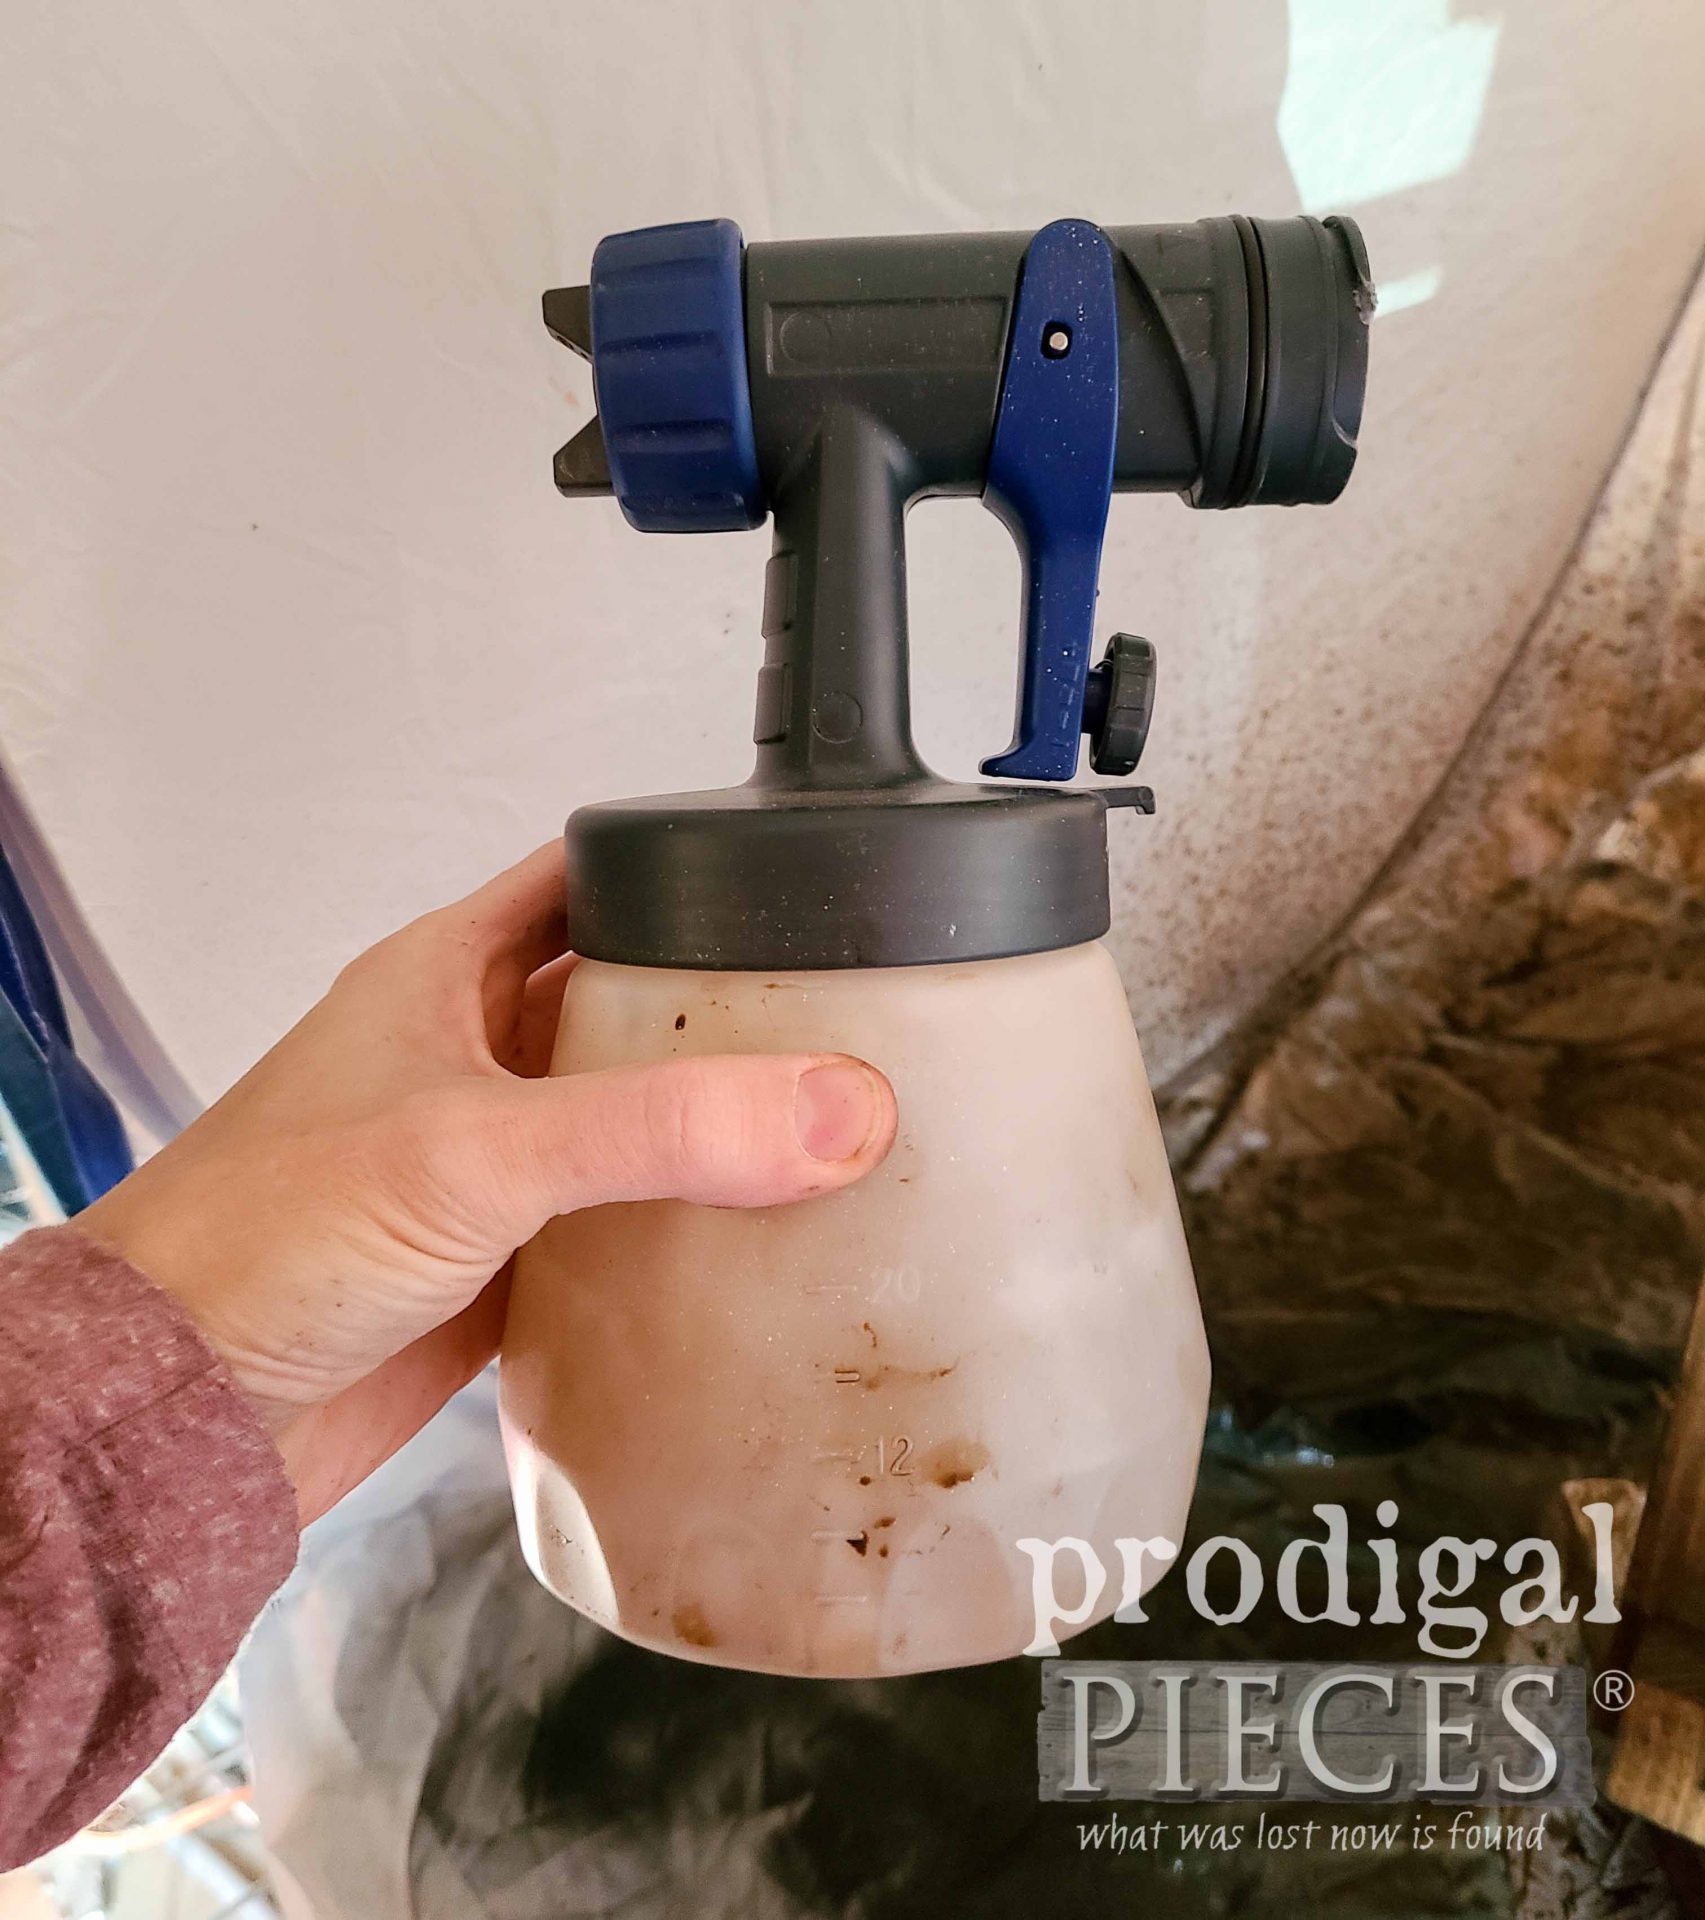
 As soon as I'm done, I pop off the canister for a quick clean and now I'm ready for the next DIY wooden gift box.
OPTIONAL STEP 6
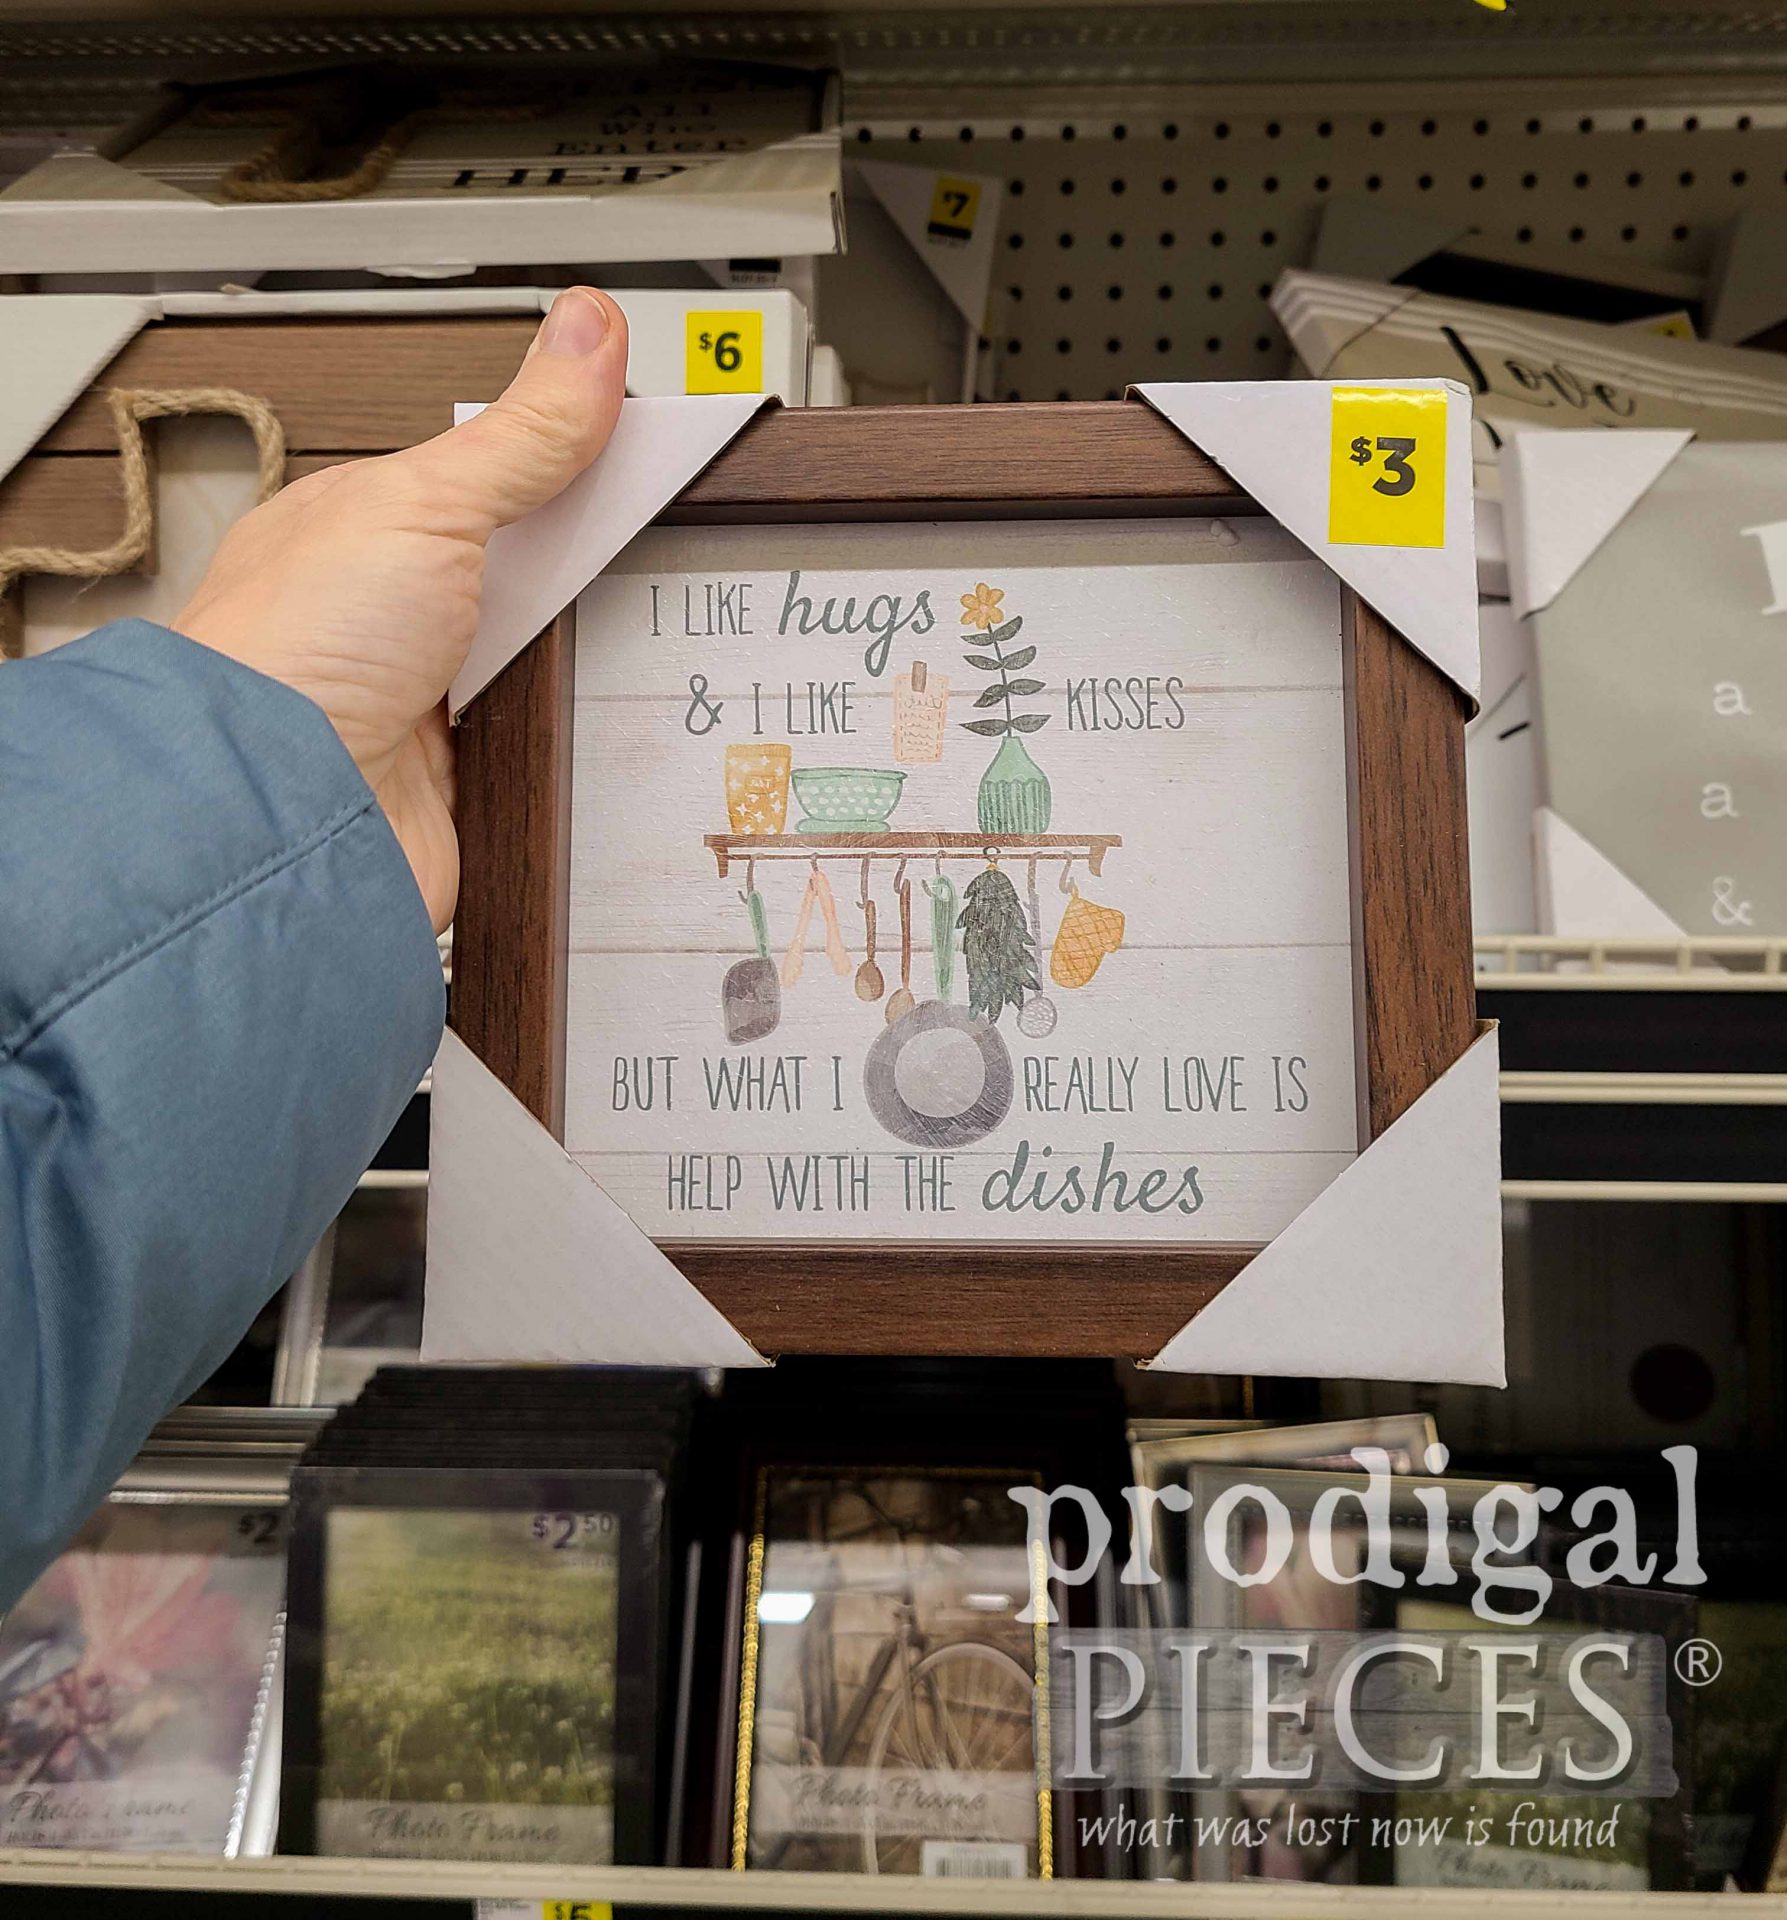
Of course, I couldn't walk away without showing you how to paint a gift box too, right? It's as simple as filling up the canister with paint (thinned per manufacturer instructions). First, I like to test flow on a piece of scrap or cardboard. Then, I have at it. My first coat is done in 5 minutes. {{happy dance}}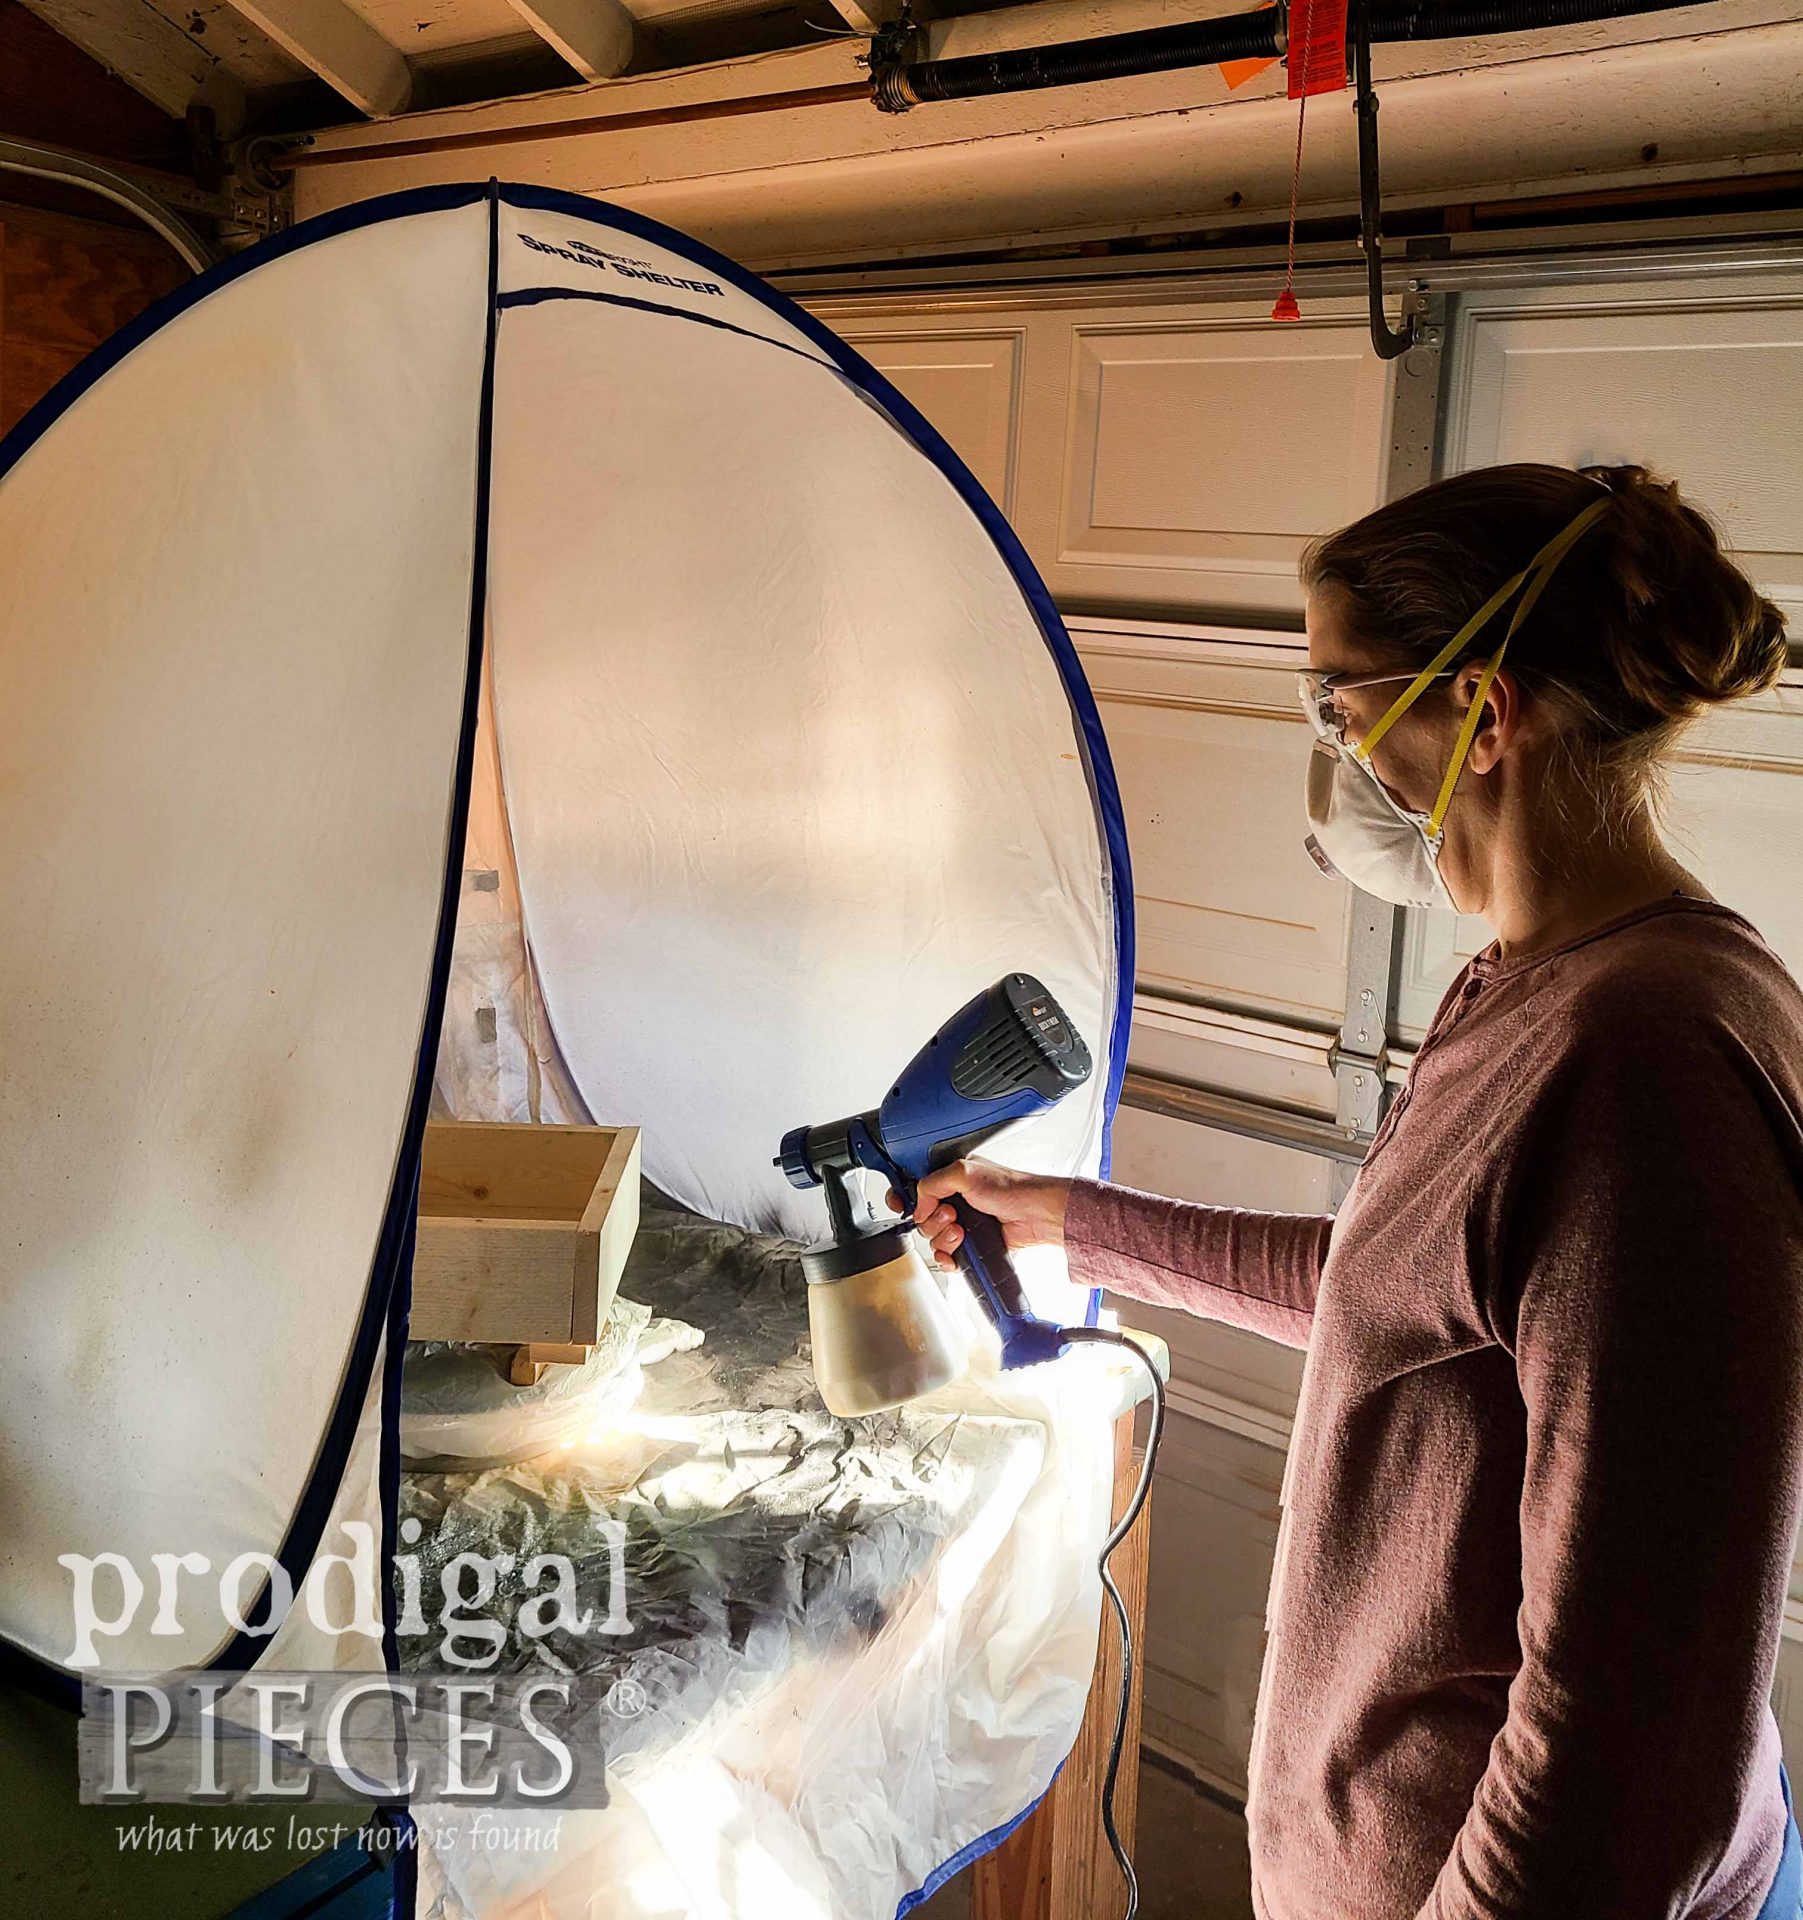 That allows me time to put finishing touches on my other crates while the paint cures. And...I had a little shopping fun. tee hee!
THE REVEALS
Are you ready to see all my DIY wooden gift boxes complete? Here we go! I already gave you a sneak peek of the bath gift box. However, here's a closer look.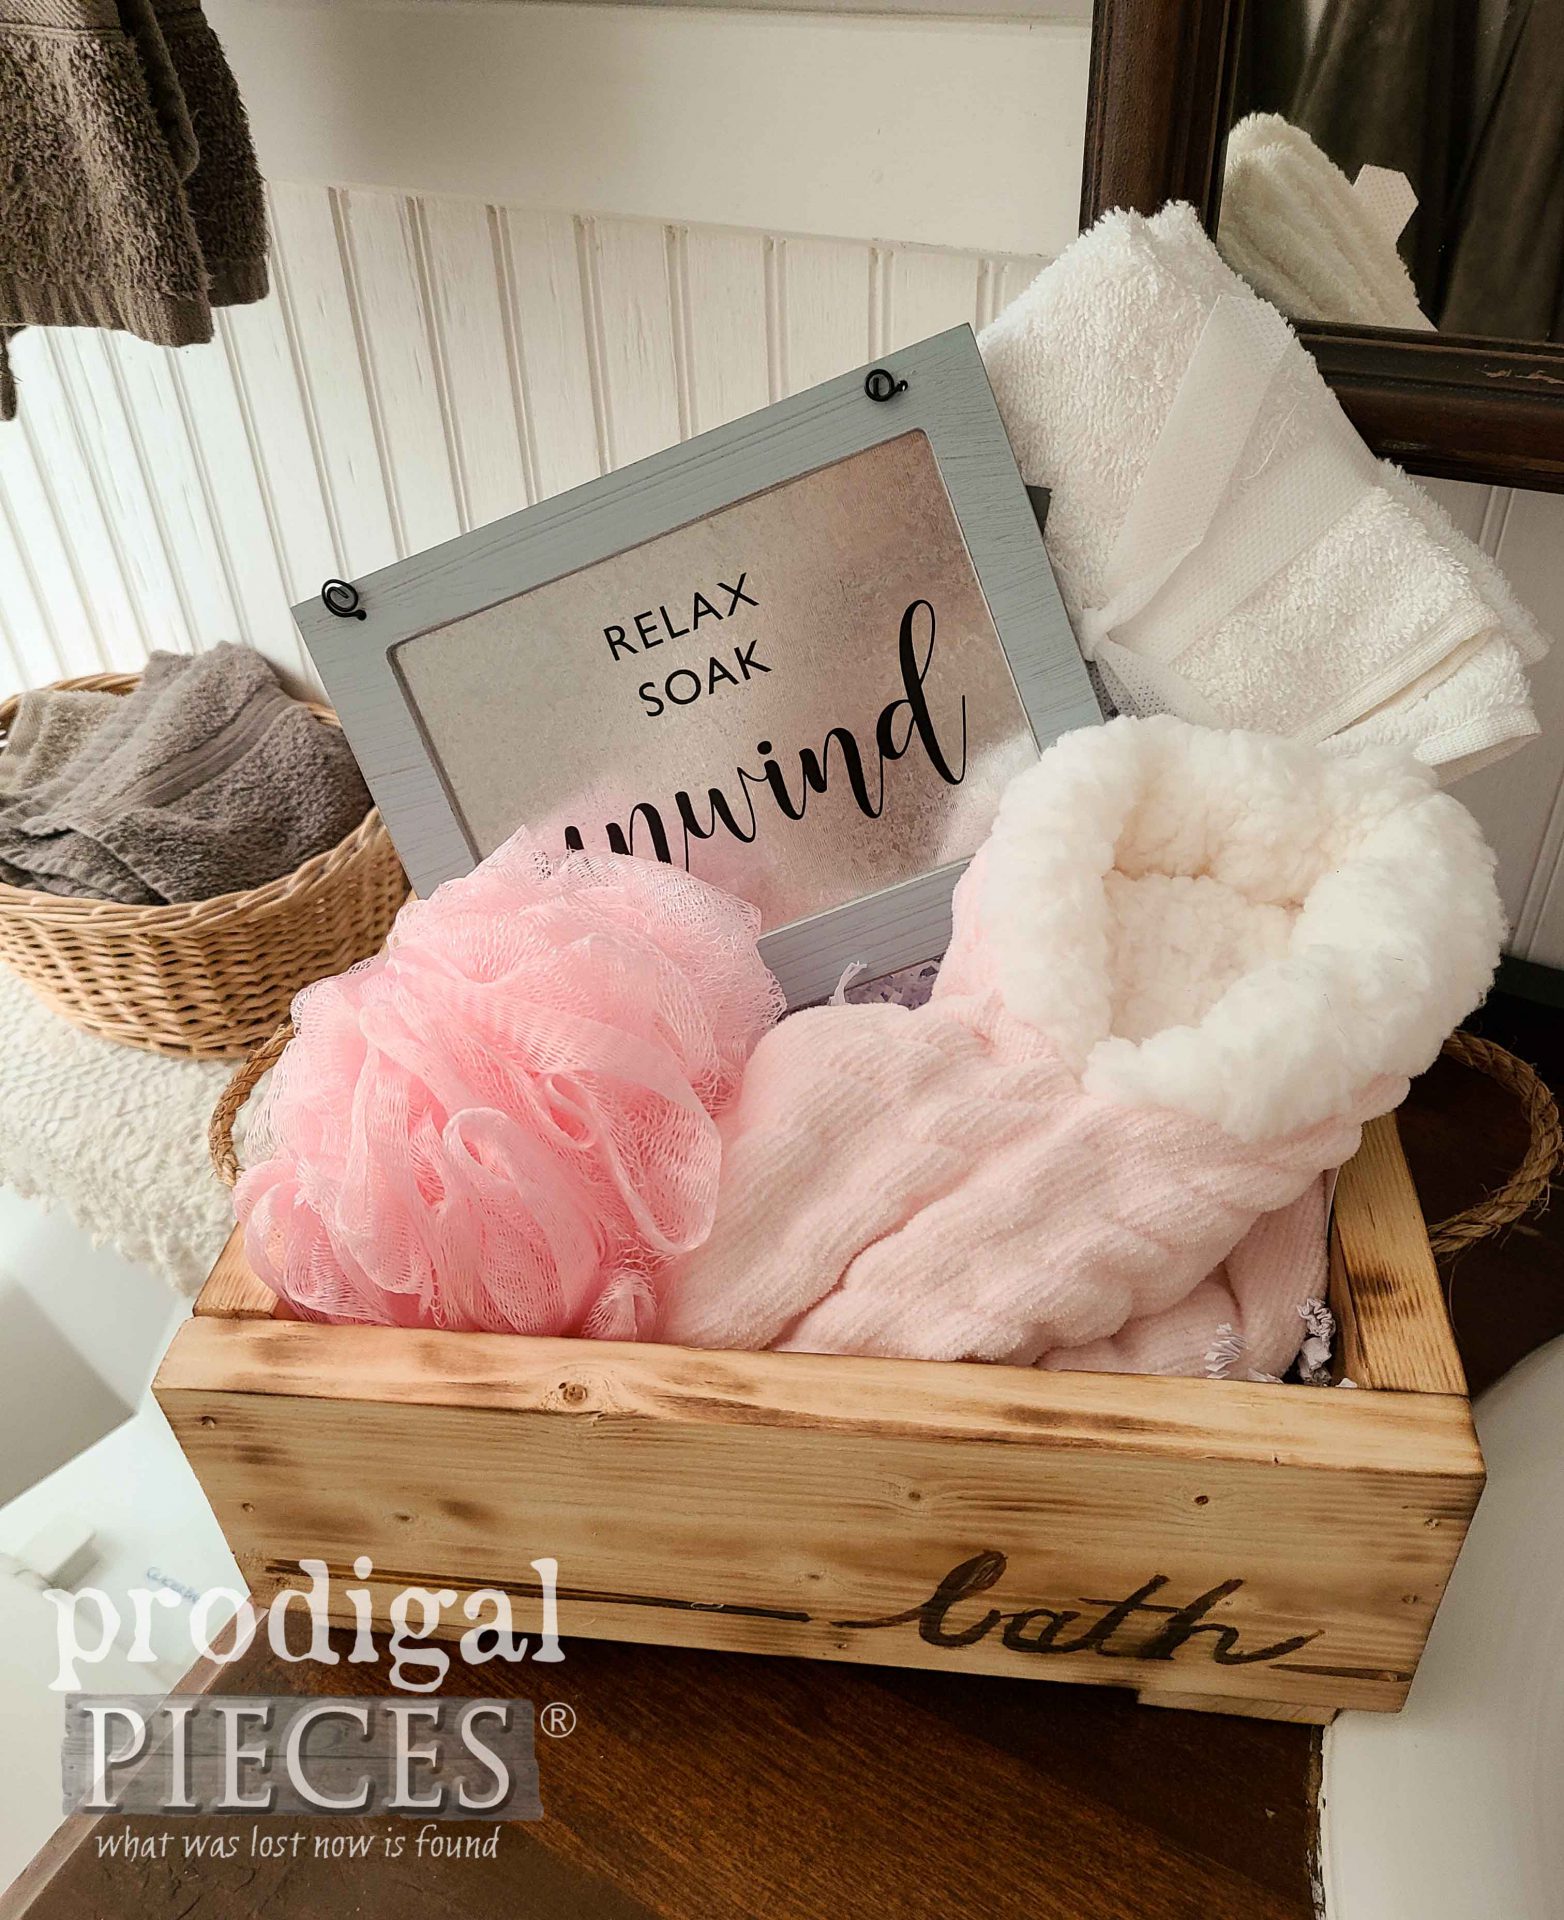
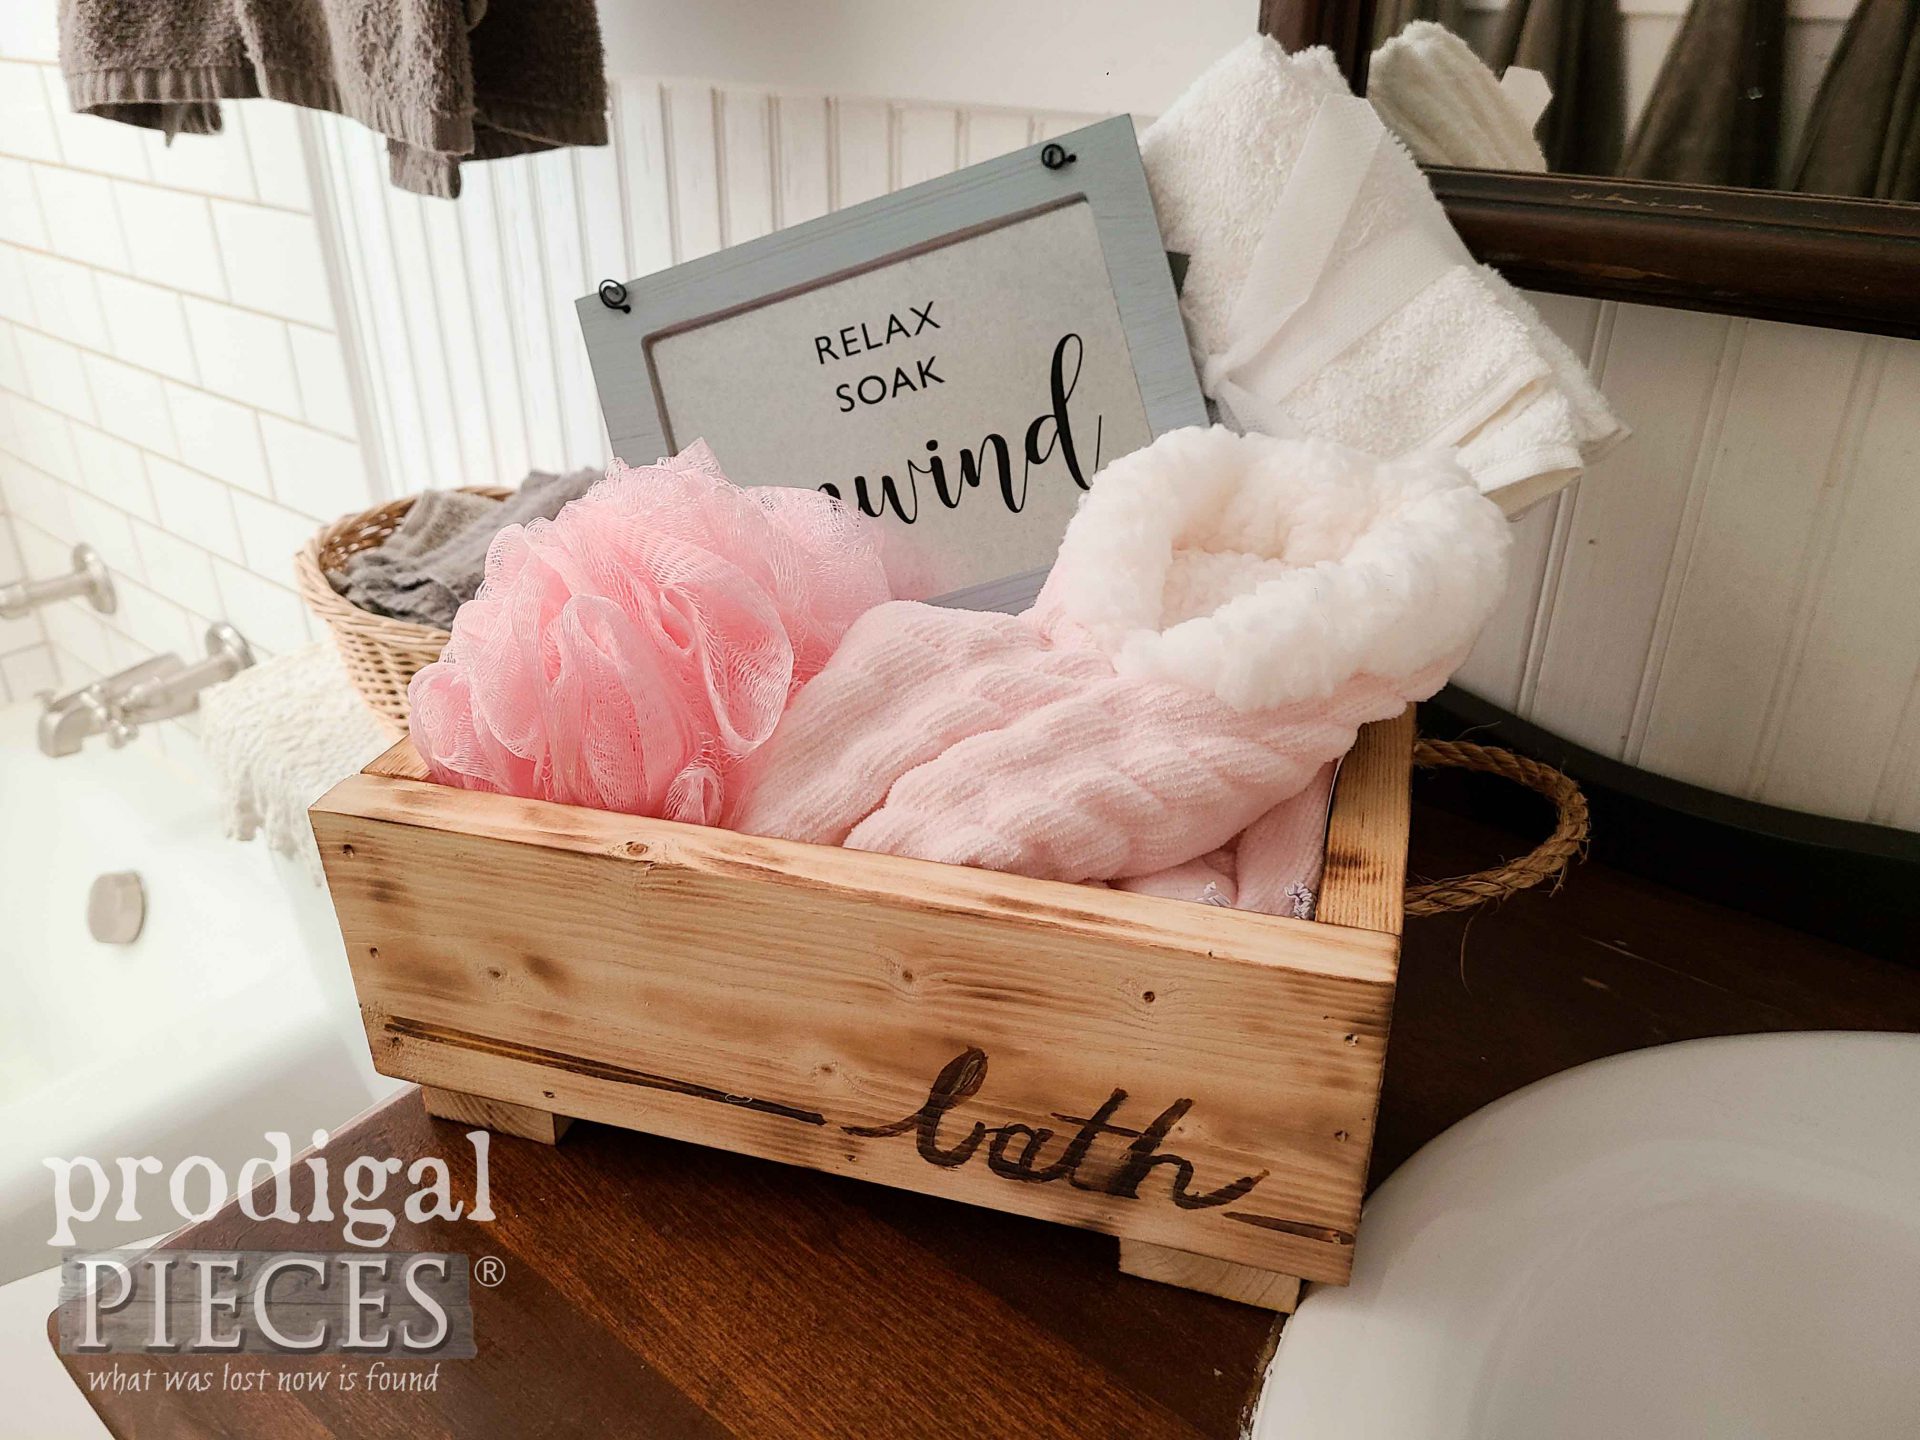 Tucked inside is a set of washcloths, a fun art print, super cozy slippers, and a pouf. I hear my hot bath calling! Who wouldn't love this? Likewise, you can customize it to a guy too...just sayin'.
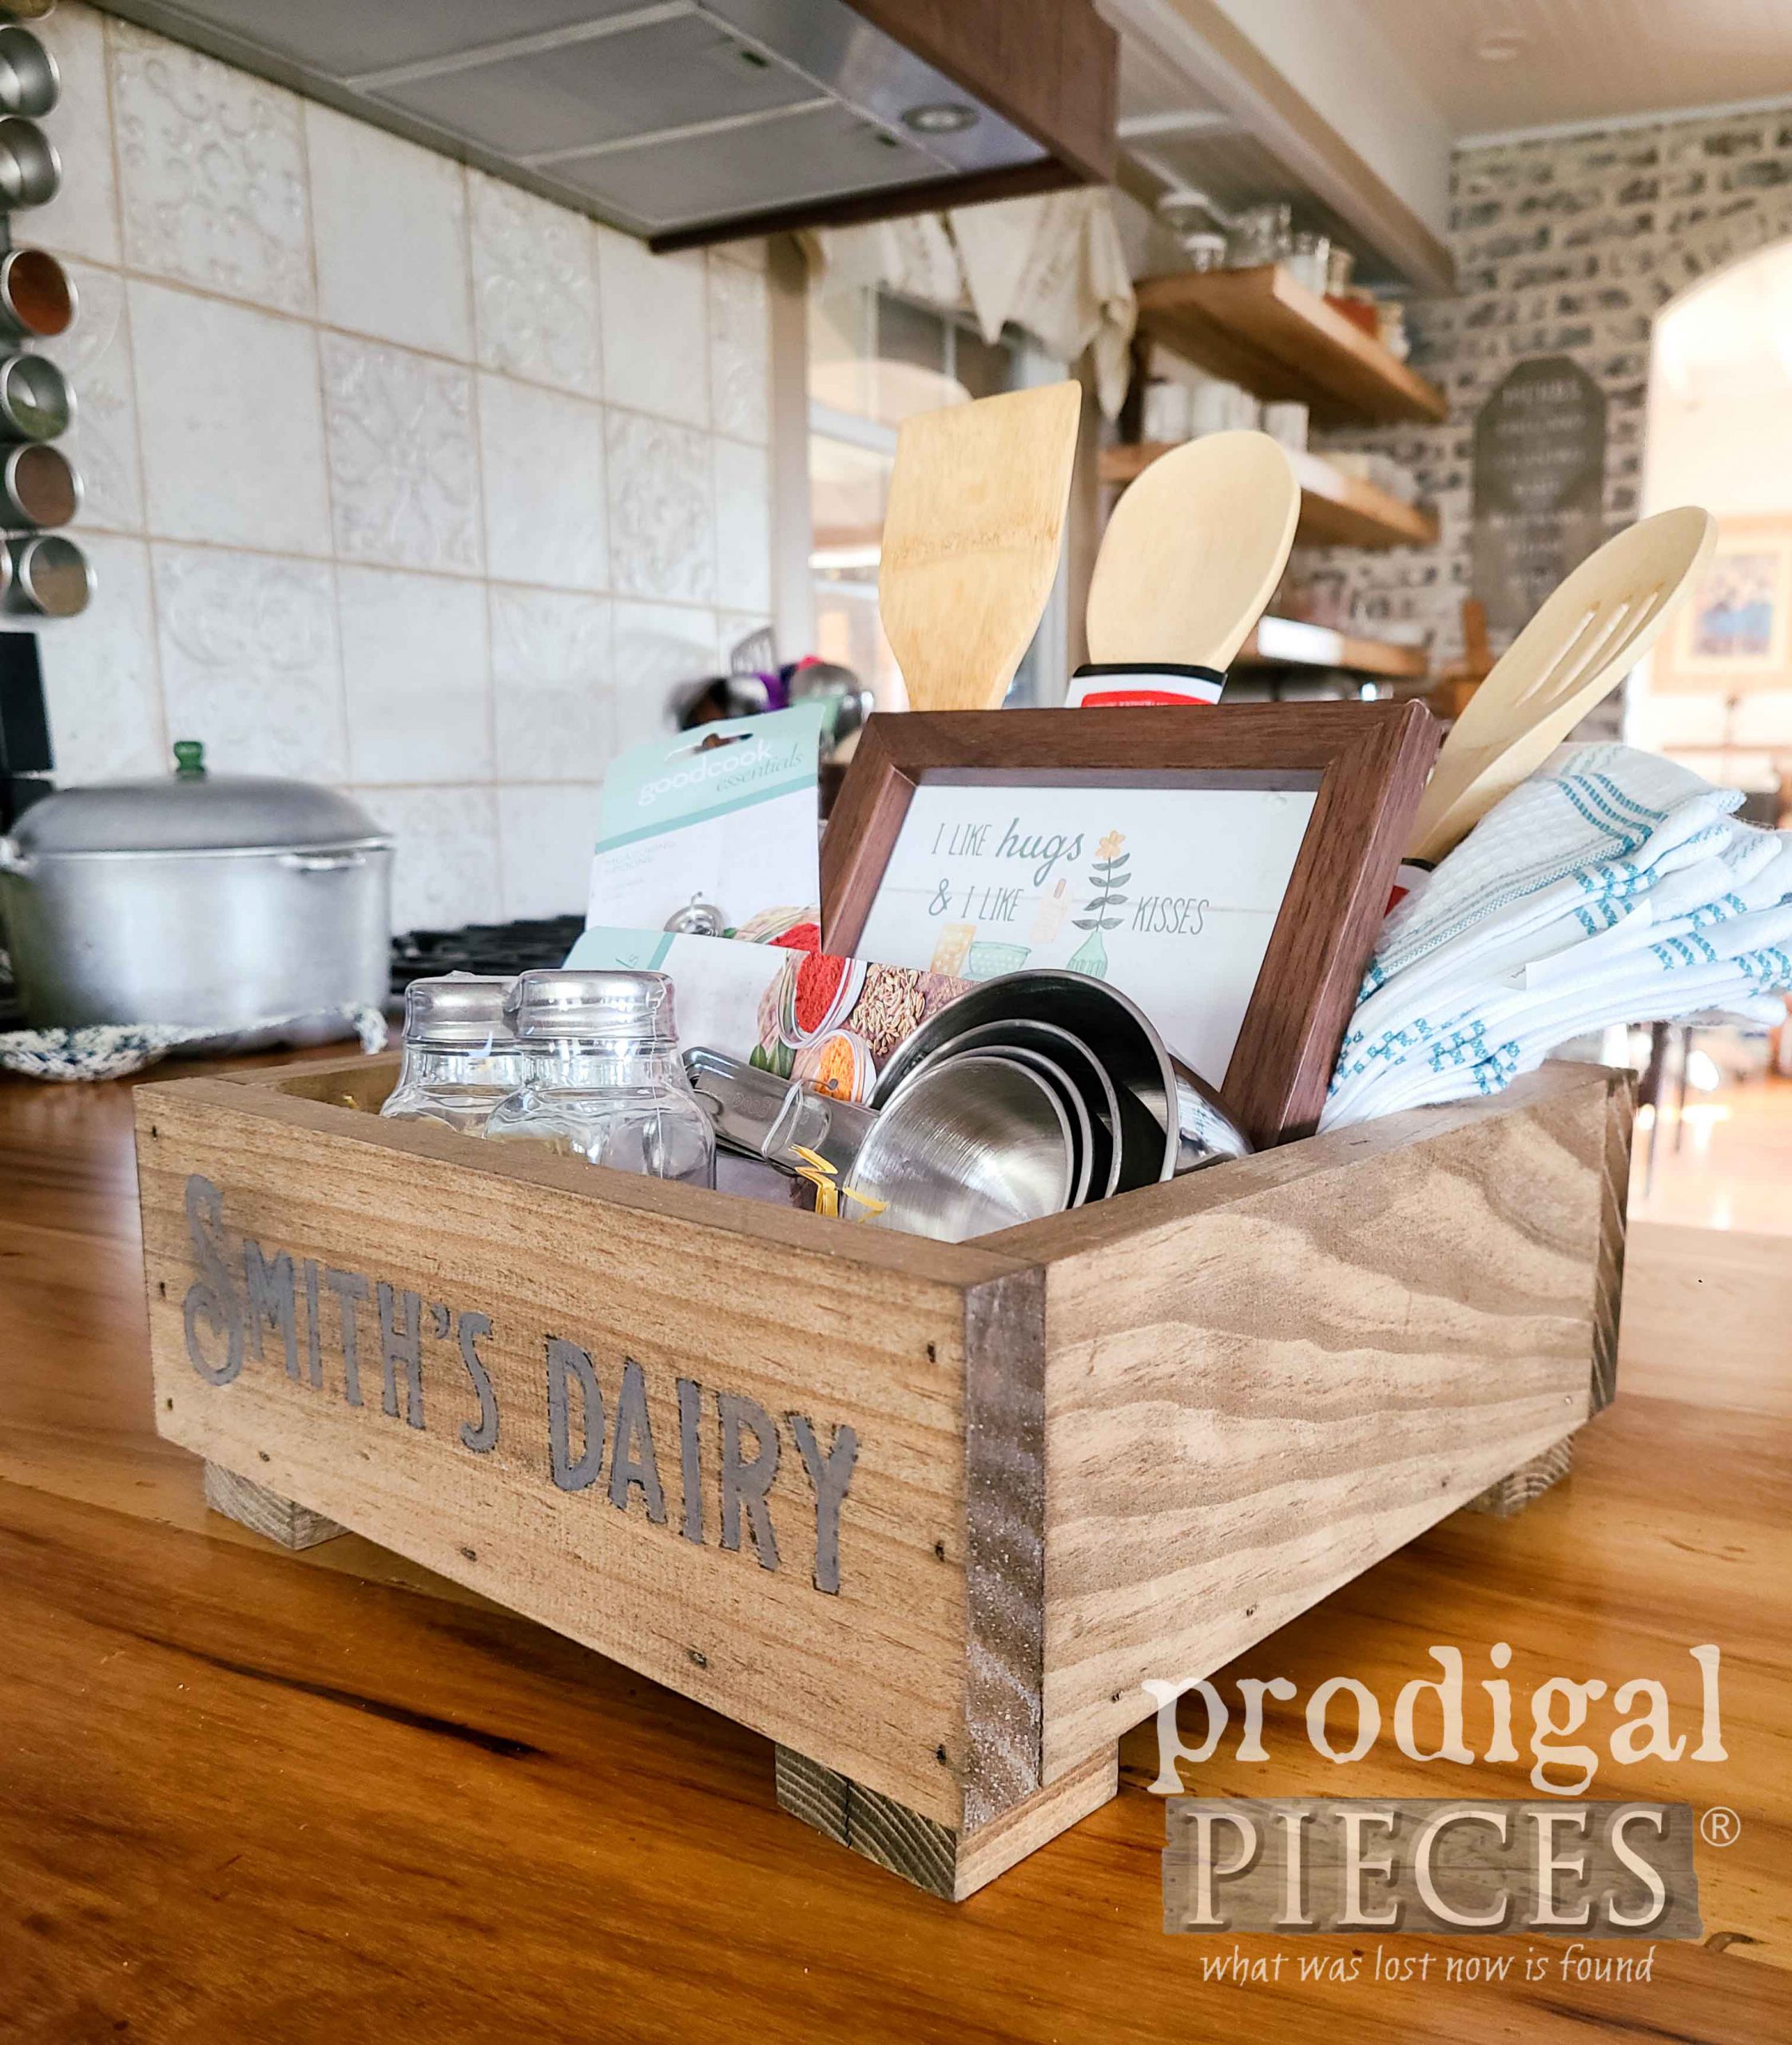
Next! This one is a fun one for the kitchen guru or wannabe. Stuffed with kitchen gadgets and goodies that are sure to please any cook. Notice the typography added using my image transfer technique tutorial.
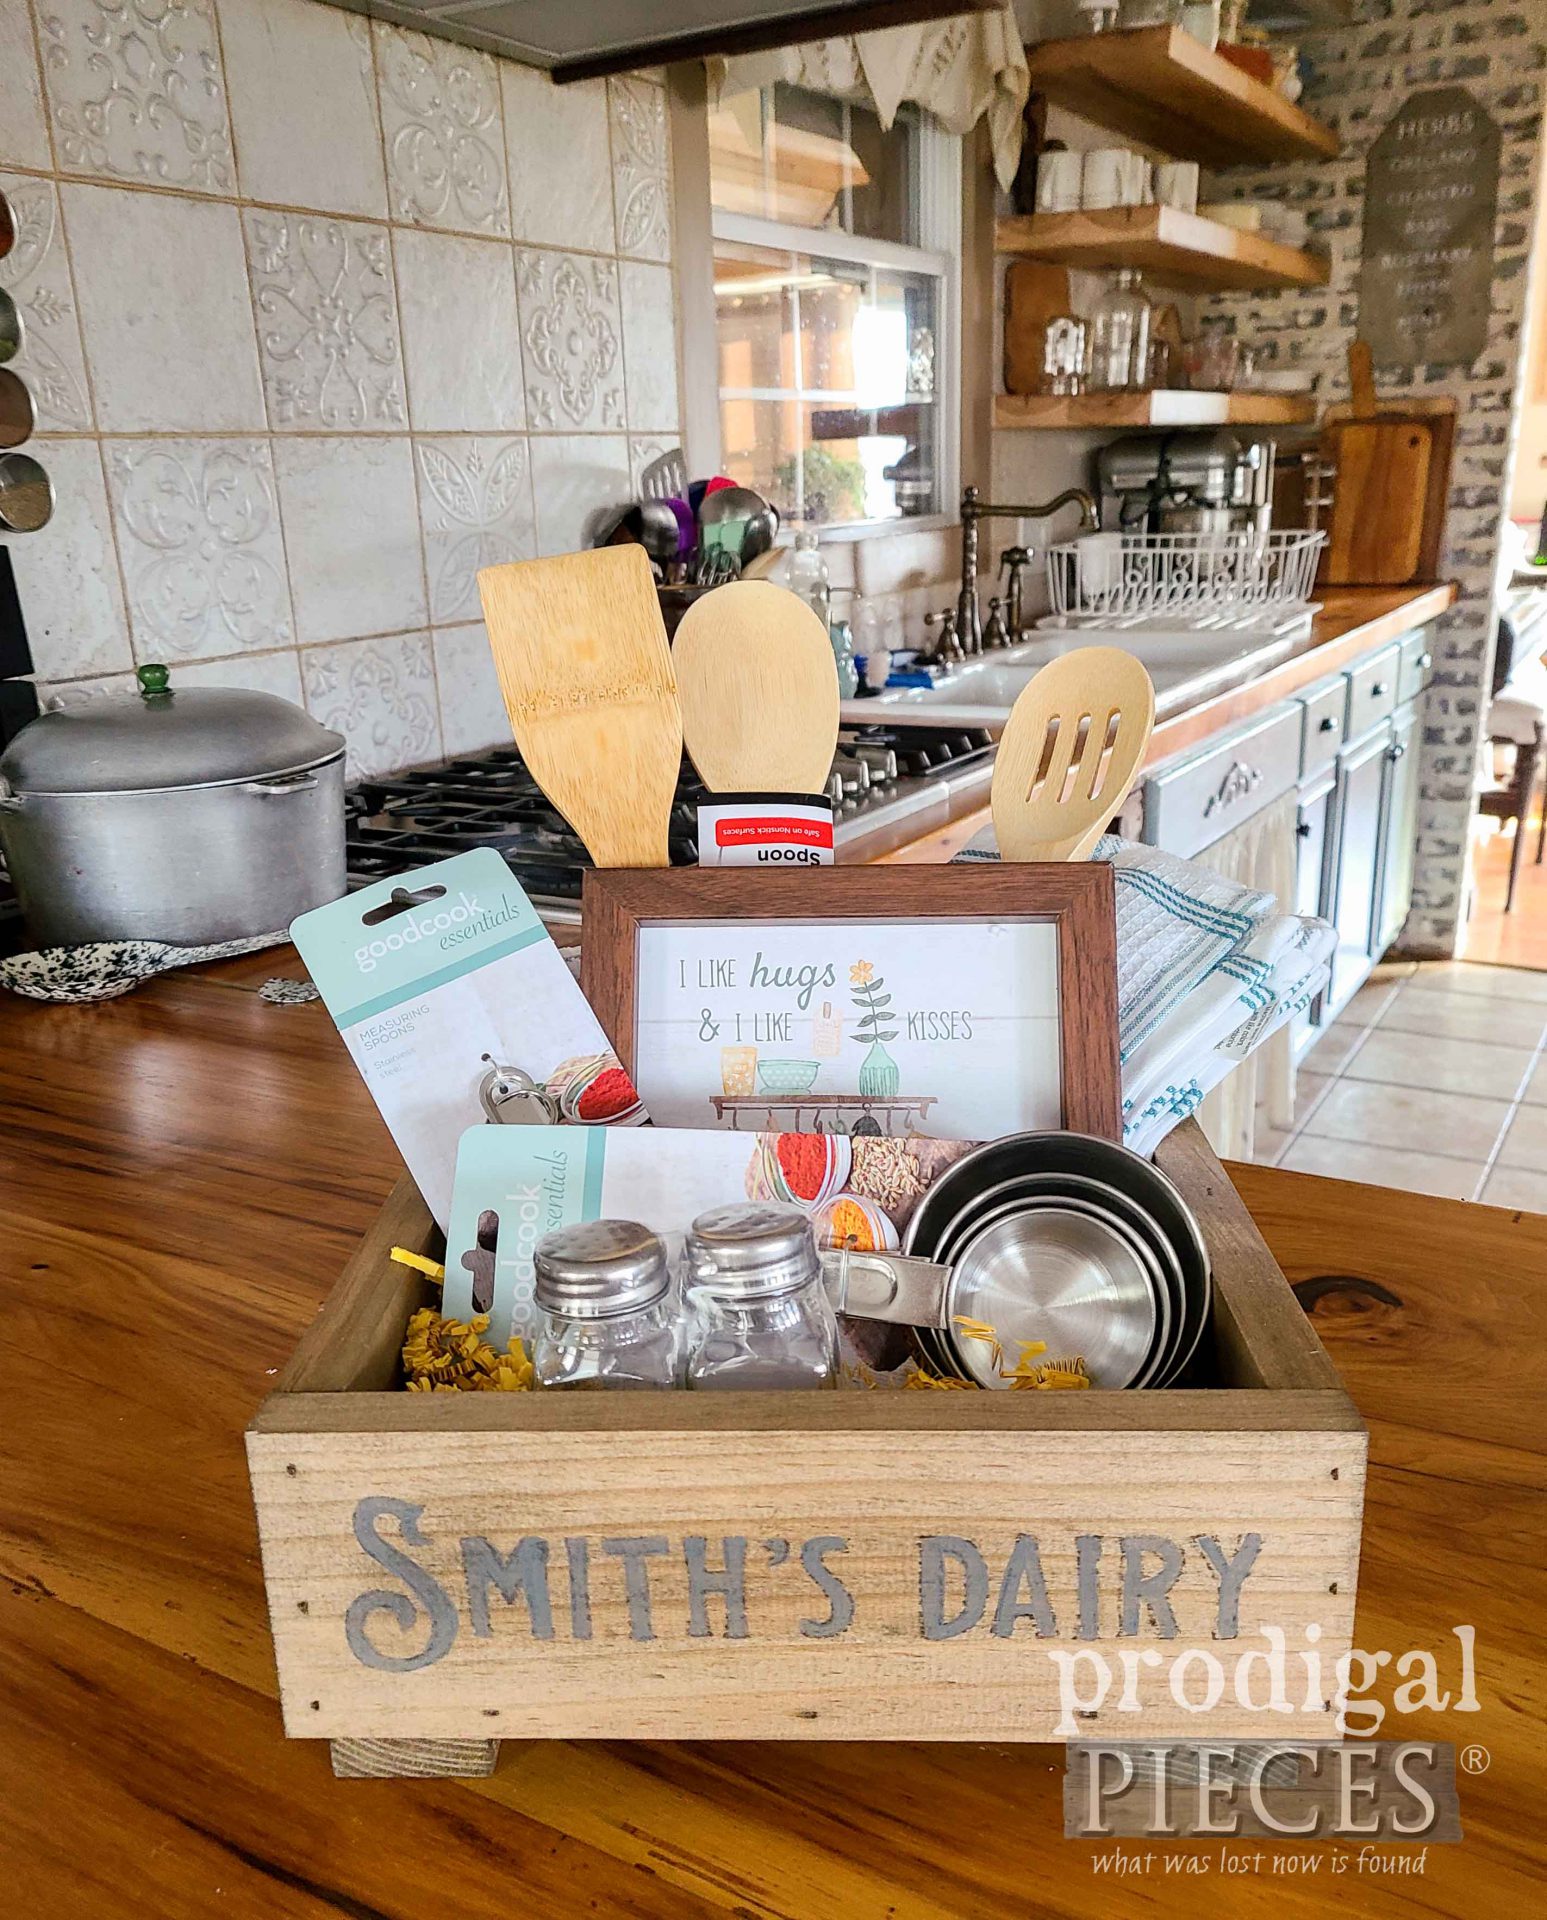
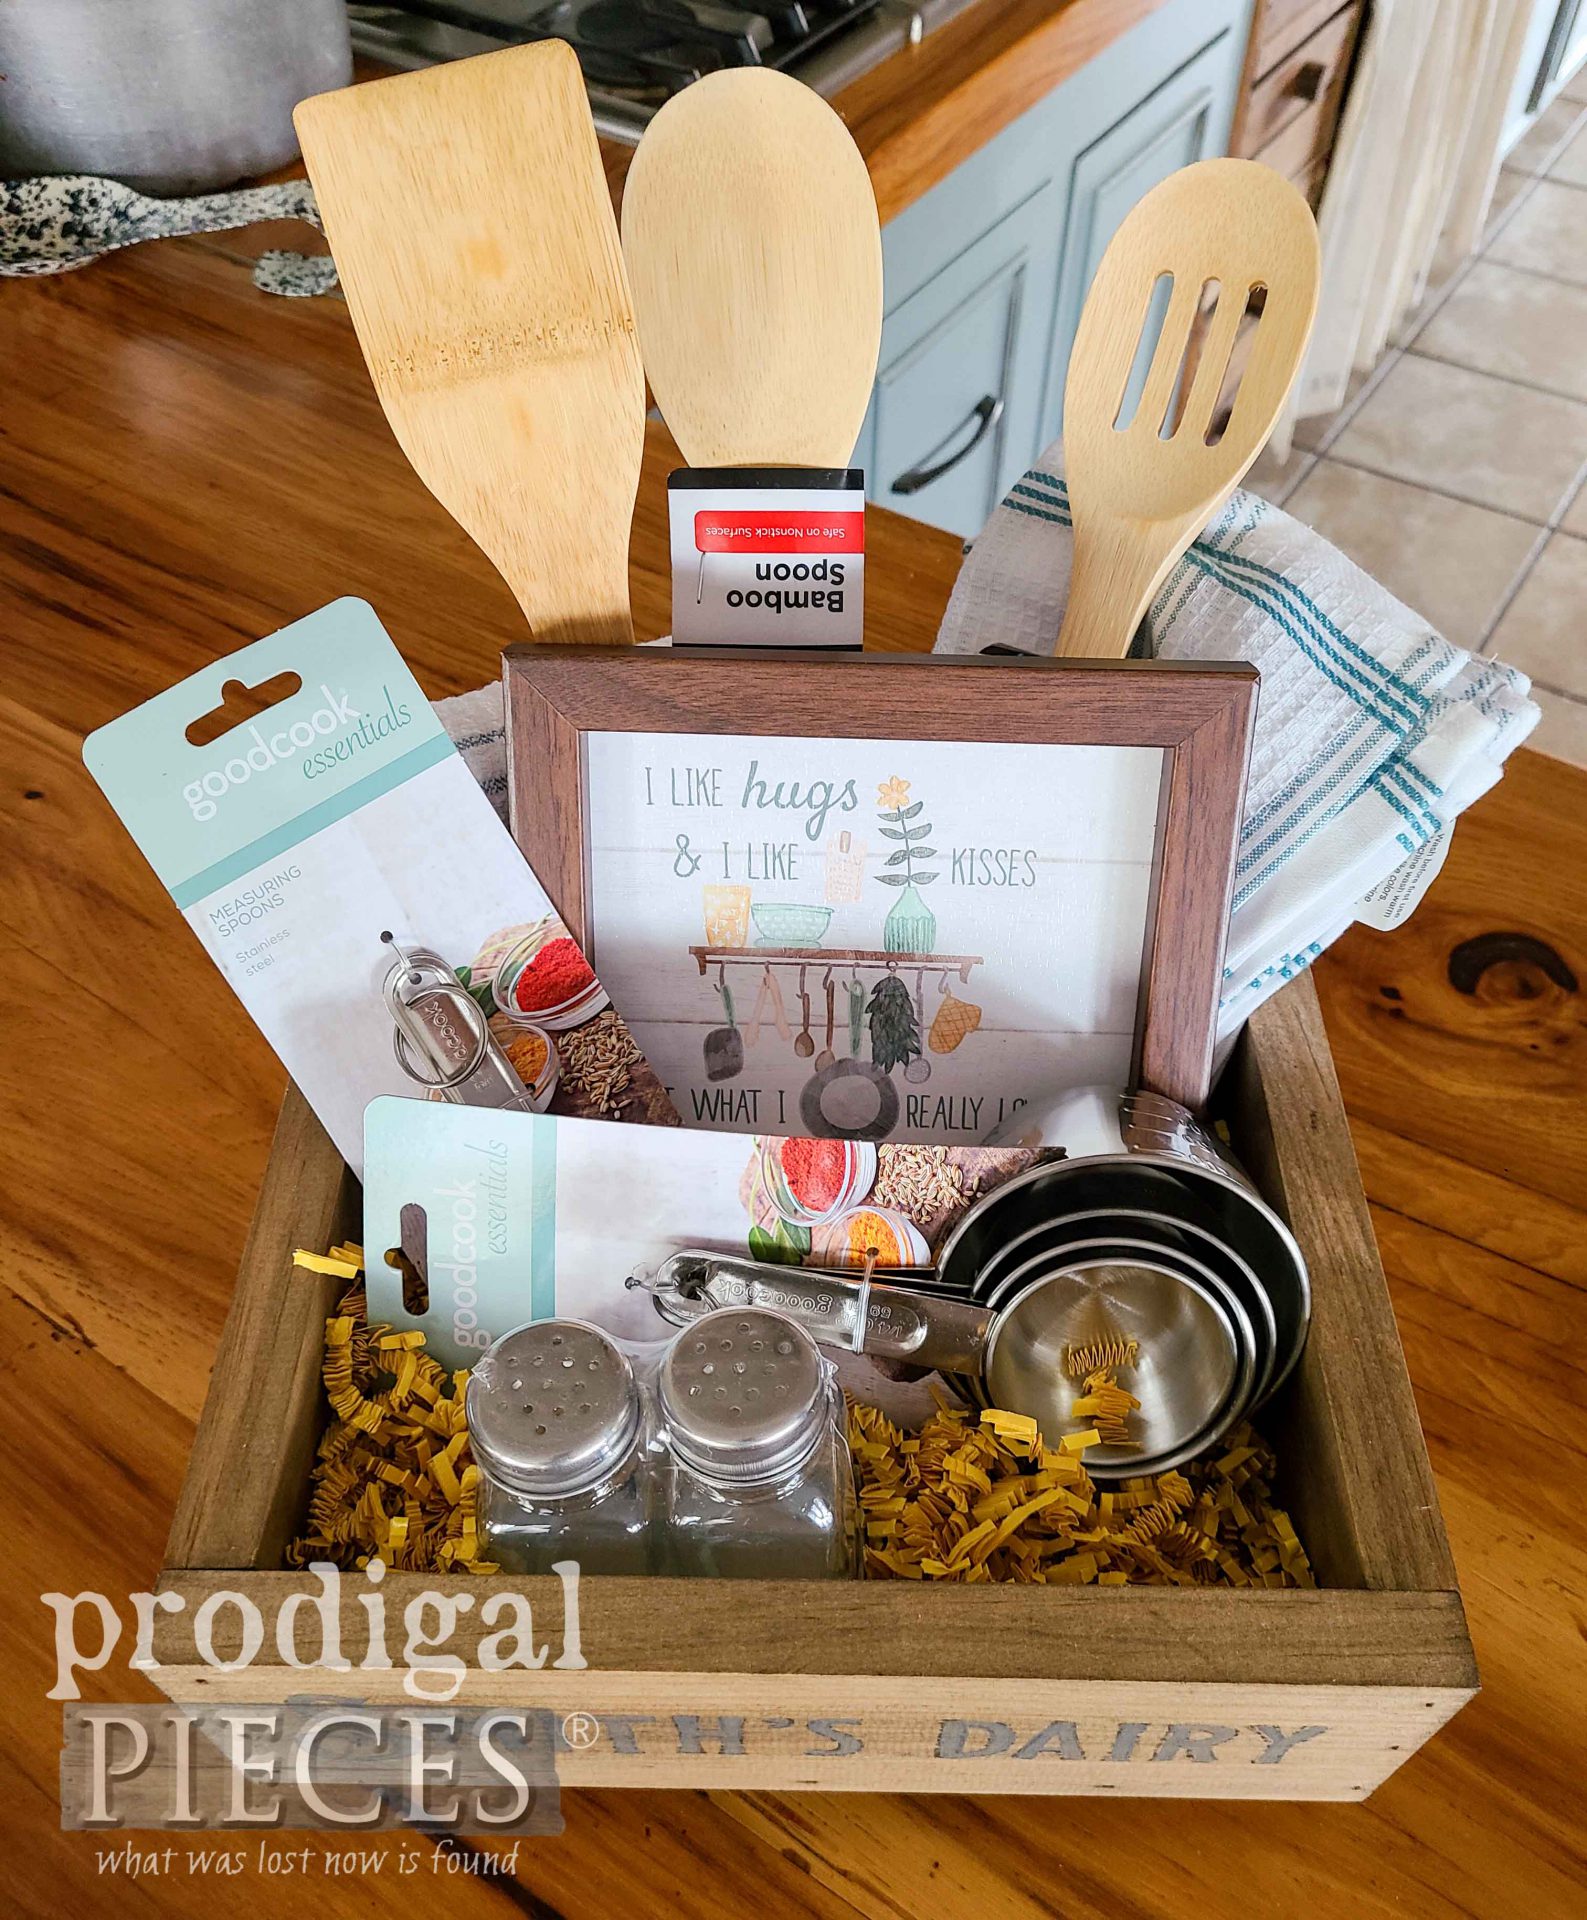 New dishcloths and towels alone are a treat for this mama to 6, let me tell ya! haha. Am I right?
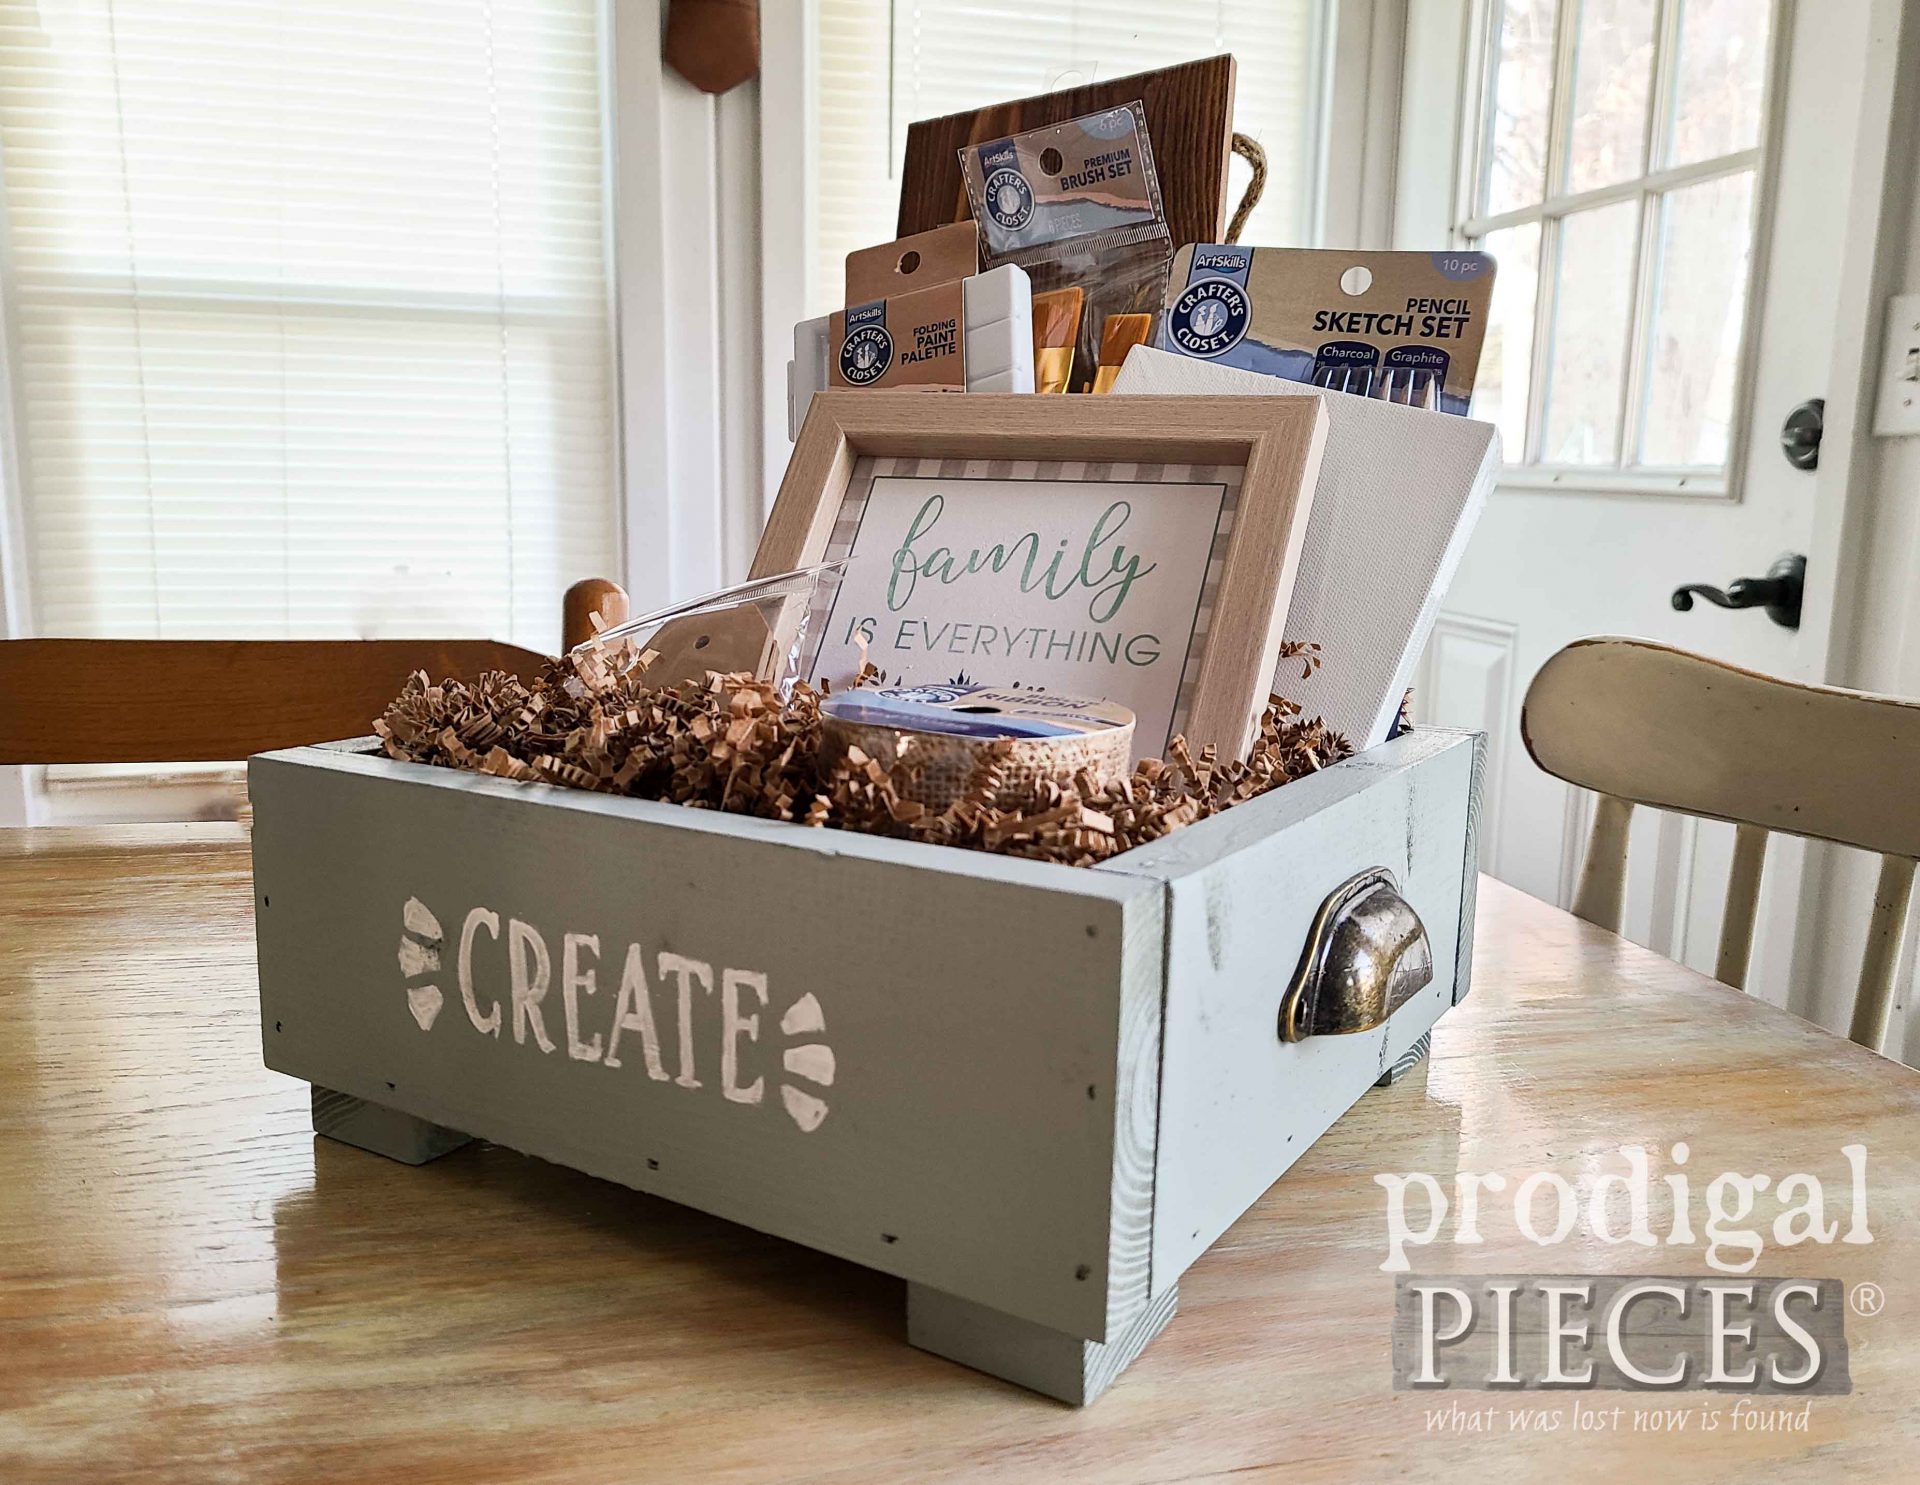
 And, finally, we have this CREATE gift box perfect for plenty of family fun. I'm all about art!
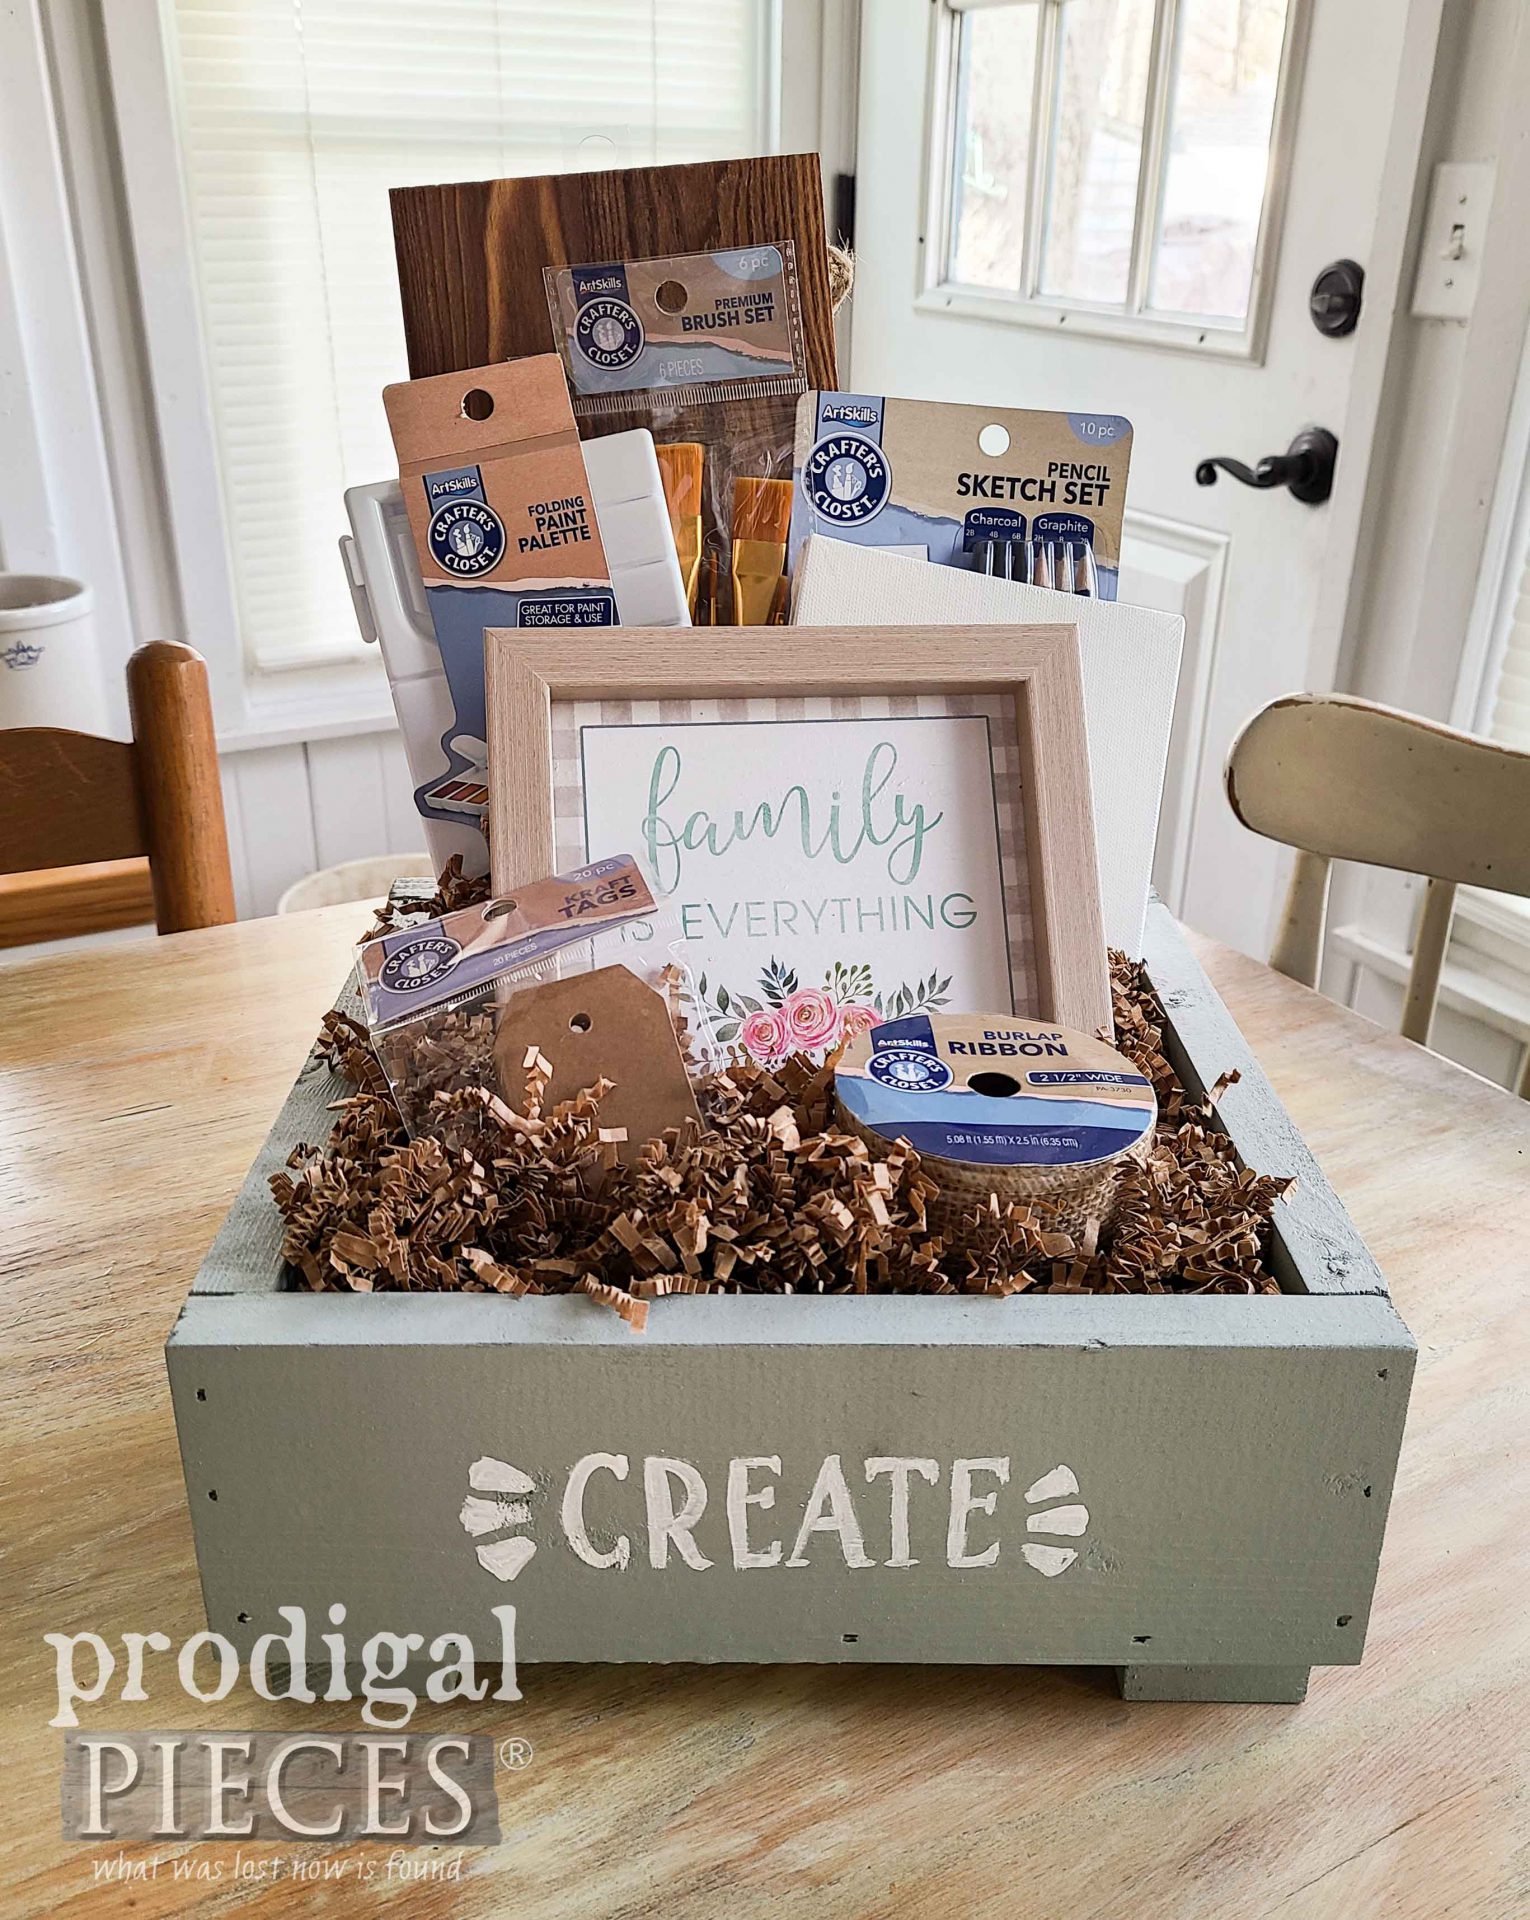
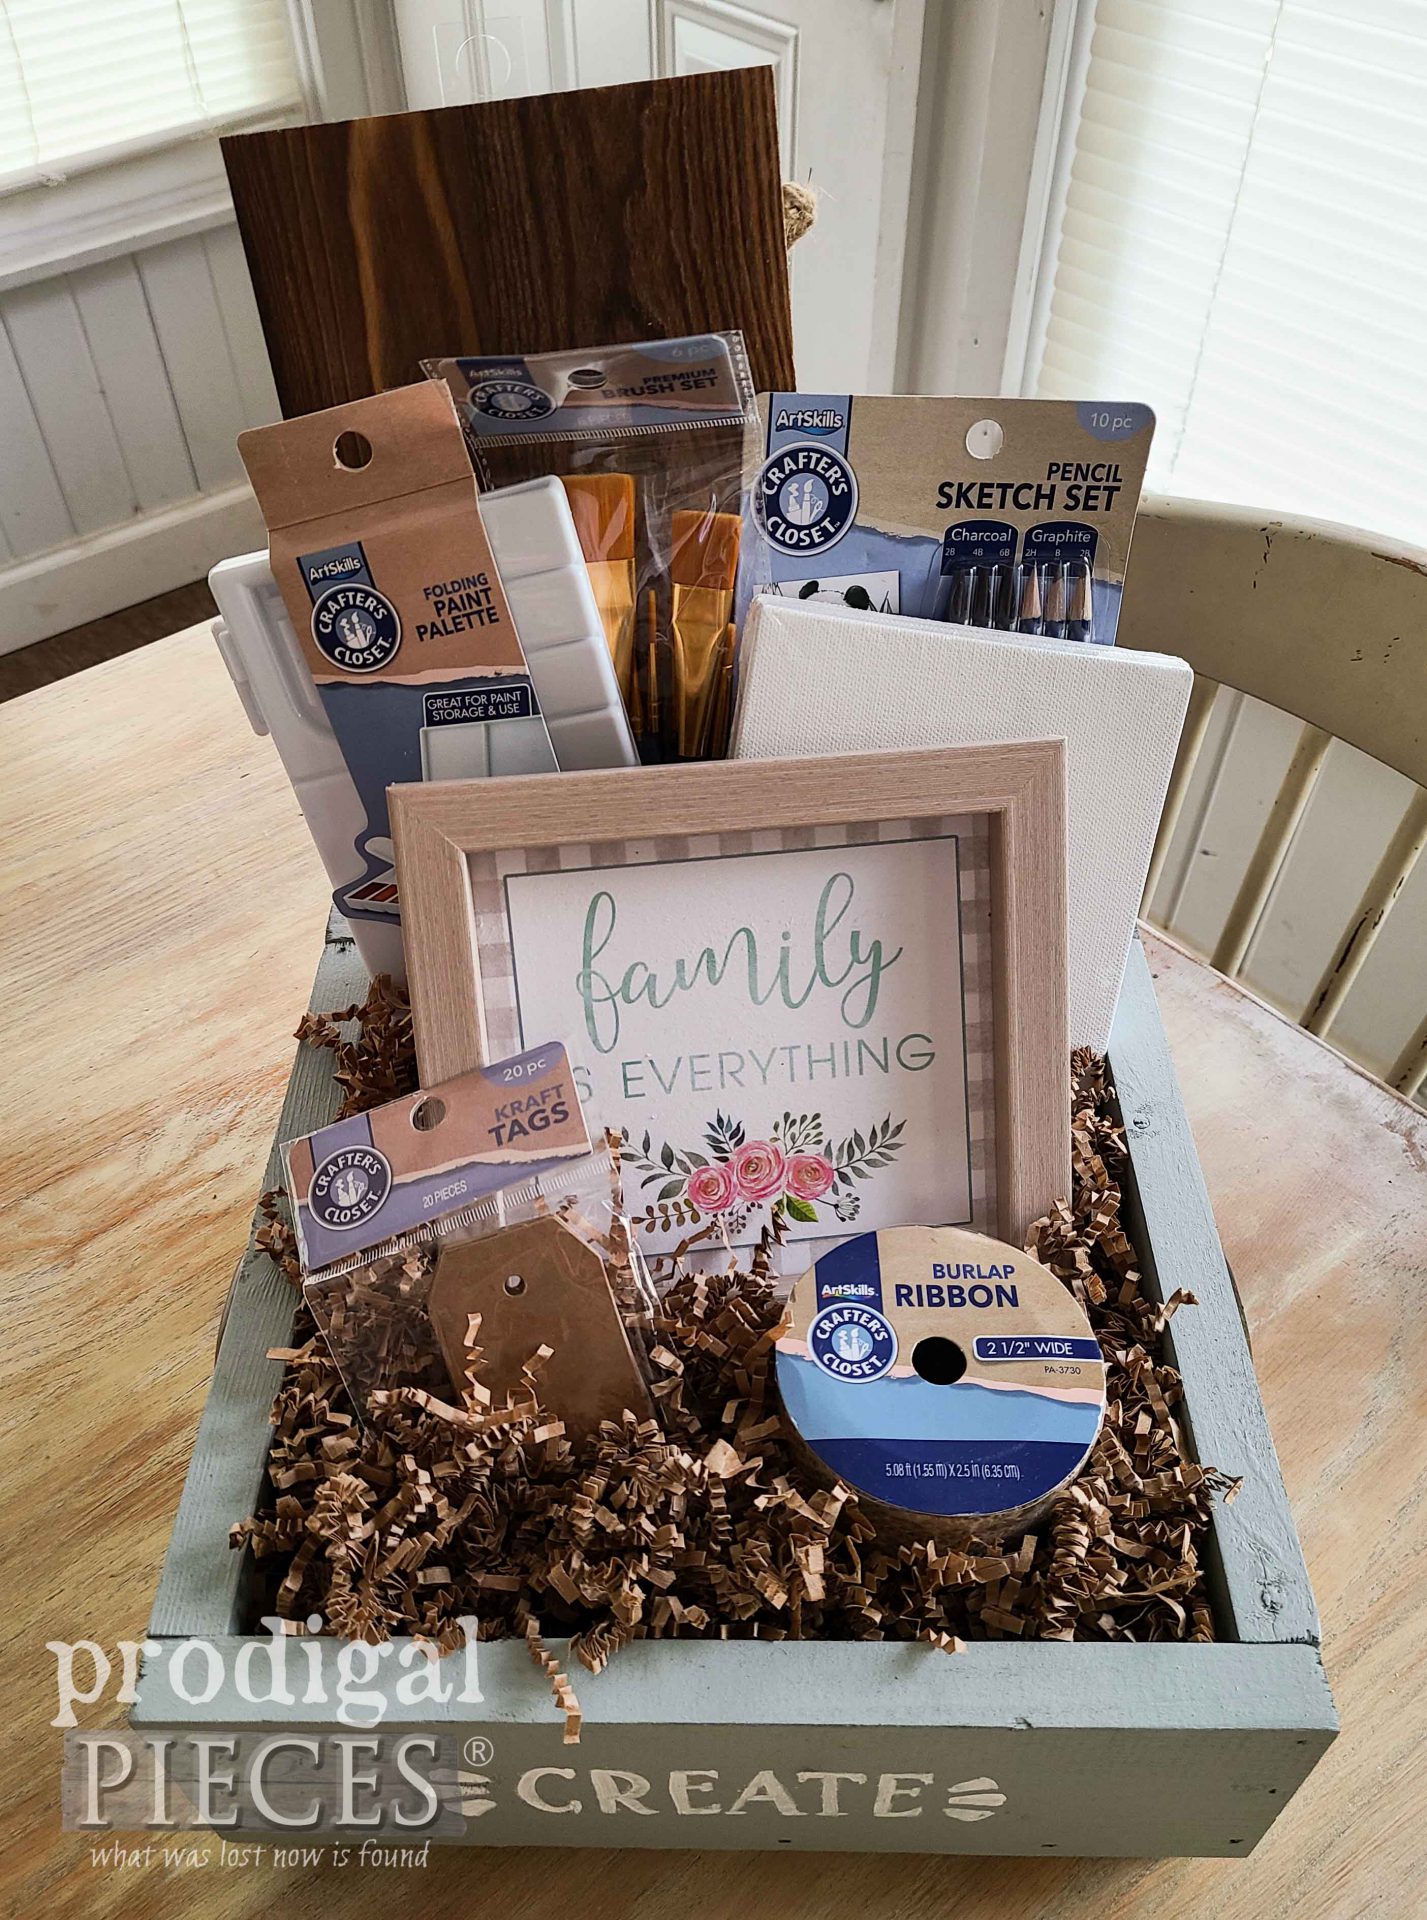 Plenty of fun tucked in our gift for everyone of any age. Did you notice my bath box has rope handles and this one has bin pulls? That's how you can change it up to suit whatever style or purpose you prefer.
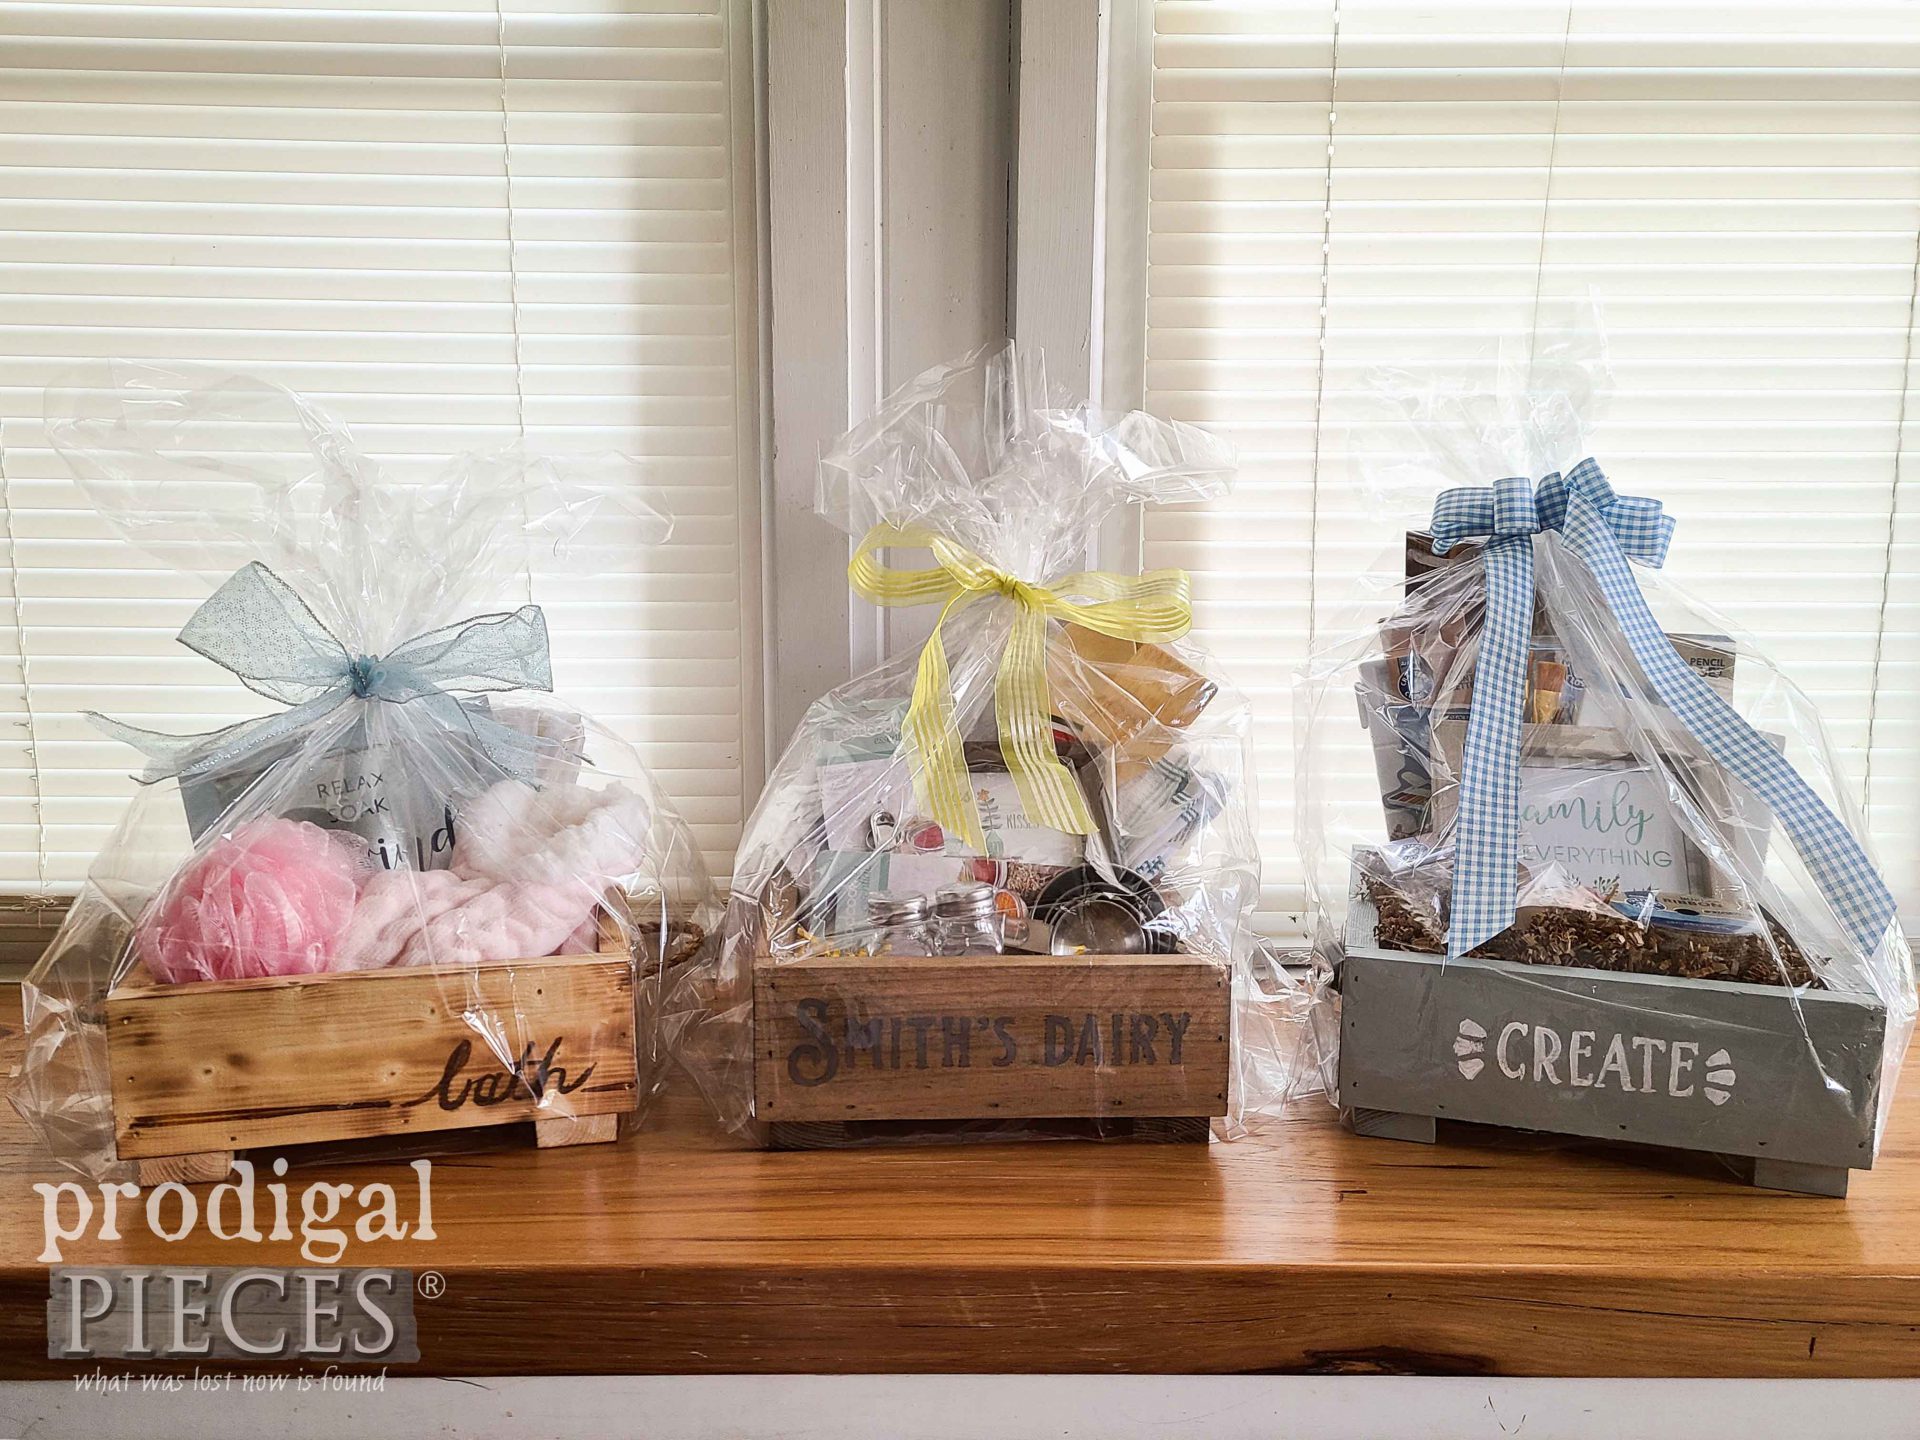
 Finally, I drop them in a gift basket bag and tie up with a pretty tag and bow. You can find those bags for two for a dollar and in various colors. I'm eager to share these with those who need a lift to spread JOY this holiday season.
GIVEAWAY TIME
With that, HomeRight and I want to help you have your own DIY fun. We are giving away a Quick Finish Sprayer, a Small Spray Shelter, AND a Heat Gun as three separate prizes. Easy entry - just complete the widget below for as many entries as you like. Open to U.S. & Canada residents 18 years of age and older. In addition, winner will be notified by email and will have 24 hours to claim their prize. Also, be sure to check your spam!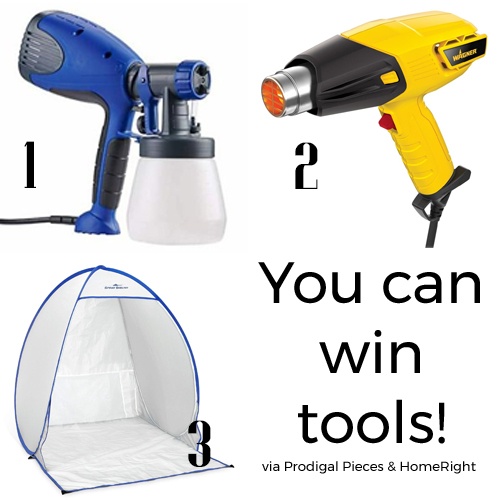 In addition, do pin and share my DIY wooden gift box tutorial and ideas. I know there is someone out there looking for a fun last-minute gift idea.
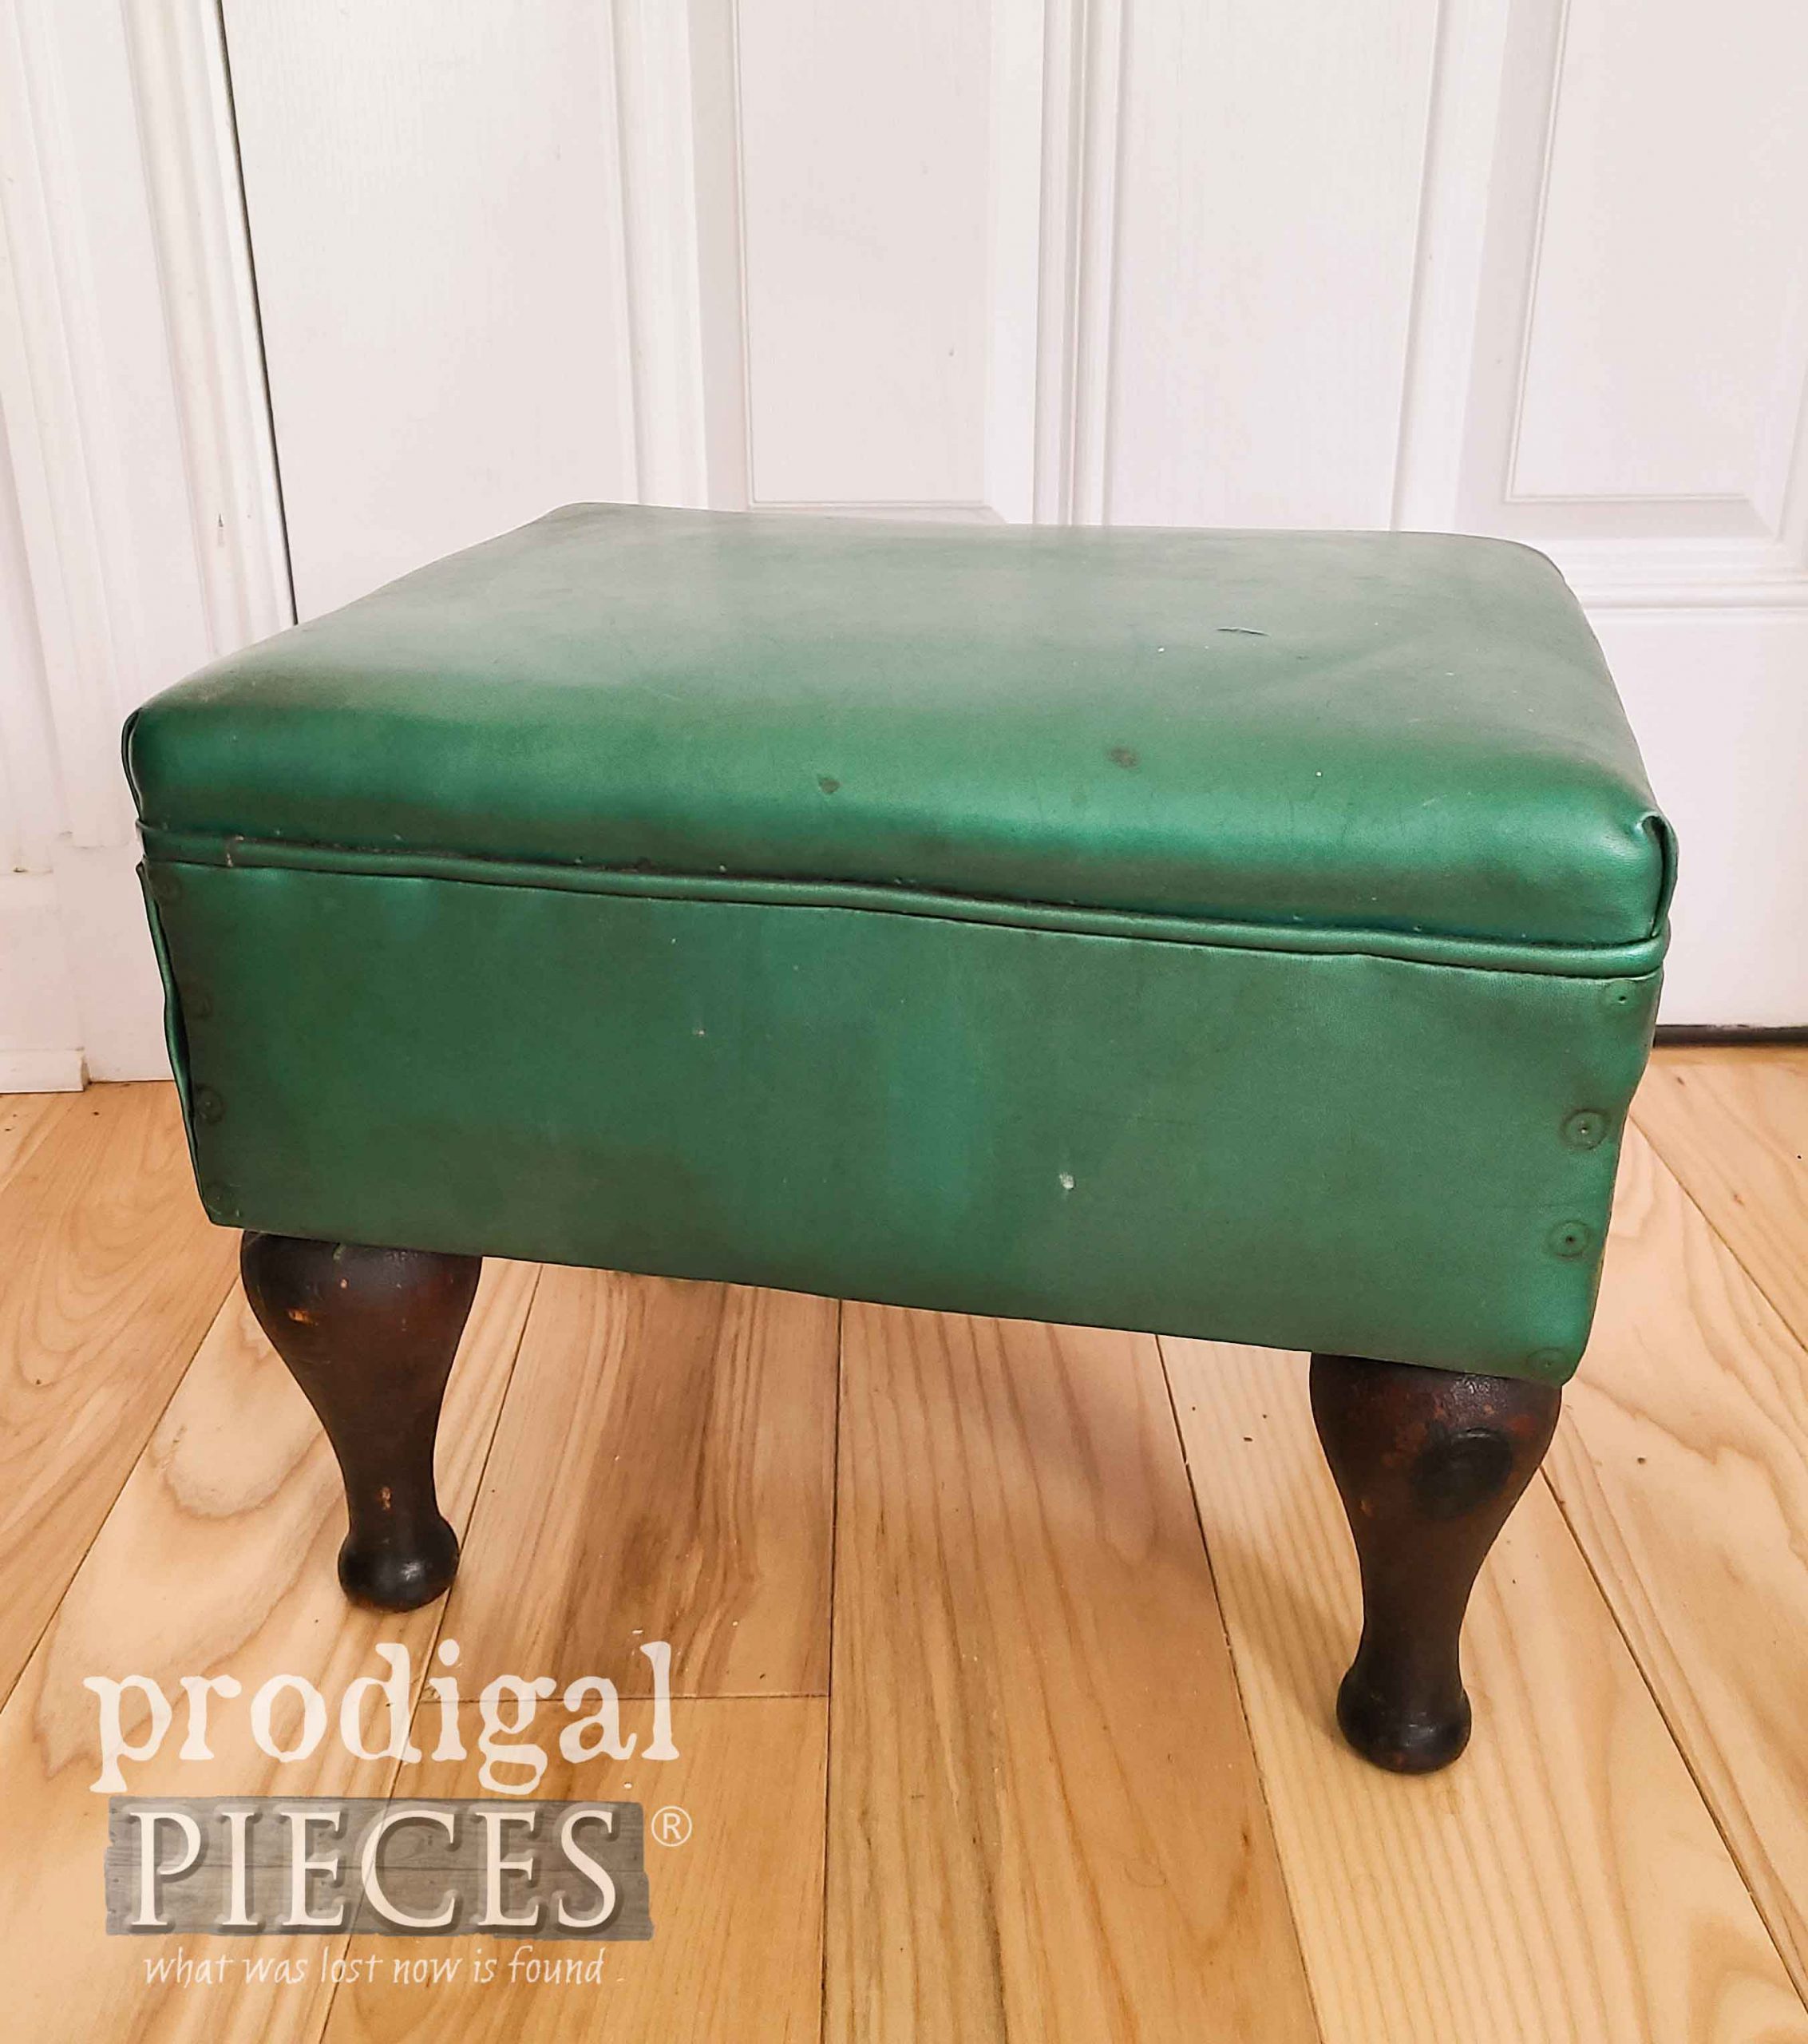
 With this in mind, up next this vintage green cutie needs some lovin'. HEAD HERE TO SEE THE AFTER.
 To get these DIY tips & tricks in your inbox, be sure to sign up for my newsletter. PLUS, you will get your FREE Furniture Buying Checklist and special discount to my shop. Until next time!

Also, more gift ideas like this DIY wooden gift box:
