 First, take a peek at where these wood slats came from.
 They're basic pine and nothing fancy, so you could definitely find similar at a lumber yard. With that in mind, I'm going to dive into my wood stash and create two things with what I have on hand.
DIY TIME
If you remember, a few projects ago I created a decoupaged coat rack from an arched cutout I had leftover from creating arched doorways in my living room. Thankfully, I have two of these scrap pieces left. For my first project, I'm going to cut this piece up to make two L-shaped pieces with my jigsaw and my miter saw. Here are my step stool sides. Do you see it?
 Then, I cut the slats to create two plank steps. Additionally, I cut two extra scrap pieces to join the two new side pieces together with a pocket joint. However, before assembling the top, I use my reactive stain to match the pine pieces I just cut.
Next, I whitewash the sides as well as attaching pieces. Almost done!
Last, but not least, I attach the top slats to each step using my nailer.
Then, I cut the slats to create two plank steps. Additionally, I cut two extra scrap pieces to join the two new side pieces together with a pocket joint. However, before assembling the top, I use my reactive stain to match the pine pieces I just cut.
Next, I whitewash the sides as well as attaching pieces. Almost done!
Last, but not least, I attach the top slats to each step using my nailer.

THE REVEALS
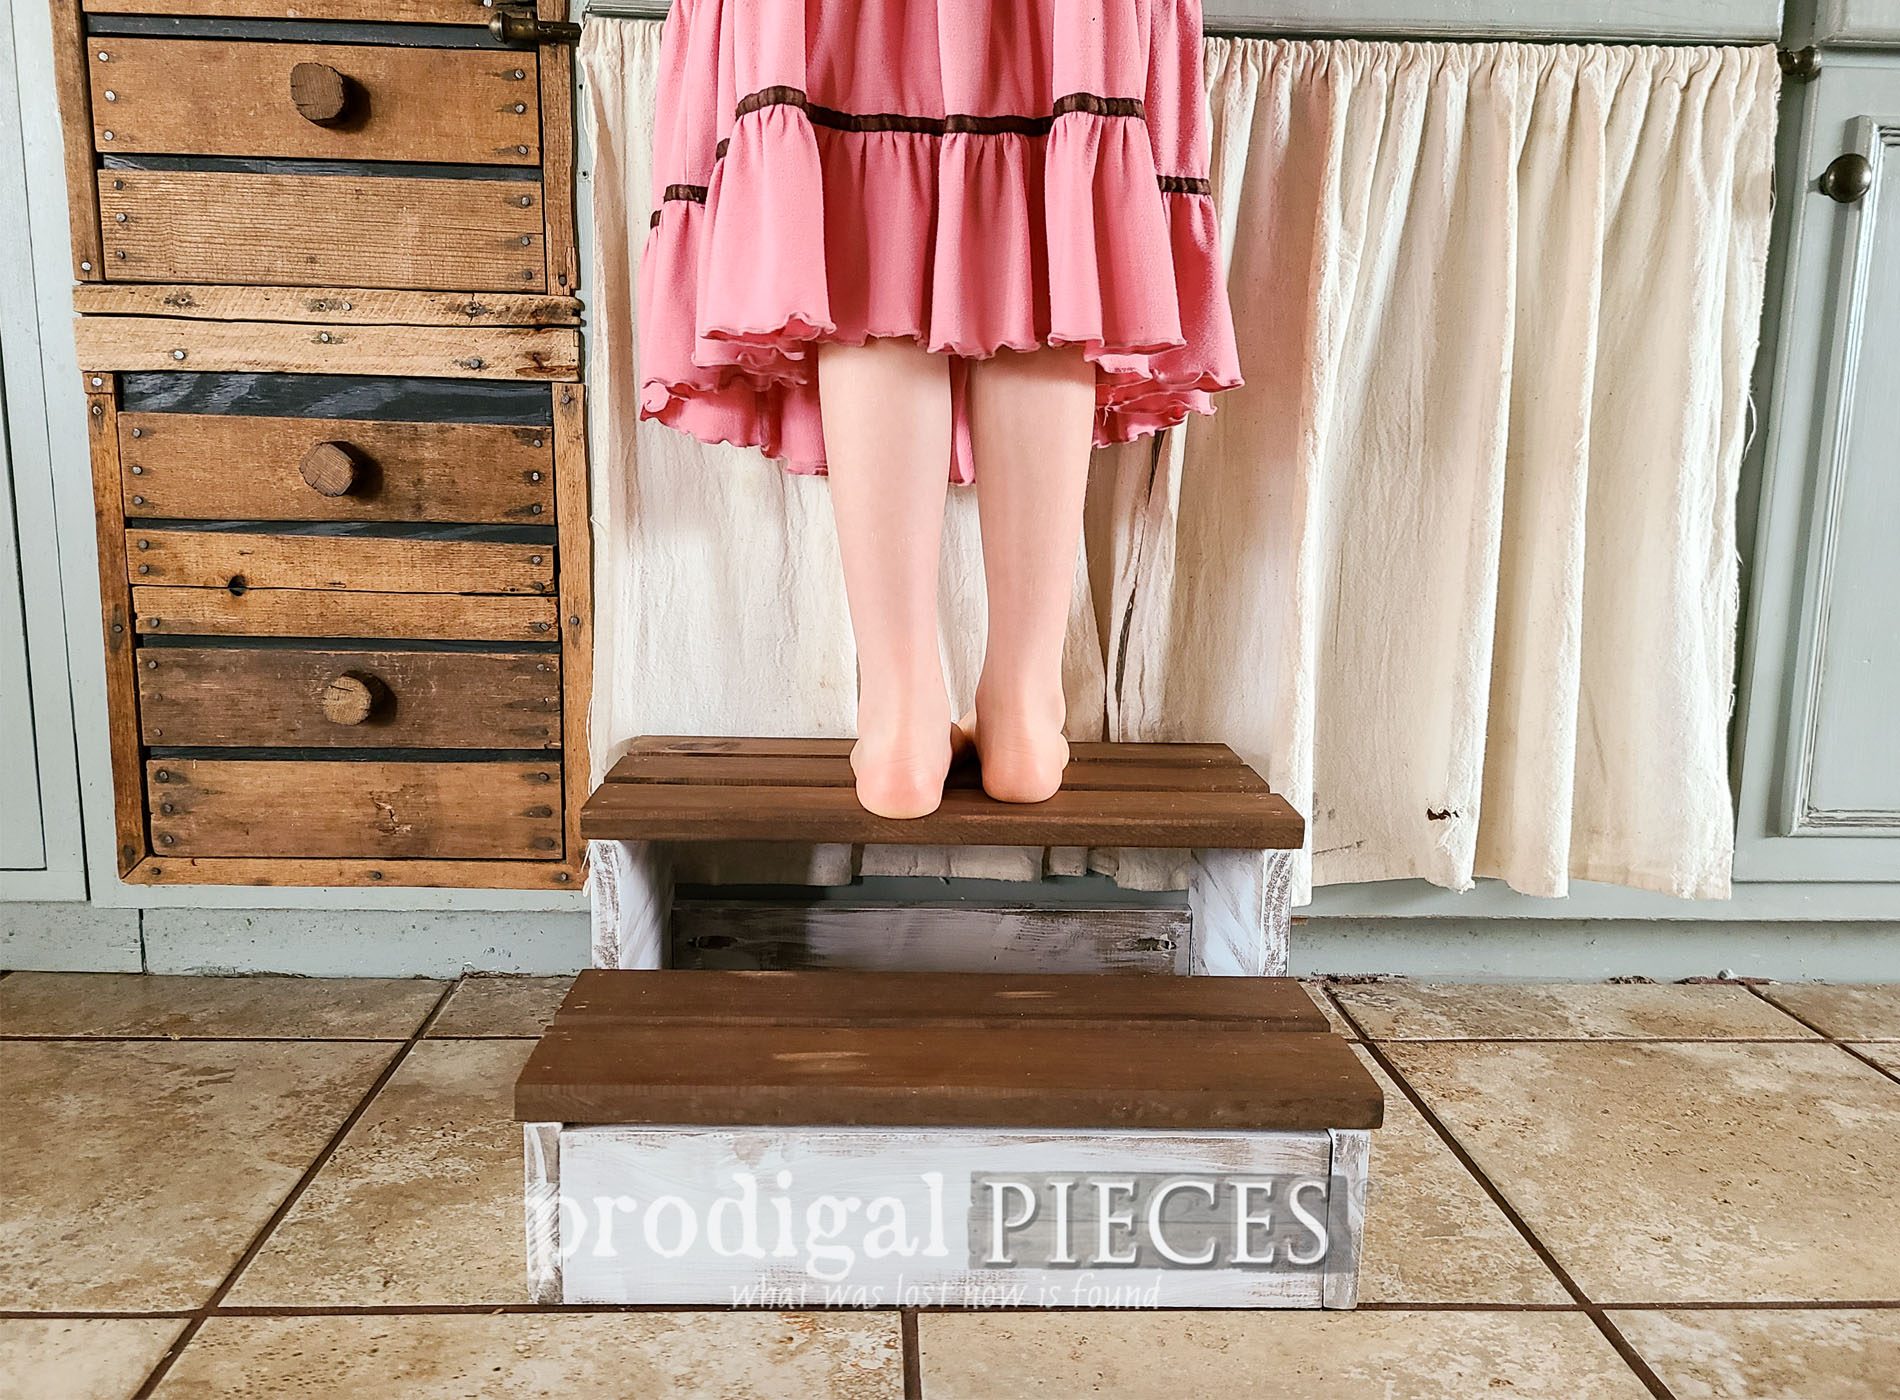
Are you ready to see my DIY wood slat projects? I did two! First, here's my slat wood step stool featuring my little sweetie.
 Not bad for some scrap wood and bit of time invested, eh?
 my last project post, I took a vintage quilt rack and had some kid fun with it. However, there were still some parts left over that I wanted to also upcycle into a new purpose. These DIY wood slat projects I'm about to share can be made by anyone with any basic slat wood. Are you ready? First, take a peek at where these wood slats came from... They're basic pine and nothing fancy, so you could definitely find similar at a lumber yard. With that in mind, I'm going to dive into my wood stash and create two things with what I have on hand.
 DIY TIME
If you remember, a few projects ago I created a decoupaged coat rack from an arched cutout I had leftover from creating arched doorways in my living room. I have two of these left. *post includes affiliate links so you can find the products I love to use too. (see full disclosure)
For my first project, I'm going to cut this piece up to make two L-shaped pieces with my jigsaw and my miter saw. These are my step stool sides. Do you see it? Then, I cut the slats to create two plank steps. Also, I cut two extra scrap pieces to join the two new side pieces together with a. Before assembling the top, I use my reactive stain to match the pine pieces I just cut to the slats. Next, I whitewash the sides and attaching pieces. Almost done! Last, but not least, I attach the top slats to each step using my nailer. THE REVEALS
Are you ready to see my DIY wood slat projects? I did two! First, here's my slat wood step stool featuring my little sweetie. Not bad for some scrap wood and bit of time invested, eh? Up next, it's Reduce, Reuse, REFASHION time! I can't wait to show you what I do with these thrifted wool sweaters. [sweaters] More fun builds like my DIY wood slat projects: 
 " src="https://ezbloo.prodigalpieces.com/uploads/2020/12/wooden-slat-step-stool-scaled.jpg" alt="DIY Wood Slat Step Stool for Home by Larissa of Prodigal Pieces | prodigalpieces.com prodigalpieces farmhouse home diy homedecor" width="550" height="413" />
 Second, in addition to that step stool, I had enough scrap slats left over to make this tray. Little girl can use it for her brick stash.

ONE MORE
Likewise, a mama can use it in her kitchen or as a table centerpiece.
 Who knew an upcycled quilt rack could do so much? Above all, I'd love to hear which of the DIY wood slat projects is your favorite. Additionally, if you'd like to purchase them, you can find them available in my online shop.
[metaslider id=30251]
 Not only leave me a comment, but also pin and share my latest projects. Likewise, I'm sure I'm not the only one who either has scrap wood or would like to add some storage and function to their home.

UP NEXT
Up next, it's Reduce, Reuse, REFASHION time! I can't wait to show you what I do with these thrifted wool sweaters. Head HERE TO SEE! To get these DIY tips & tricks in your inbox, be sure to sign up for my newsletter. Until next time!

In addition, more fun builds like my DIY wood slat projects: