I'm a gal that keeps her word, so here I am making good on the promise I made in my last post. What's the promise? To take this table top I removed from
this side table and turn it into a something fun. Obviously, I can go many ways with this, but today... I'm creating a DIY tote for you.

For reference, here is the table I took the top from...

Doesn't it look like that circle was just plopped down on there? I linked to the makeover above, so take a peek to what happened to the base. Today, I'm circling back to make use of that circle. (pun intended)
HIP TO BE SQUARE
First, I have nothing against circles, but do have an aversion to pieces that don't function properly. That top definitely didn't make that side table very functional. However, that plywood does absolutely has potential in the mere fact that it's wood. I've often said that if something is made of wood it is a
DIY gold mine.
In order for me to accomplish the DIY tote project, I draft a drawing of how to make use of every inch of the wood. I begin by making the center square.

Then, once I mark up the board, I take my circular saw and cut off the round edges.

After that, I cut off a length from the long side to use for a handle. Next, once all pieces are cut, I begin to piece together the sides of my tote and sand them down by hand.

FINISHING TOUCHES
As you can imagine, there are many ways I could go with this to finish it off. For my purposes, I want to create a rustic feel. In order to do that, I stain the tote with a reactive stain as I've used before
HERE on a vintage sewing box and
HERE on a thrifted cheese box as well.

This particular stain is a brown that naturally ages the wood to a gorgeous patina right before your eyes. Finally, once the stain cures, I apply white milk paint followed by brown wax to age it.
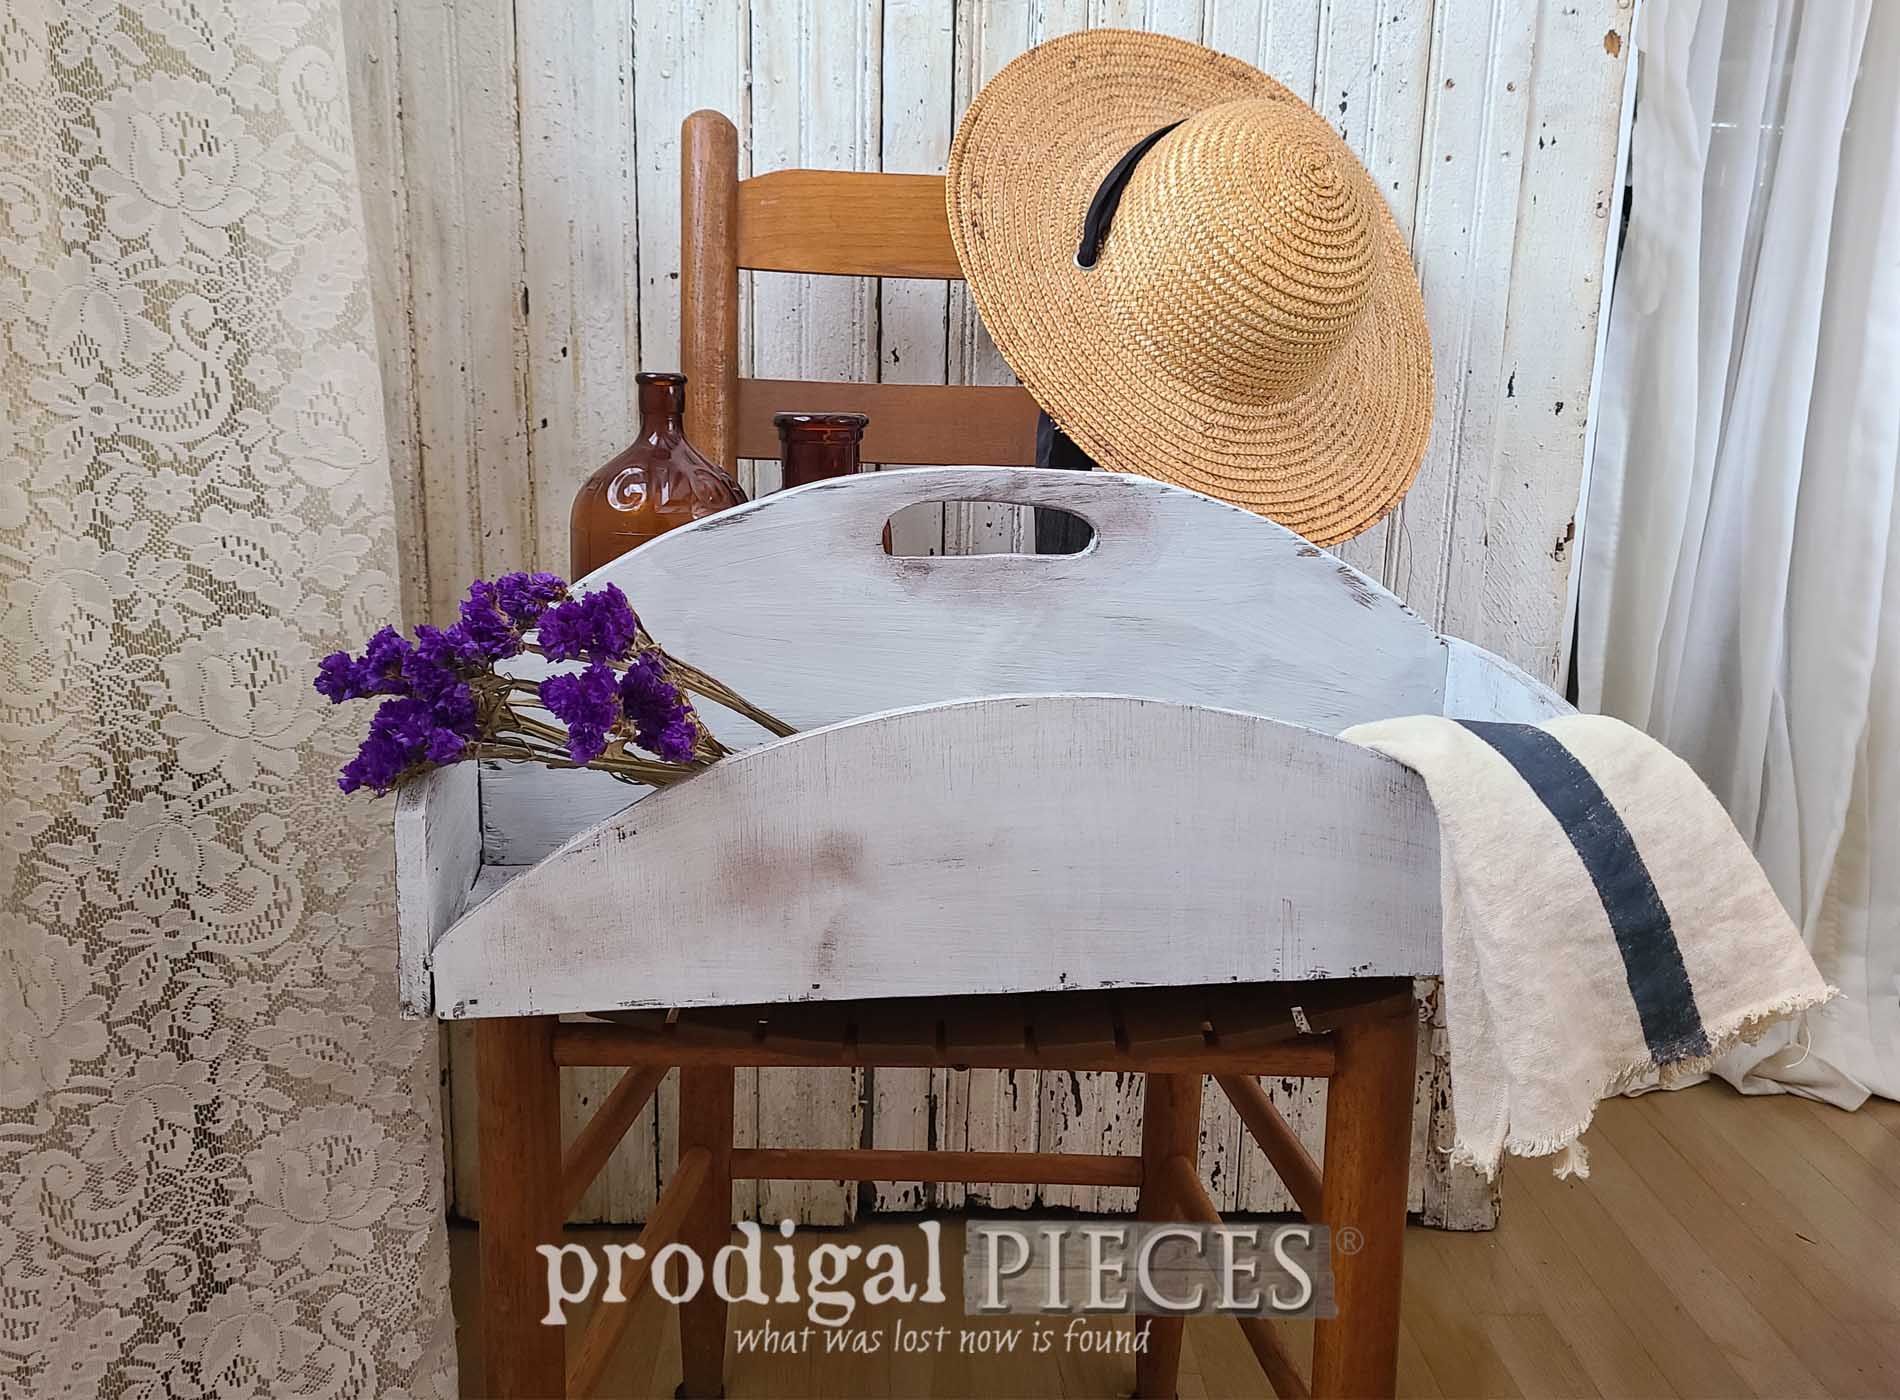
DIY TOTE DONE
Here's my tabletop turned tote and ready to go for pretty much anything your heart desires. What would you fill it with?


We call it a tote, a trug, a caddy, but all things lead to storage in some fashion or another. I have a few tucked in and around my home for various reasons.


Now, it's your time to share. Would you have saved the top for a higher purpose? Or maybe would you have just left it in a circle? I want to hear from ya!
Also, if you'd like to make this tote or any of the vintage and handmade finds in
my online store, you can make your own home story too.


SHARE
What is more, do pin and share to inspire others to see past the obvious and give DIY a try. Not only is it fun, but is useful in more ways than one.

Before you go, be sure to
sign up for my FREE newsletter to join me as I rework this thrifted table for
Trash to Treasure Tuesday. See
the "after" HERE. Until next time!

 PINTEREST | EMAIL
While you're at it, here are more projects like my DIY tote: