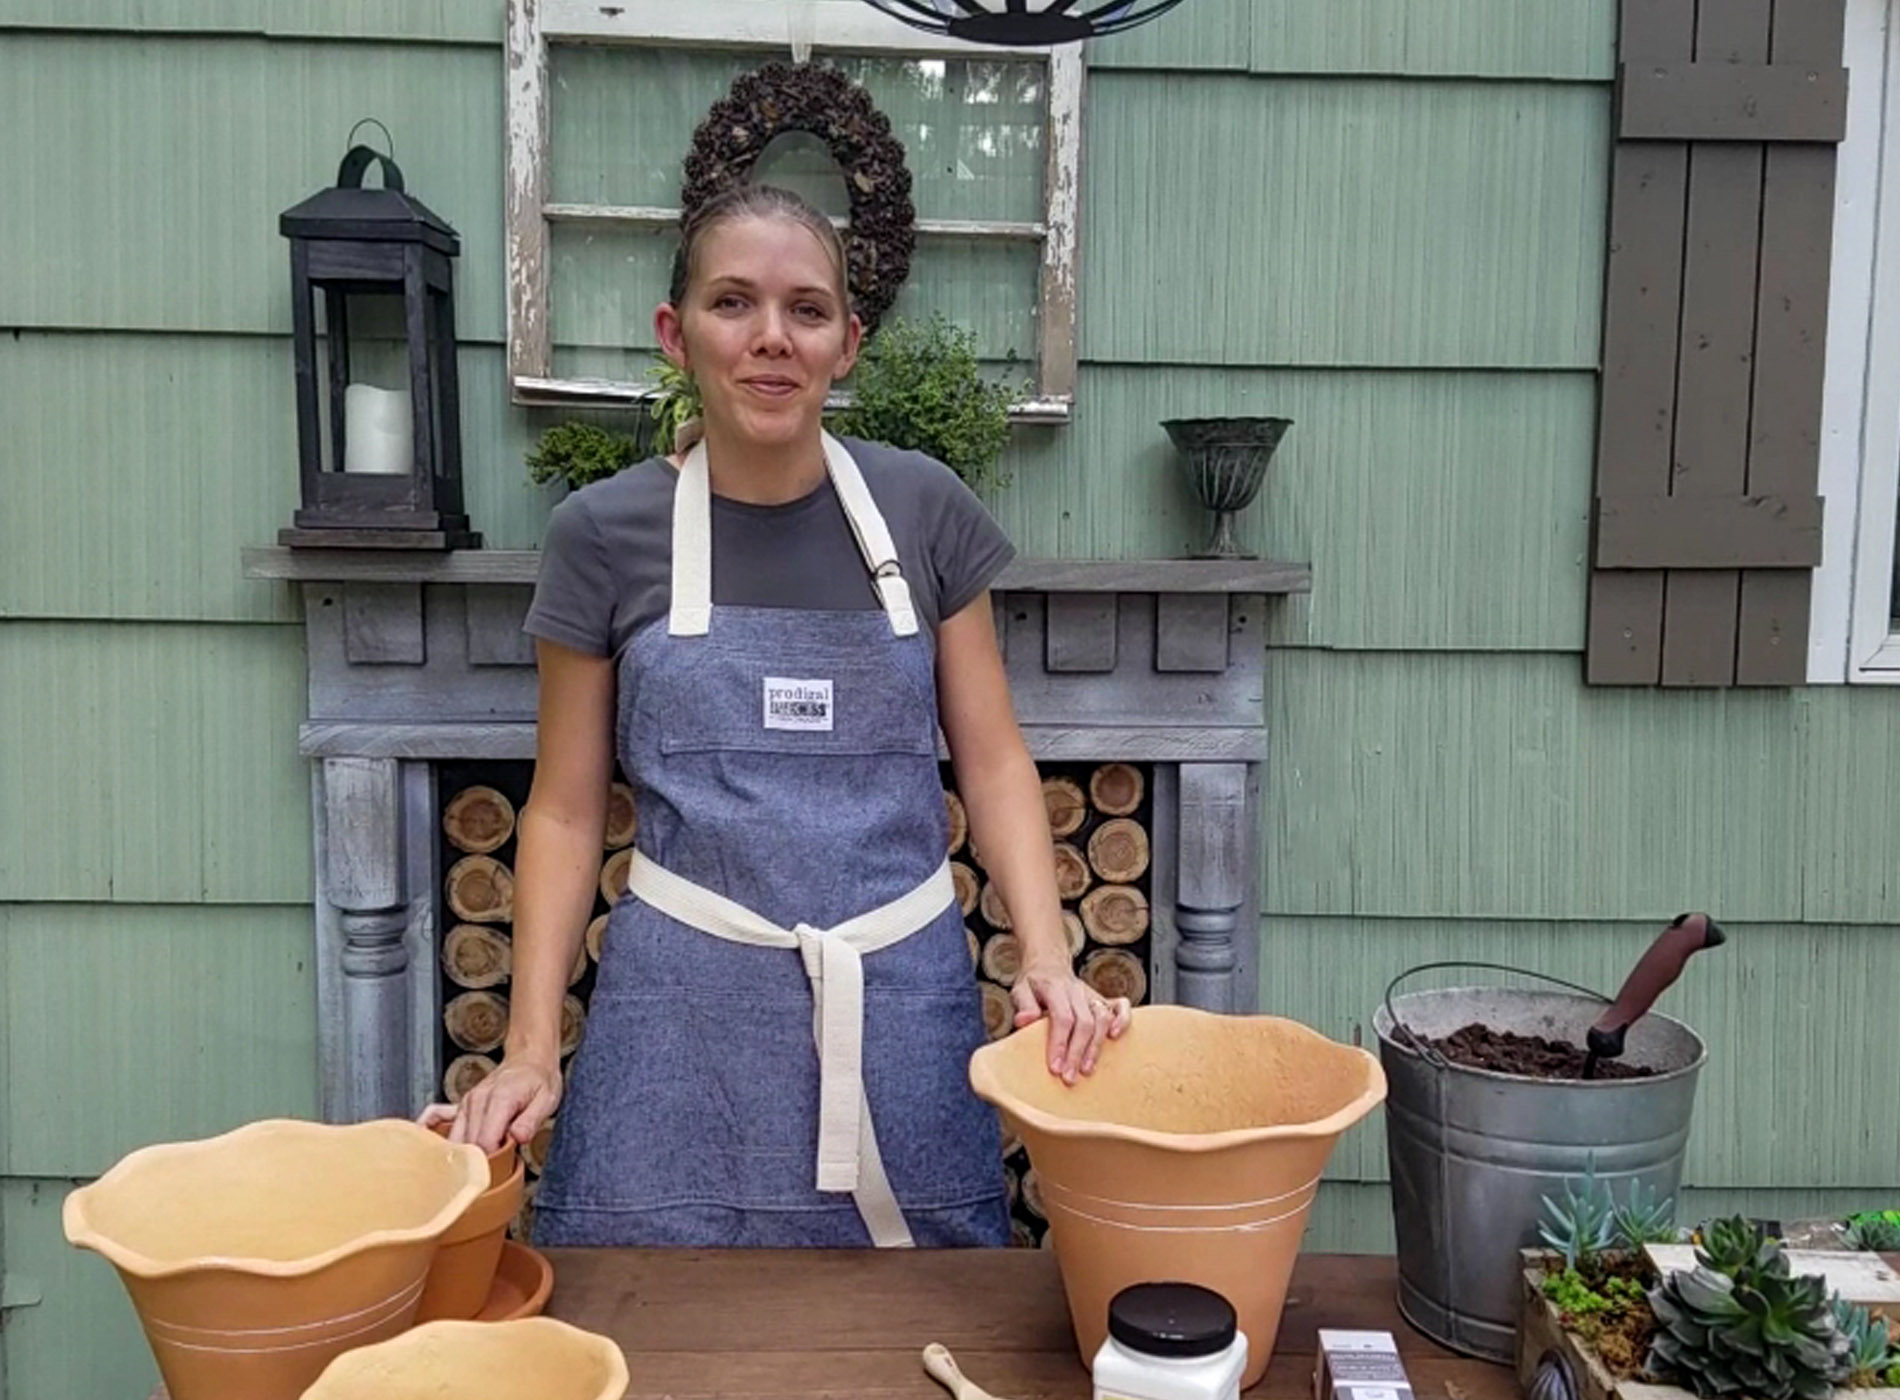
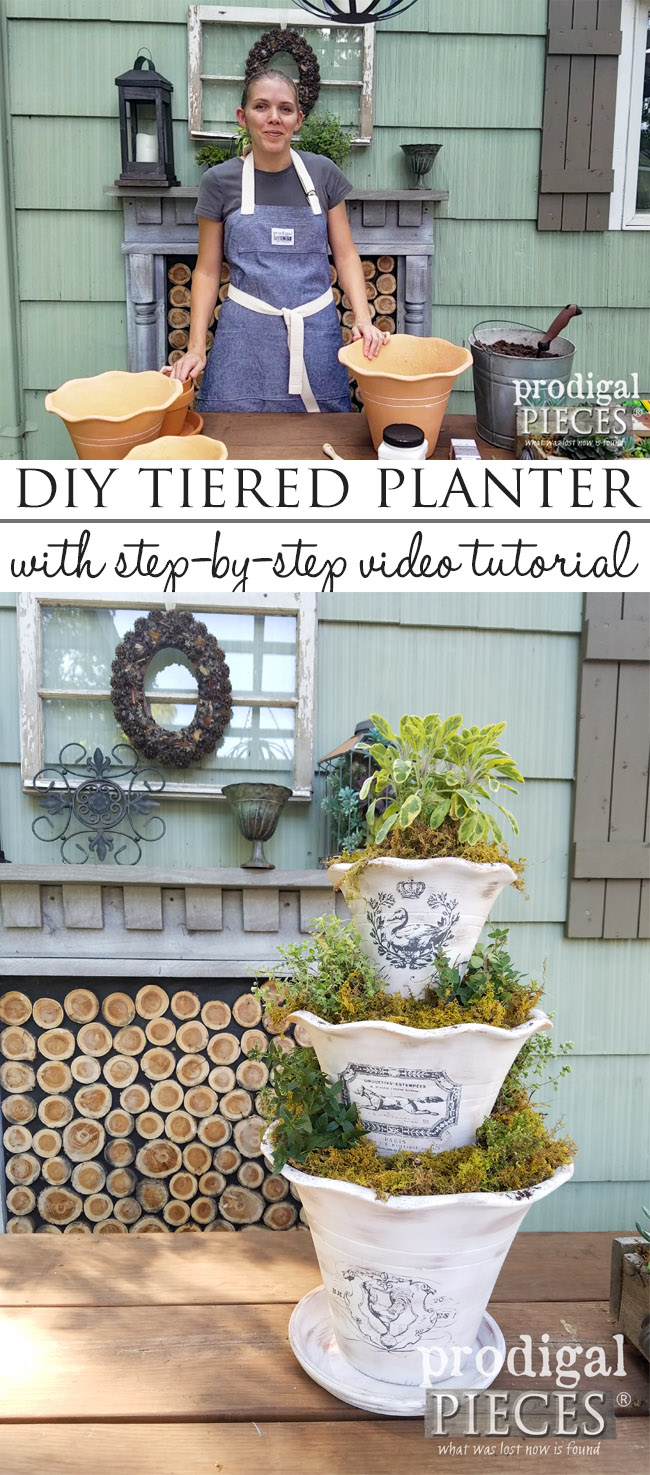
Do you have a green thumb? No worries if not because my project today will be perfect for fresh or faux displays. It's all about getting crafty and I'm here to show you how in my latest video. We're going to take our gardening to new heights by creating a DIY tiered planter that will give you the option to add French flair.
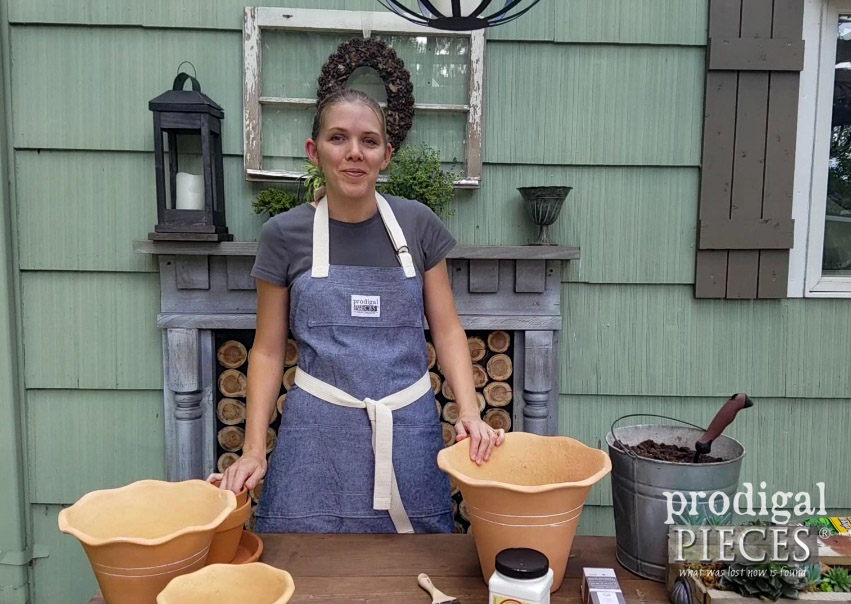
The best part about this entire project is it can be tweaked to your liking in oodles of ways. For this purpose, I am going to demonstrate an aged French finish in my latest video. As a result, you will see the options are limitless. Yay!
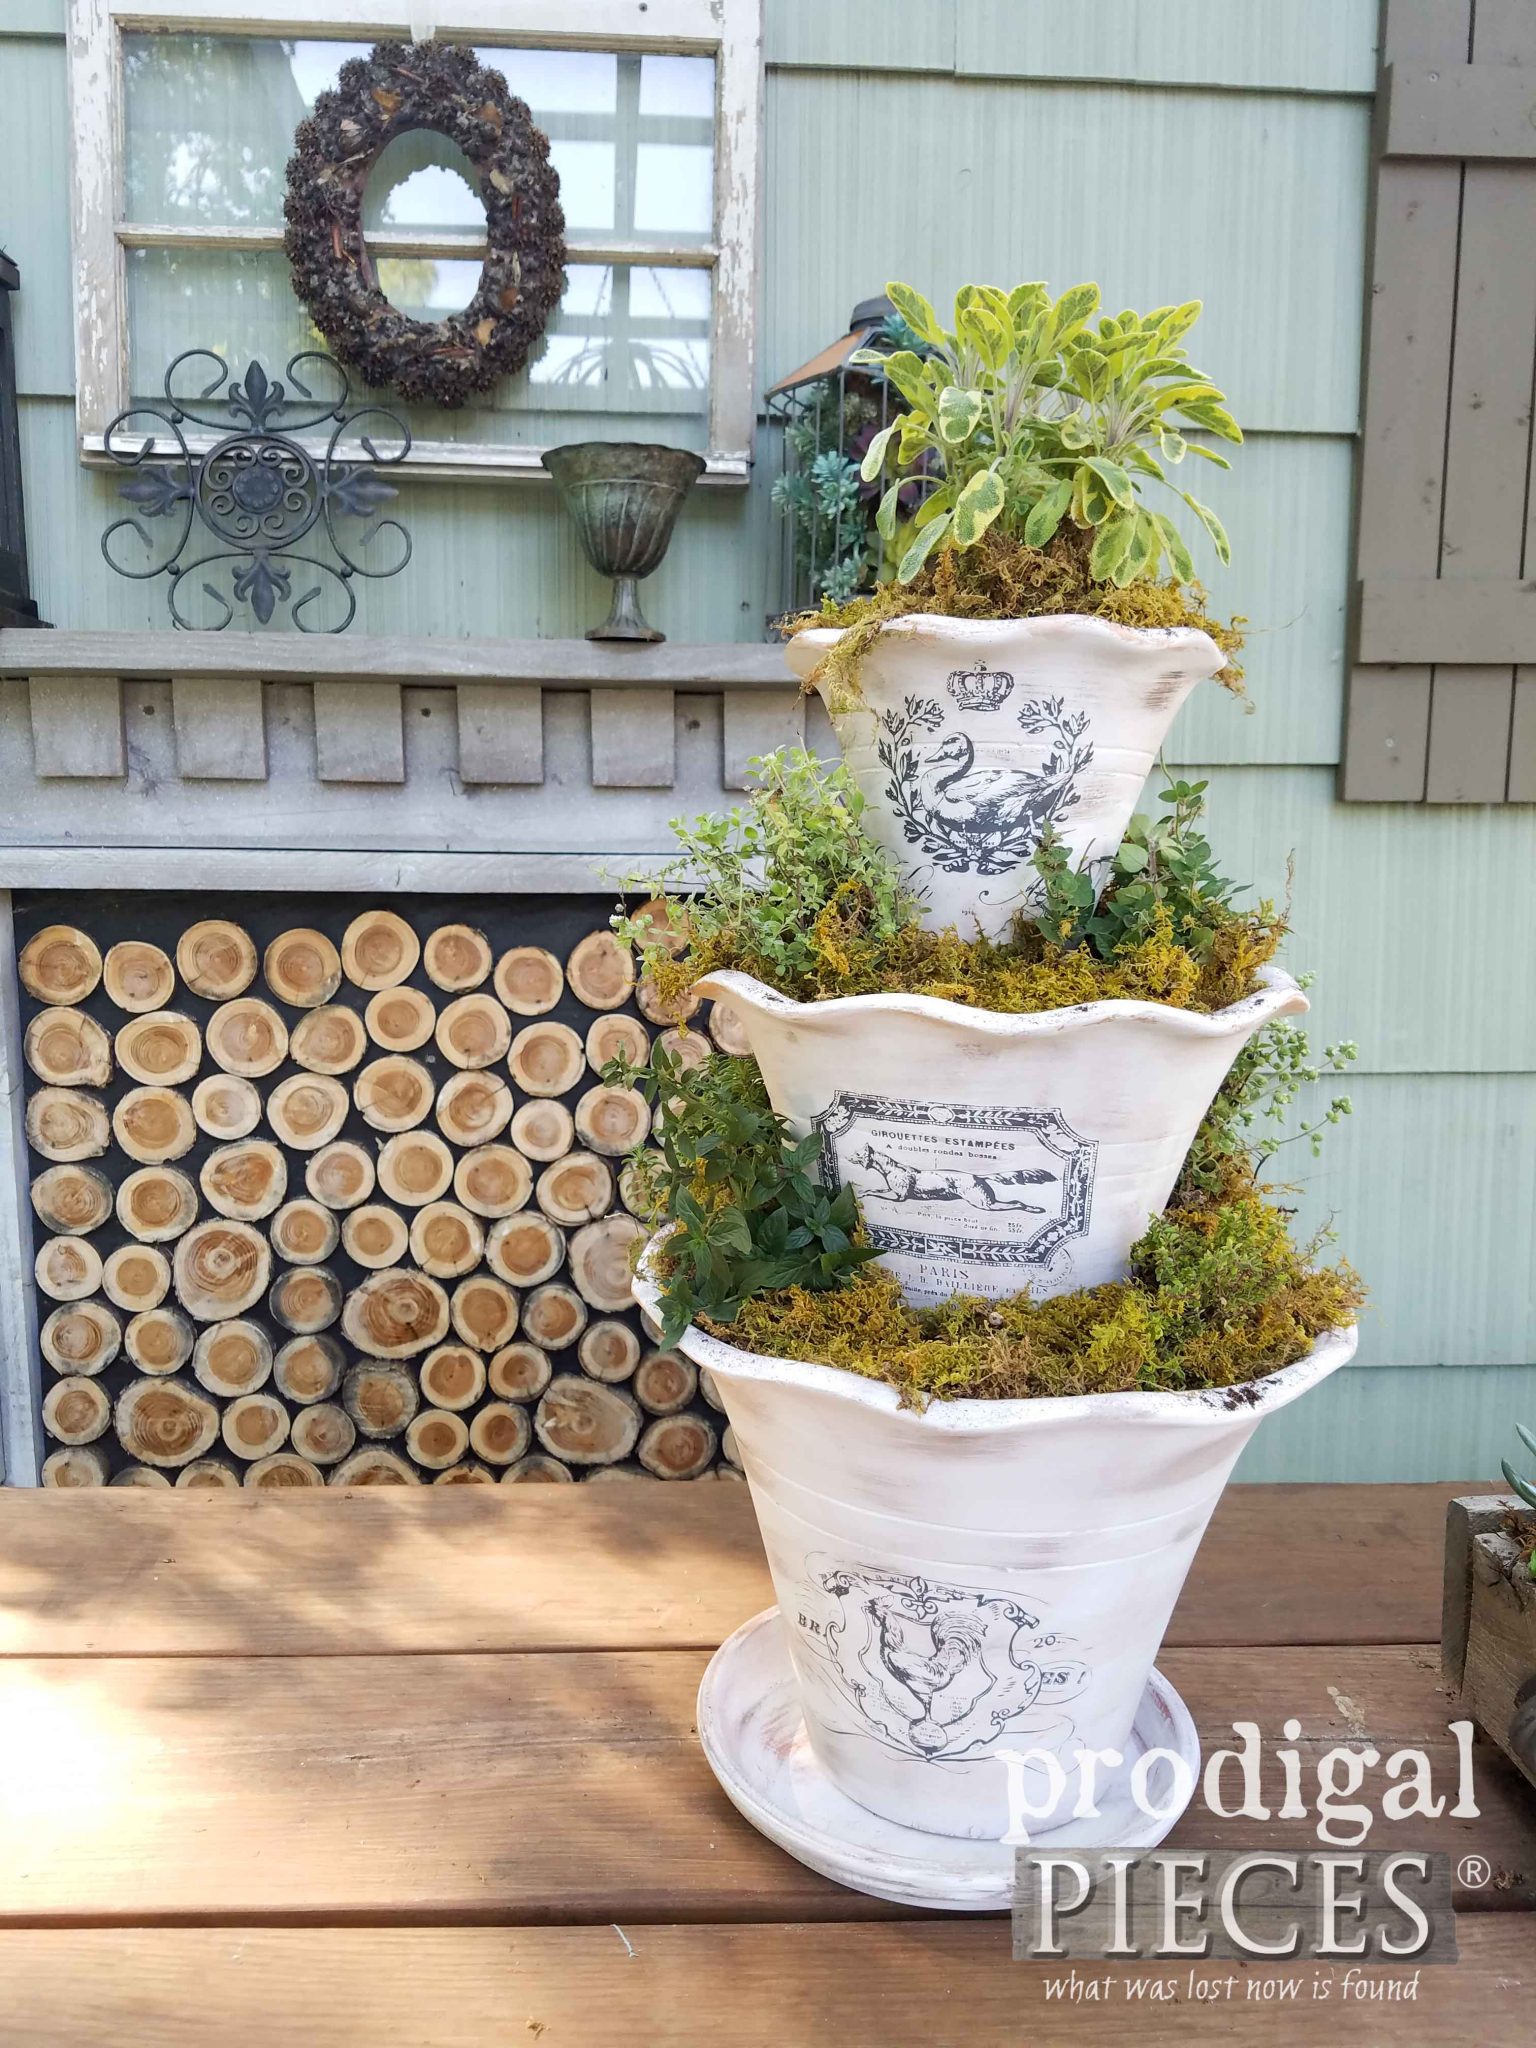
First, here are the basic supplies you will need to create a DIY tiered planter of your own. Feel free to dry stack the pots at the store to make sure you get the right height.
TERMS OF USE: when you create these planters, you agree to the following: it cannot be shared or distributed for monetary gain in any way, it may not be modified in any way, and you may not claim the work as your own. Likewise, this planter design can not be used as decor in a store either online or brick and mortar. Thanks for complying!
DIY TIME
Materials:
- 3 - pots of varied size for the base of the structure. I used 8", 11", 13"
- 1 - approx. 6" x 5" pot (for inside the large)
- 1- approx. 5" x 6" pot (for inside medium)
- potting soil/compost blend
- 1 - base plate for bottom of tiered pots
- white paint
- brown wax (optional)
- French Pot Transfers
- Liquid Nails
- topcoat (optional)
- sheet moss
- painter's tape or masking tape
- selection of herbs, flowers, faux flowers, etc.

Tools:
- paint brush
- garden spade
- caulk gun (if using liquid nails)
Ready to get started? Let's get our build on. Woot!
To make this easier, I created a video that take you through the entire process start to finish.
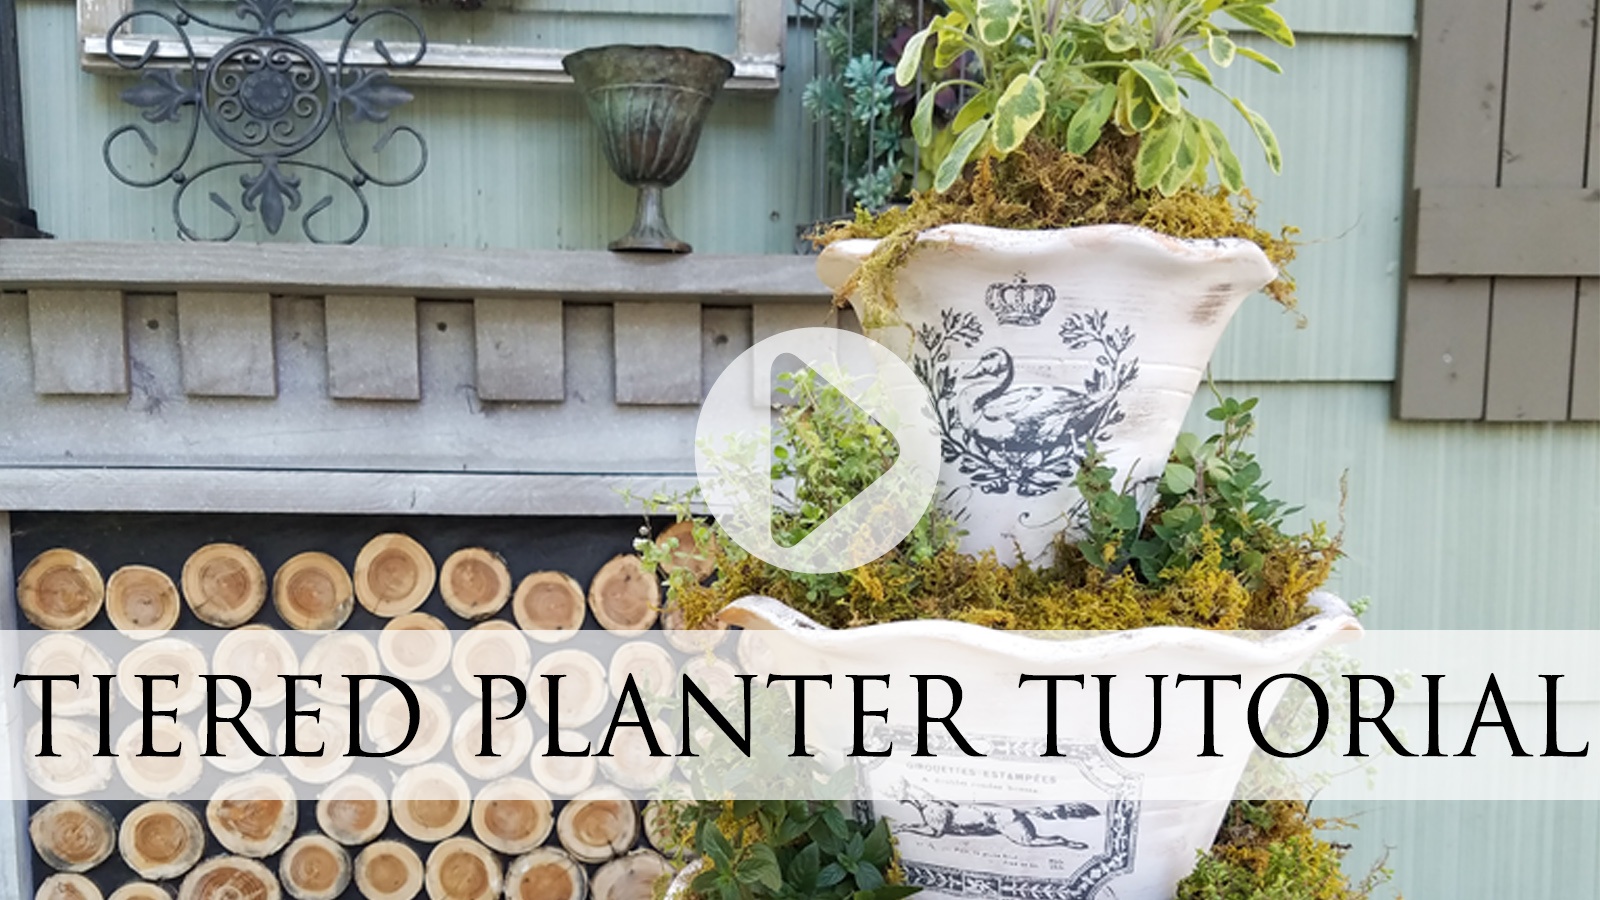
For those of you not video inclined, I also have the steps laid out for you so you can have them in written form too. Again, you could go any direction with color and style of design, but I am demonstrating how I created a French DIY tiered planter.
Step 1
Once you have all your materials and tools gathered together, you'll want to begin by giving your pots a whitewash using a basic white paint. Using strokes that go around the container. Then, a brush-width edge on the inside.

Also, you want to use a dry brush technique of just getting a bit on your brush. We're not looking for a solid coat, but rather an aged appeal. Then, let cure for about an hour or completely dry to the touch.
Step 2
Time to add our French flair. Ooh la, la! This is a fun part because it's so easy to quickly see results. Next, cut apart your transfer into 3 separate decals and tape them in place. Then, using the provided burnishing tool, rub the transfer starting from the inside out working to the outside edges. To illustrate, refer to the video above.
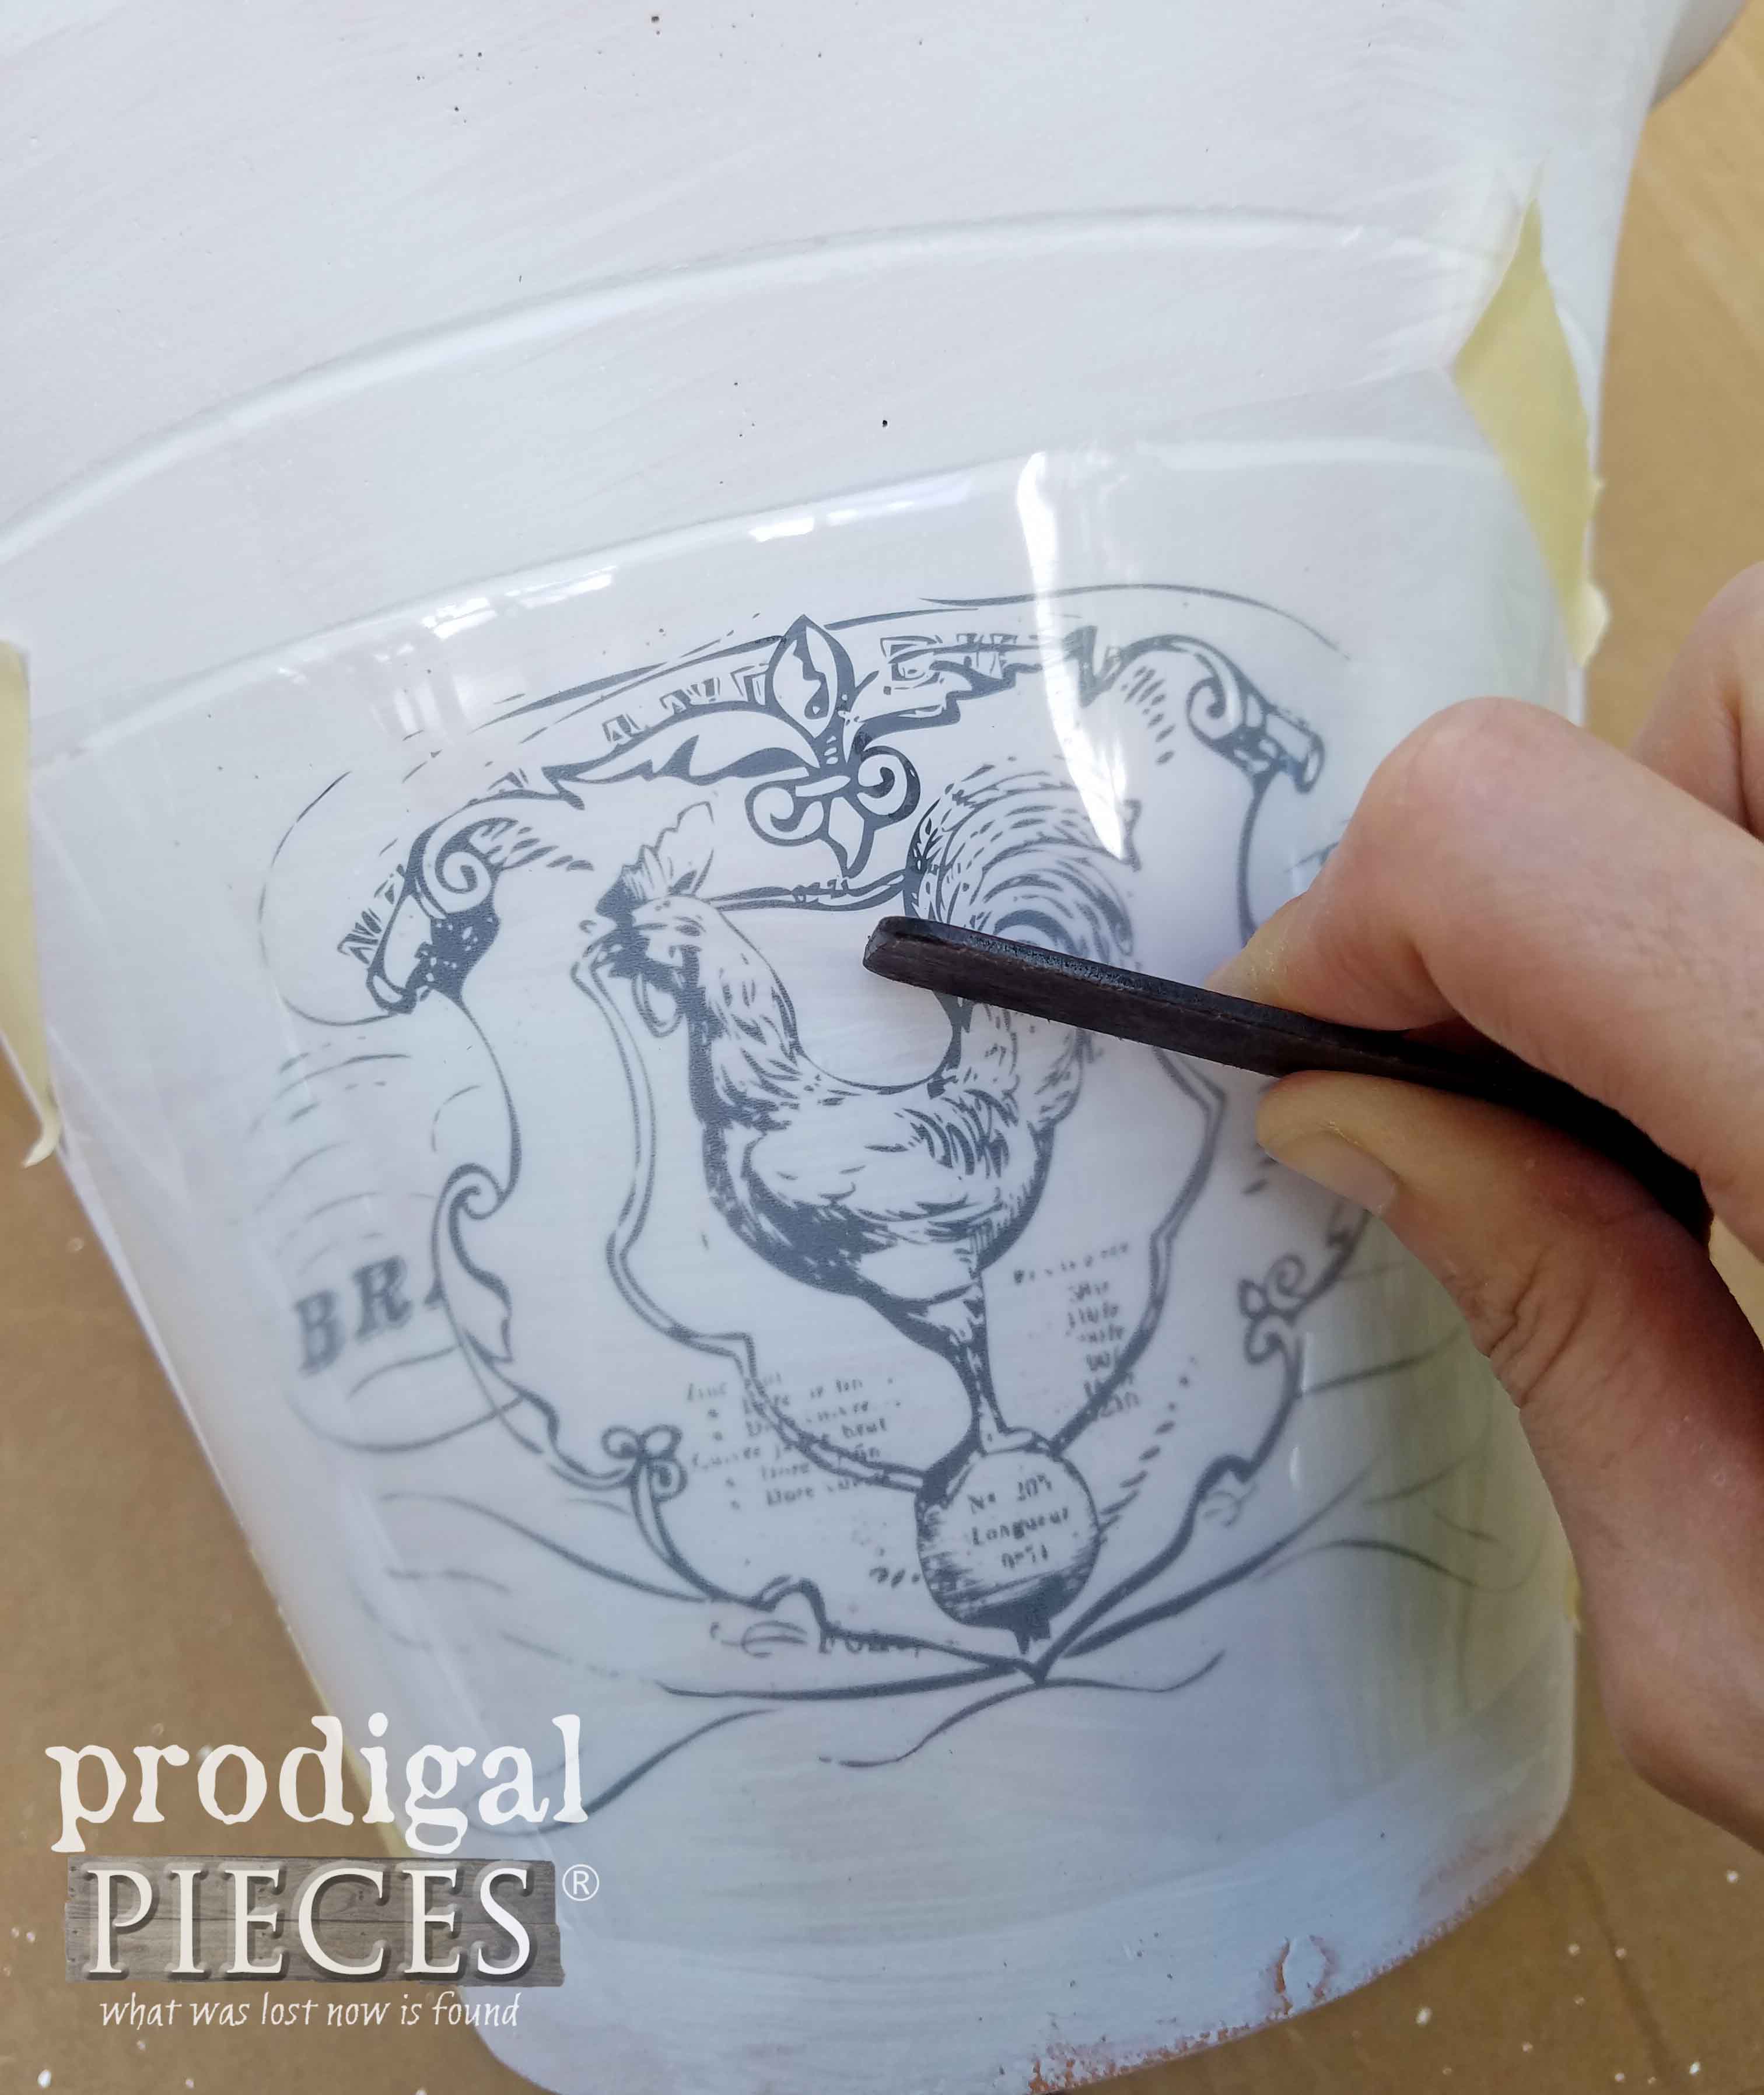
In addition, you will notice the transfer being applied as the backing becomes translucent. To remove the backing, start at one end lifting slowly to make sure all the image has transferred. Aren't they fun?
Step 3
To add to the time-worn aged appeal we're after, we're going to use a brown wax to lightly go over each pot in random swipes going around the planter. (see video for demonstration) With this in mind, you are even going to go over the transfer as well.
Once you've applied the wax, take a soft cotton cloth and remove any excess and also lighten up the color a bit.
Step 4
Then, it's at this point that you want to apply your topcoat if you are using one. Just choose whichever suits the look you are after. Generally, you will use as many coats as desired and let cure.
Step 5
Time to assemble! Take a peek at the assembly order below making note of the glue lines. To begin, I use a heavy duty Liquid Nails glue in a tube for my project since we need quite a bit. Then, add a bead of glue around the two pots top edge that we are are turning upside down to place in the bottom and middle pots.
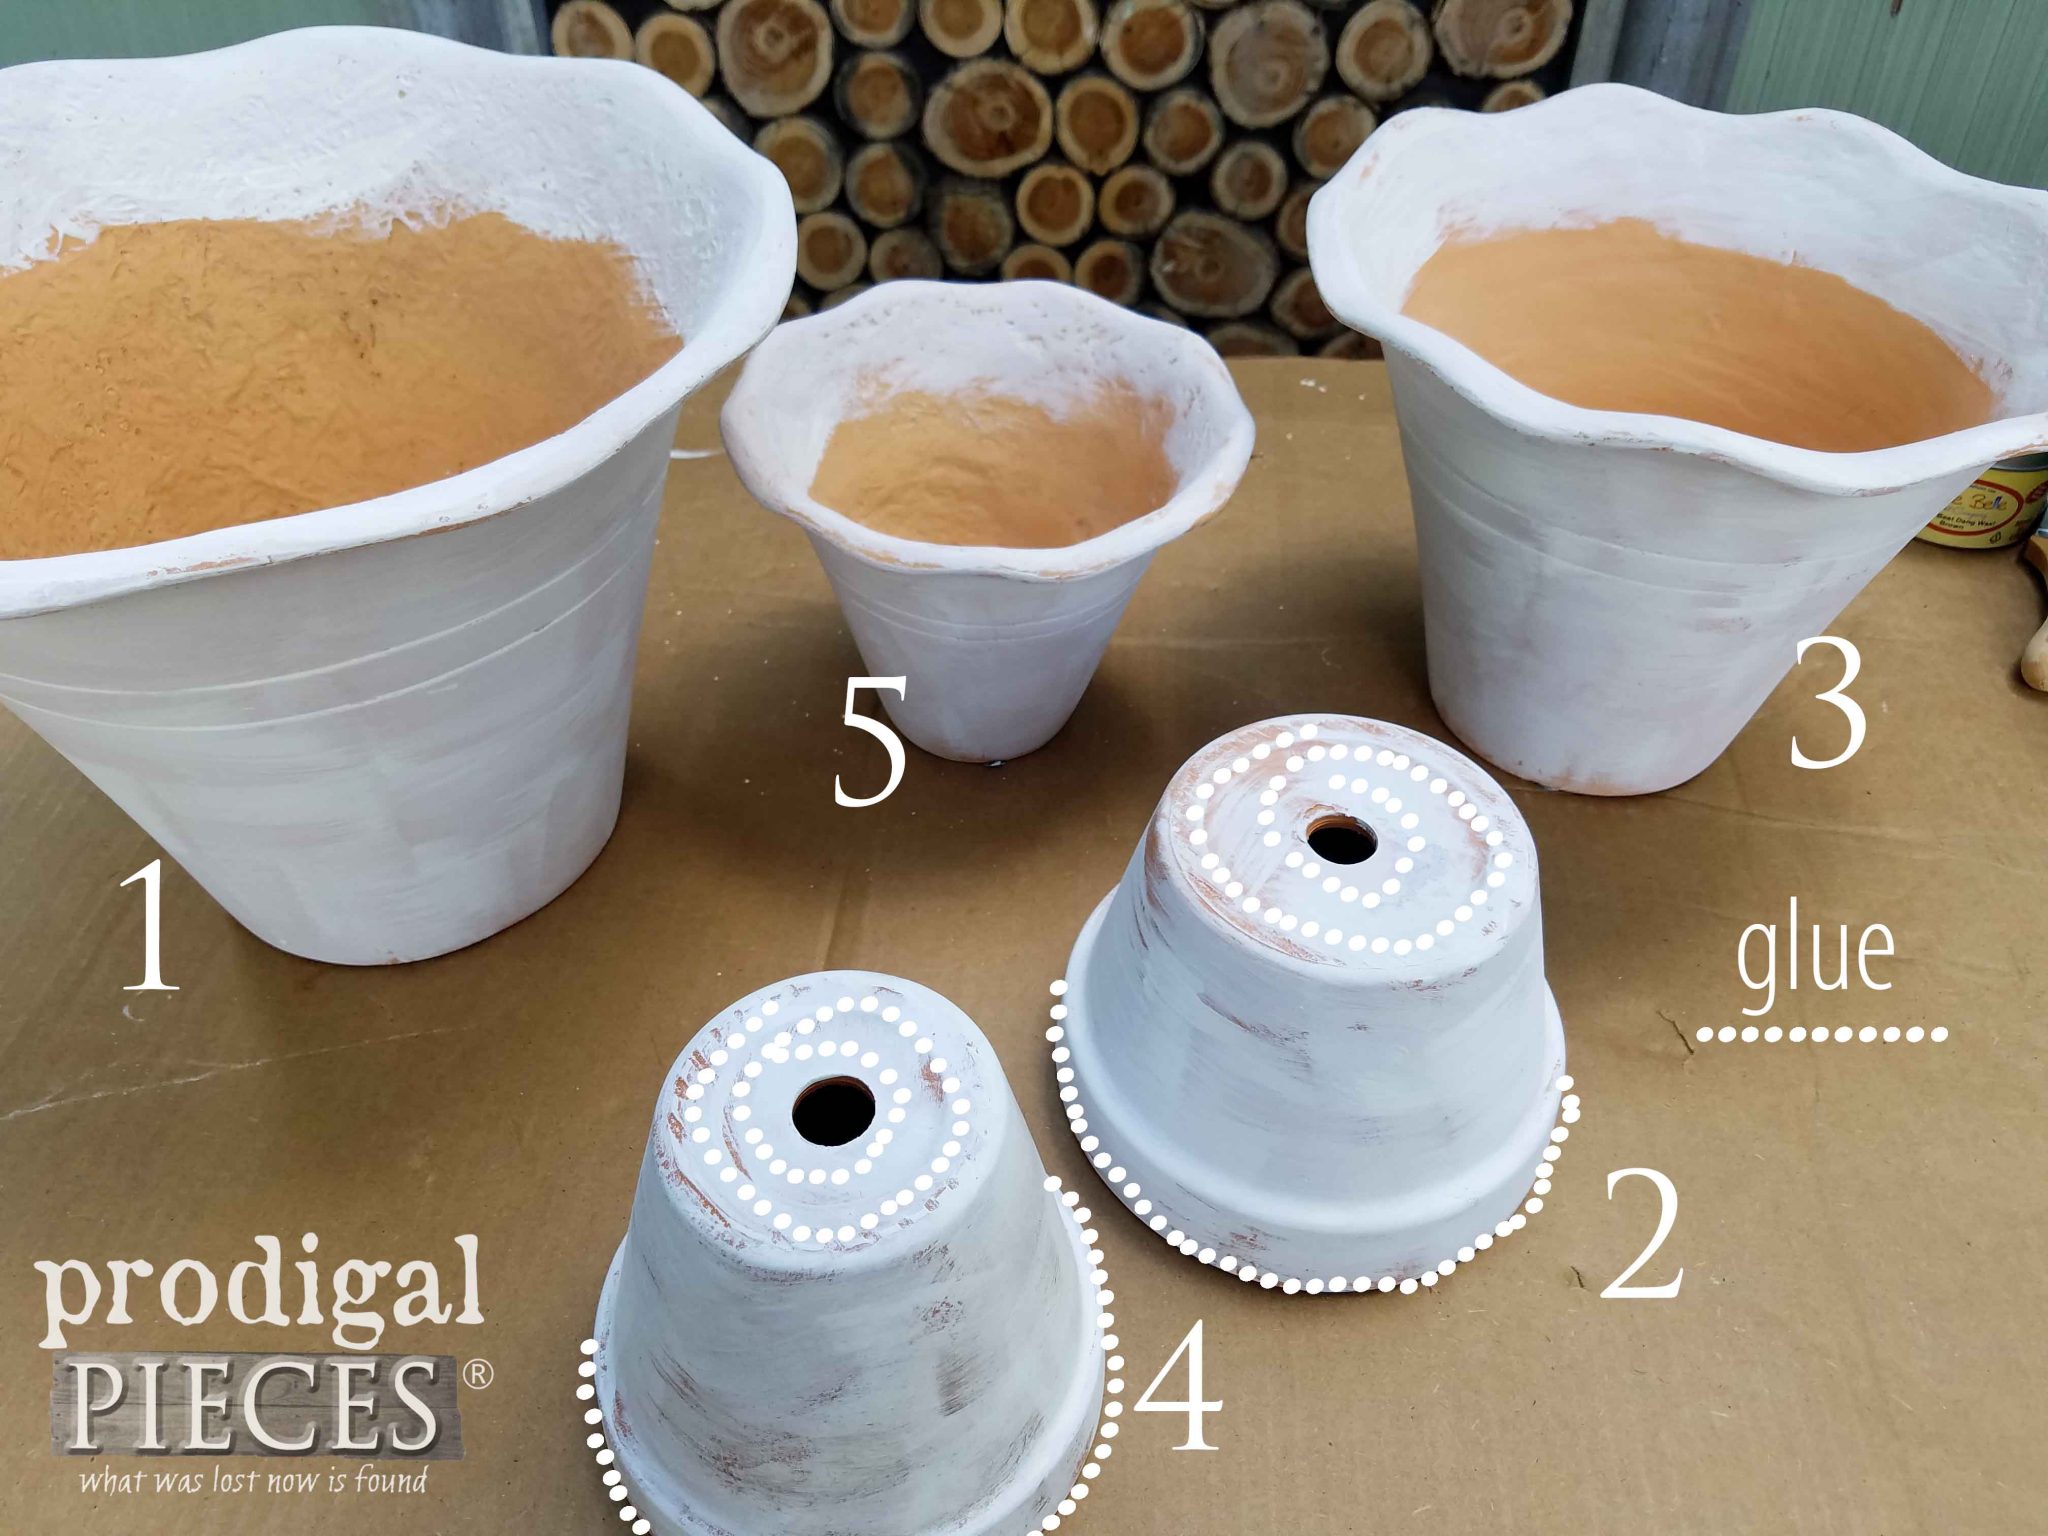
Next, insert the upside-down pots inside the bottom and middle planters and press firmly into place. Afterward, apply a generous amount of glue to the bottom of each upside-down pot and stack your planters according to size. (see video demonstration) Let cure for 12-24 hours.
Step 6
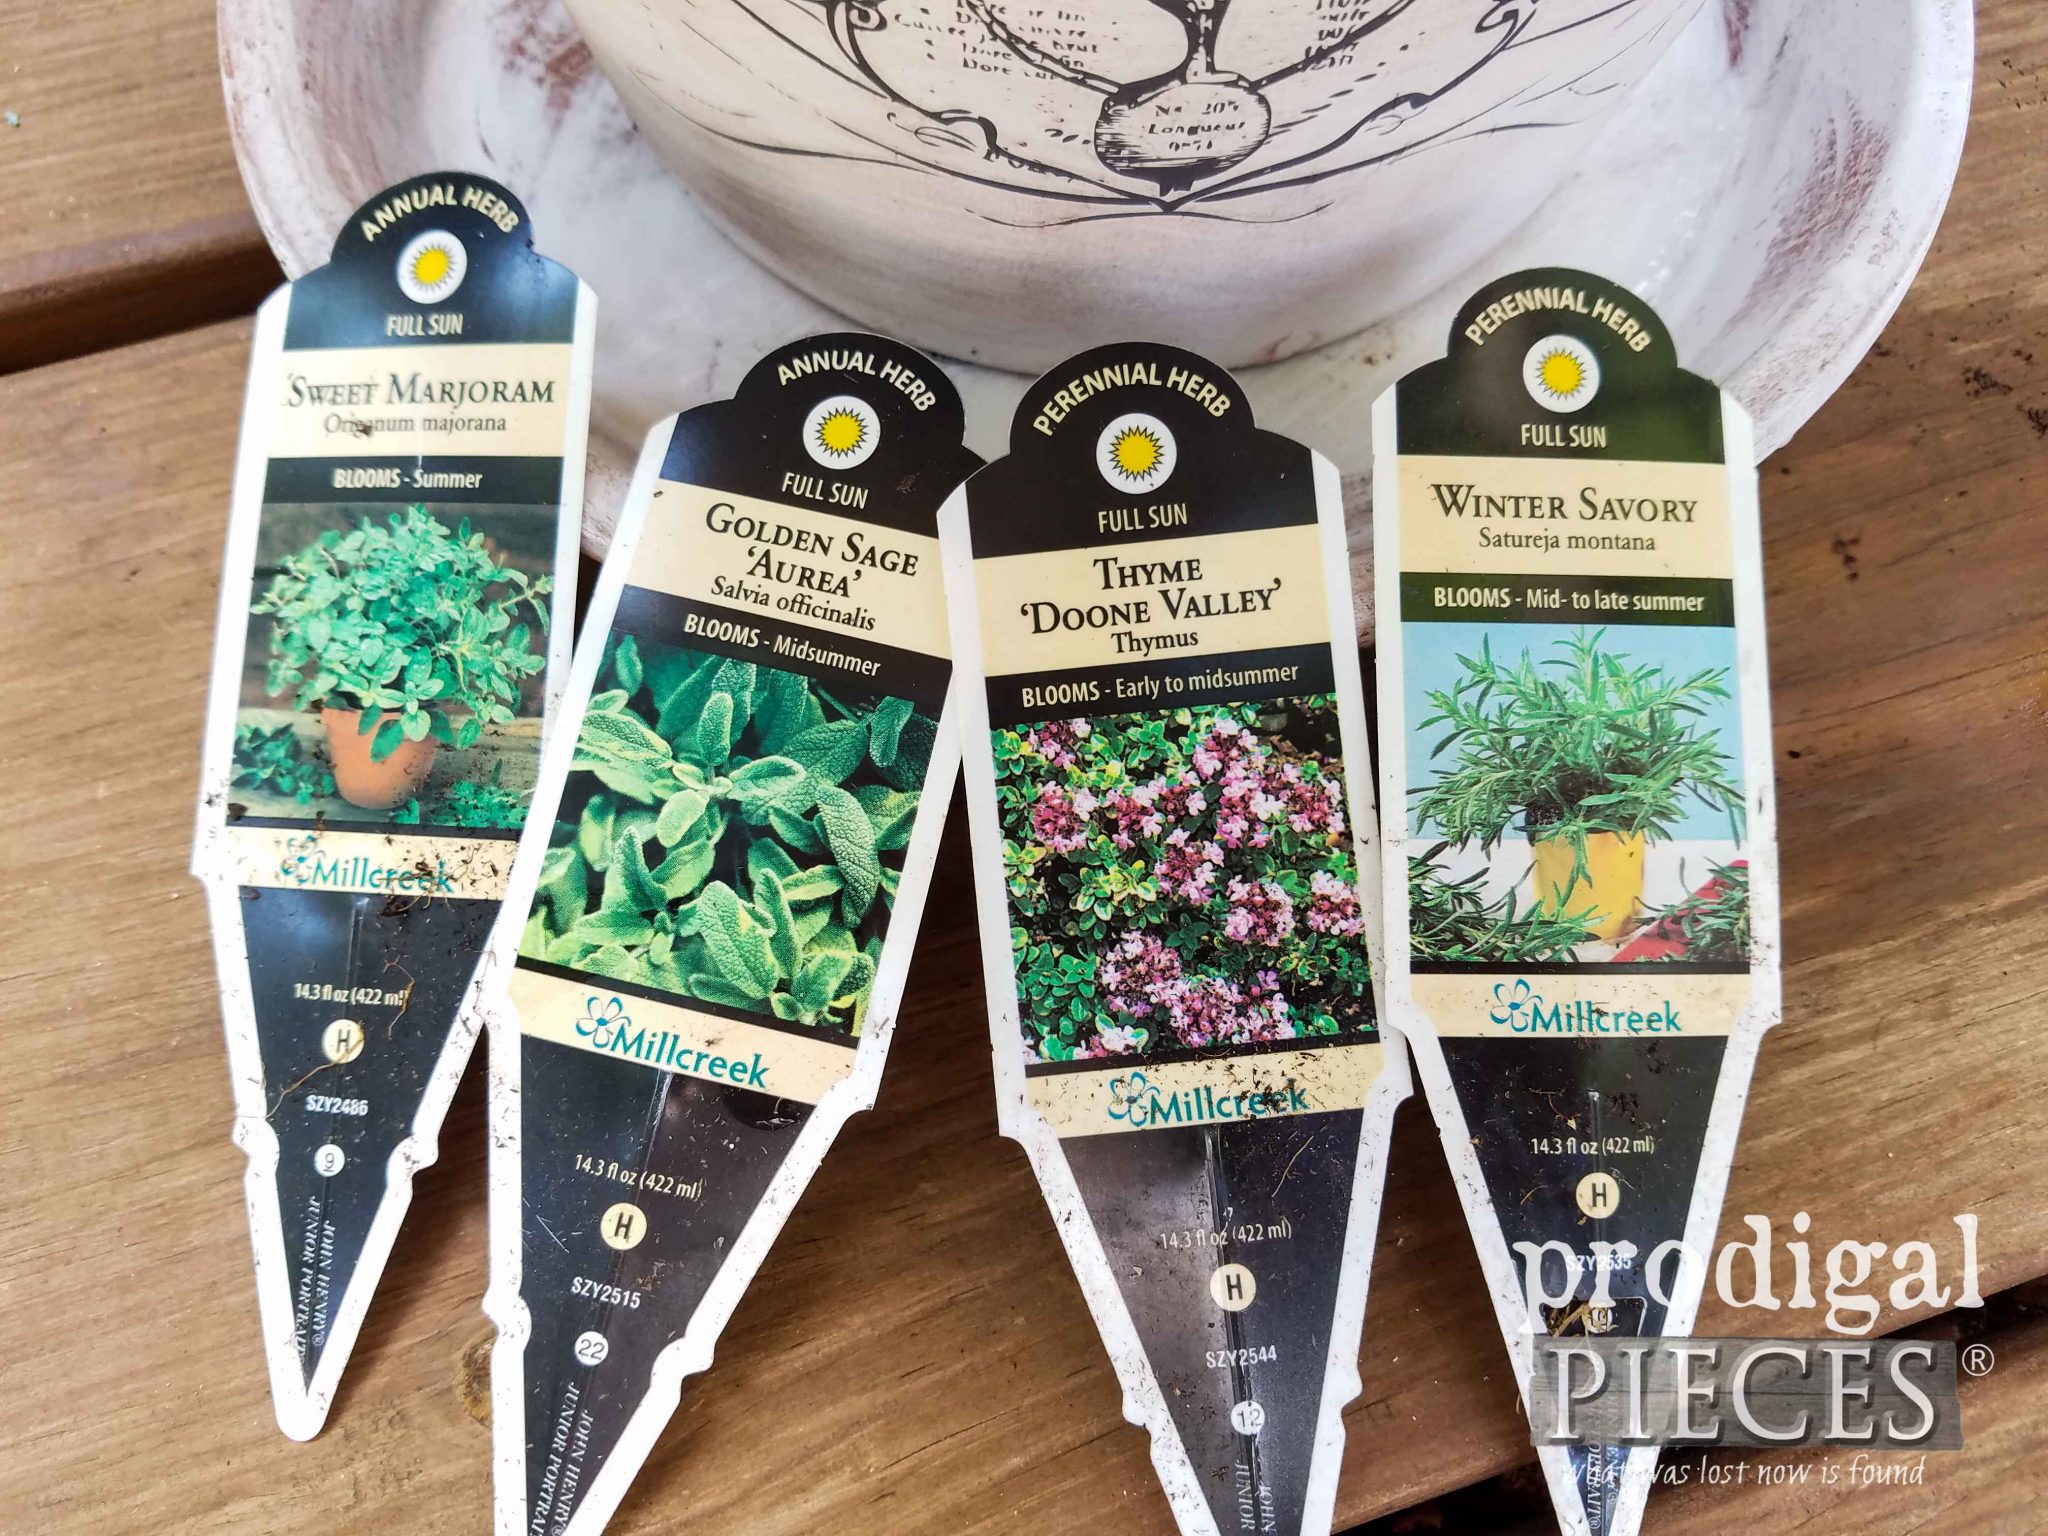
Finally, it's time to fill our pots with whatever makes our heart happy. Likewise, you could even turn this into a water fountain by adding a pump from your local home improvement store. Additionally, since I wanted to create an herb planter for my home, I used a variety of herbs from my garden and local nursery.

Last, I added a bit of sheet moss on top of my soil to add texture, and also help retain moisture. Also, isn't it beautiful! I love to harvest some out of my backyard as well.
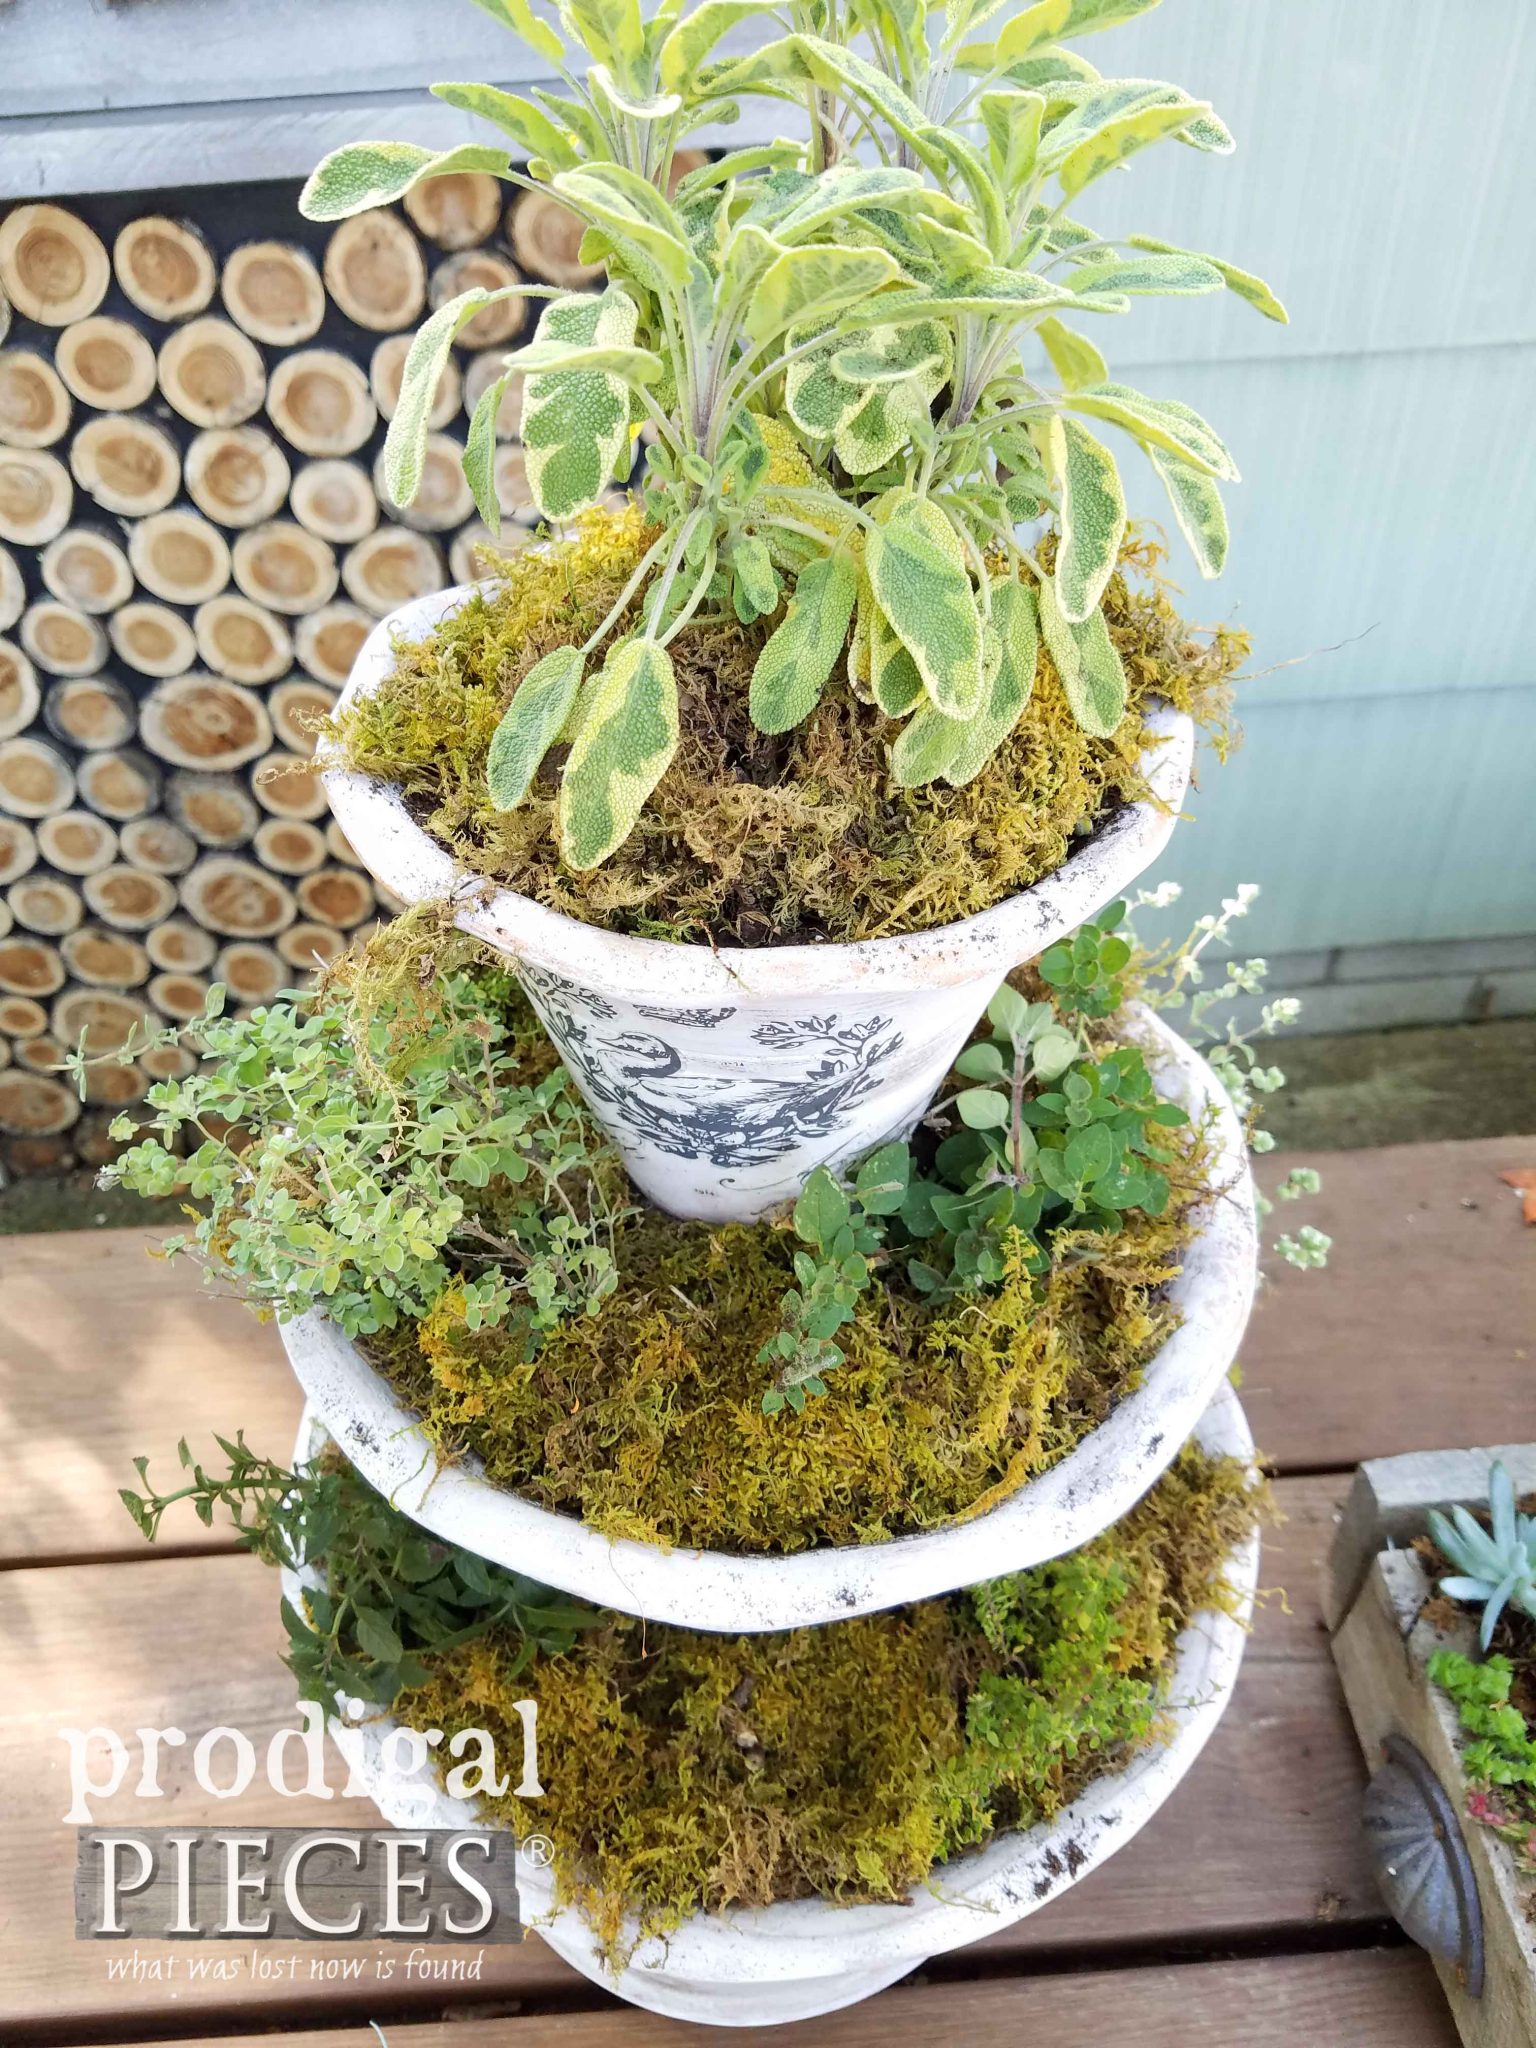
You can easily make this planter in a day. In addition, pin and share this DIY tiered planter so others will be inspired to try to make their house their home too.
To get these DIY tips & tricks in your inbox, be sure to
sign up for my newsletter. Until next time!

Also, more projects like this DIY tiered planter:

 The best part about this entire project is it can be tweaked to your liking in oodles of ways. For this purpose, I am going to demonstrate an aged French finish in my latest video. As a result, you will see the options are limitless. Yay!
 First, here are the basic supplies you will need to create a DIY tiered planter of your own. Feel free to dry stack the pots at the store to make sure you get the right height.
TERMS OF USE: when you create these planters, you agree to the following: it cannot be shared or distributed for monetary gain in any way, it may not be modified in any way, and you may not claim the work as your own. Likewise, this planter design can not be used as decor in a store either online or brick and mortar. Thanks for complying!
 For those of you not video inclined, I also have the steps laid out for you so you can have them in written form too. Again, you could go any direction with color and style of design, but I am demonstrating how I created a French DIY tiered planter.
 Also, you want to use a dry brush technique of just getting a bit on your brush. We're not looking for a solid coat, but rather an aged appeal. Then, let cure for about an hour or completely dry to the touch.
 In addition, you will notice the transfer being applied as the backing becomes translucent. To remove the backing, start at one end lifting slowly to make sure all the image has transferred. Aren't they fun?
 Next, insert the upside-down pots inside the bottom and middle planters and press firmly into place. Afterward, apply a generous amount of glue to the bottom of each upside-down pot and stack your planters according to size. (see video demonstration) Let cure for 12-24 hours.

 Last, I added a bit of sheet moss on top of my soil to add texture, and also help retain moisture. Also, isn't it beautiful! I love to harvest some out of my backyard as well.
 You can easily make this planter in a day. In addition, pin and share this DIY tiered planter so others will be inspired to try to make their house their home too.
 To get these DIY tips & tricks in your inbox, be sure to sign up for my newsletter. Until next time!


