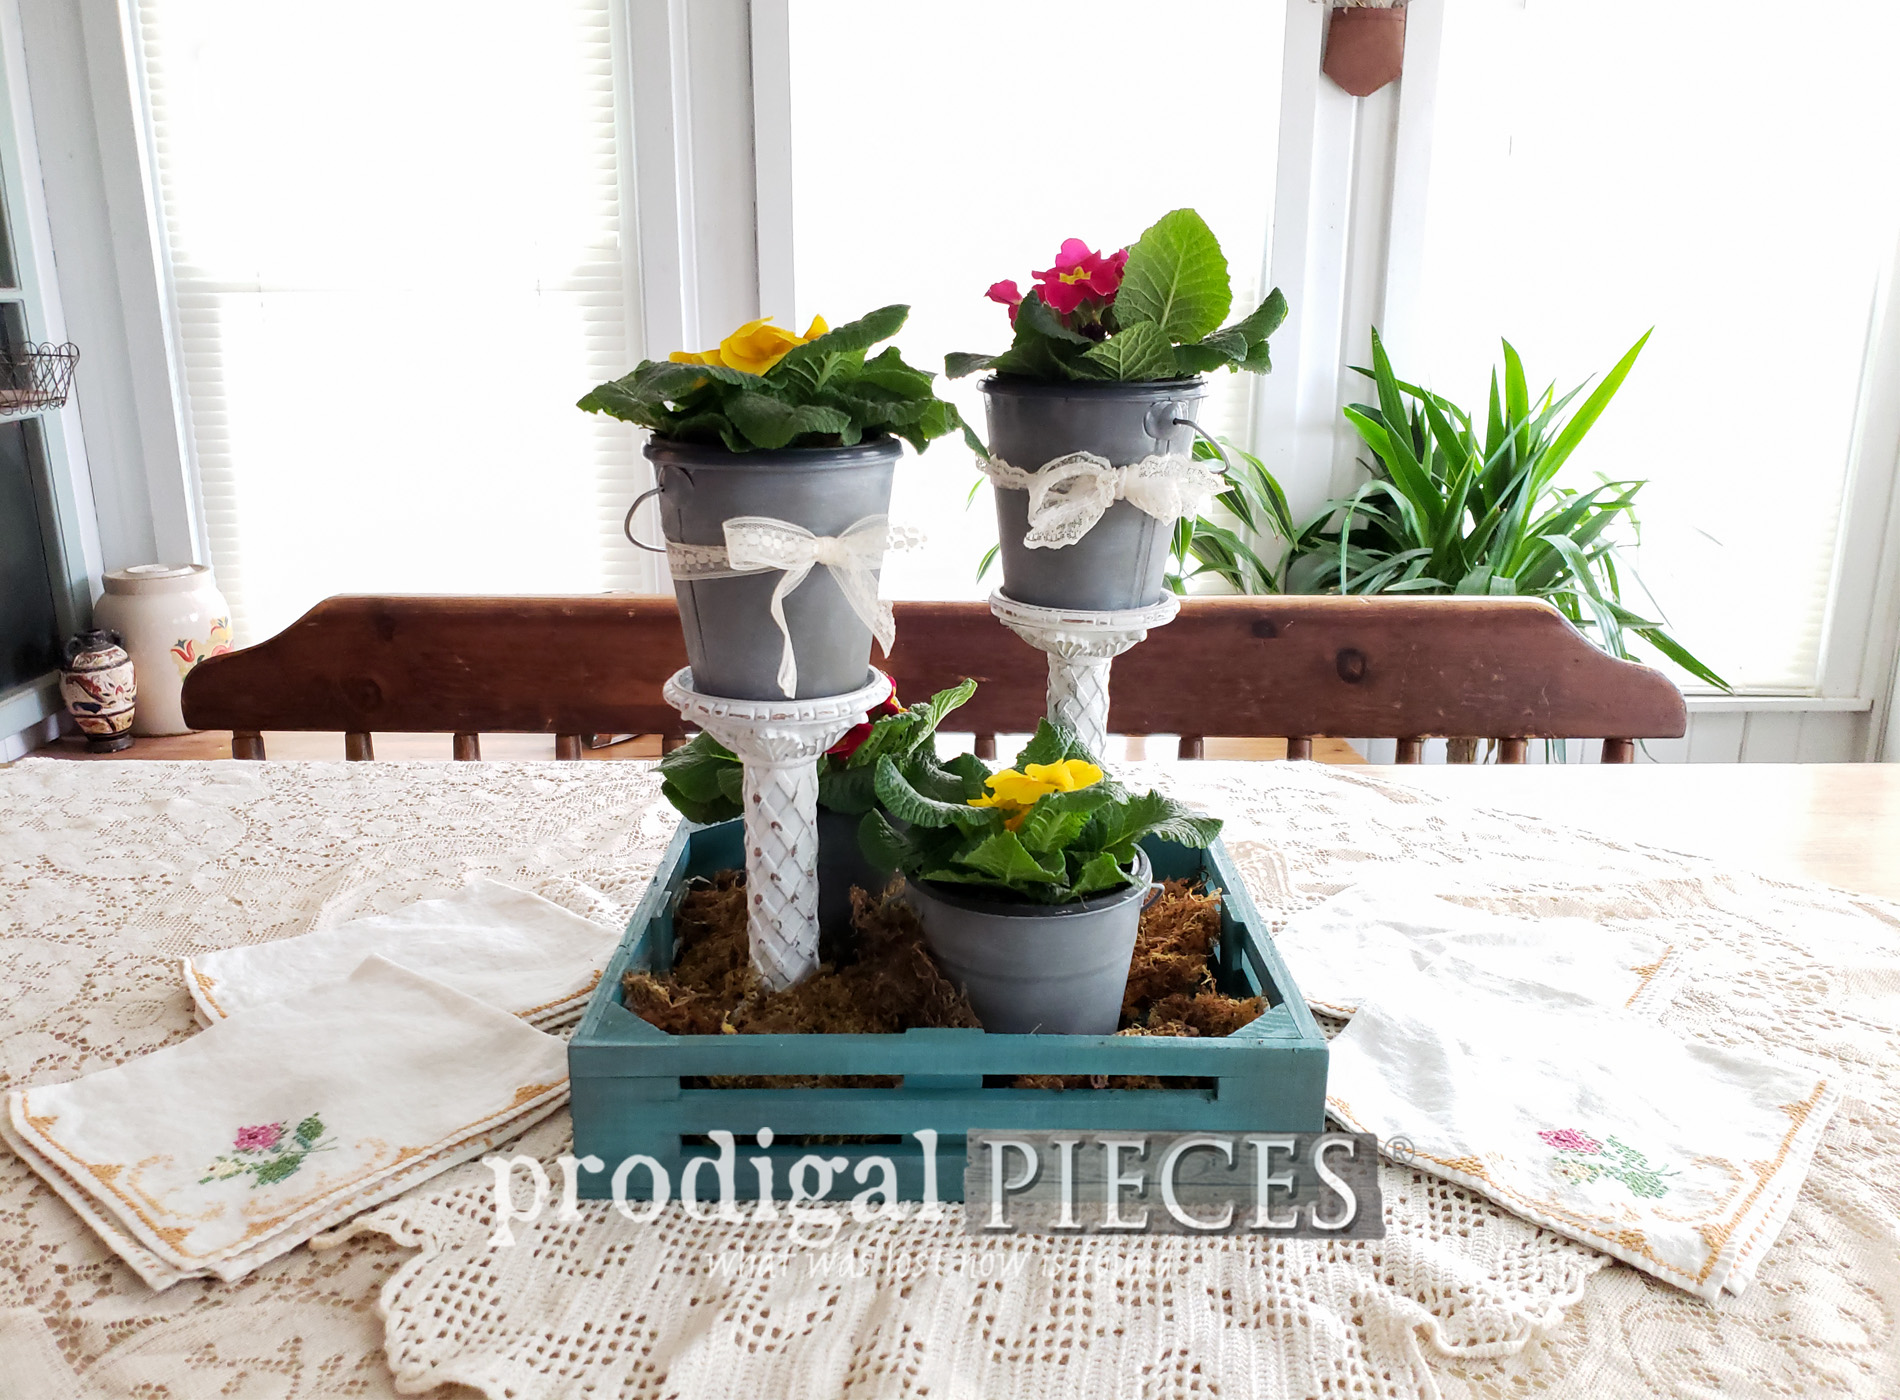
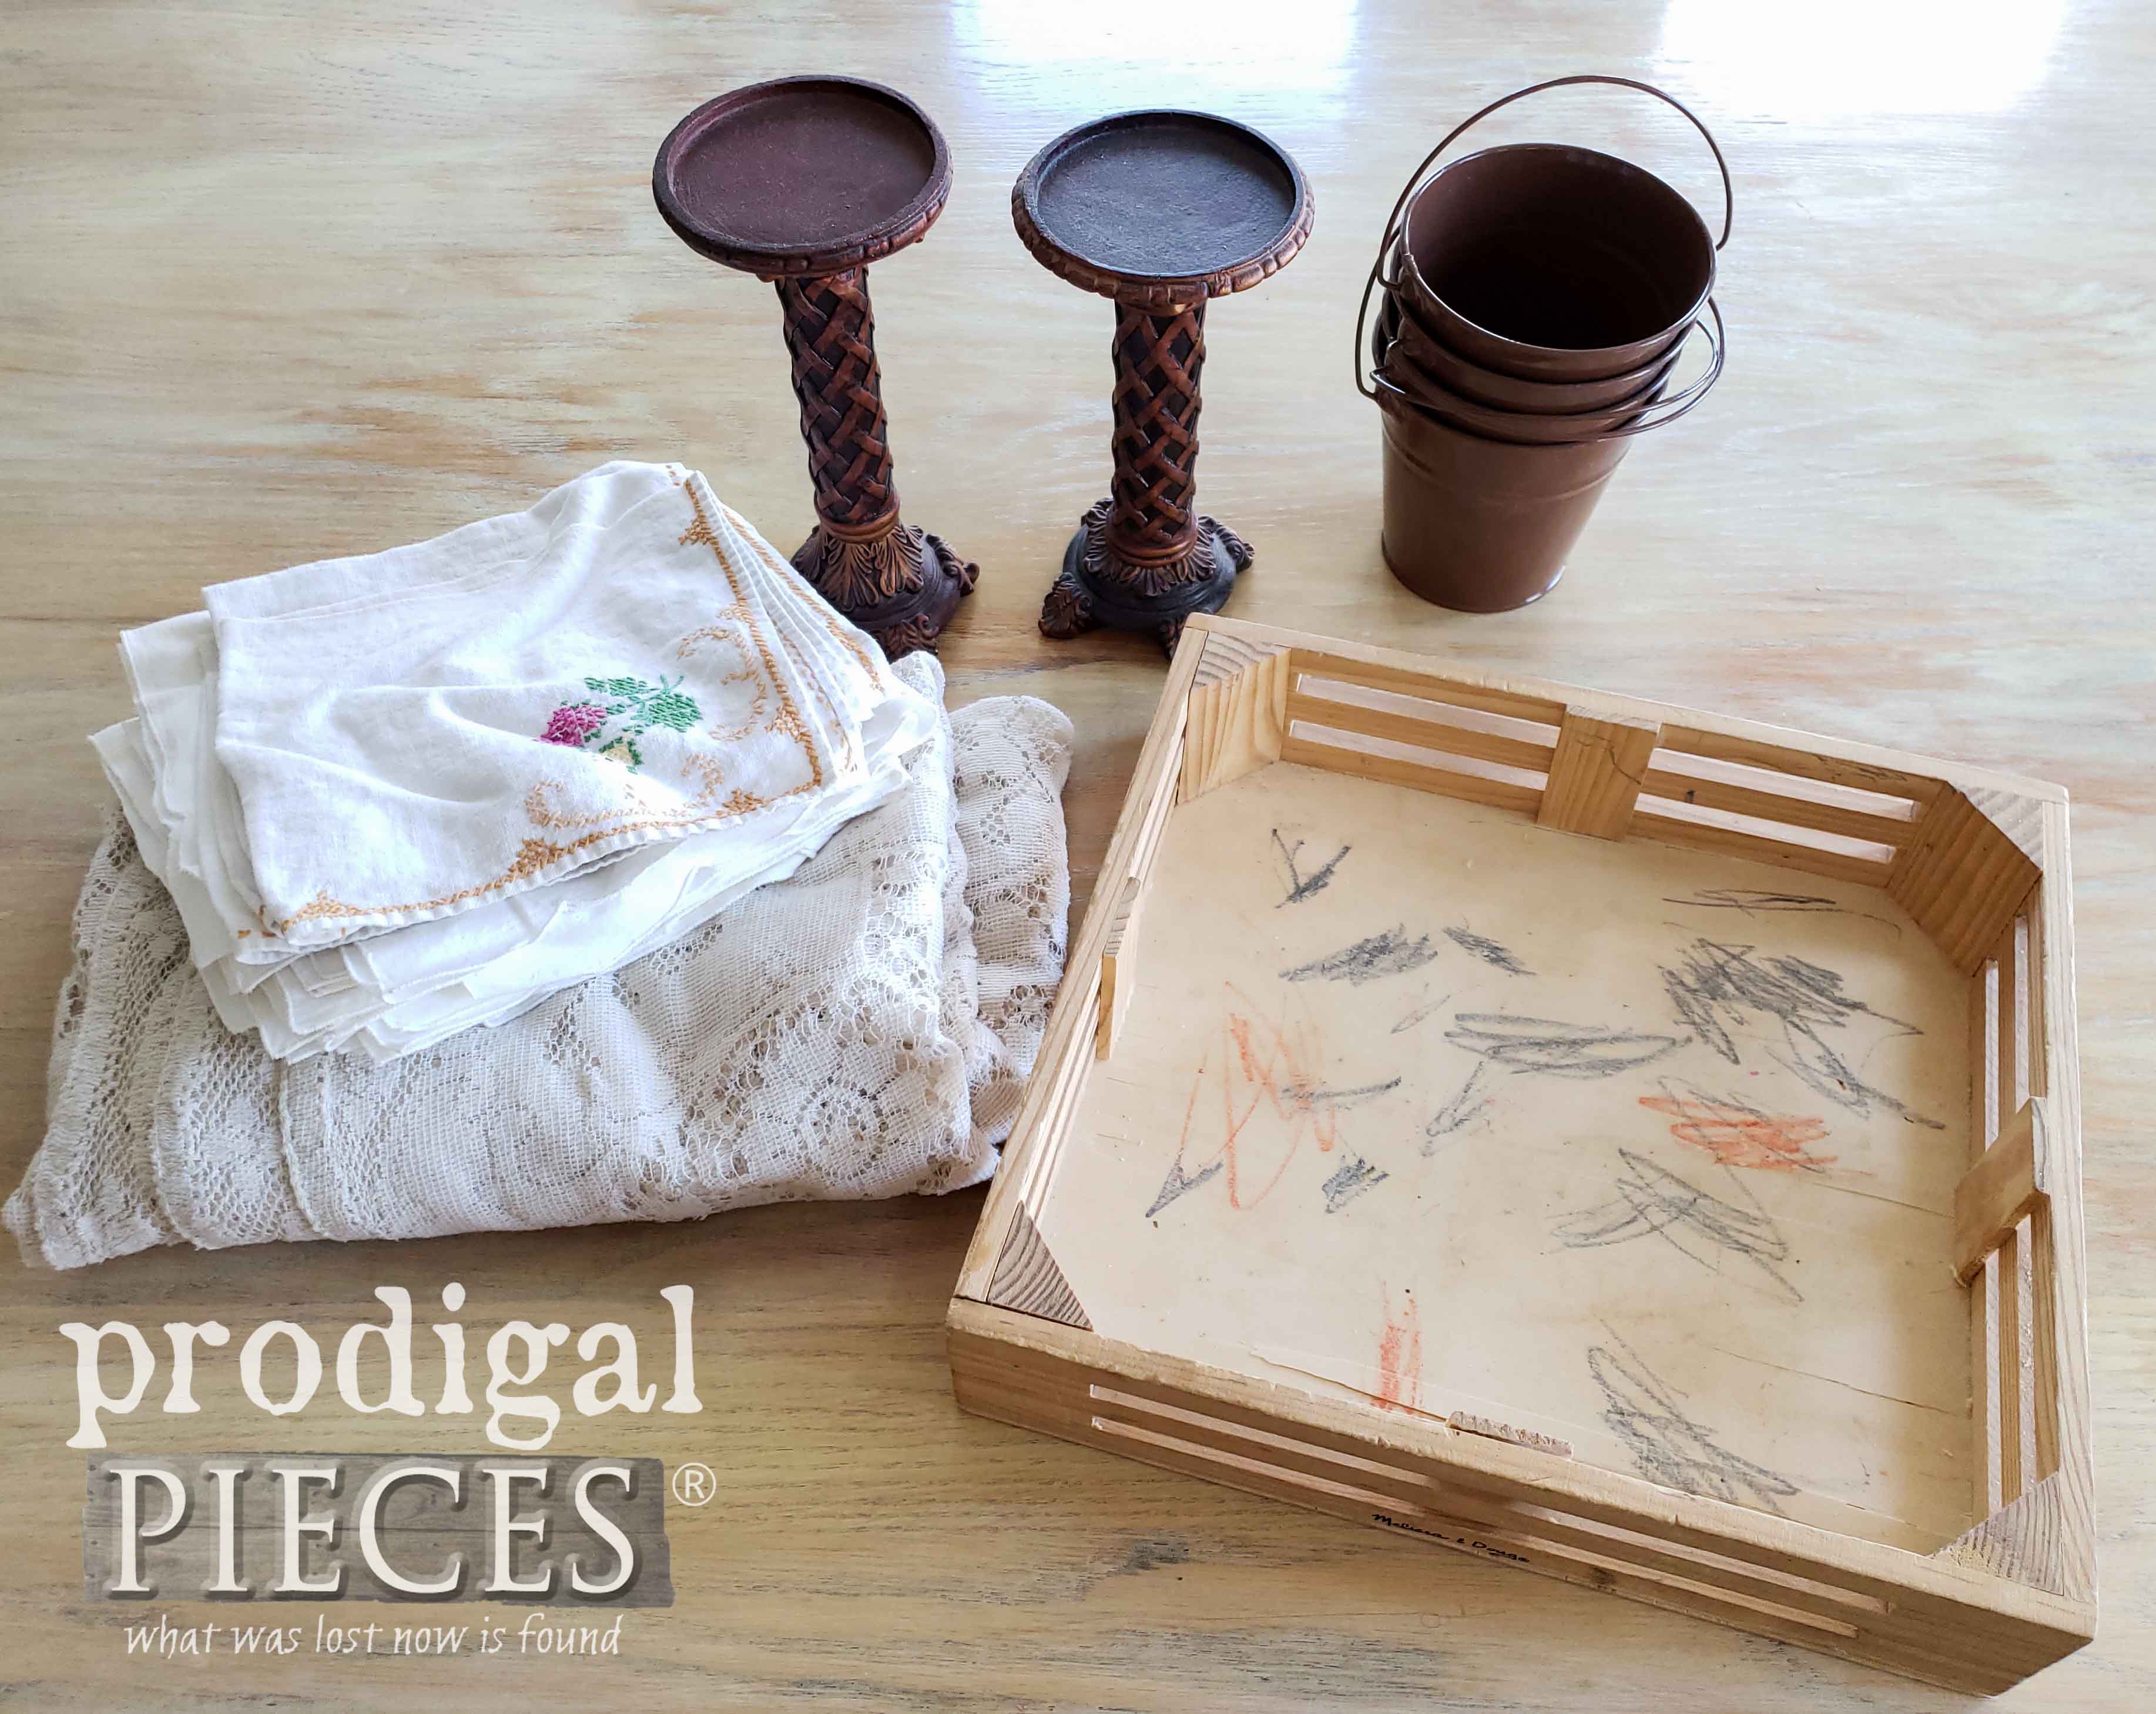
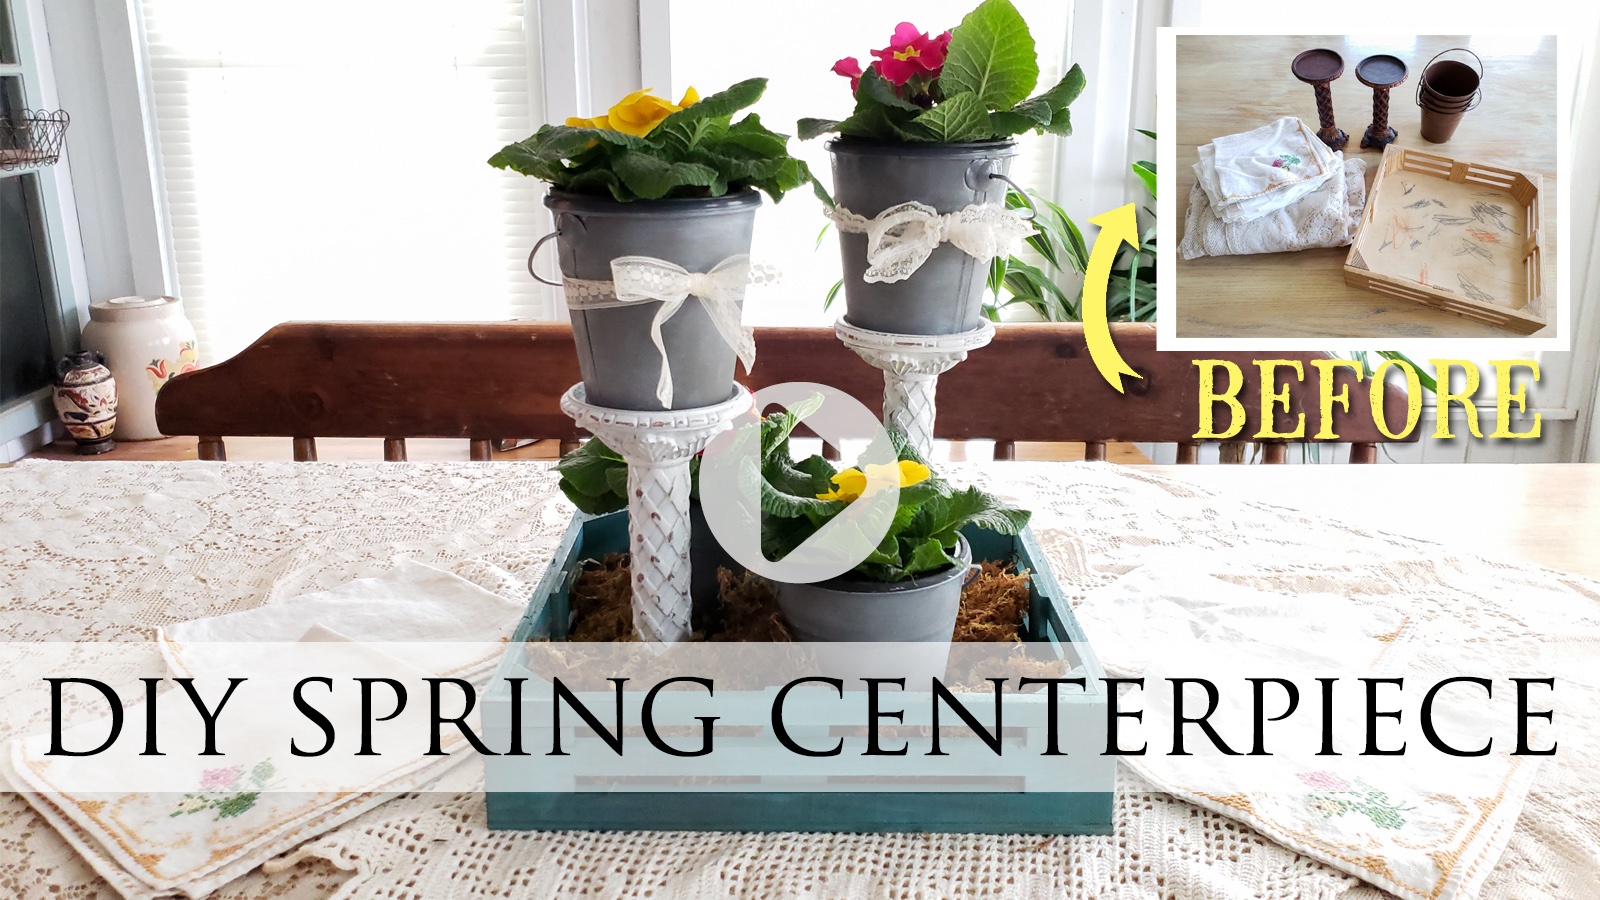
 What you are looking at above there is a pair of candle holders, a stack of mini metal pails, some vintage linens, and a beat up Melissa & Doug toy wooden crate. If there ever was a motley crew, this is it. haha!
*post sponsored by HomeRight (see full disclosure)
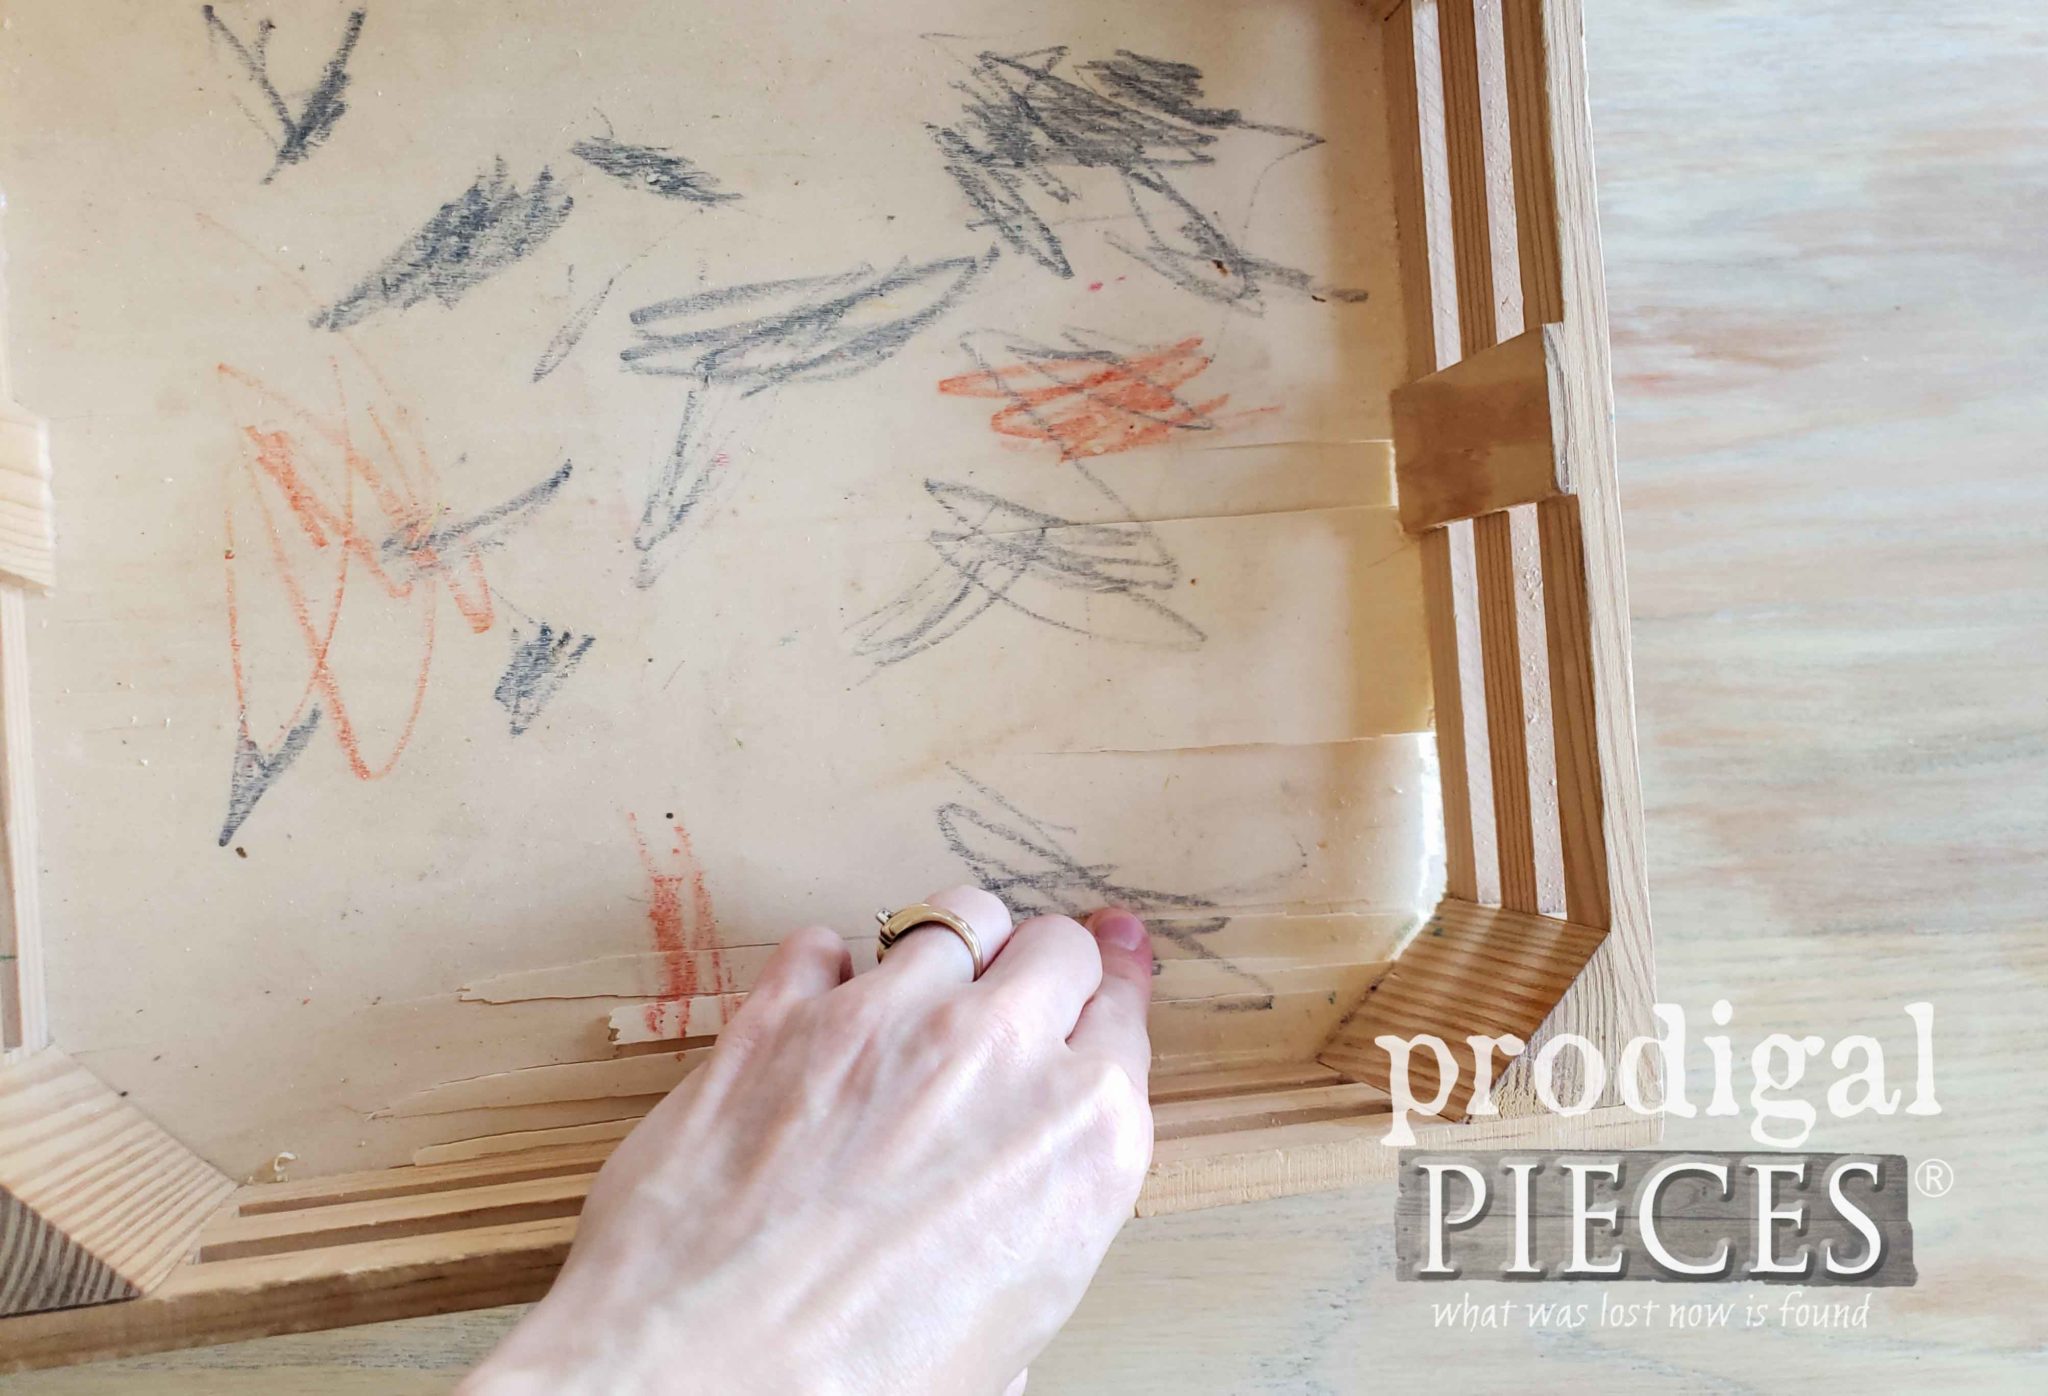
While I don't suggest running and dumping out your kids toys, I do, however, encourage you to see past the broken. It's much like how our Lord sees us - potential. I'm so thankful He doesn't give up on broken ol' me.DIY TIME
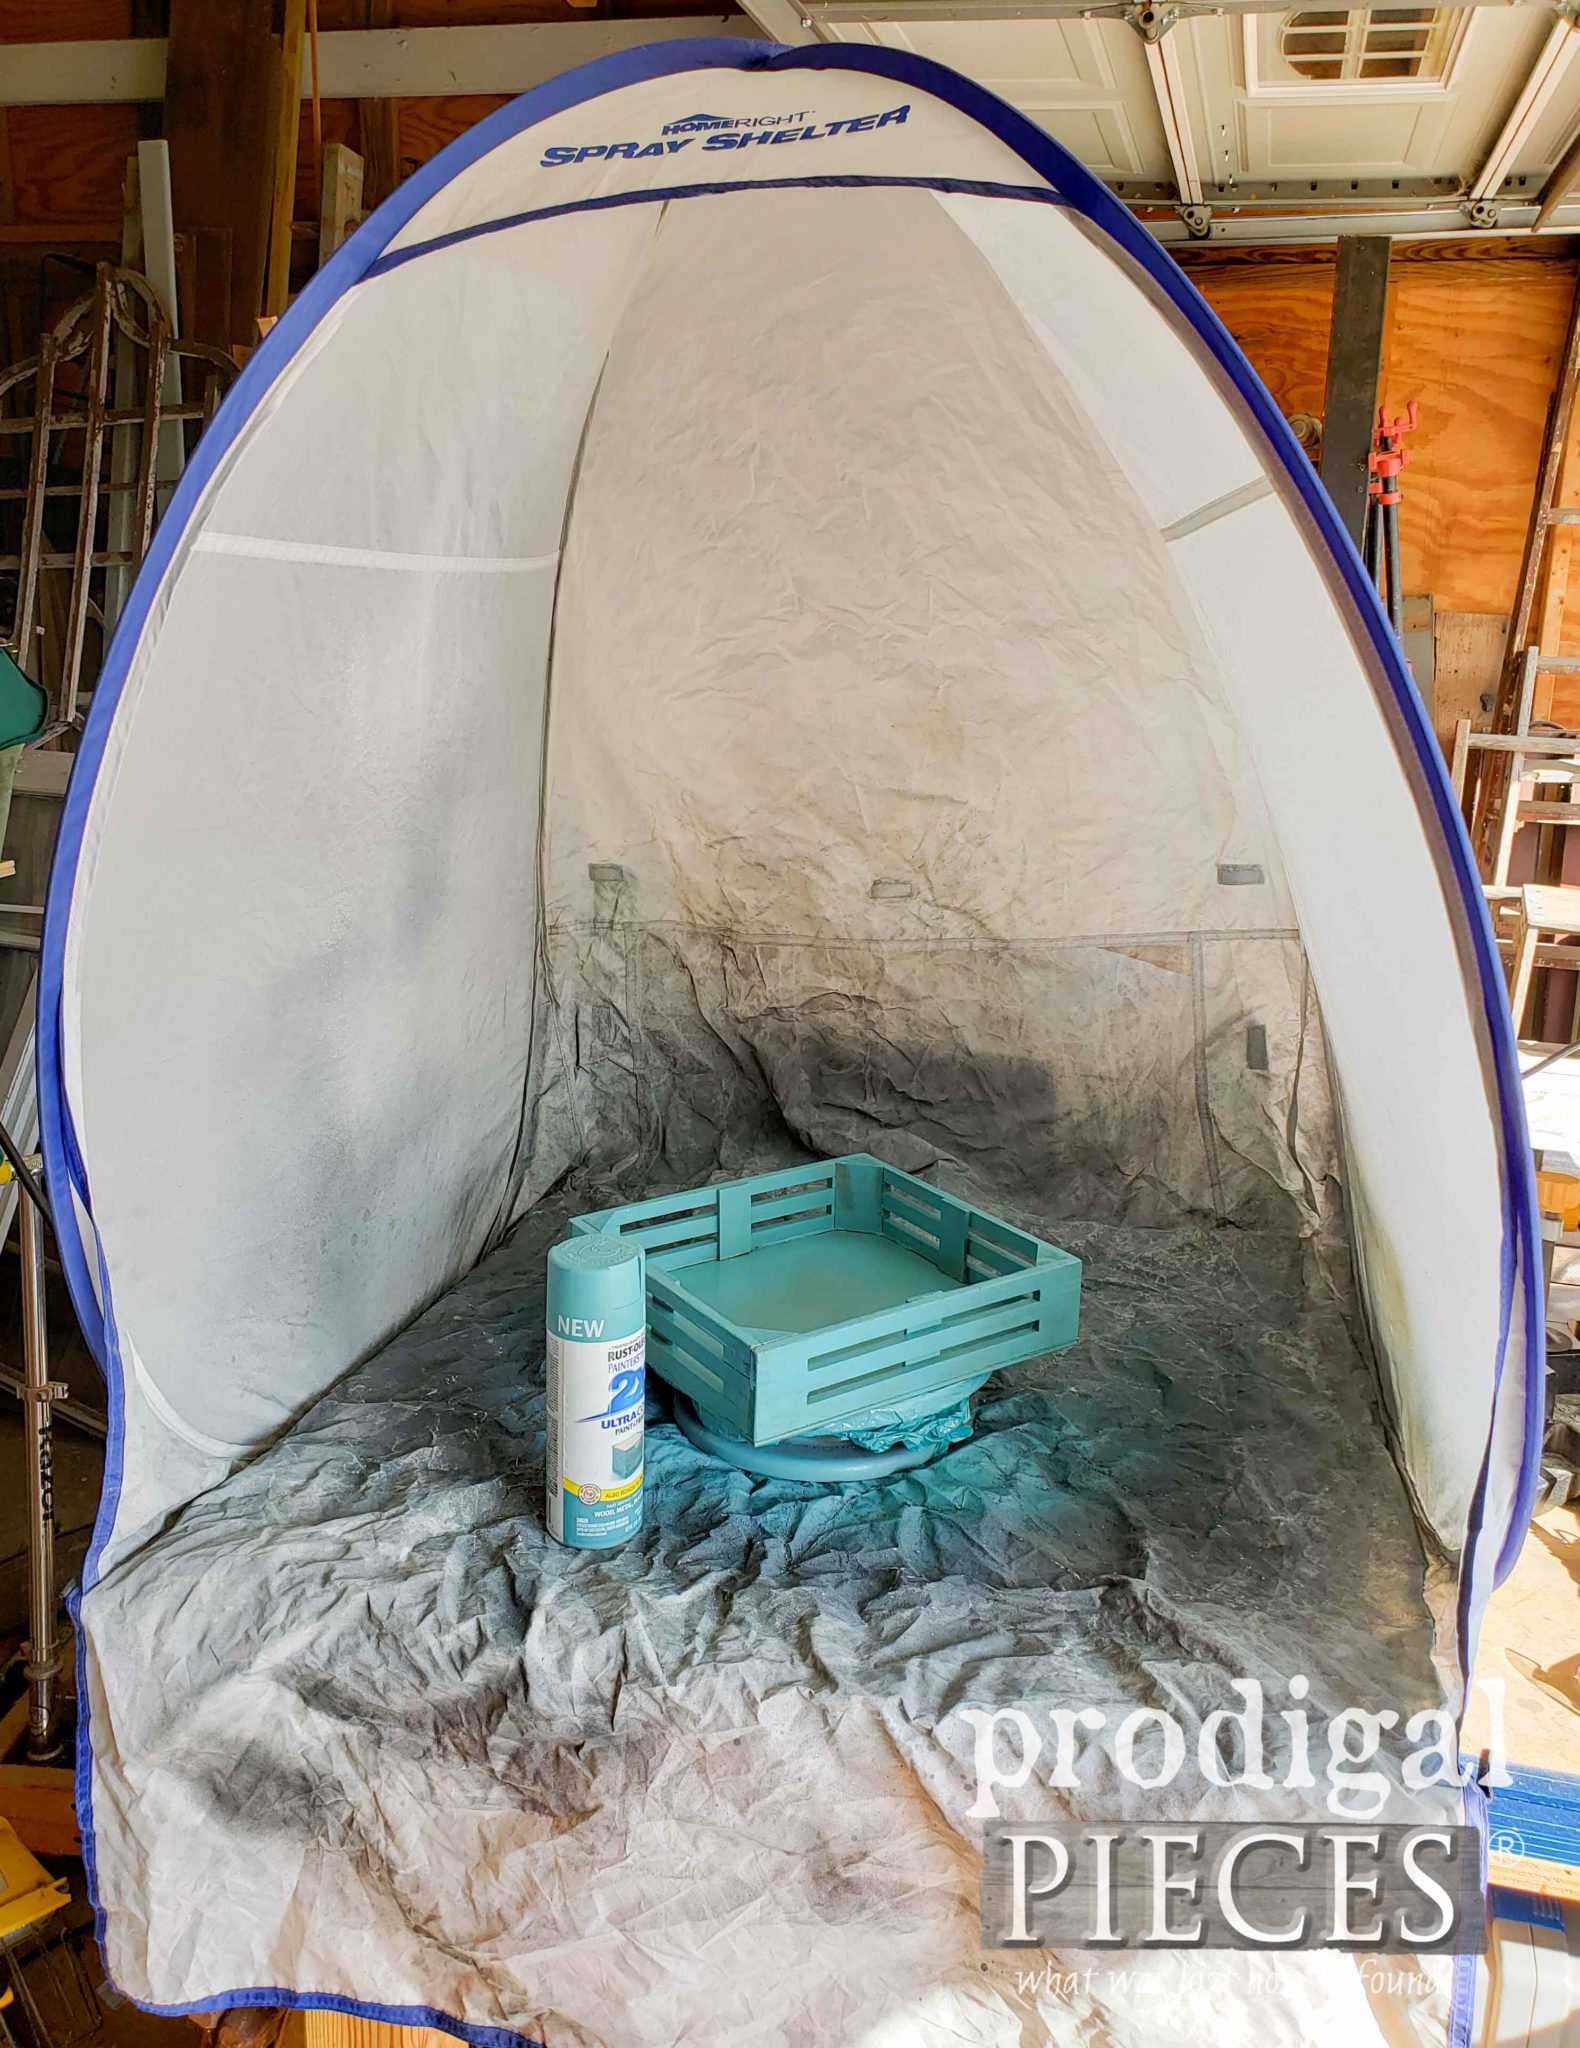
To get this DIY spring center piece party started, I break out one of my favorite set of tools - my HomeRight Small Spray Shelter and Turn Table. It pops up in seconds and affords me the guilt-free use of my workspace. No mess and no having to fabricate overspray excuses to JC (aka. husband). Been there done that for the last time. ahem. First, I make a new bottom for the crate and attach with my nailer. Then, I stain the toy crate to give it a deeper base to work with.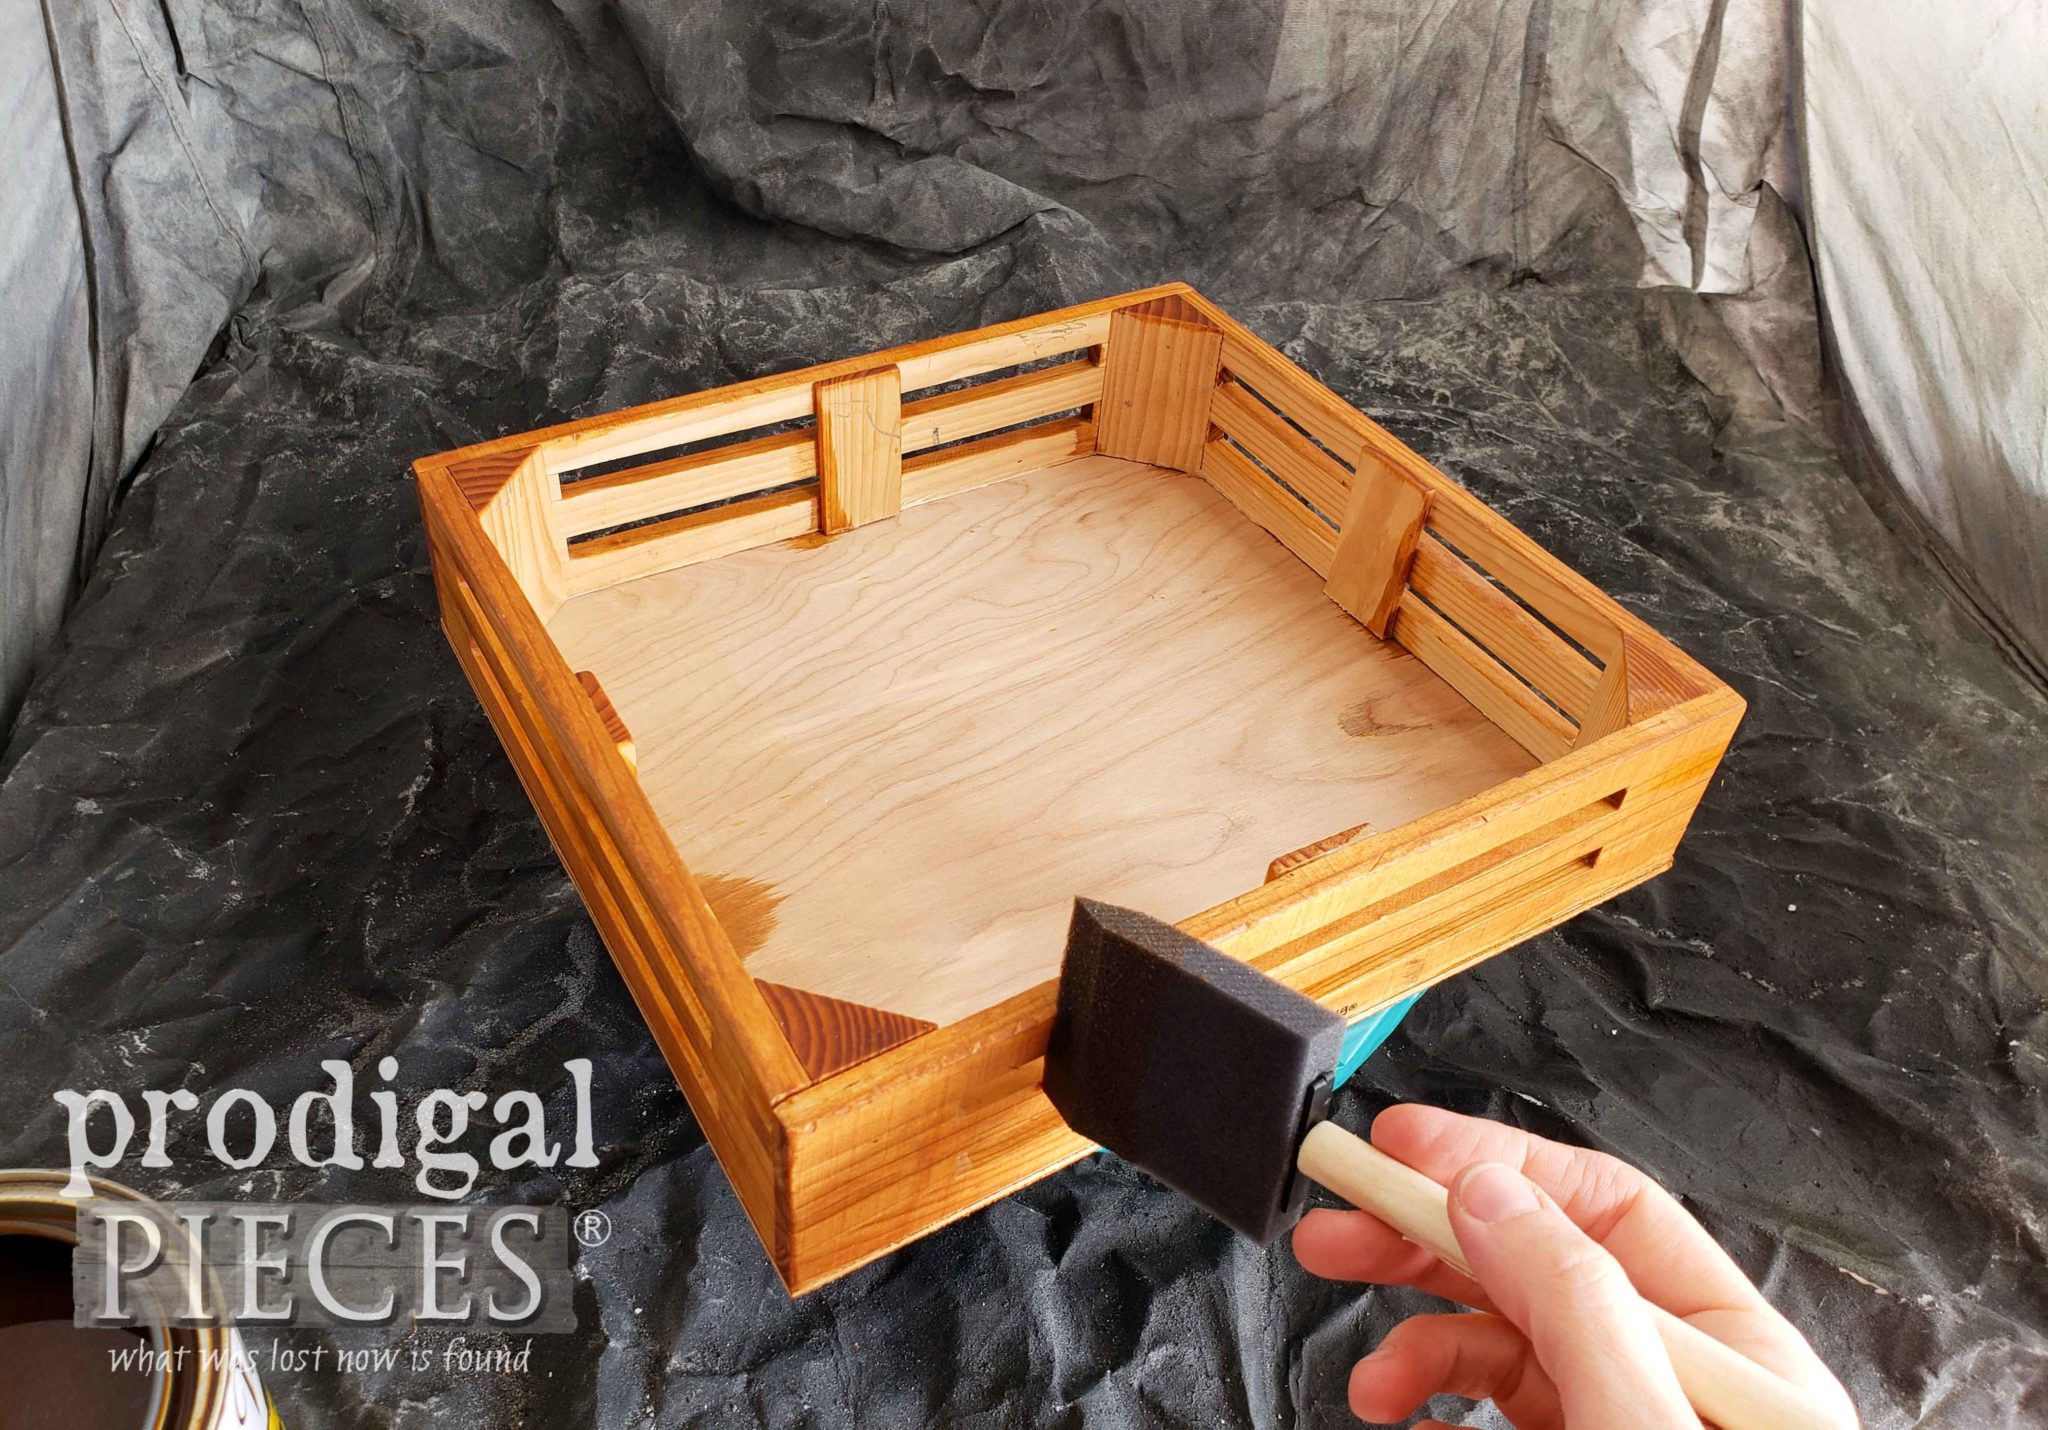 Once the stain cured, I sprayed the crate with a Vintage Teal spray paint for some color fun. Likewise, you can see how I've used this same color in these posts.
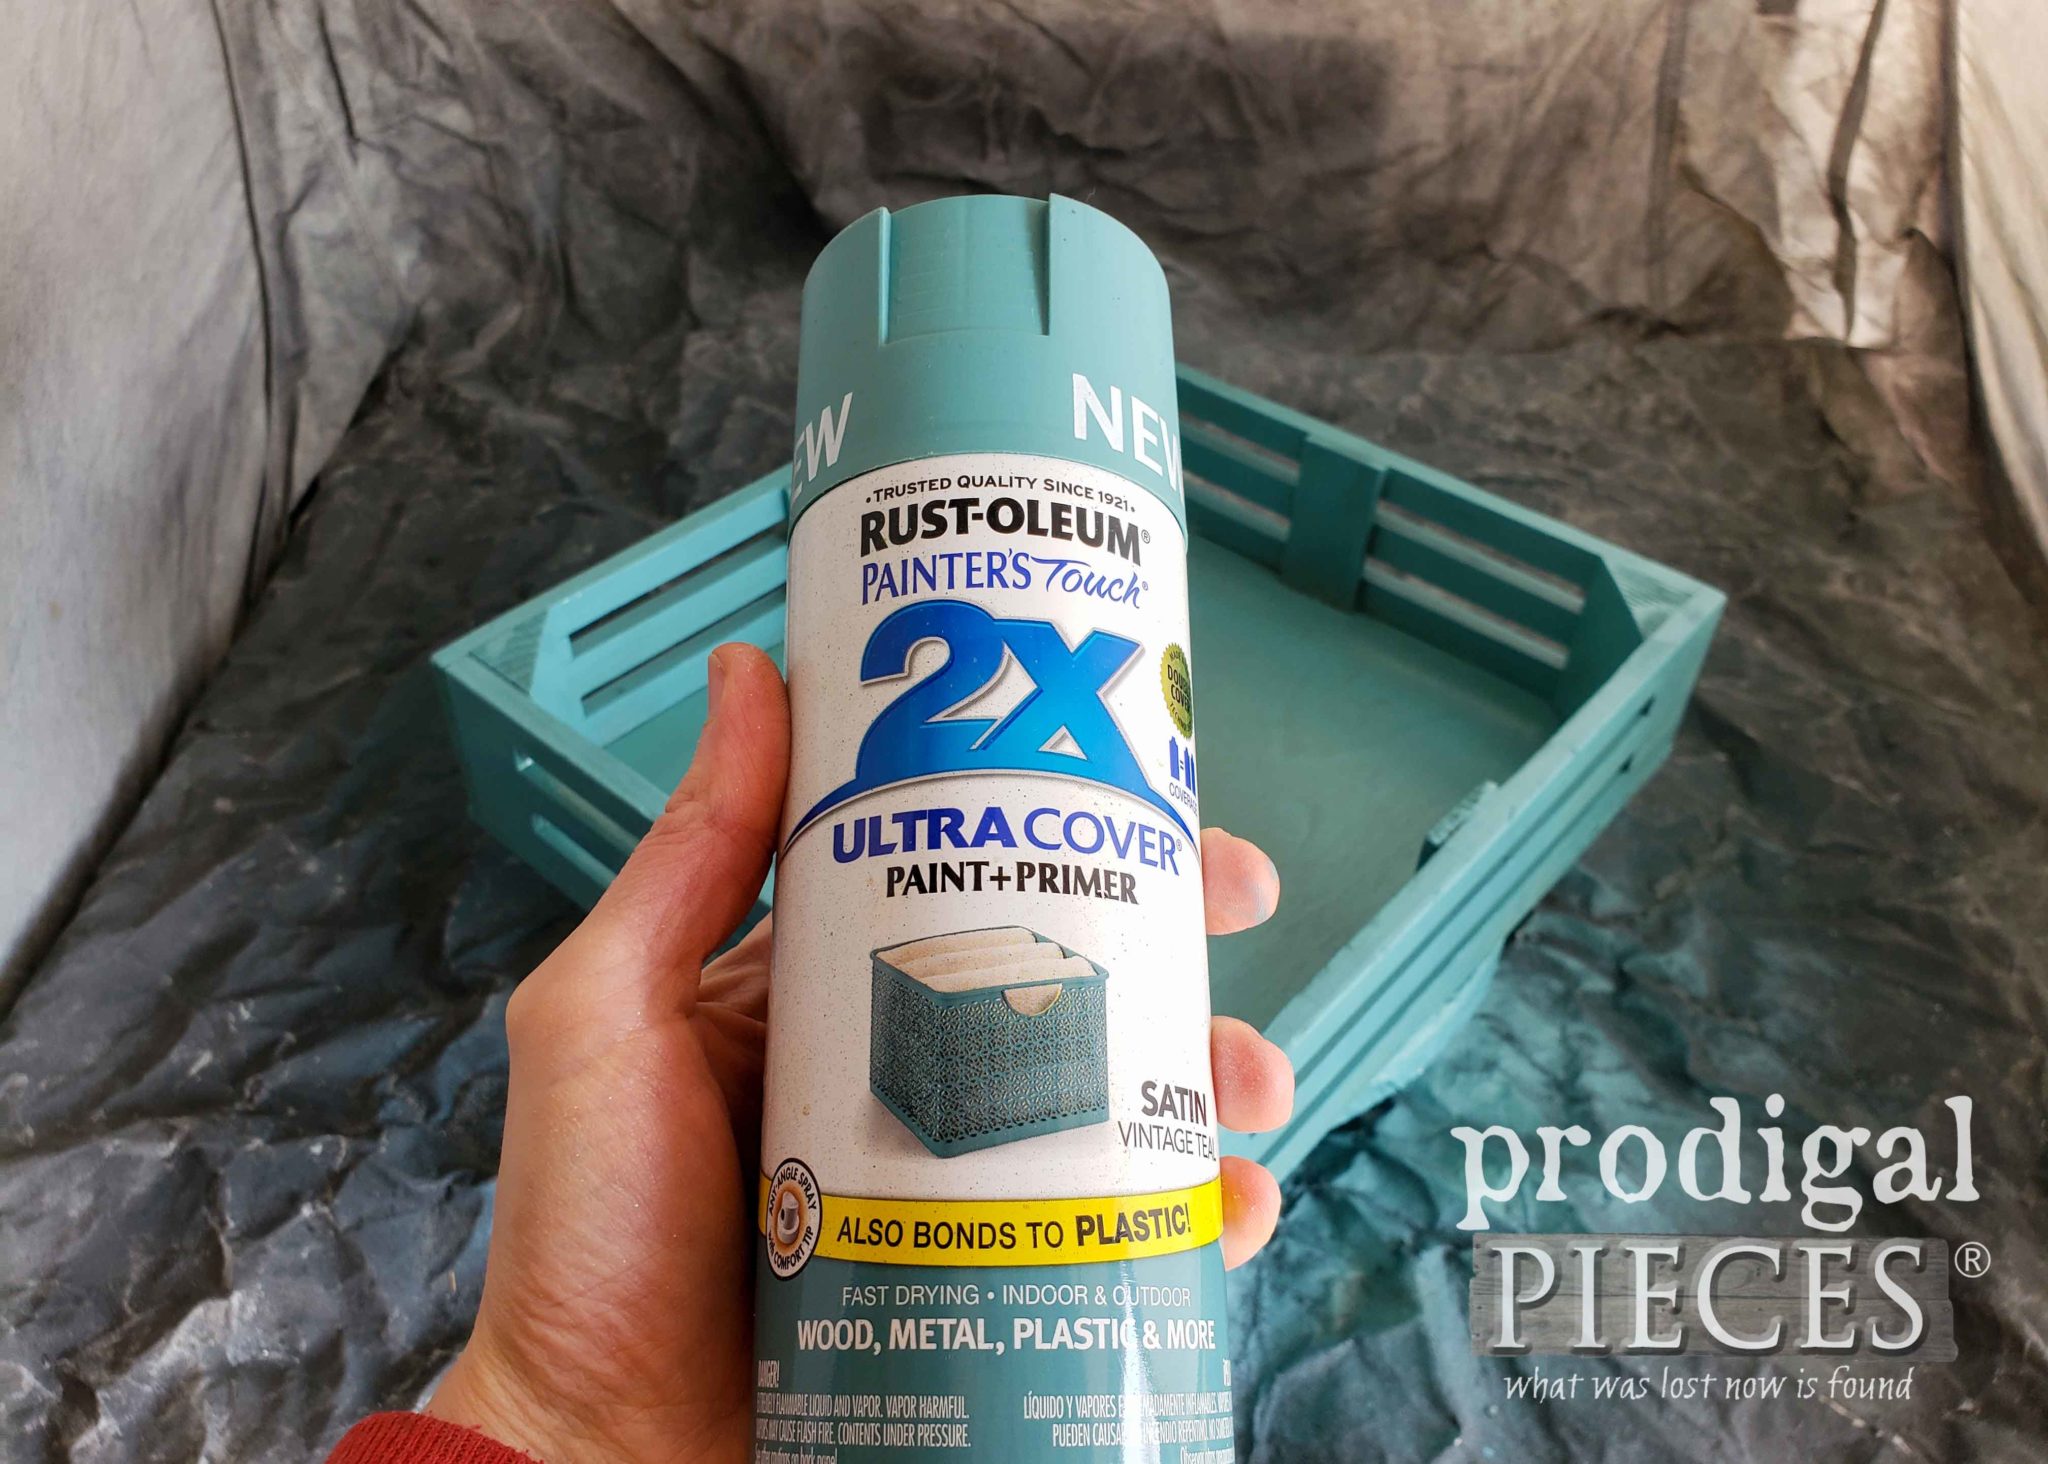 Isn't that pretty? eep! And, see how nice this shelter is? I'm tellin' ya, you need one of these shelters. Also, you can see all the ways I use mine in these past posts.
PAINT
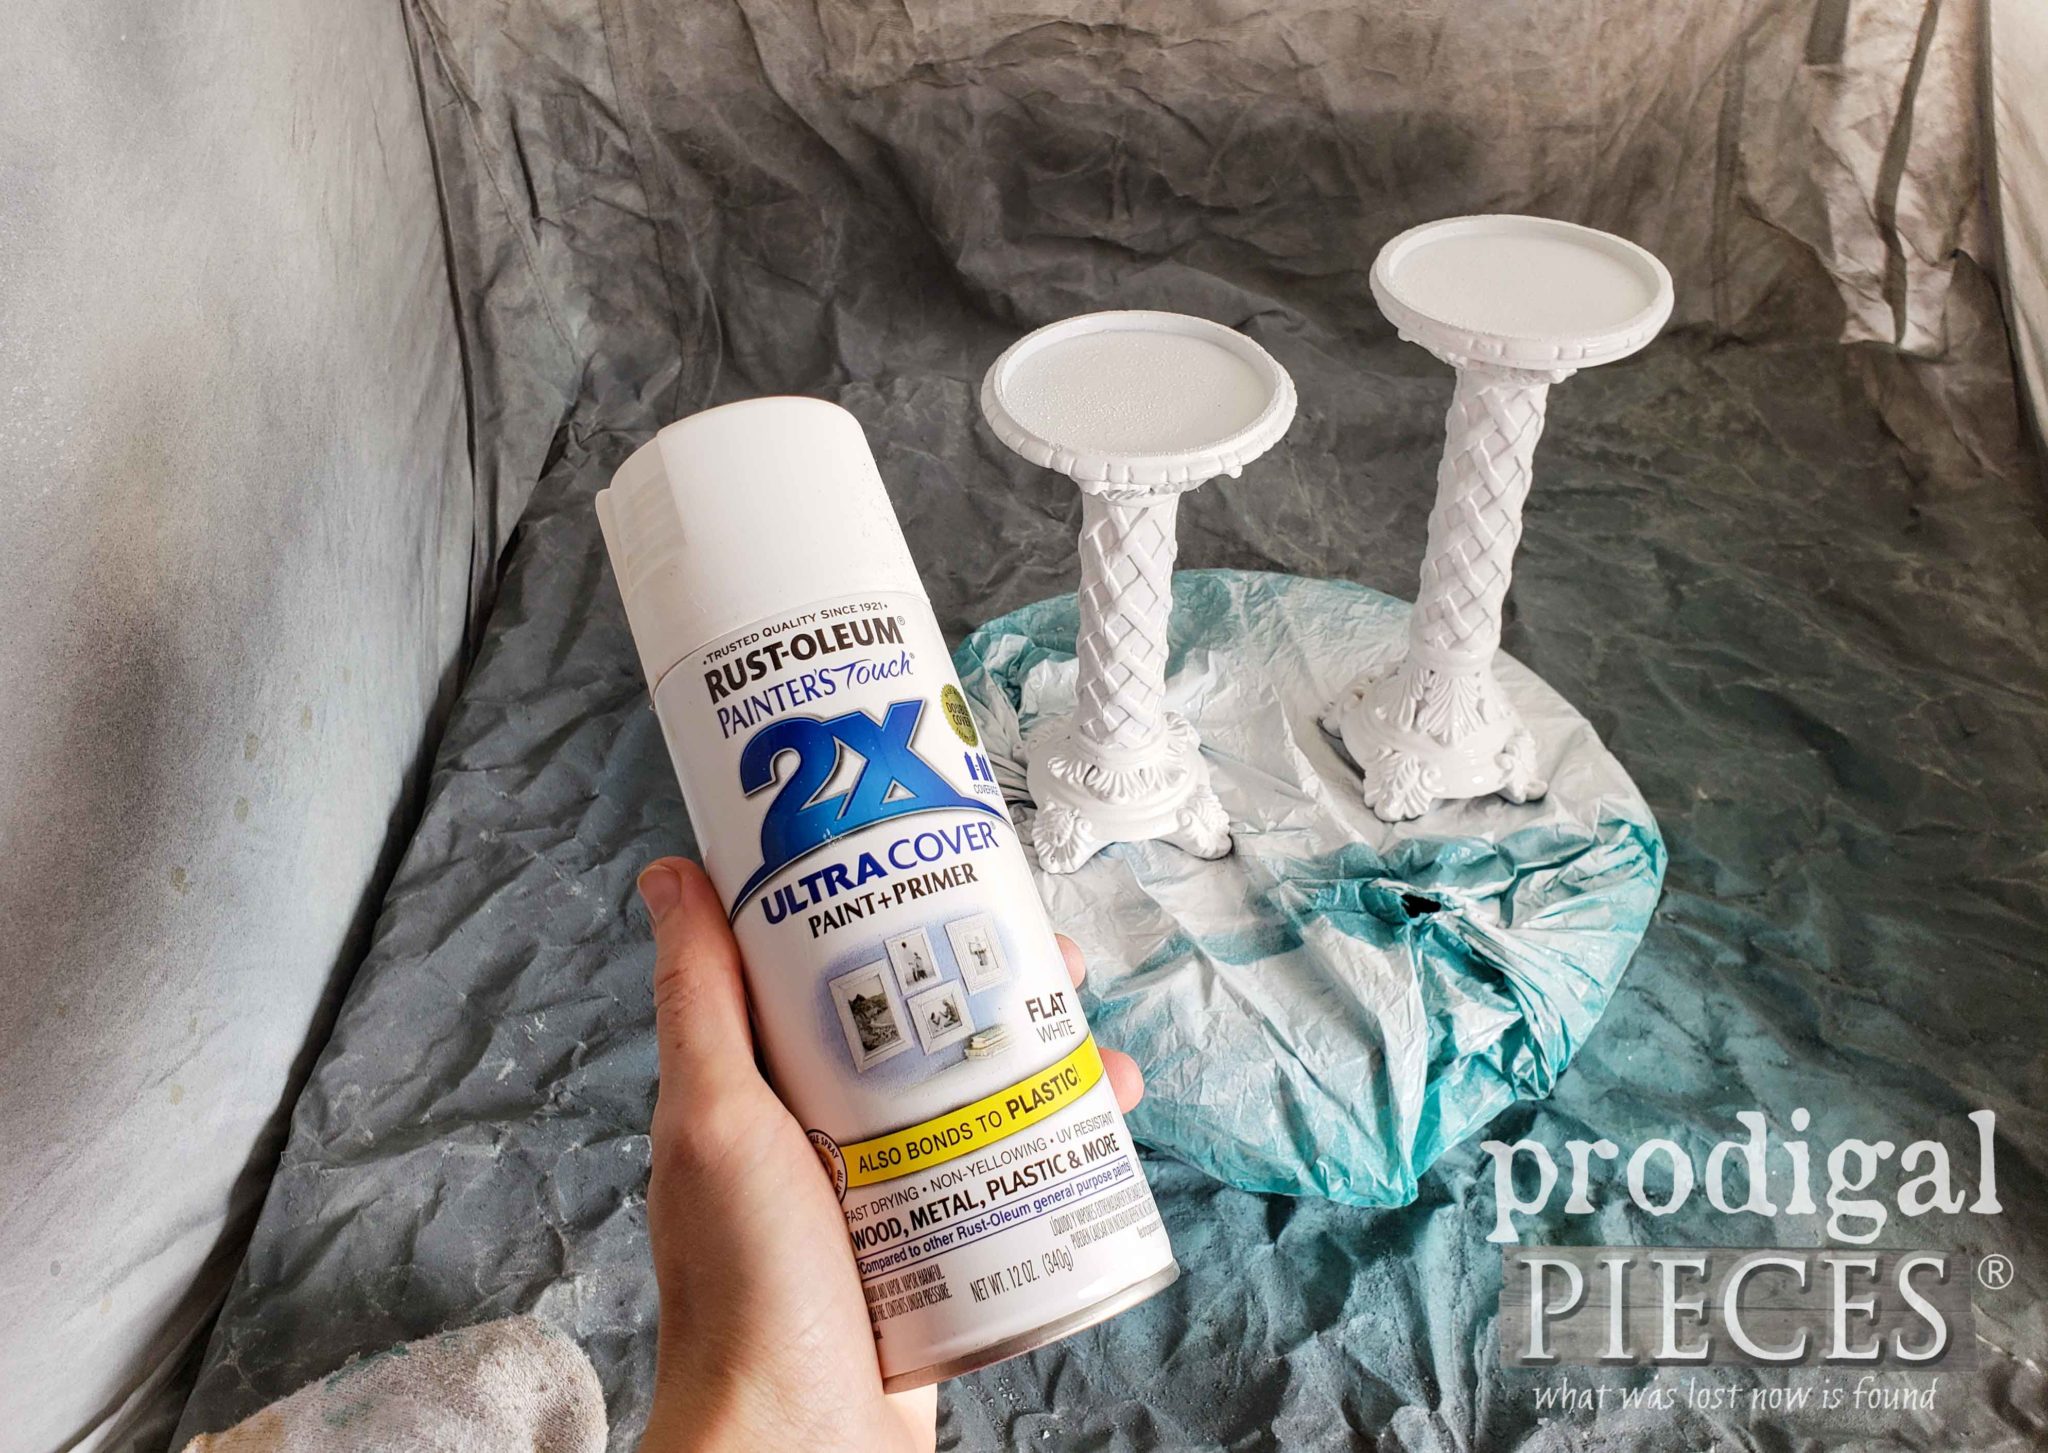
Eventually, as soon as the crate cures, I apply a layer of gray wax to add depth and a time-worn feel to the crate.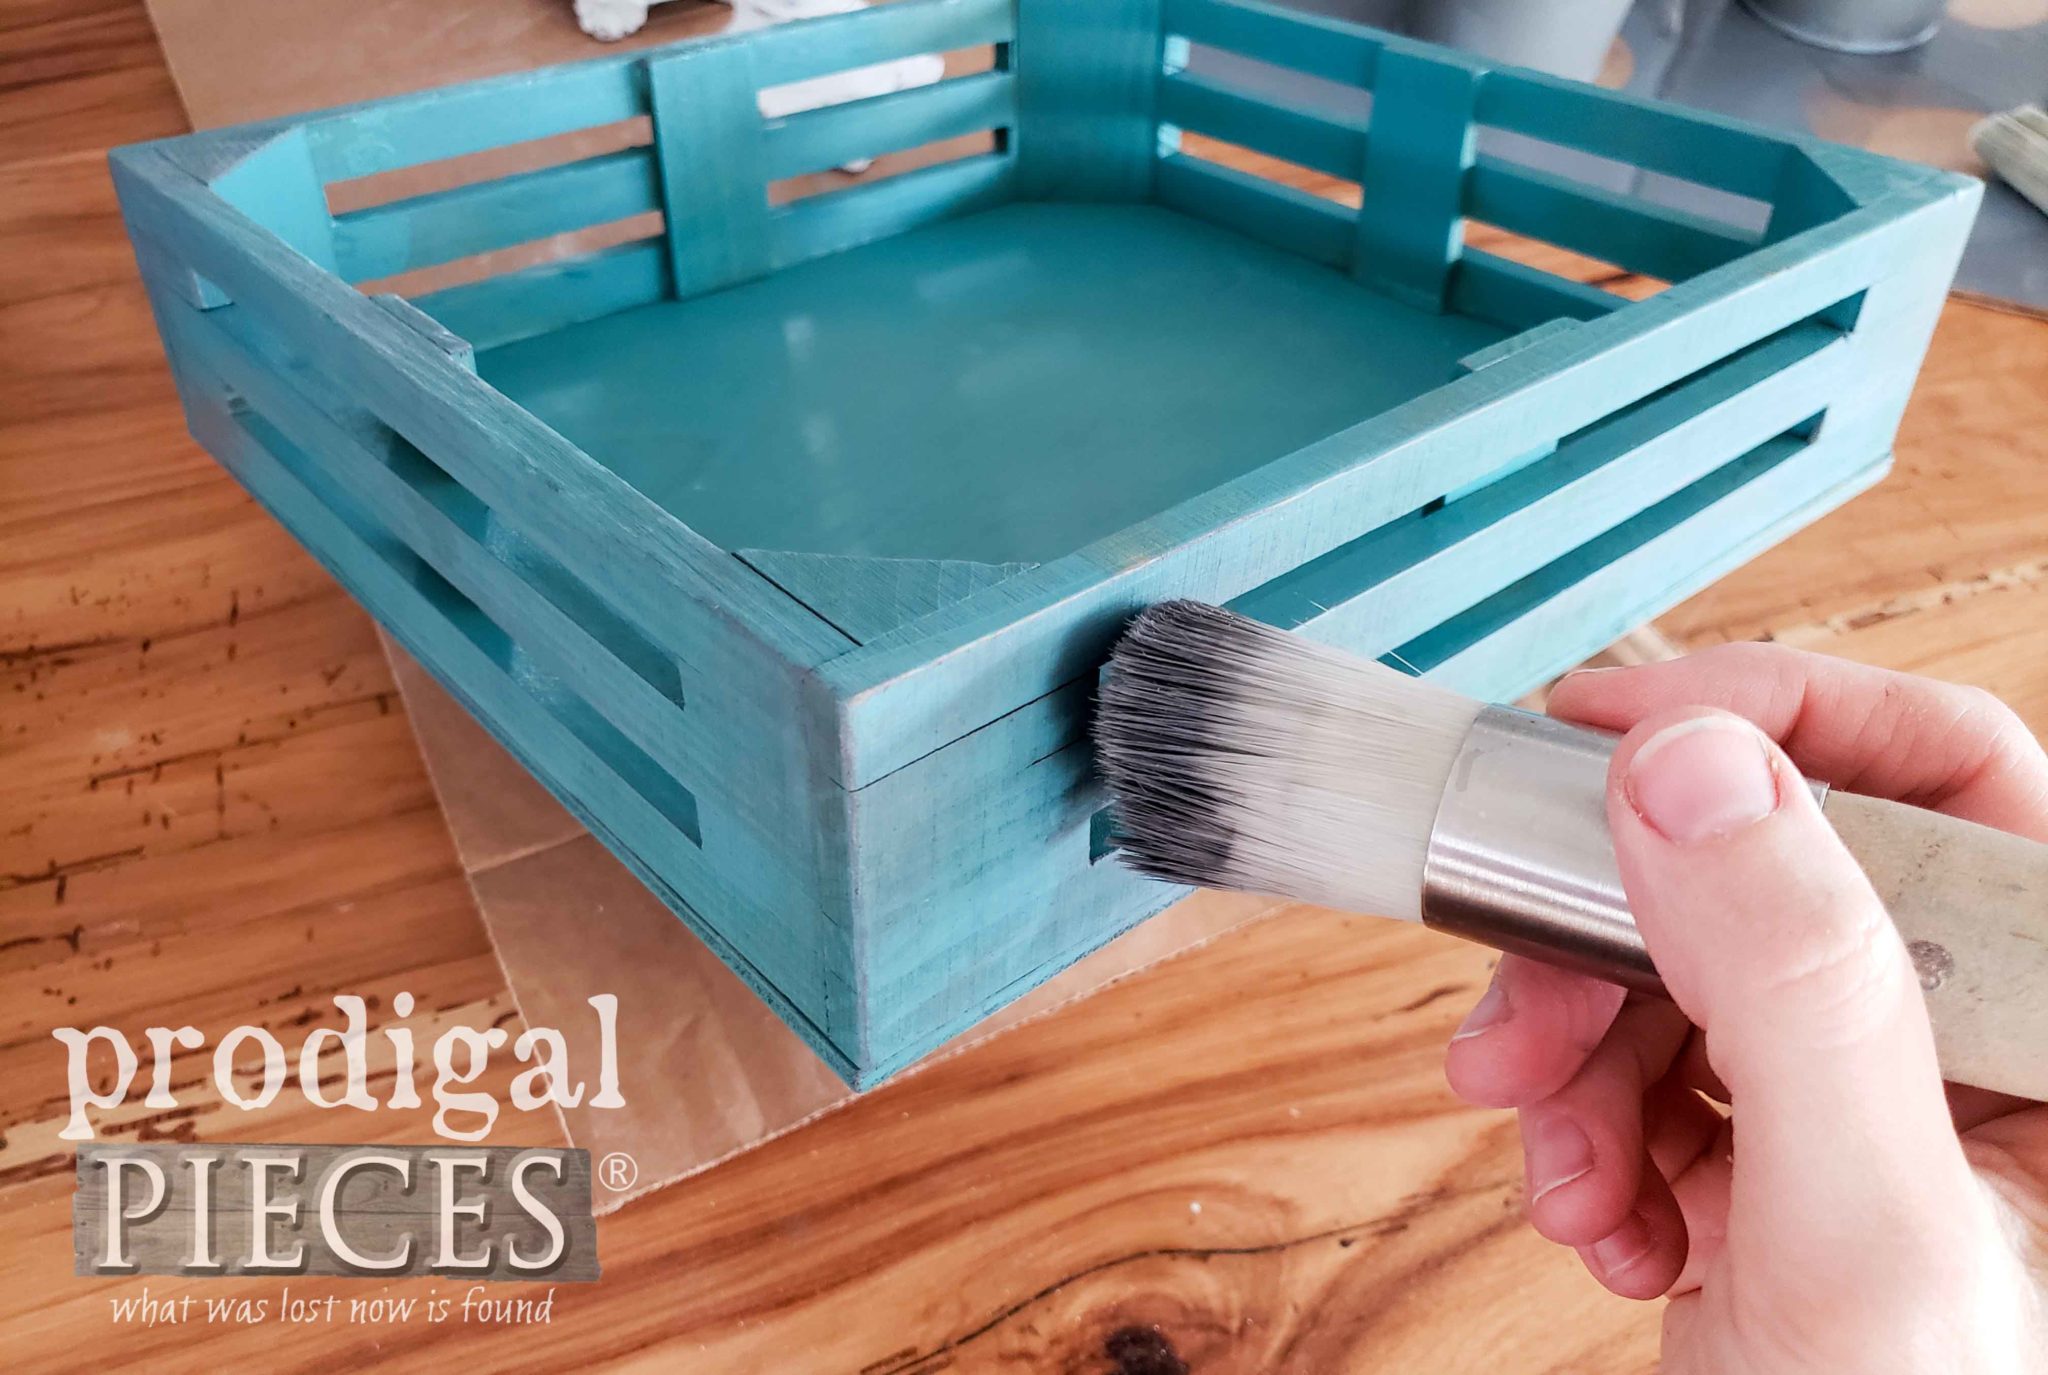 Next, I give two coats of a flat white spray paint to the candle holders, letting them cure in between coats.
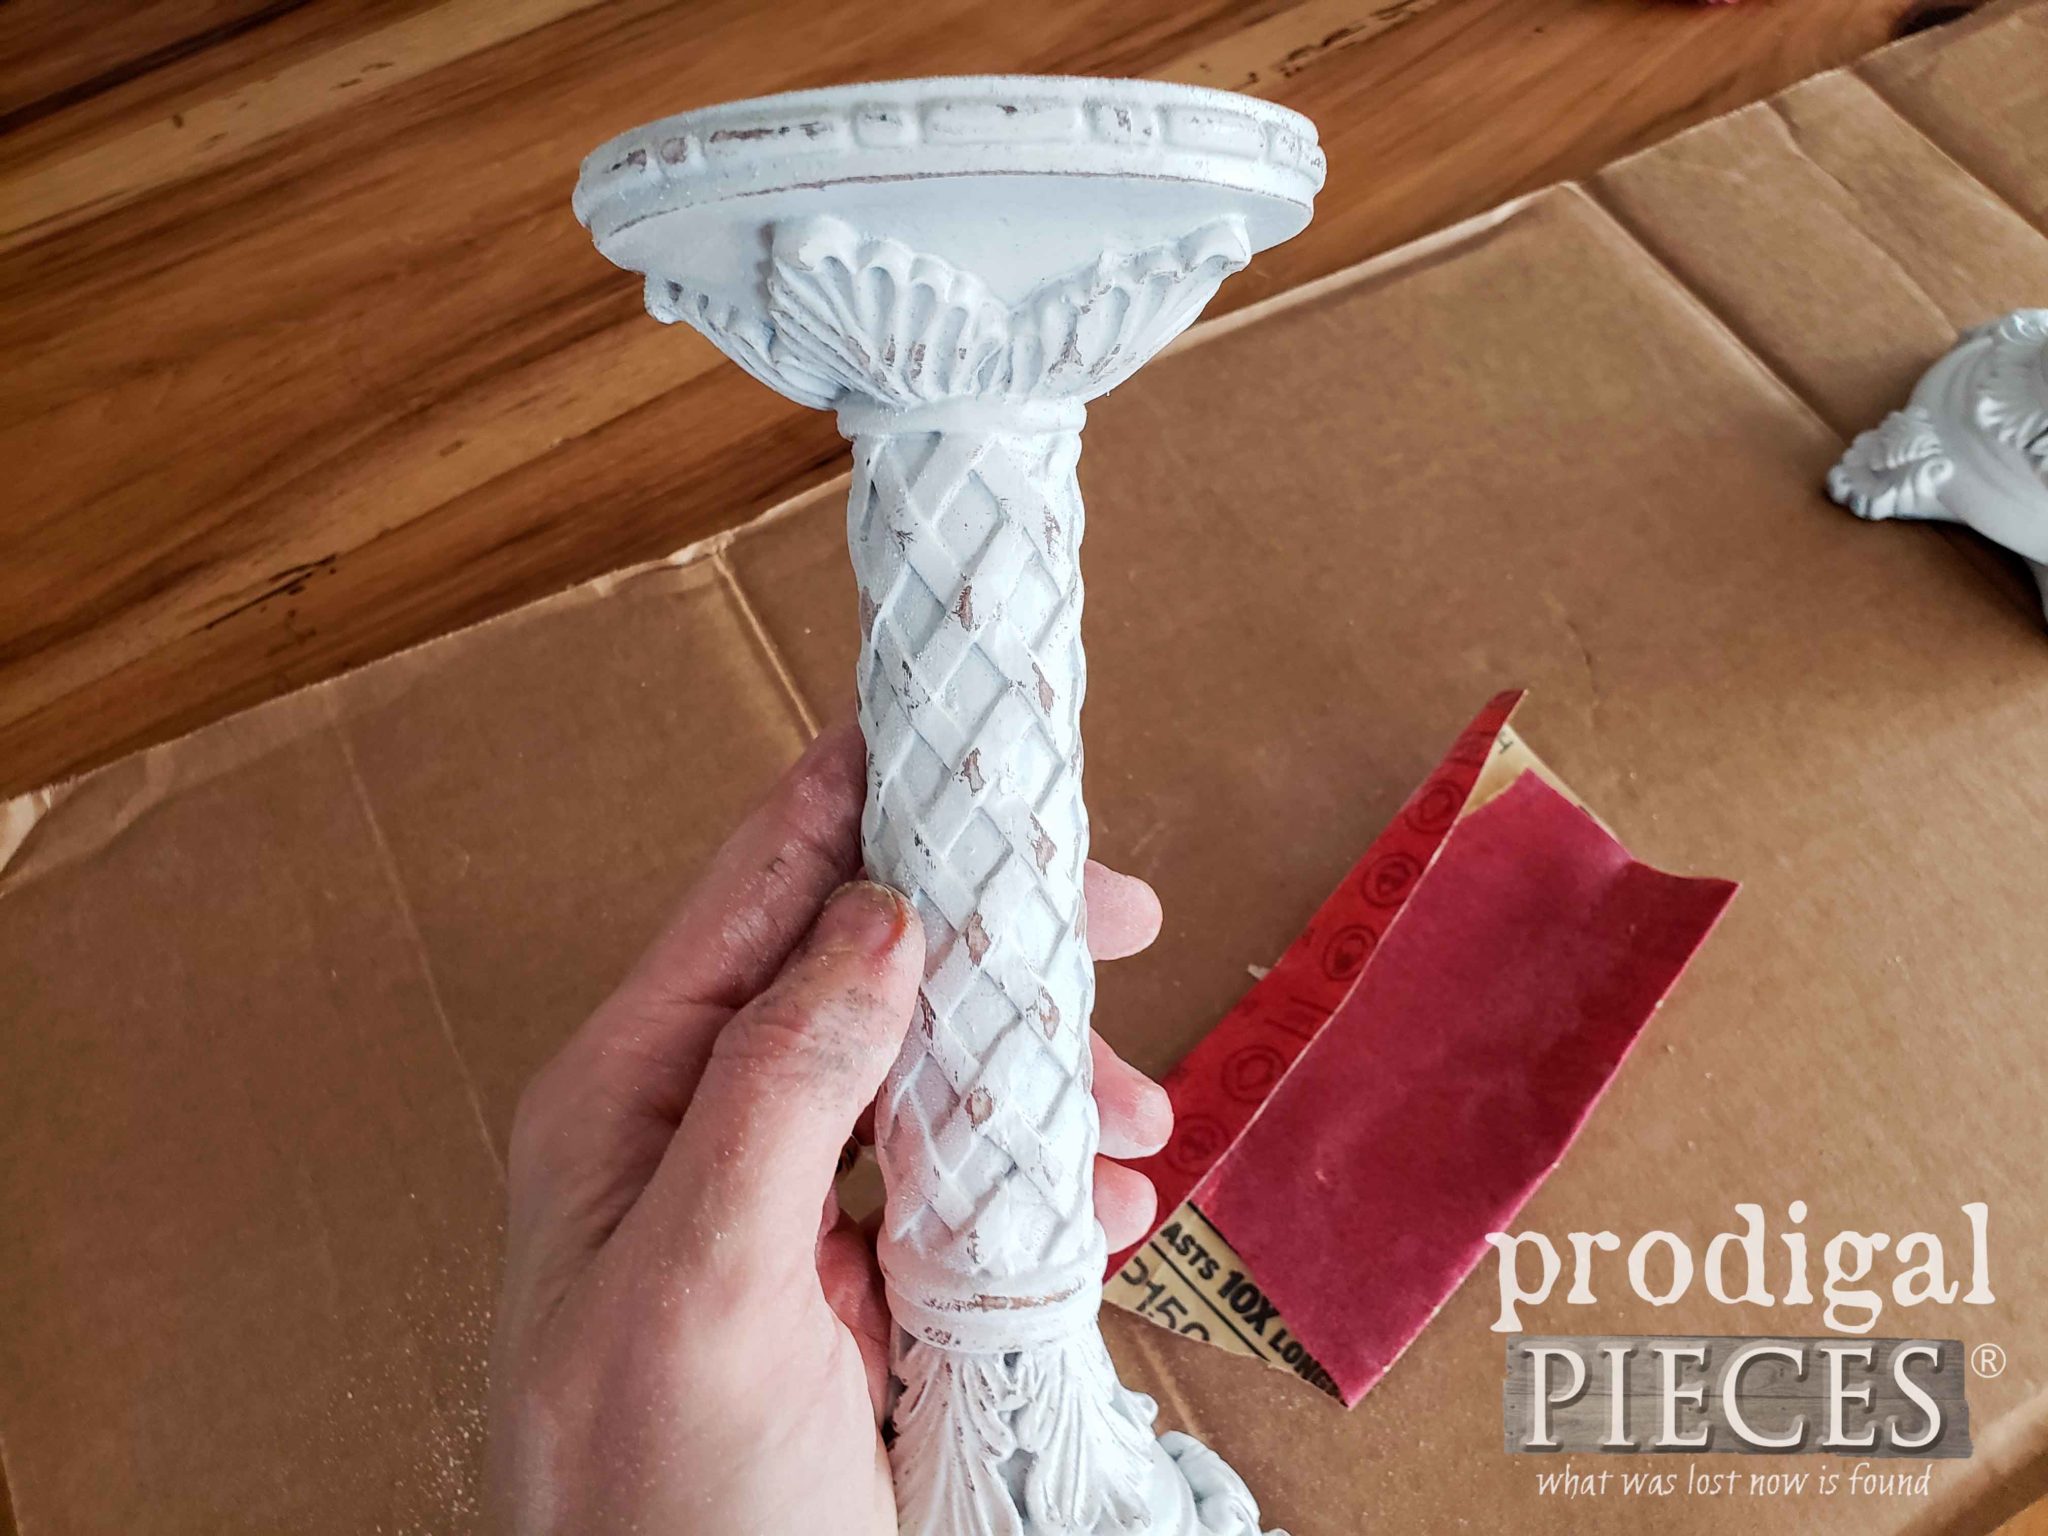
 In addition to the white spray paint, I also distressed the candlesticks and use a bit of gray wax as well. This gives them more depth and detail.
MORE PAINT
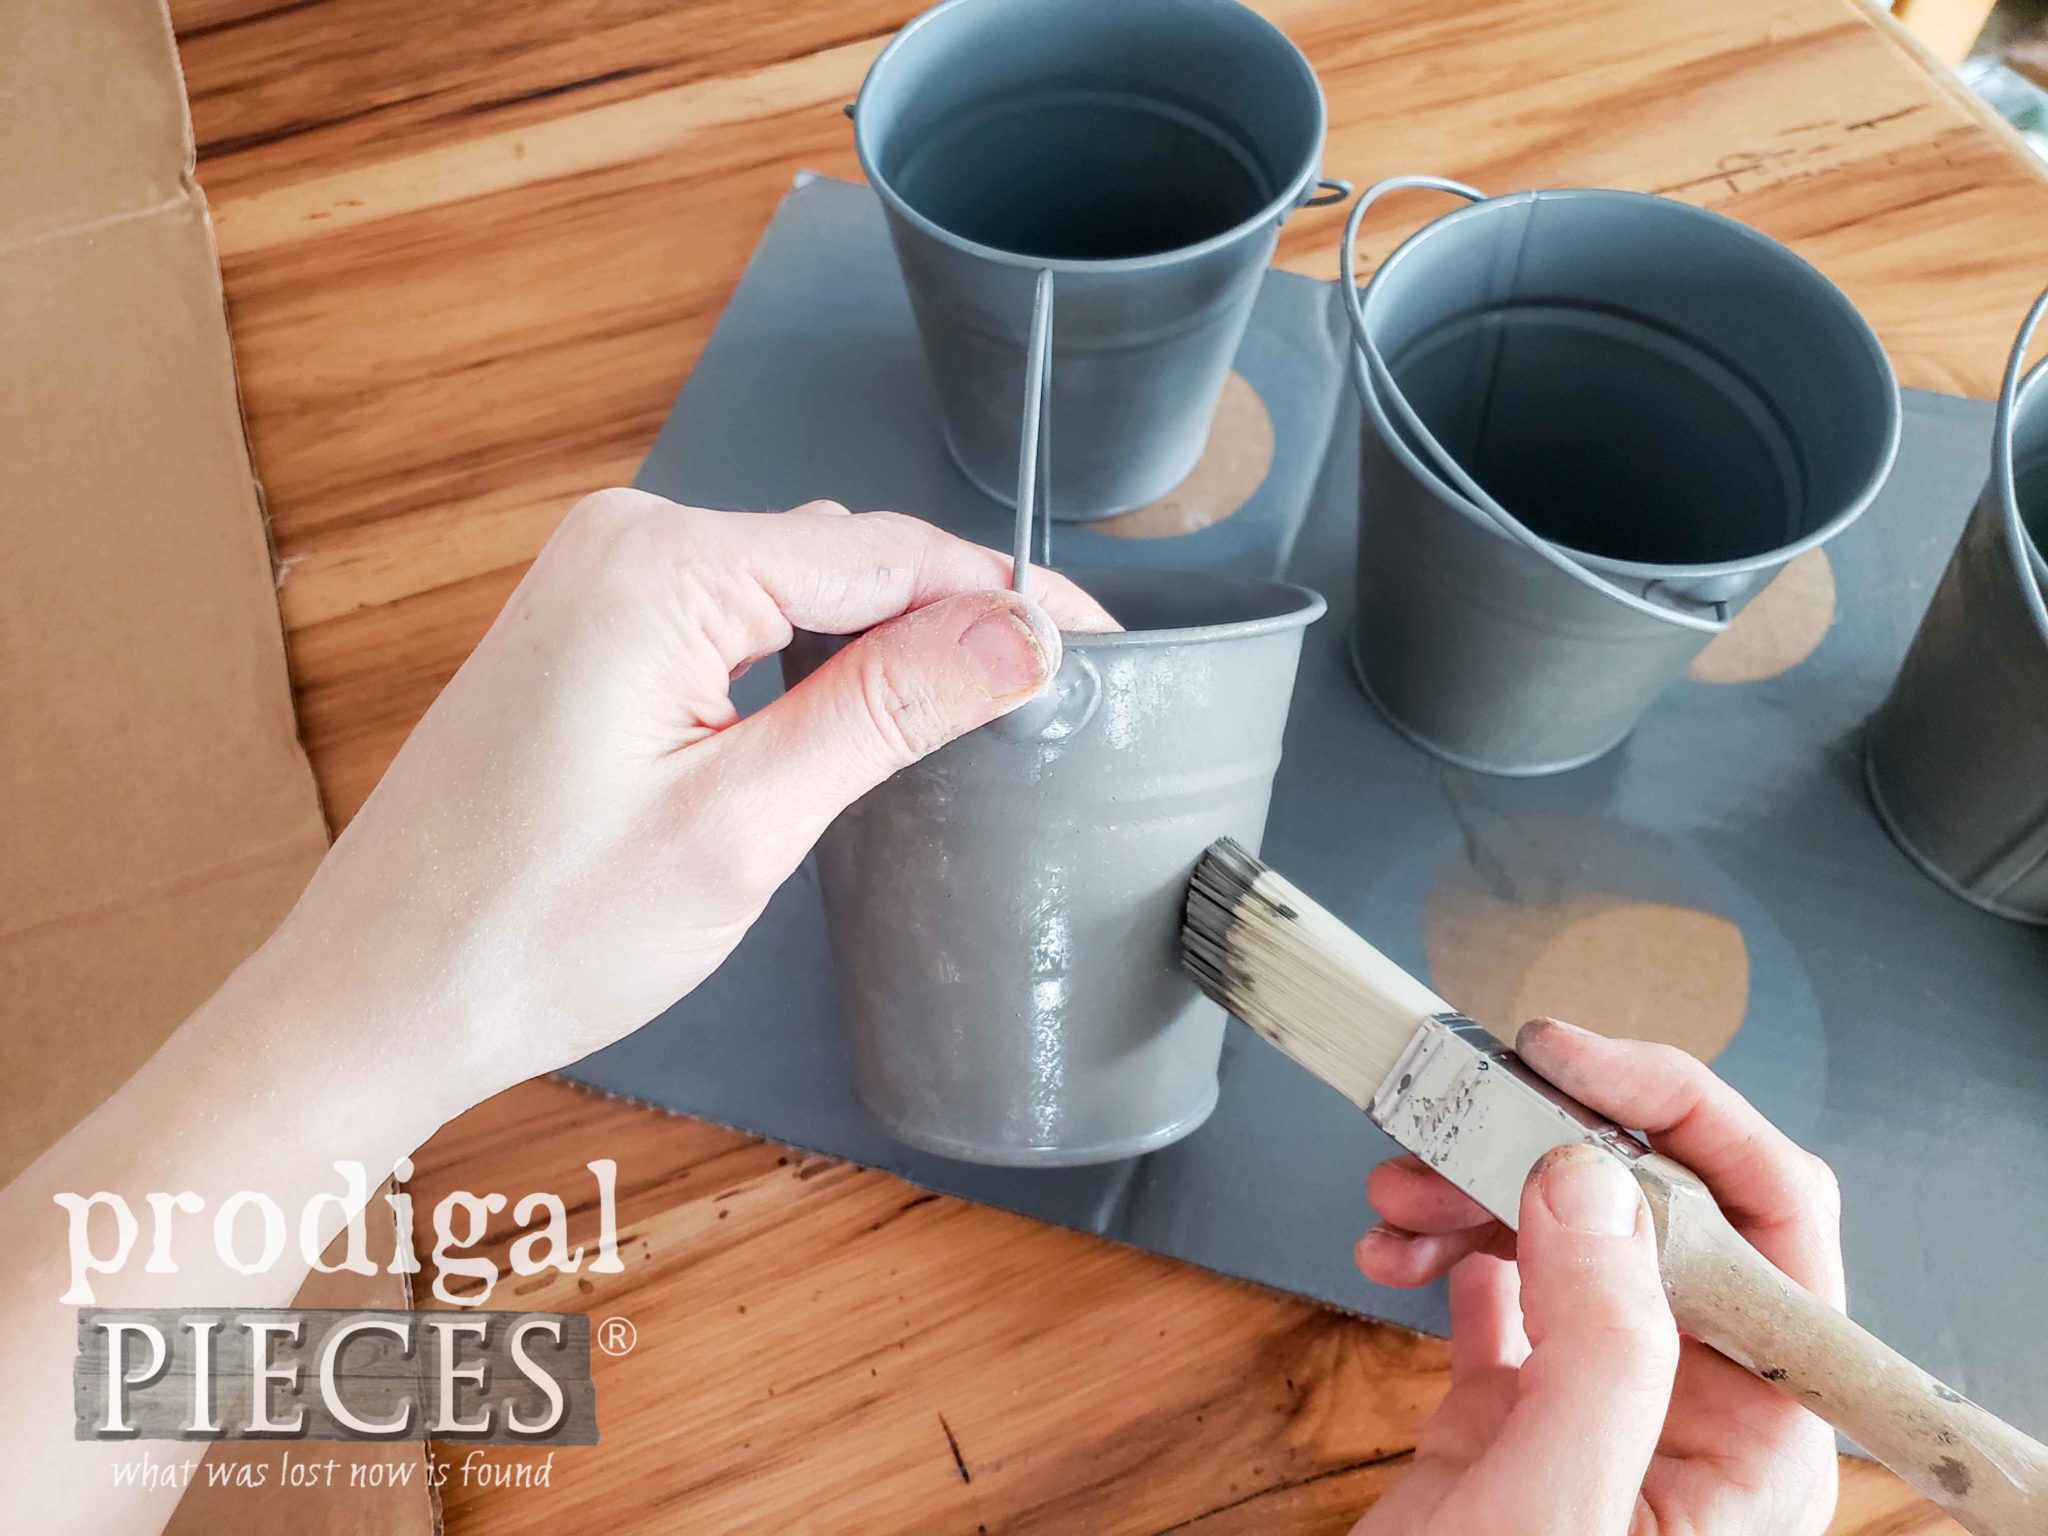
Meanwhile, I also tackle those mini metal pails. They're cute and the brown isn't so bad, but I wanted a different vibe for my finished look. I decided to give them an aged zinc look, much like I've done in the past with these projects.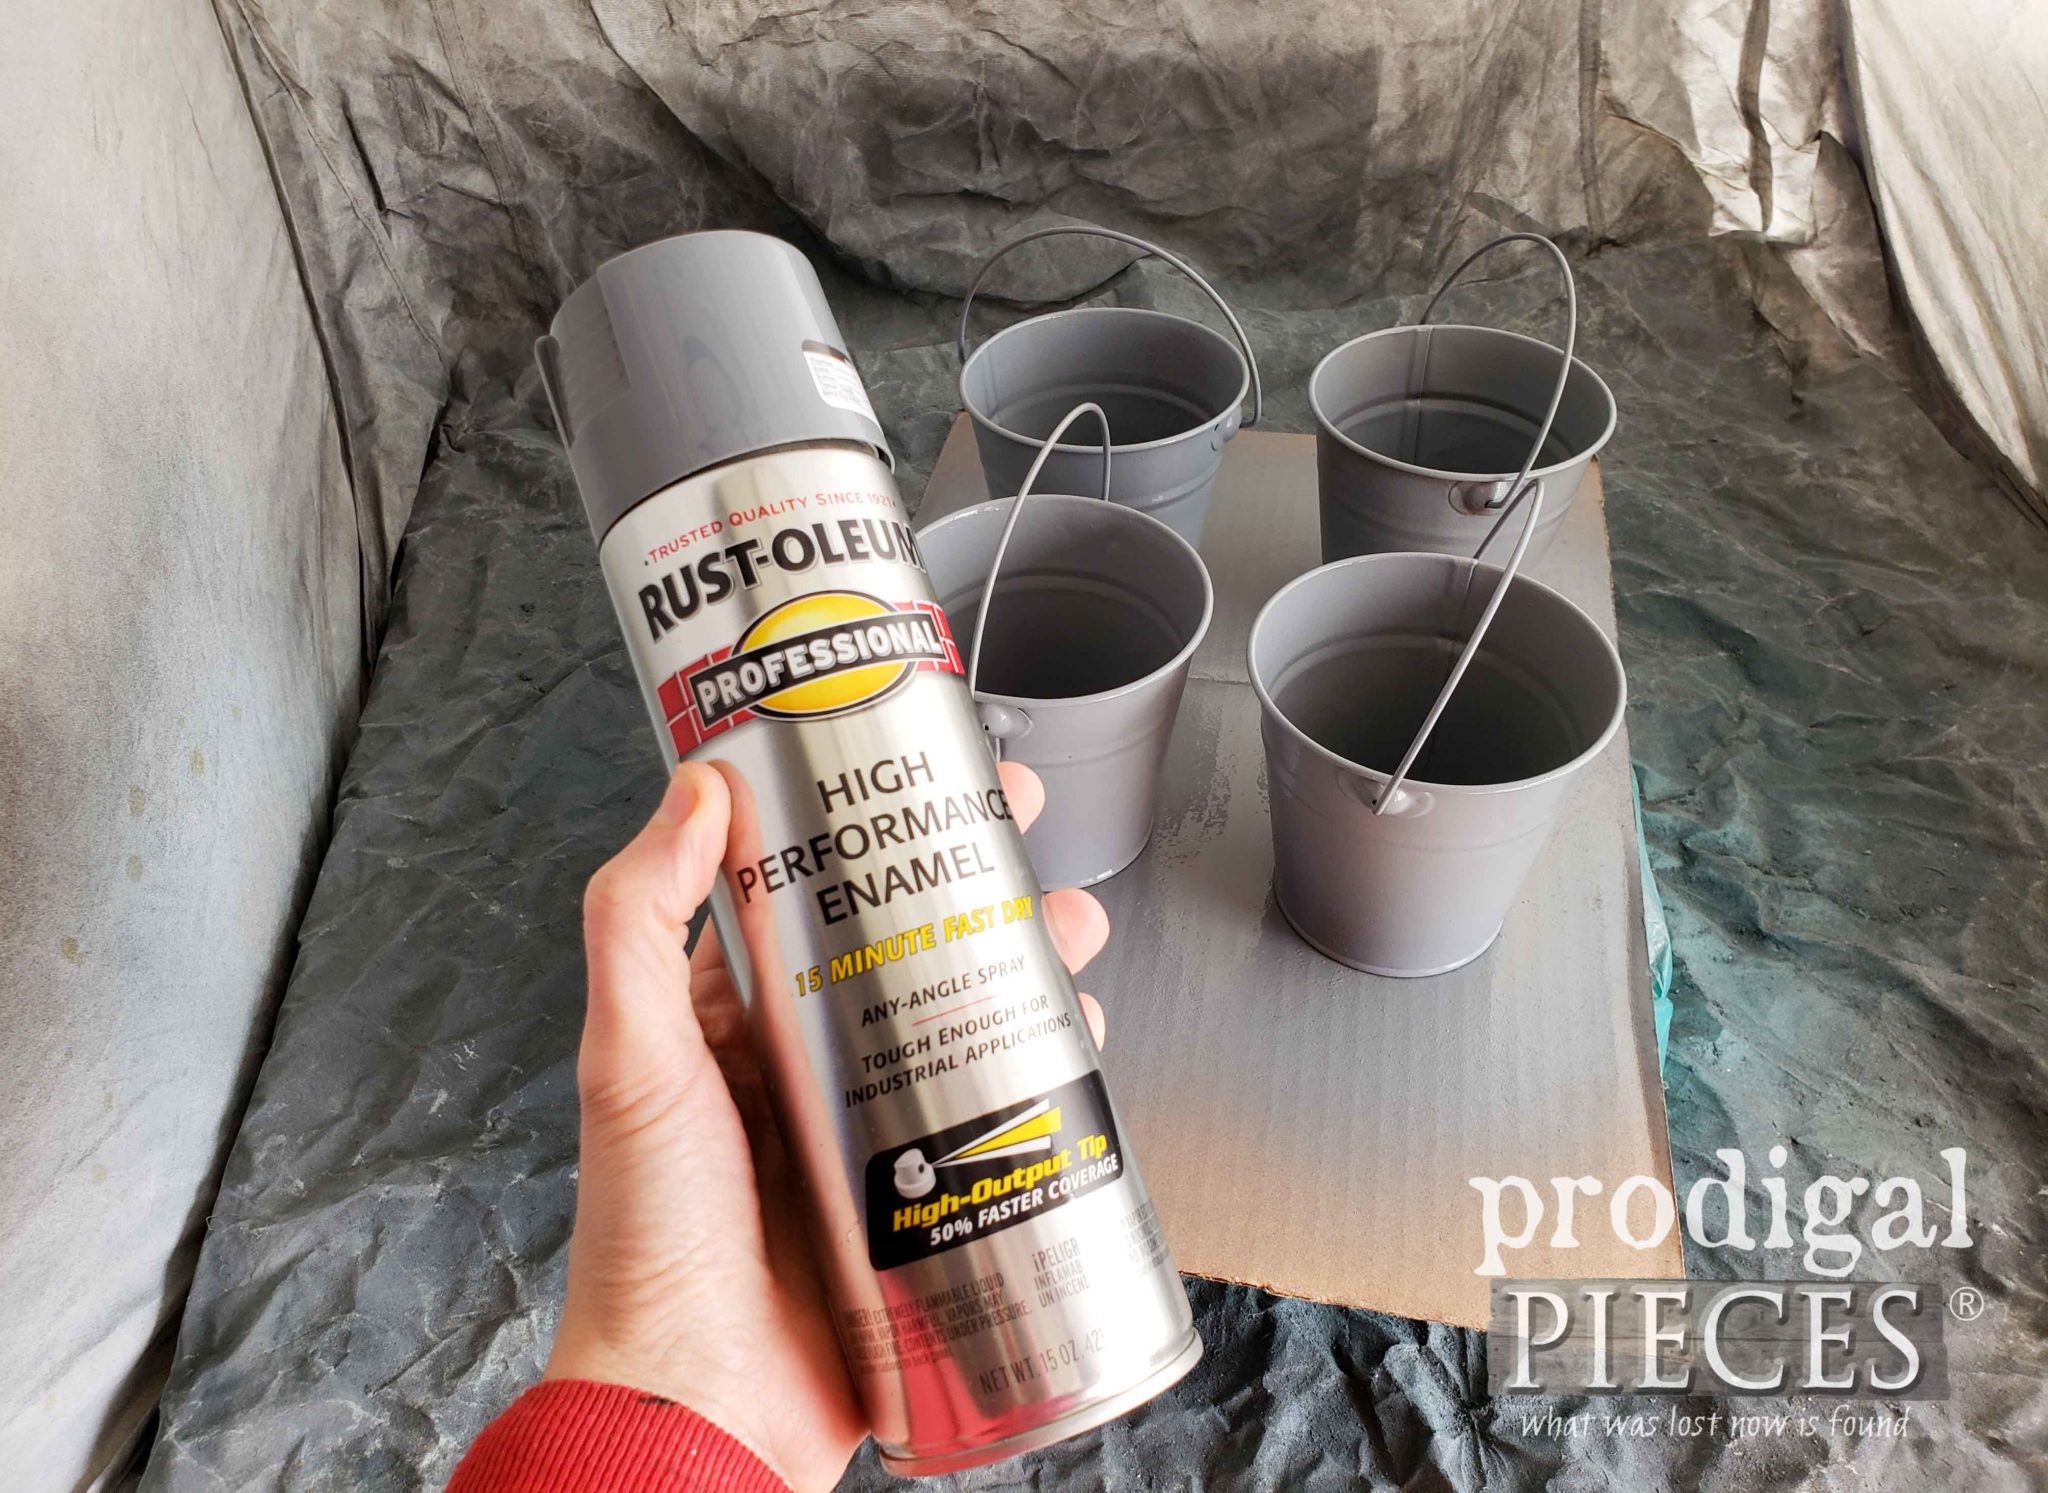 First, I begin with two gray coats of paint and let cure. Then, I used a dark gray paint and my brush to pounce on a light layer. My video below shows this best.
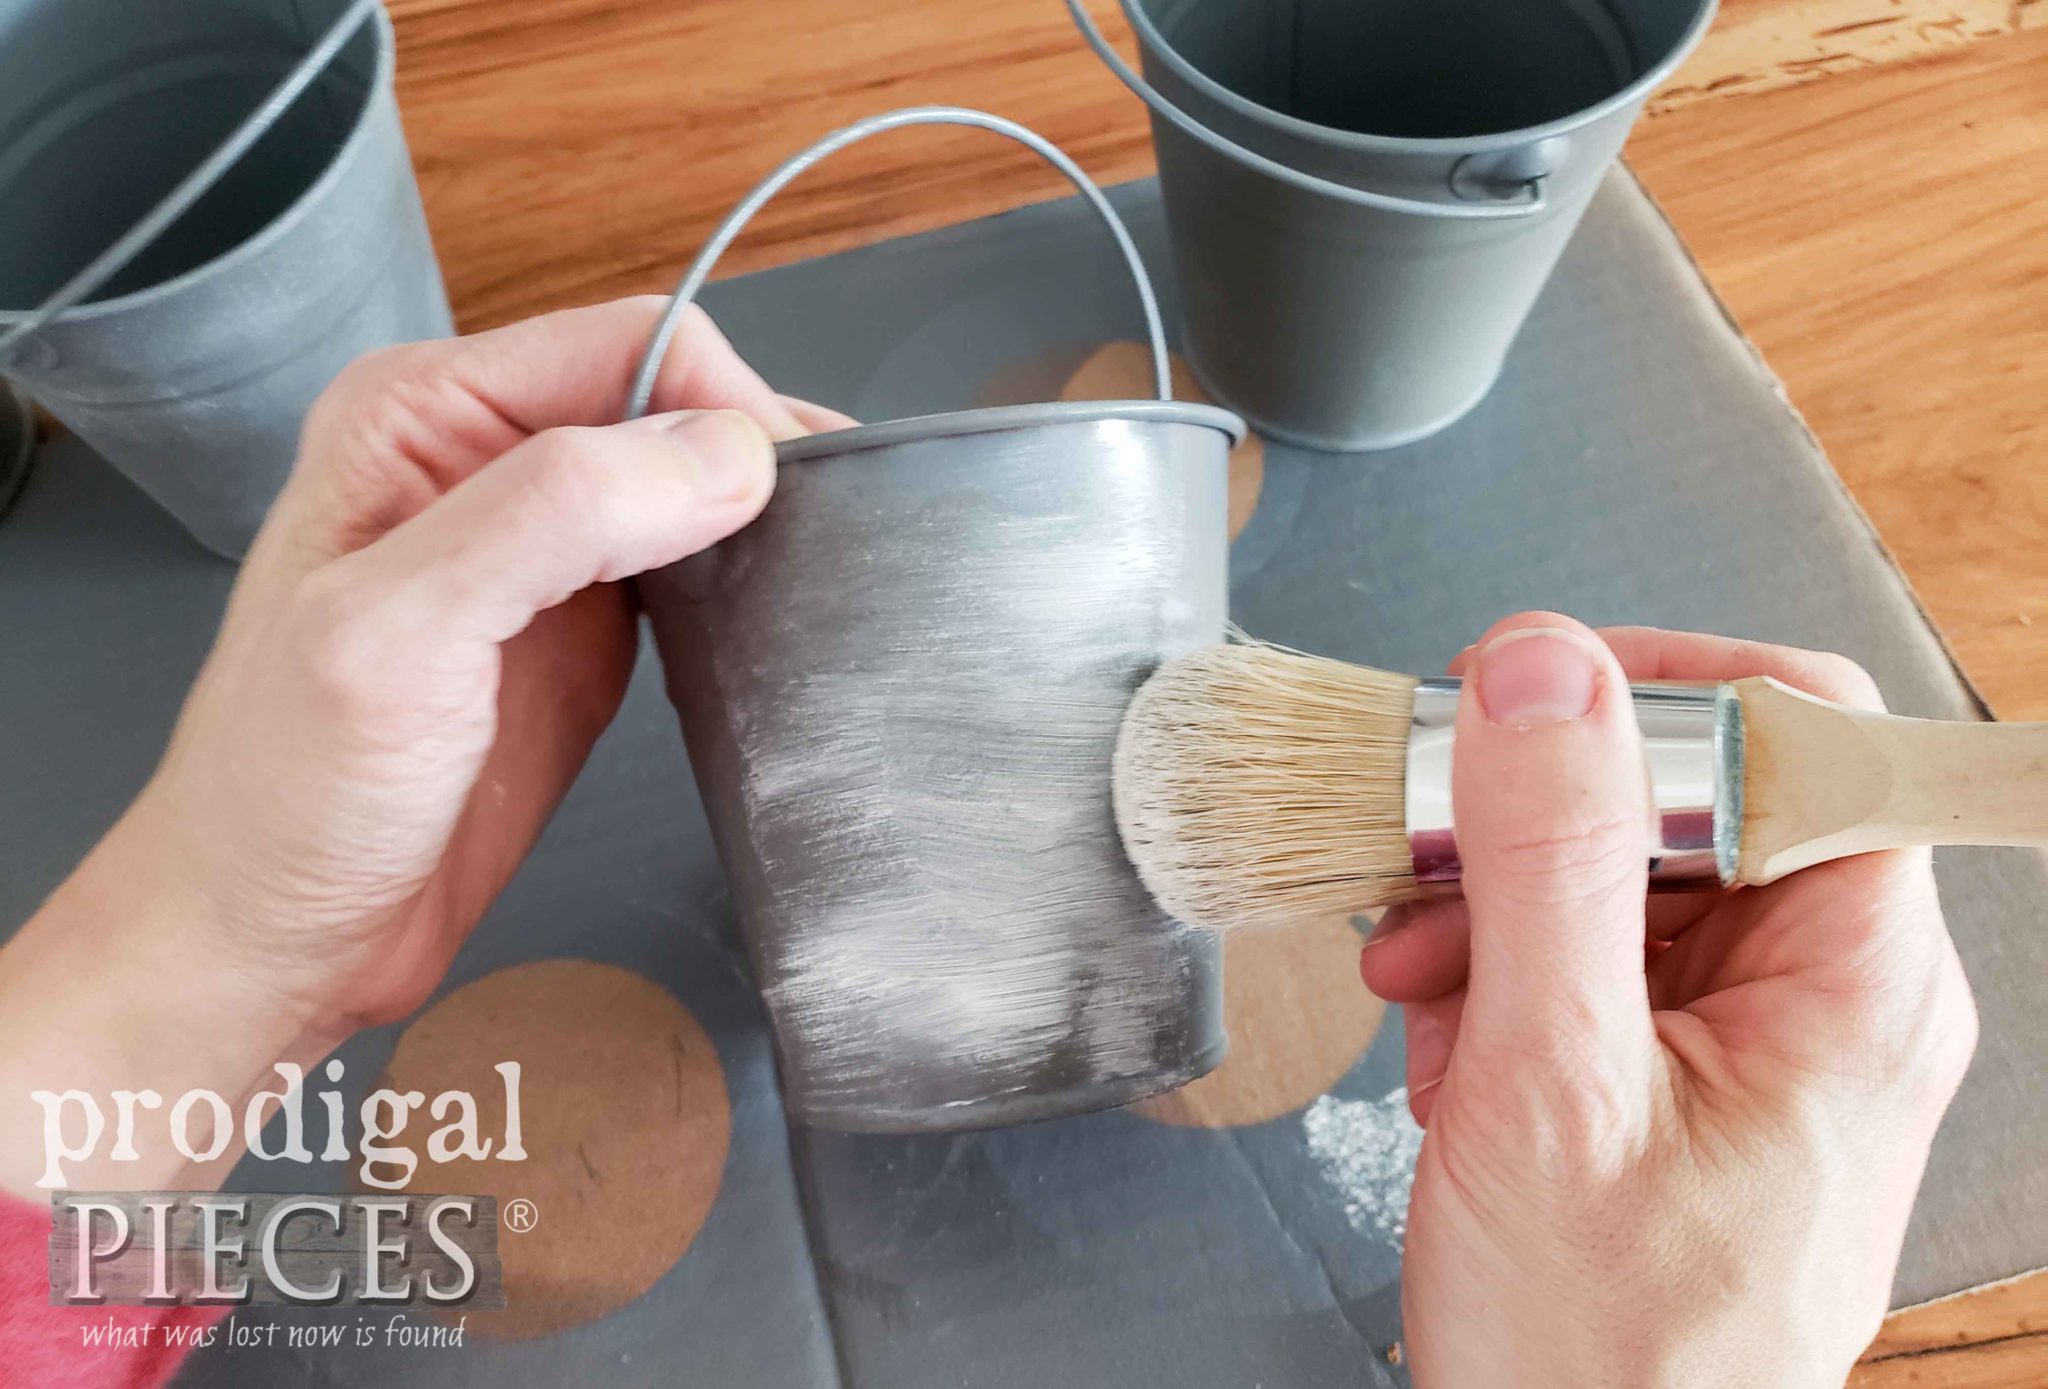
 I also wanted to give these more time-worn wear. However, this time I used a white wax to "wash" the pails. Brush on working around the pail, and buff off. My video demonstrates this best.
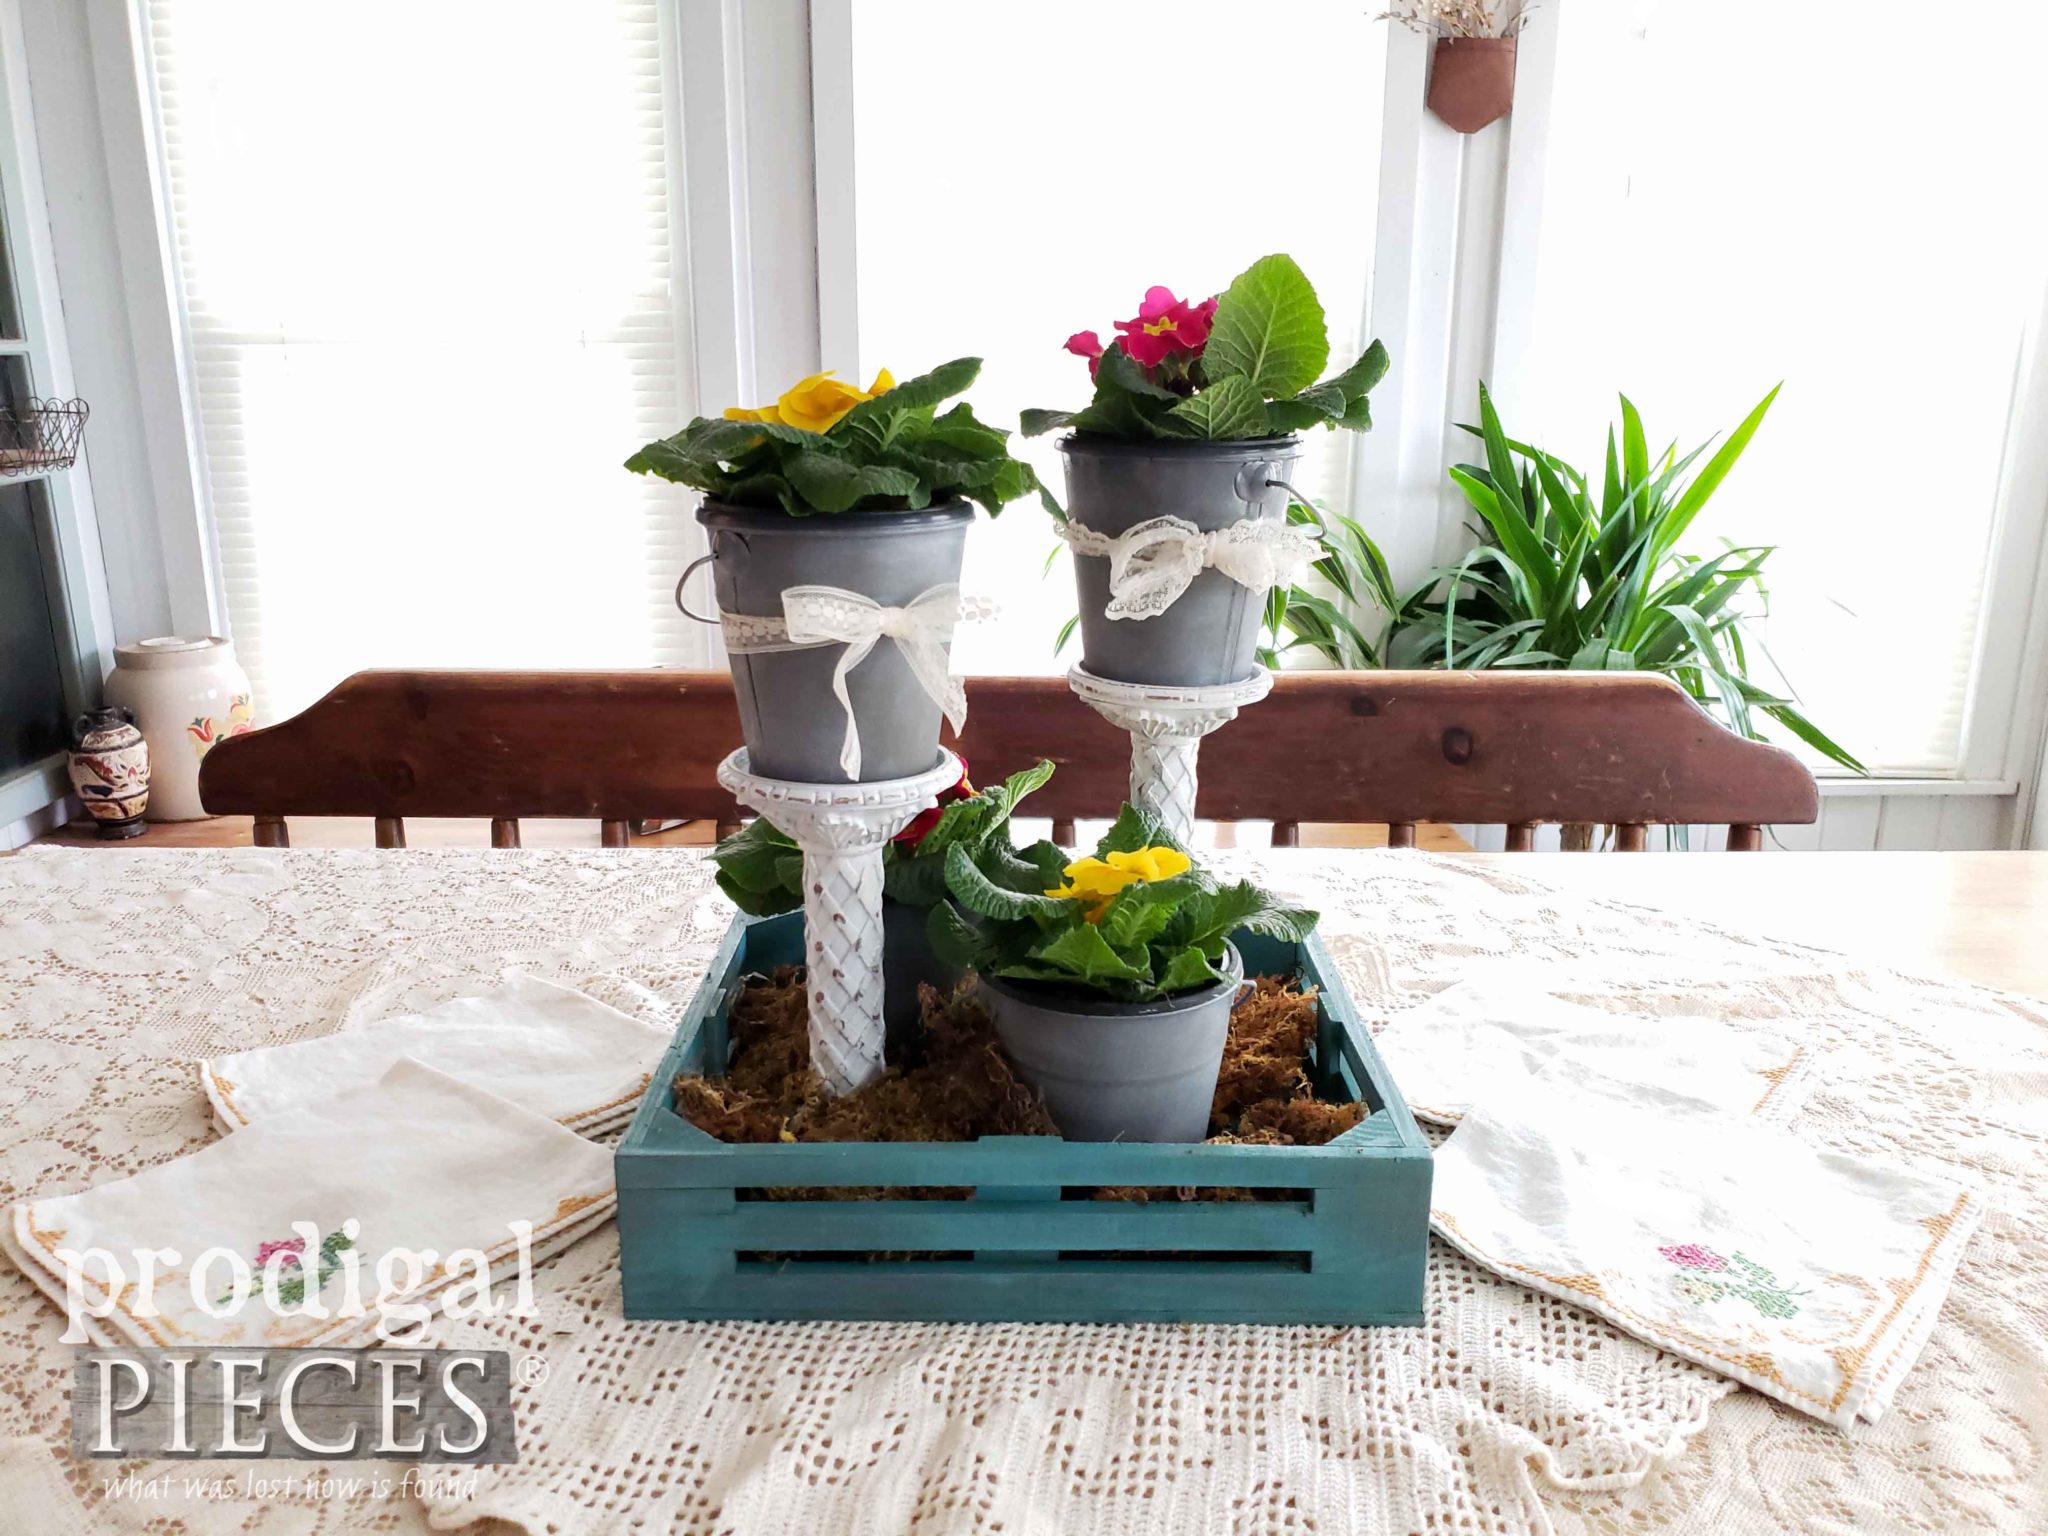
 Finally, all my parts are ready to be put together into my thrifted DIY spring centerpiece. Yay!
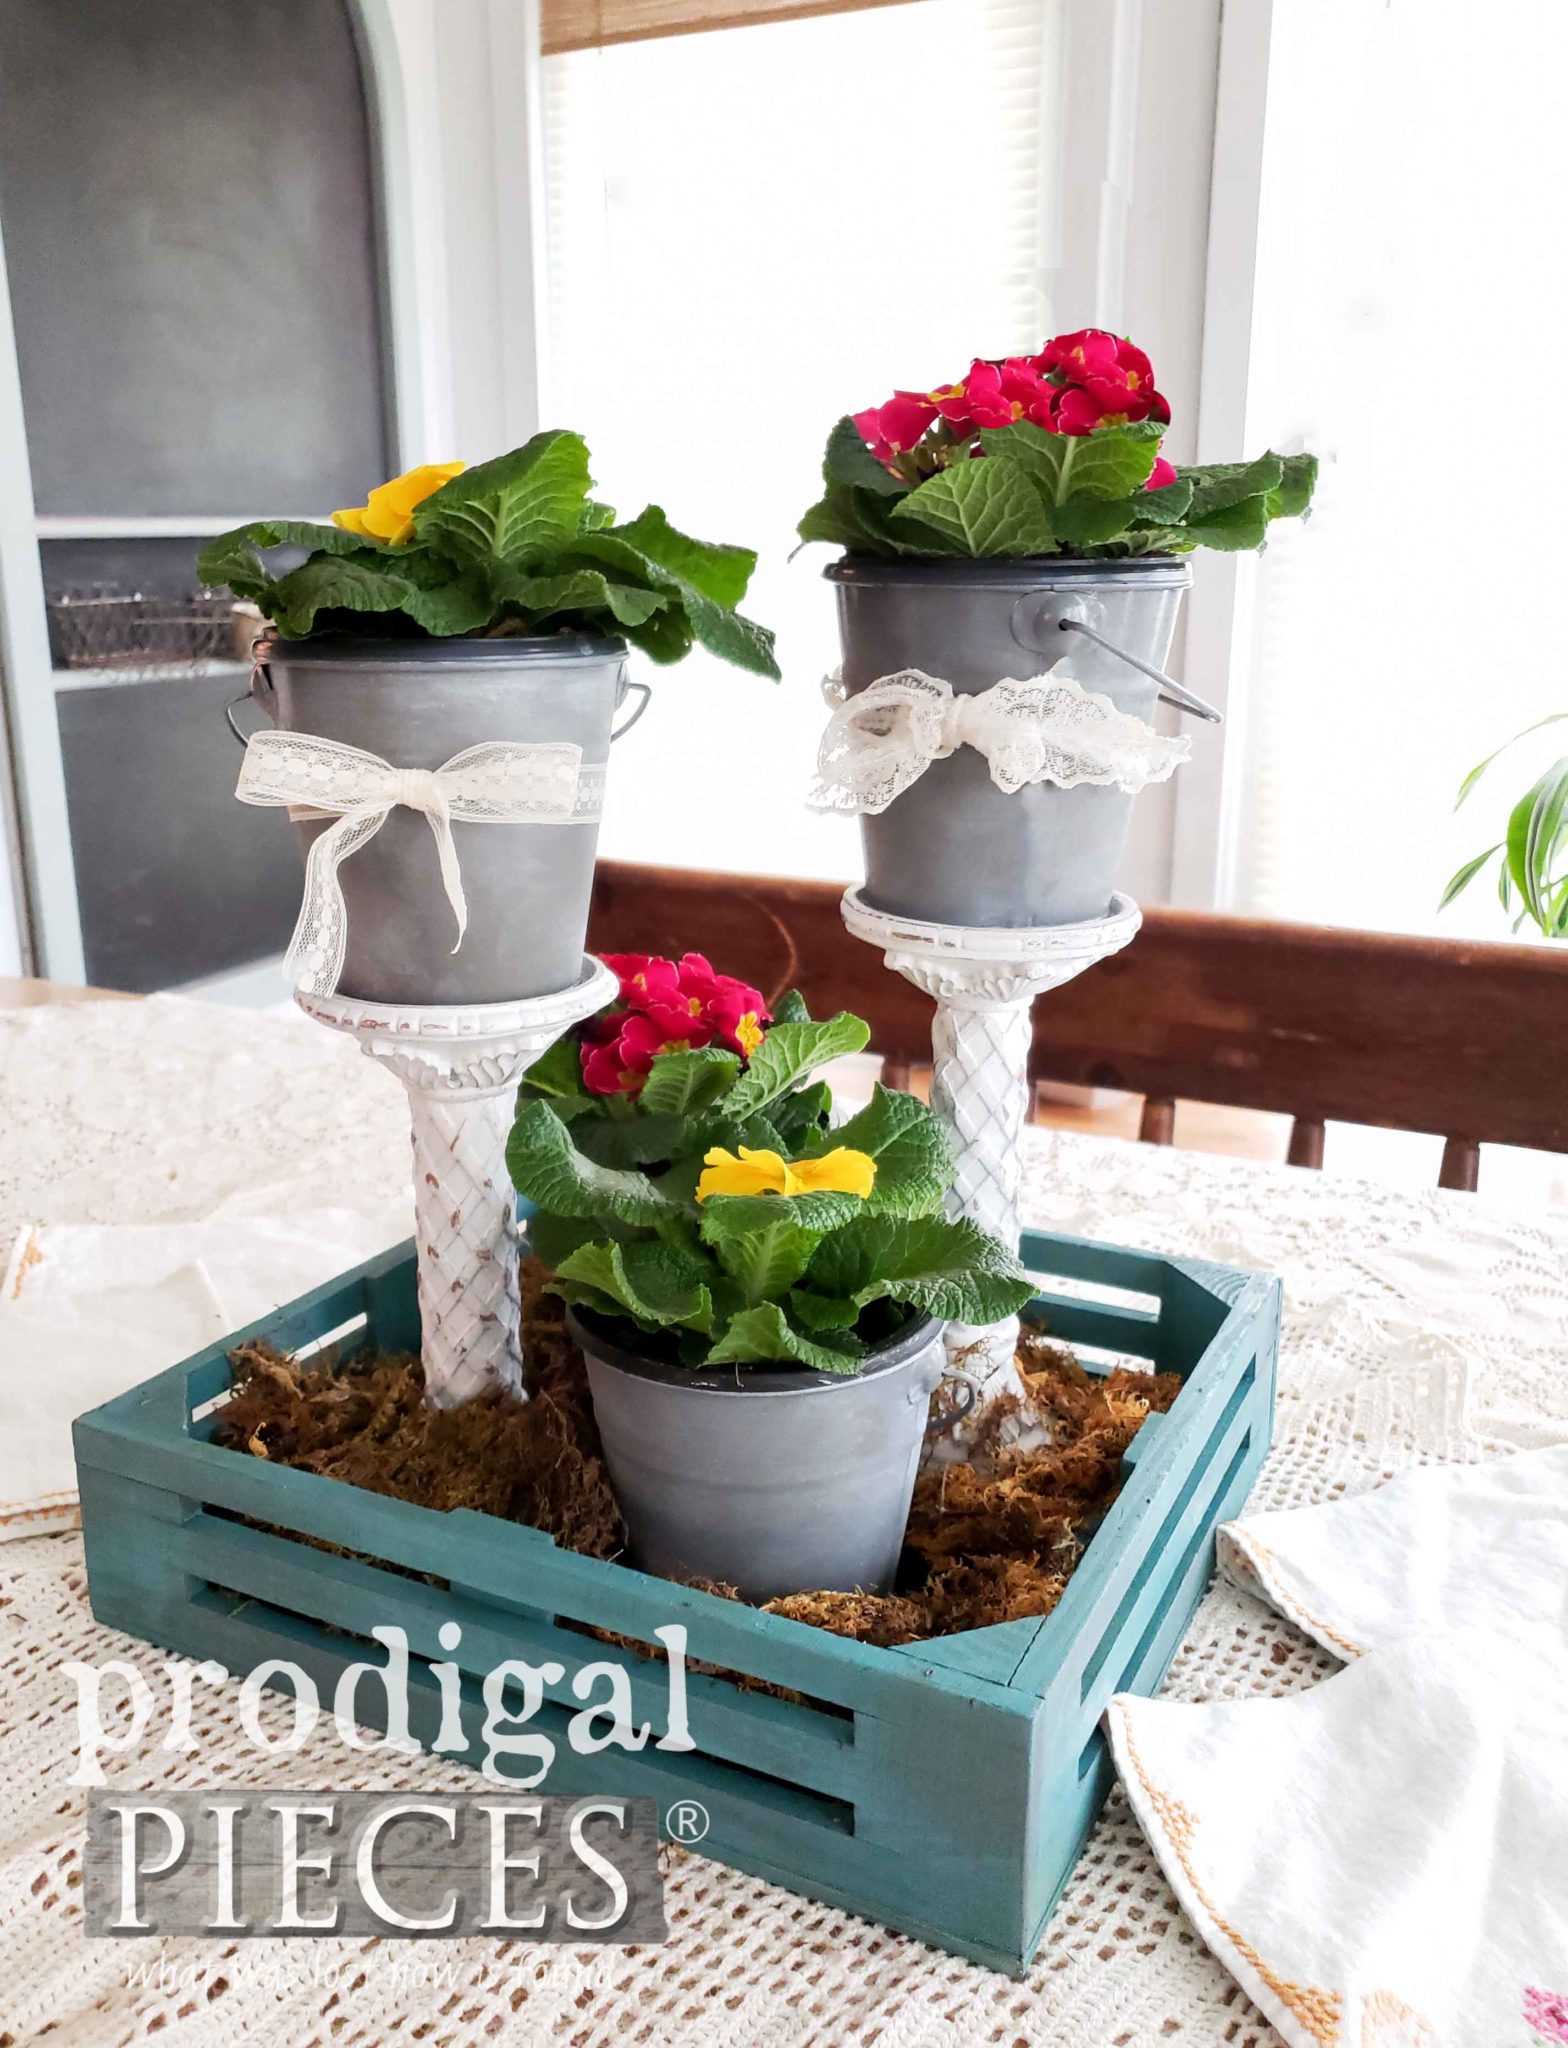
SPRING
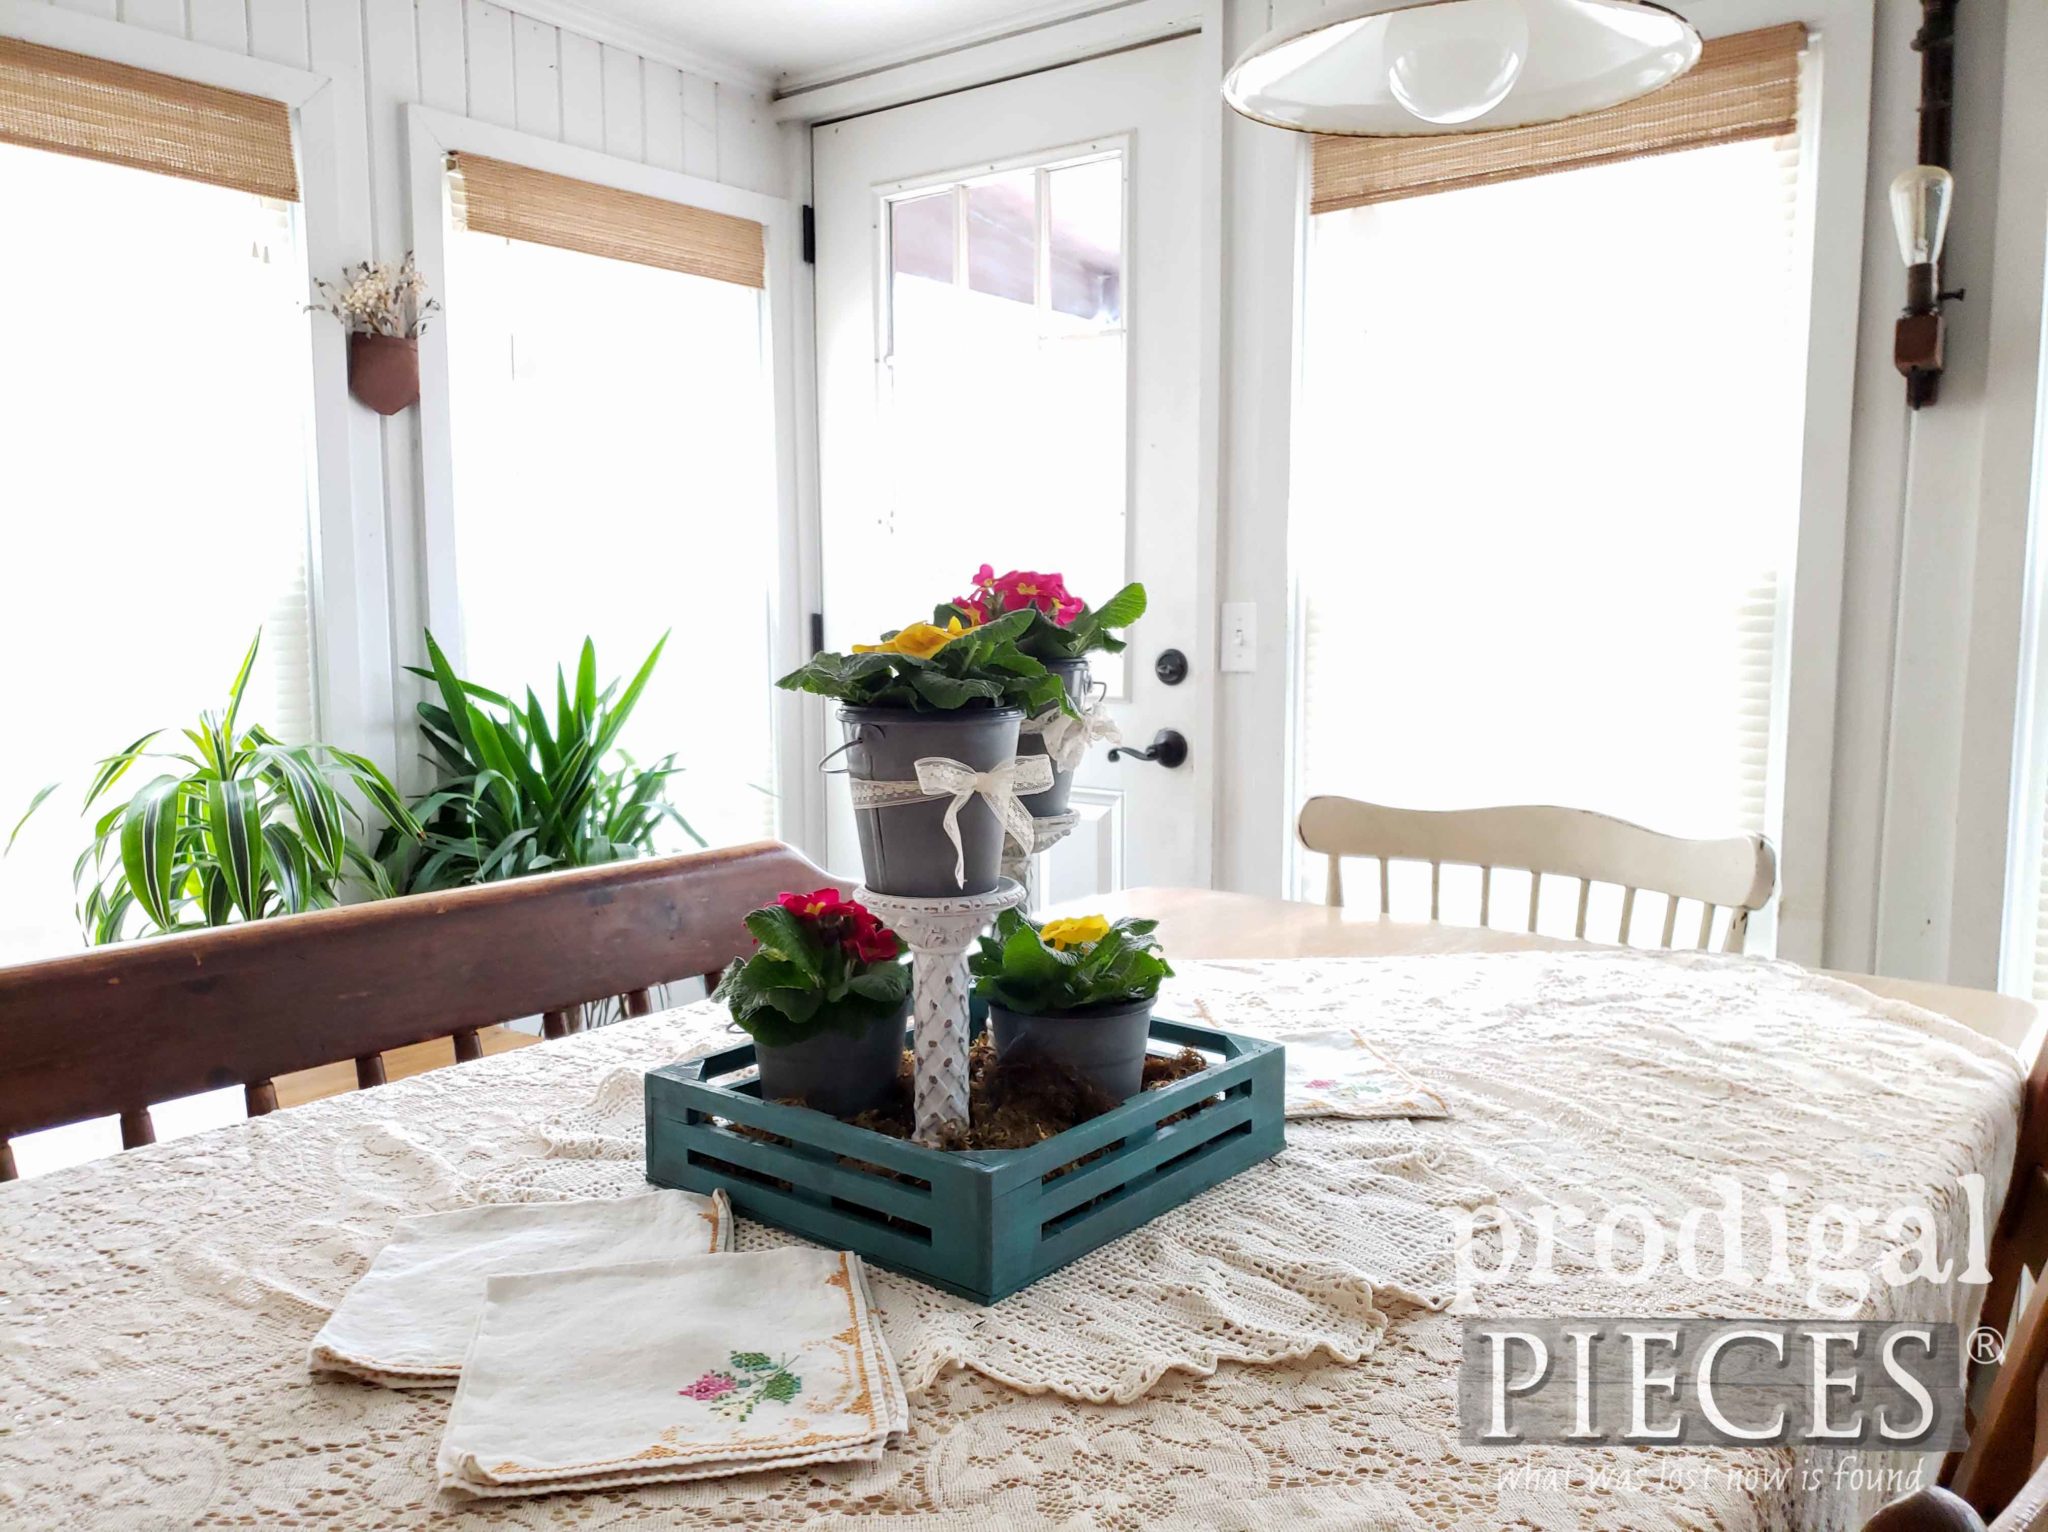
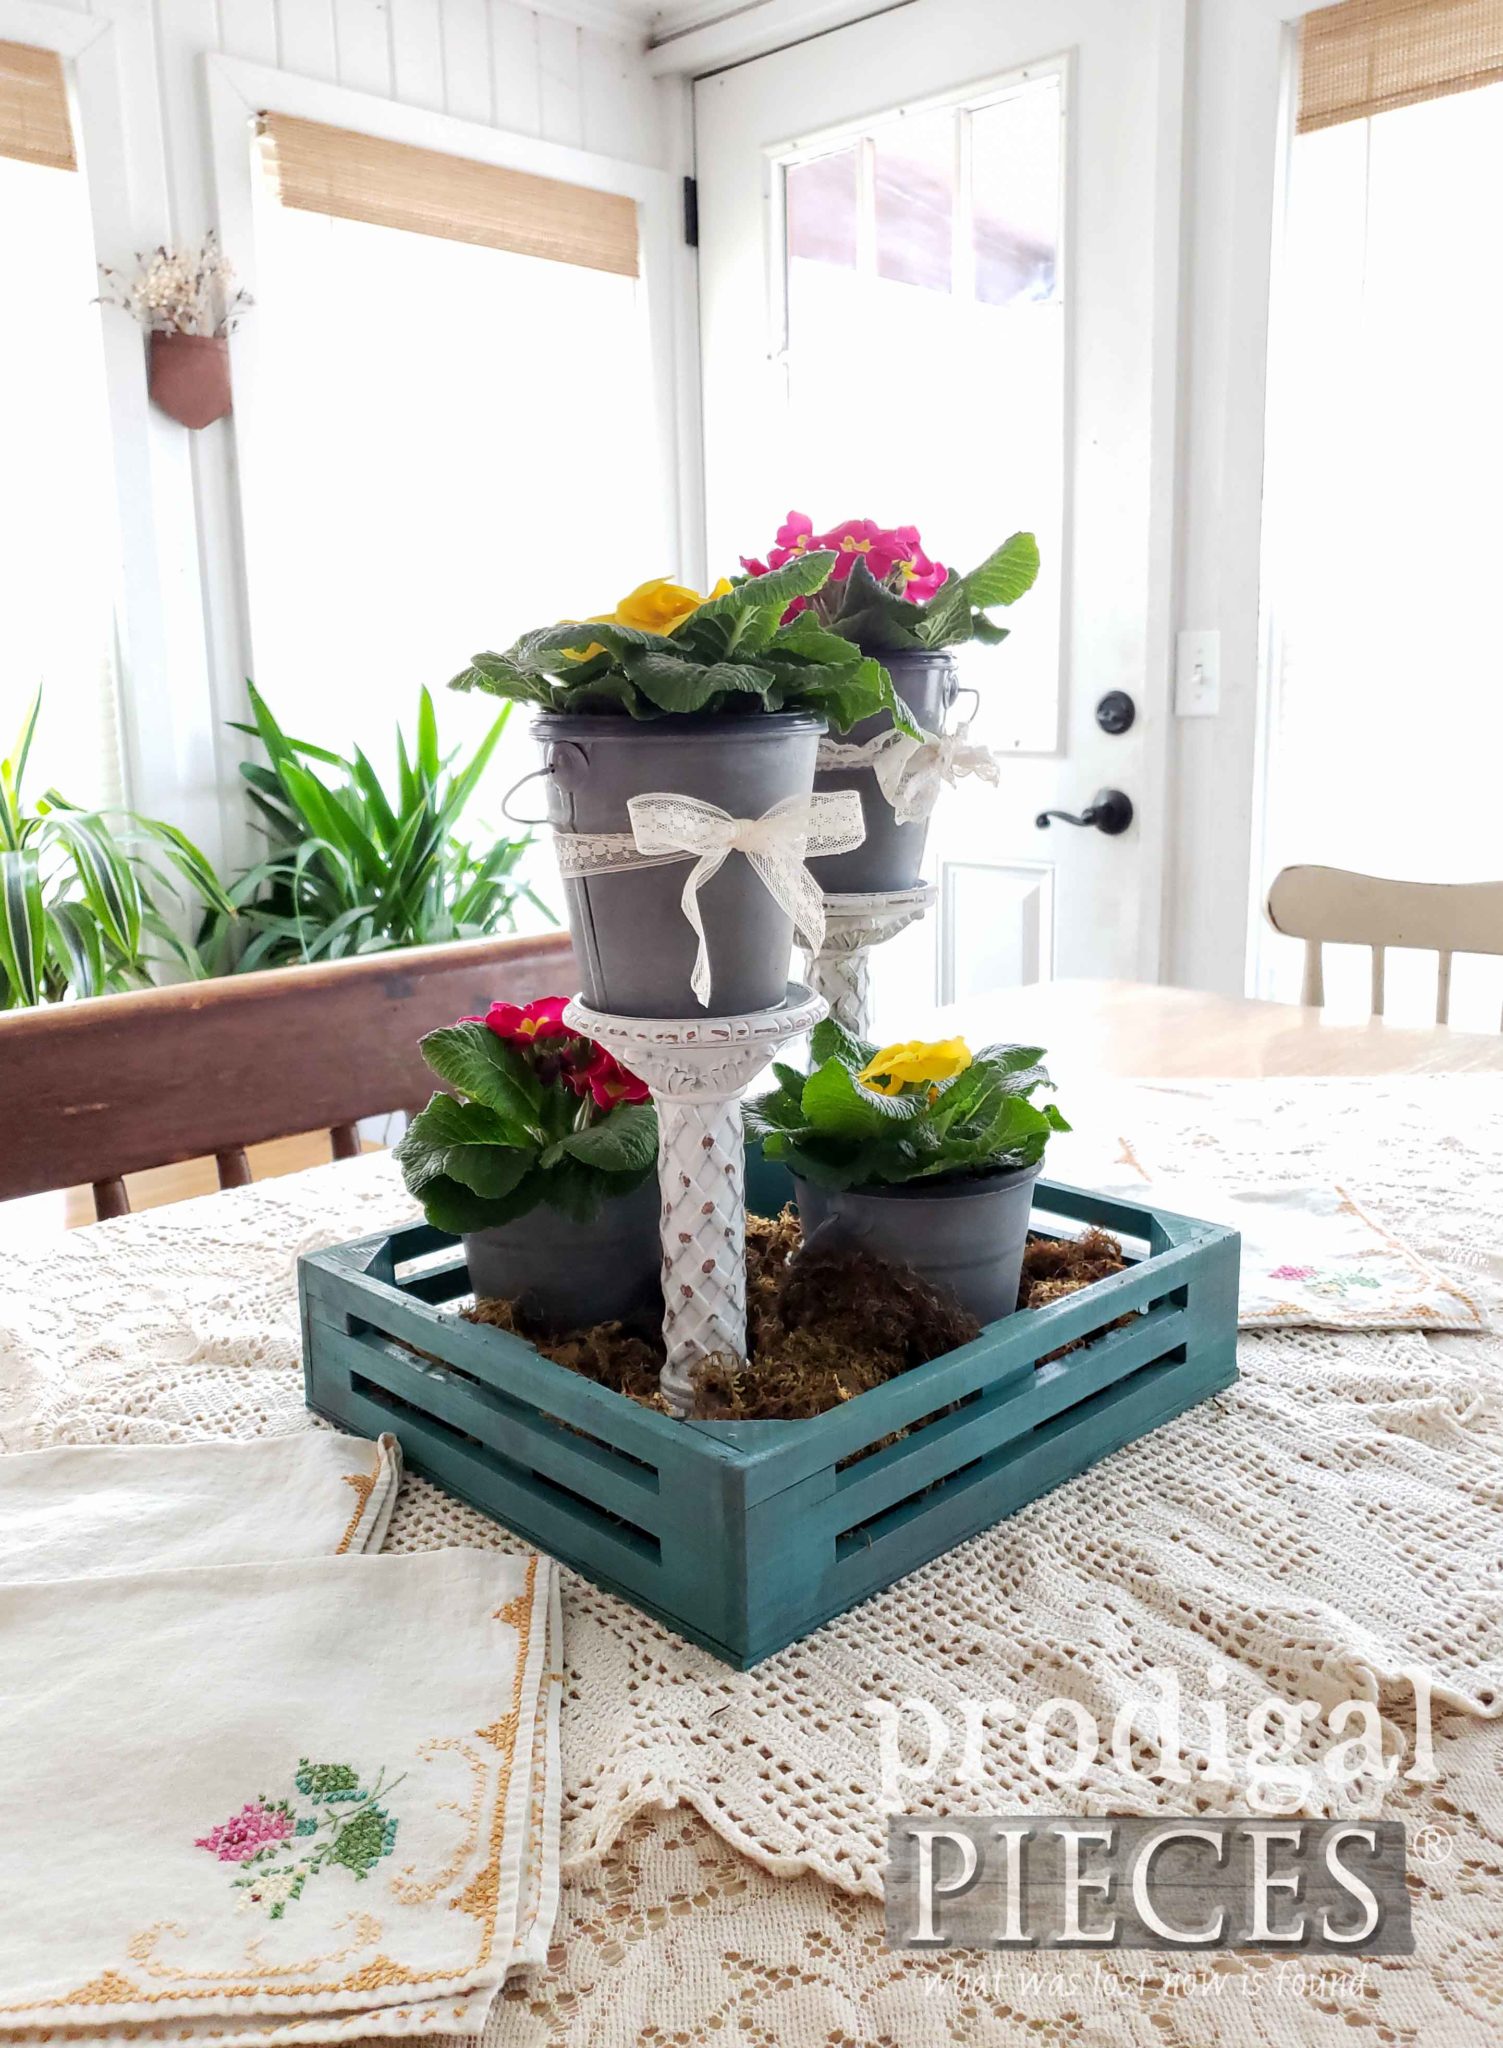
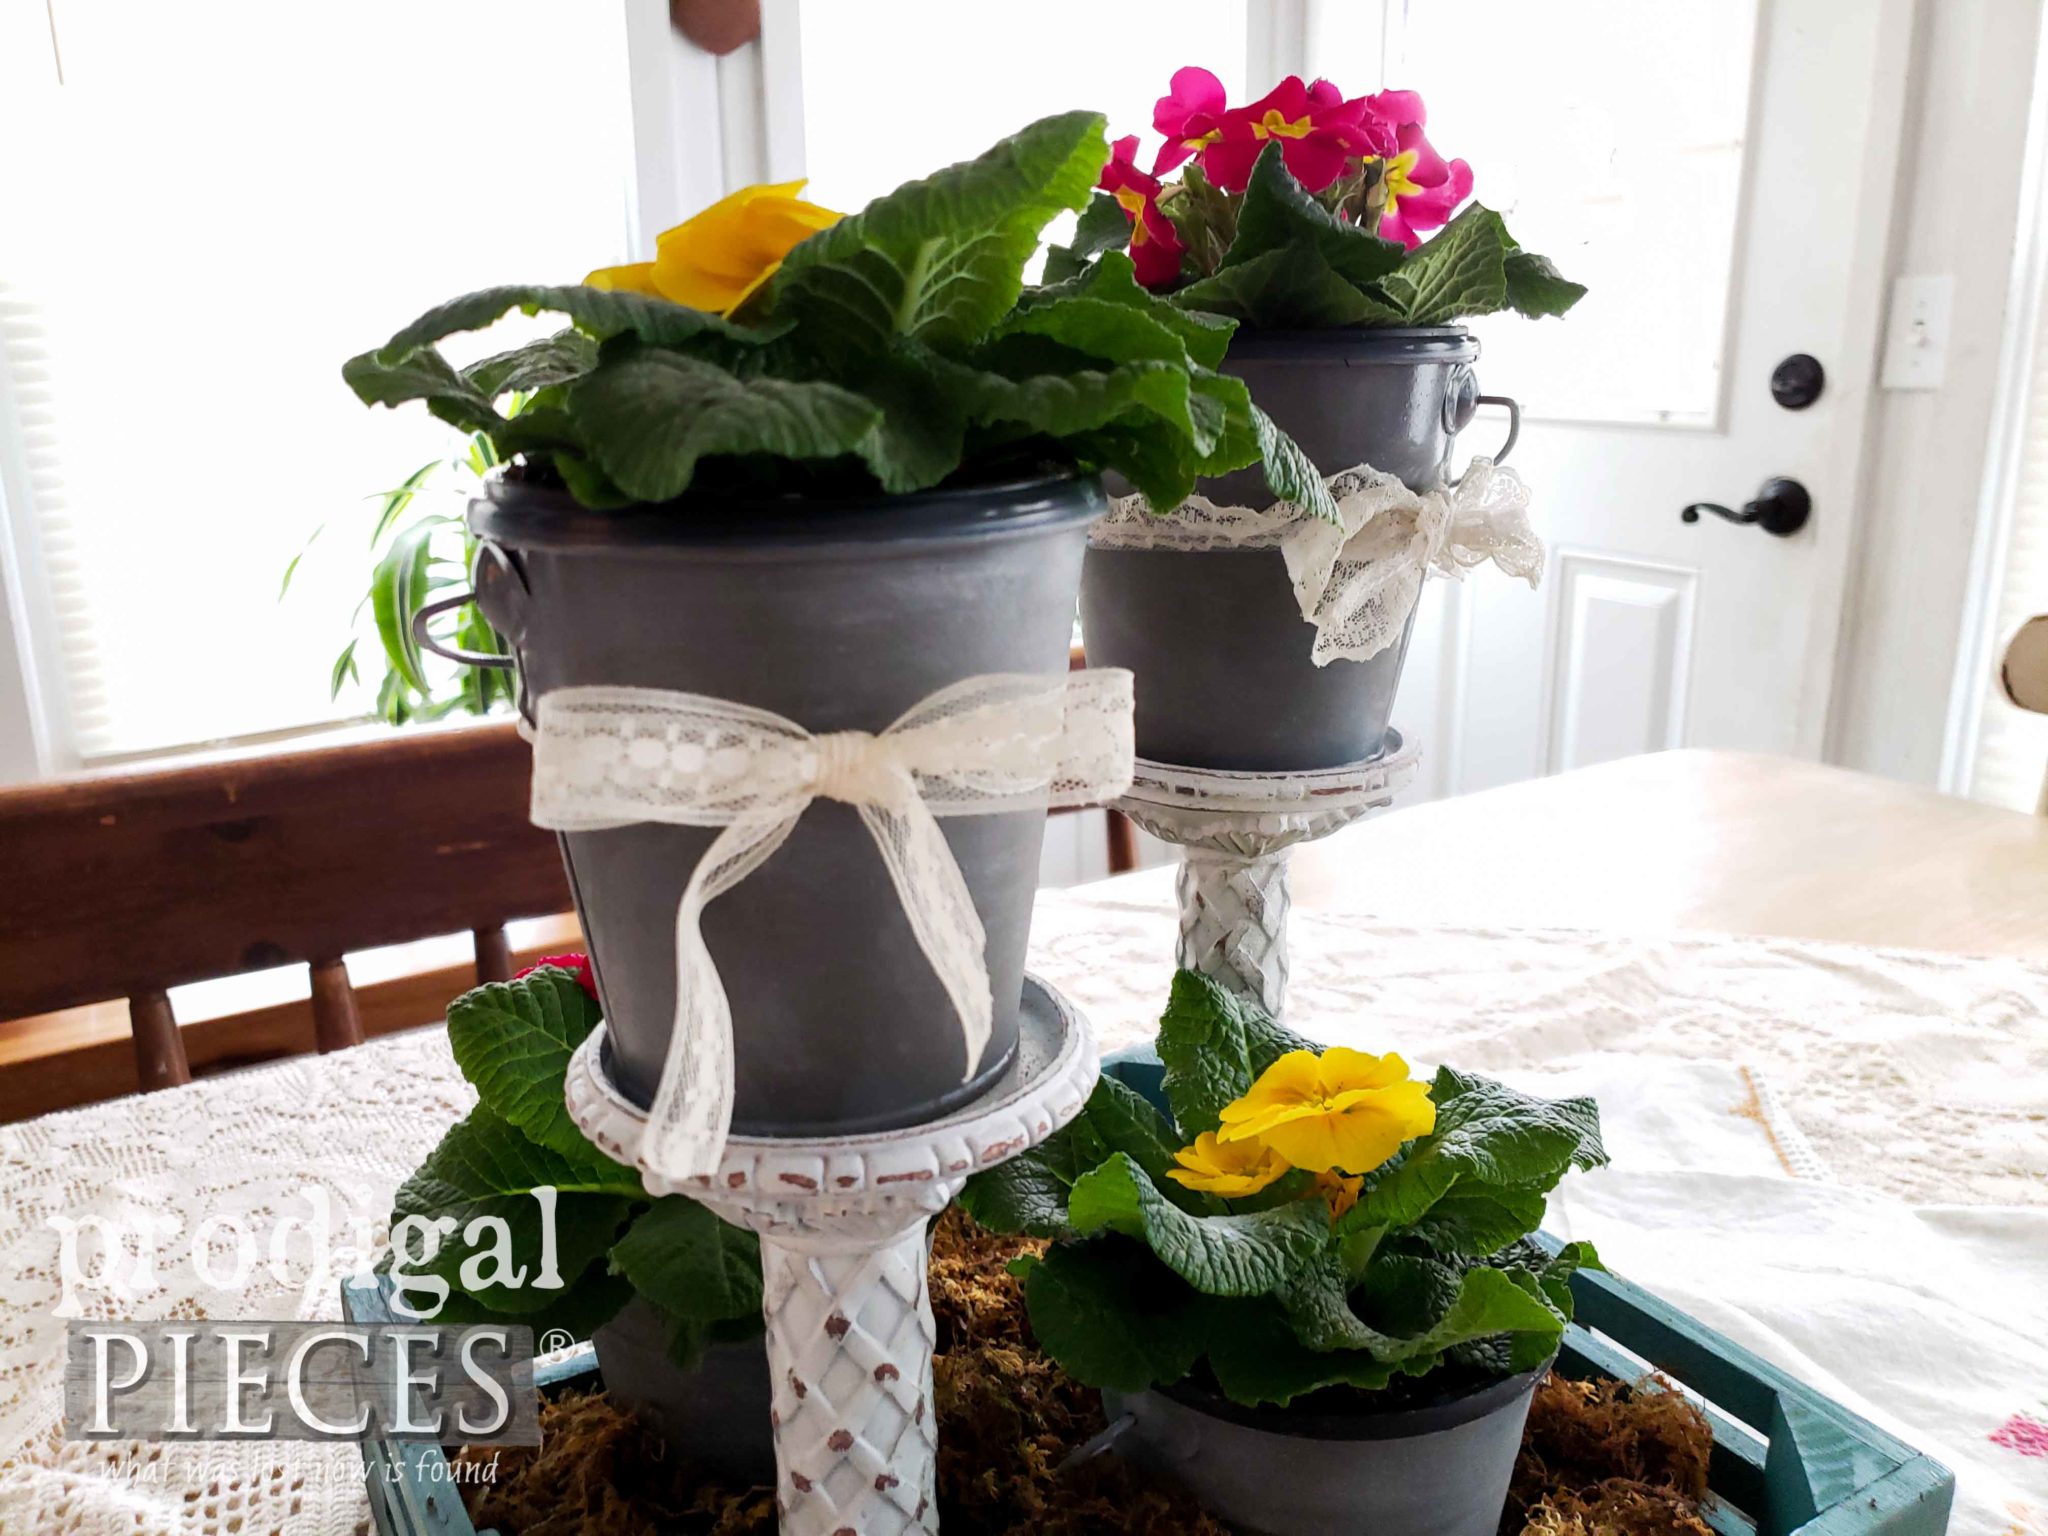
Finally, as a result of our thrifty fun, we have a colorful pop of color for our dining table. The crate gives the perfect base for adding the pails and pillars. Then, I added a few scraps of vintage lace and some moss to fill in.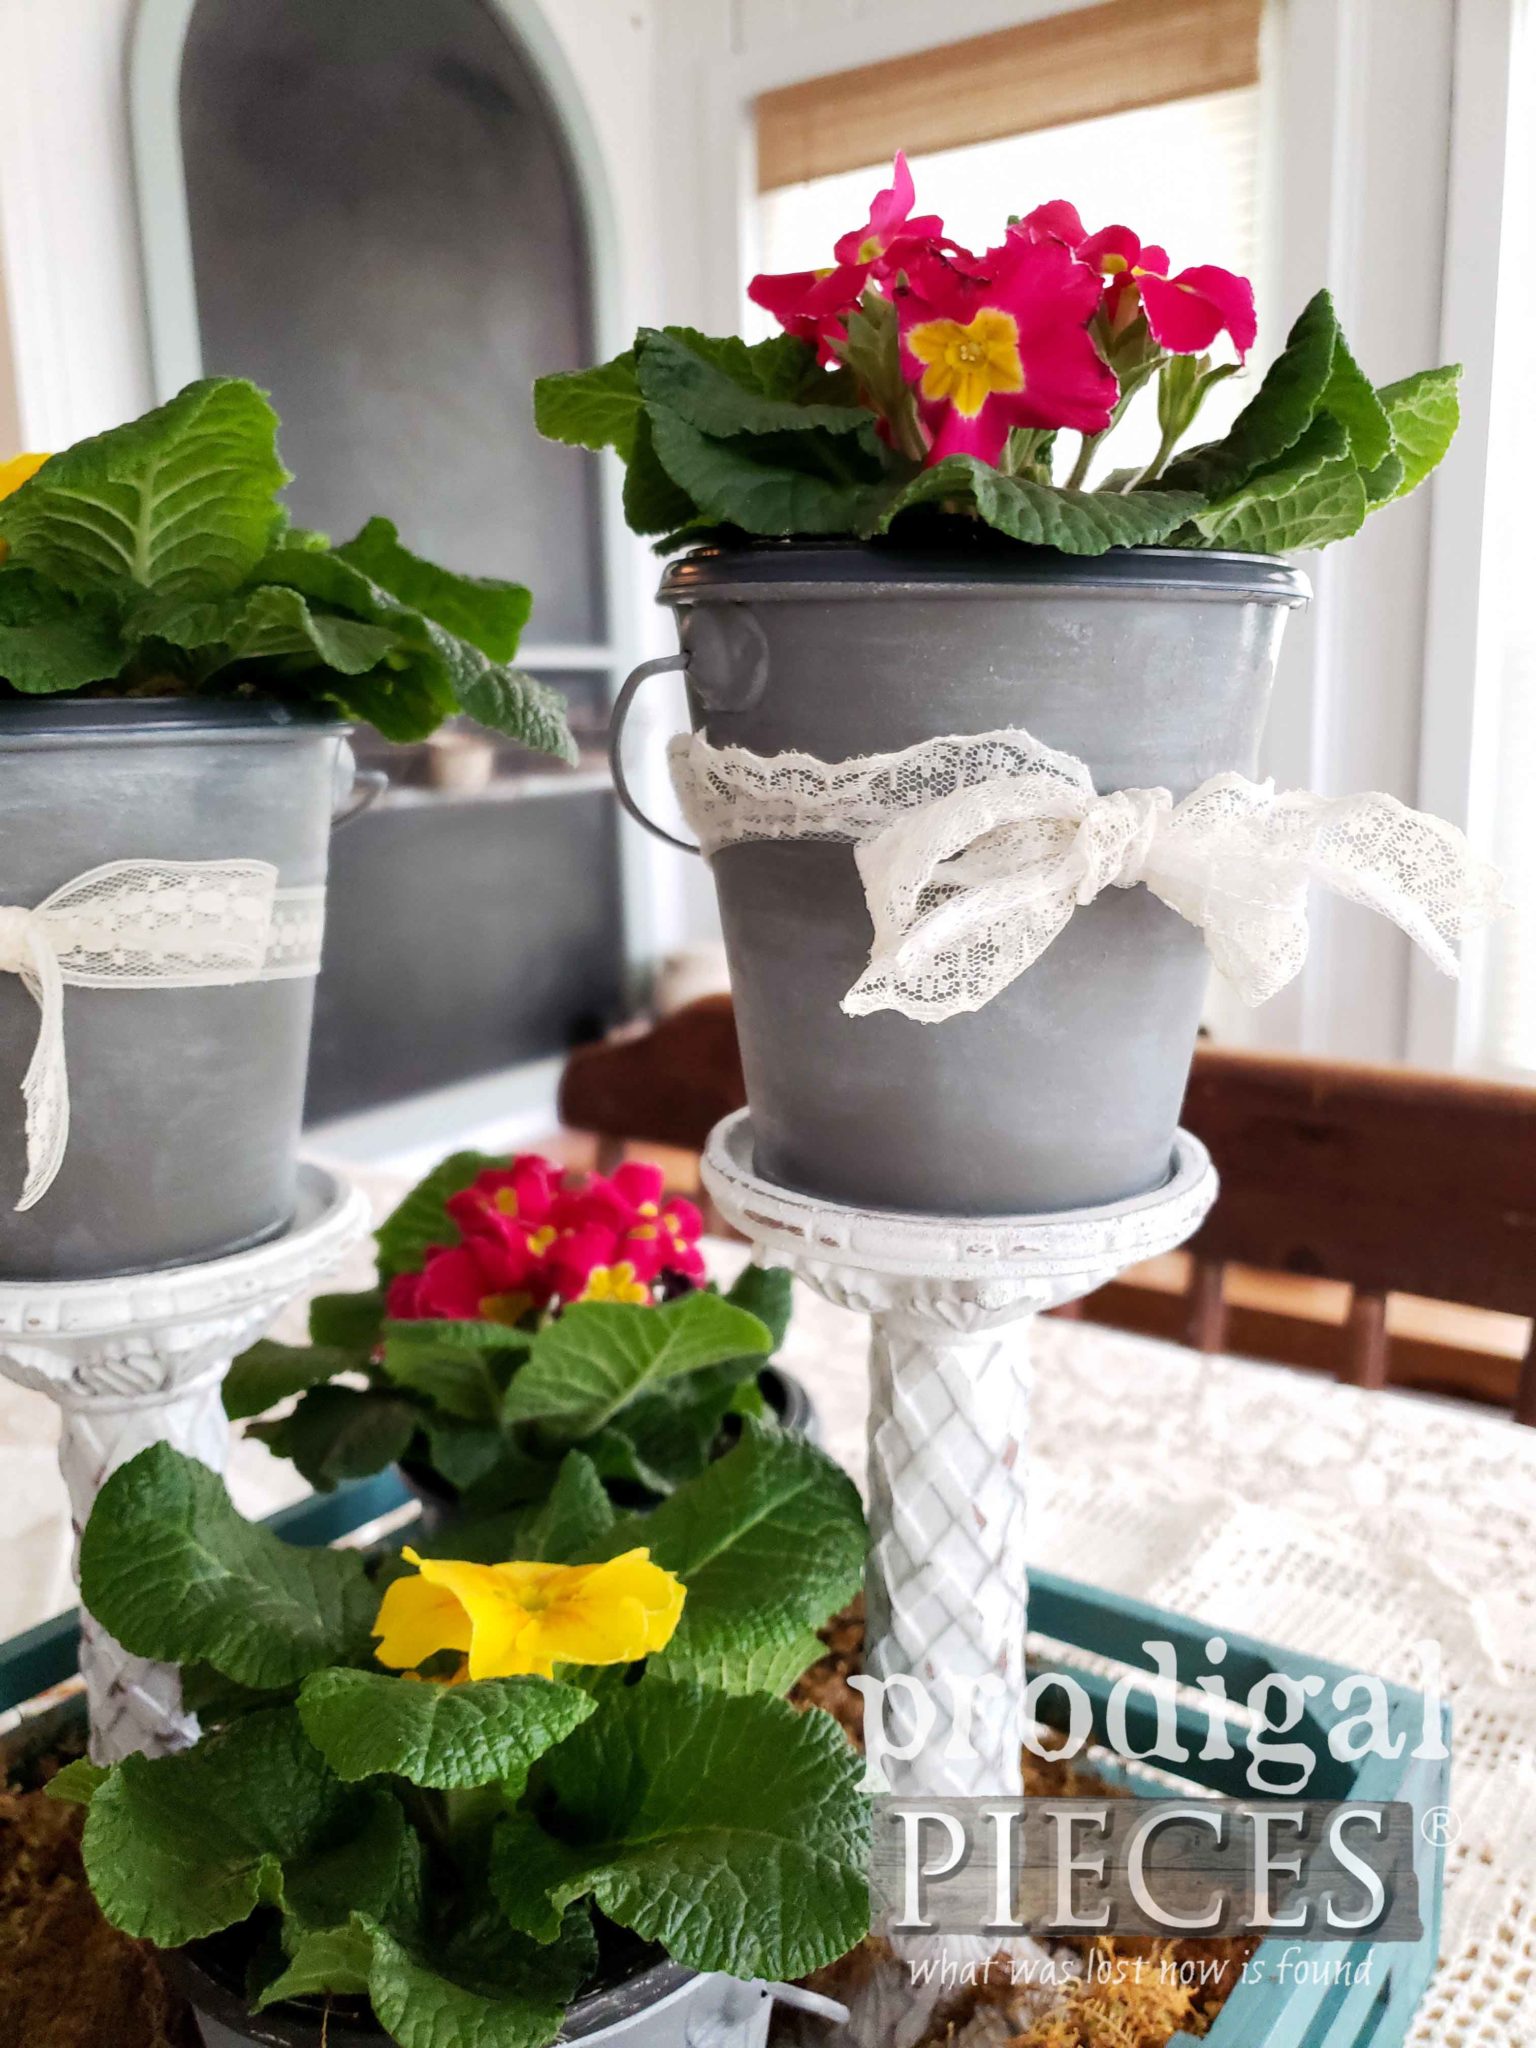
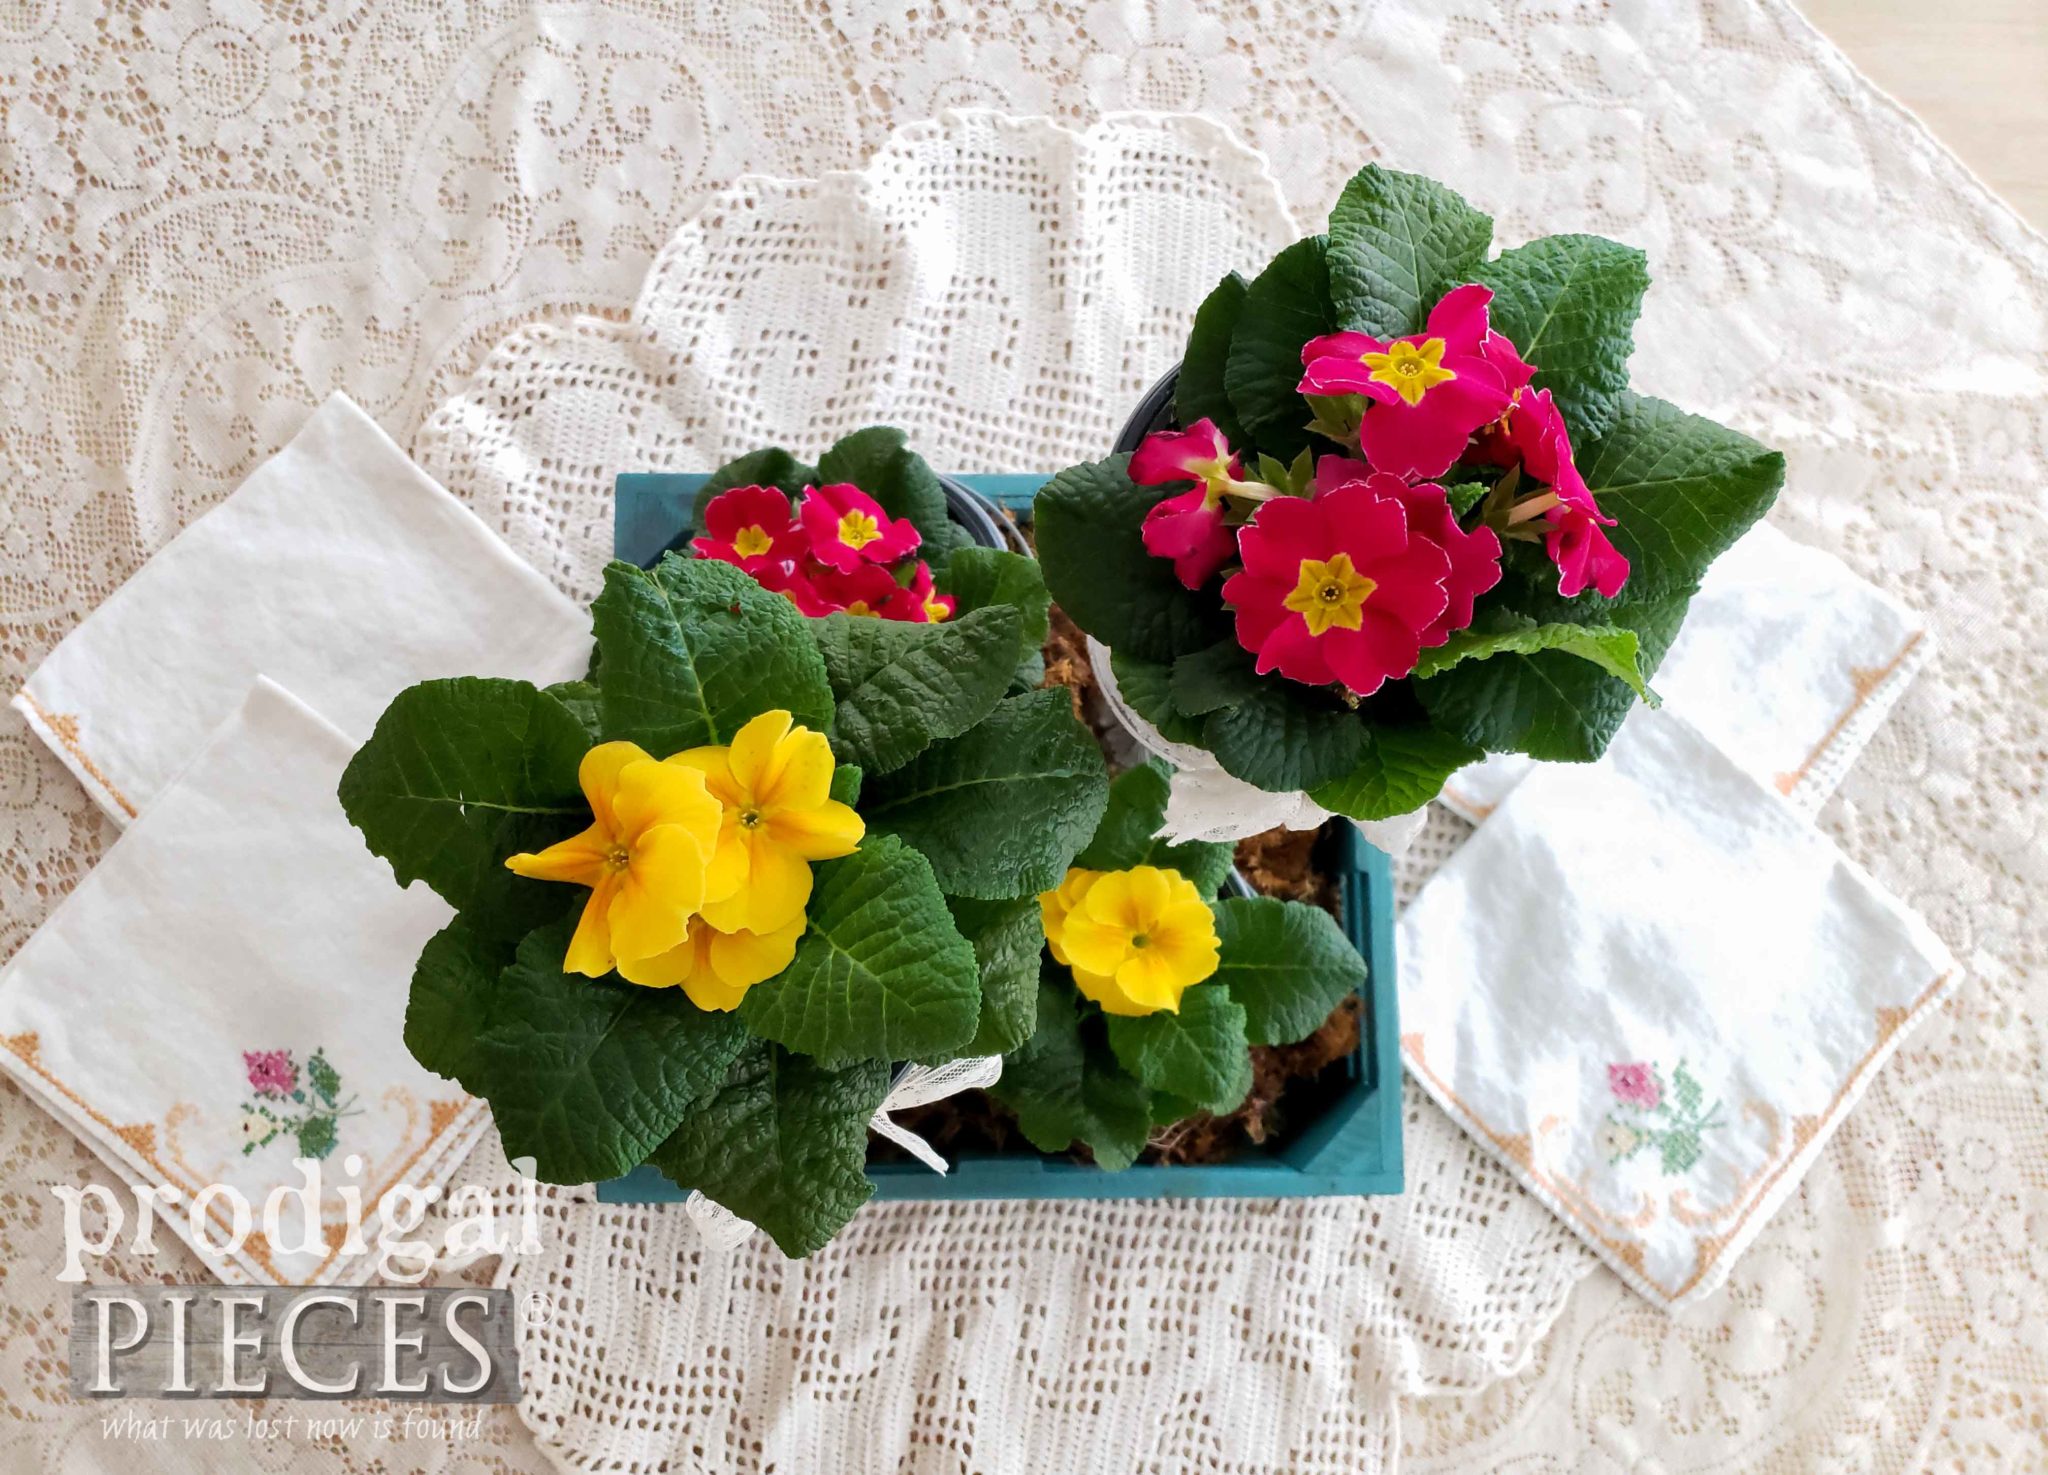
 Not only does this work for spring with the pretty primrose, but also can be used for candles, as bathroom caddy, or even to corral your kitchen goodies. The uses are endless!
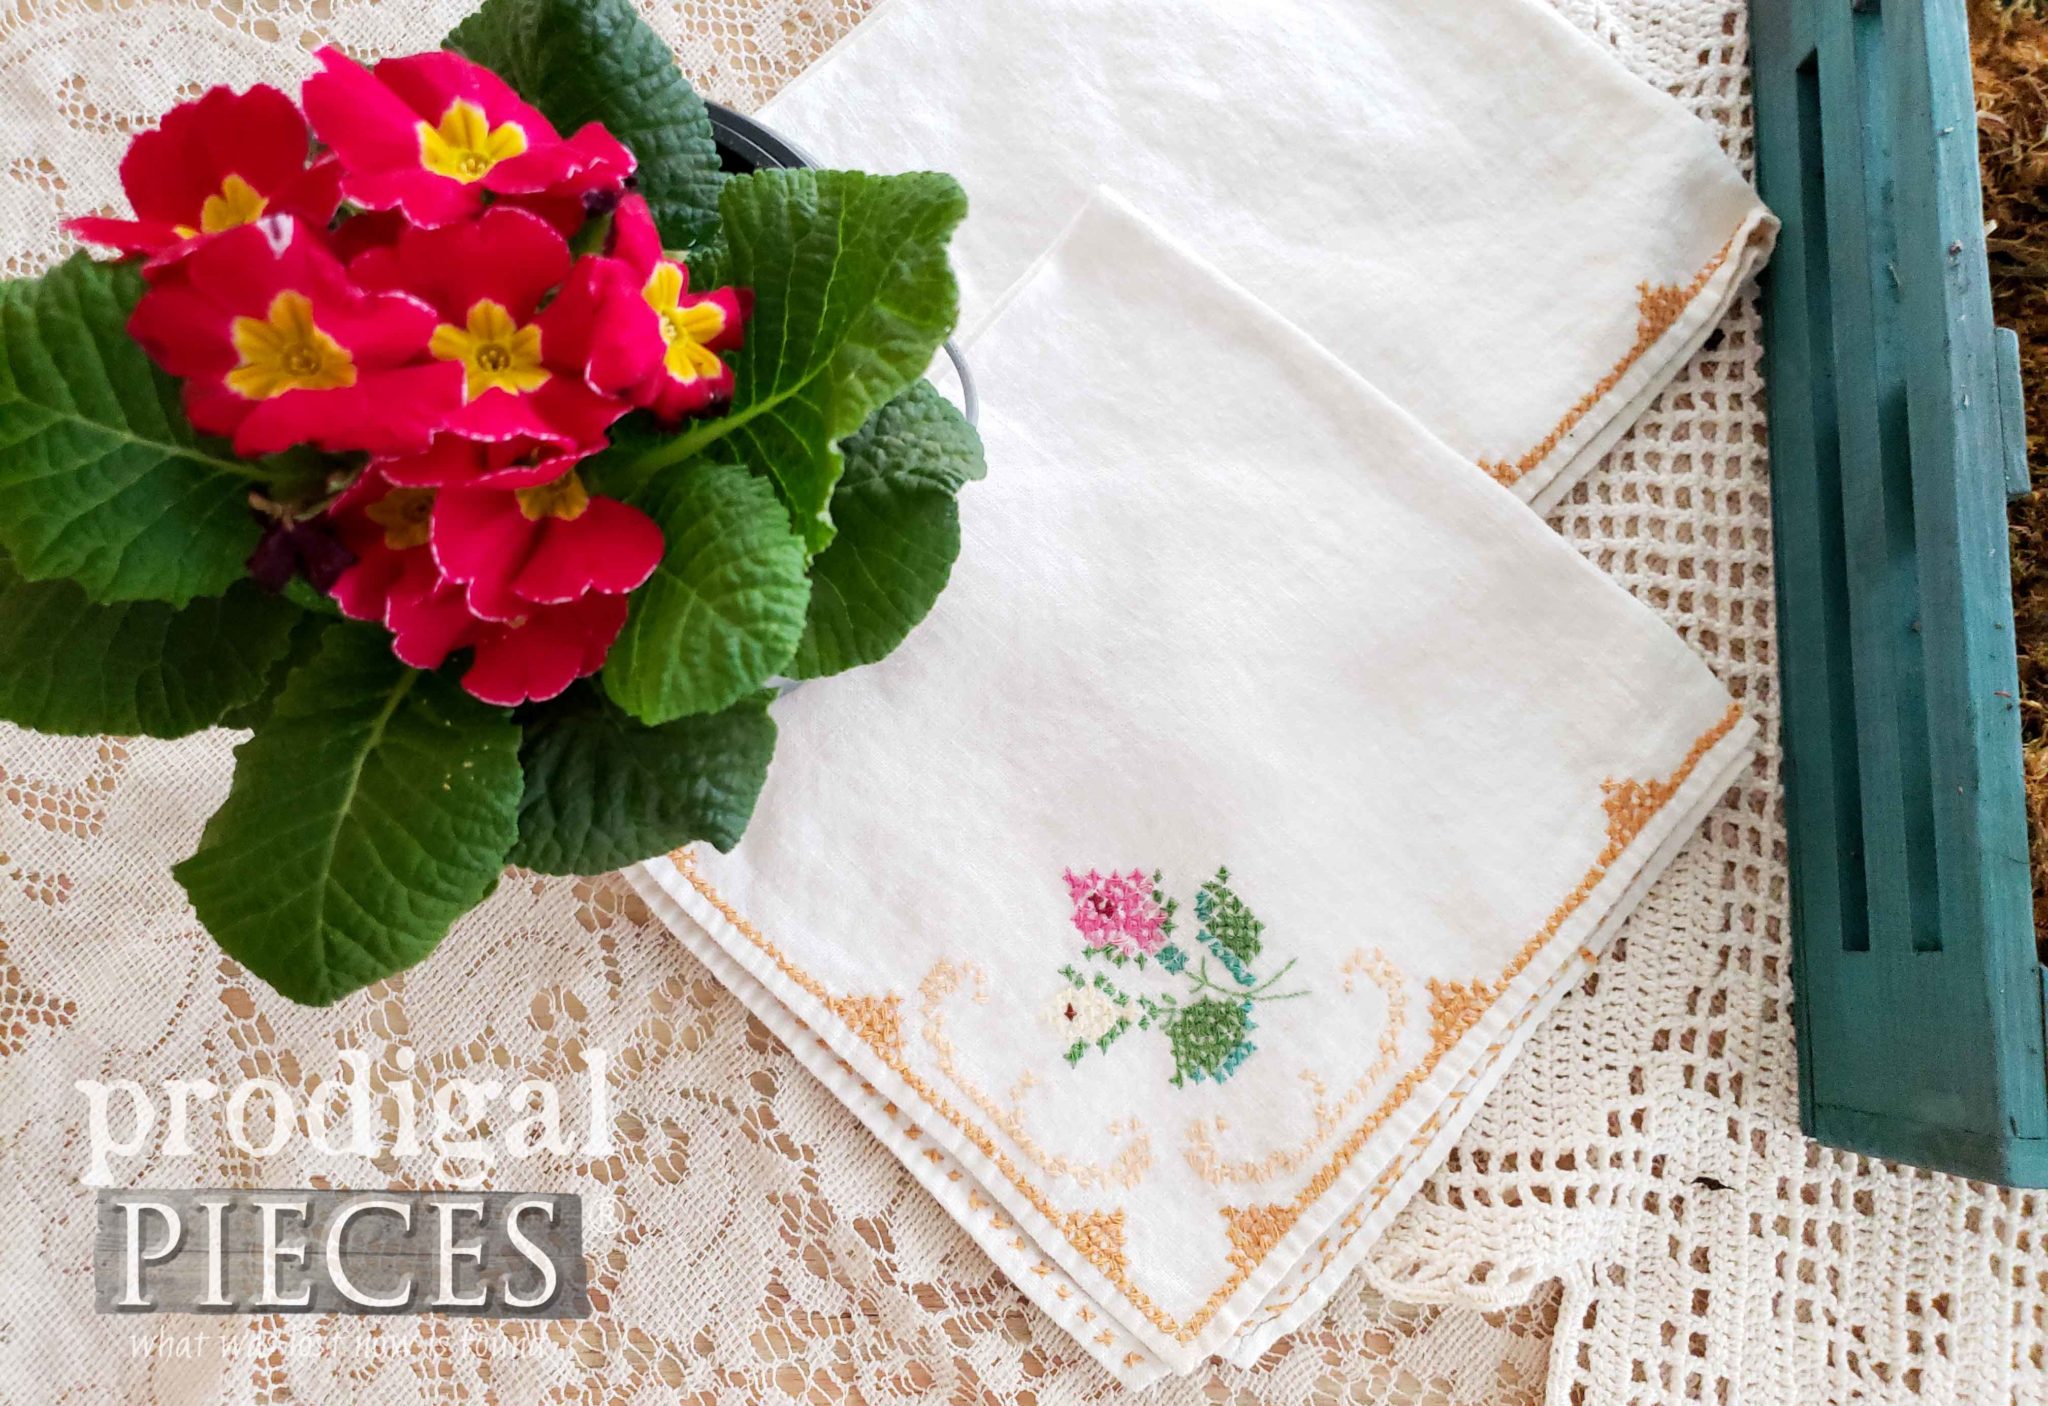
 My favorite is the vintage linens. Are you a sucker for them too? I daresay I have more than I should, but hey, we all have things we cherish, right?
 Likewise, if you'd enjoy having this centerpiece in your home, you can find it available in my shop HERE
[metaslider id=30251]
SHARE
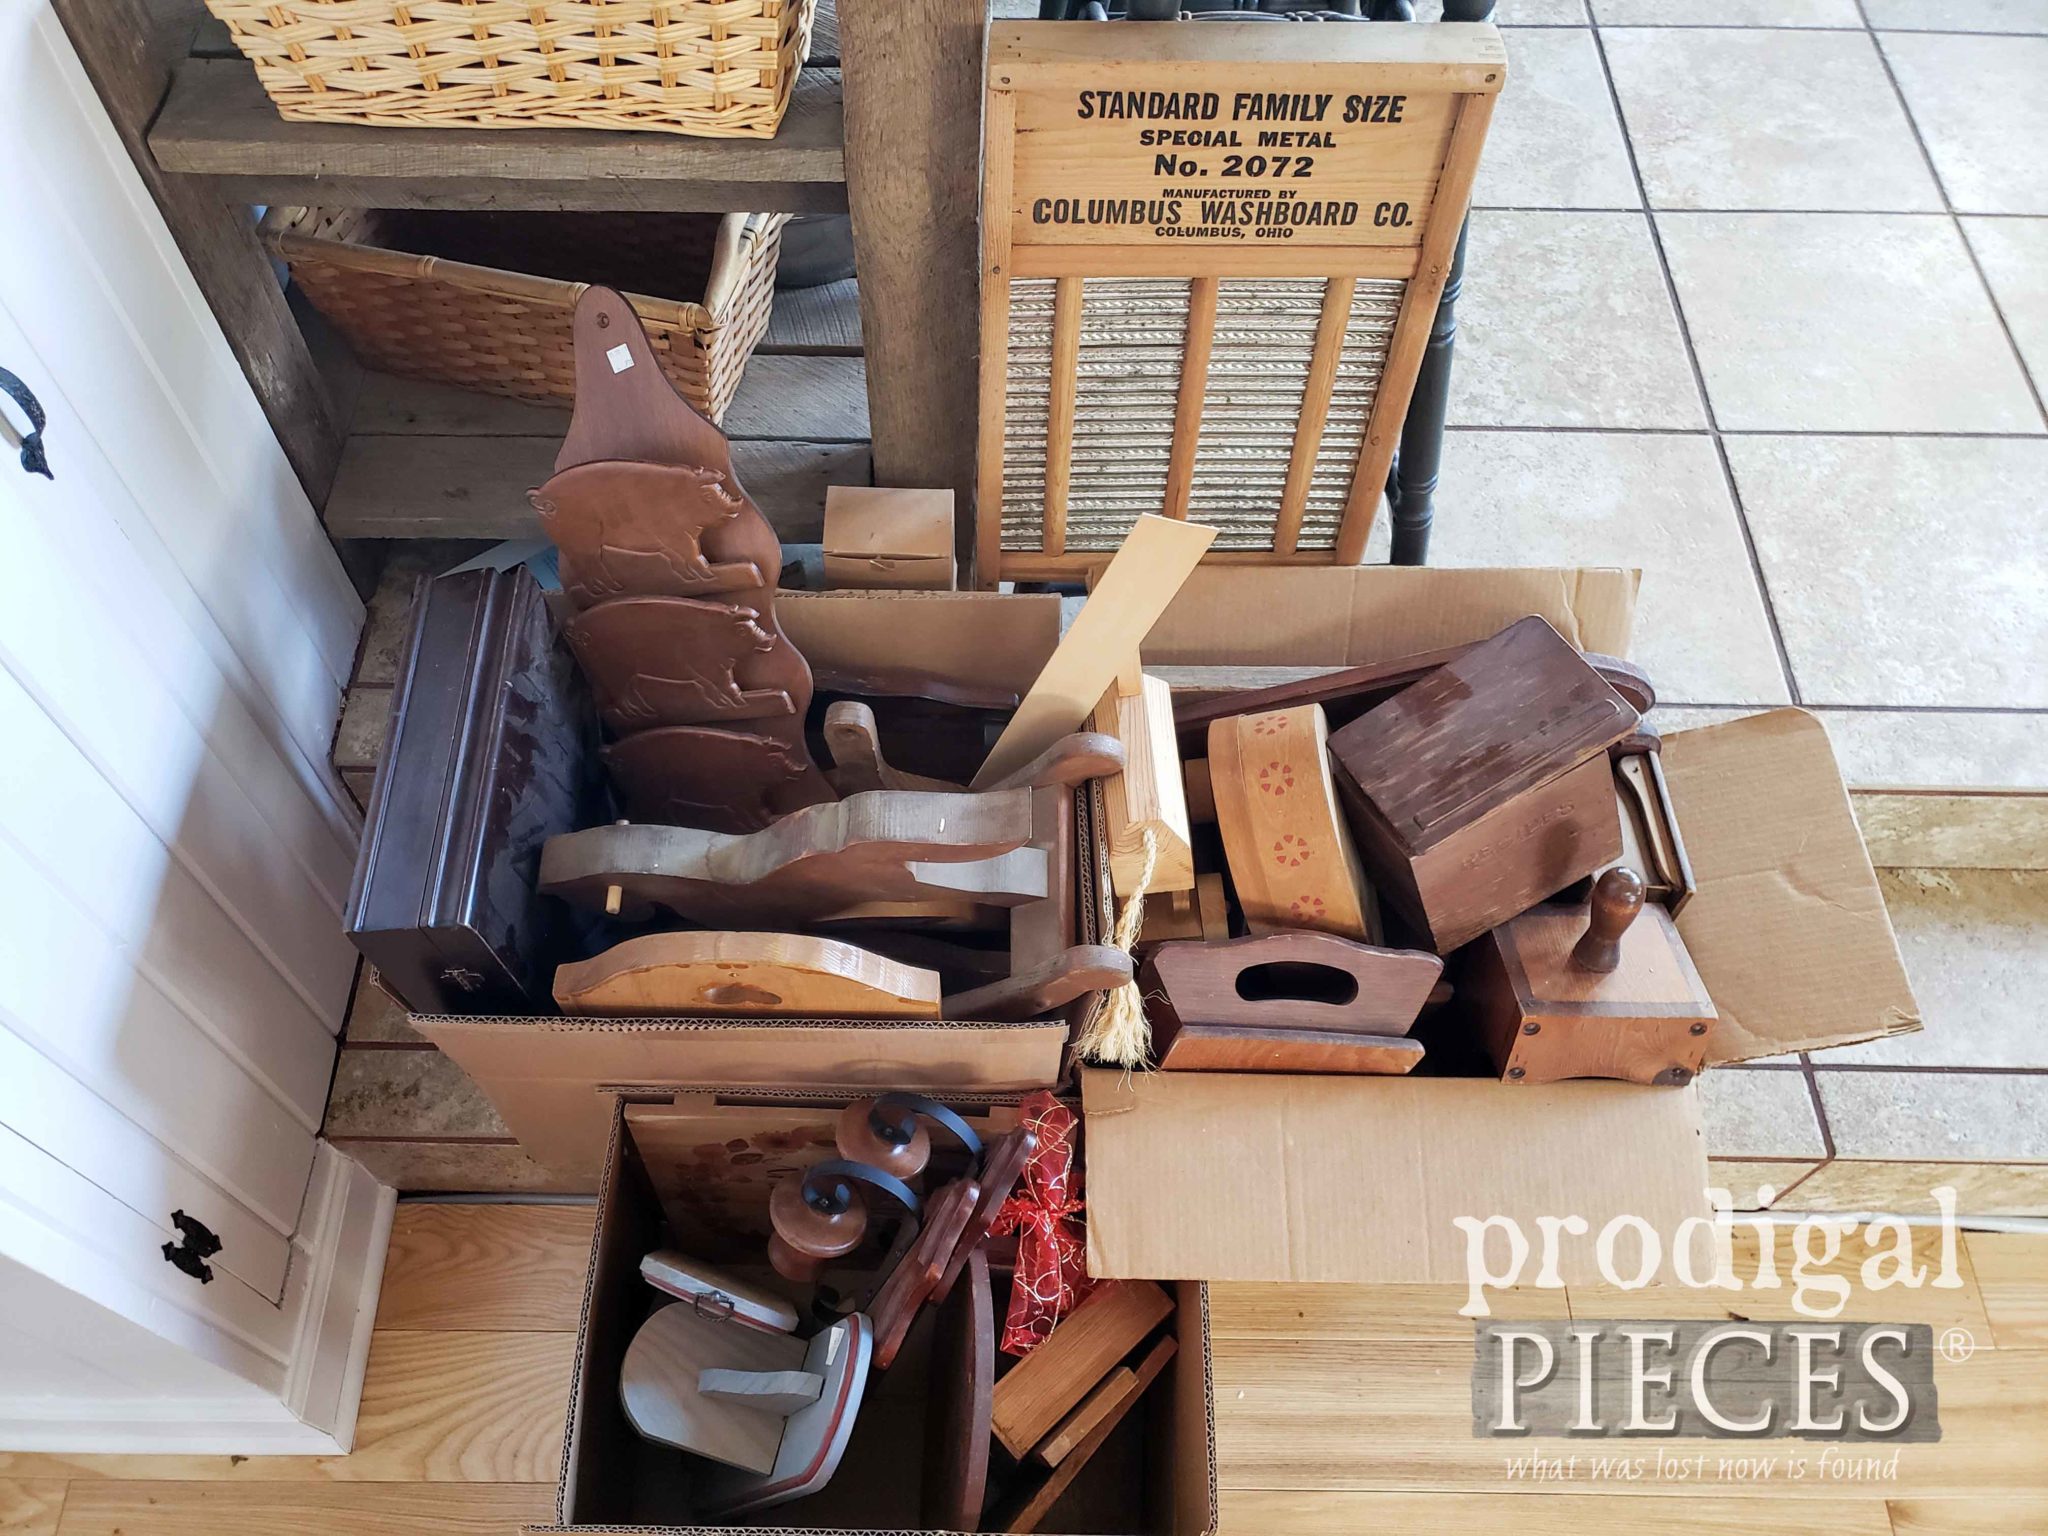
Also, pin and share this fun and thrifty DIY spring centerpiece. Inspiring others is what I'm all about. Won't you join me?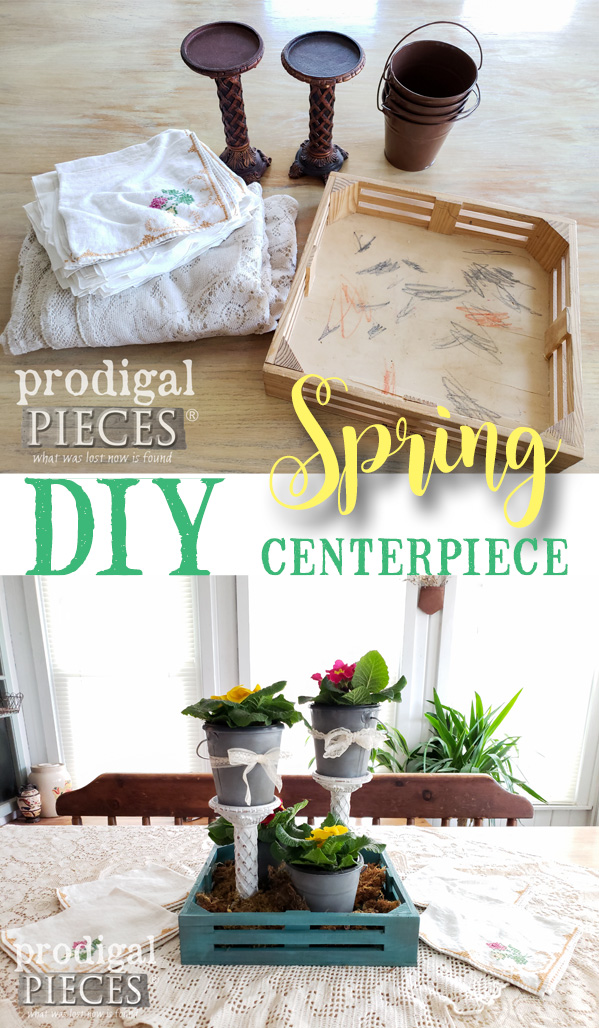 Up next, I will be sharing my first makeover out of this pile o' goodness. The wood section of the thrift store came to me! haha! See what I first picked to work on HERE.
 To get these DIY tips & tricks in your inbox, be sure to sign up for my newsletter. PLUS, you will get your FREE Furniture Buying Checklist and special discount to my shop. Until next time!
 In addition, more projects like my DIY spring centerpiece:
