 The best part about this is you can customize this in every way to suit the recipient of your creativity. From the finish of the metal, to the length, to what you fill your pendant with. Endless possibilities! Handmade gifts are from the heart and offer time to think about and pray for the person you're creating for. It also is a great way to release pent up stress and be in a different mindset. Let's create together, shall we?
TOOLS & SUPPLIES
- necklace pendant bezel
- chain (or other choice of necklace - hemp, leather, elastic, etc)
- jump rings (if desired)
- closure for chain
- craft glue (optional)
- jewelry pliers (optional)
- resin kit
- choice of fill - dried flowers, photograph, artwork, gems, decorative paper, paint, whatever you desire
- FURNO Micro Heat Gun Craft Kit
- rubbing alcohol (for cleanup)
- paint or paper for backing, if needed

*post sponsored by Wagner & (see full disclosure)
STEP 1
First, gather all your supplies and make sure your surfaces and bezels are clean. Then, decide what fill you will be using in your DIY resin necklace pendant. Do note, however, you can use these to make keychains, bracelets, etc. Plus, there are many ways to create a pendant with other types of jewelry supplies. I chose this method for a quick, simple project. Initially, I want to fill my bezels with my own artwork for the people I intended to gift. However, being that this is my first attempt at doing this, I figured I better go with something else. I had fun drawing, though!
 In order to know the size of art I need. I place my bezel under a piece of paper and rub the ring with my finger until the size of the bezel shows. Then, cut the paper to fit. On the other hand, you can also paint the backing on, which is what I think I would have rather done instead. You'll see why in a bit.
STEP 2
Next, follow the instructions on your resin kit for mixing. No worries, it's simple and works up quick. I'm using this remnant kit from our kitchen remodel where we built reclaimed hickory counters and needed resin to fill in holes, etc.
 Once you mix up your resin, gently and slowly pour into the bezel and over your flowers to form a mound.
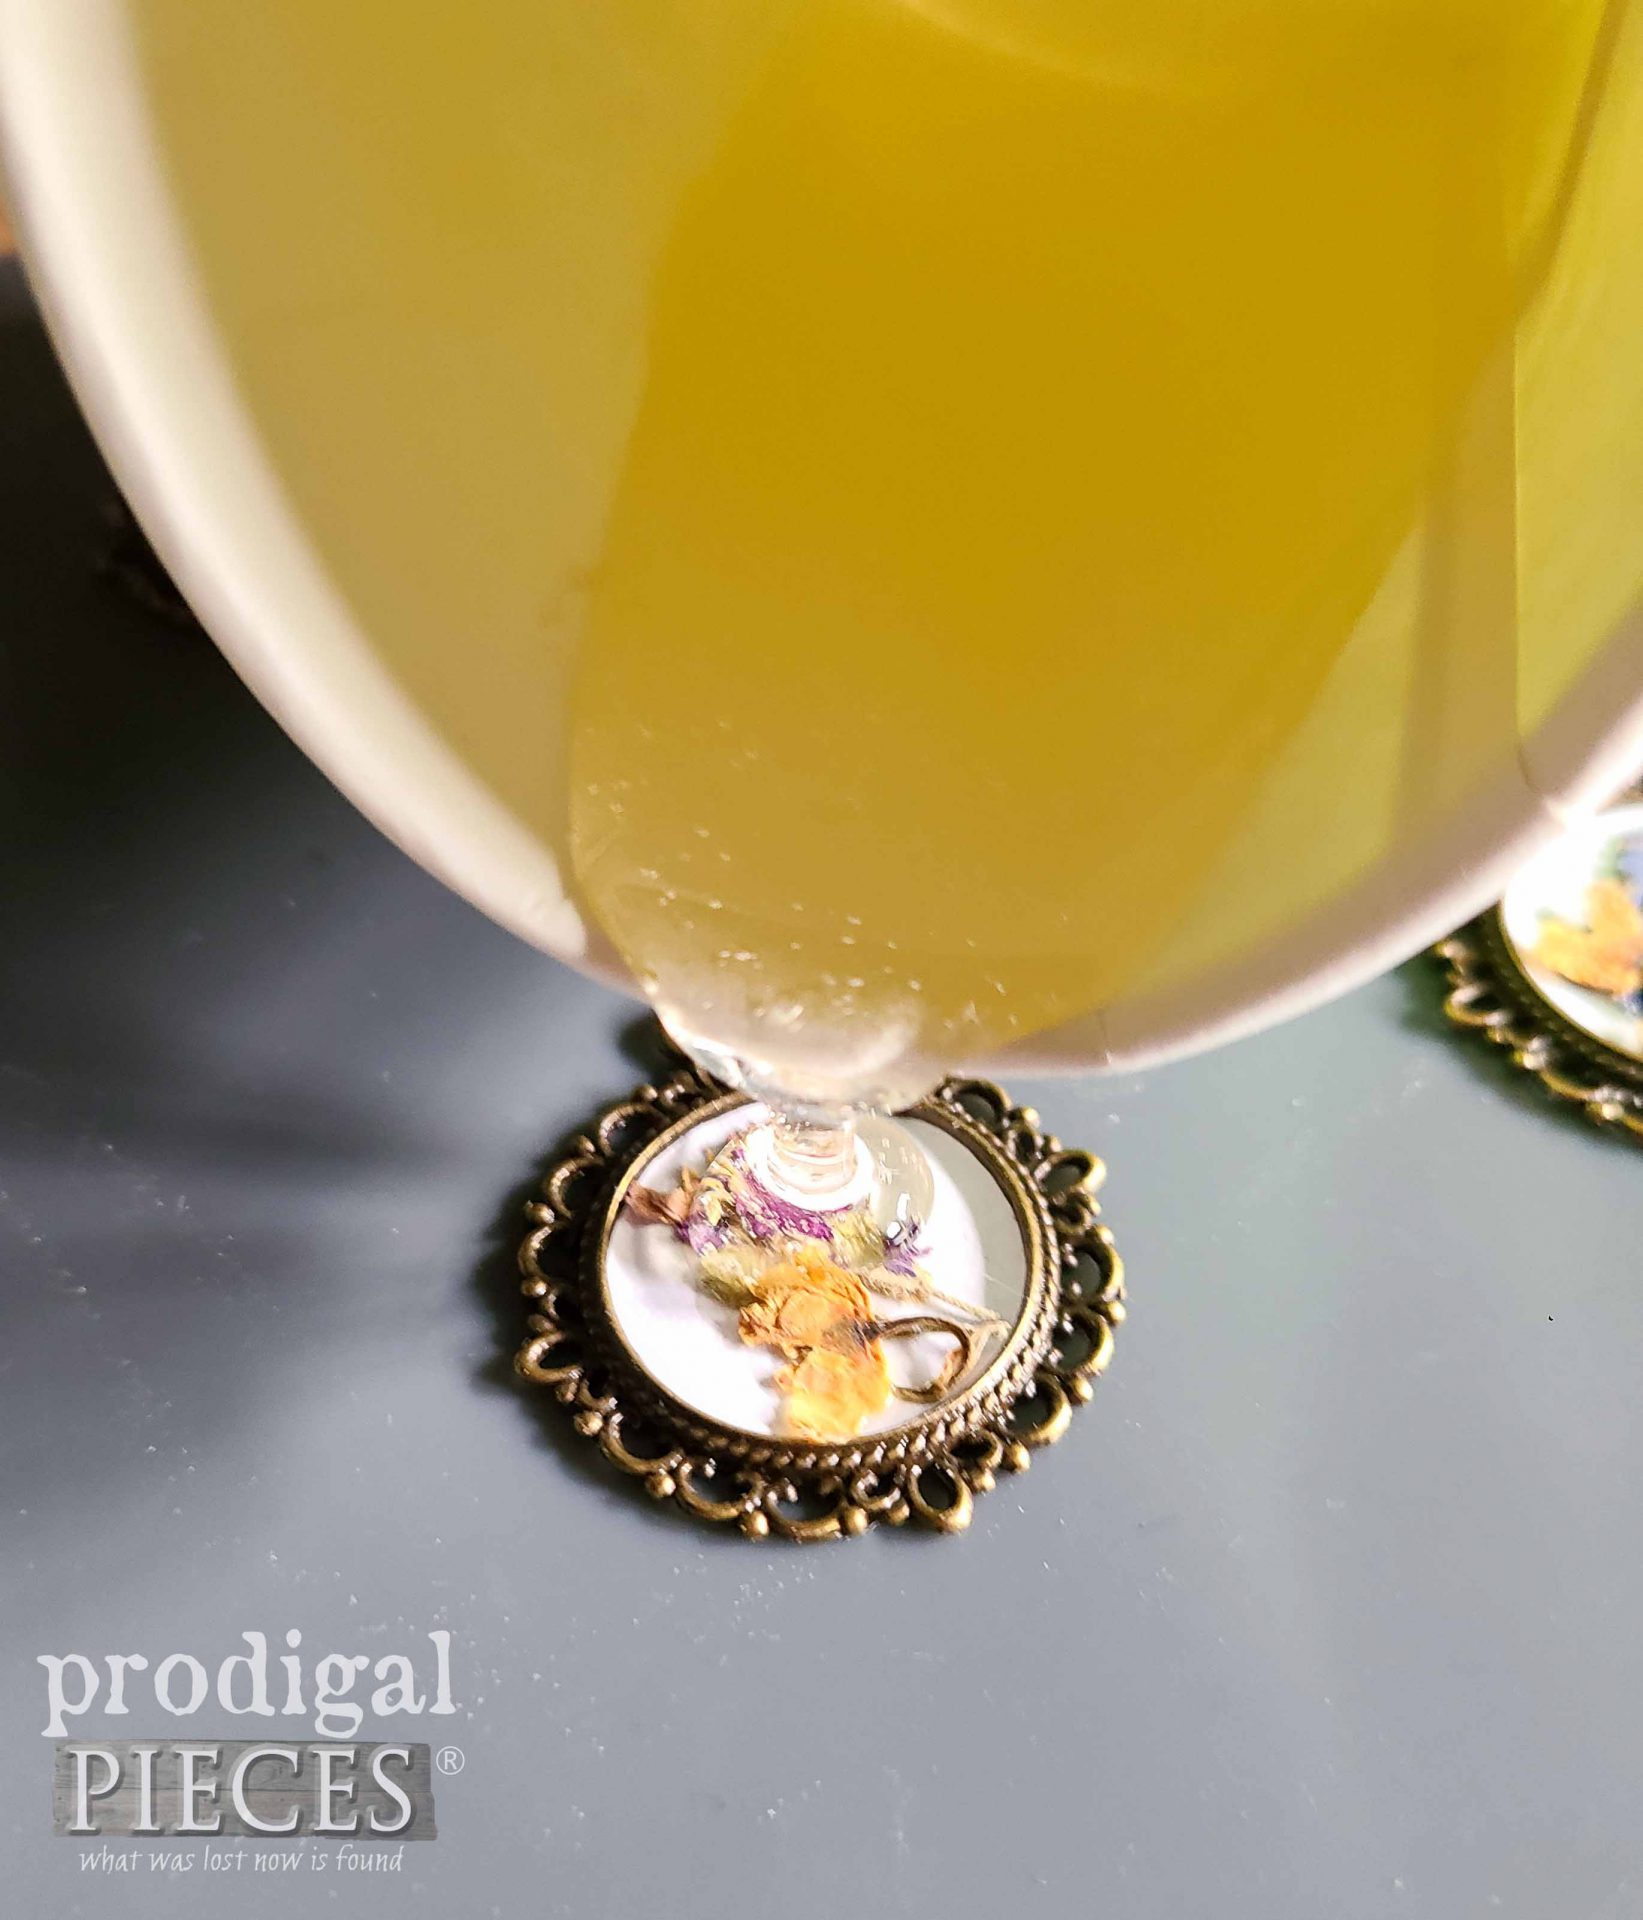 Consequently, you'll notice air bubbles are instantly formed. You can totally embrace the bubbly goodness as part of the art.
 However, a clear resin is what most prefer and we need to quickly remedy that.
STEP 3
It's time to break out my new hottie tool. eep! Meet the Wagner FURNO Micro Heat Gun Craft Kit. You know I love my heat gun for many things. While I've only every used my large FURNO Heat Gun, I'm equally excited to use this mighty mite. You can see how I've used it on these past projects. This craft kit includes micro heat gun, flare nozzle, reflector nozzle, and a silicone mat. Even better is that it has a built-in stand so you can use it for freestanding work as well. Not only is it perfect for resin work, but also embossing, paint pouring, drying spackling, candle making, baking, label removal...to name a few. What's more is that it has a built-in stand to allow for freestanding work.
For today's purposes, I'm using a low setting and the flare nozzle.
This craft kit includes micro heat gun, flare nozzle, reflector nozzle, and a silicone mat. Even better is that it has a built-in stand so you can use it for freestanding work as well. Not only is it perfect for resin work, but also embossing, paint pouring, drying spackling, candle making, baking, label removal...to name a few. What's more is that it has a built-in stand to allow for freestanding work.
For today's purposes, I'm using a low setting and the flare nozzle.
 Next, using a gentle touch, pass over the resin-filled bezel and you'll instantly see the bubbles popping. Afterward, the resin takes 24 hours to cure, and you'll need to check for additional bubbles in the first hour or two. If you see more, just repeat the process.
 Here it is after a first pass of the heat gun. Much better!

STEP 4
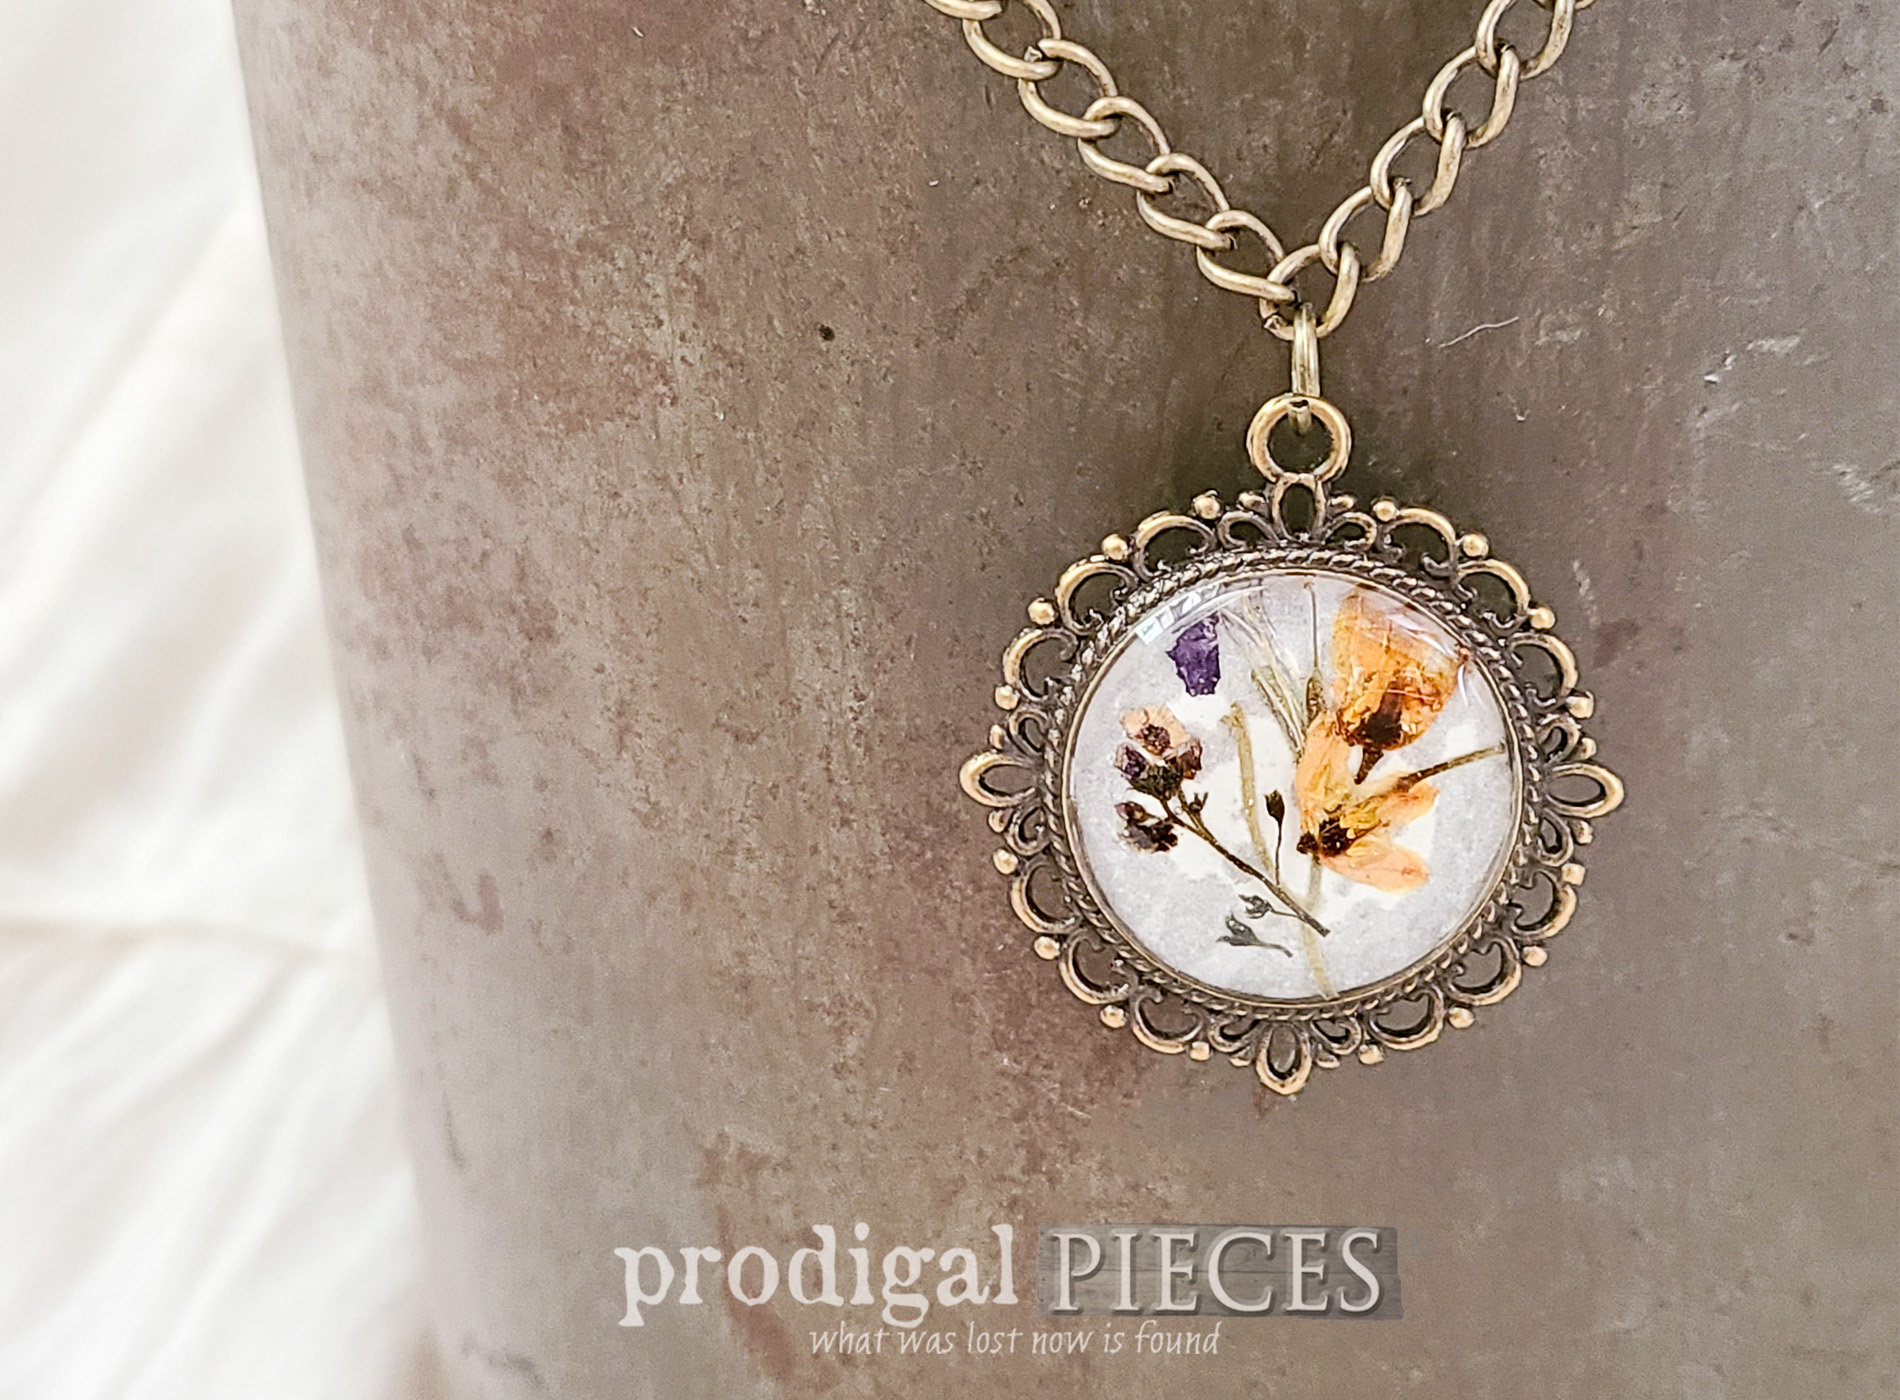
Last, we can connect our DIY Resin Necklace Pendant together and see our fun work come to fruition. I'm choosing to use antique brass hardware and fittings for the aged appeal I so adore. However, feel free to use any kind of necklace you like, or play around with different forms and molds too. The possibilities really are endless...and fun!FINISHING
Finally, here are my necklaces cured, assembled, and ready for show . Aren't they pretty?!
 I'm excited to gift these to those I created them for...maybe even a gift to self? {{wink, wink}} All I know is I'm completely addicted to resin. In light of that, all my friends and family are getting resin gifts this year! bwahahaha!!
Do you see the wonderfully clear bubble that's been created? It's amazing what can be done with the right tools and know-how. The key is willingness to try. Likewise, what would you fill your bezel with?
I'm excited to gift these to those I created them for...maybe even a gift to self? {{wink, wink}} All I know is I'm completely addicted to resin. In light of that, all my friends and family are getting resin gifts this year! bwahahaha!!
Do you see the wonderfully clear bubble that's been created? It's amazing what can be done with the right tools and know-how. The key is willingness to try. Likewise, what would you fill your bezel with? 

SHARE
In addition, get the word out and pin and share my DIY resin necklace pendant to inspire others to create with this fun heat gun. Afterwards, I found this headboard in a neighbor's trash on my way home. See it now HERE!
 Before you go, be sure to sign up for my newsletter. Until next time!

What is more, here are more heat gun projects like this DIY resin necklace pendant:

