Boy, do I love to build and create with wood. I think I come by it honestly because many in my family line are carpenters or just enjoy the craft. However, what I do wish would disappear is DIY glitter...sawdust...my nemesis. I love seeing it fly in the air because it means something good is about to happen. However, cleaning up said goodness gets old. Today, I'm over-the-moon excited to show you my latest upcycle - a DIY miter saw hood dust collector (say that five times fast...tsk).

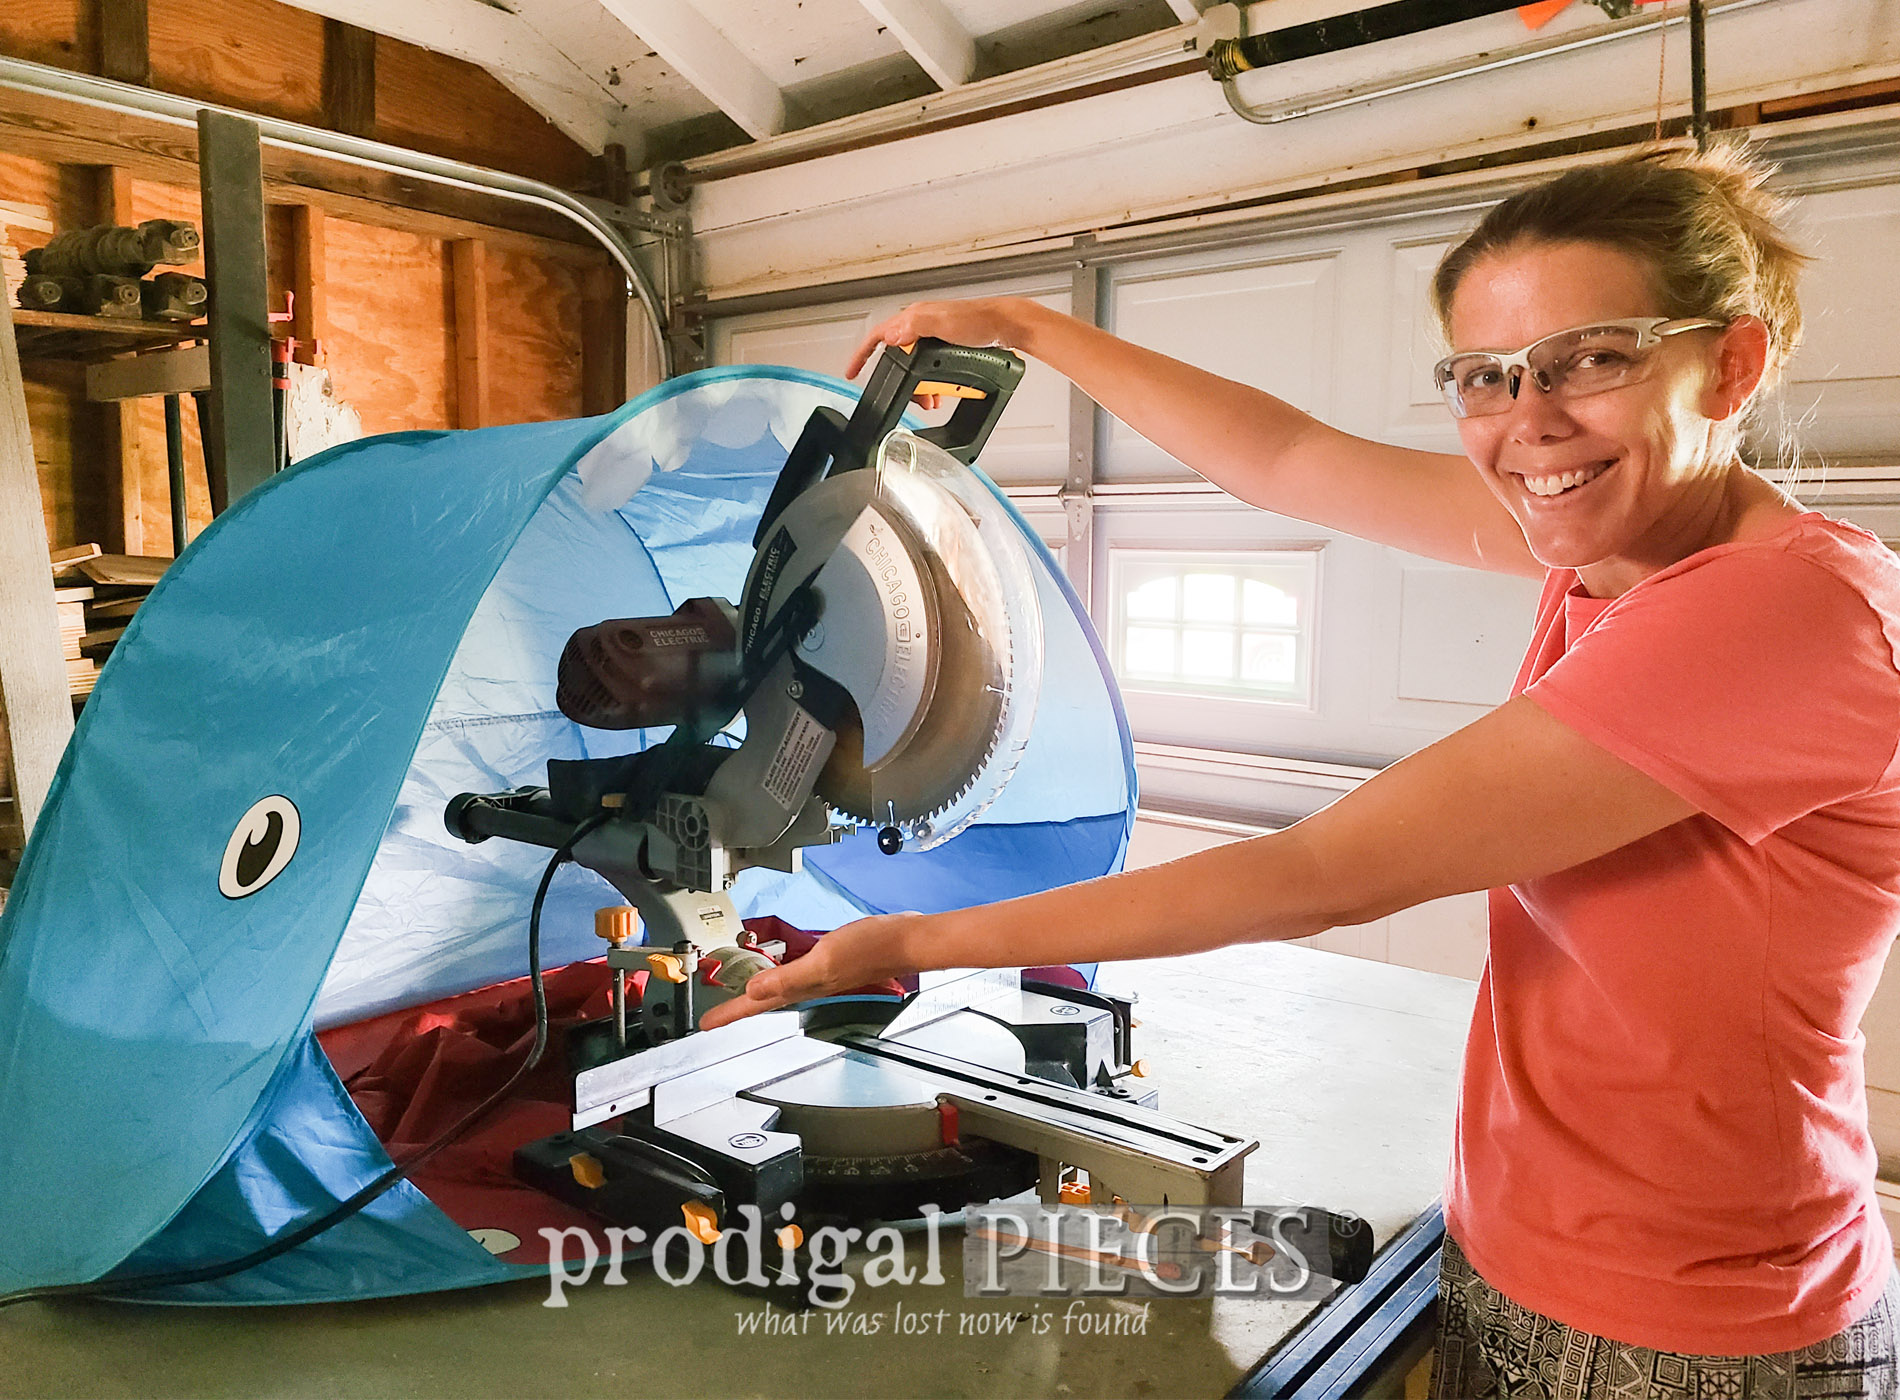
Yes, your eyes are correct, that IS a sun tent for a baby. Before you jump to conclusions, the only babies around here are my tools. Over the last few years, I've tried purchasing a dust collector for my workshop. They are kinda pricey and I was looking for used. I still aim to get one, but thought I could get away with just getting a saw hood. Well...those run around $200 smackers too. Ouch.
Just as I am about to purchase one after saving my pennies for a time, I did a quick internet search to compare costs. That's when I found a GENIUS tutorial by
The Handyman's Daughter. I literally did a head-smack when I saw it because I kept using bed sheets or other spray tents without success. The sheet did the best job, but I knew there was a better way, and less expensive too.

DIY TIME
First, let me say that I everything I use to create this is from what I have on hand. If you want to know the steps to do this from scratch, see The Handyman's Daughter tutorial linked above. For me, I knew I could whip this up quick with scrap and remnant parts. When we built
my workbench it was supposed to be just for that...a workspace. However, I was gifted my miter saw not long after and have used it for mainly that since then.
Ultimately, my future goal is to build a table just for that with out-feed and also a spot for my table saw. Coming soon!! Until then, this suits my needs. Never-mind the mess, k? We've been building our
patio sectional, remodeling our dining area, and so much more.


Also, you can see from the back side that there is a layer of dust. This isn't the half of it though as I had a piece of cardboard up to deflect most of my messes. Plus, I just recently cleaned. oy! So you can imagine what it's like after a few weeks of building.
NEXT STEPS
Next, in order to get this set up working to suit my needs, I attach two brackets leftover from
my boys' bedroom remodel. This won't be the permanent place for my saw, so I'm making this easily removable.

Then, I found a perfect size piece of leftover flooring from
our garden shed remodel last summer and attach it to the brackets.

Here's the key to dust collection...while the board supports the tent, there's one more step that The Handyman's Daughter did as well. She used a special ducting part, while I'm using my shop vacuum's flooring attachment. I use it to trace a hole then cut with my jigsaw slightly wider to fit the attachment.

Once the hole is cut, I place the tent on top to know where to make a hole. I take my sewing scissors and snip an "X" just a hair smaller than the hole. Say...AAAHHHHH. hee hee hee!

Here it is with the vacuum hose attached from underneath.

THE REVEAL
Finally, if a gal's gonna add some function to her workshop, she might as well make it cute, eh? I just love Moriarty! Yes, I named him and the
hilarious thing is the name came to me and suited him. But I also looked up the meaning of the name and in Irish it means "Sea Warrior". PERFECT!!


Isn't he adorable?! Complete with teef (my littlest used to say that), eyes, blowhole on top, and...the best part... a tail. eep!

So, I spent $20 bucks on a tent, used all materials I have on hand, and I'm officially saw dust freeeeee! Here is a peek after cutting a 1 x 4" piece of lumber. Nothing compared to what I normally fuss with.


Oh, and I also used a scrap pool noodle from
my pool noodle upcycles to keep myself from bruises. Anyone else always on the move with constant battle wounds?

Got questions? I'm eager to answer any and offer help. This was such a fun and rewarding project for me. I've already purchased plans for building mobile lumber storage and building another table for my saws.

In addition, do pin and share my DIY miter saw hood dust collection system. Let's make DIY even more fun!

Up next, this vintage find is ready for a refresh.
See the new look OVER HERE!

To get these DIY tips & tricks in your inbox, be sure to
sign up for my newsletter. Until next time!

 PINTEREST | EMAIL
Also, more projects like my DIY miter saw hood: