 What I grabbed was a wooden bin, a Boyds Bear Tapestry wall art, and a French perfume ad with hook. Most people when they see what's in my cart look at me funny, but little do they know...mwahahaha!
DIY TIME
So, here we go! First, I wanted to elevate that wooden bin like I do my trays and such. It adds a little bit of charm and dimension to it. In order to do that, I cut a few "feet" with my miter saw from some scrap hardwood I had in my stash. To attach them I line the feet up on the bottom and trace around where they are going to be placed. Then, using my drill I pre-drill a hole in each corner from the bottom so I can attach the feet.
 To secure, I used wood glue and a few screws and attach from the inside. For added dimension, I decided to attach some decorative wood appliques to the sides using wood glue as well.
 While the box is curing I moved onto that bear art. Now, I do think it's cute, but totally not my style. I took off the tapestry and donated it back to someone who would love it. As for the frame and backing, I had new plans.
ADDING FUN
First, I decided to pick a sheet of my wallpaper sample stash to cover the backing by applying wallpaper paste - much like I did in my repurposed table tea cart. If you like these gorgeous papers, you may seem them come up in my living room remodel. eep! I was looking to create texture without having to do a whole lotta work. We all love that kinda creation, right? So, I picked the paper that looked like planks and covered the back. Before reinserting the backing into the frame, I added another sawtooth hanger so that it could be hung in vertical position instead of horizontal.

NEXT STEPS
After that I insert the paper covered backing back into the frame and secure it with my Logan Point Driver. I love this thing!! Makes putting together my DIY chalkboards and other framed art so easy. See the little metal tab it punches in to hold the artwork inside the frame nice and snug? Once the backing was in, I attached that French perfume hook to it and added a few dried flower embellishments. I show you the after in a bit. Hang on! Get it...wall art...hang on. hahaha!
Back to the wooden box... Once all was cured, I stained the carved wooden appliques to match so I could paint and distress and see wood peeking out. Now it's time to give it some lovin'.
Once the backing was in, I attached that French perfume hook to it and added a few dried flower embellishments. I show you the after in a bit. Hang on! Get it...wall art...hang on. hahaha!
Back to the wooden box... Once all was cured, I stained the carved wooden appliques to match so I could paint and distress and see wood peeking out. Now it's time to give it some lovin'.

THE REVEAL
Time to show you how my DIY decor all came together. This is the fun part!
 The wooden box came out so cute and if you notice, I added some twine to the handles to add texture and soften it a bit. Then, all I do was attach with a bit of hot glue, wrap it around, and secure with a dot of hot glue.
 If you peek behind the box with its new look, you'll see what happened to that frame and backing. Pardon me as I stop to smell the roses...mmm...

 Likewise, the frame and the wallpaper backing have the rustic feel, while the French perfume label and hook add a feminine touch and function. I love it! Do you? It's the perfect spot to hang a hand towel, flowers, candles...so many uses.


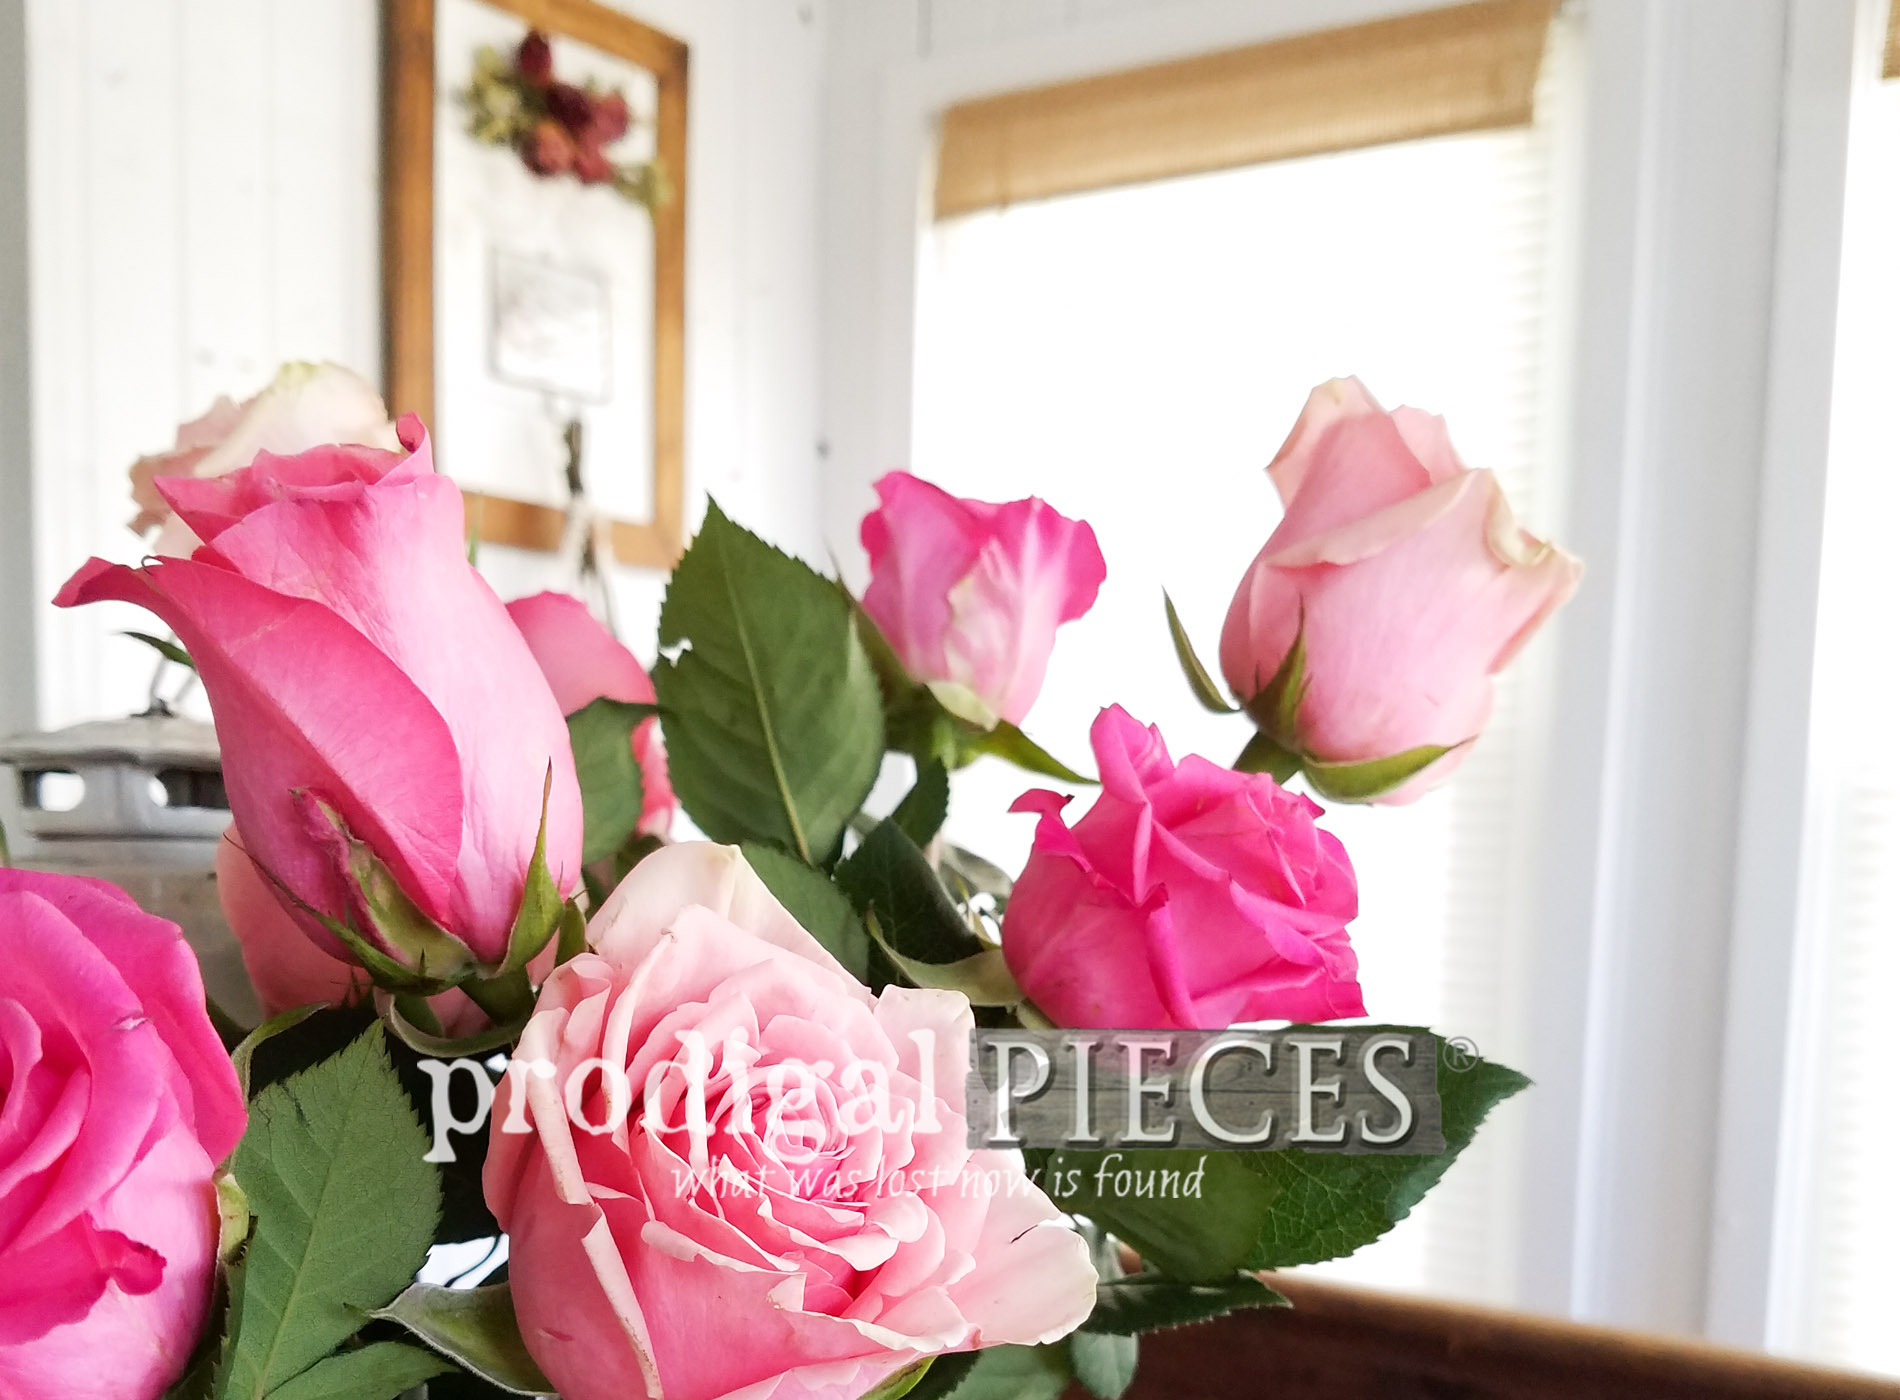
 Now, back to sniffing the roses. My nose is deprived from some fresh blooms and I'm taking a minute to savor these pink beauties. It's fun to bring some color home in a lovely bouquet, isn't it?

INSPIRING
My goal was to show you how to make your house your home in DIY decor fashion. I hope you've enjoyed these makeovers as much as I enjoyed creating them for you. Both the frame and wooden box are available in separate listings in my shop.[metaslider id=30251]
 Additionally, pin and share this DIY decor from thrifted finds to encourage others to recreate their home using things they already have or head out to find some trashure of their own. Your house is where you can create your own home story.
 Up next, I am excited to show you this drop-leaf table I found. I have always wanted to work on one and finally found one. woot! SEE THE AFTER HERE.
 Be sure to sign up for my newsletter so you can get my posts in your inbox. PLUS, you will get your FREE Furniture Buying Checklist and special discount to my shop. Until next time!

Also, more projects creating your own DIY decor:

