Today is a special day, because I have a project that most anyone can do. Something that can only be done with one power tool. {enter in the Tim the Tool Man laugh} This time, it's all about the drill...one of your most basic tools that your average household should not be without. Why? Because it has endless uses for a homeowner from tightening up door hinges to building this coat / towel rack I'm going to show you how to DIY today.

So come along with your drill in hand (cordless or corded) and let's get building!! {applause} You can see our other build plans
HERE.
TOOLS & MATERIALS
- drill
- 1/2"drill bit
- 7/64 & 3/8 drill bits
- 1" x 6" x 6' pine board (you could use a hardwood if you like)
- 6 wooden Shaker pegs
- pencil
- builder's square
- tape measure
- 150 grit sandpaper
- wood glue
- stain and/or paint to your choosing
- foam and/or paint brush
- goggles
- gloves
- a couple of rags
- 2 - 1 ½" long screws
- level
First we're going to head to my proverbial home away from home - any lumber yard / home improvement store). Full of potential as far as the eye can see as long as you know how to maximize all that it has to offer.
For instance, did you know they will cut most anything for you? Yup. When we were doing our
faux plank ceiling and wall, they cut all of our 6" and 8" strips on this massive saw station for FREE. They were supposed to have charged us 25 cents a cut because we had 8 sheets of ply, but that's how cool they are!
SHOPPING
We're going to head to the building department to purchase a basic pine board that measures 1" x 6" x 6'. It typically costs a couple bucks, but feel free to choose a hardwood instead.
TIP: Don't just grab the first board you see. Pick one up, look it over for defects or too many knots, and look down it eye-level to see if it's warped.

Most of the first boards have been passed up by someone else, so you'll most likely have to dig one out. Consider it a treasure hunt!
After you've got your board, find an associate and ask them if they will cut it in half for you (so you'll have 2 - 3' pieces). My guy was not only helpful, but an encouragement in my day when he took a minute to pass along some heed-worthy advice.
DIY TIME
You can find most of the materials at a hardware store, no problem. You can get them in different species like Birch, Oak, or Maple.

The end is a different diameter than the rest because it is meant to set in a whole flush to the board for a sturdy application.
Now, after the cool guy at the store has cut your board, you're ready to start woodworking. YAY! Here is where your math skills come in (yes, even you can do this!)
Your board is now 3' long and we want our pegs to be evenly spaced, so we're going to first mark 3" in from the other edges on both ends. Try to aim for the center, but a rough placement is fine for now.

Once you've marked that, you're going to have 30" of space in between that you'll need to figure the spacing so they're equally separated. I've done the math for you, but you're basically taking the 30" divided by the other 4 marks we need to make (we already made two marks of the 6 pegs we'll be using). That'll will leave you with 7.5" spacing (30" ÷ 4 = 7.5). Staring at your 3" end mark you already made, measure 7.5" intervals until you reach the other end mark.
We want our pegs to be centered in this project (you could offset them if you like too), so we need to measure from the top down to get them all set the same.
TIP: As dumb as it may seem, a stated 6" wide board is not actually 6", but is actually 5.5" ...duh. Same for the thickness...it's not
really 1" thick.
NEXT STEPS
Grab your tape measure and find center from top to bottom. You should get 2.75". Using your builder's square (a triangle tool), make a cross-mark at the exact center using your 7.5" placements as a guide.

Now it's time to drill! More YAY!
In the materials list I mentioned you would need a ½" spade bit. They look like this:

Looks like a spade, right? Secure it into your drill and be sure to hand-tighten.

These bits are nice because of the point on the end that allows you to set the bit in place, prepare the hole for the larger bit, and also help prevent the wood from splintering on the back side of your board.
Set in place and drill completely through, making sure to hold the drill level to the board. An offset bit will make your peg rest crooked.


Continue drilling until all your holes have been made.

Lookin' good, right? We also drill pilot holes for our screws that are to attach the rack to the wall. If you don't do that, you risk splitting the board.
ALMOST THERE
Using first your 7/64 bit, roughly find center between the two outer holes on both ends and drill through.

You could stop there, but if you would like your screw head to be inset, we need to counter-sink the hole. For this we need the 3/8 drill bit and only drill the depth of the screw head. It's okay if you go a bit over, but be light on the drill. Some even add a wooden screw cap for a finished look, which you could do as well by counter-sinking lower, but I'm trying to keep it simple for you.
Grab your 150 grit piece of sandpaper and hand sand the holes and cut edges and raised grain too.

When woodworking, it's always good to do a dry fit before assembly. Ideally, you want to check and make sure everything looks and works like it should.

In most cases, I prefer to stain before gluing. Although the bottle says stainable, it really doesn't end up matching my wood. There's been several pieces of mine come out with annoying glue spots, so lesson learned.
LAYERING
For this project, I'm going to do
my layering effect. So to do that, I first apply a coat of stain using my favorite (for now) Early American by Varathane that I've used in
our bedroom and on our
Pottery Barn hack.

I've also decided to give a coat rack I built about 9 years ago that was used before our
closet remodel, a new look for our girls' room. My mom had given me the board and I just added the shaker pegs. Now it needs a new look too.

I stained both racks and let dry for a couple of hours. You could stop right there as for staining and just add a topcoat, but I like a time-worn look.

Time to glue! Be generous, but not overly. Apply glue to the peg and a bit in the hole so that both surfaces are ready to join.
Let dry for a couple of hours, to be sure they're good to go. Then it's time to paint! Yay again!
PAINT TIME
The blue is a color chosen by a client for a custom dresser. I thought it would make such a nice cheery coat or towel rack color. It's name is Cloudless by Glidden.

After applying a light layer of paint using a dry brush method allow it to dry. It can take about a half hour.


My girls rack is getting a pink base coat of paint that I custom mixed.

You might think I would stop there, but I also like to add a light whitewashed effect, like in my
layers tutorial using a cheap ceiling paint.
THE REVEAL
Isn't this DIY coat / towel rack pretty?


Perfectly suited for coats, towels in your bathroom or poolside. Or, even in your bedroom, like where my girls rack will go. (remodel coming soon!)

Do you love the layers like I do?

You can also take this same tutorial and use other objects for hooks, like old door knobs, spigot handles, or even old hand-forged nails like I did in our
bedroom clothes rack.

Now, if you have ANY questions, be sure to ask. Also, if you loved this coat / towel rack project please share! If you would like to have my blue rack, it's available in
my shop.
To get these DIY tips & tricks in your inbox, be sure to
sign up for my newsletter. PLUS, you will get your FREE Furniture Buying Checklist and special discount to
my shop. Until next time!

 MEWE | PINTEREST | GAB

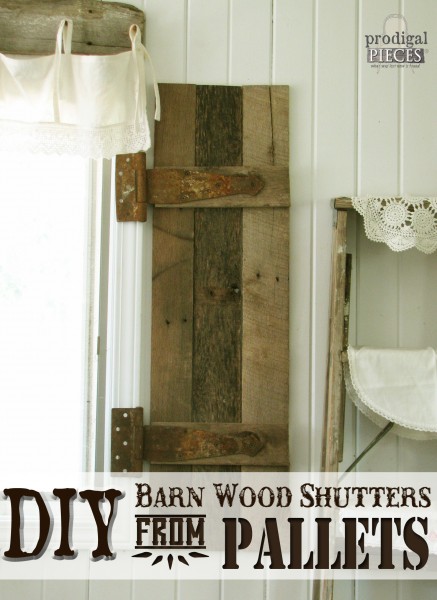
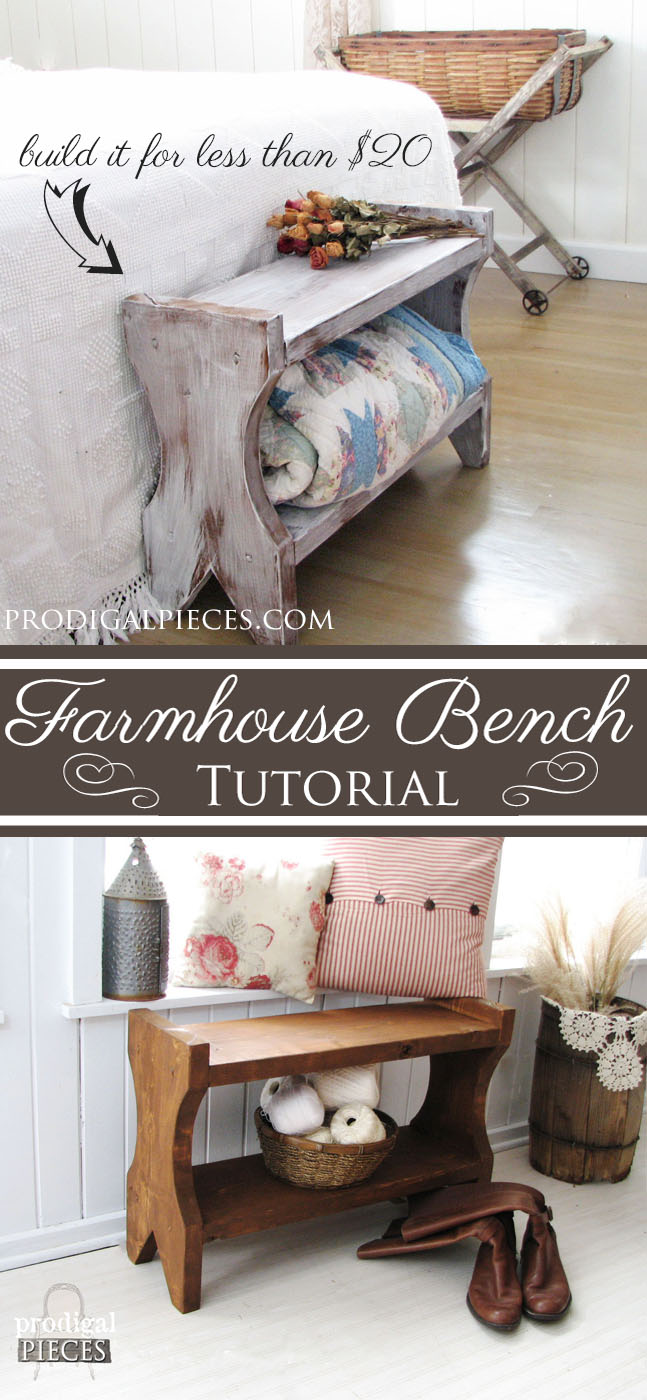
Also, more DIY projects like this DIY coat / towel rack:

 Most of the first boards have been passed up by someone else, so you'll most likely have to dig one out. Consider it a treasure hunt!
After you've got your board, find an associate and ask them if they will cut it in half for you (so you'll have 2 - 3' pieces). My guy was not only helpful, but an encouragement in my day when he took a minute to pass along some heed-worthy advice.
Most of the first boards have been passed up by someone else, so you'll most likely have to dig one out. Consider it a treasure hunt!
After you've got your board, find an associate and ask them if they will cut it in half for you (so you'll have 2 - 3' pieces). My guy was not only helpful, but an encouragement in my day when he took a minute to pass along some heed-worthy advice.
 The end is a different diameter than the rest because it is meant to set in a whole flush to the board for a sturdy application.
Now, after the cool guy at the store has cut your board, you're ready to start woodworking. YAY! Here is where your math skills come in (yes, even you can do this!)
Your board is now 3' long and we want our pegs to be evenly spaced, so we're going to first mark 3" in from the other edges on both ends. Try to aim for the center, but a rough placement is fine for now.
The end is a different diameter than the rest because it is meant to set in a whole flush to the board for a sturdy application.
Now, after the cool guy at the store has cut your board, you're ready to start woodworking. YAY! Here is where your math skills come in (yes, even you can do this!)
Your board is now 3' long and we want our pegs to be evenly spaced, so we're going to first mark 3" in from the other edges on both ends. Try to aim for the center, but a rough placement is fine for now.
 Once you've marked that, you're going to have 30" of space in between that you'll need to figure the spacing so they're equally separated. I've done the math for you, but you're basically taking the 30" divided by the other 4 marks we need to make (we already made two marks of the 6 pegs we'll be using). That'll will leave you with 7.5" spacing (30" ÷ 4 = 7.5). Staring at your 3" end mark you already made, measure 7.5" intervals until you reach the other end mark.
We want our pegs to be centered in this project (you could offset them if you like too), so we need to measure from the top down to get them all set the same.
TIP: As dumb as it may seem, a stated 6" wide board is not actually 6", but is actually 5.5" ...duh. Same for the thickness...it's not really 1" thick.
Once you've marked that, you're going to have 30" of space in between that you'll need to figure the spacing so they're equally separated. I've done the math for you, but you're basically taking the 30" divided by the other 4 marks we need to make (we already made two marks of the 6 pegs we'll be using). That'll will leave you with 7.5" spacing (30" ÷ 4 = 7.5). Staring at your 3" end mark you already made, measure 7.5" intervals until you reach the other end mark.
We want our pegs to be centered in this project (you could offset them if you like too), so we need to measure from the top down to get them all set the same.
TIP: As dumb as it may seem, a stated 6" wide board is not actually 6", but is actually 5.5" ...duh. Same for the thickness...it's not really 1" thick.
 Looks like a spade, right? Secure it into your drill and be sure to hand-tighten.
 These bits are nice because of the point on the end that allows you to set the bit in place, prepare the hole for the larger bit, and also help prevent the wood from splintering on the back side of your board.
Set in place and drill completely through, making sure to hold the drill level to the board. An offset bit will make your peg rest crooked.
These bits are nice because of the point on the end that allows you to set the bit in place, prepare the hole for the larger bit, and also help prevent the wood from splintering on the back side of your board.
Set in place and drill completely through, making sure to hold the drill level to the board. An offset bit will make your peg rest crooked.
 Continue drilling until all your holes have been made.
 Lookin' good, right? We also drill pilot holes for our screws that are to attach the rack to the wall. If you don't do that, you risk splitting the board.
 You could stop there, but if you would like your screw head to be inset, we need to counter-sink the hole. For this we need the 3/8 drill bit and only drill the depth of the screw head. It's okay if you go a bit over, but be light on the drill. Some even add a wooden screw cap for a finished look, which you could do as well by counter-sinking lower, but I'm trying to keep it simple for you.
Grab your 150 grit piece of sandpaper and hand sand the holes and cut edges and raised grain too.
You could stop there, but if you would like your screw head to be inset, we need to counter-sink the hole. For this we need the 3/8 drill bit and only drill the depth of the screw head. It's okay if you go a bit over, but be light on the drill. Some even add a wooden screw cap for a finished look, which you could do as well by counter-sinking lower, but I'm trying to keep it simple for you.
Grab your 150 grit piece of sandpaper and hand sand the holes and cut edges and raised grain too.
 Perfectly suited for coats, towels in your bathroom or poolside. Or, even in your bedroom, like where my girls rack will go. (remodel coming soon!)
 Do you love the layers like I do?
 You can also take this same tutorial and use other objects for hooks, like old door knobs, spigot handles, or even old hand-forged nails like I did in our bedroom clothes rack.


