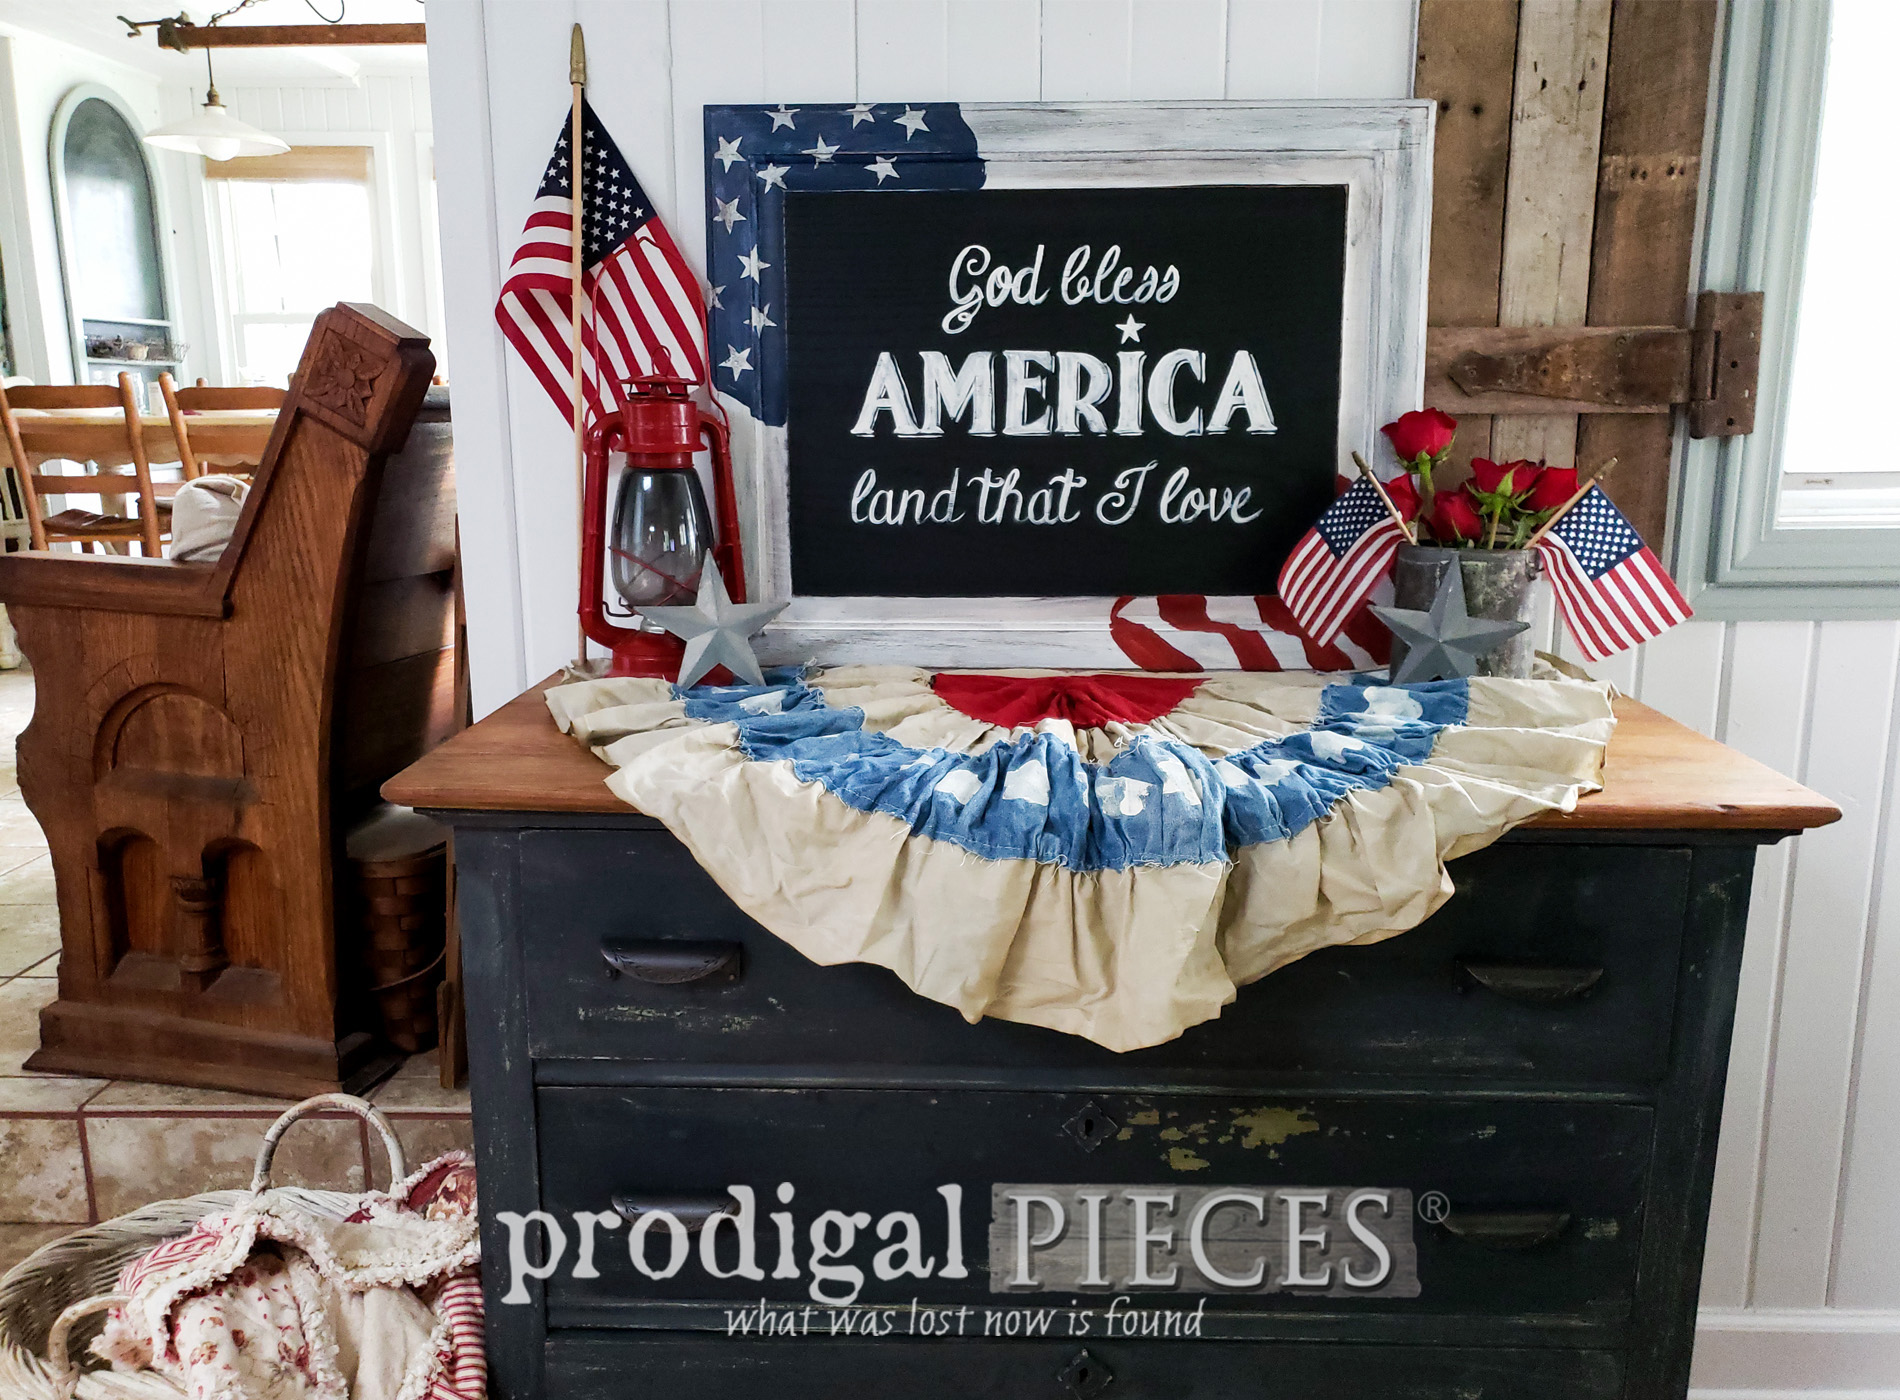
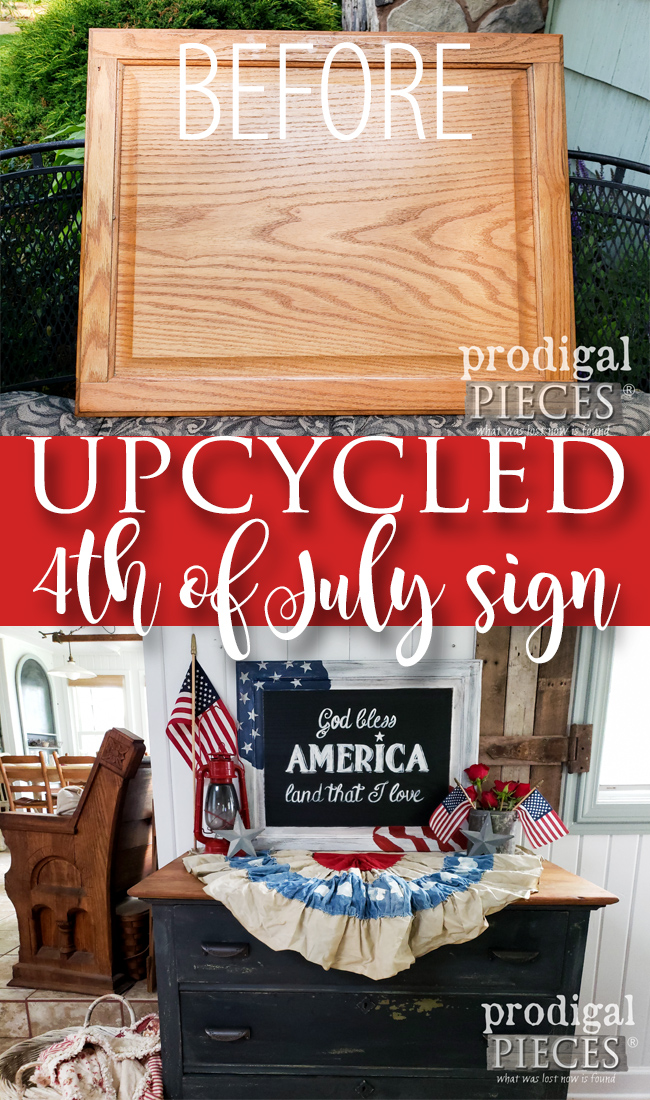
You know I can't resist when someone offers me some free goodies, especially when they say they're going to BURN THEM.{{gasp}} If you've been following over the last few months, you know I was bestowed with the stash-to-end-all-stashes of cupboard doors. I'm more than halfway through them and am eager to show you how this one is my DIY 4th of July sign.
Here's is the stash I'm referring to...
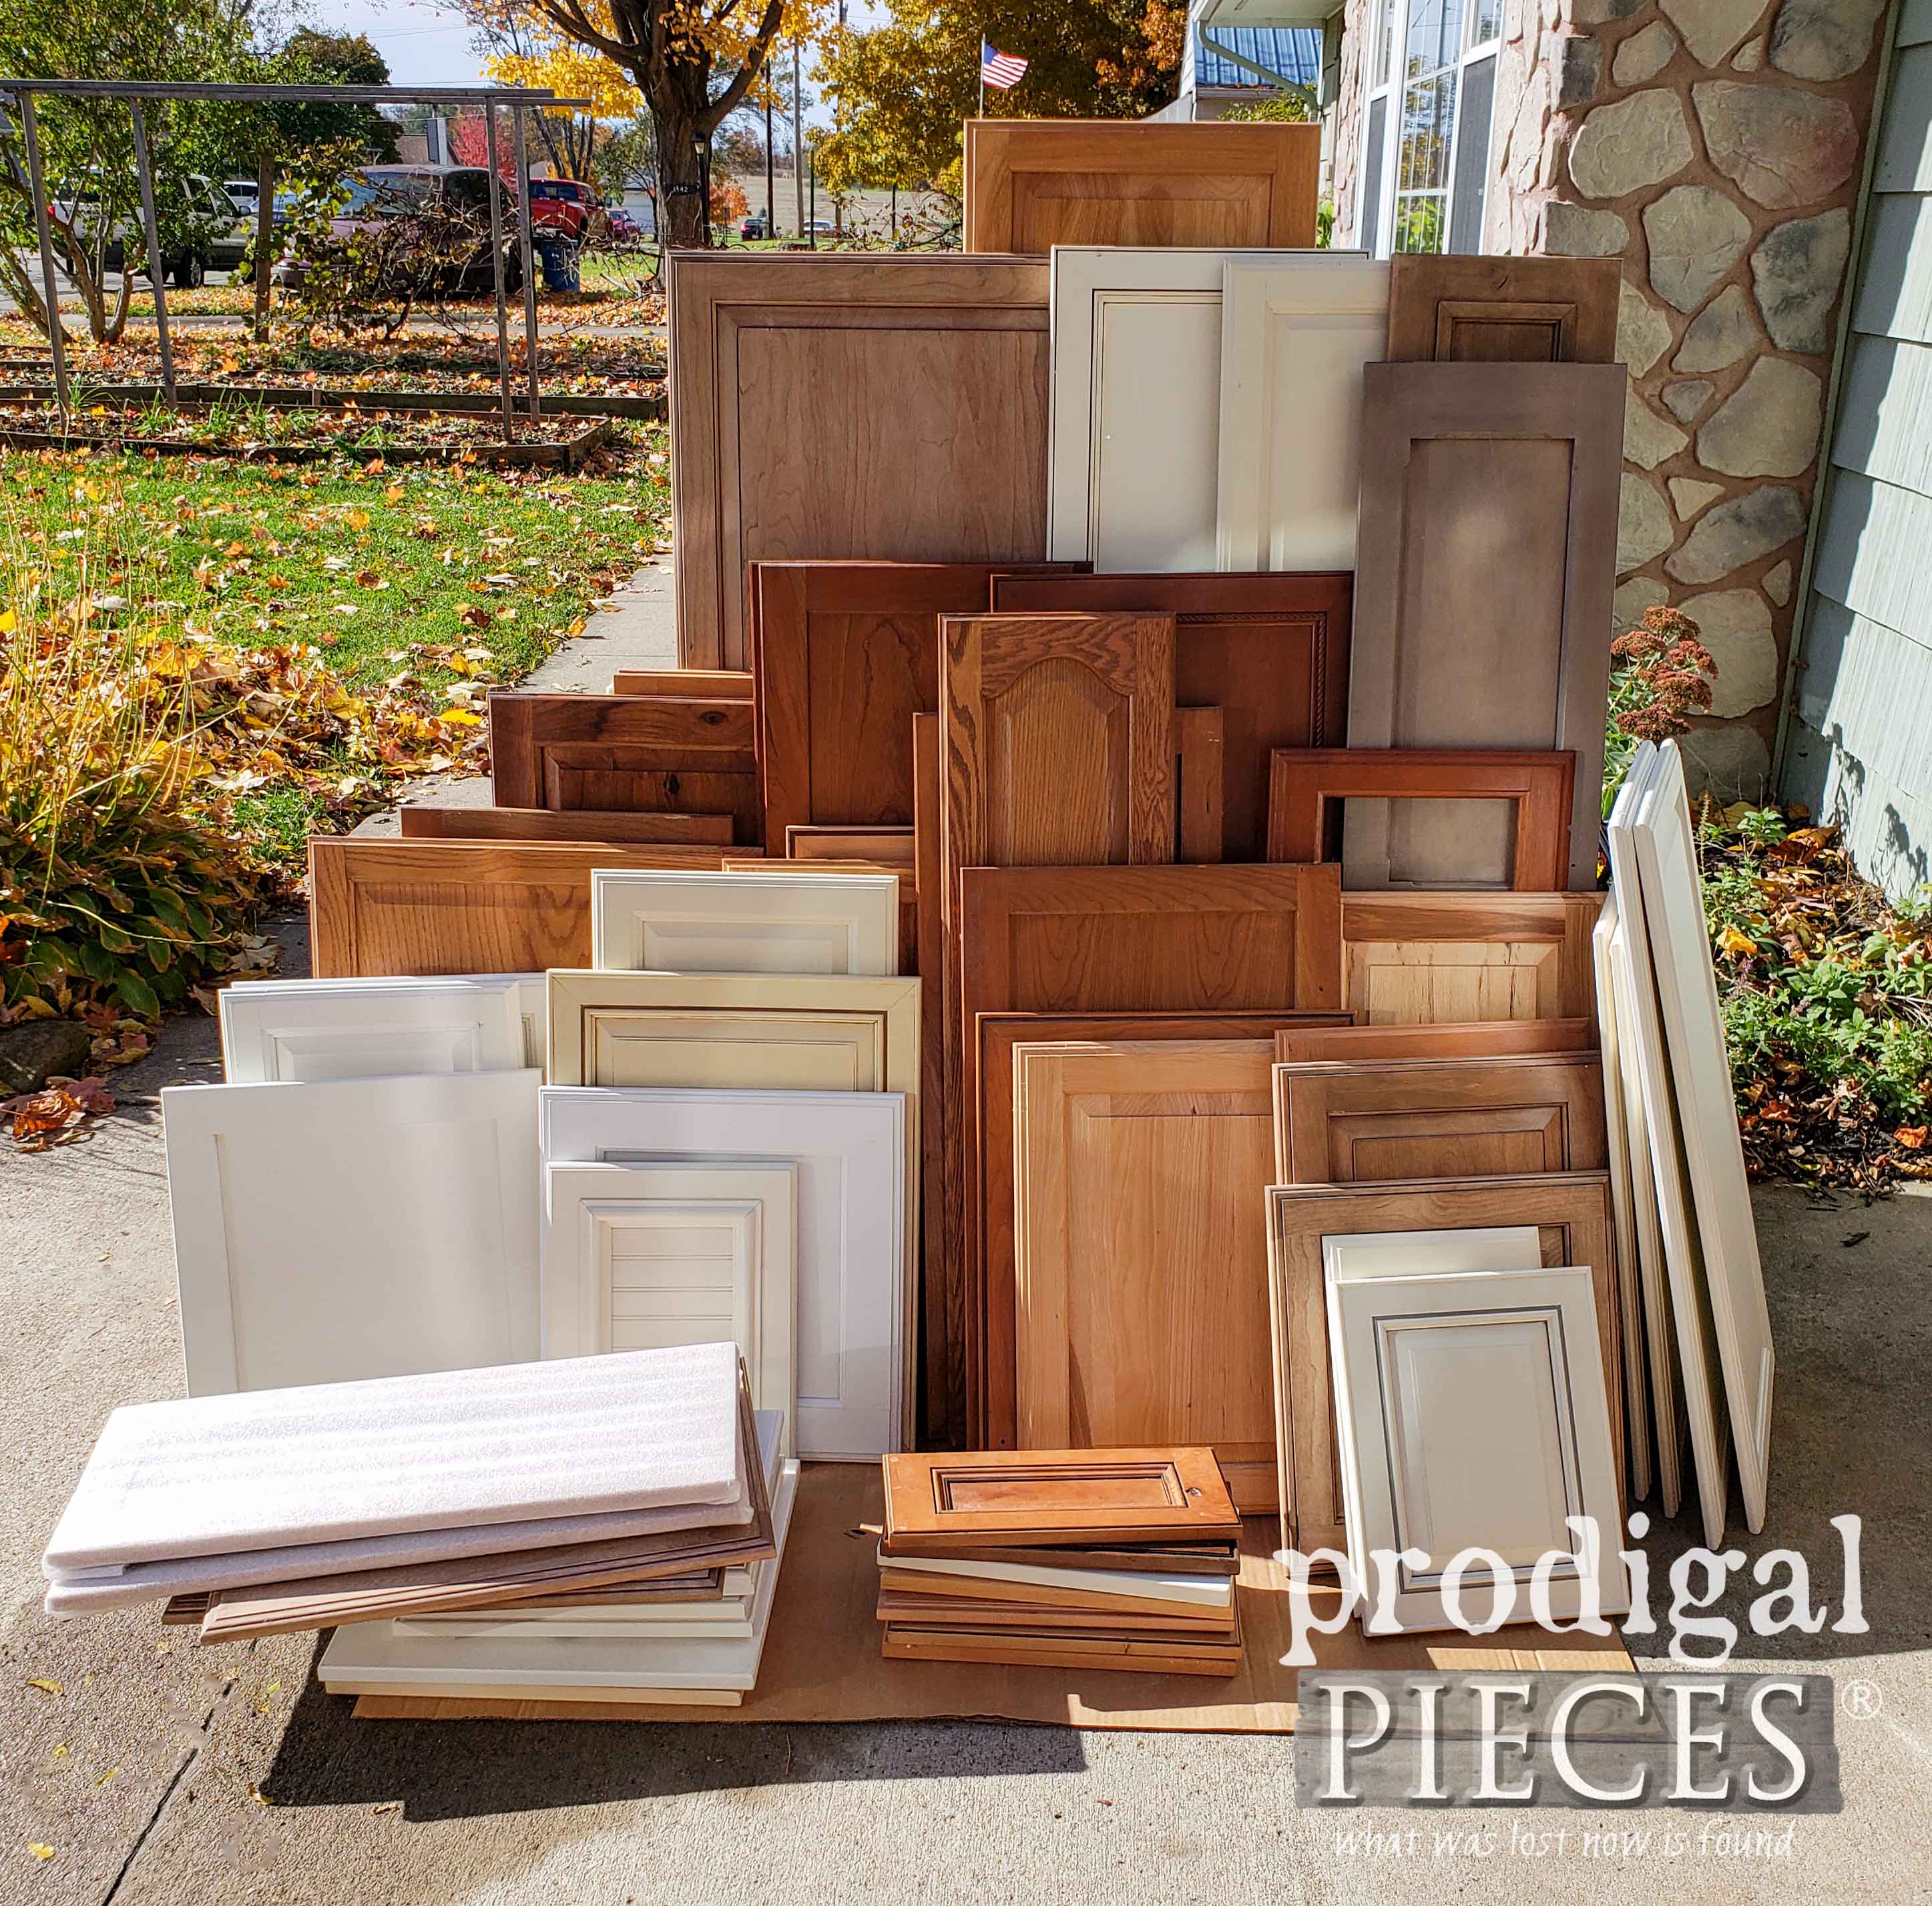
See what I mean? eep! (also, notice the American flag flying proudly behind said stash). Today's project is a must, don't you say? You see my cupboard door journey in
these past posts HERE. Even my kids have joined in with their own projects.
Since so many of you are enjoying my videos, I decided to make one for this tutorial because I am very much a visual learner too. Not only will I have all the steps laid out here, but also feel free to peek at the video tutorial below as well.
With the birth of our nation in the United States coming up, I thought it would be fun to create some patriotic decor. However, this project can be used for any holiday, season, or use. Nevertheless, the basic idea can be utilized to create any kind of art you like, in any color, for any reason.
To get started, here is a list of items you will need to complete this project:
TERMS OF USE: when you create this sign you agree to the following: it cannot be shared or distributed for monetary gain in any way, it may not be modified in any way, and you may not claim the work as your own.
- paint brushes
- pastels
- black paint
- white paint
- red paint
- blue paint
- painter's low tack tape
- strong adhesive spray
- low tack adhesive spray
- keyhole hanger (for wall mount)
- printable stars (see below)
- graphic of your choosing (options are limitless!)
STEP 1
First, as with any DIY project, preparation is key. I'm using a cupboard door for my project, but you can use most any thing you prefer. (plywood, thrifted art, etc.) I begin by using a 2:1 ratio for a vinegar mixture to clean and prep the surface of my door. Also, you could also lightly sand if you would like to add tooth. Keep in mind that I don't often do that when it's an item used for decor.
First, I begin by applying a coat of the black paint to the entire door. Notice I'm painting in the direction of the grain. This allows my strokes to flow evenly and that oak grain to get excellent coverage.
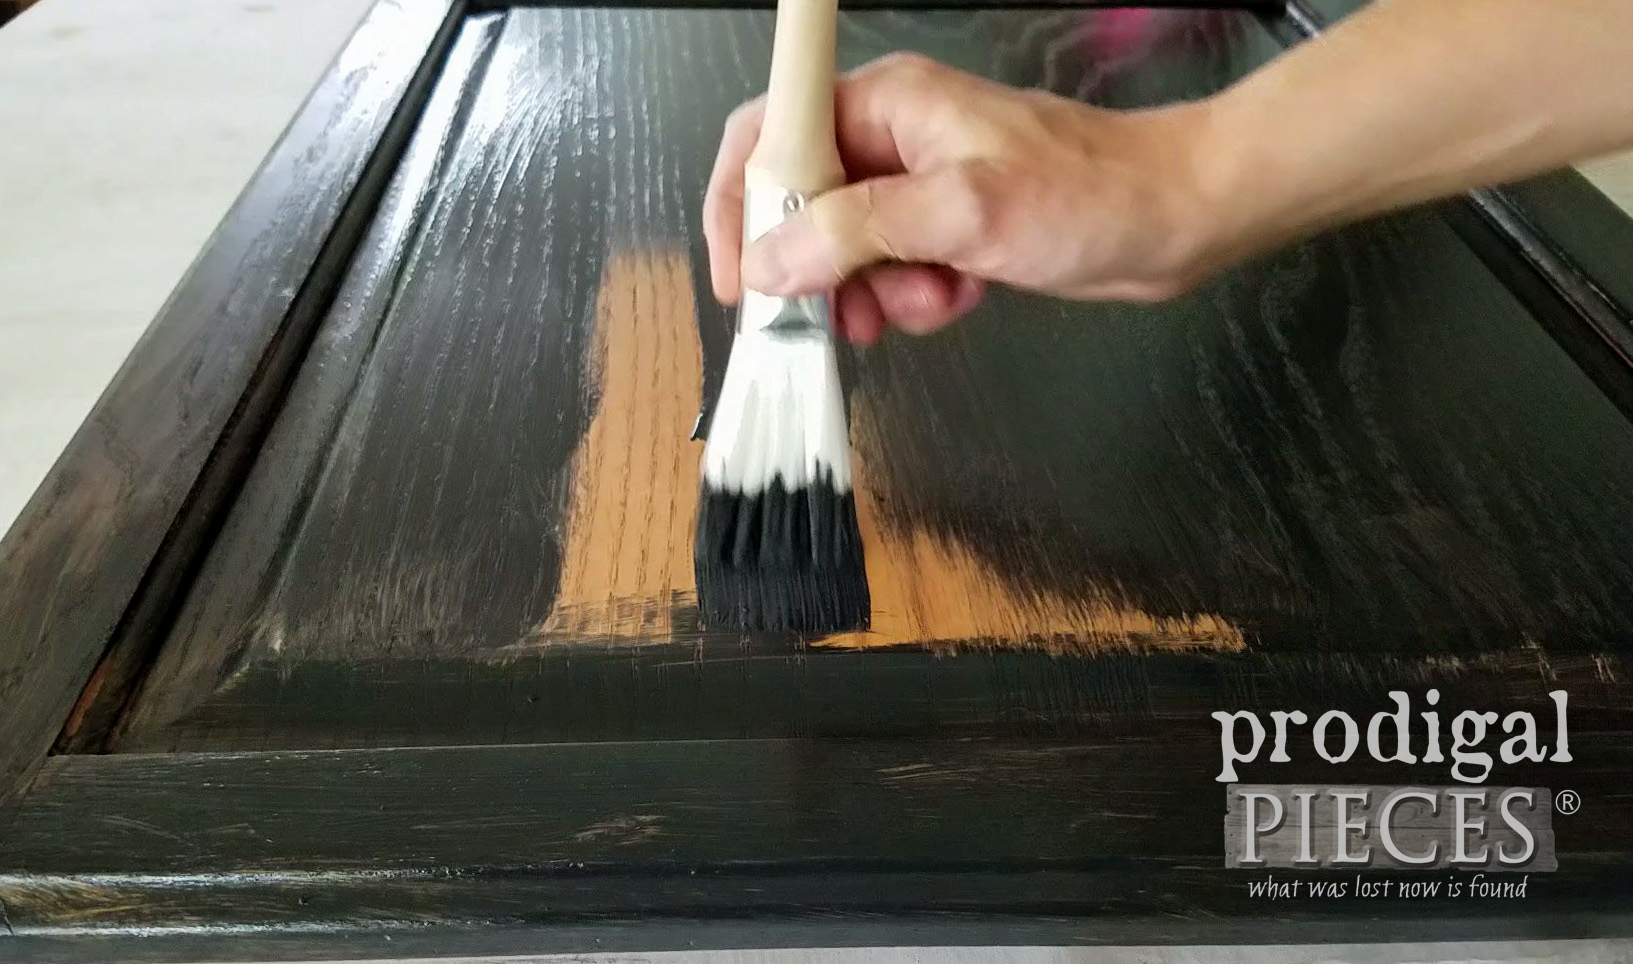
Once I let the first coat cure for approximately 2 hours, I apply a second coat of the black to the center panel only. Afterward, this will give me the chalkboard background I'm after. No special chalkboard paint needed.
To get my crisp, clean lines without tape, I use white paint to frame the center panel.
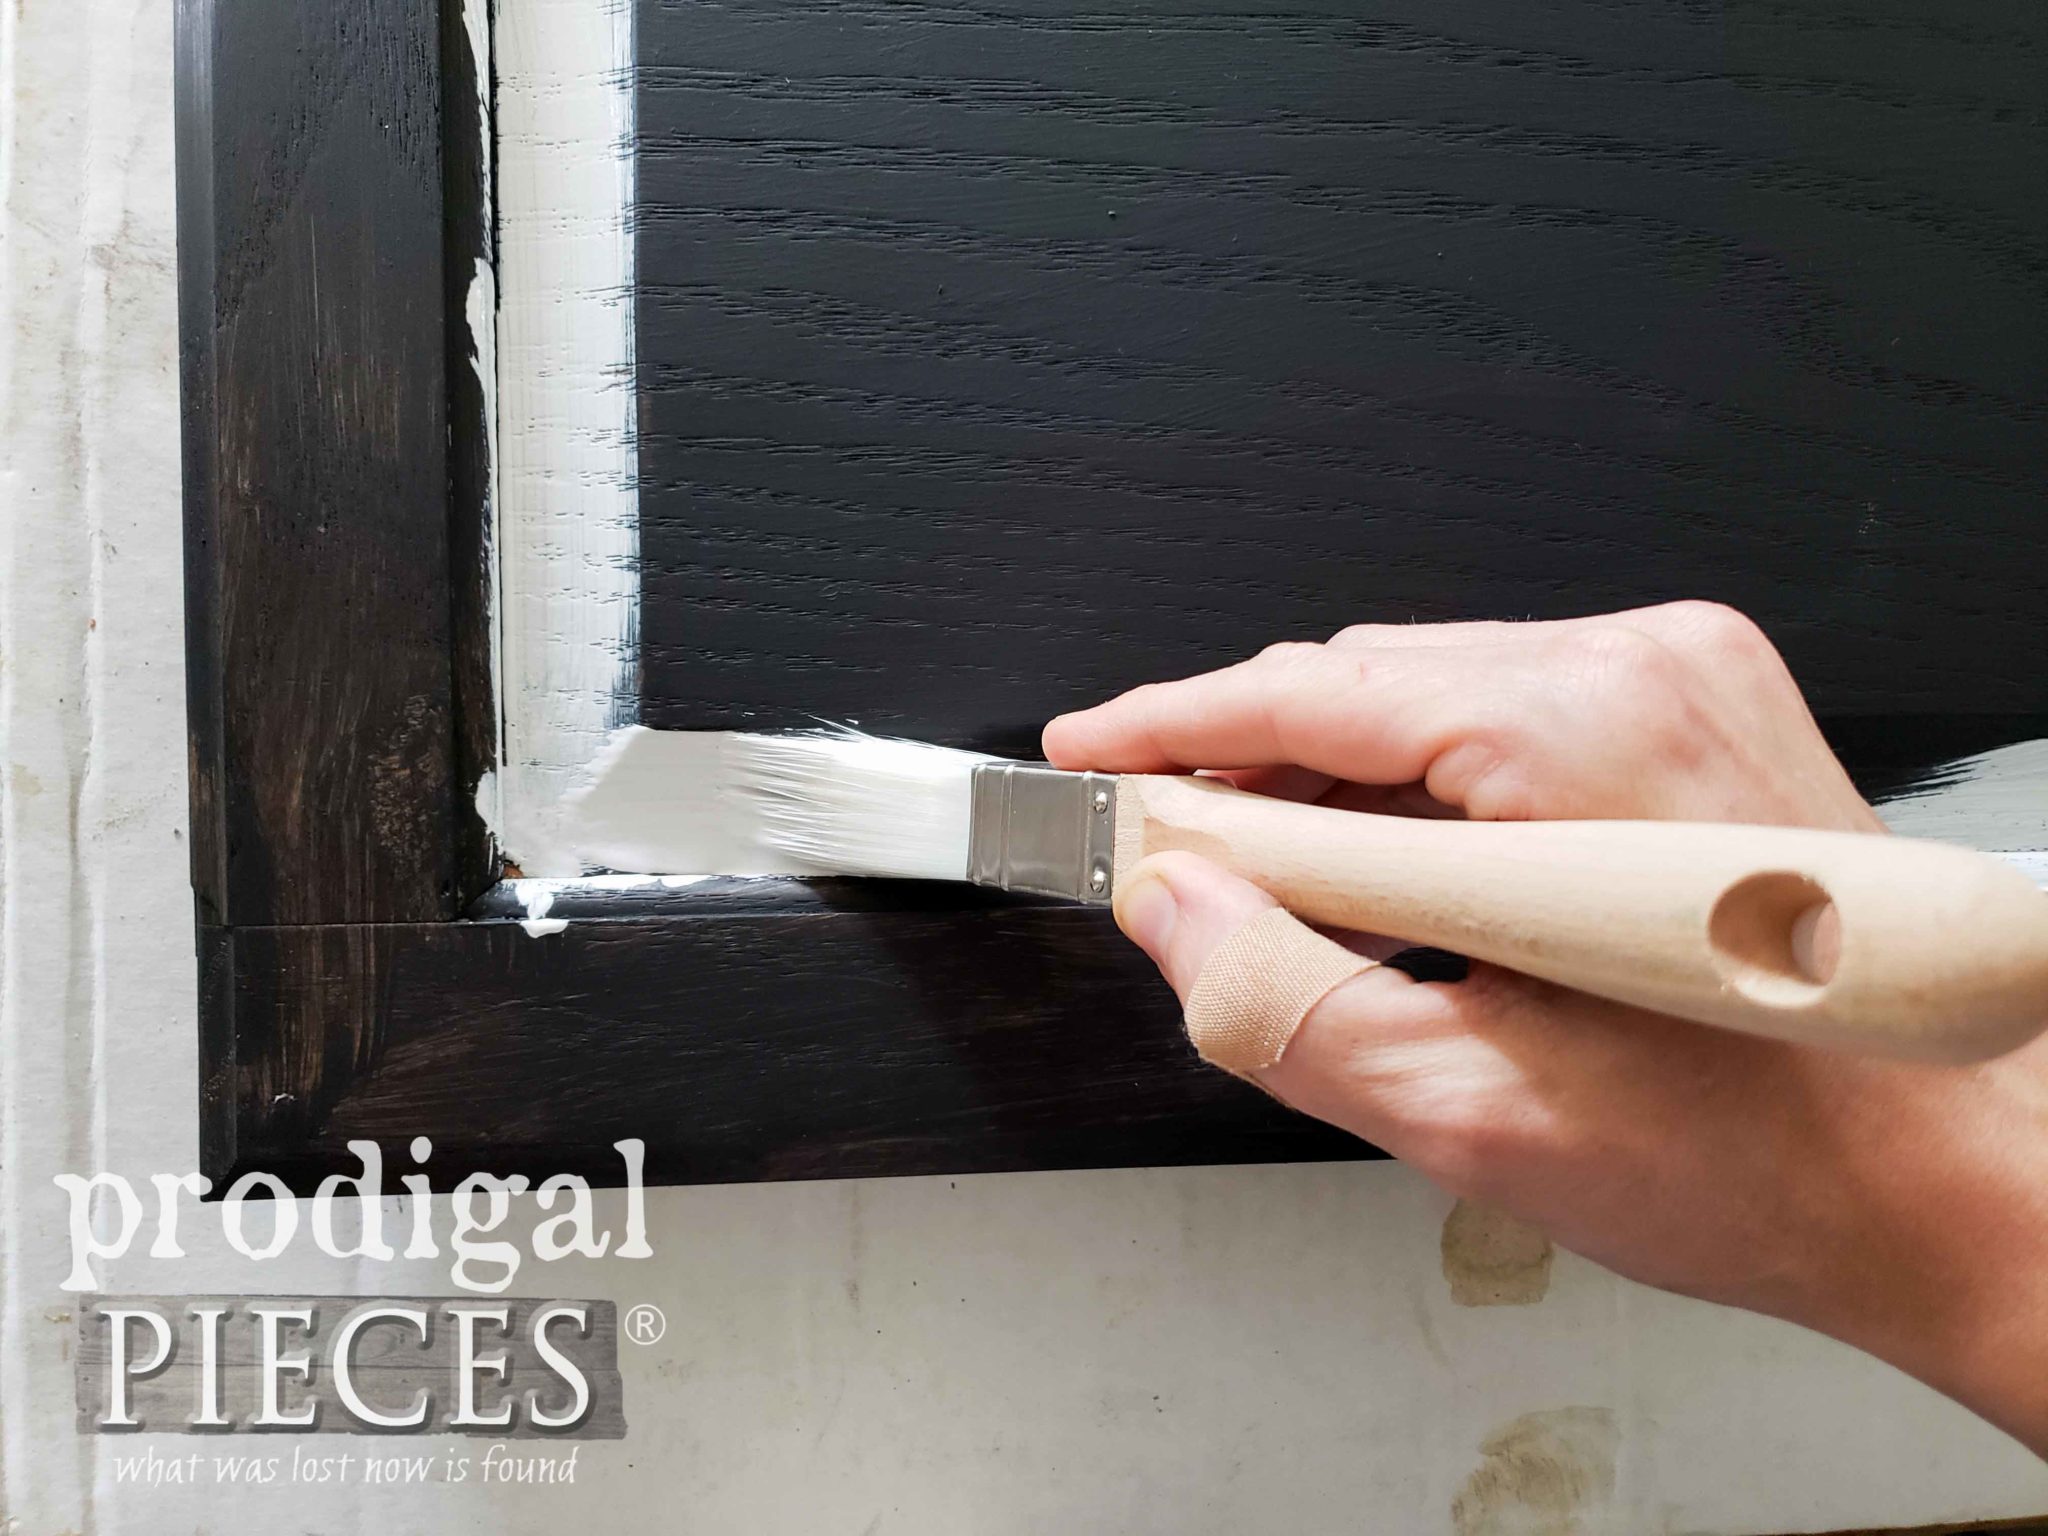
Also, I only apply a light coat of the white because the end result of what I'm after for my DIY 4th of July sign is a rustic appeal. In other words, having the black background allows me to create depth of texture.
STEP 2
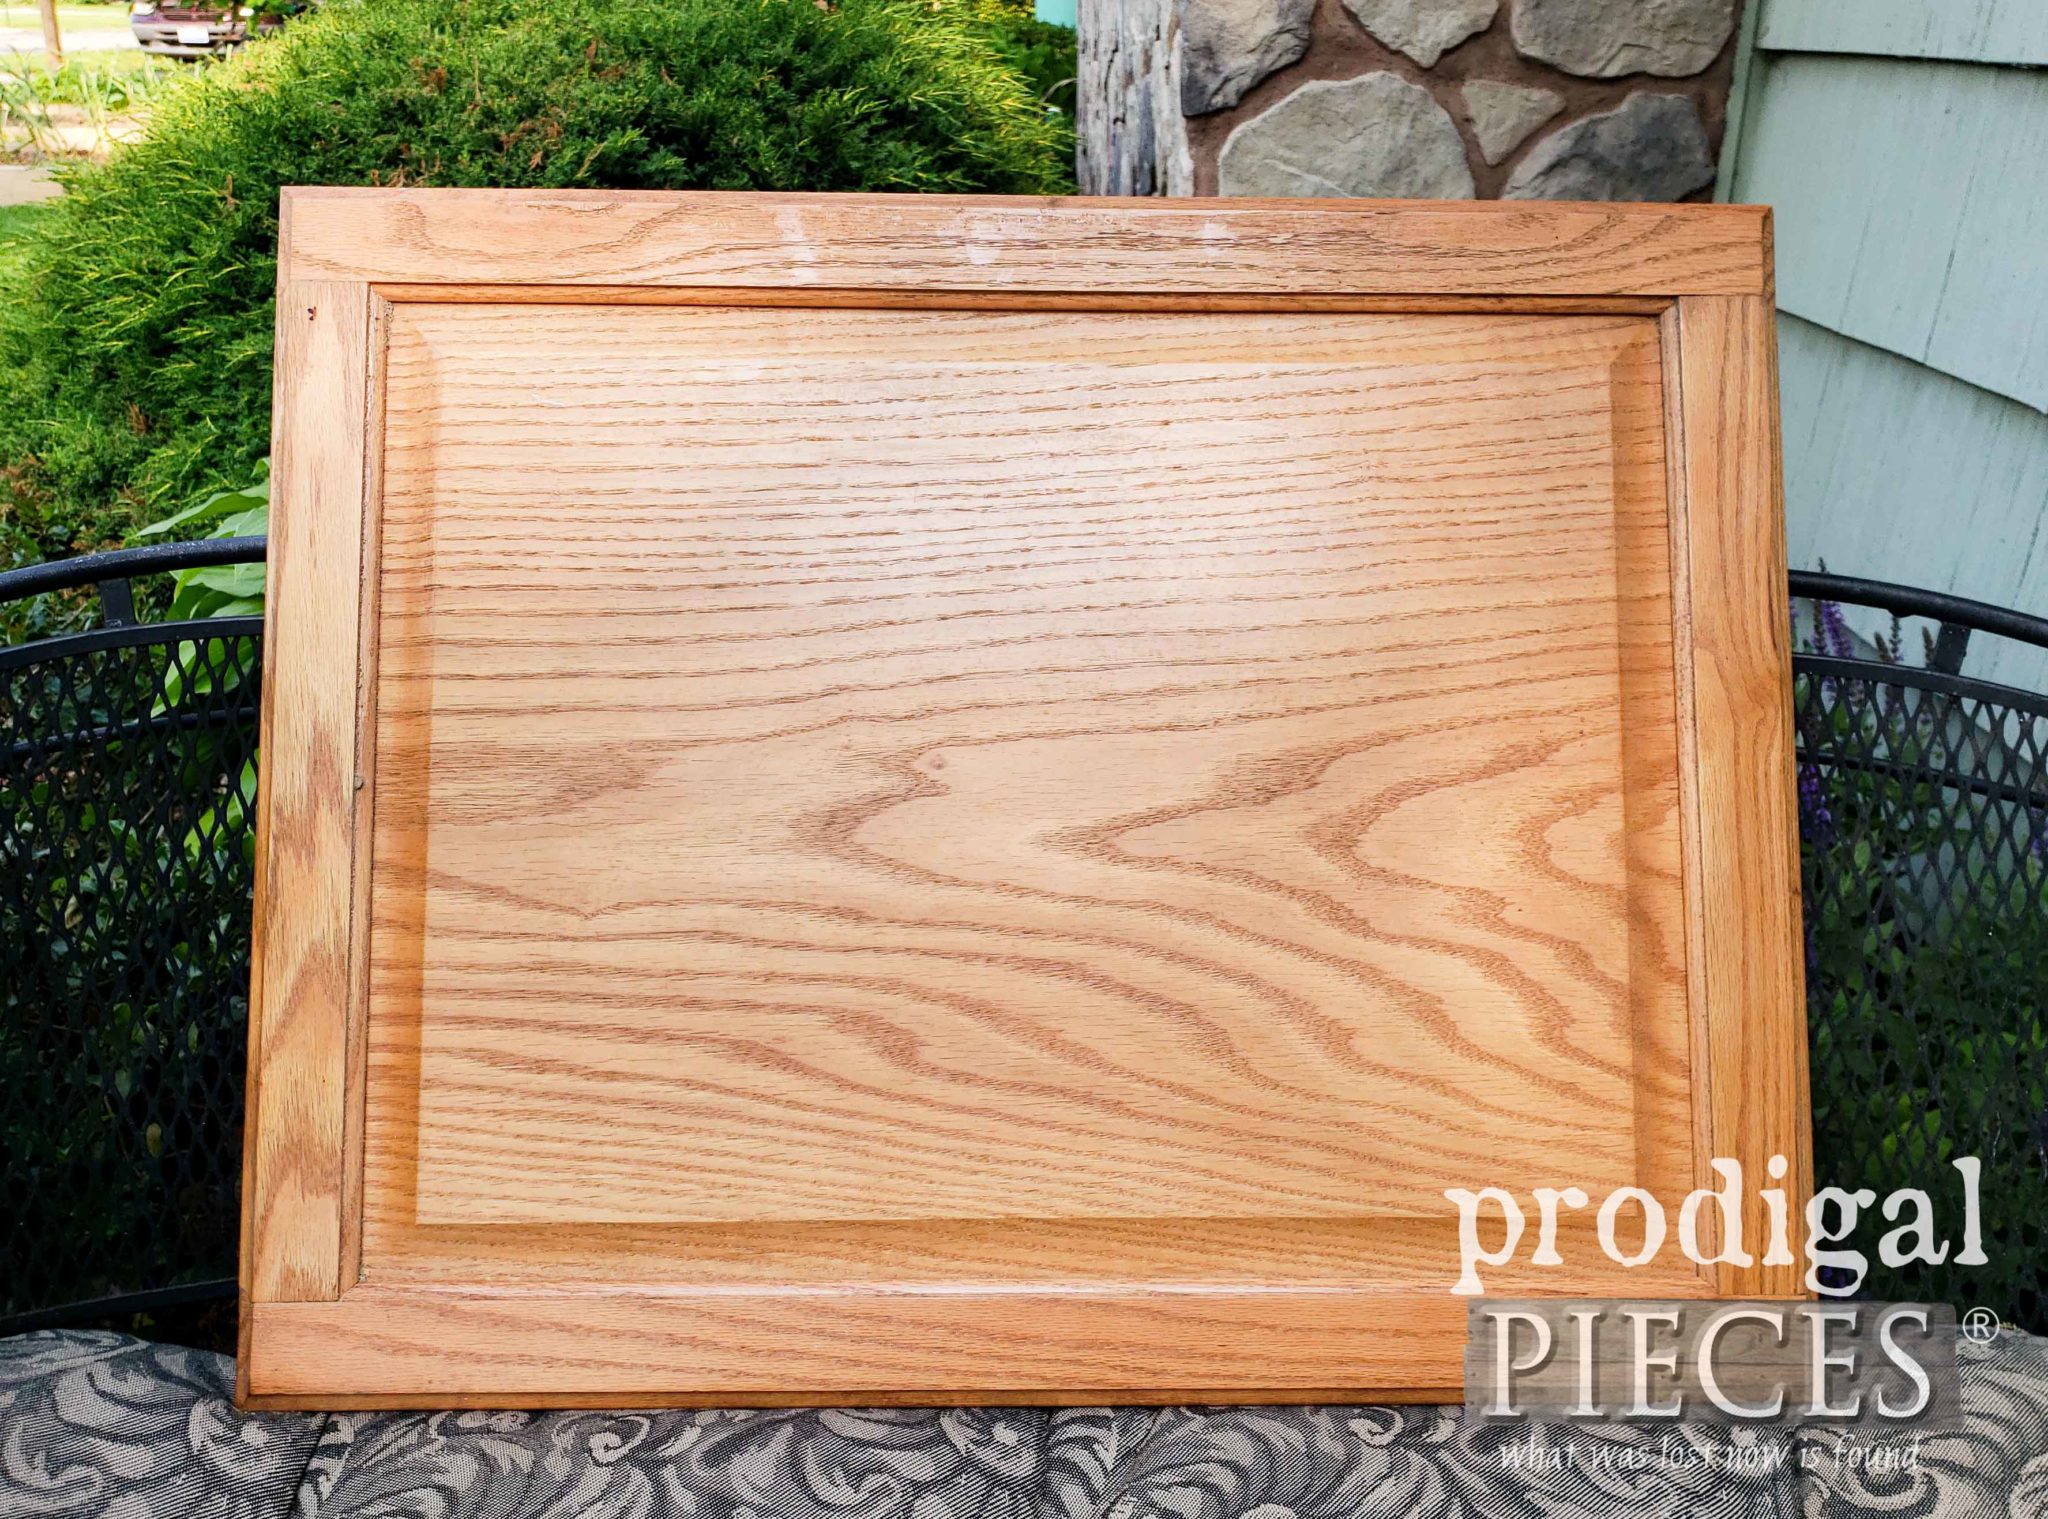
Next, it's time to add the details. My goal was to create a wavy flag sort of backdrop to my chalkboard center panel. Before I added more paint, I printed out a sheet of 1 ½ stars and used my applique method to adhere them. I share the full DIY details in the video below and also demonstrate it in
this sign post HERE.
I've made available 3 sizes of stars for you to print and use for your own projects. (these are for personal use only, no commercial reproduction or sale)
↓PRINTABLE STARS BELOW↓
Last it's time to add the color fun. I used my square brush and the blue paint to create a blue field in the top corner. Again, I only used one light coat of paint over the stars and let cure.
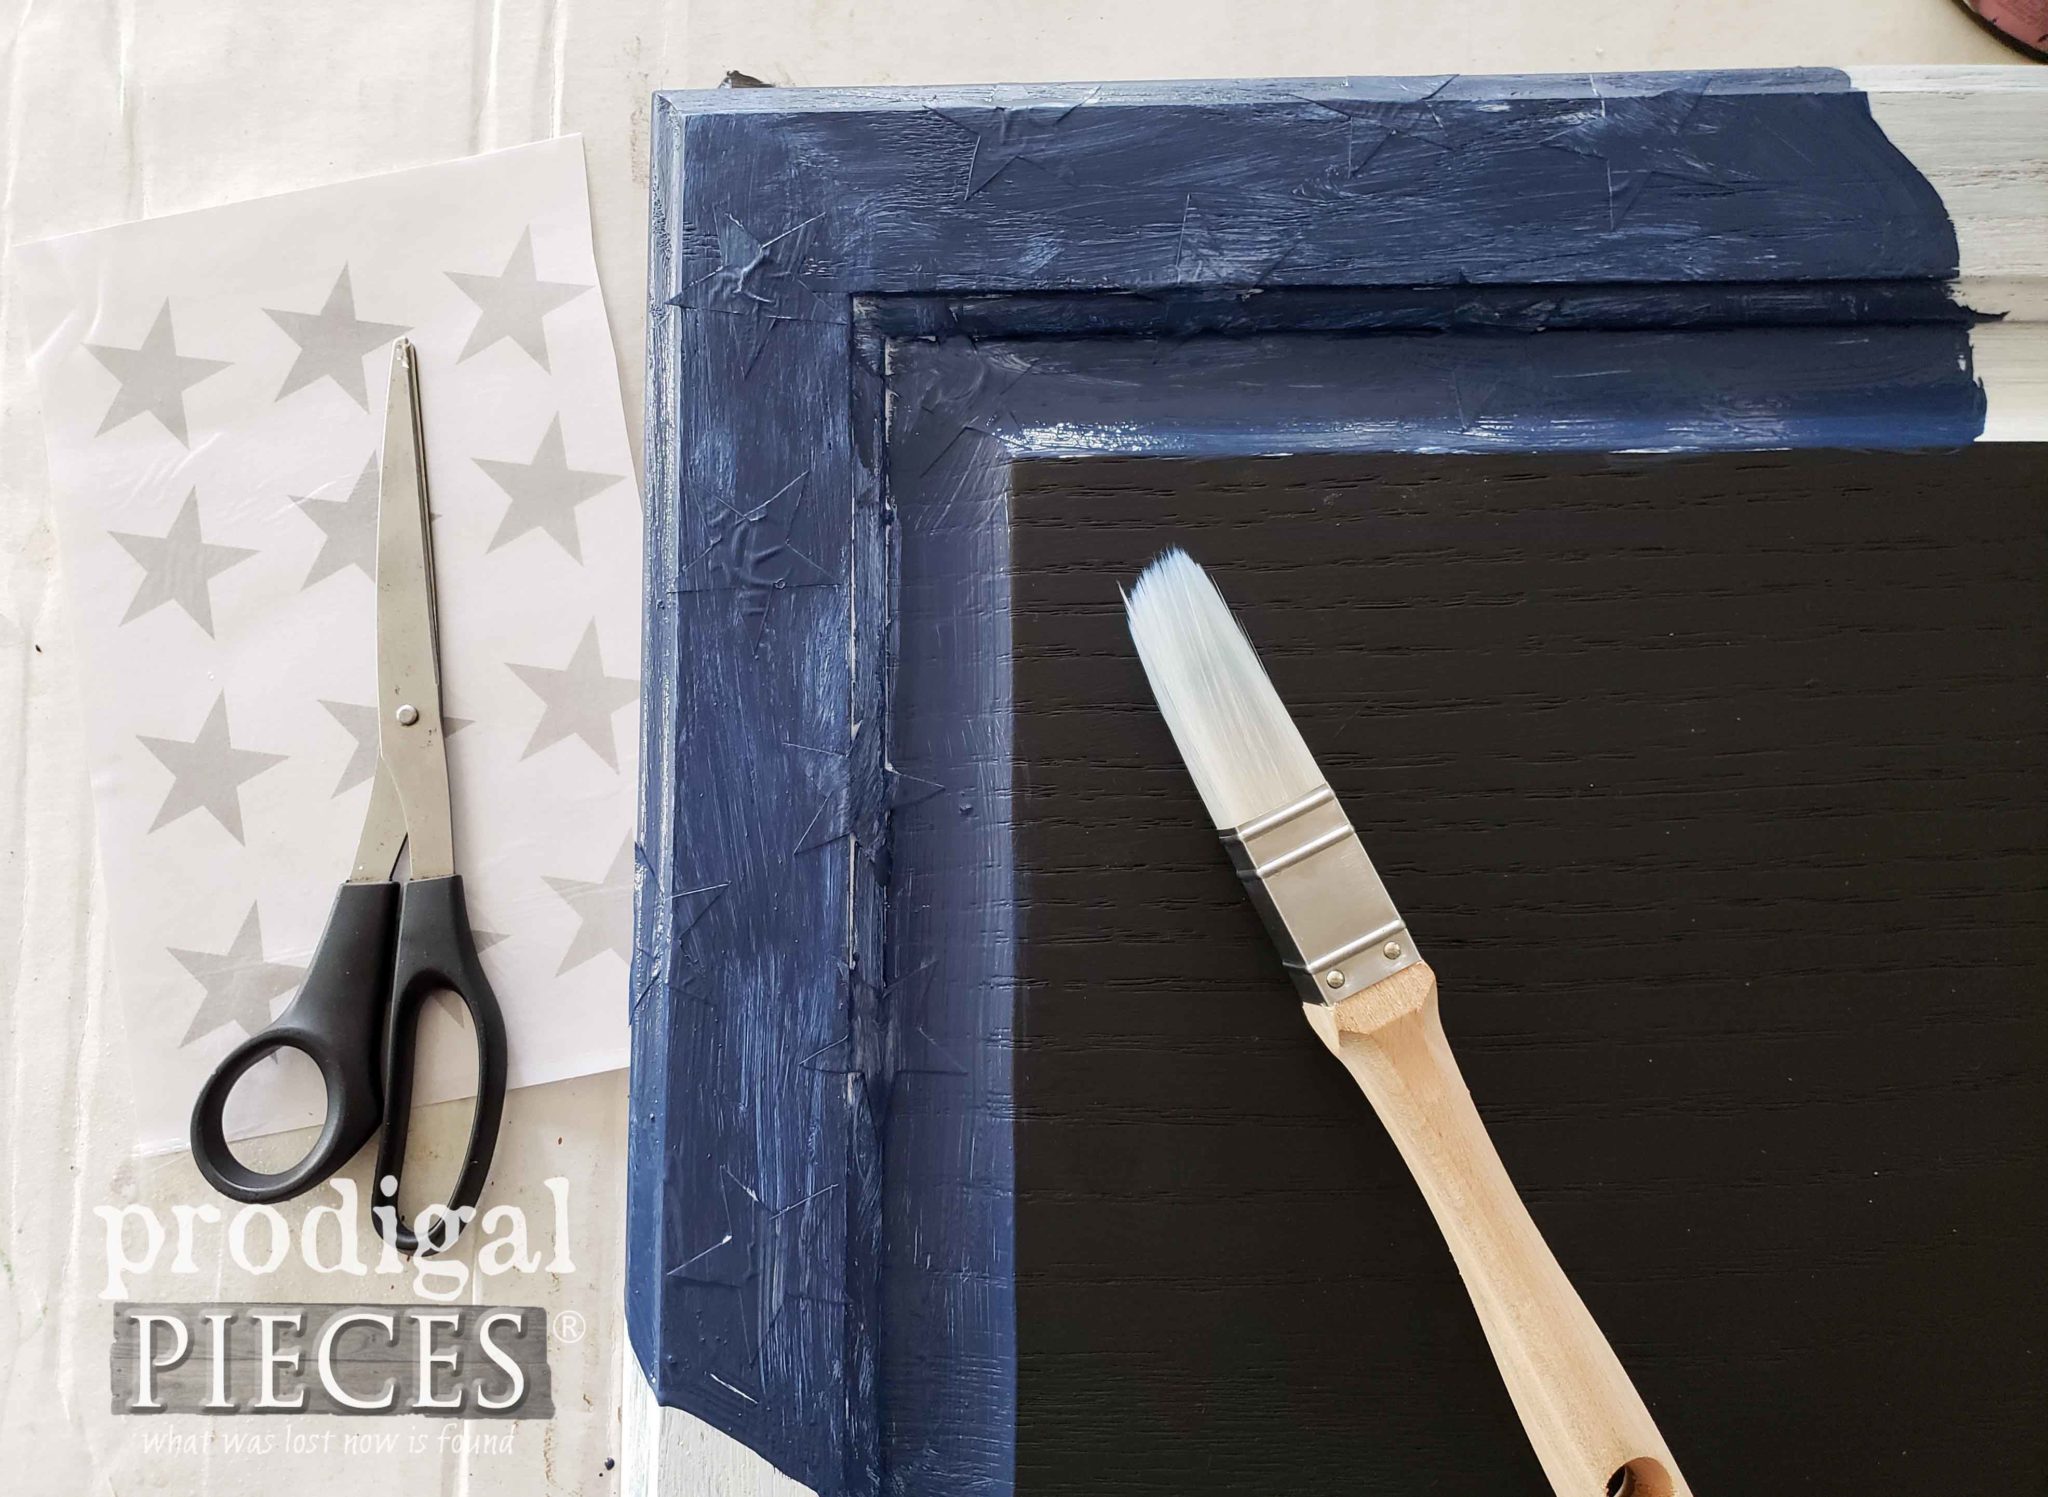
Meanwhile, I let the blue paint cure and then worked on the stripes on the opposing corner of the door. I lightly drew in a few wavy stripes and then I fill in the stripes with the red paint.
STEP 3
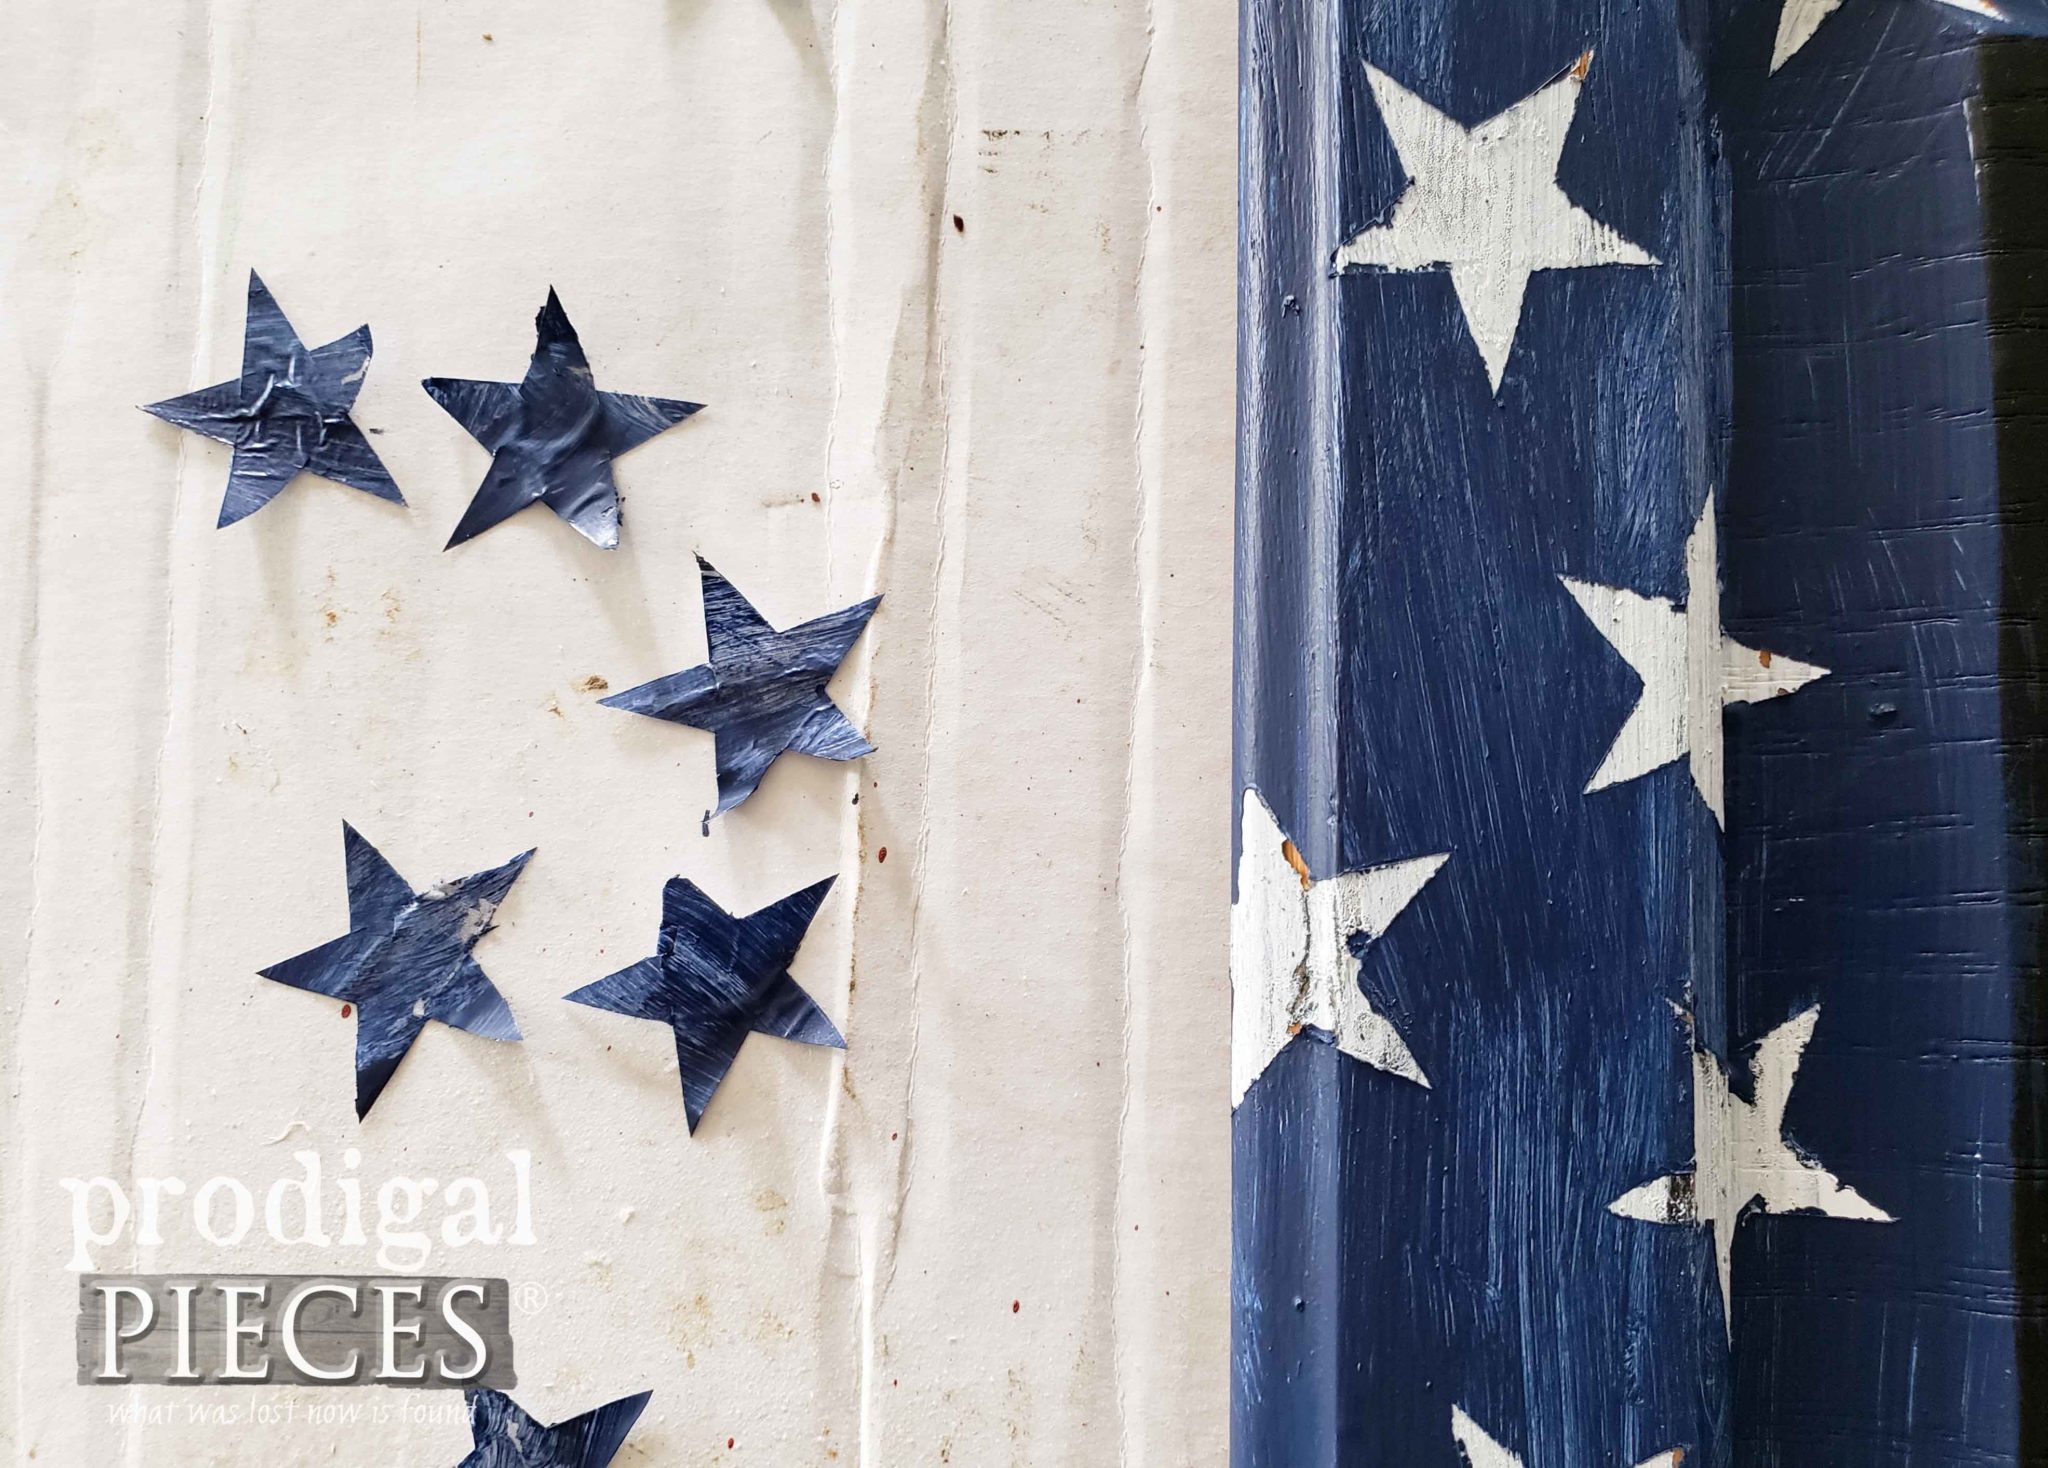
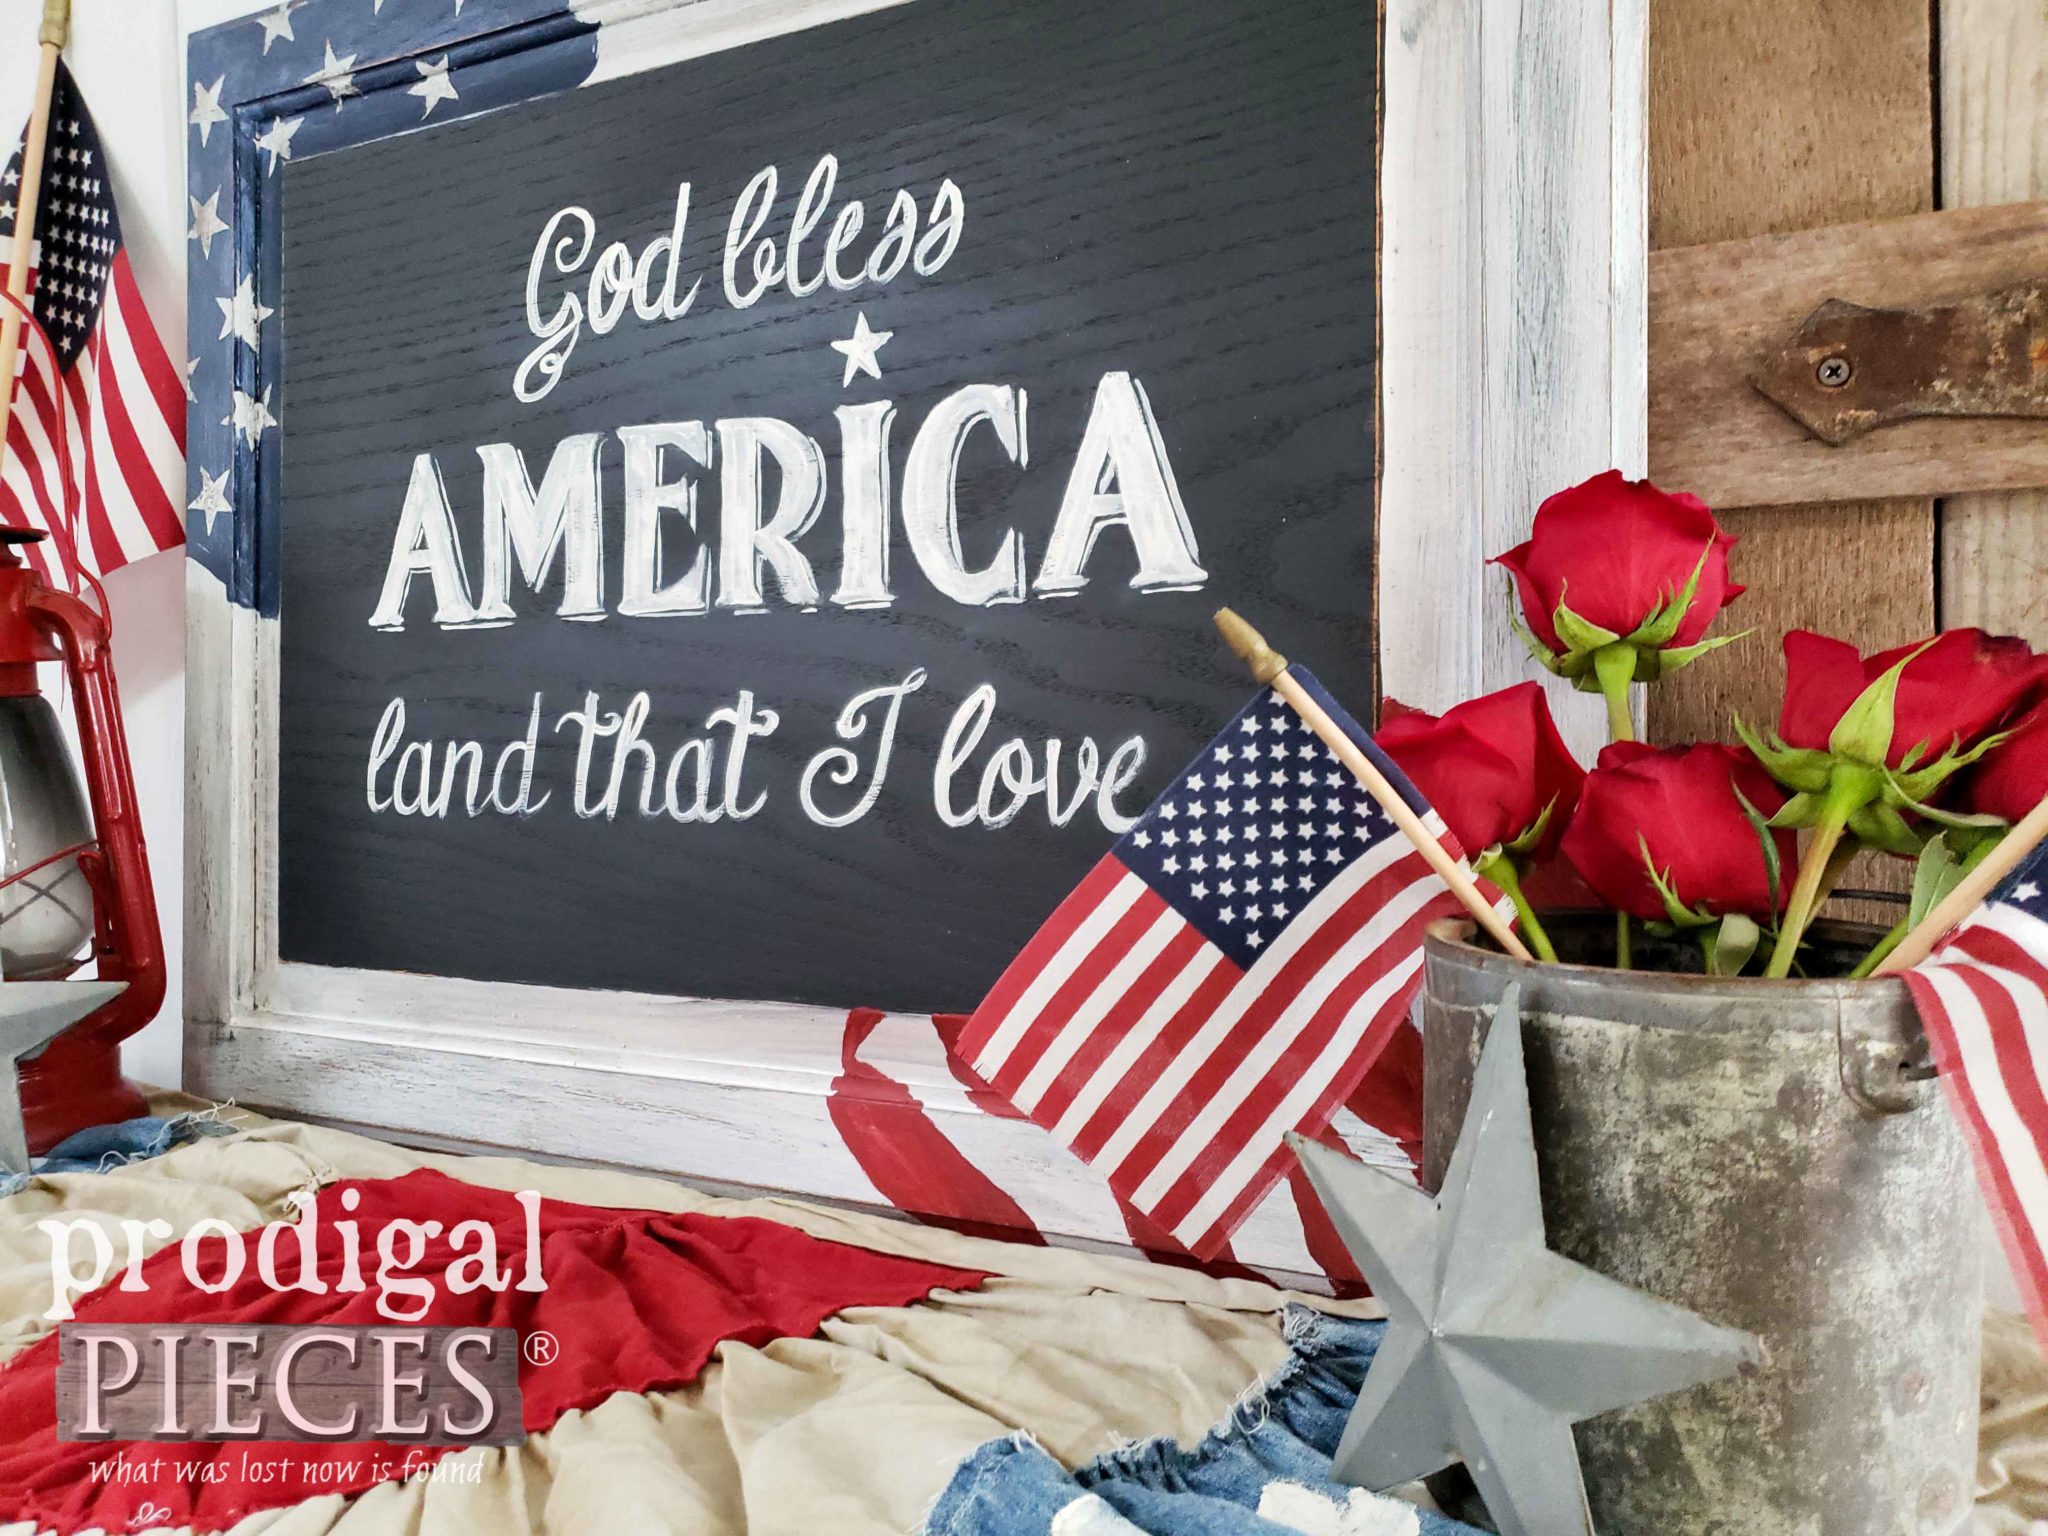
When both colors had cured, I pulled off my stars that I had tacked on earlier. Likewise, you can see the rustic result I was after came out just as I'd hoped. However, if you would prefer clean lines, you could topcoat your white layer with a poly before adding the stars too. That aids in a clean removal.
STEP 4
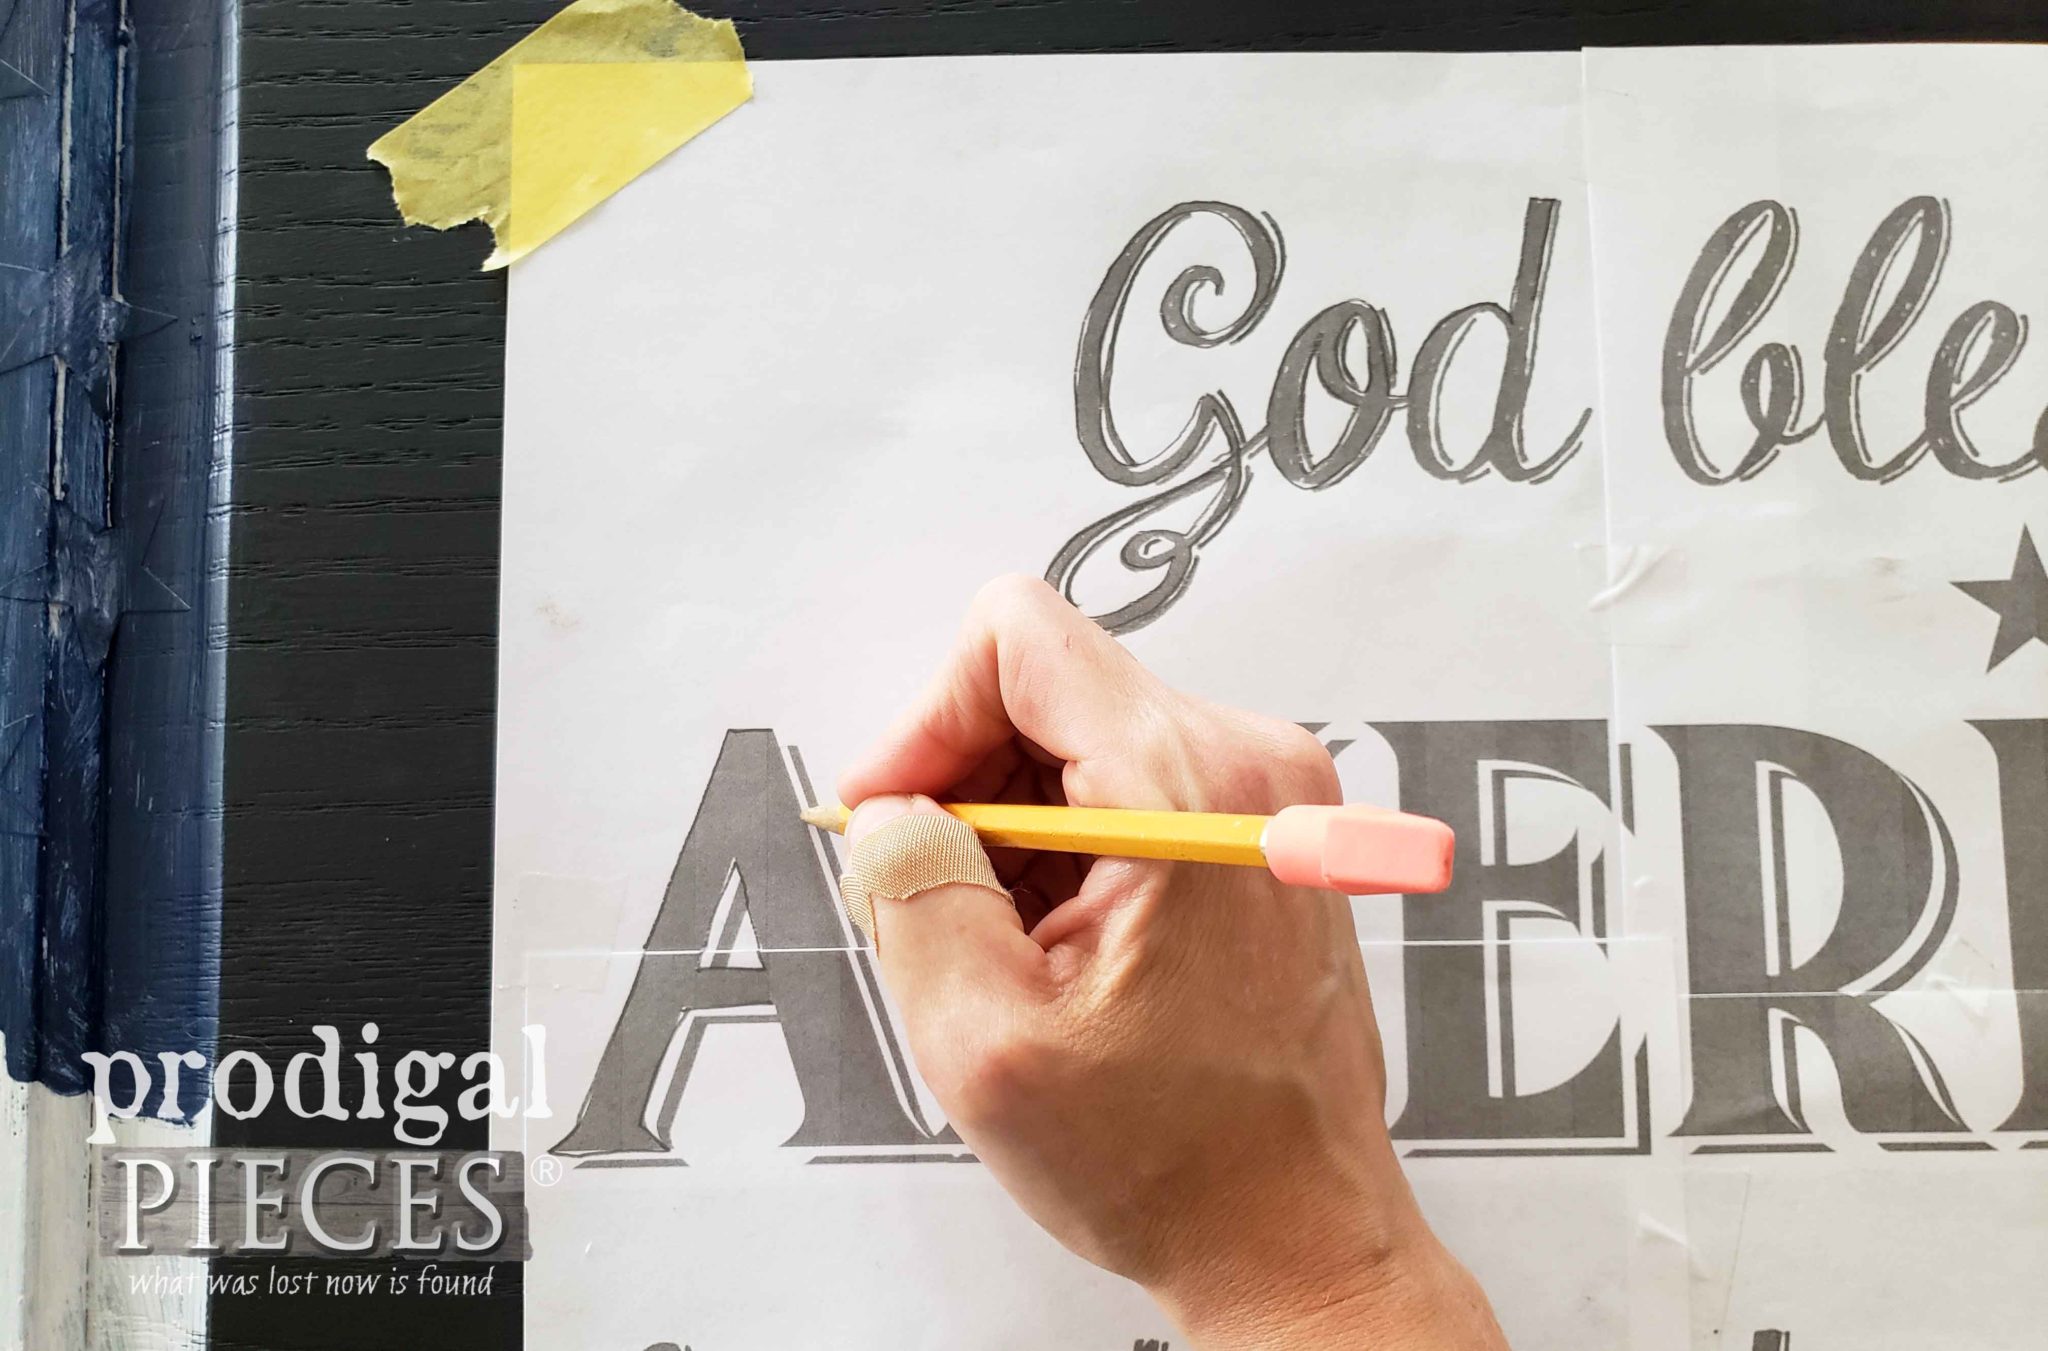
Last, but not least, it's time to add our typography. Again, with this project you could create most any kind of sign or art as the sky's the limit. I created a graphic in my software and then applied using
my transfer method.
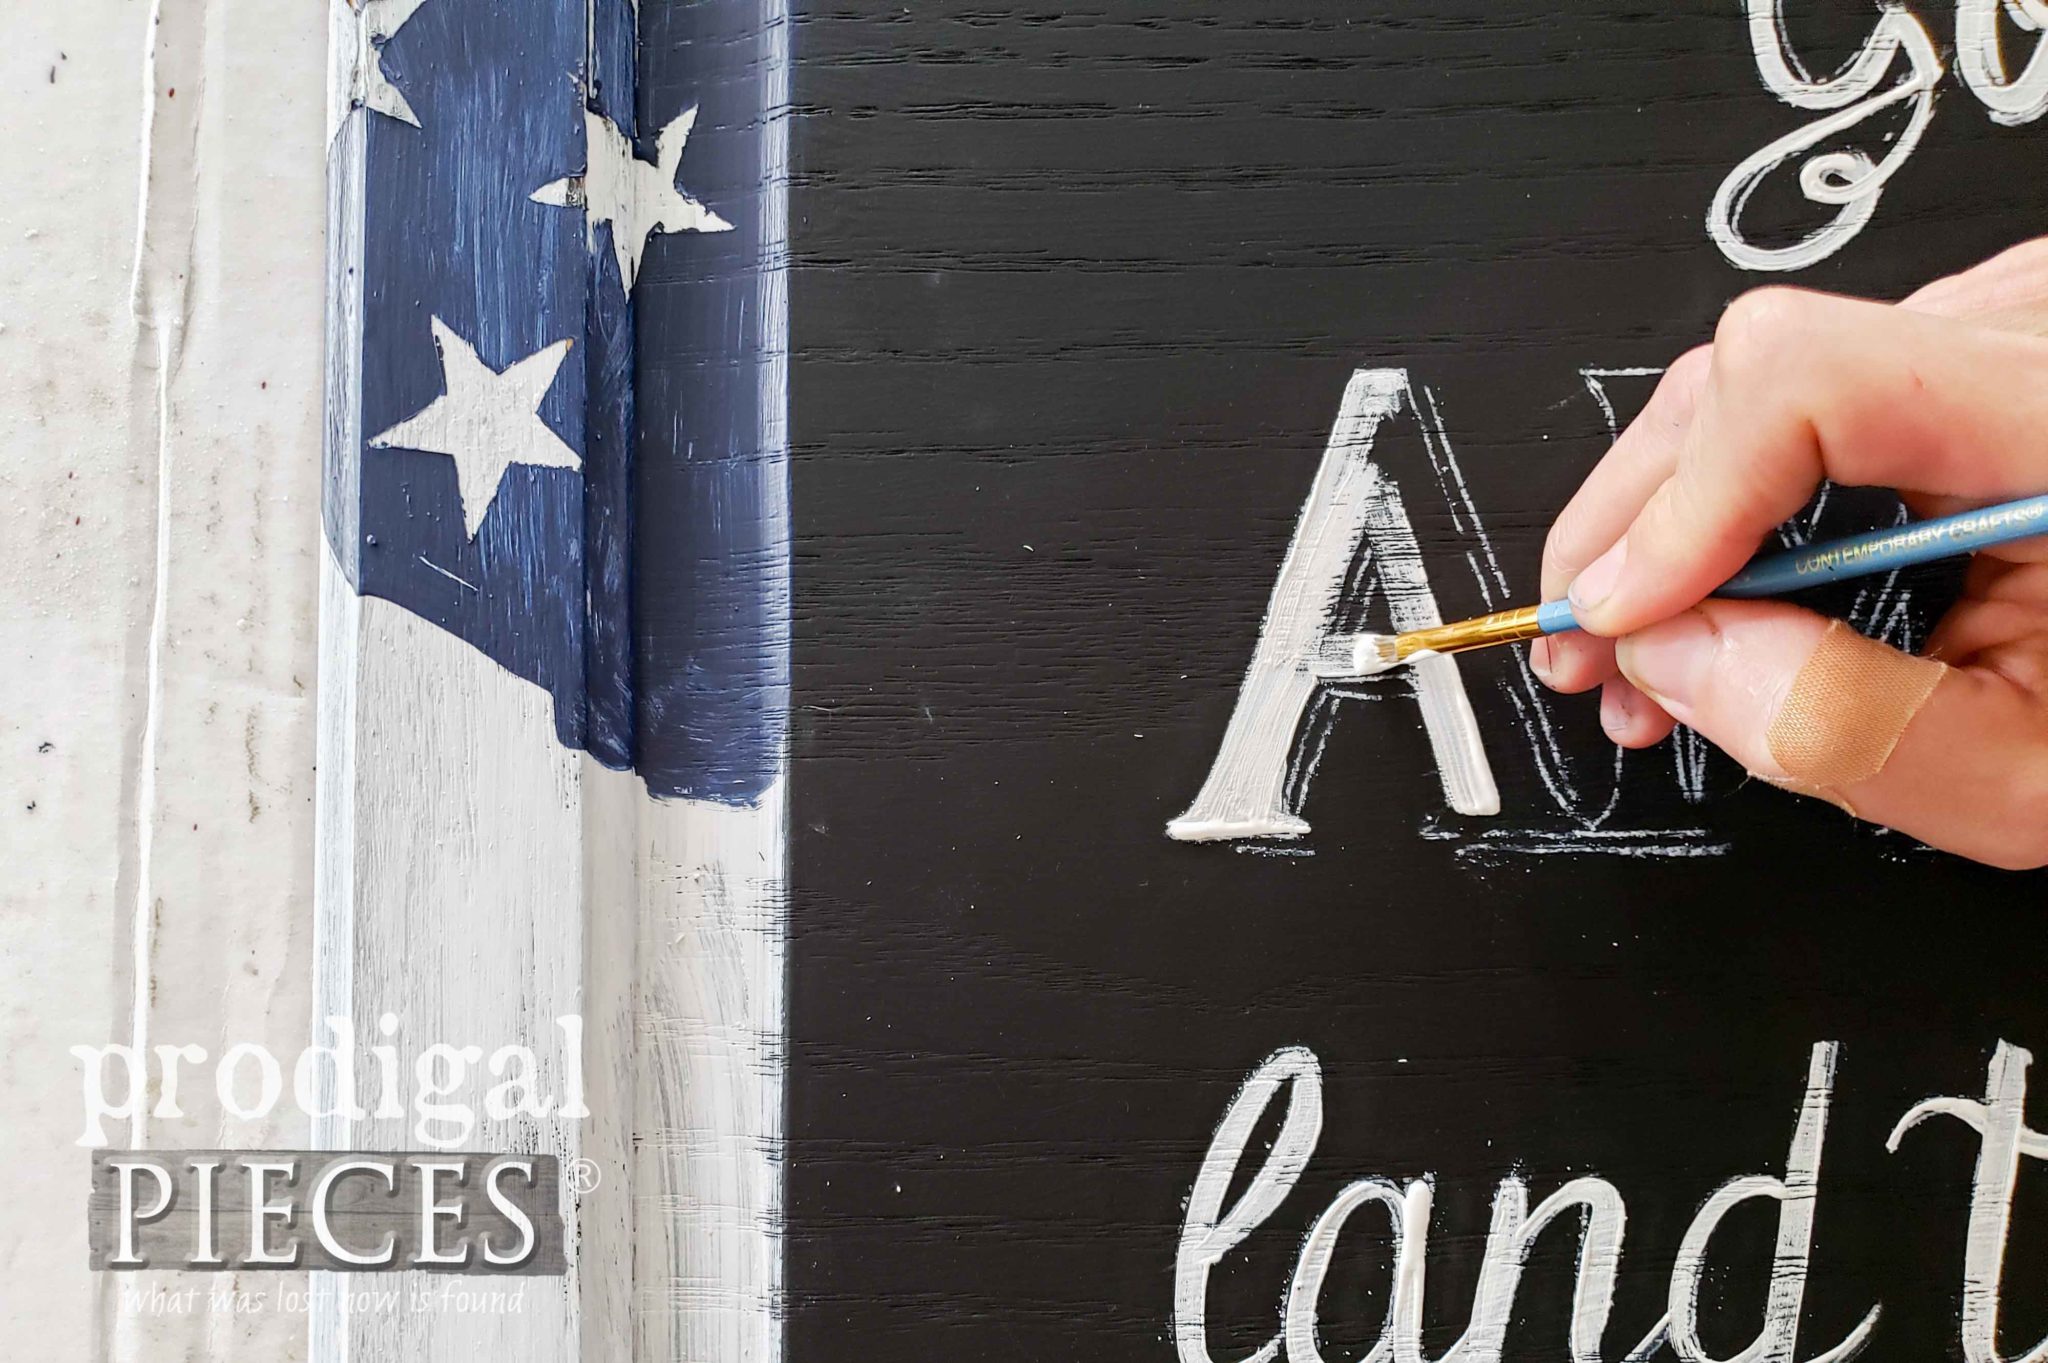
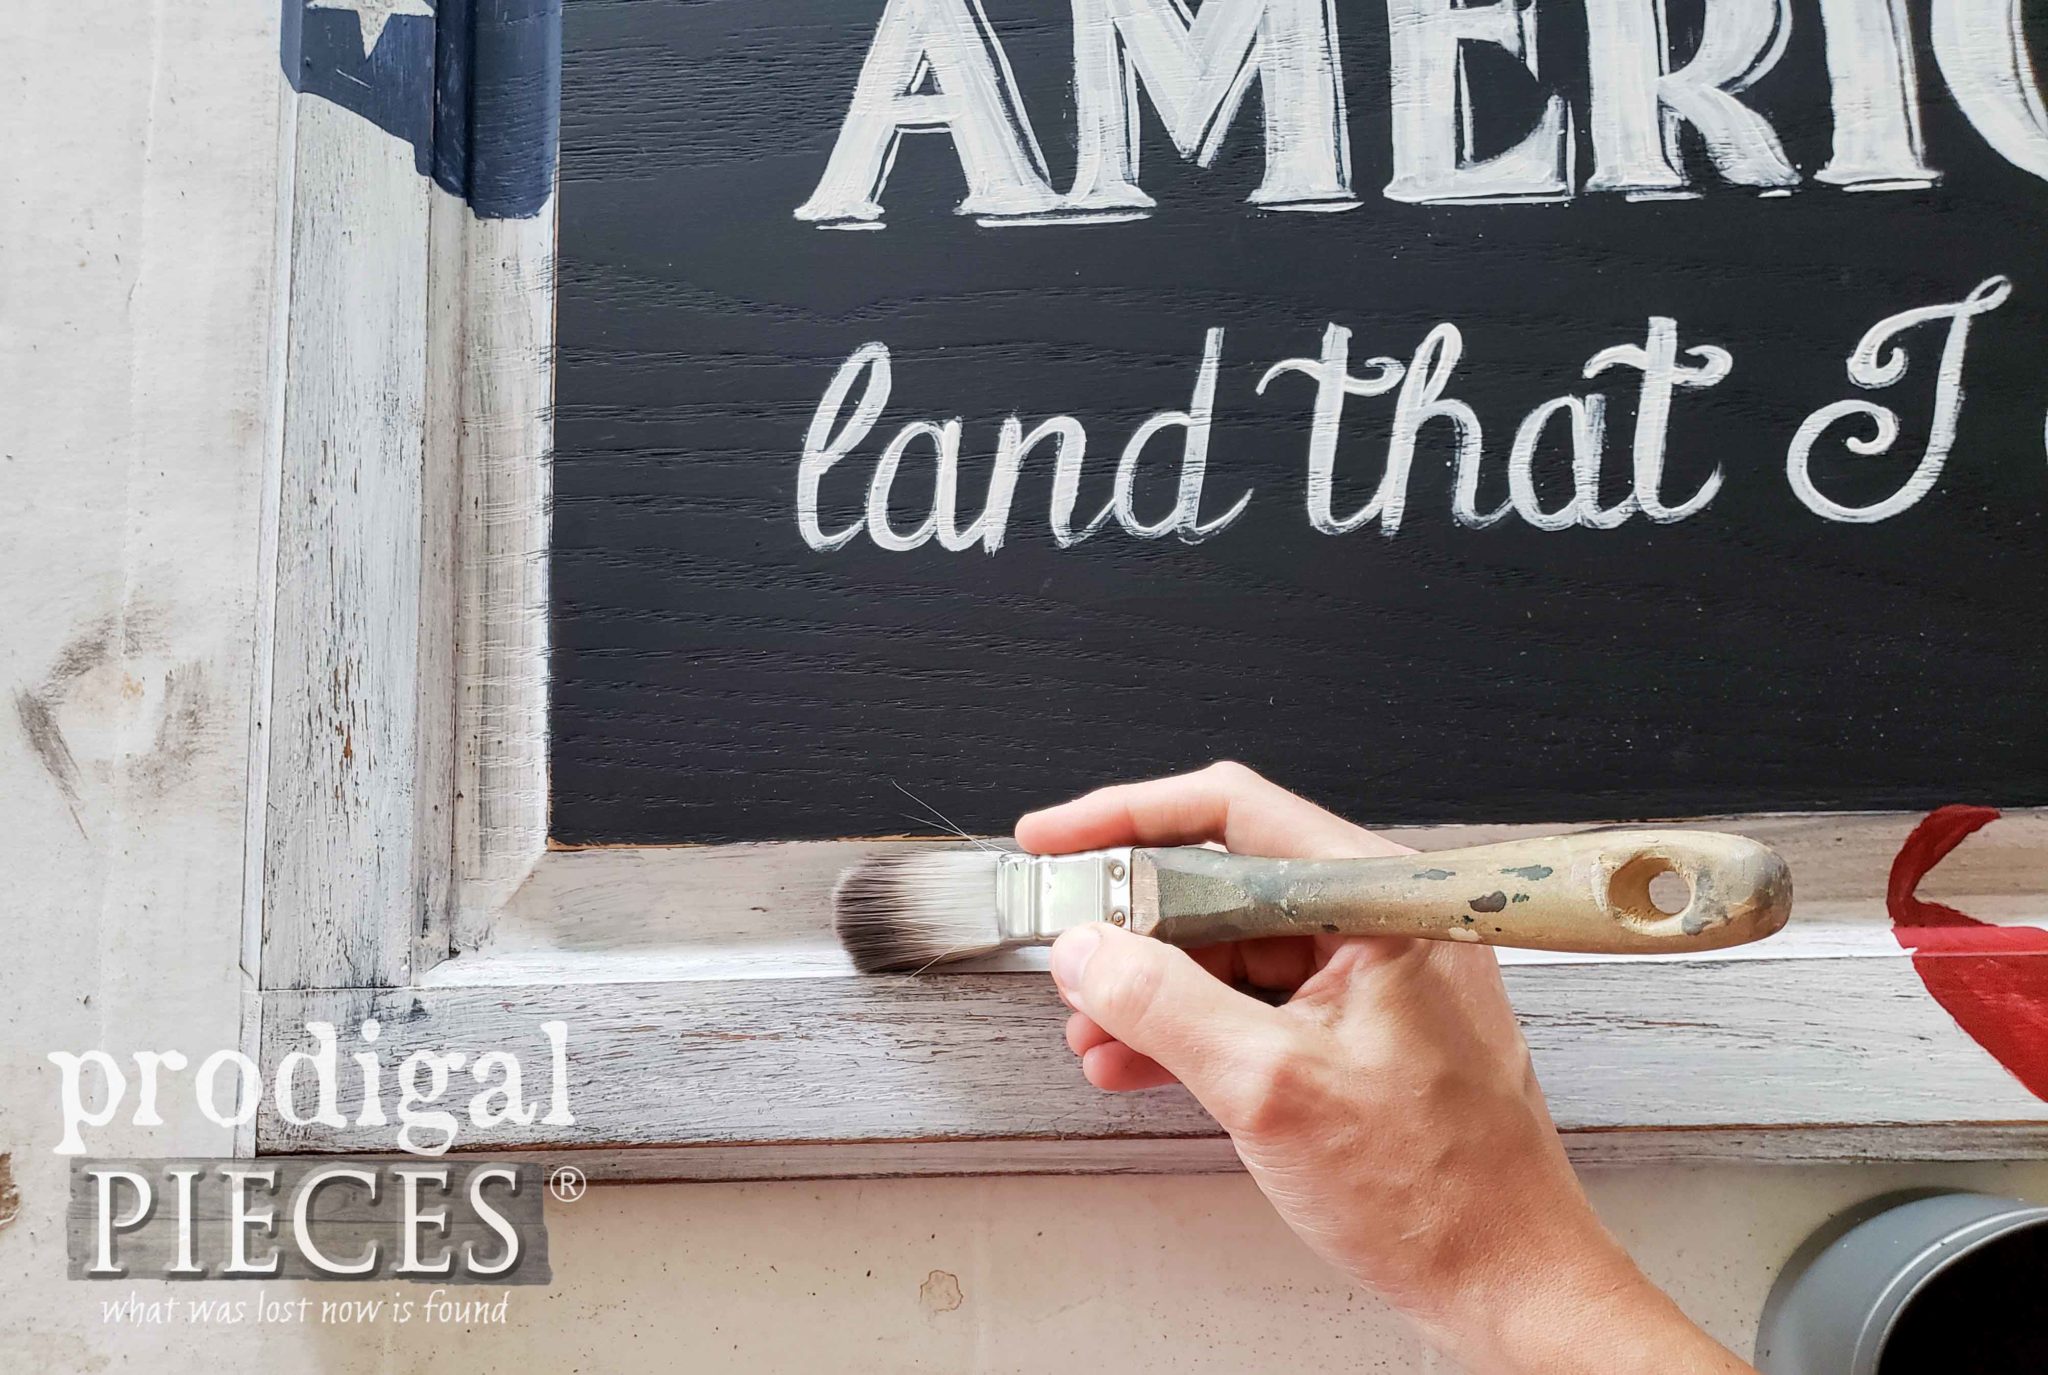
In addition to a little distressing, I also add a bit of brown wax to age my project. These brushes are great for many uses as I've shown in
these past posts. Also, if you like, you can add the keyhole hardware mentioned above for wall mount or simply rest your sign on a surface.
THE REVEAL
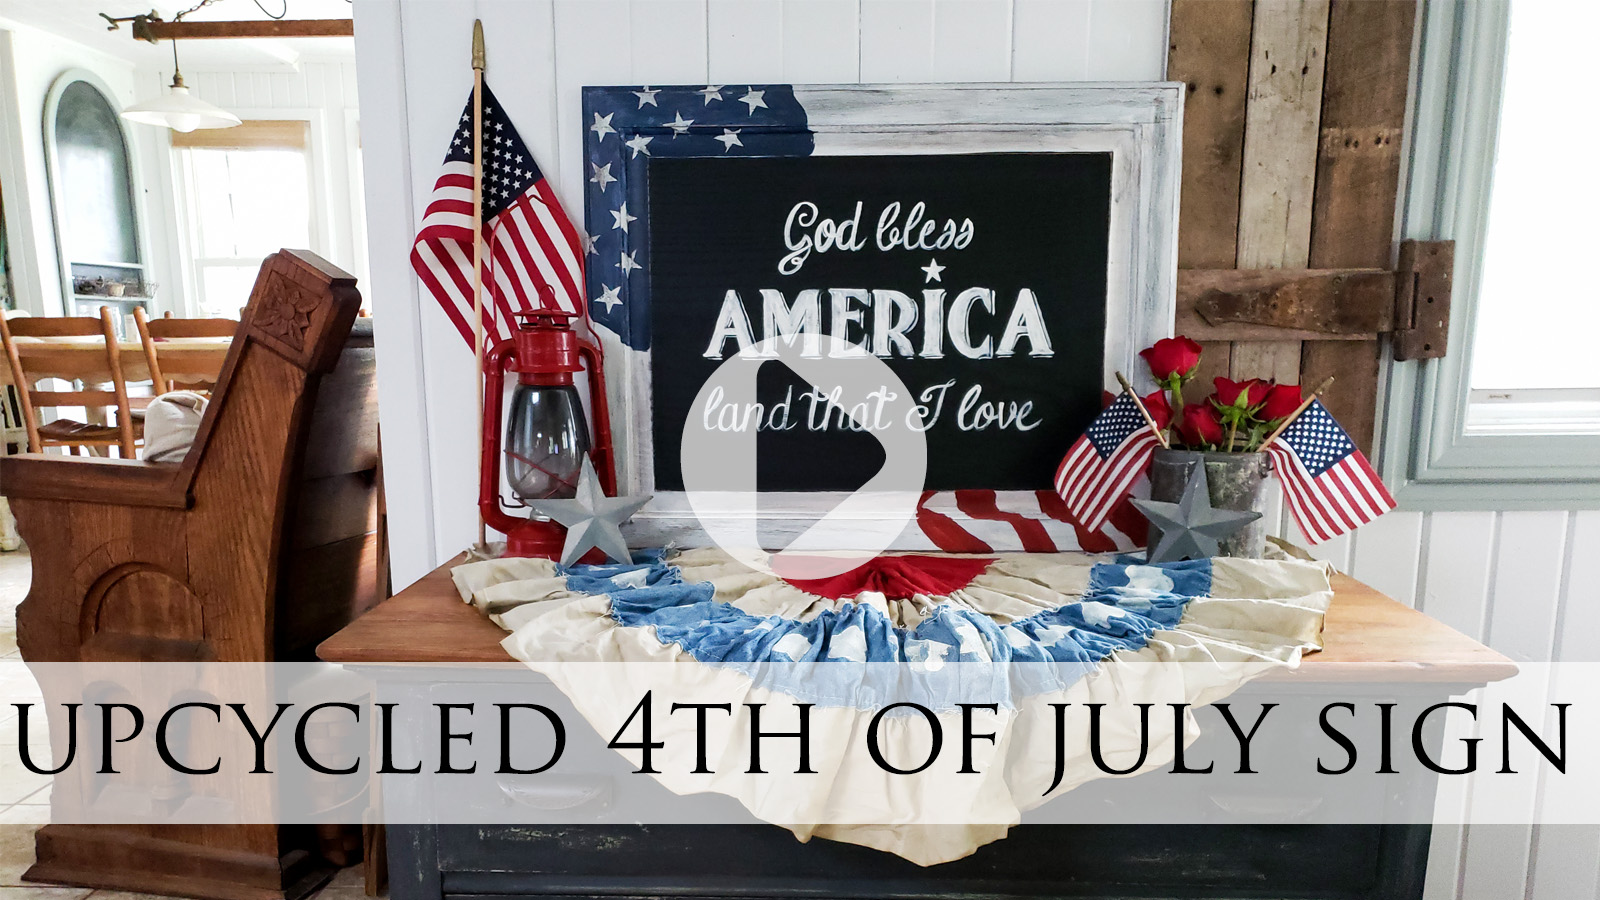
Finally, our DIY 4th of July sign is done and ready to celebrate our national holiday.
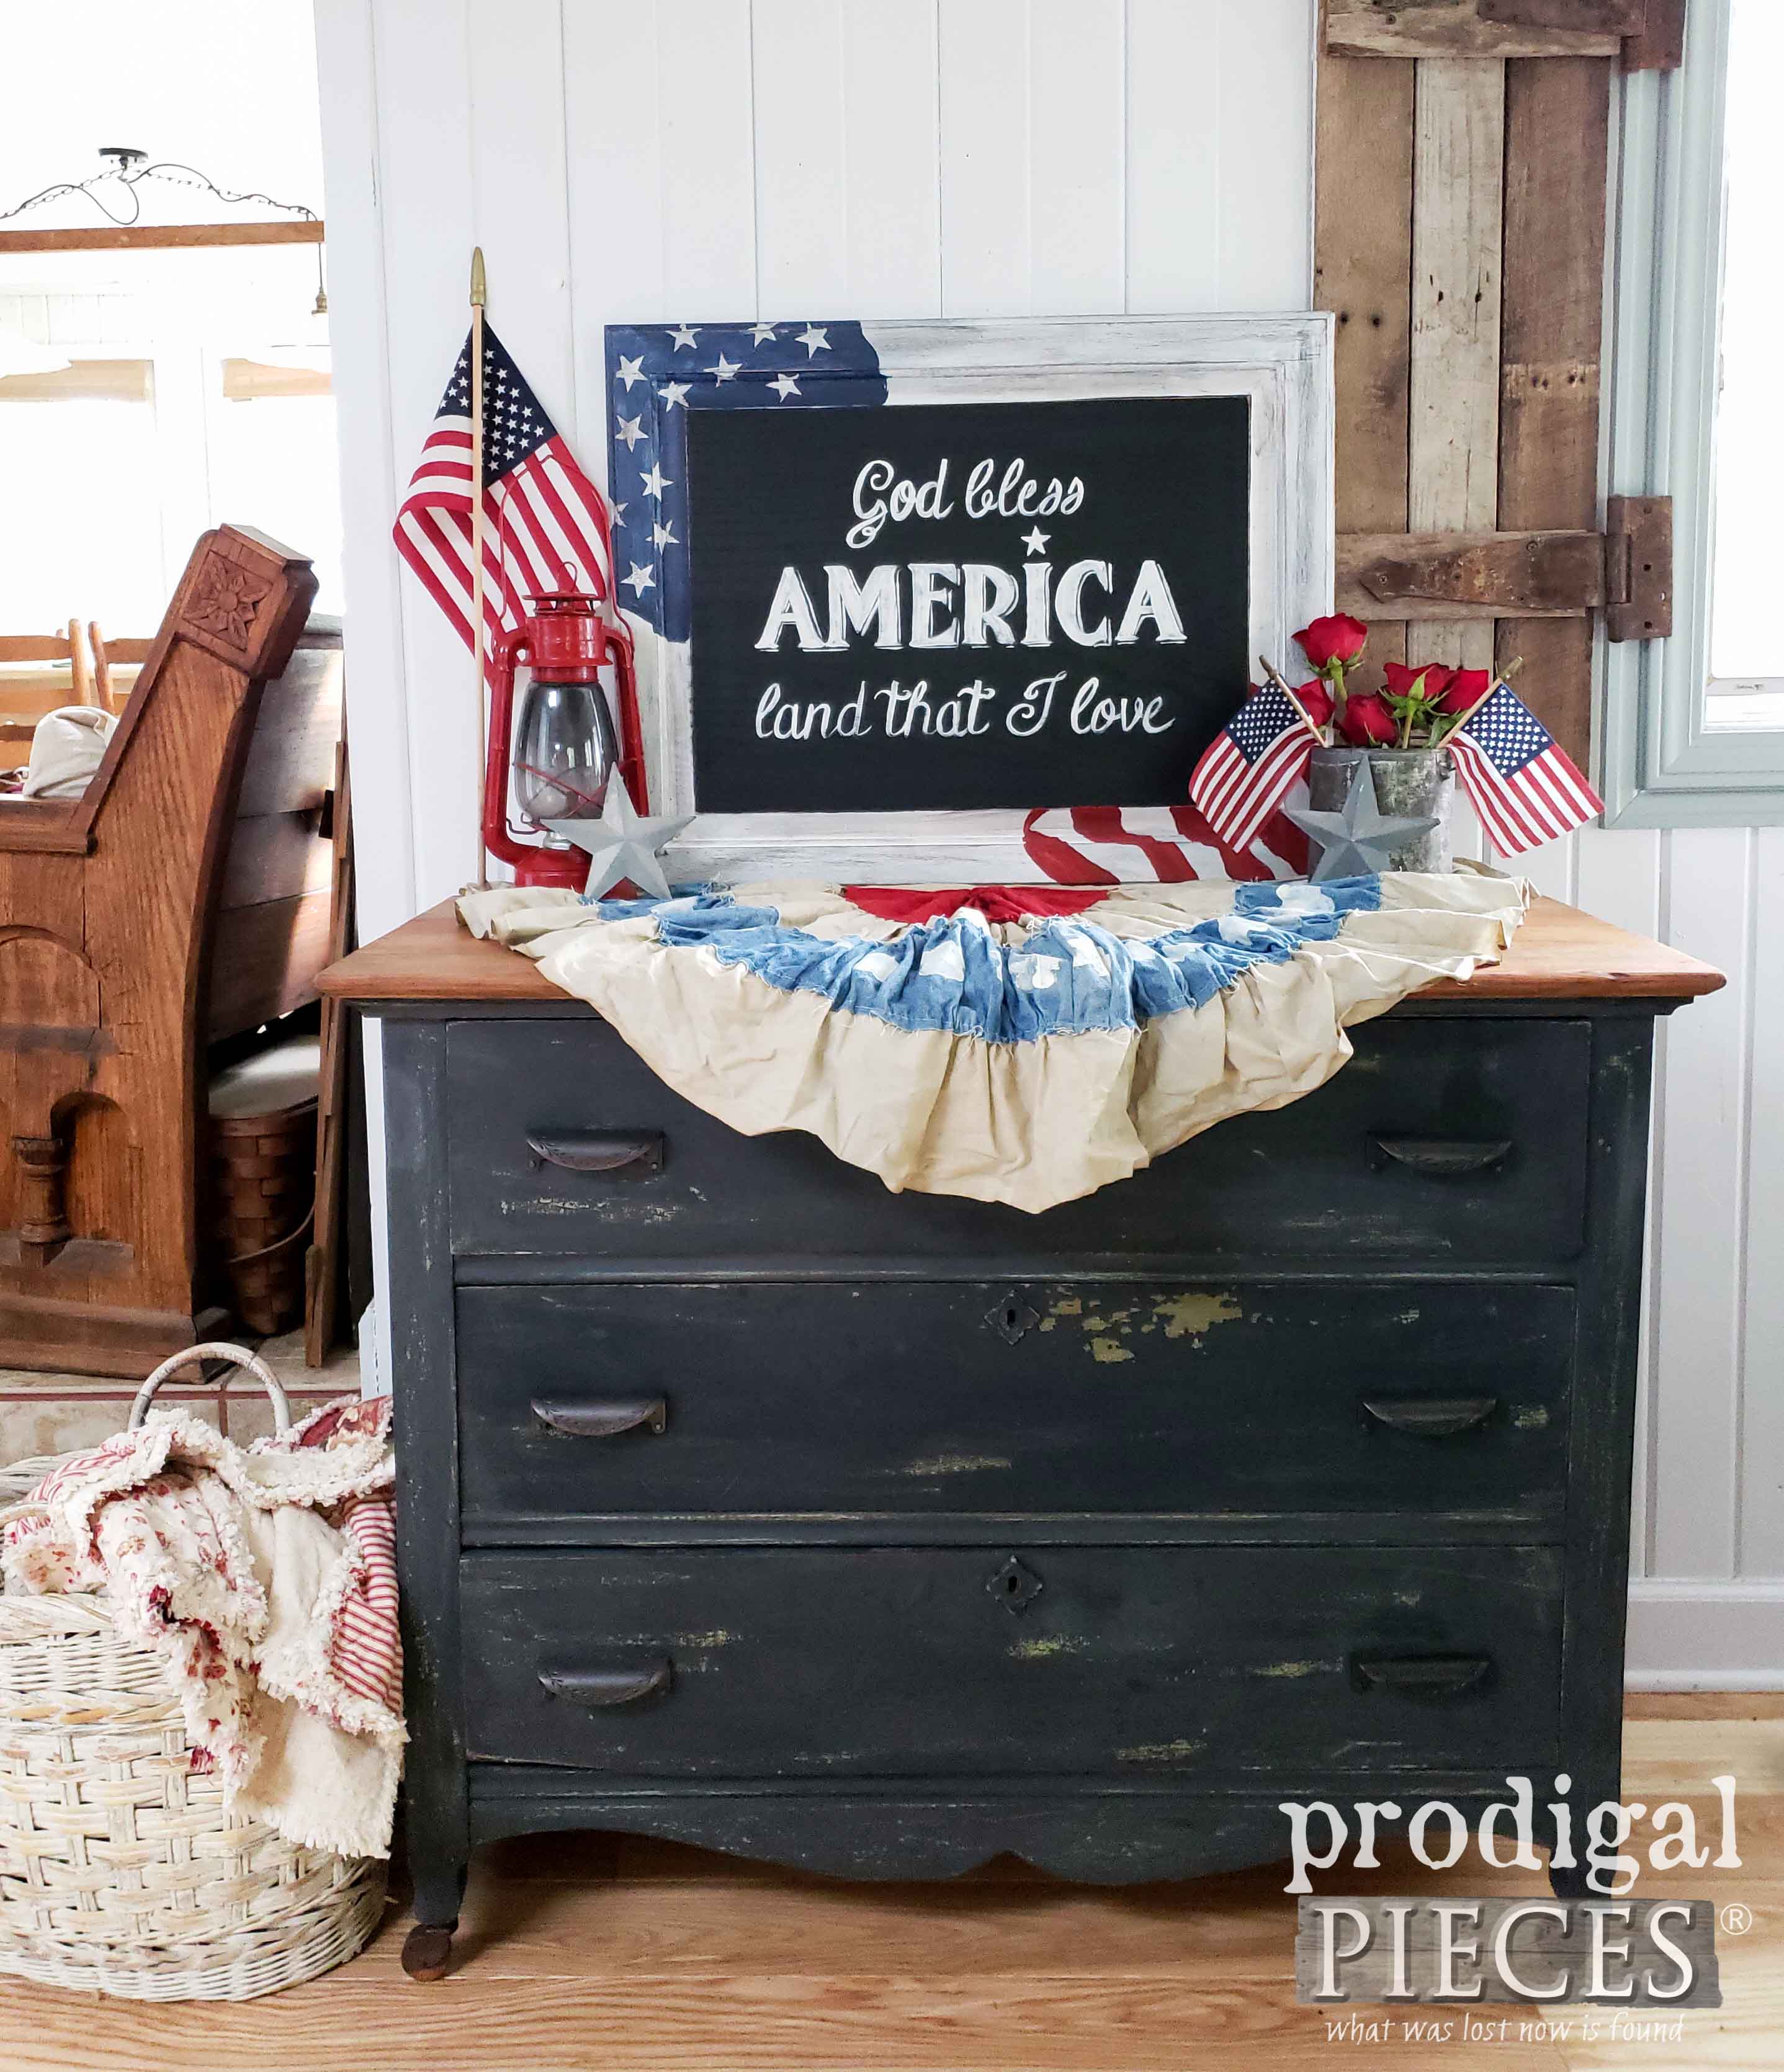
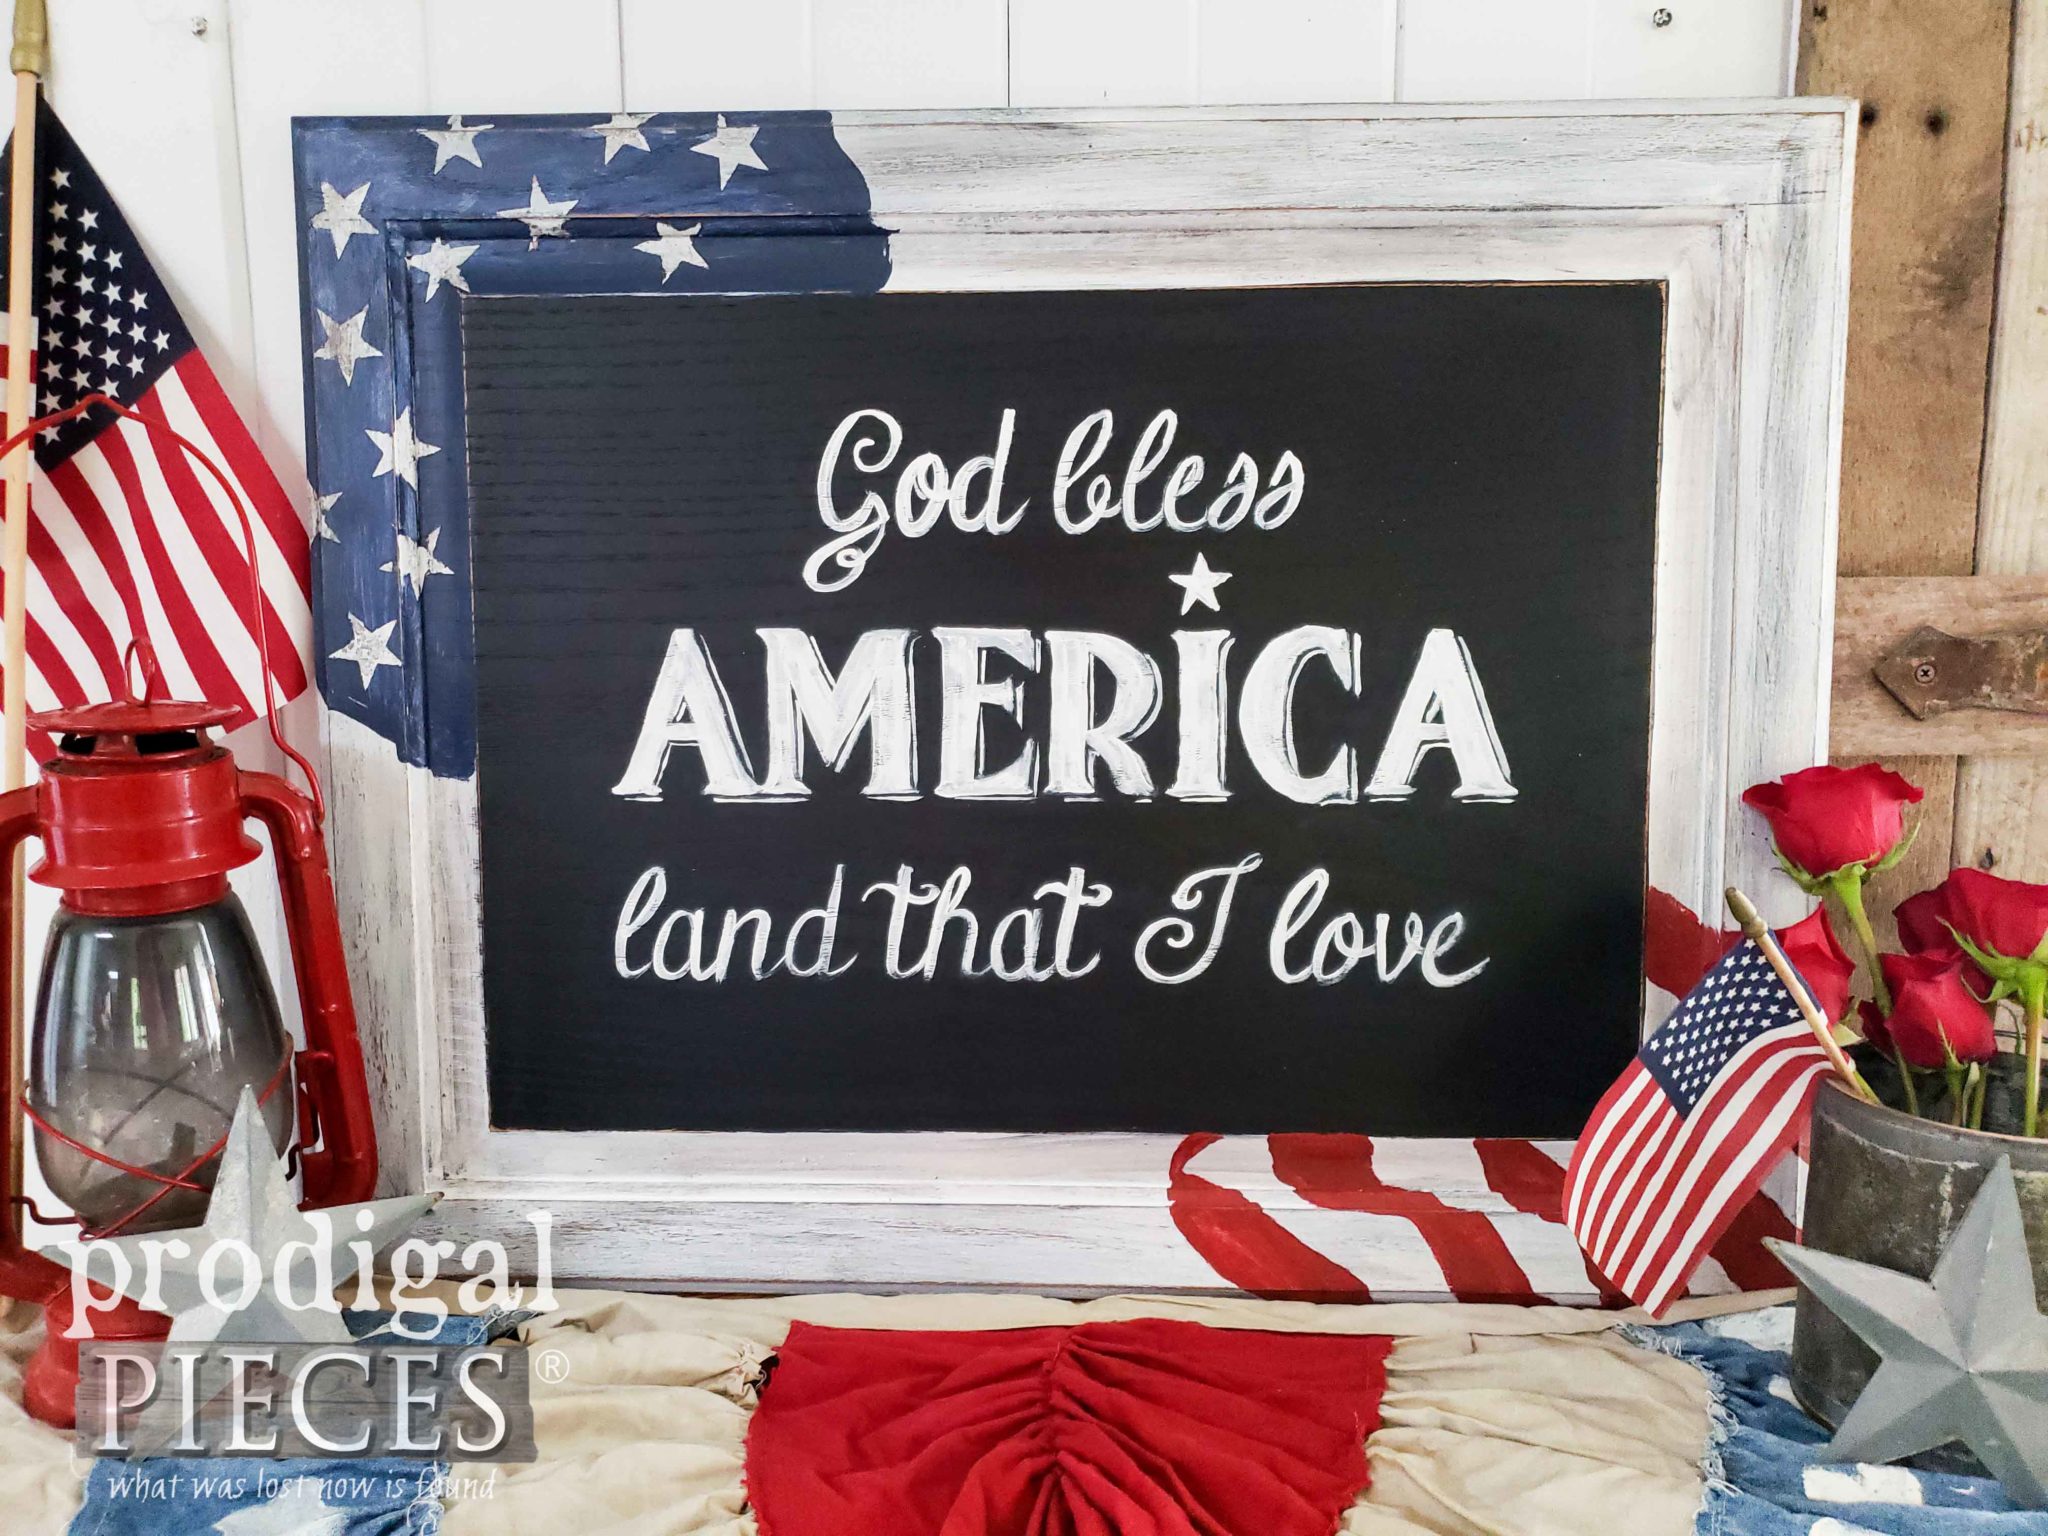
Remember, while I created this for to celebrate the birth of the United States, this sign could certainly have been made for any occasion. What would you create it to celebrate? (Christmas, Easter, any old day?)
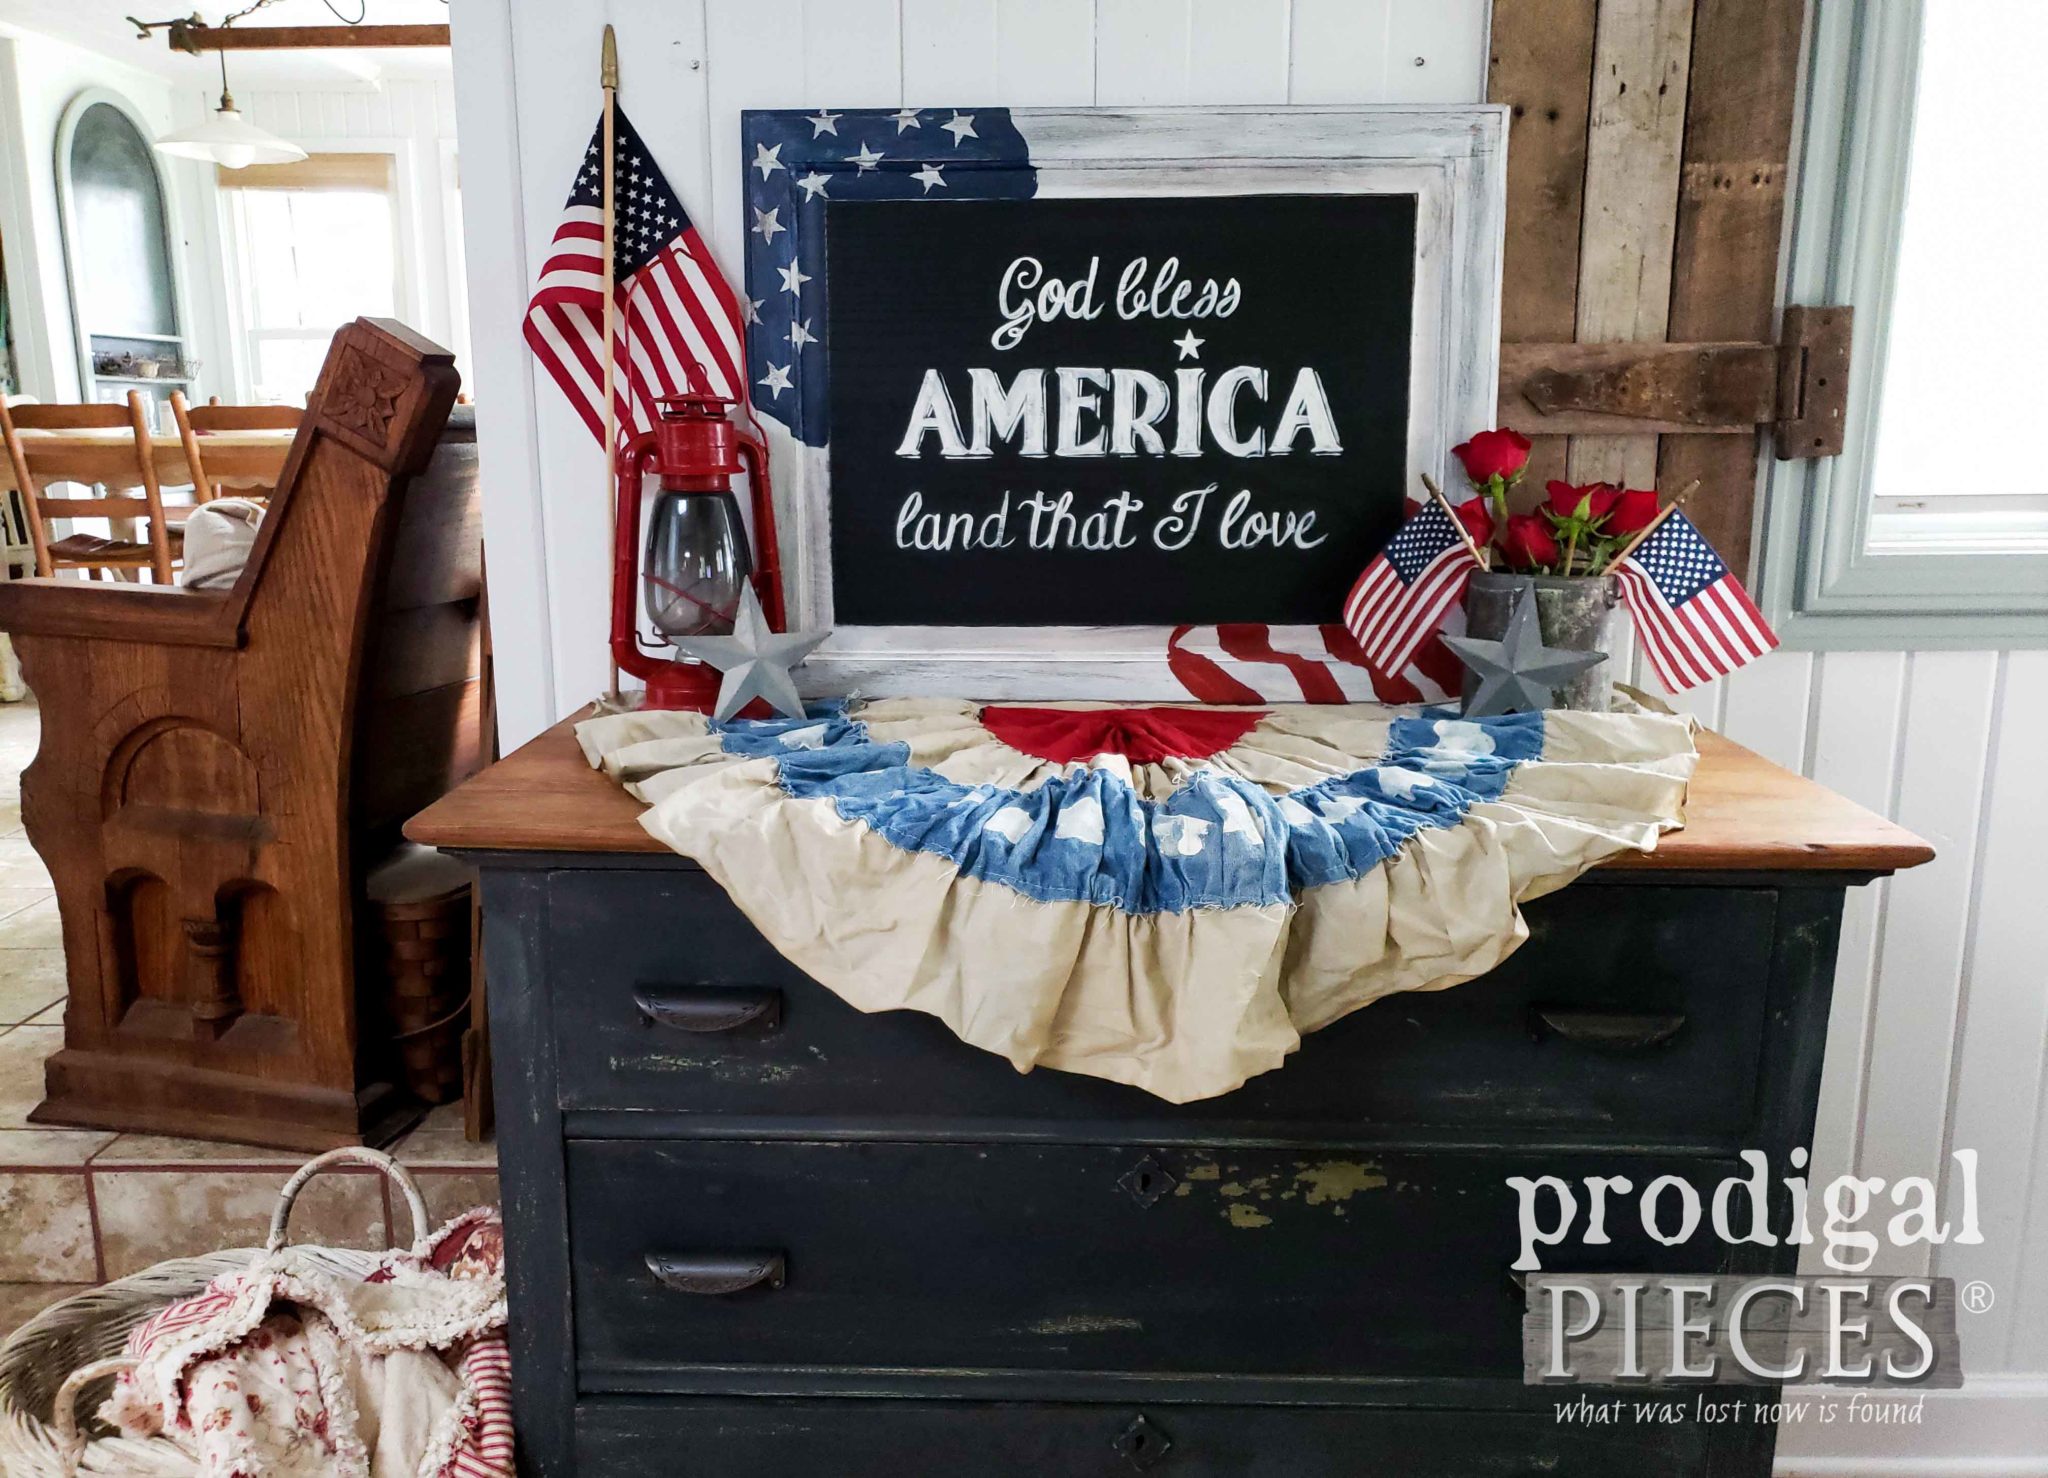
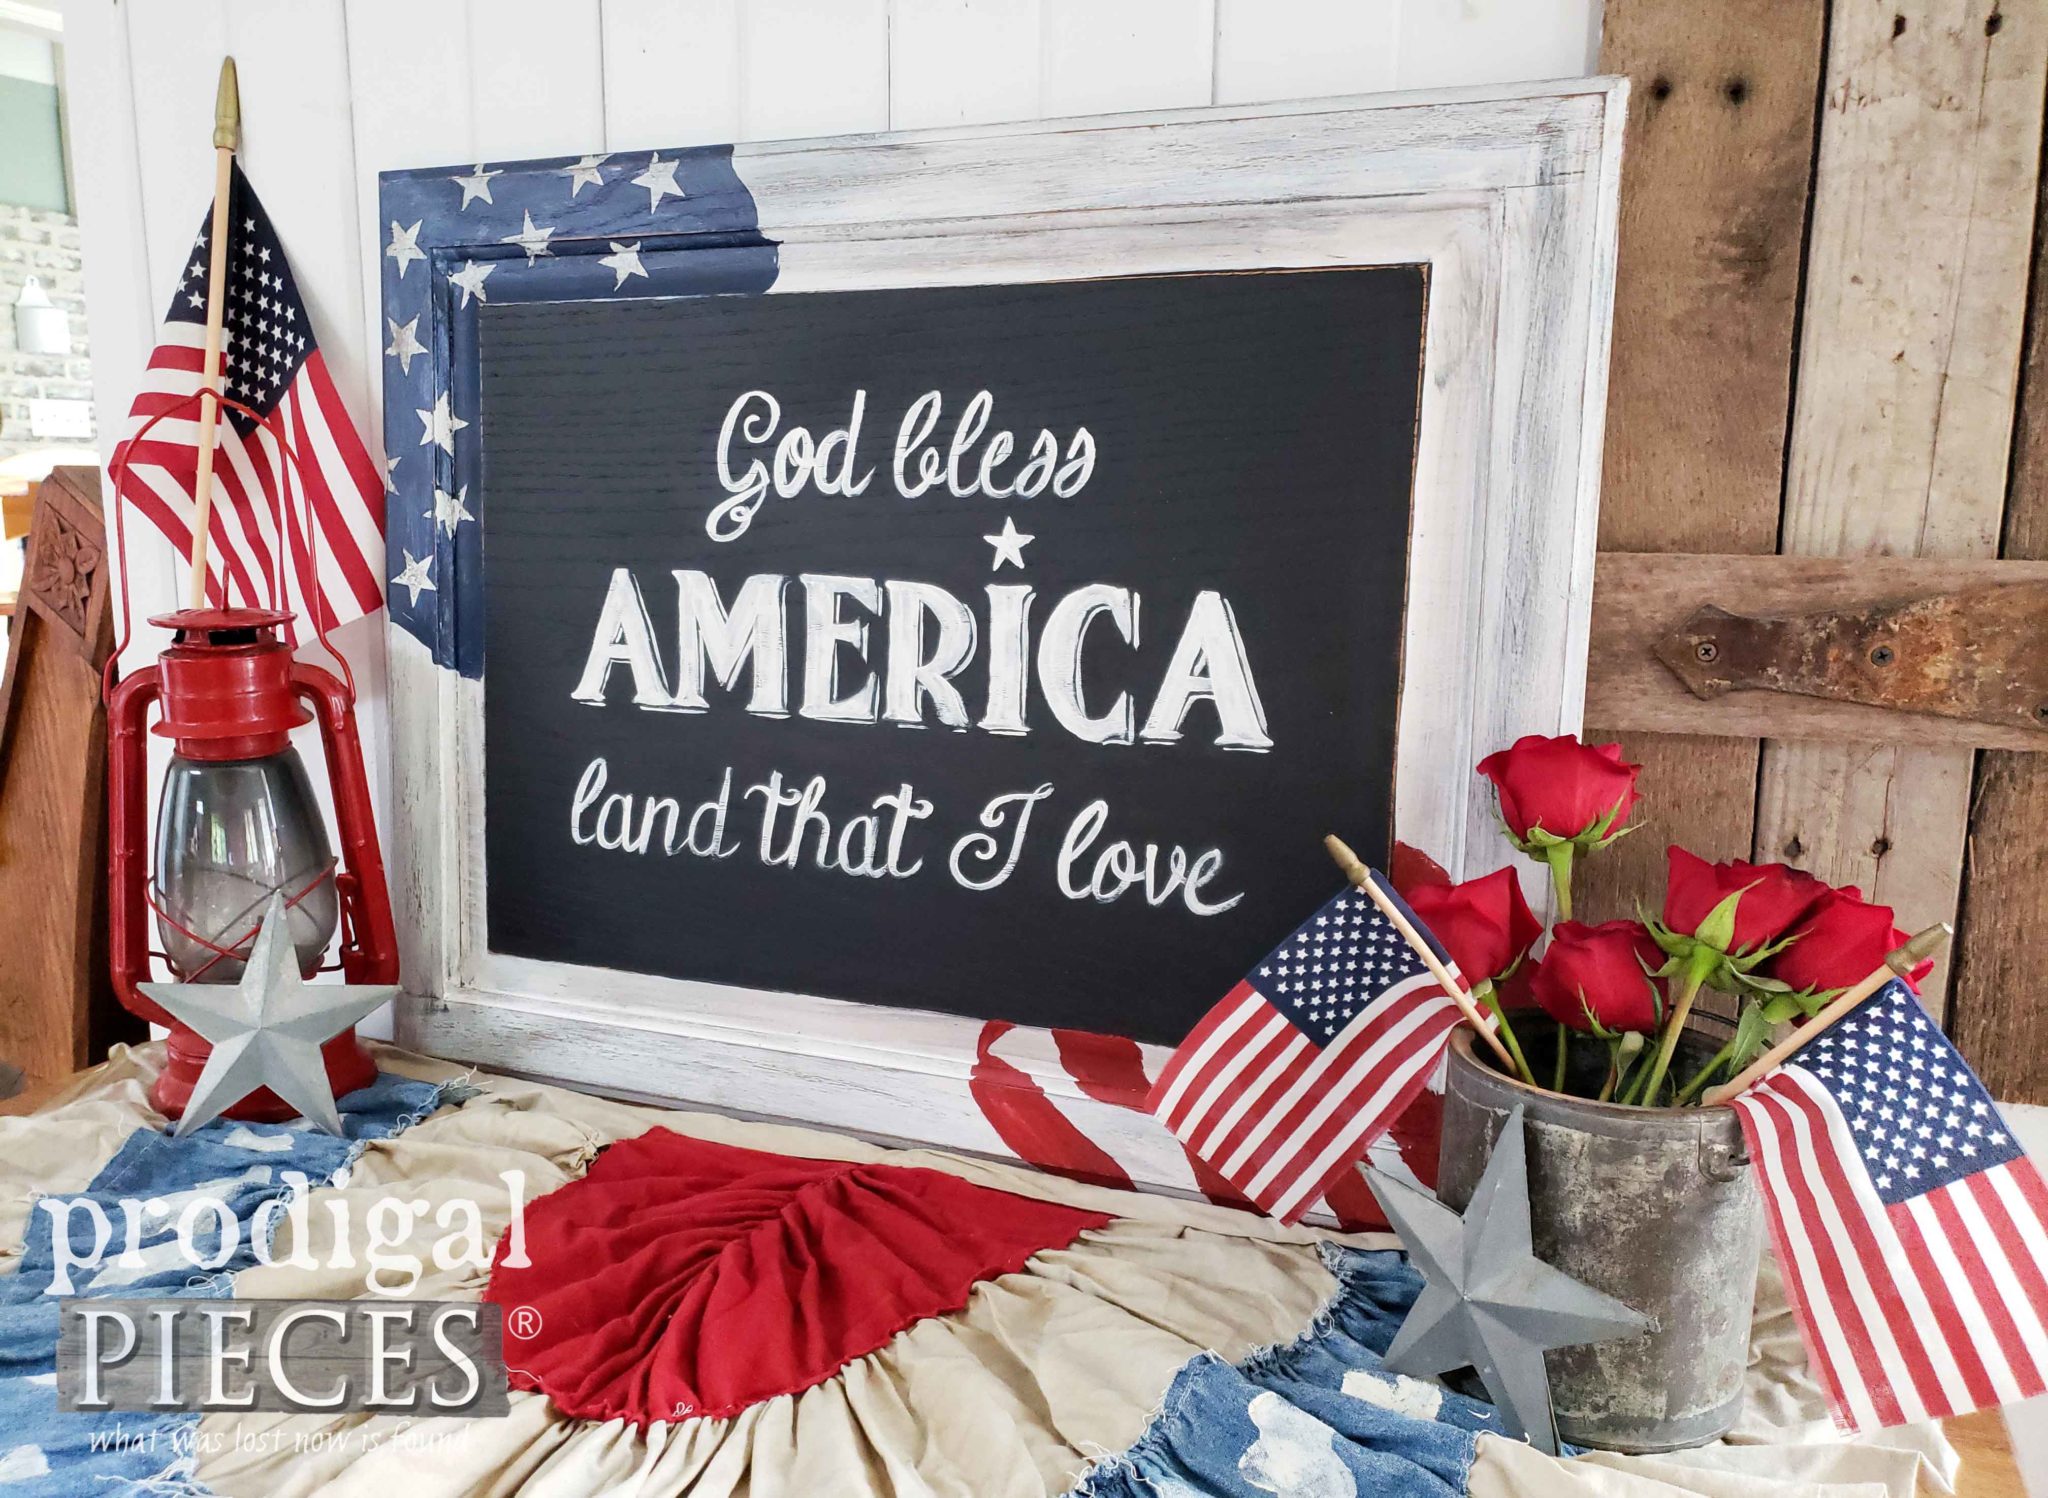
I had a blast creating this to share with you. Likewise, I hope you had fun too! My goal was to inspire you to get creative with those cast-offs and make art for your home.
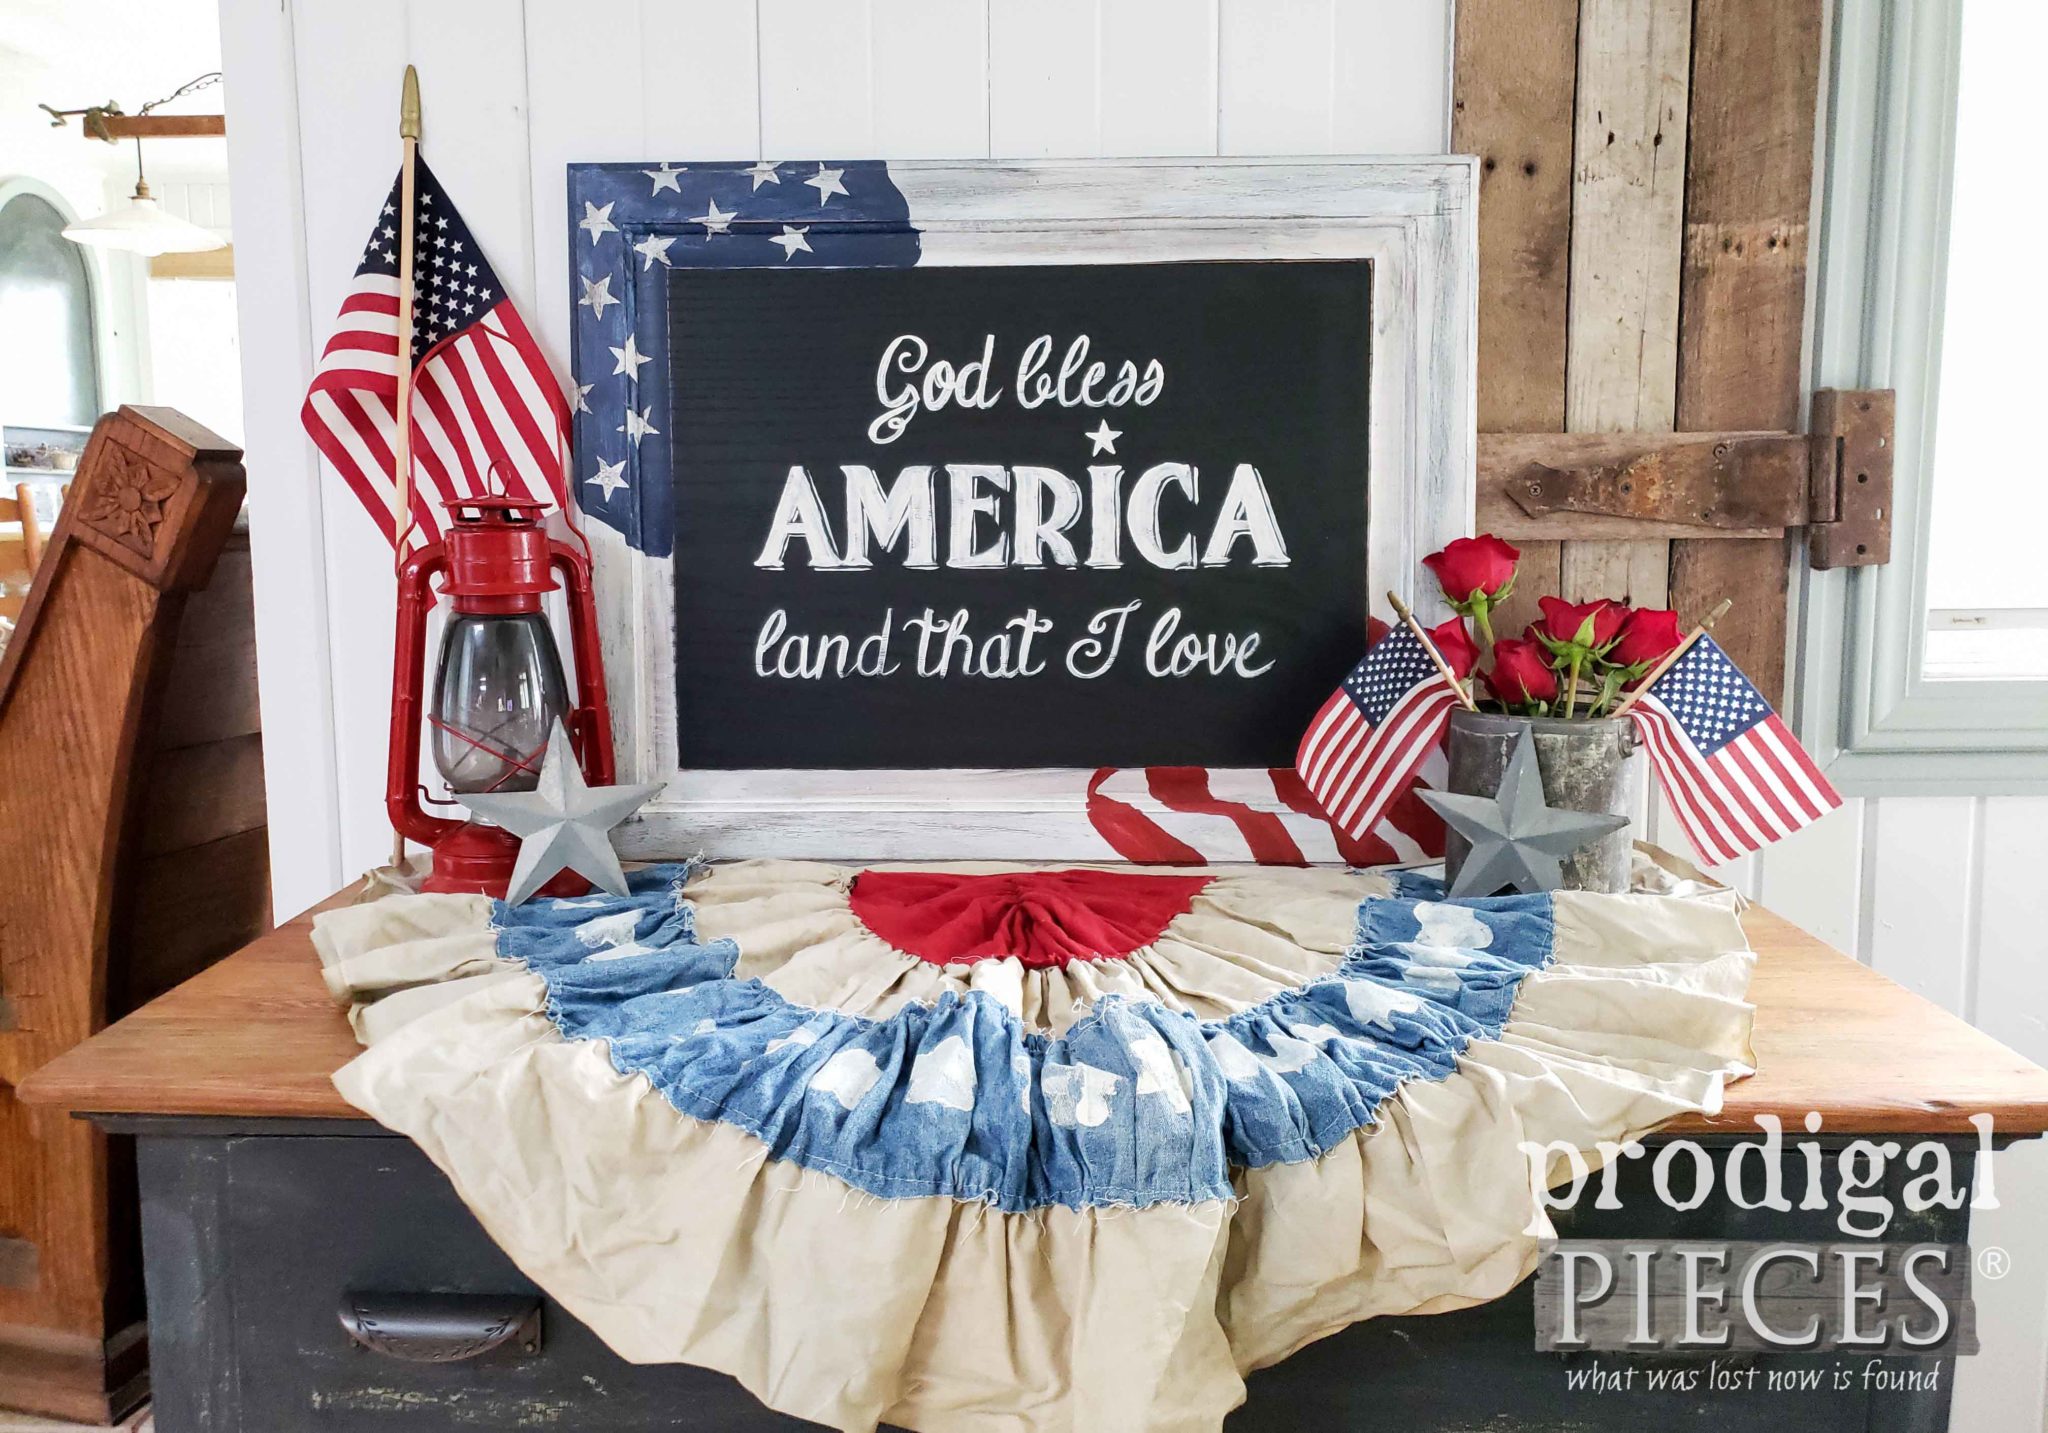
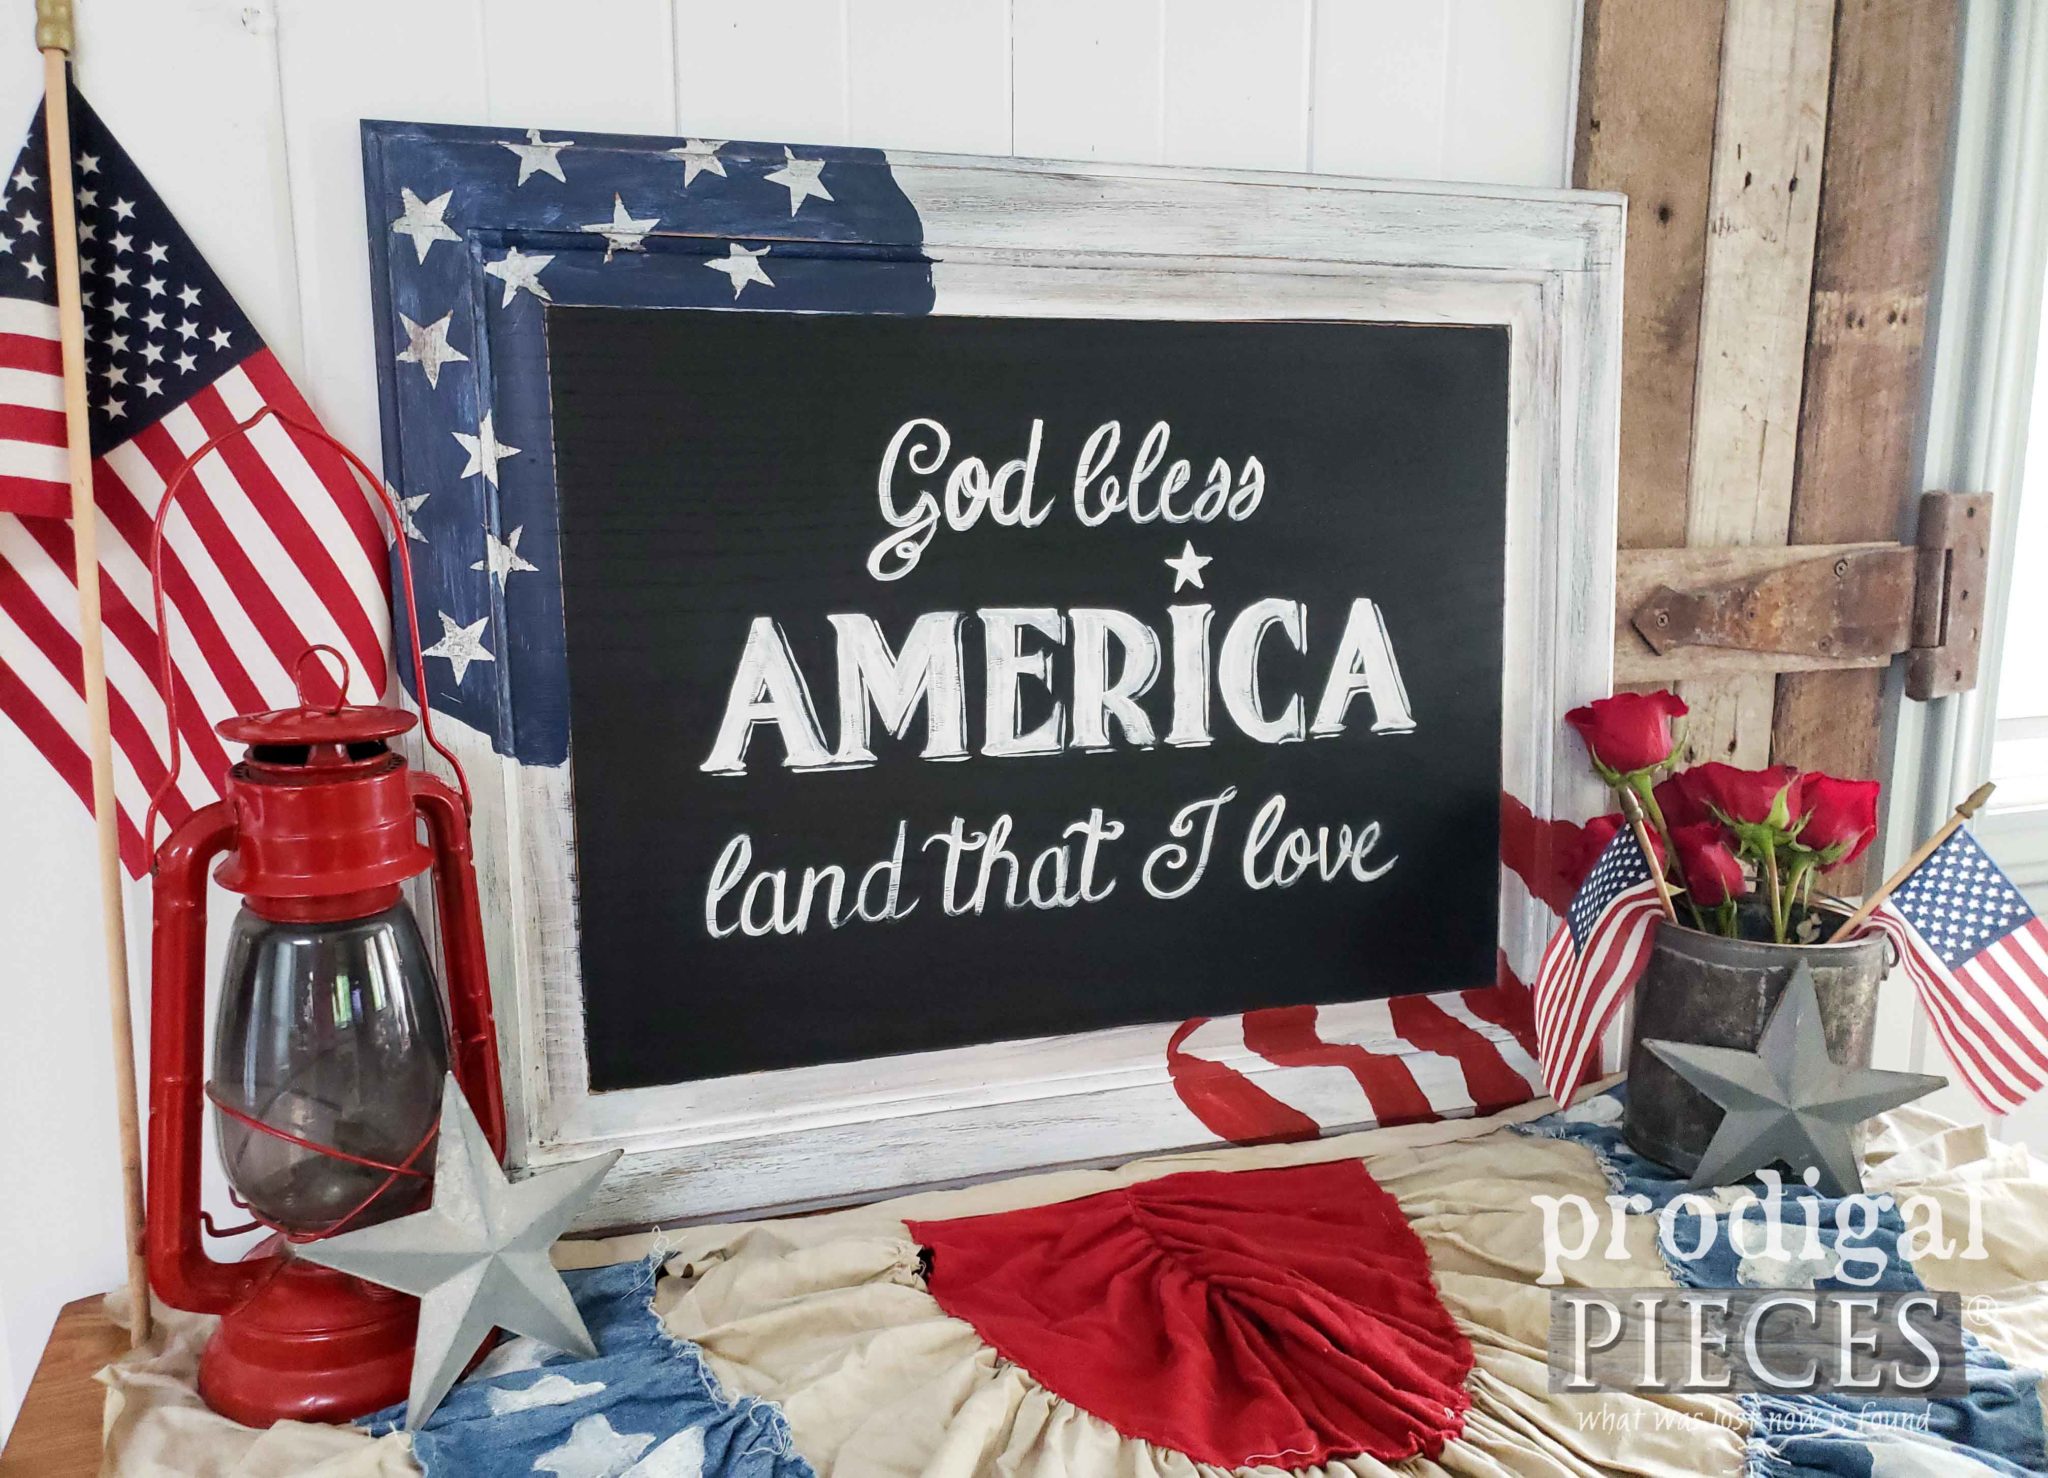
If you'd like to own this sign, you can find it available in
my online store for purchase along with all the other goodies for you.

Also, I'd like to send a huge thank you to our troops who defend our country night and day, allowing me to have the freedoms I enjoy. I salute you!
SHARE
Additionally, pin and share this DIY 4th of July sign tutorial to inspire others. Sharing is fun!
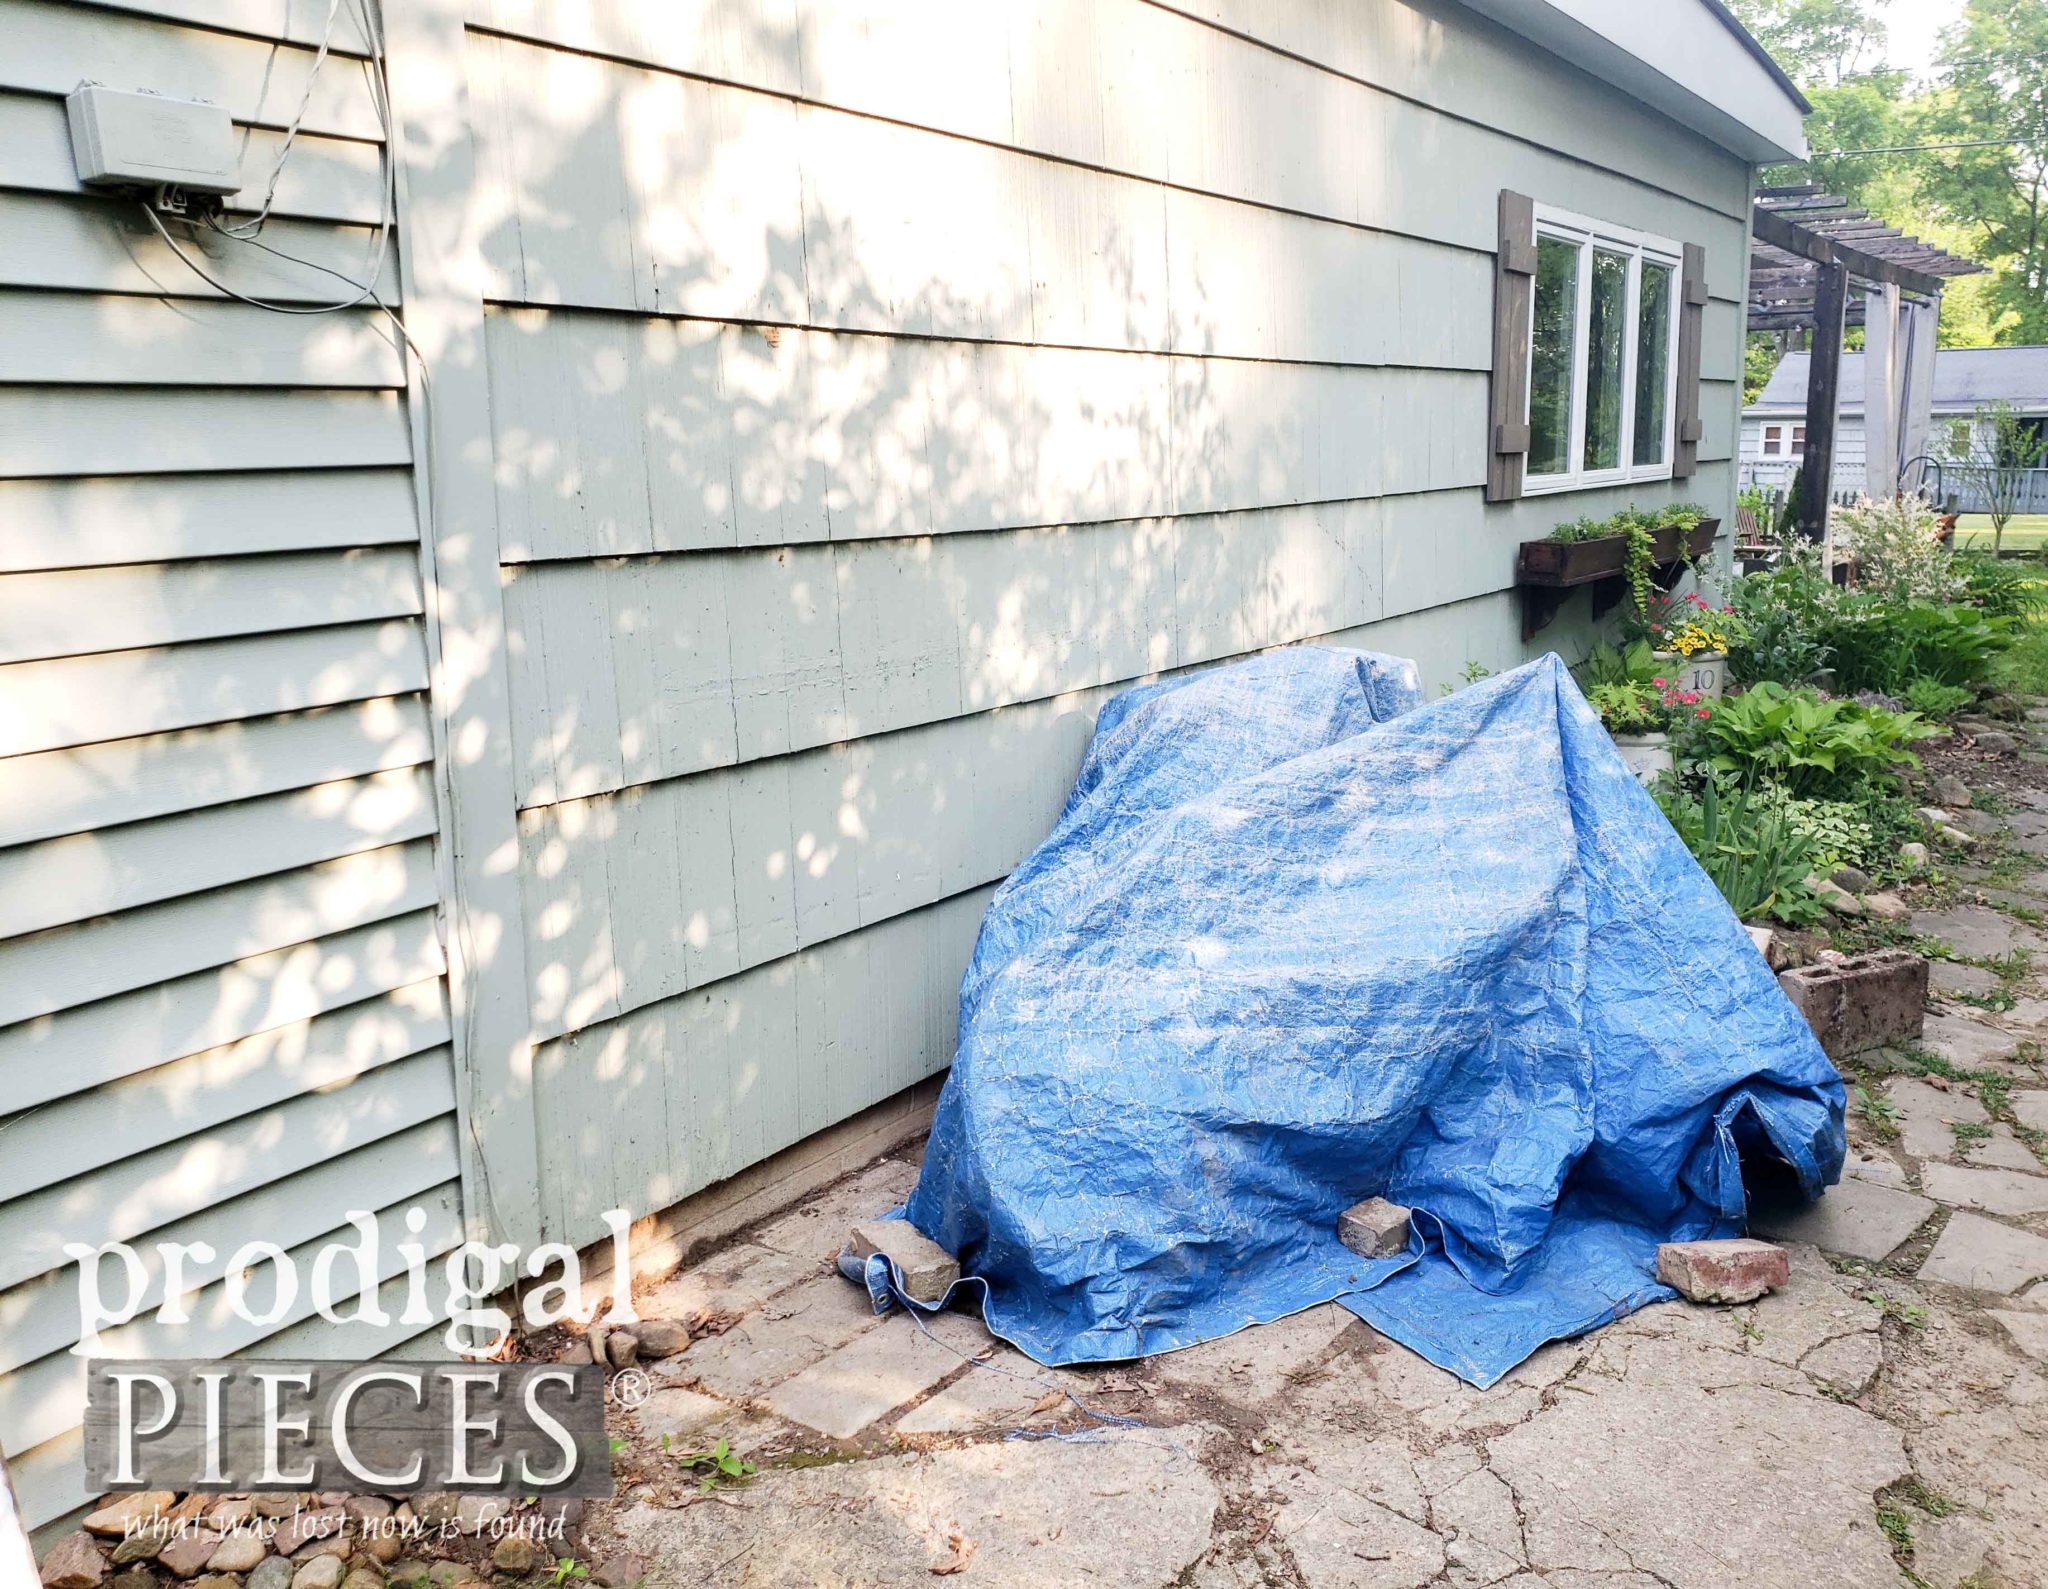
Up next, I'm sharing our latest addition to our home...
HEAD HERE to see.
Before you go, be sure to
sign up for my newsletter. Until next time!

 PINTEREST | EMAIL
In addition, more projects like my DIY 4th of July sign:
 Here's is the stash I'm referring to...
 See what I mean? eep! (also, notice the American flag flying proudly behind said stash). Today's project is a must, don't you say? You see my cupboard door journey in these past posts HERE. Even my kids have joined in with their own projects.
Since so many of you are enjoying my videos, I decided to make one for this tutorial because I am very much a visual learner too. Not only will I have all the steps laid out here, but also feel free to peek at the video tutorial below as well.
With the birth of our nation in the United States coming up, I thought it would be fun to create some patriotic decor. However, this project can be used for any holiday, season, or use. Nevertheless, the basic idea can be utilized to create any kind of art you like, in any color, for any reason.
 Once I let the first coat cure for approximately 2 hours, I apply a second coat of the black to the center panel only. Afterward, this will give me the chalkboard background I'm after. No special chalkboard paint needed.
To get my crisp, clean lines without tape, I use white paint to frame the center panel.
 Also, I only apply a light coat of the white because the end result of what I'm after for my DIY 4th of July sign is a rustic appeal. In other words, having the black background allows me to create depth of texture.
 Meanwhile, I let the blue paint cure and then worked on the stripes on the opposing corner of the door. I lightly drew in a few wavy stripes and then I fill in the stripes with the red paint.


 In addition to a little distressing, I also add a bit of brown wax to age my project. These brushes are great for many uses as I've shown in these past posts. Also, if you like, you can add the keyhole hardware mentioned above for wall mount or simply rest your sign on a surface.


 Remember, while I created this for to celebrate the birth of the United States, this sign could certainly have been made for any occasion. What would you create it to celebrate? (Christmas, Easter, any old day?)

 I had a blast creating this to share with you. Likewise, I hope you had fun too! My goal was to inspire you to get creative with those cast-offs and make art for your home.

 If you'd like to own this sign, you can find it available in my online store for purchase along with all the other goodies for you.
Also, I'd like to send a huge thank you to our troops who defend our country night and day, allowing me to have the freedoms I enjoy. I salute you!

 Up next, I'm sharing our latest addition to our home...HEAD HERE to see.
 Before you go, be sure to sign up for my newsletter. Until next time!


