
*post is sponsored by HomeRight (see full disclosure)
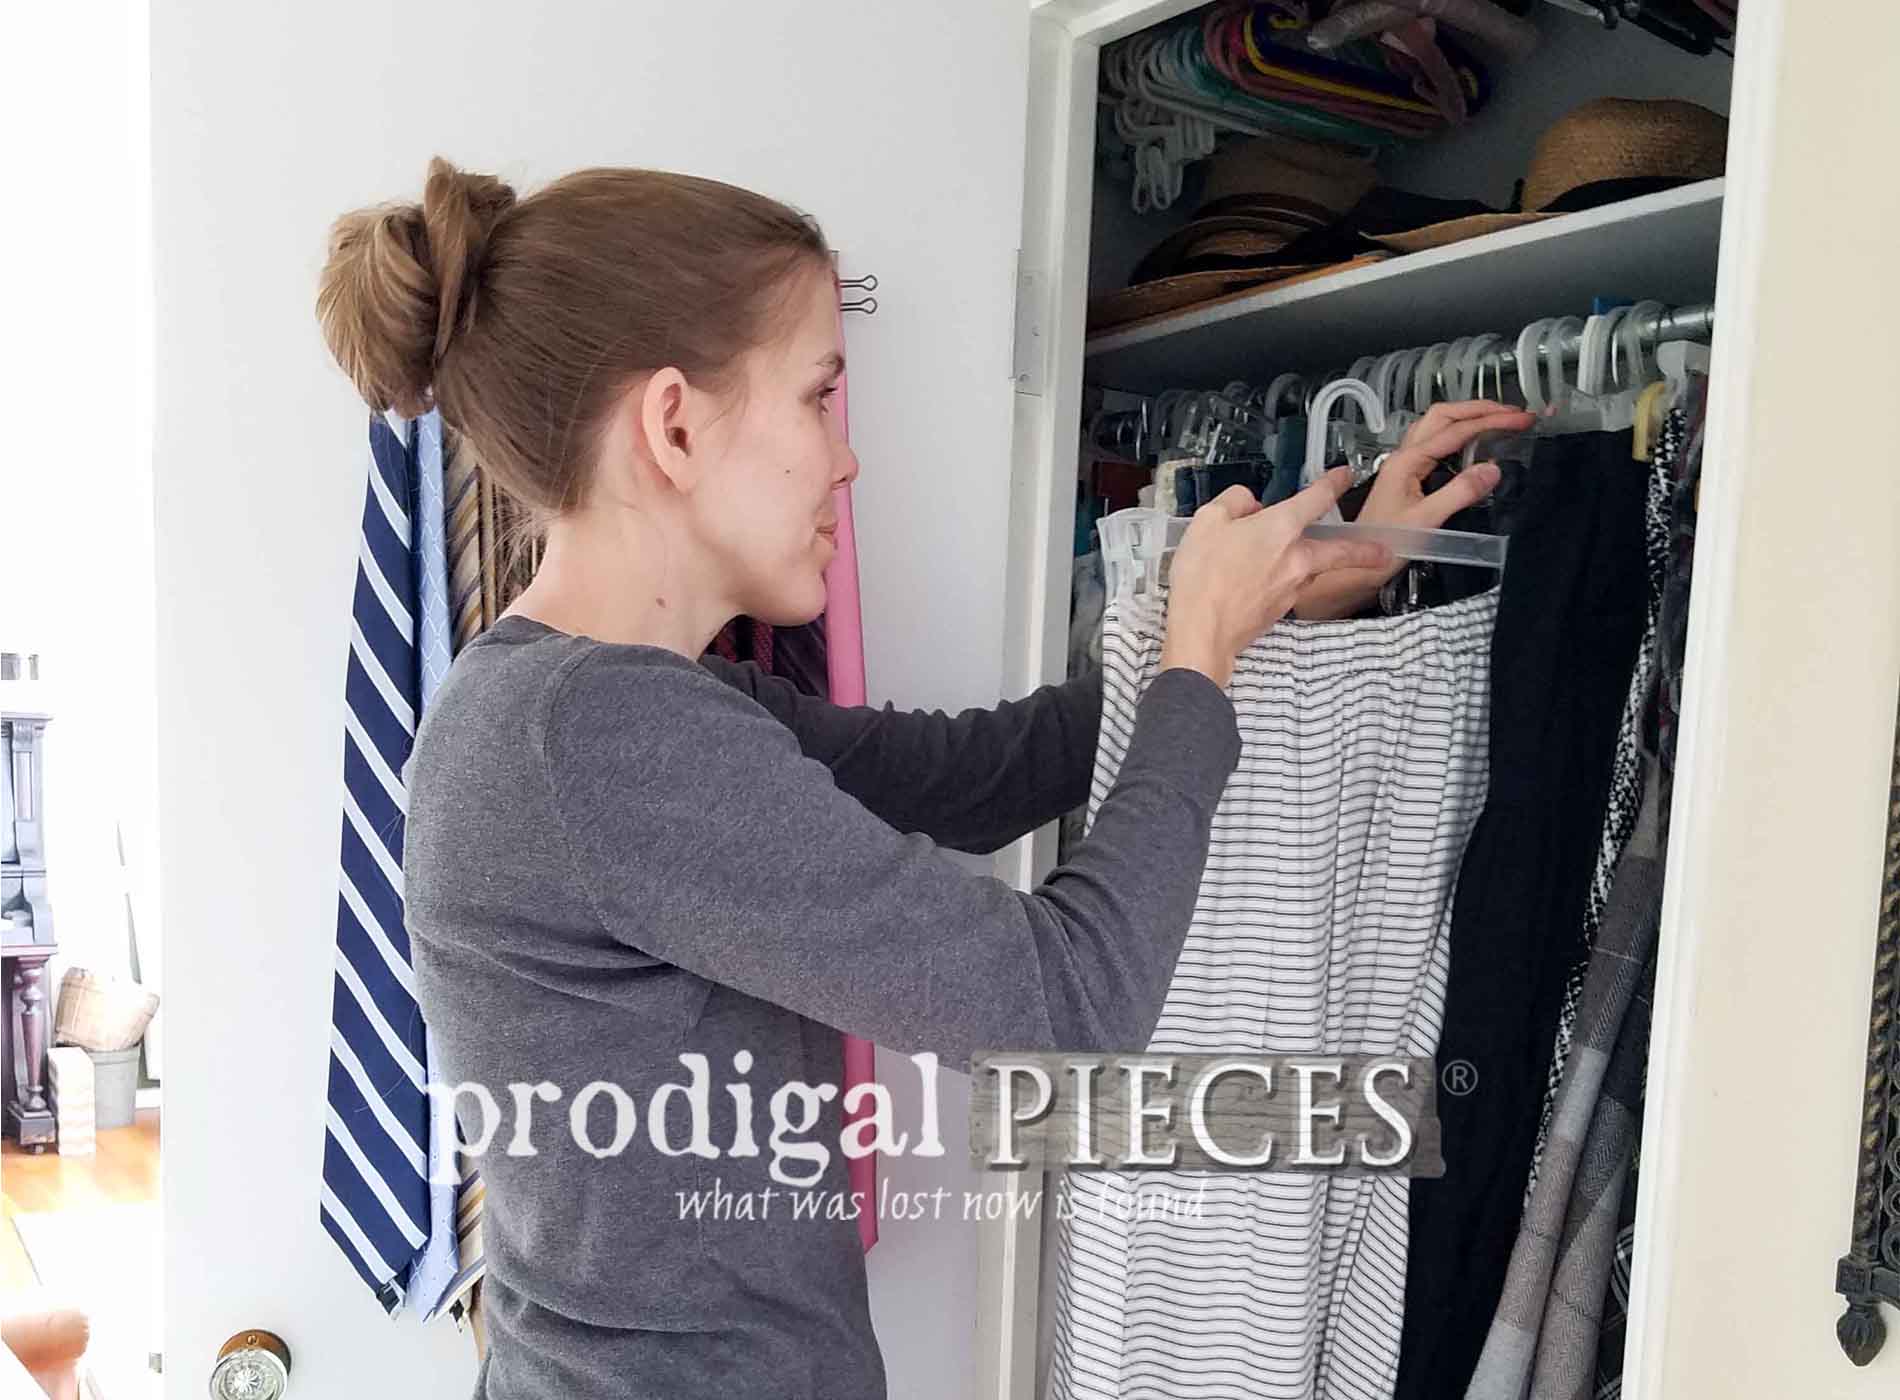
When you look into your over-stuffed closet, you may think you're looking at mission impossible. Honestly though it's easy and goes faster than you think once you get started. "Getting started" are the key words and motivation to get this project underway.DIY TIME
My hall closet is where I store my skirts, dresses, and a few other items. It's been a while since I've done a thorough cleaning and this is the last closet in our house to get painted since we moved in 15 years ago. I actually promised this job to one of my kids as that's how I let them earn a bit and a closet is the best place to learn how to paint. When I stared paint crew back in the day, all the newbies were sent to the closets, including me. More often then not you got more paint on yourself then you did the walls, but hey...we learn. To make this whole project easier to show you, I created this video showing how I not only sorted things out, but also used a handy new Wasn't that fun? Goes so fast and the fact that I was done in a day is amazing for me. For those that maybe can't view the video, I've written the steps out to help you too.
STEP 1
First, begin by emptying your closet setting the contents aside to deal with at a later time. Once empty, give it a thorough cleaning both on the floors and edges and wipe down the walls. Also, remove any fixtures like clothing rods, shelving, and hardware that would either get in your way or you don't want to get painted (door knobs, hangers, etc). Check it out...I found this note on the back edge of my closet door that has been there since 1952. Crazy cool, huh?
Wasn't that fun? Goes so fast and the fact that I was done in a day is amazing for me. For those that maybe can't view the video, I've written the steps out to help you too.
STEP 1
First, begin by emptying your closet setting the contents aside to deal with at a later time. Once empty, give it a thorough cleaning both on the floors and edges and wipe down the walls. Also, remove any fixtures like clothing rods, shelving, and hardware that would either get in your way or you don't want to get painted (door knobs, hangers, etc). Check it out...I found this note on the back edge of my closet door that has been there since 1952. Crazy cool, huh?

STEP 2
In order to prep the closet to use your PaintStick EZ-Twist, you need to cut in all the places that your roller would not be able to reach. Since my closet is made up of 2 x 4's and plywood, I use my beefy brush to cut in. This works amazing to hold plenty of paint and does not leave brush strokes to help in the smooth finish we're after.
STEP 3
Now it's time to get rolling. Begin by assembling your PaintStick EZ-Twist following the instructions provided. It's simple and only takes a minute. Insert the fill tube provided into your paint can and clip to the side. I'm using a white eggshell for my closet, but you can choose any color and sheen to suit your desires.


STEP 4
Time to fill your PaintStick EZ-Twist. Simply hold your paint stick across your paint can at a 45 degree angle lining up the paint valve to the fill tube and then press down the valve onto the fill tube. Unlock the the toggle switch in the handle to the upright position and begin to siphon the paint out of the can and into the stick by pulling the inner handle out. It make take more than one try to prime the filler tube and remove all air. Simply empty your paint stick back into the can and begin siphoning again until your paint stick is full. Your roller nap will need primed before you're ready to roll. To prime, push your inner handle in slowly to send paint into the roller nap. It make take a half of a filled stick to get the nap primed, but once you do, you're good to go for the entire project.
 Adjust your splatter shield to deflect any spattering that may occur. Roll in small intervals making "V" shaped passes, and then feather out your layers by lightly rolling back over to blend it all in.
STEP 6
When you have completed your first coat, let it cure for at least two hours and then repeat steps for a second coat. After completing the entire closet, it's easy to clean up. Just reattach valve to the fill tube and empty your paint stick back into the can. Rinse and clean the paint stick by taking it apart and filling a bucket or utility tub with warm water. Attach the fill tube to the bucket or tub and siphon the clean water in and out of the paint stick to rinse it clean. Disassemble the tube and rinse clean as well as the rest of the parts until water runs clear. Let air dry. Before reloading your closet, let the paint cure overnight or longer. This is the time when you can sort through all the items you pulled out giving them a thorough assessment. I don't have a hot mess, do I? Does the clothing still fit or suit your style...have you worn it in the last year? I like to donate my unwanted clothing to a local shelter. Remove any other items no longer need, and then only put back what you really want to keep.
FINISHED
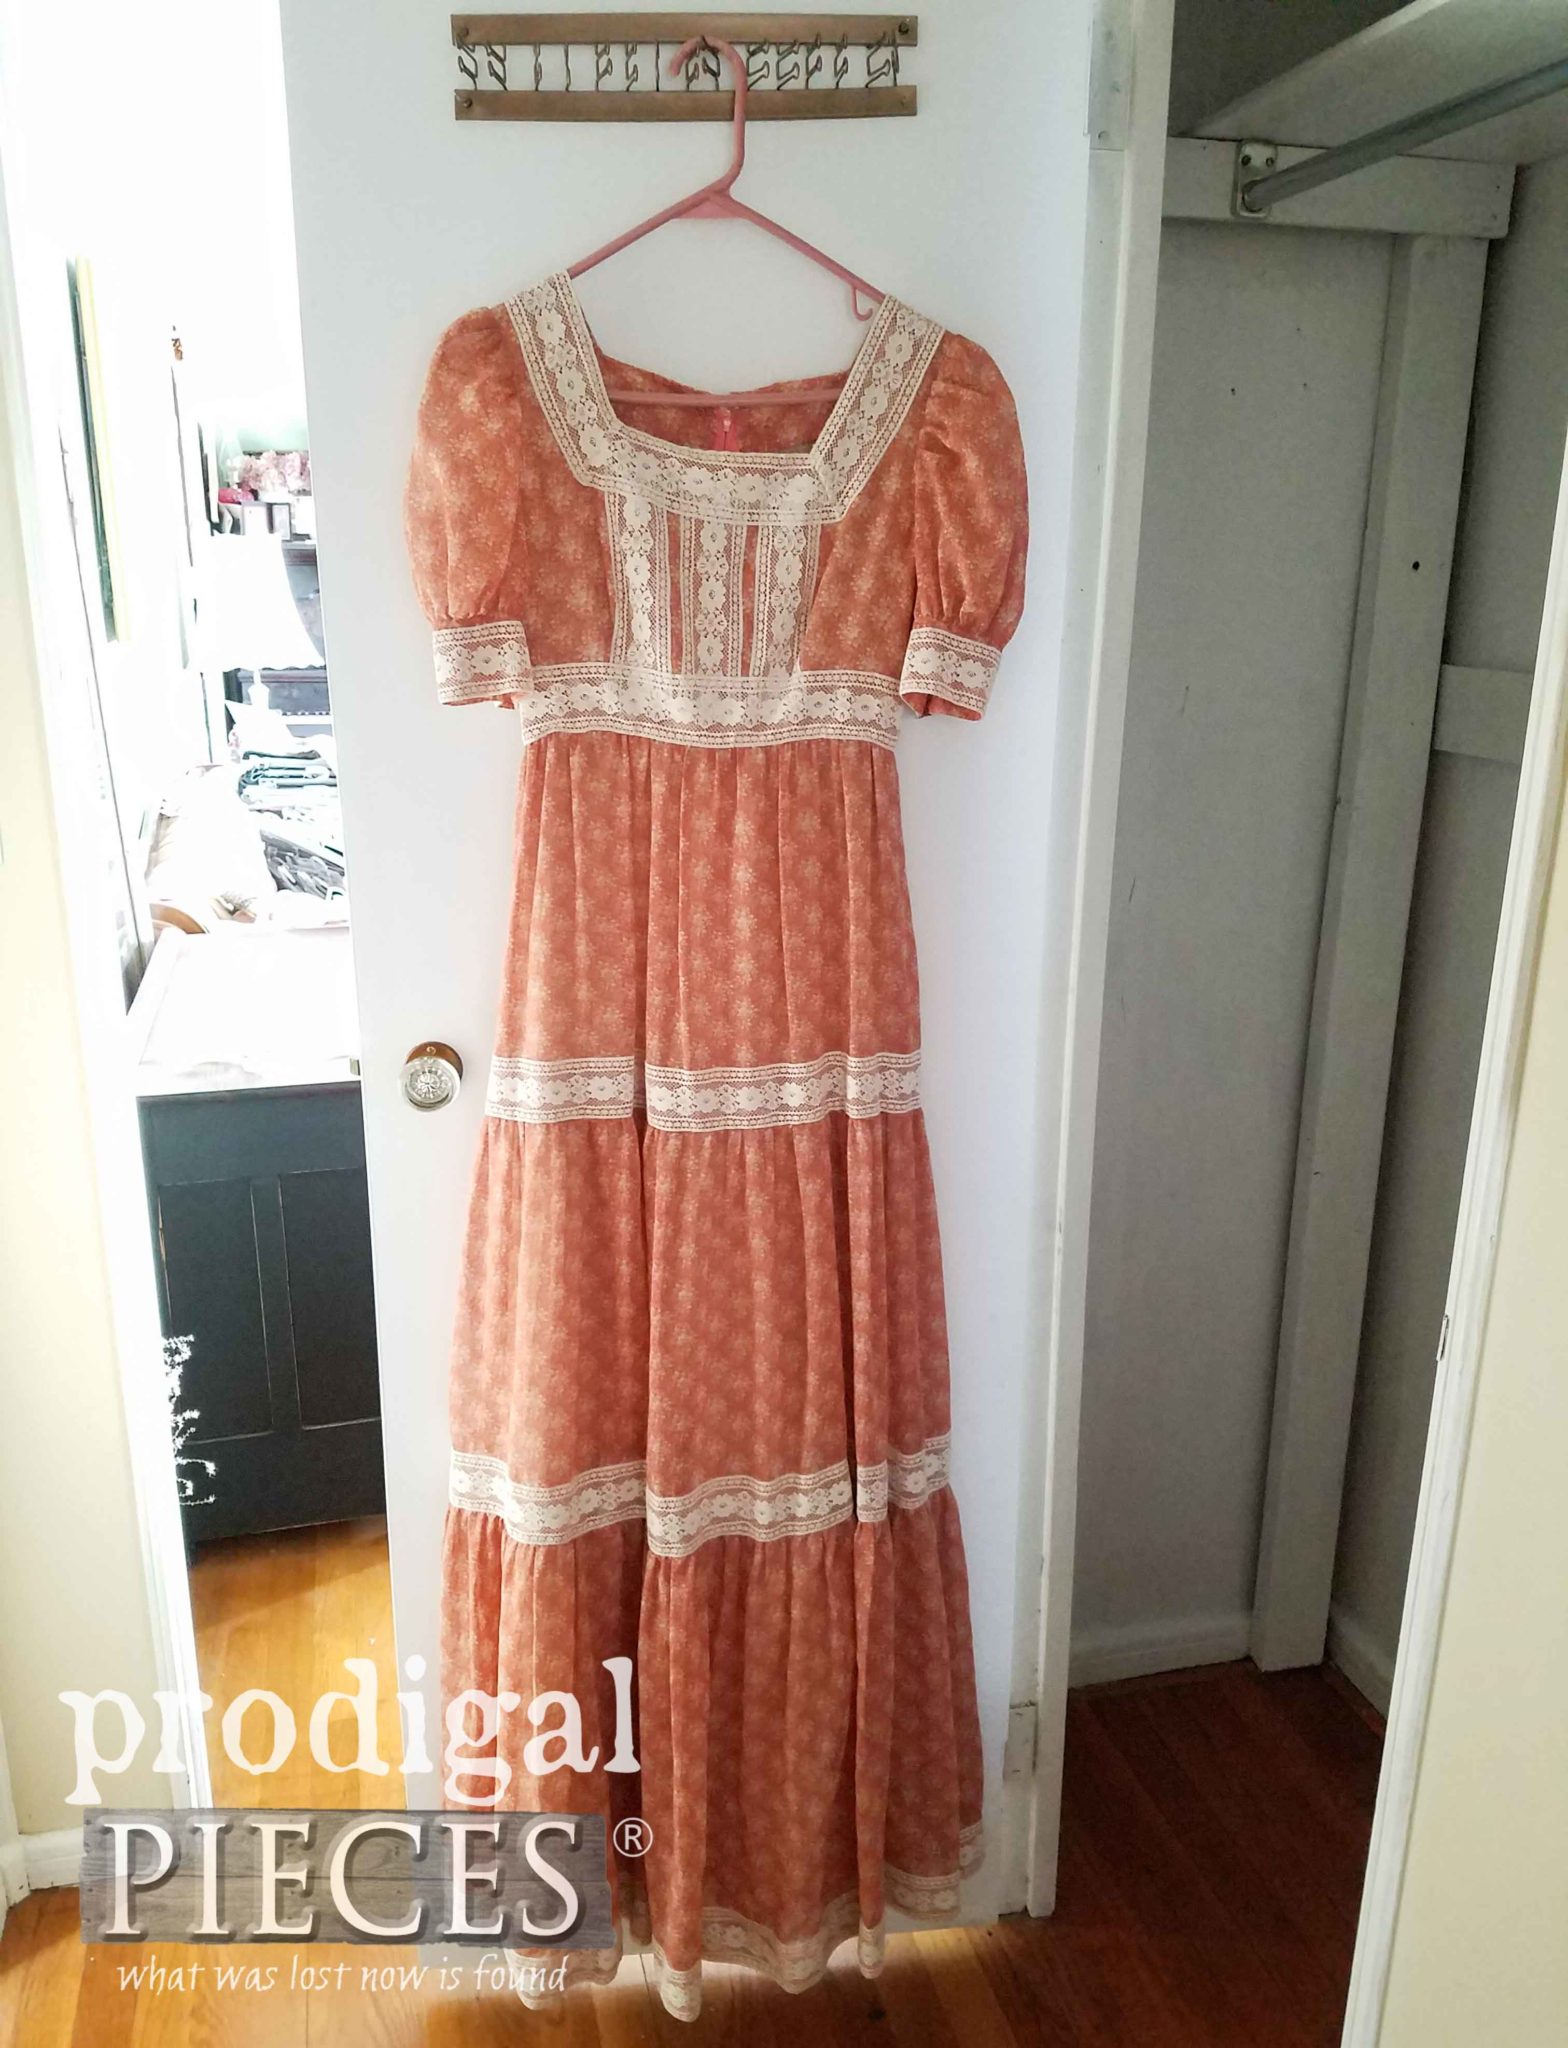
Here it is all done and ready for me to put my stash back in. Here's one of my keepers...a vintage handmade prairie dress. I've used to for dress-up times, but think it's beautiful to wear any old day.
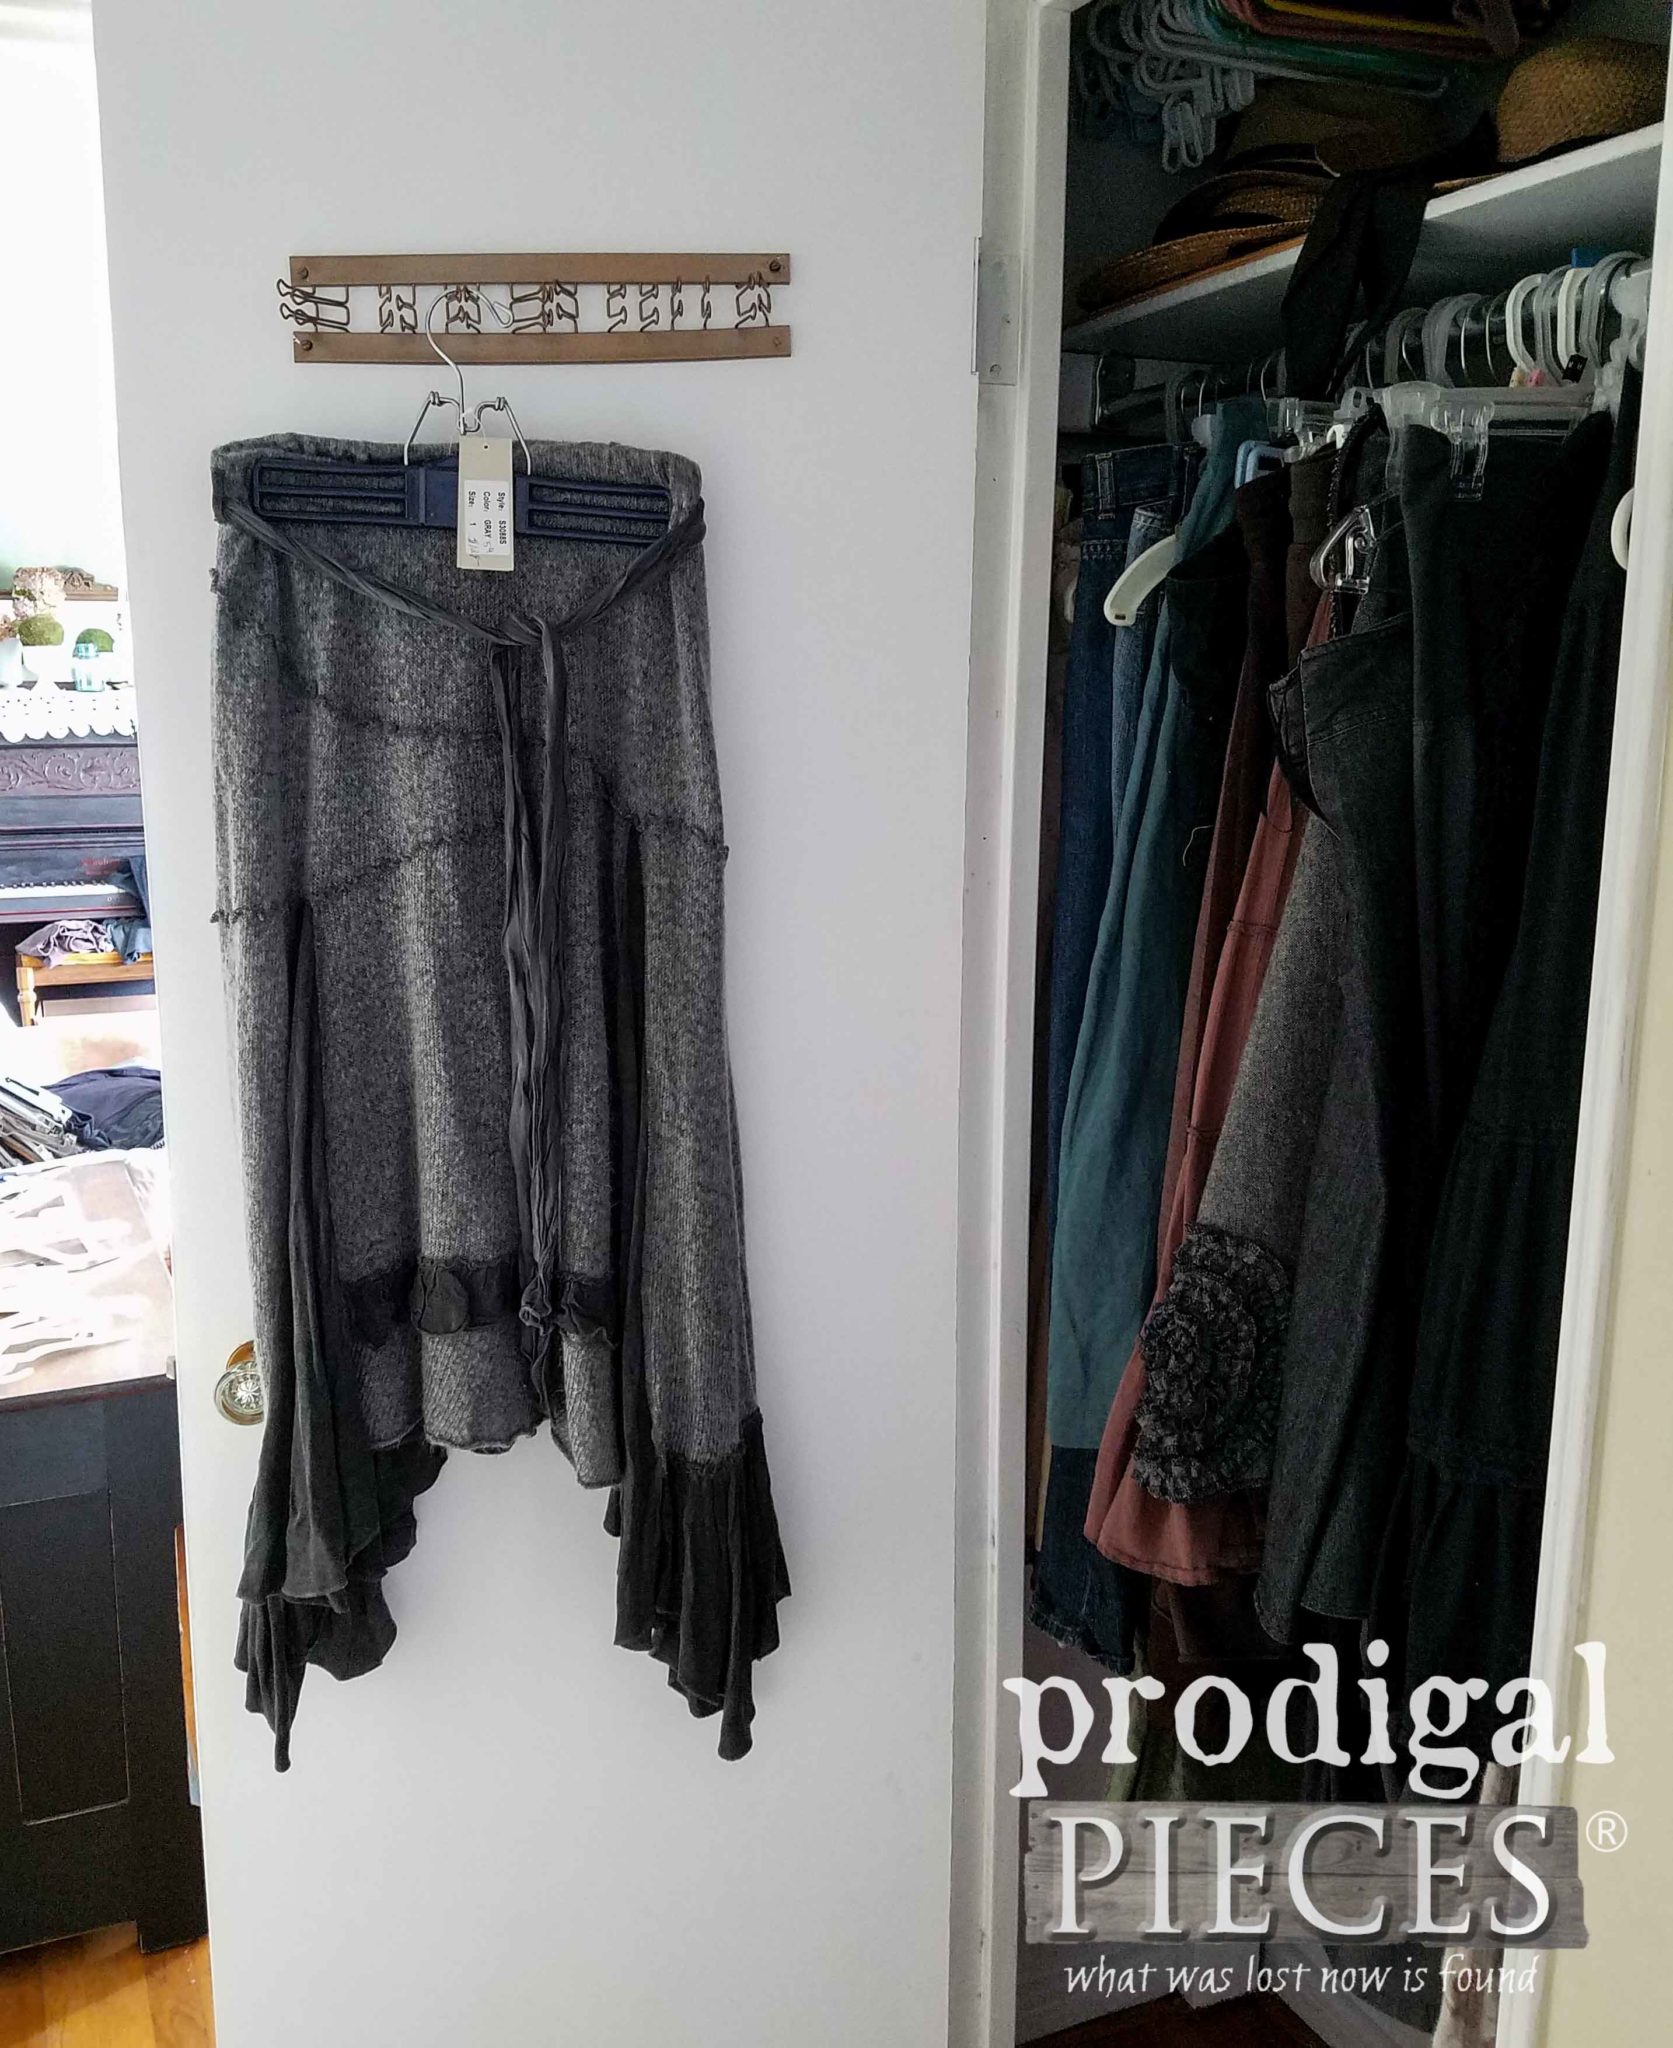
 Or how about this? I found this name brand Saga skirt new with tags a few weeks ago...for my grunge days. haha. I actually shop clothing and accessories to resell too. It's amazing what you can find!
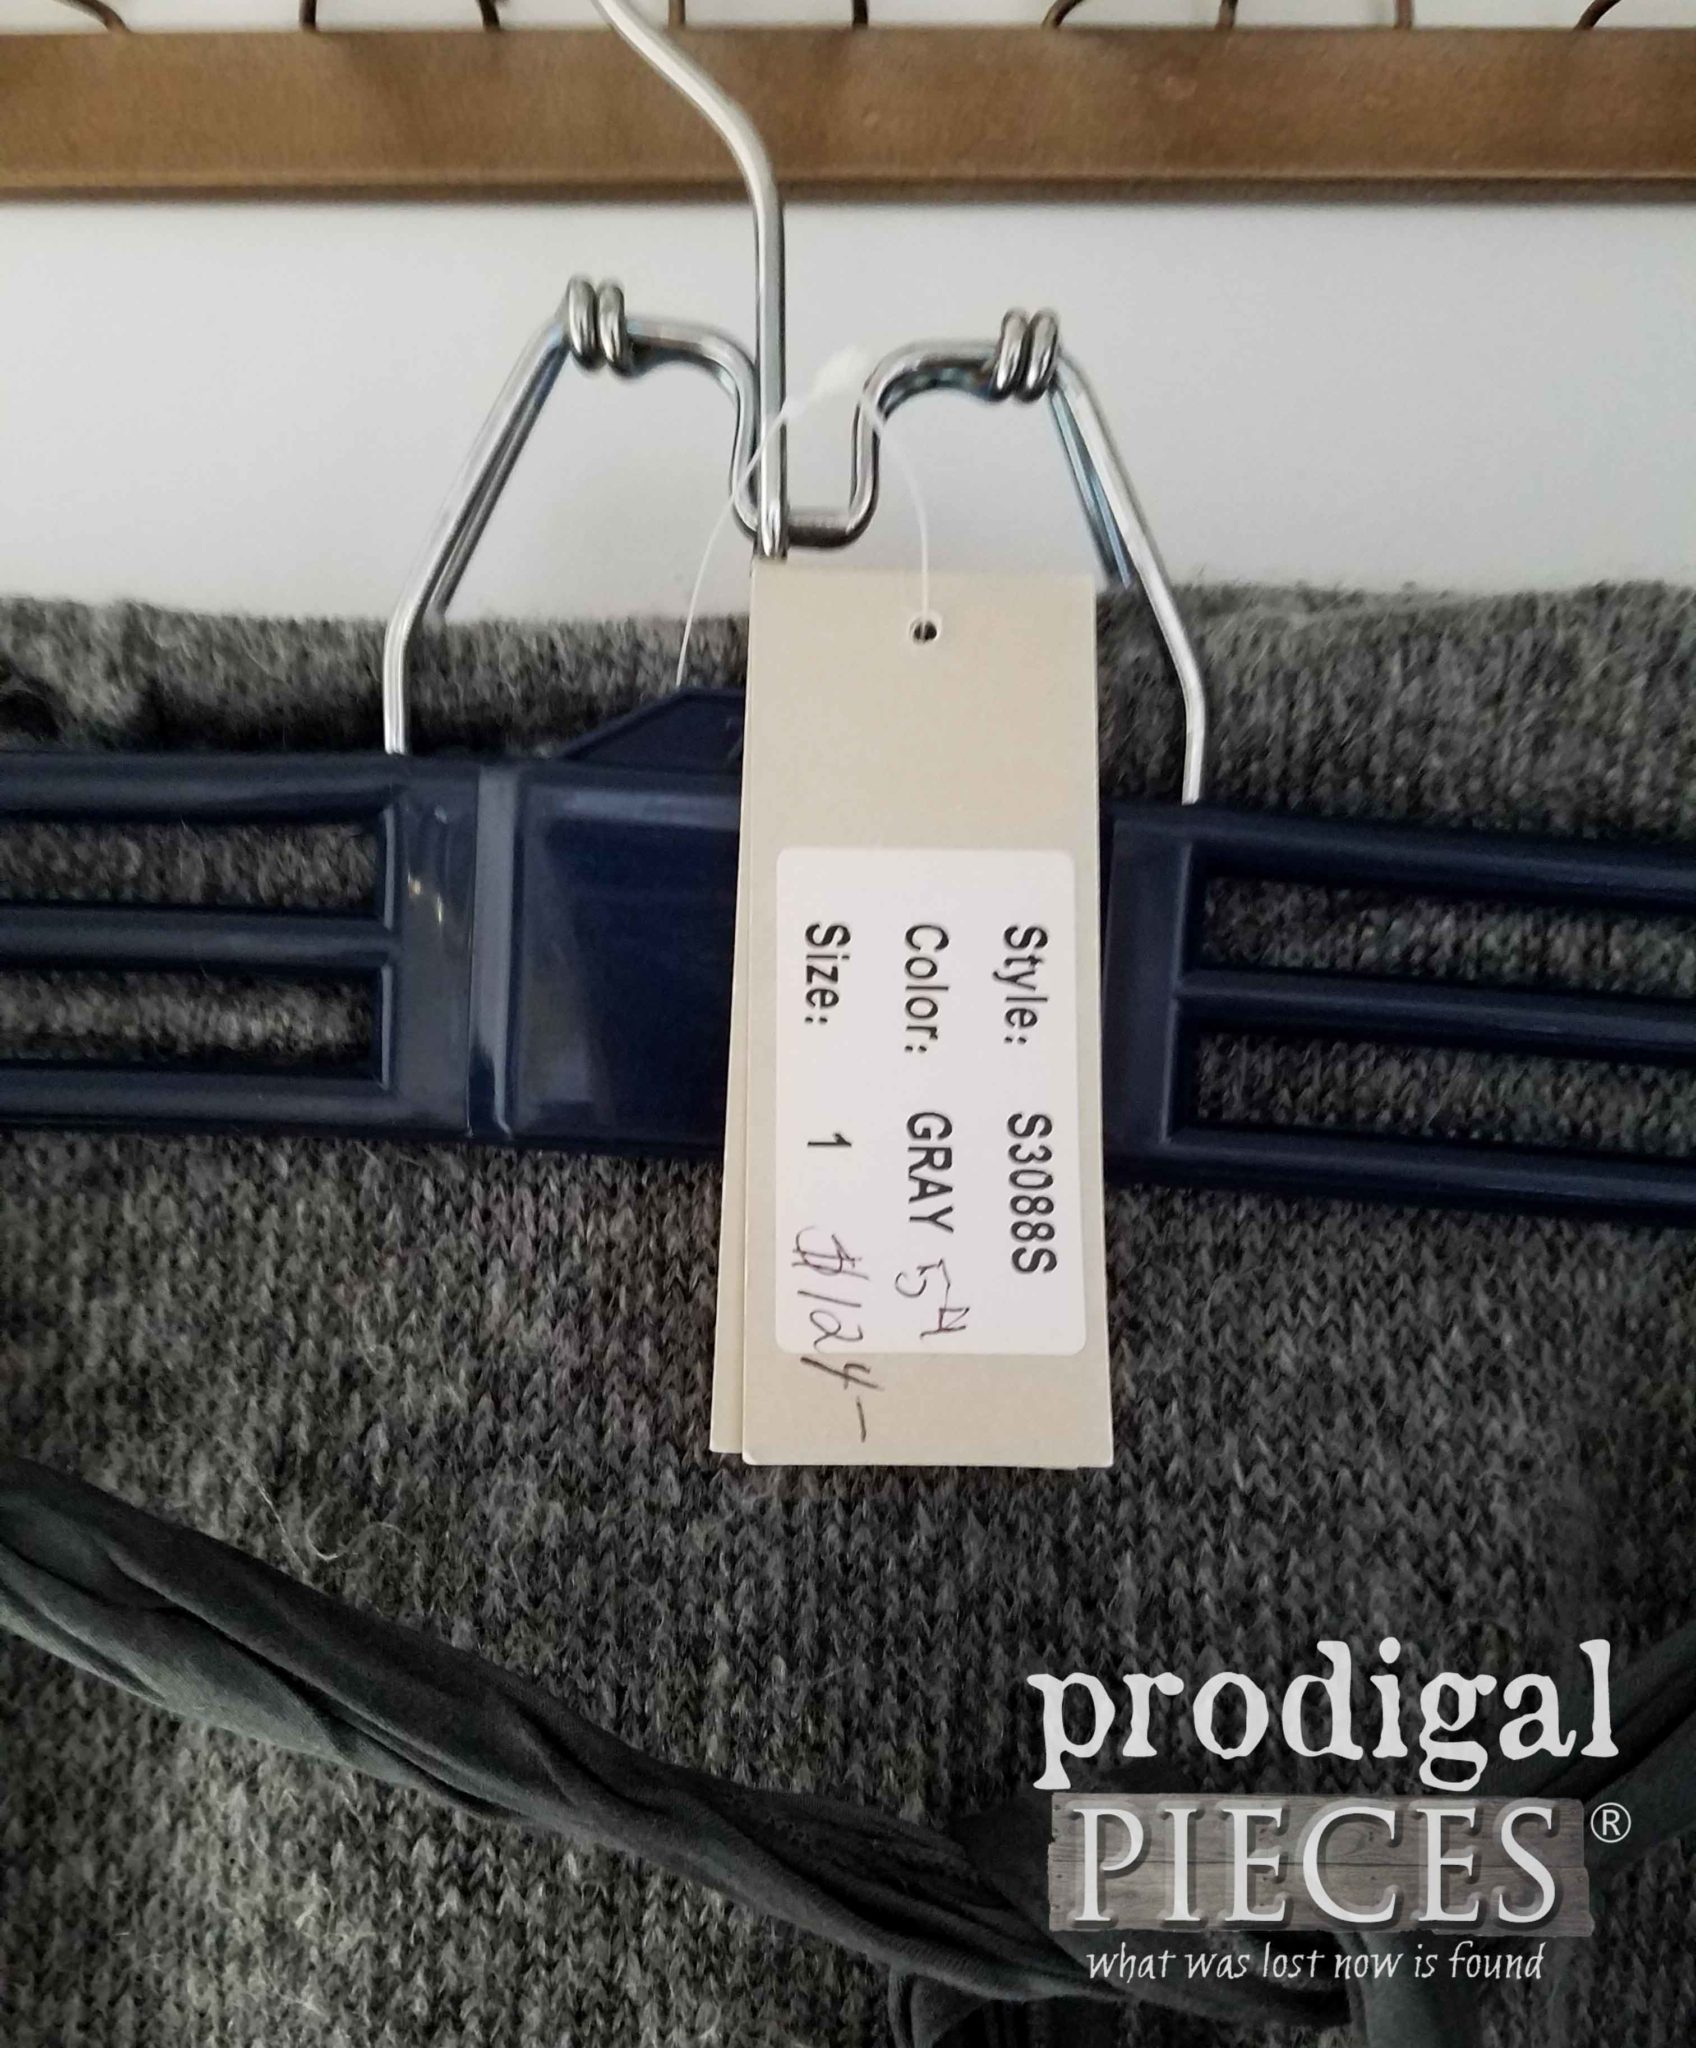
 Check out the price tag...$124! {{gasp}} I paid $2.99. I like it's funky style, so it stays with me for now as it goes with the knee-high black Chucks I just scored too. wahoo!!
 My closet spring cleaning is not only done in day, but also refreshed and ready to go with a new coat of paint. It feels so good!

GIVEAWAY TIME
Okay, that's enough about me and my closet. How about I give away THREE of these awesome HomeRight PaintStick EZ-Twists to three of you?? {{happy dance}} I'm so happy to empower you to organize, update, and in the DIY spirit. Easy entry - just complete as many entries as you like, daily even. Open to U.S. and Canada residents 18 years of age and older. Winner will be notified by email and will have 24 hours to reply. BE SURE TO CHECK YOUR SPAM SO YOU DON'T MISS OUT! GIVEAWAY CLOSED. Do pin and share my closet spring cleaning done in no time. We all can use a little inspiration. Up next, my oldest daughter, Miss C, is going to be giving this Art Deco chest of drawers a fresh update. See the after HERE.
 To get these DIY tips & tricks in your inbox, be sure to sign up for my newsletter. PLUS, you will get your FREE Furniture Buying Checklist and special discount to my shop. Until next time!

More projects like my closet spring cleaning:

