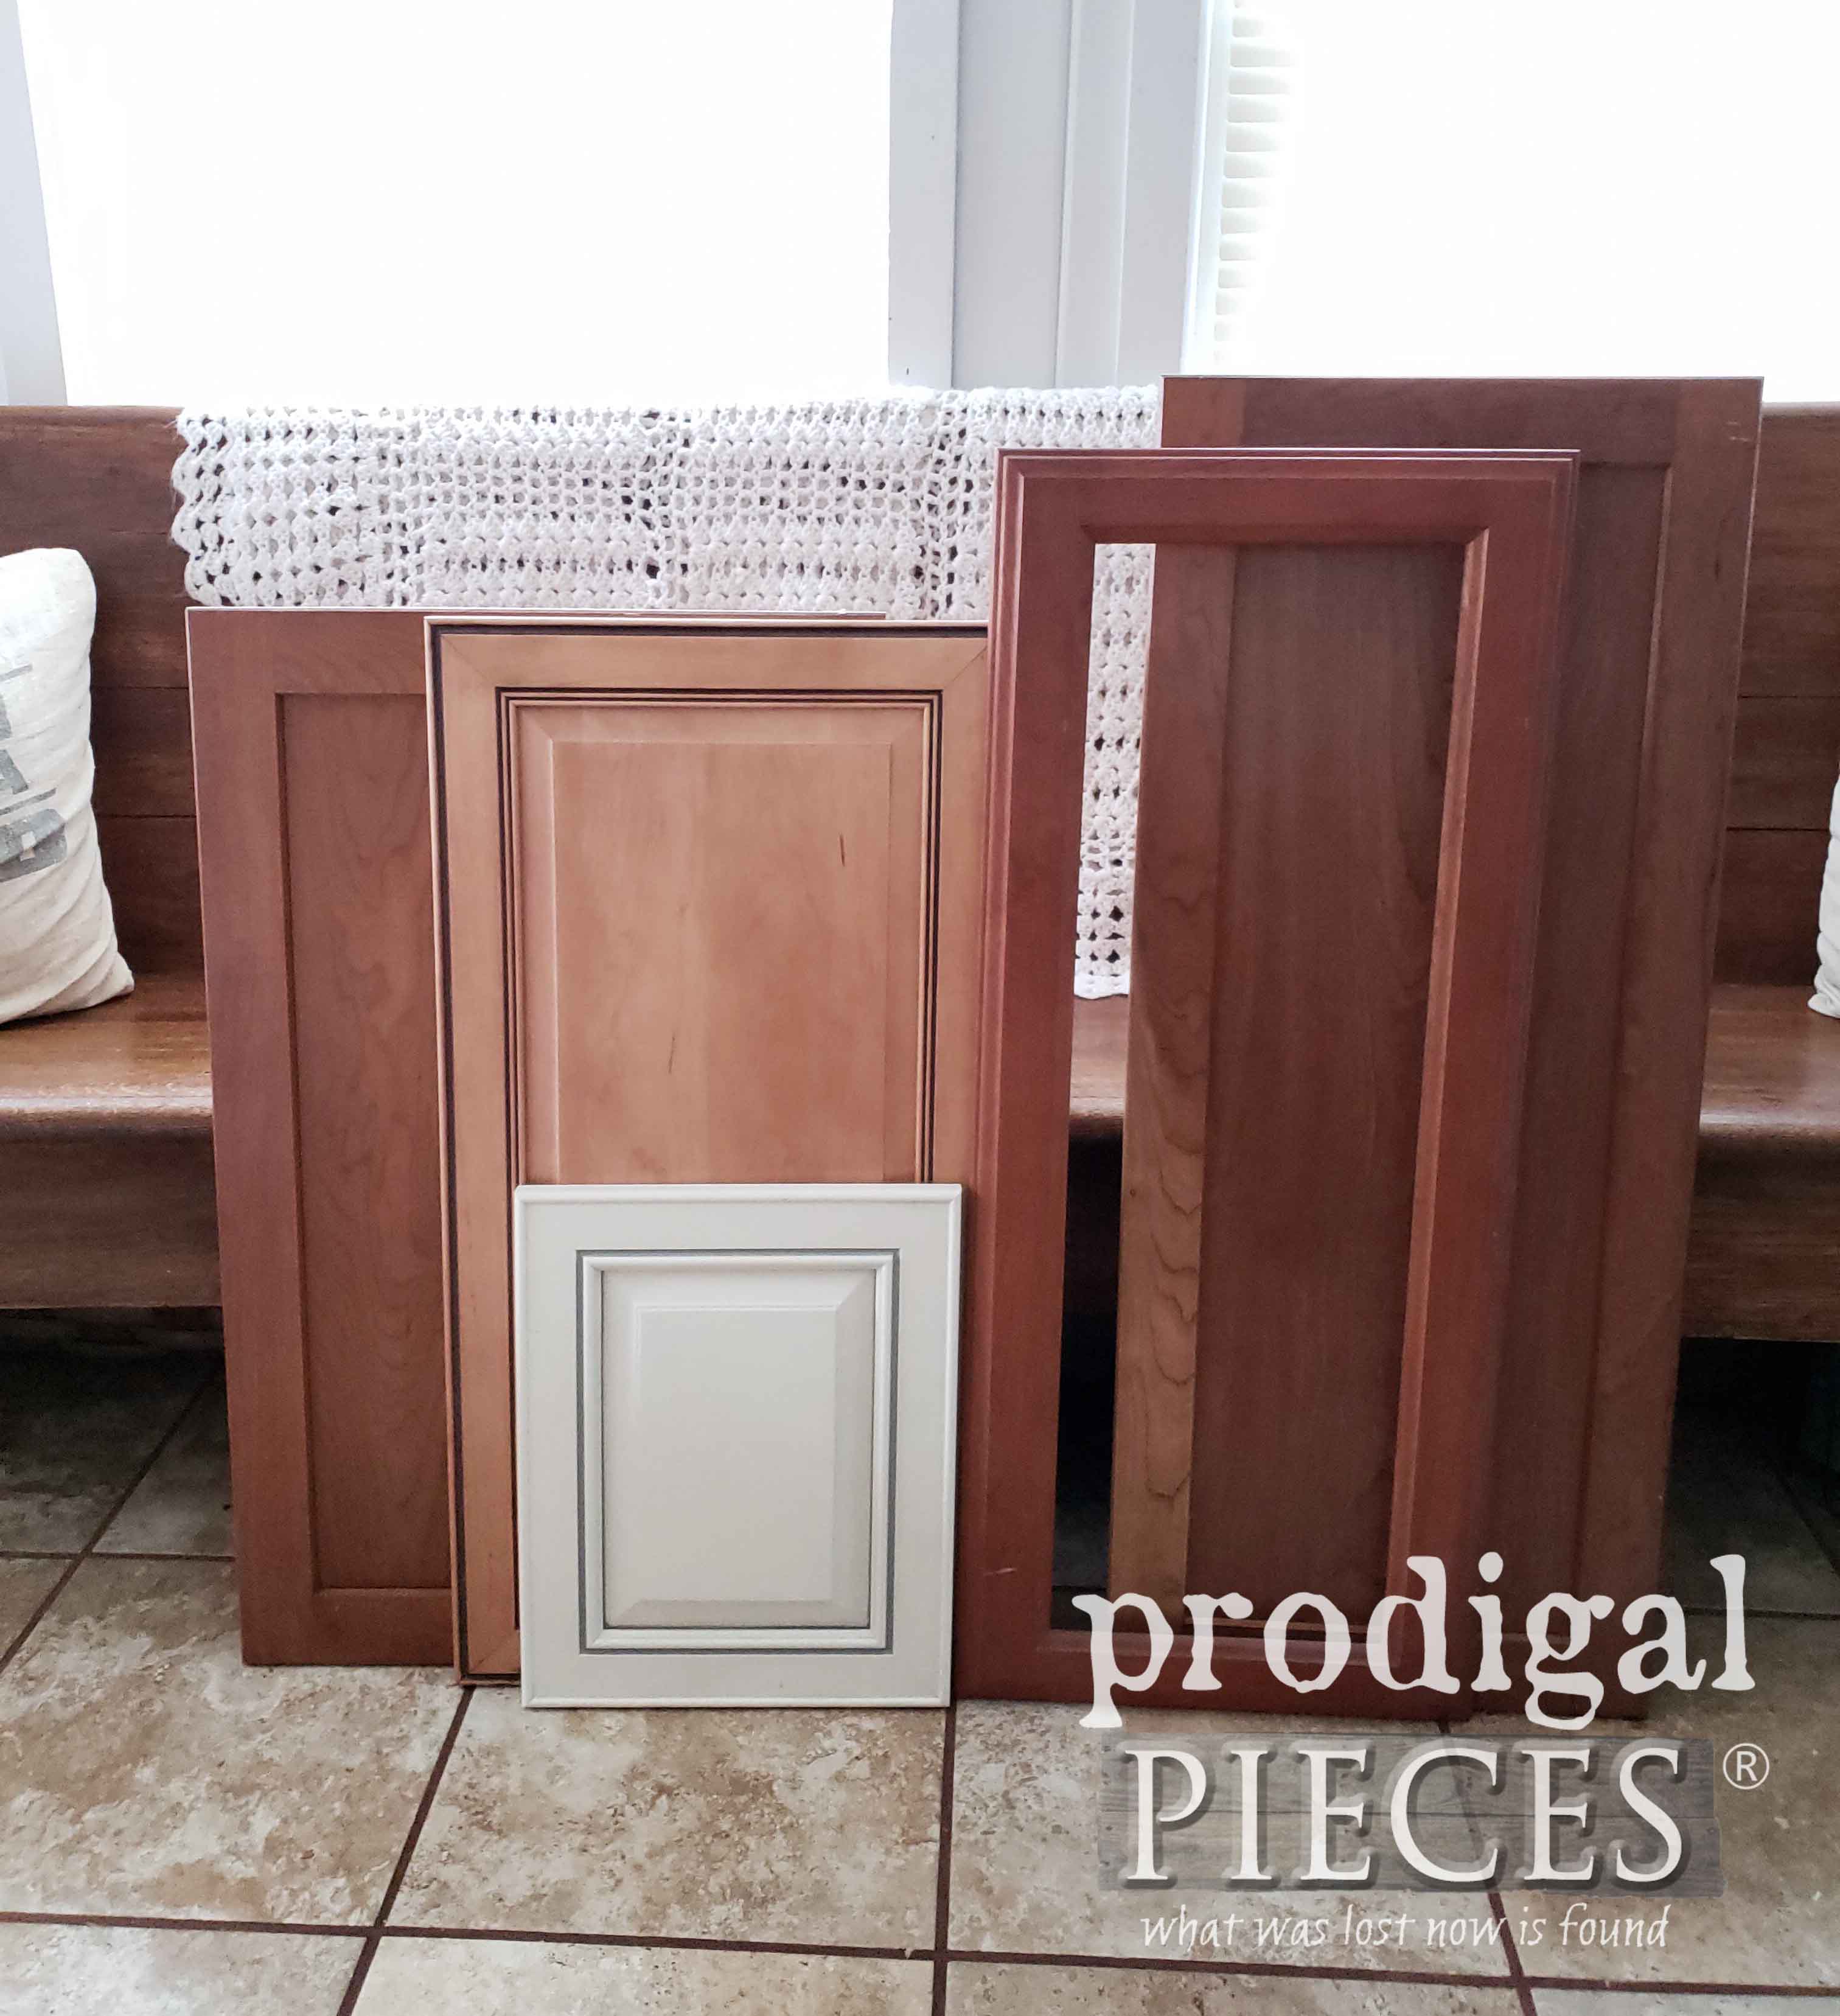
 What you see above is a selection of cupboard doors that my kids picked out from my stash below. Did you read the story about how I acquired that pile o' goodness? If not, you can get up to speed HERE.
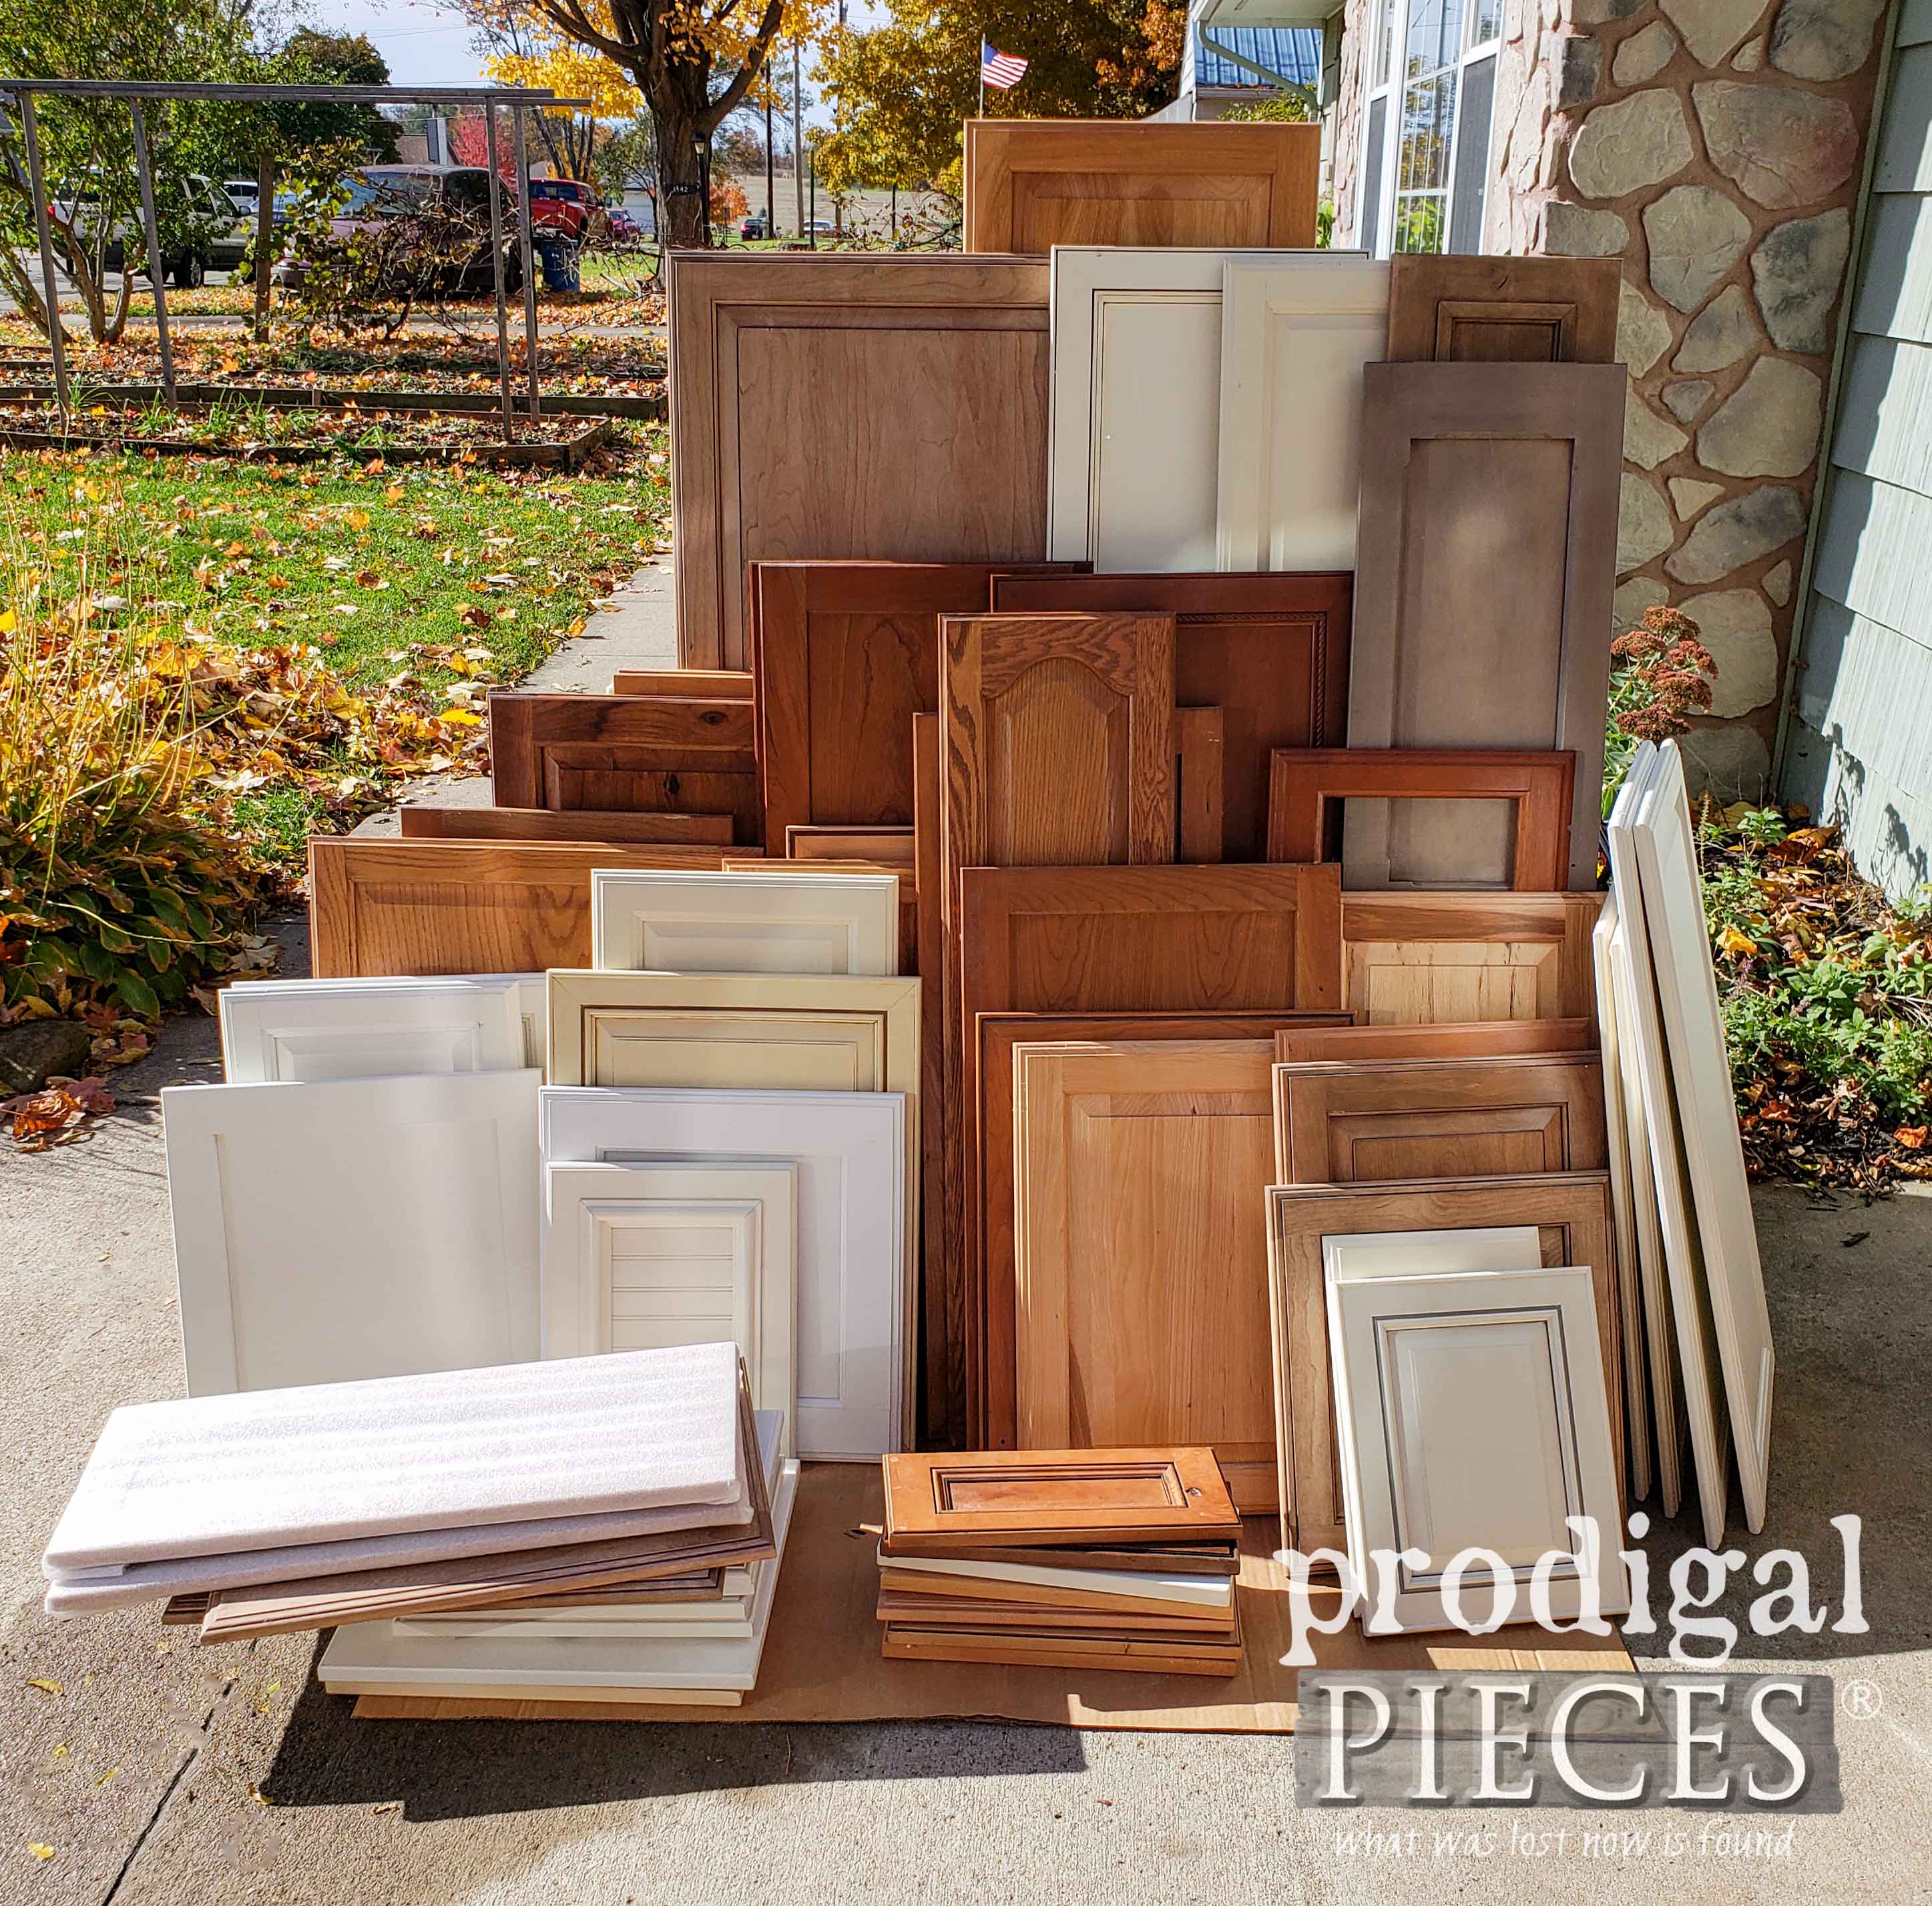 As soon as we got that wonderful gift of doors, I told the kids that they can most definitely recreate and work on them too. This is like candy to us! Each one picked out a door above (even my littlest picked two, but hers aren't shown...yet).
CREATIVE FUN
We wanted to make this fun and age appropriate, so we're going to start with my oldest, and work my way down by age. In addition, we even have a video tutorial for you and free printables too! Join us in our Prodigal Pieces Kids CREATE launch. Also, if you've been around my blog for long, you know I often showcase their work. Since we wanted to engage kids even more, we have decided to do a specific feature of kid/parent friendly projects (grandparents too!) I can't say enough that engaging your kids in any kind of father/mother child fun is the best gift ever. My kids range from teen to toddler and they all are my pride and joy. Also, they are on a mission to be debt free in their adult life, and I want to support them in all their efforts.
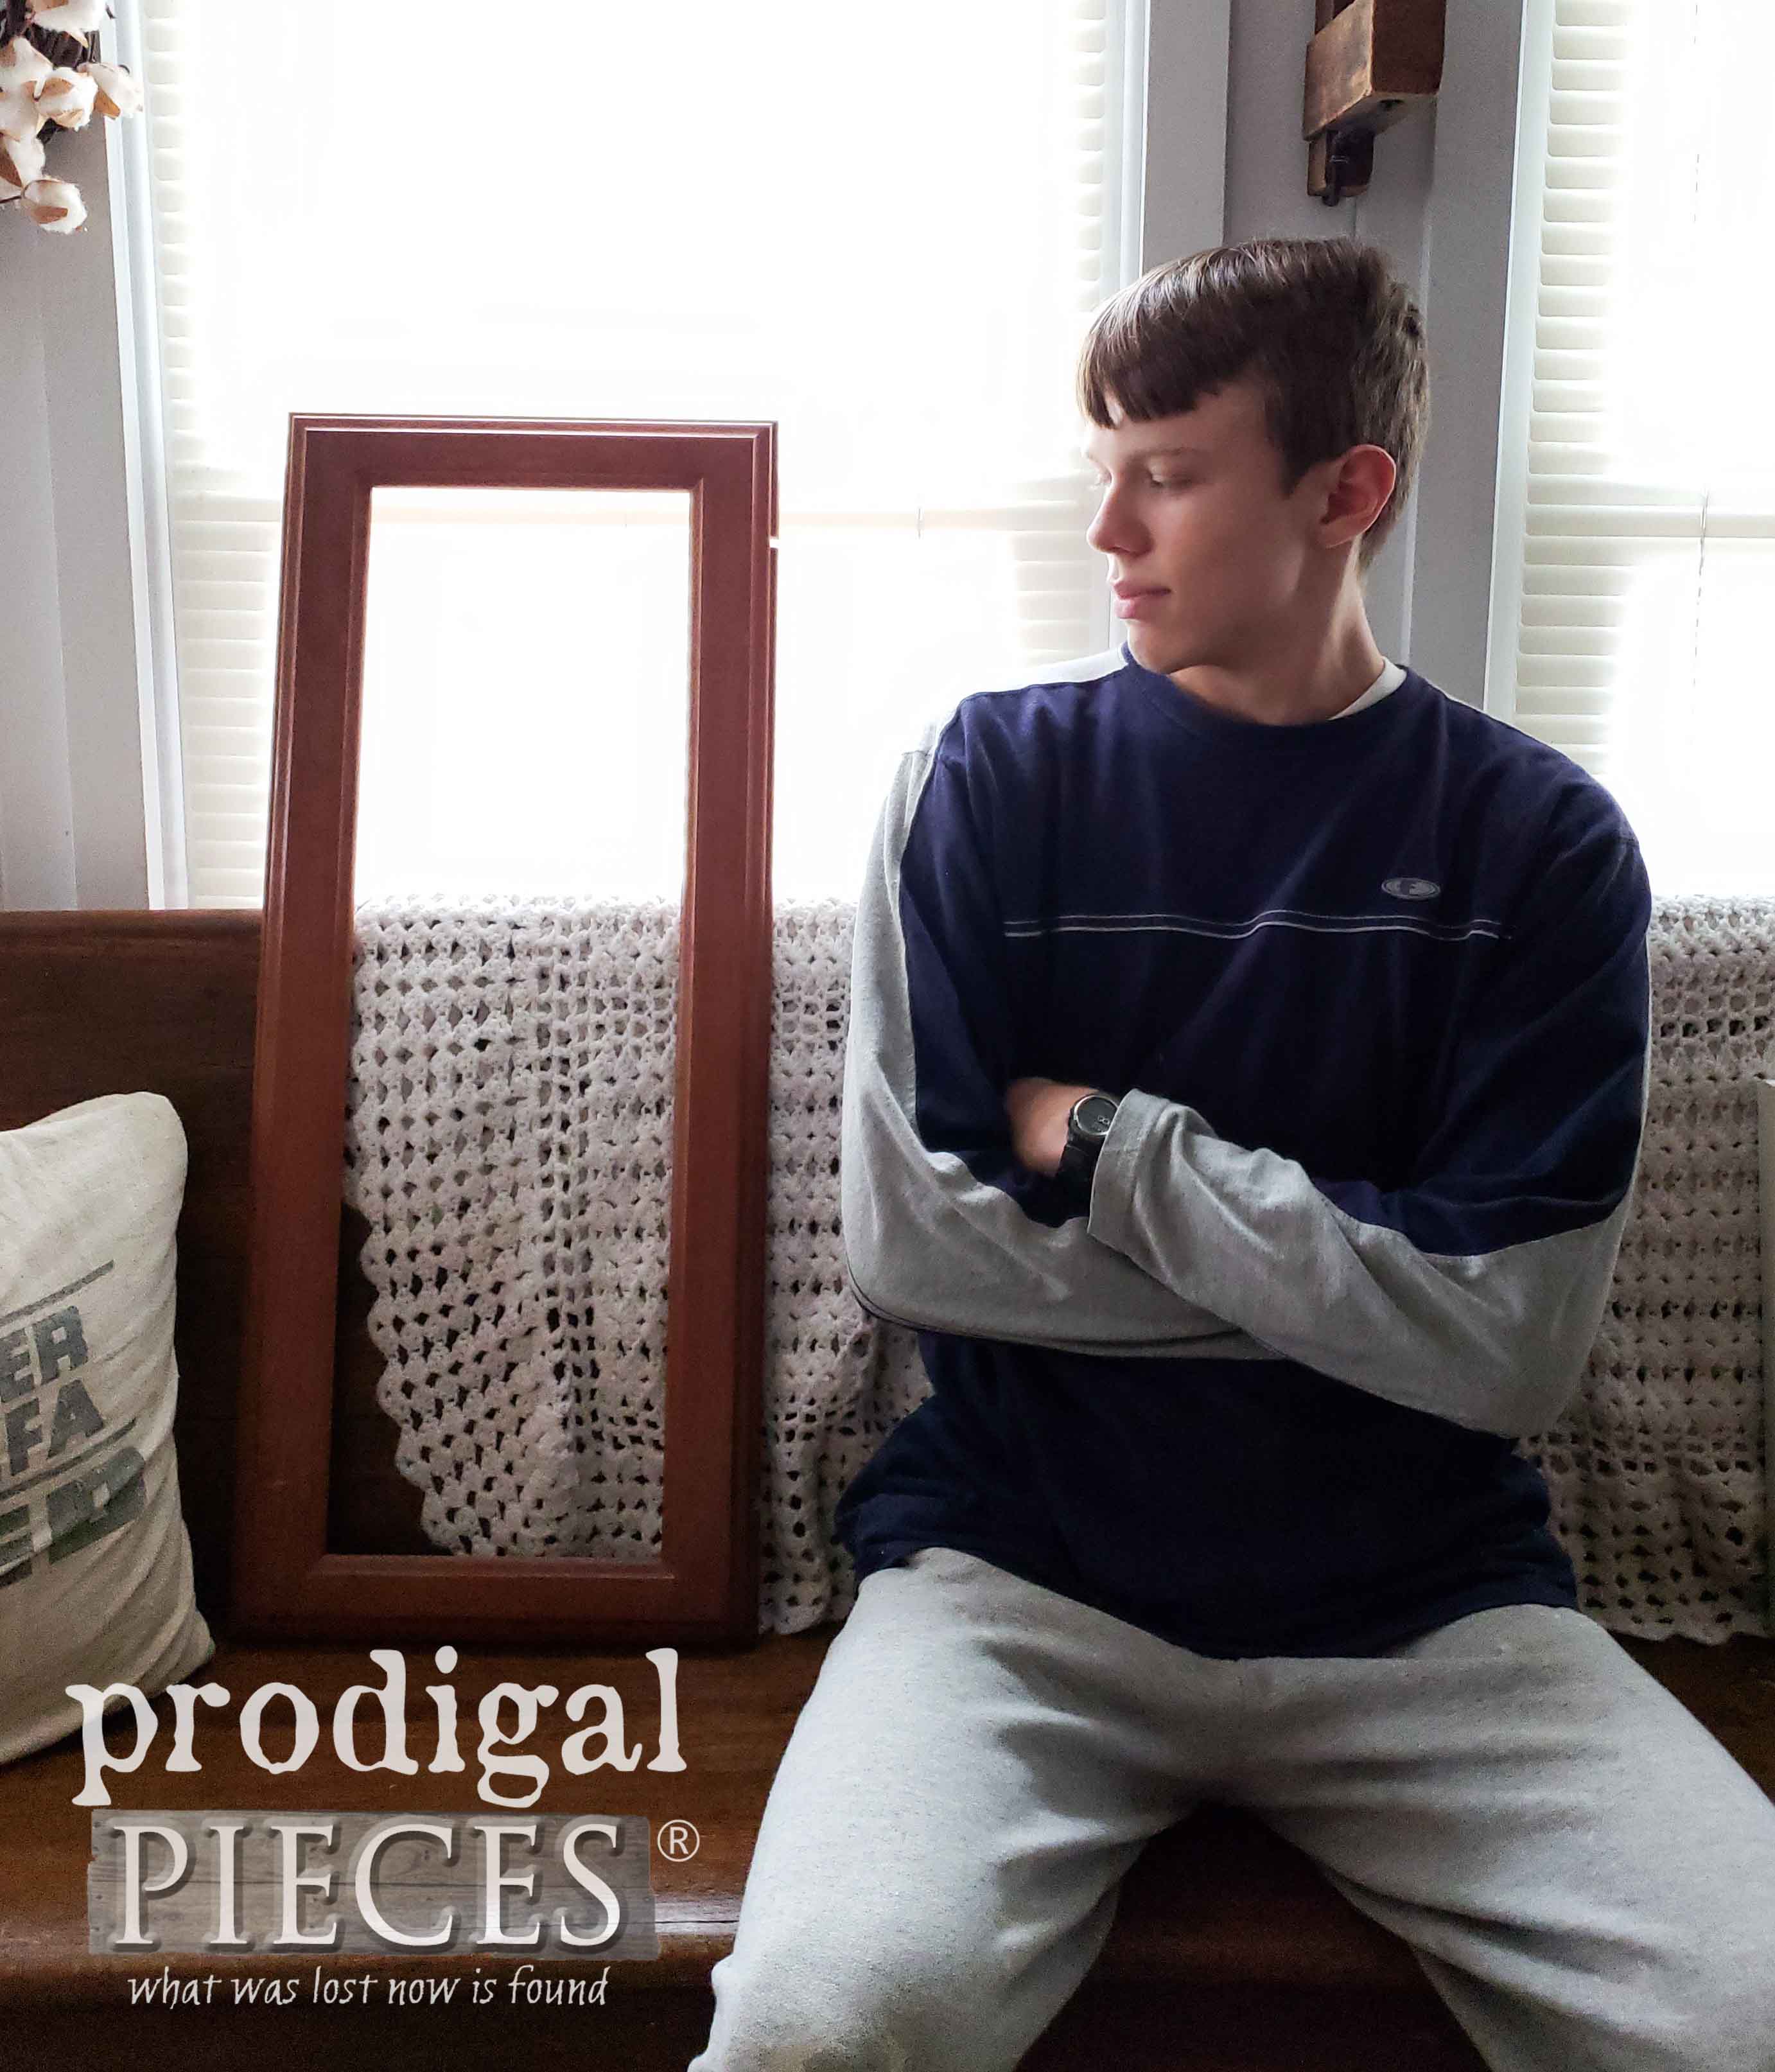
First up is this empty door frame chosen by Mr. I. Originally, it was meant to hold a glass panel and has glaziers points inside frame.
 TERMS OF USE: when you recreate the designs shown here, you agree to the following: it cannot be shared or distributed for monetary gain in any way, it may not be modified in any way, and you may not claim the work as your own.
UP FIRST
Before each kid got started, we discussed what they'd like to do and the best way to implement it. Since the Christmas is around the corner they all wanted to do a holiday/winter type project. For Mr. I, he chose to create a DIY stocking holder. He thought it would be fun because he knew not everyone has a mantel to hang their stockings. You can see all his past projects HERE. First, he first measured the inside of the opening and found a piece of scrap beadboard from our family room coffered ceiling redo. He happened to find a piece that was the correct width. However, he just needed to be shorten it to fit.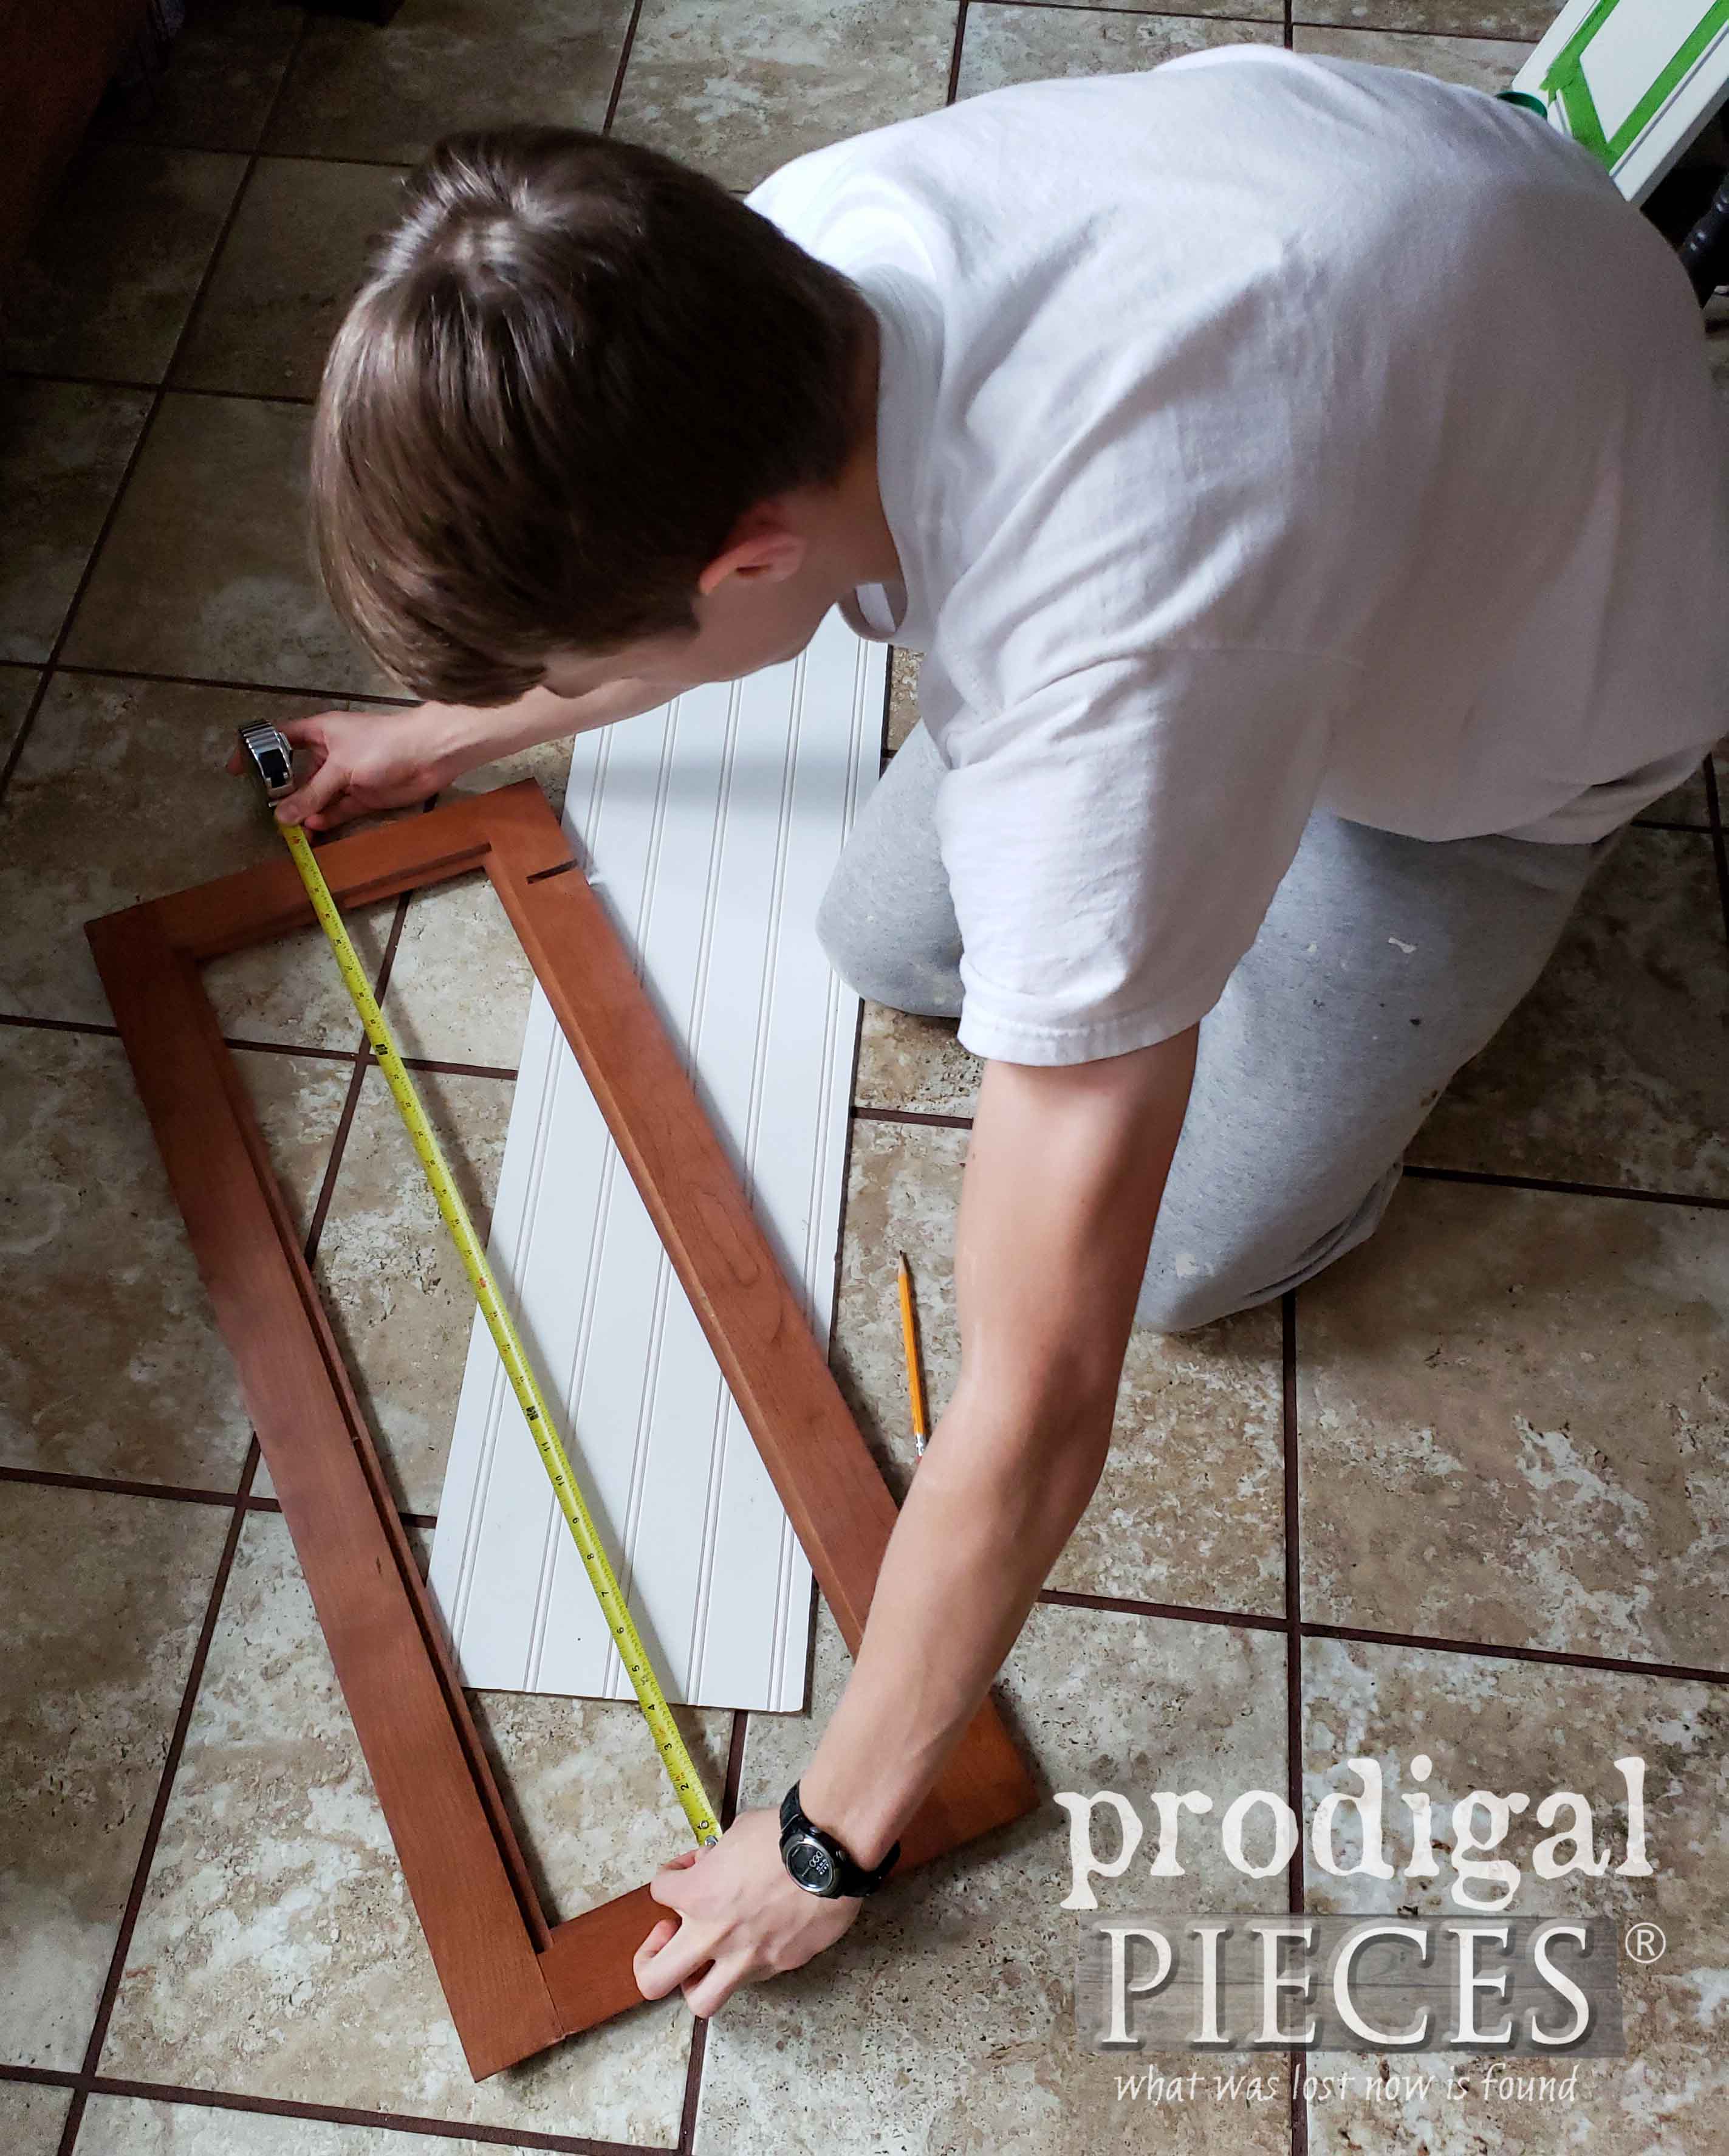 Next, to get it ready to cut, he measured and marked the length of the beadboard.
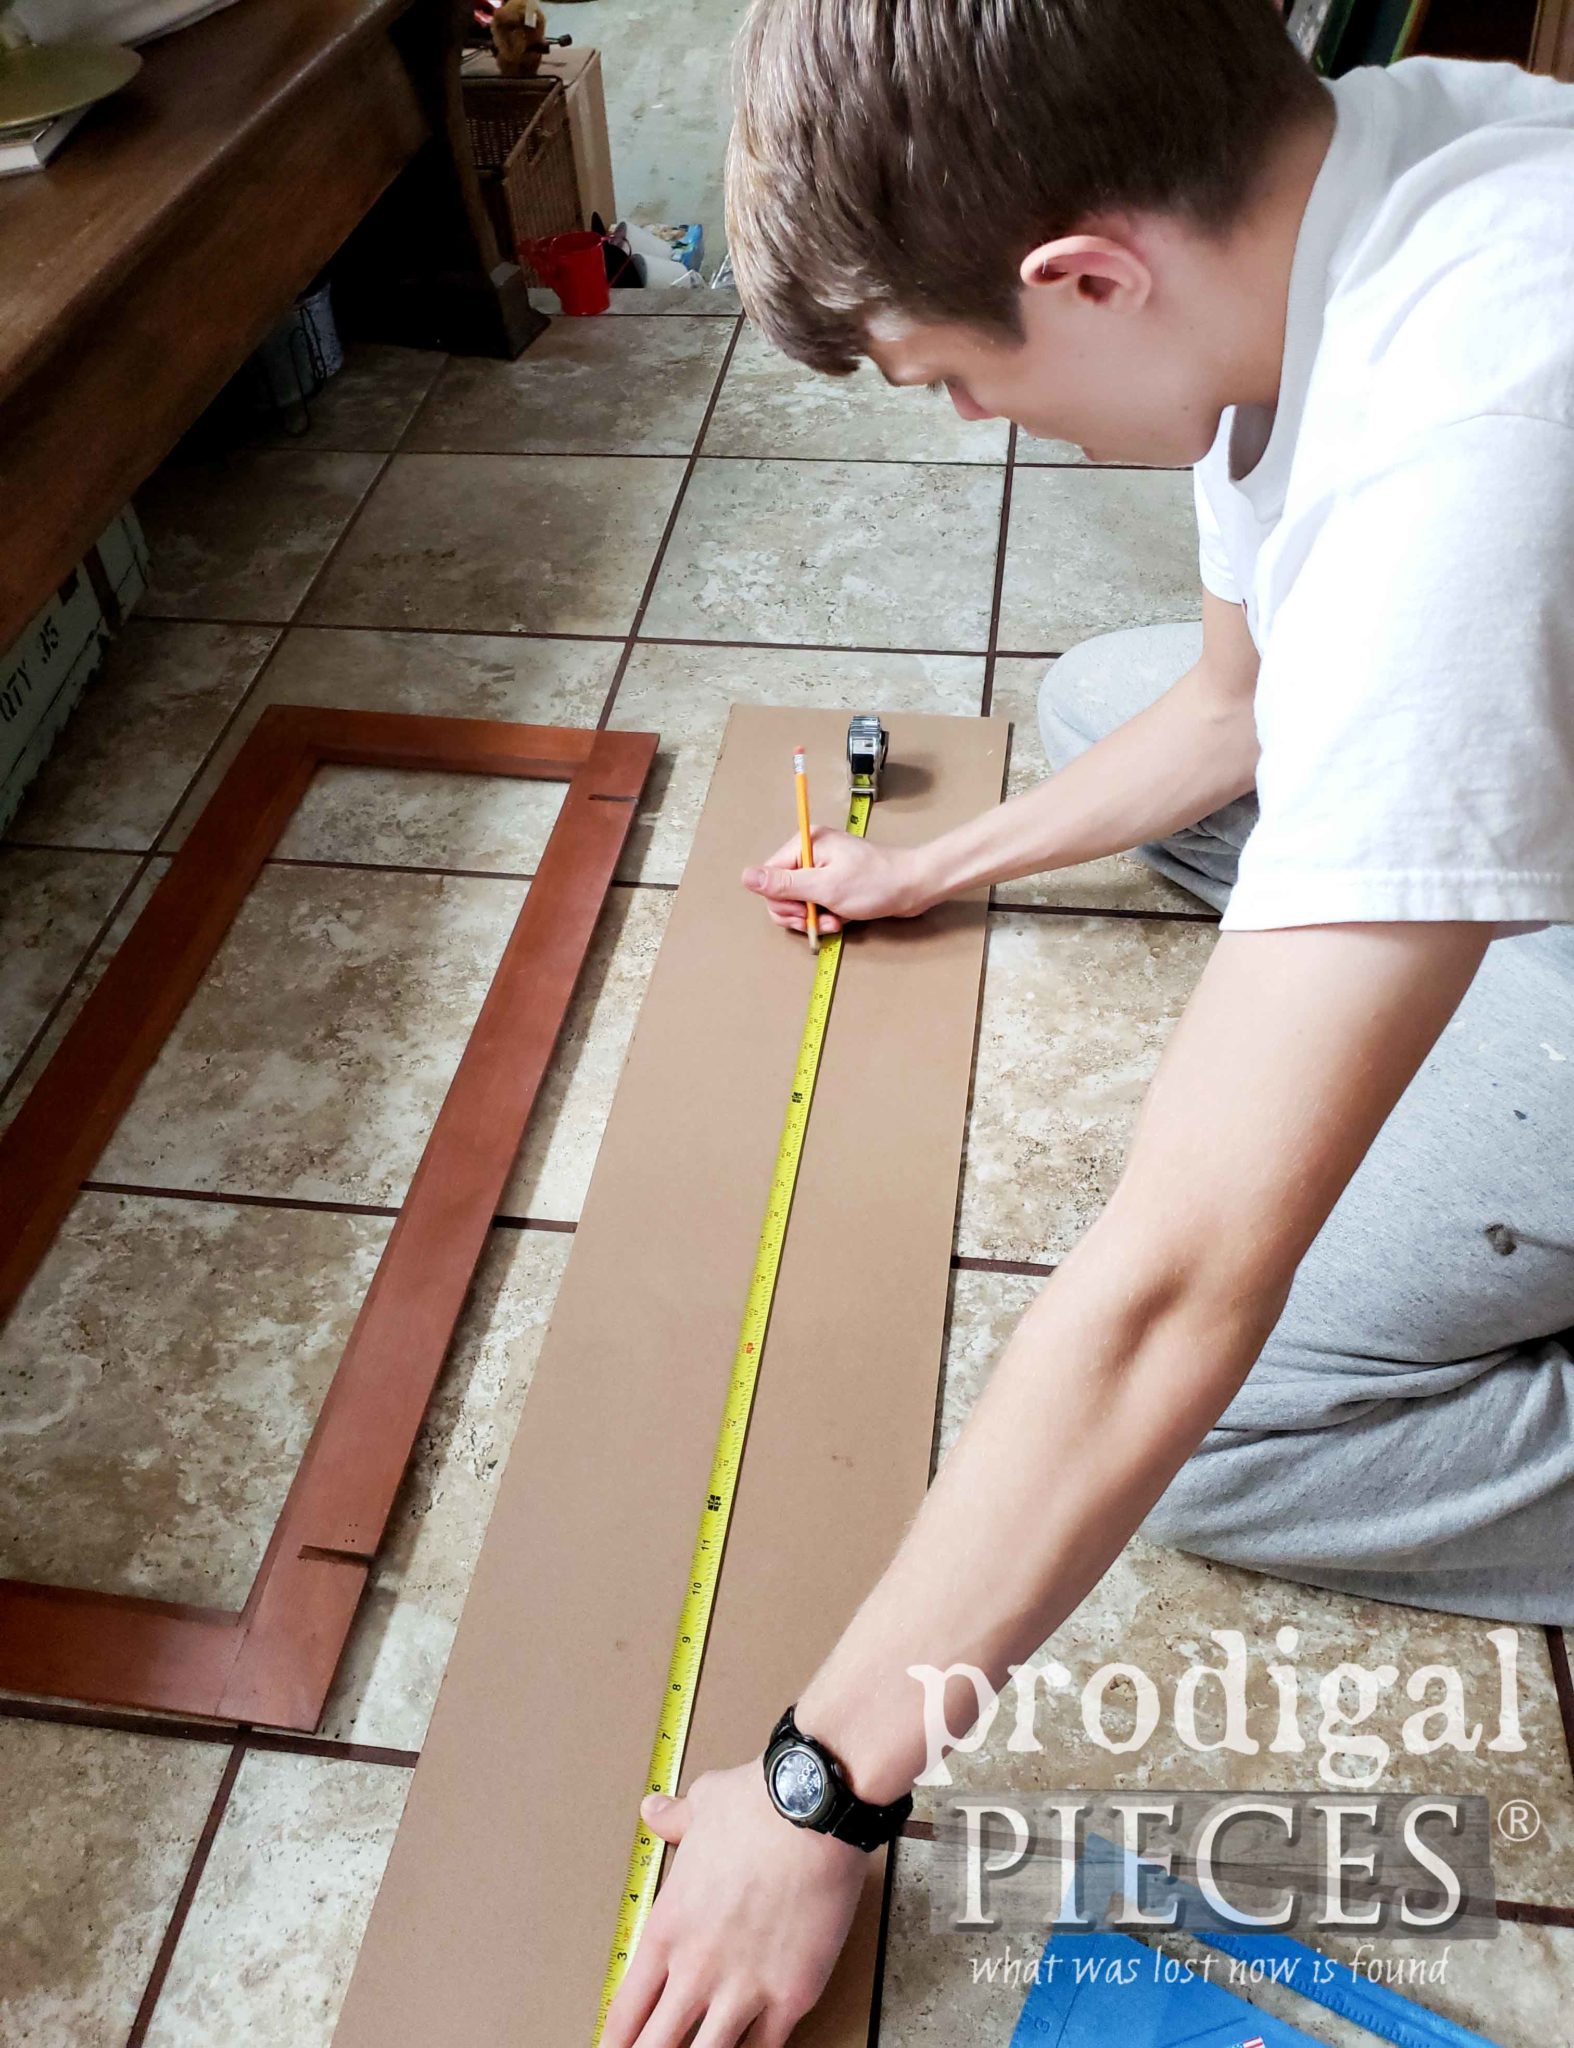
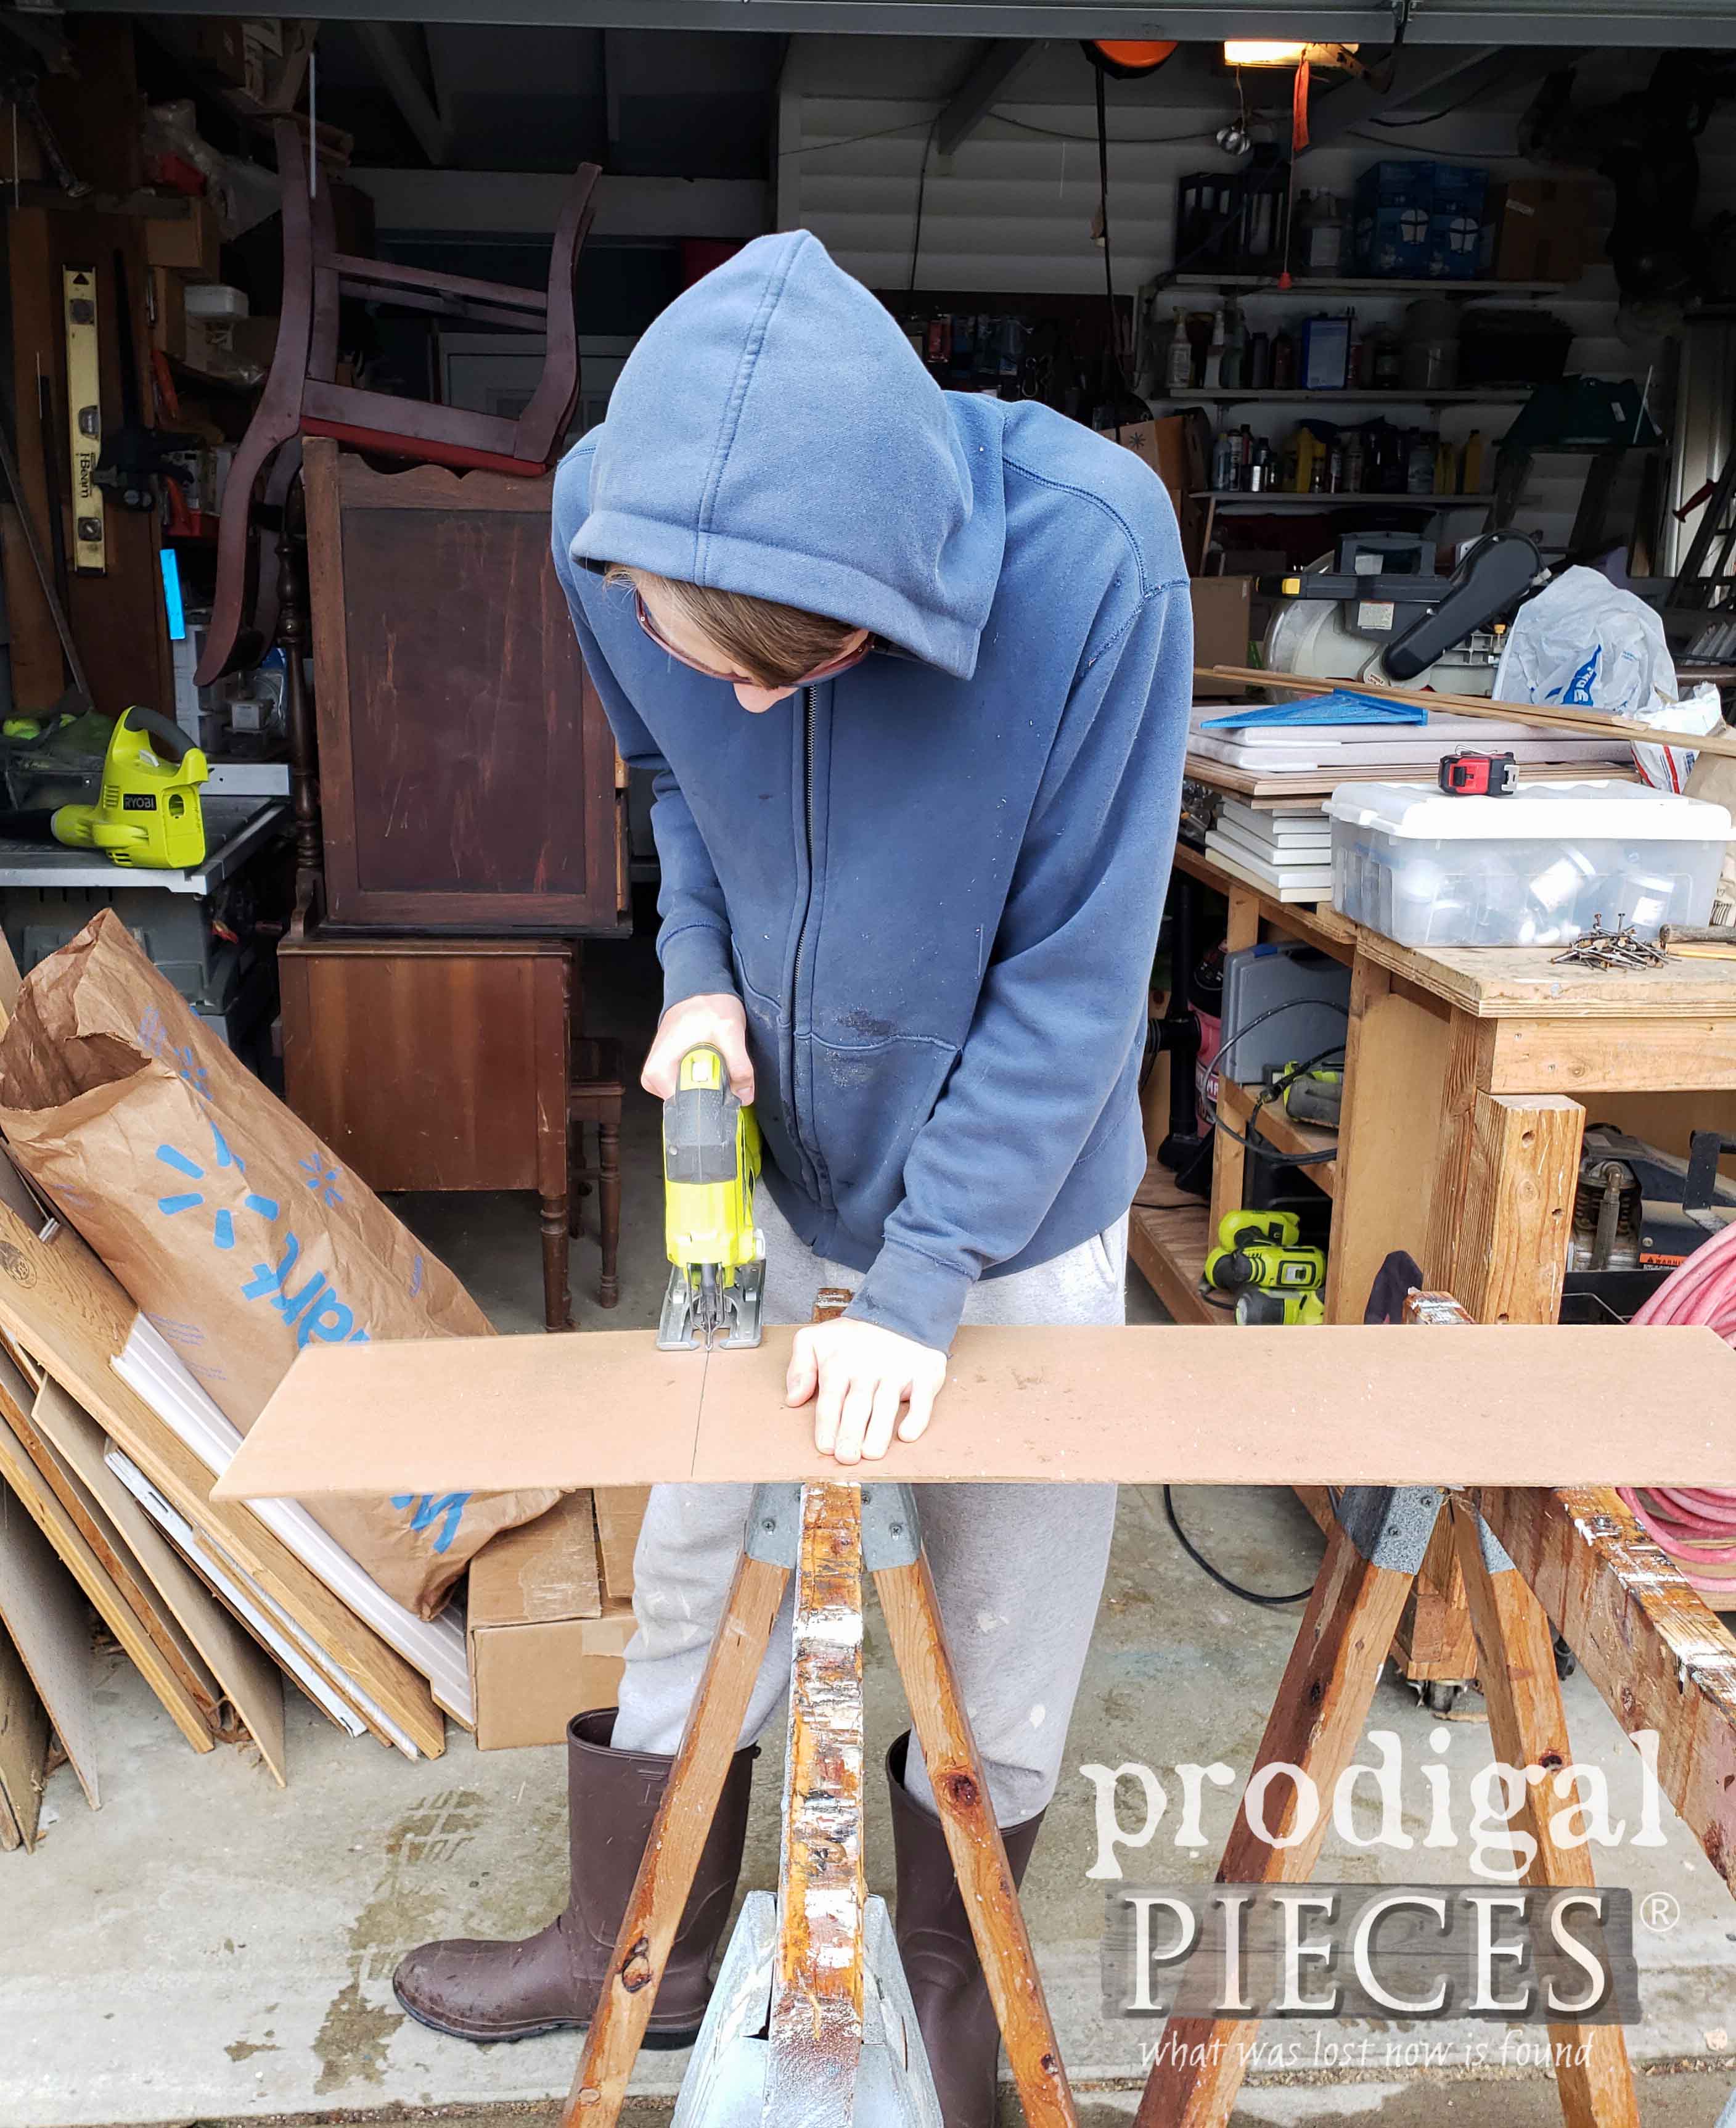
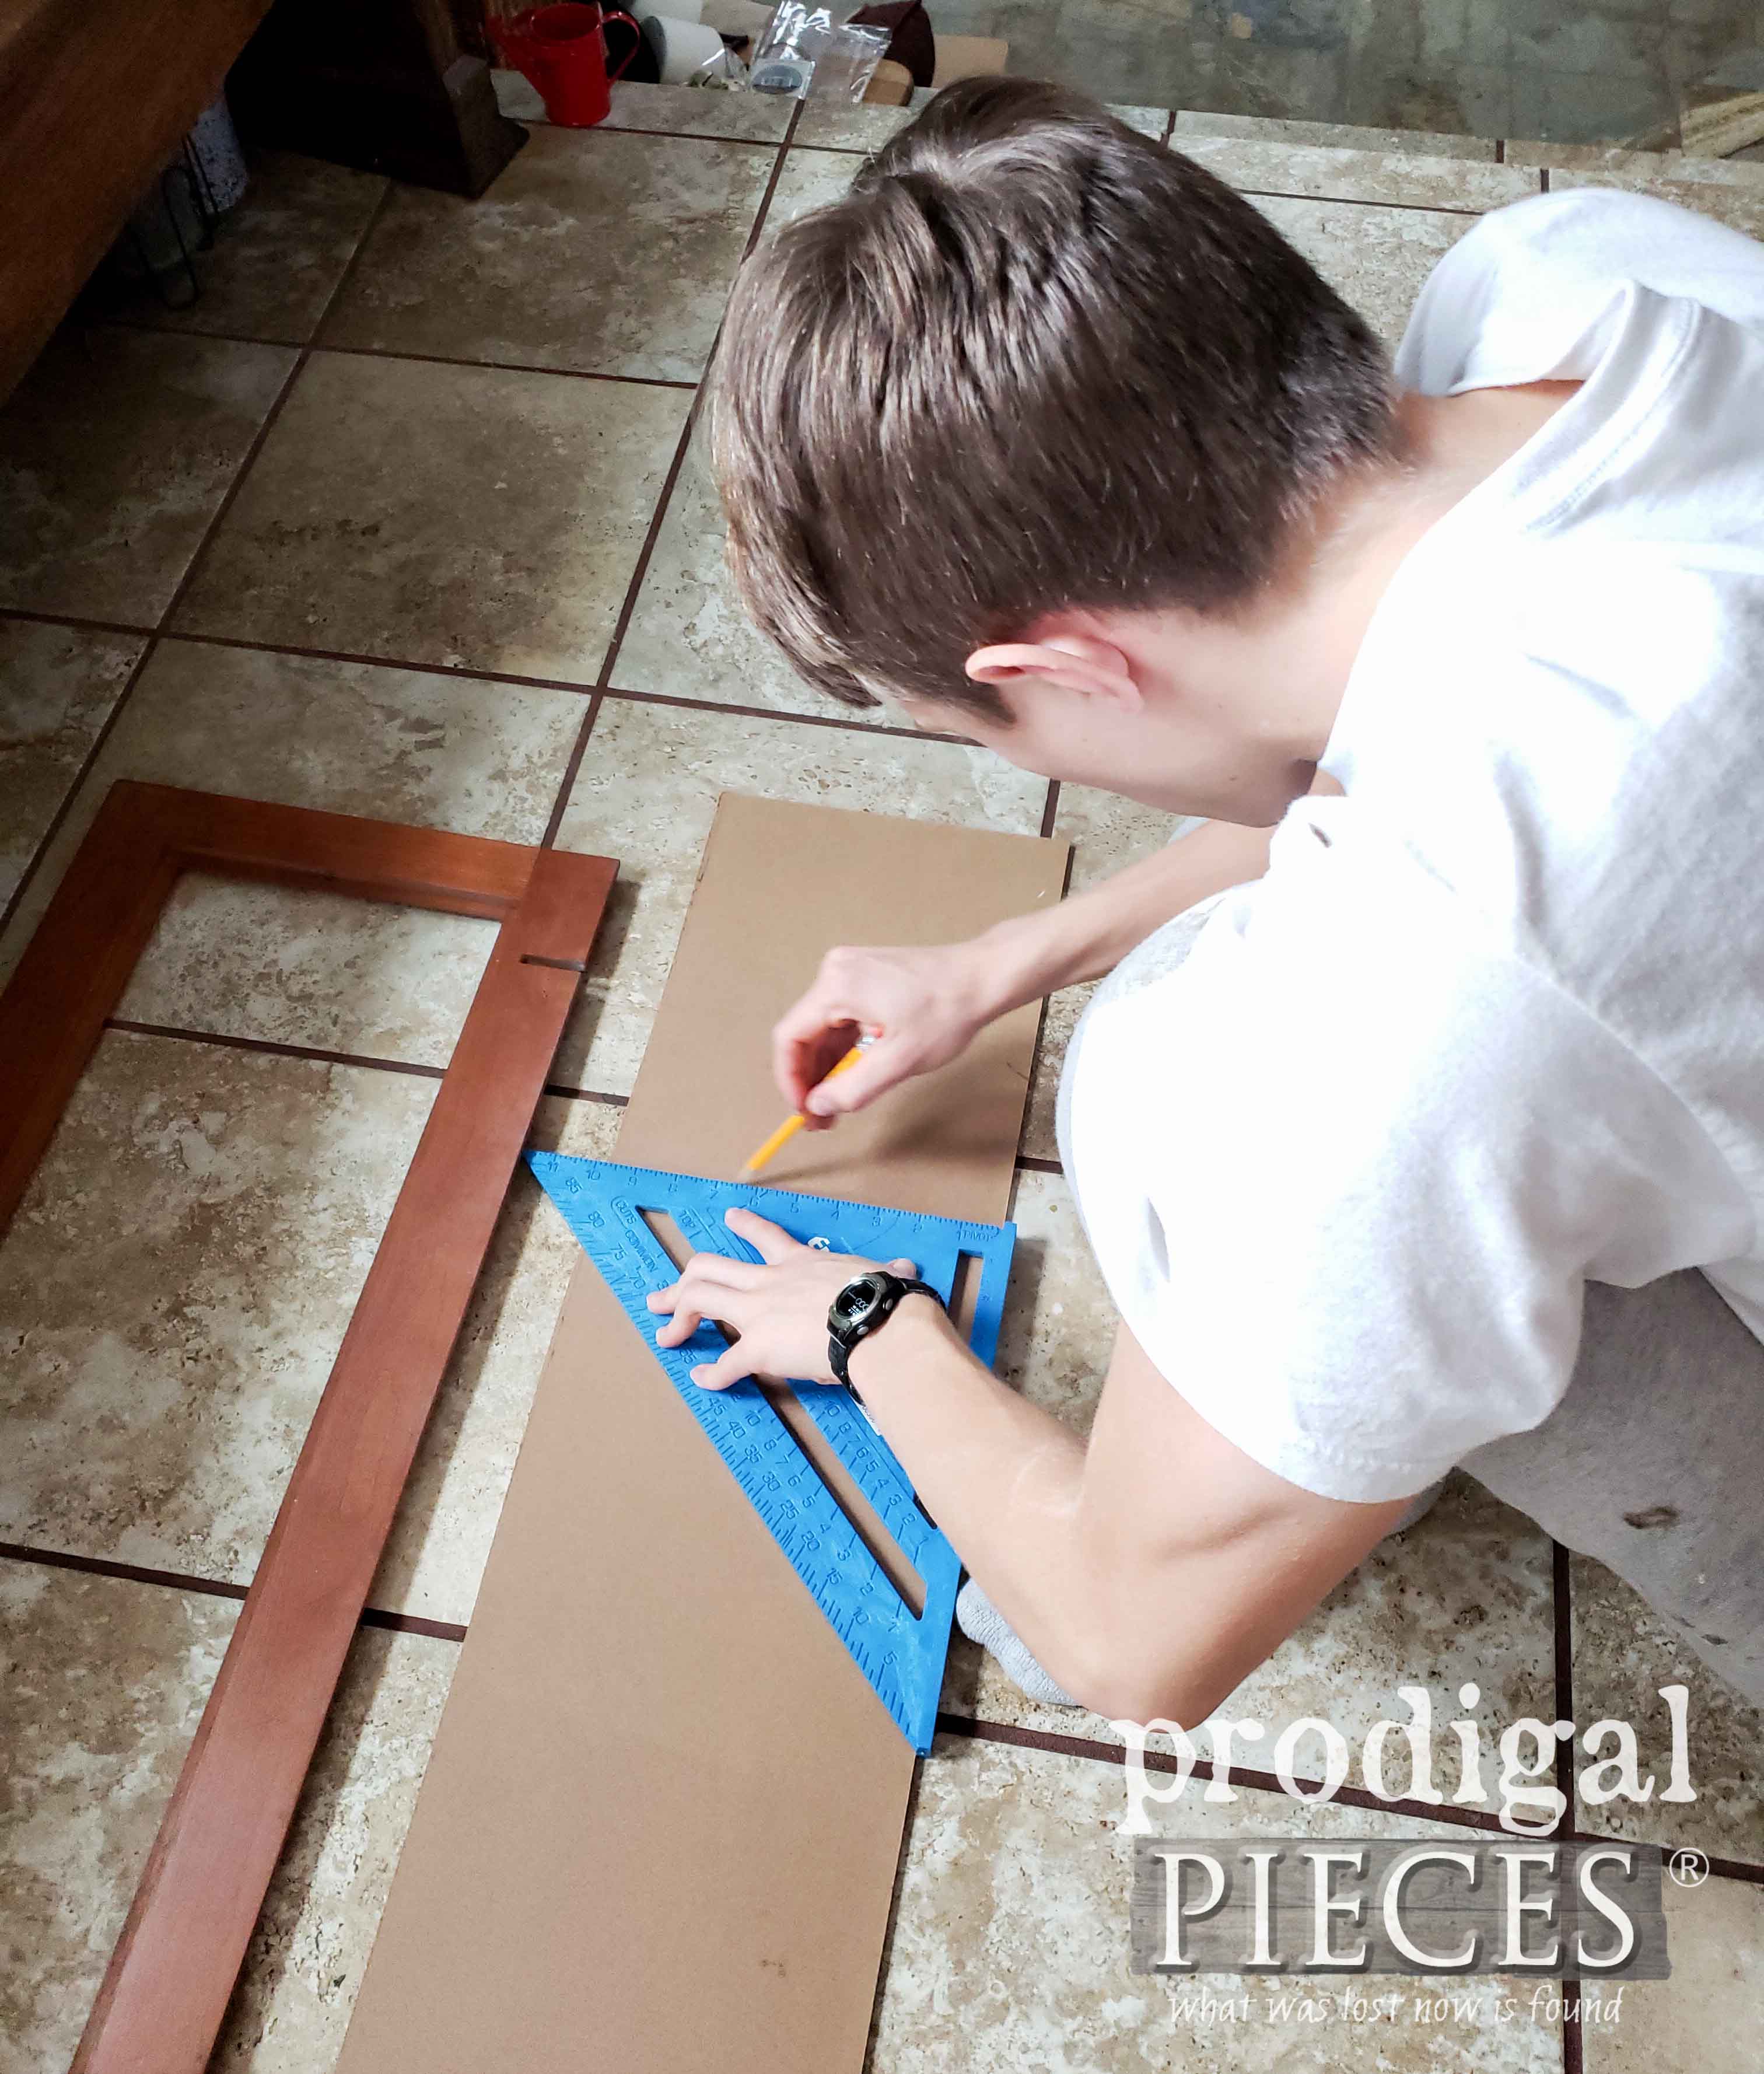 Once he had his measurements, he went outside to use my jigsaw to cut it to length.
 Then, he brought it back in a gave it two coats of white paint. However, he wanted to add a vintage vibe to his Christmas cupboard door project, so I showed him how to create a graphic he could transfer on using my transfer method.
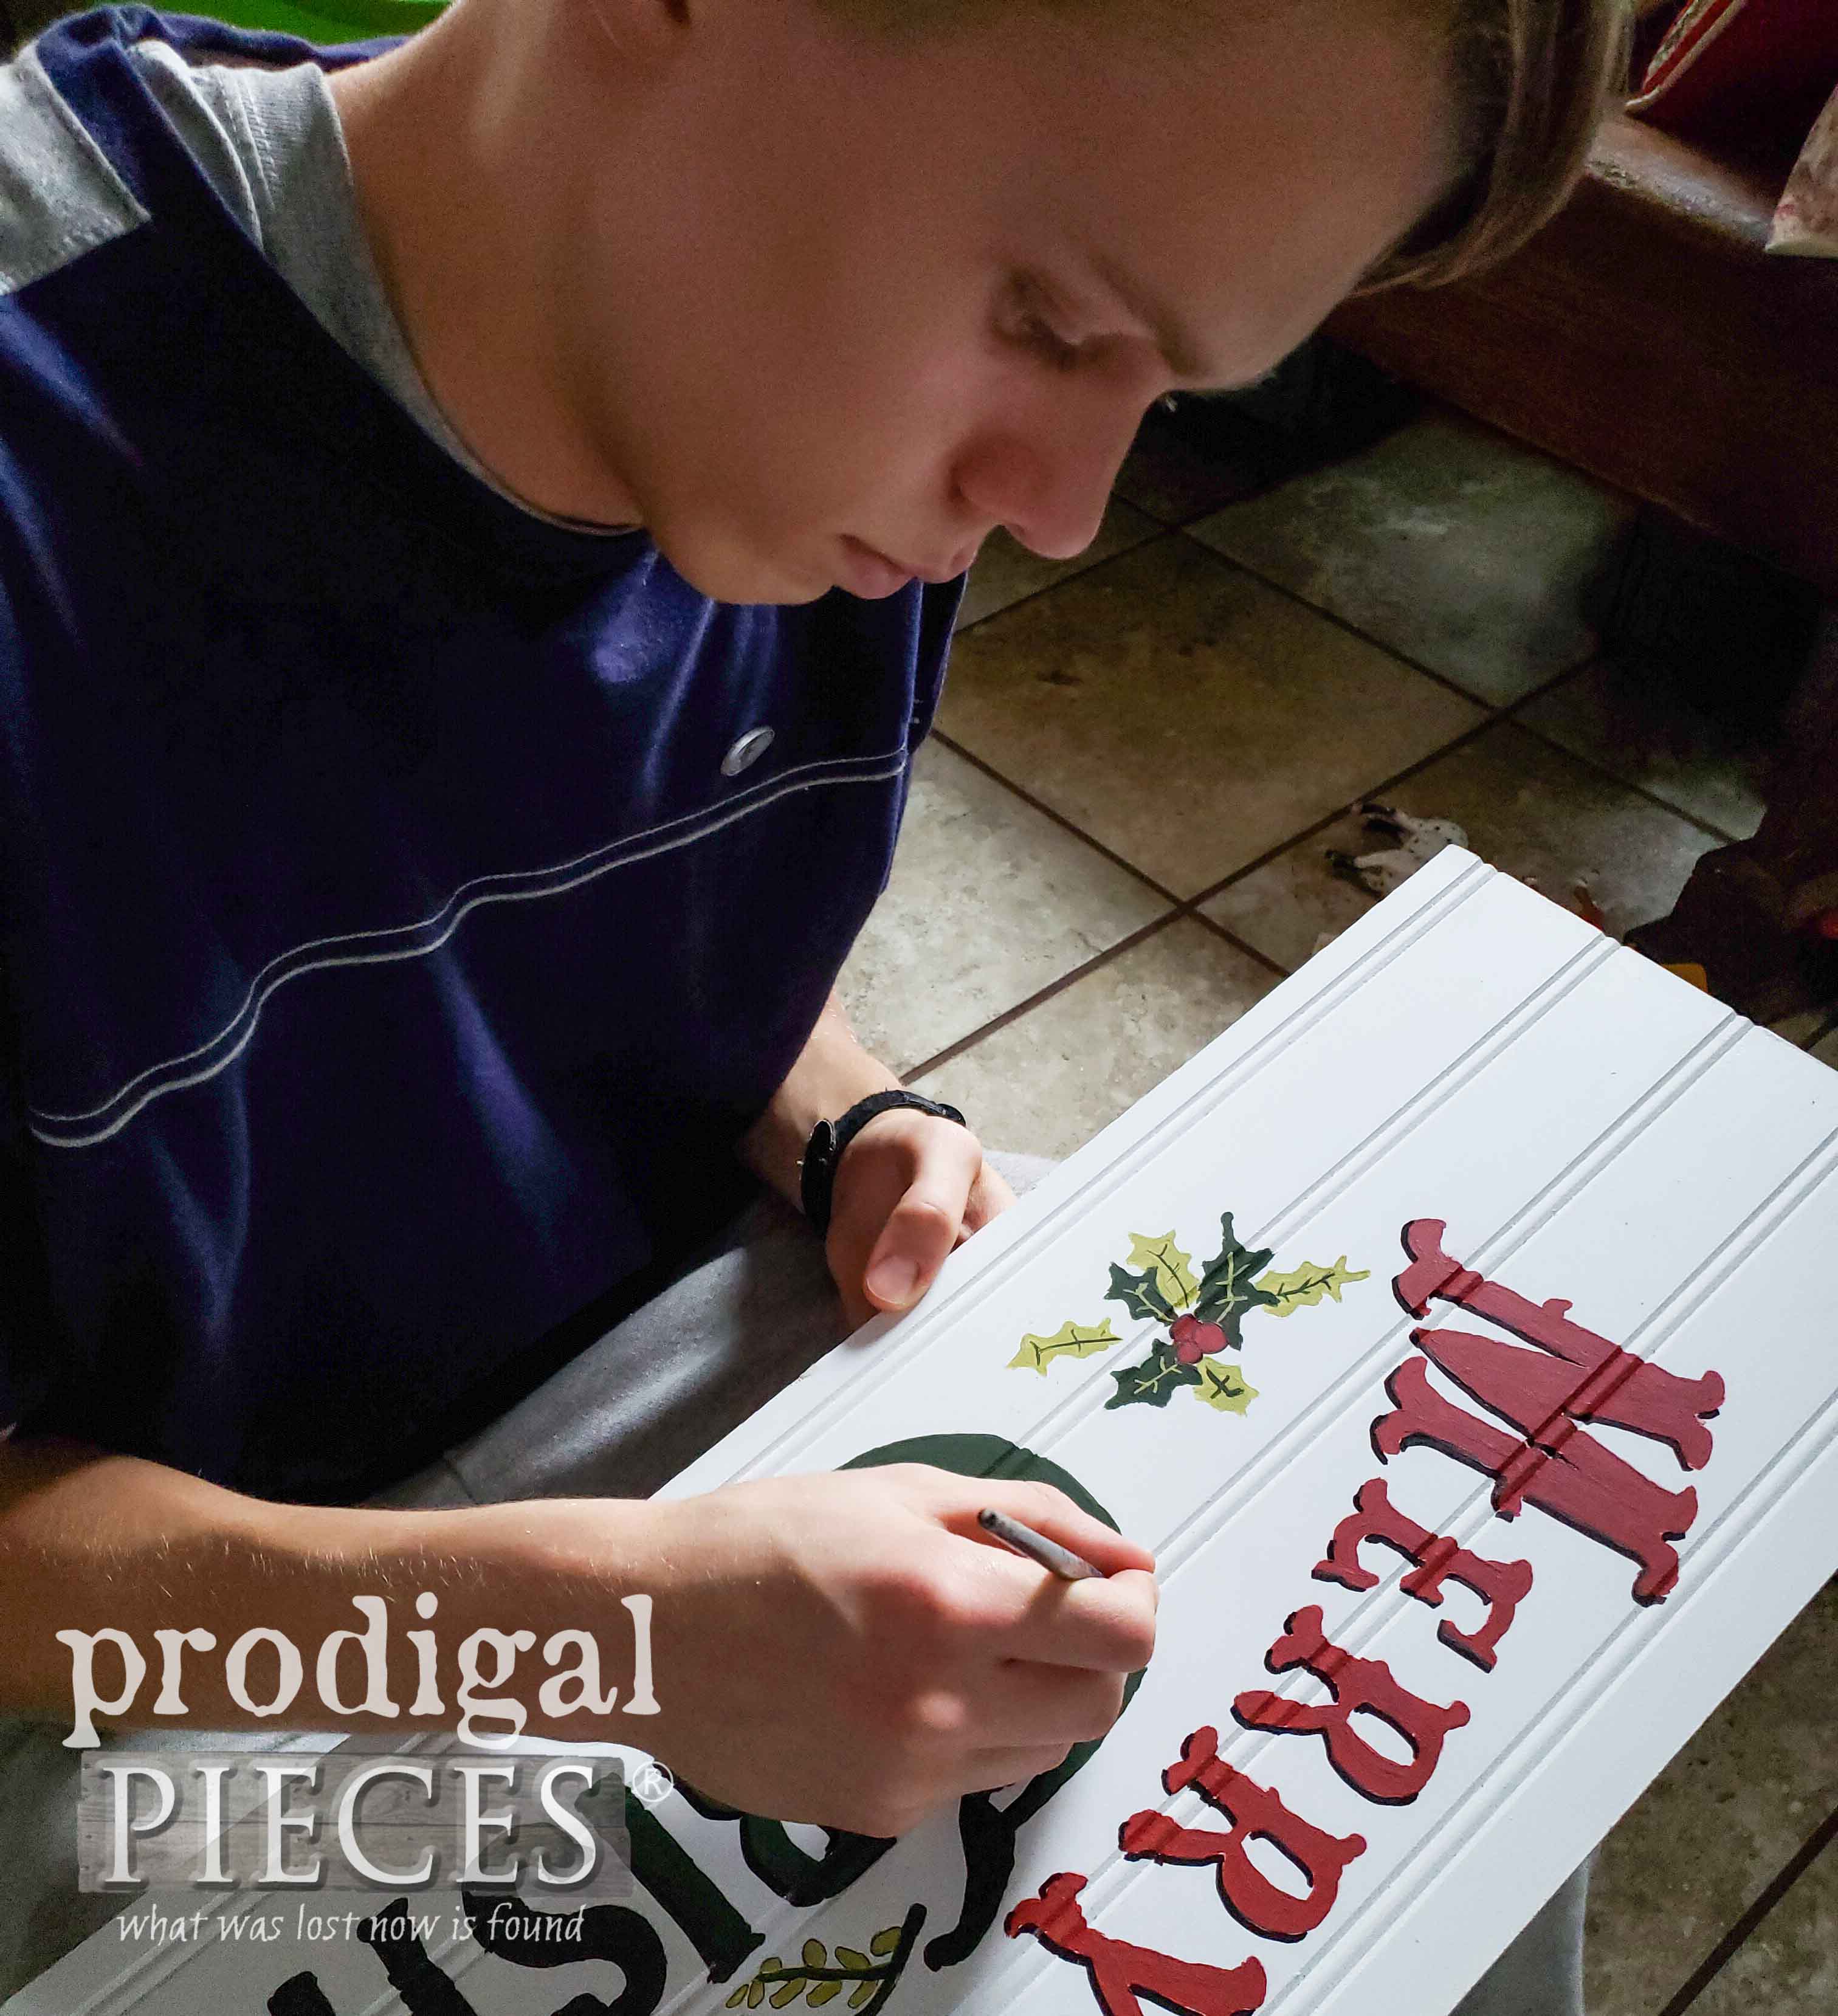 Last, he added the small hooks on the front and keyhole hangers on the back and his Christmas cupboard door project is ready to go.
FIRST REVEAL
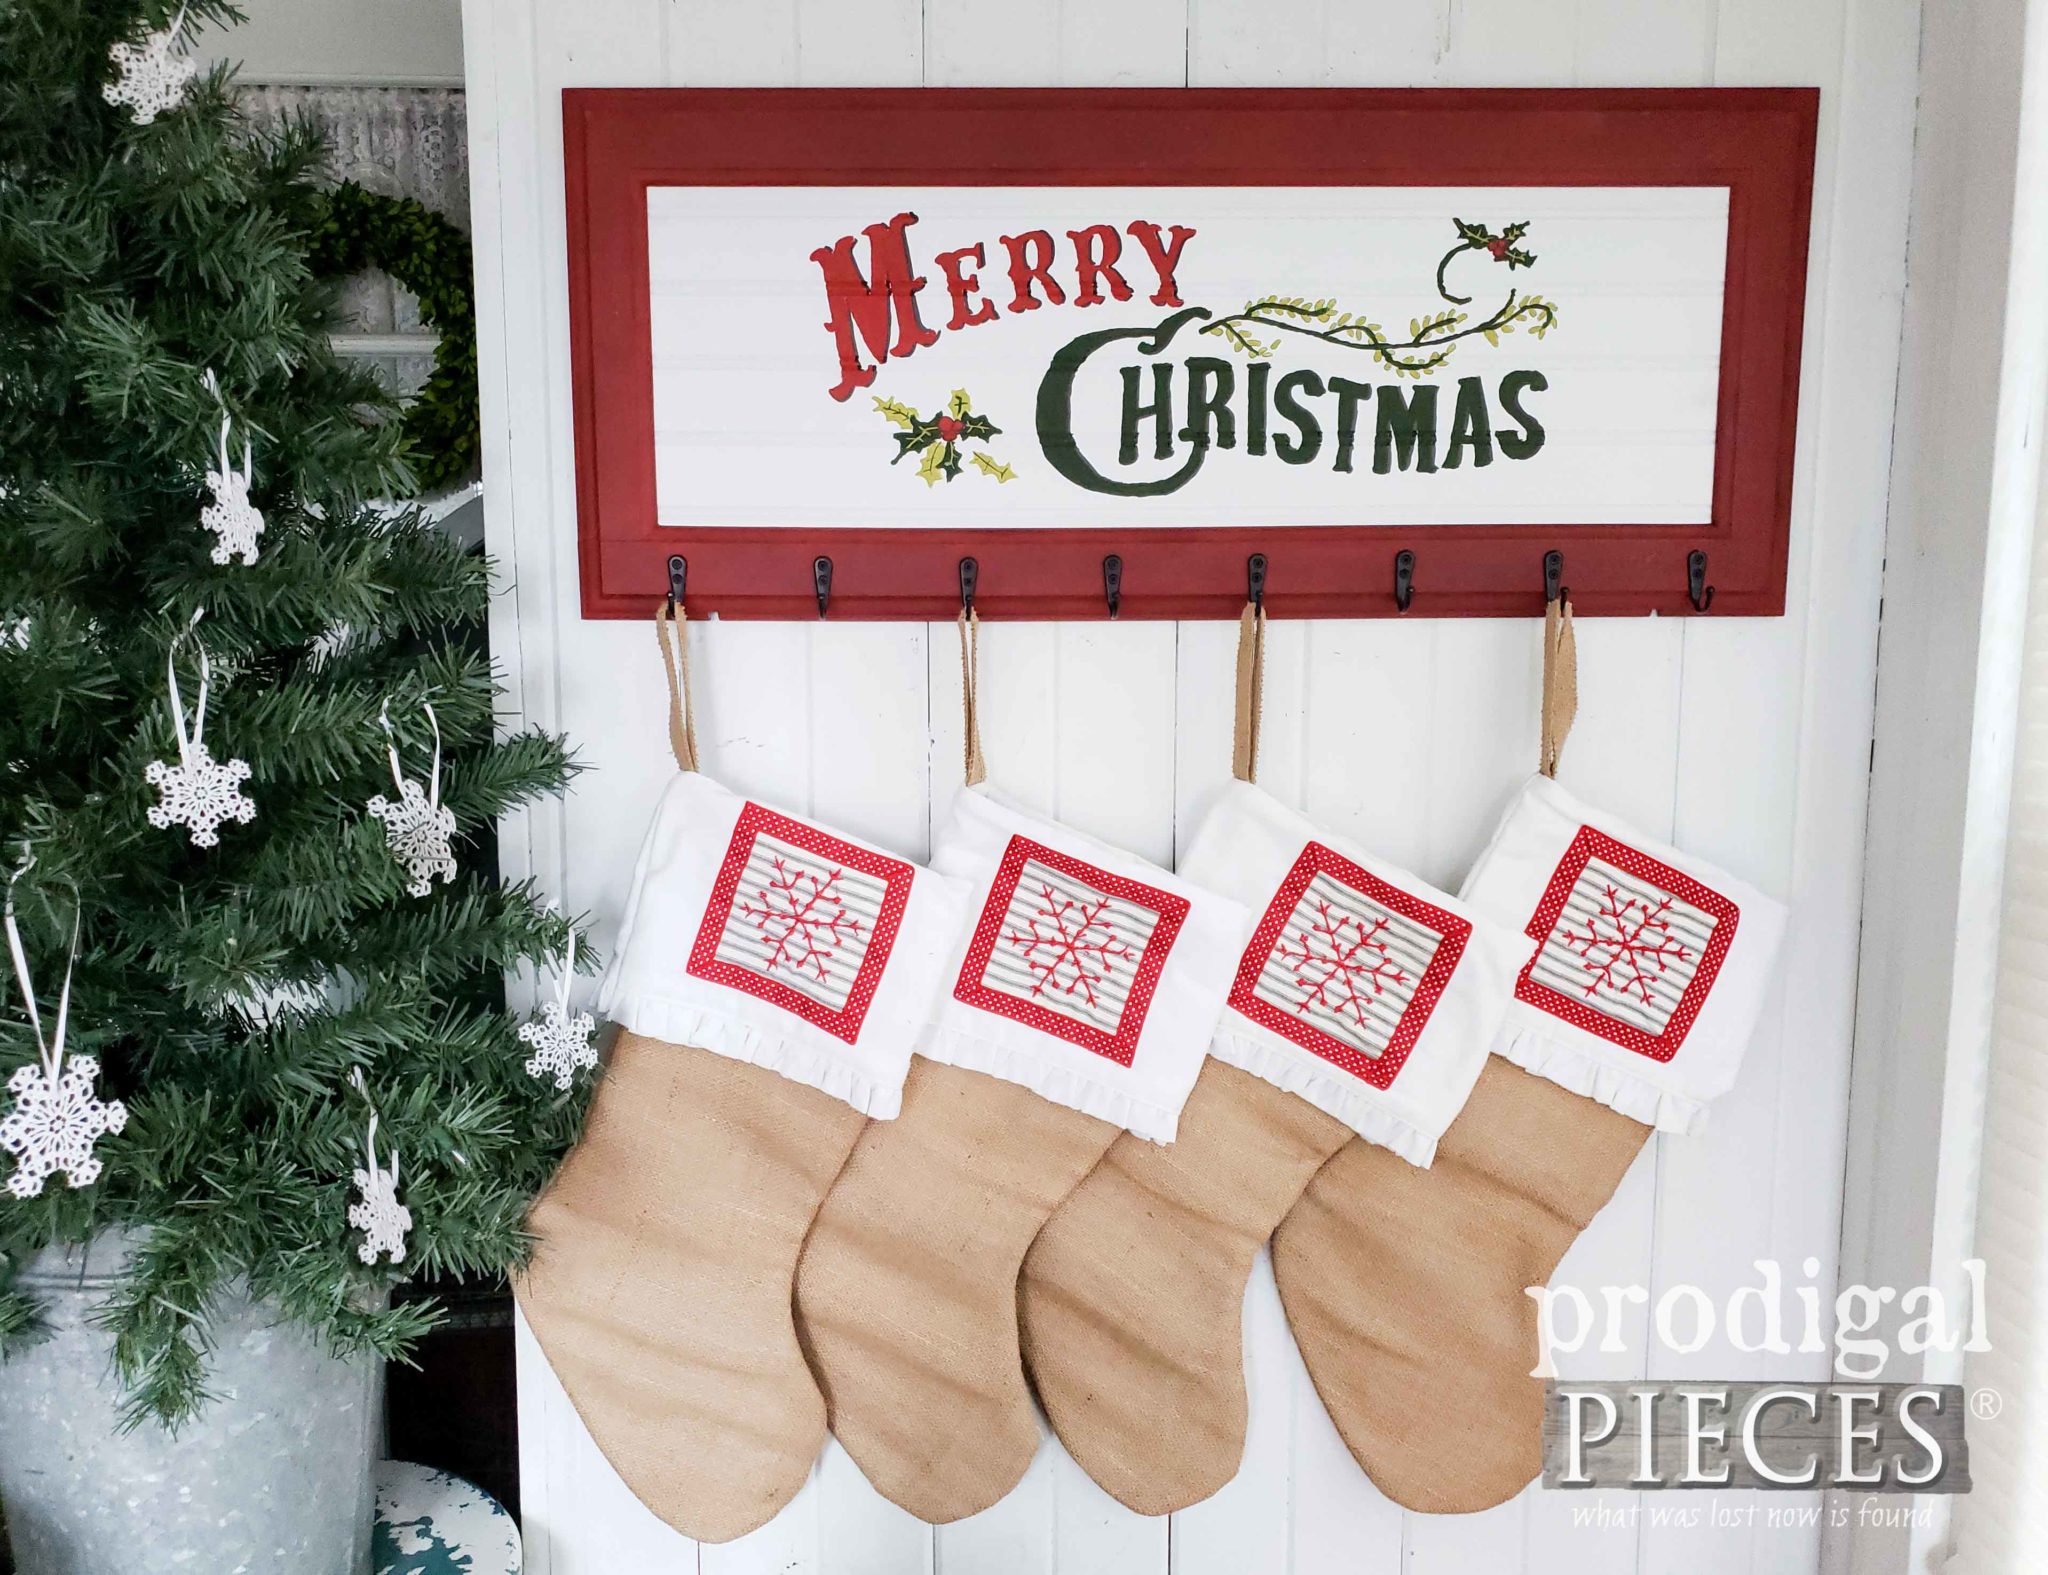
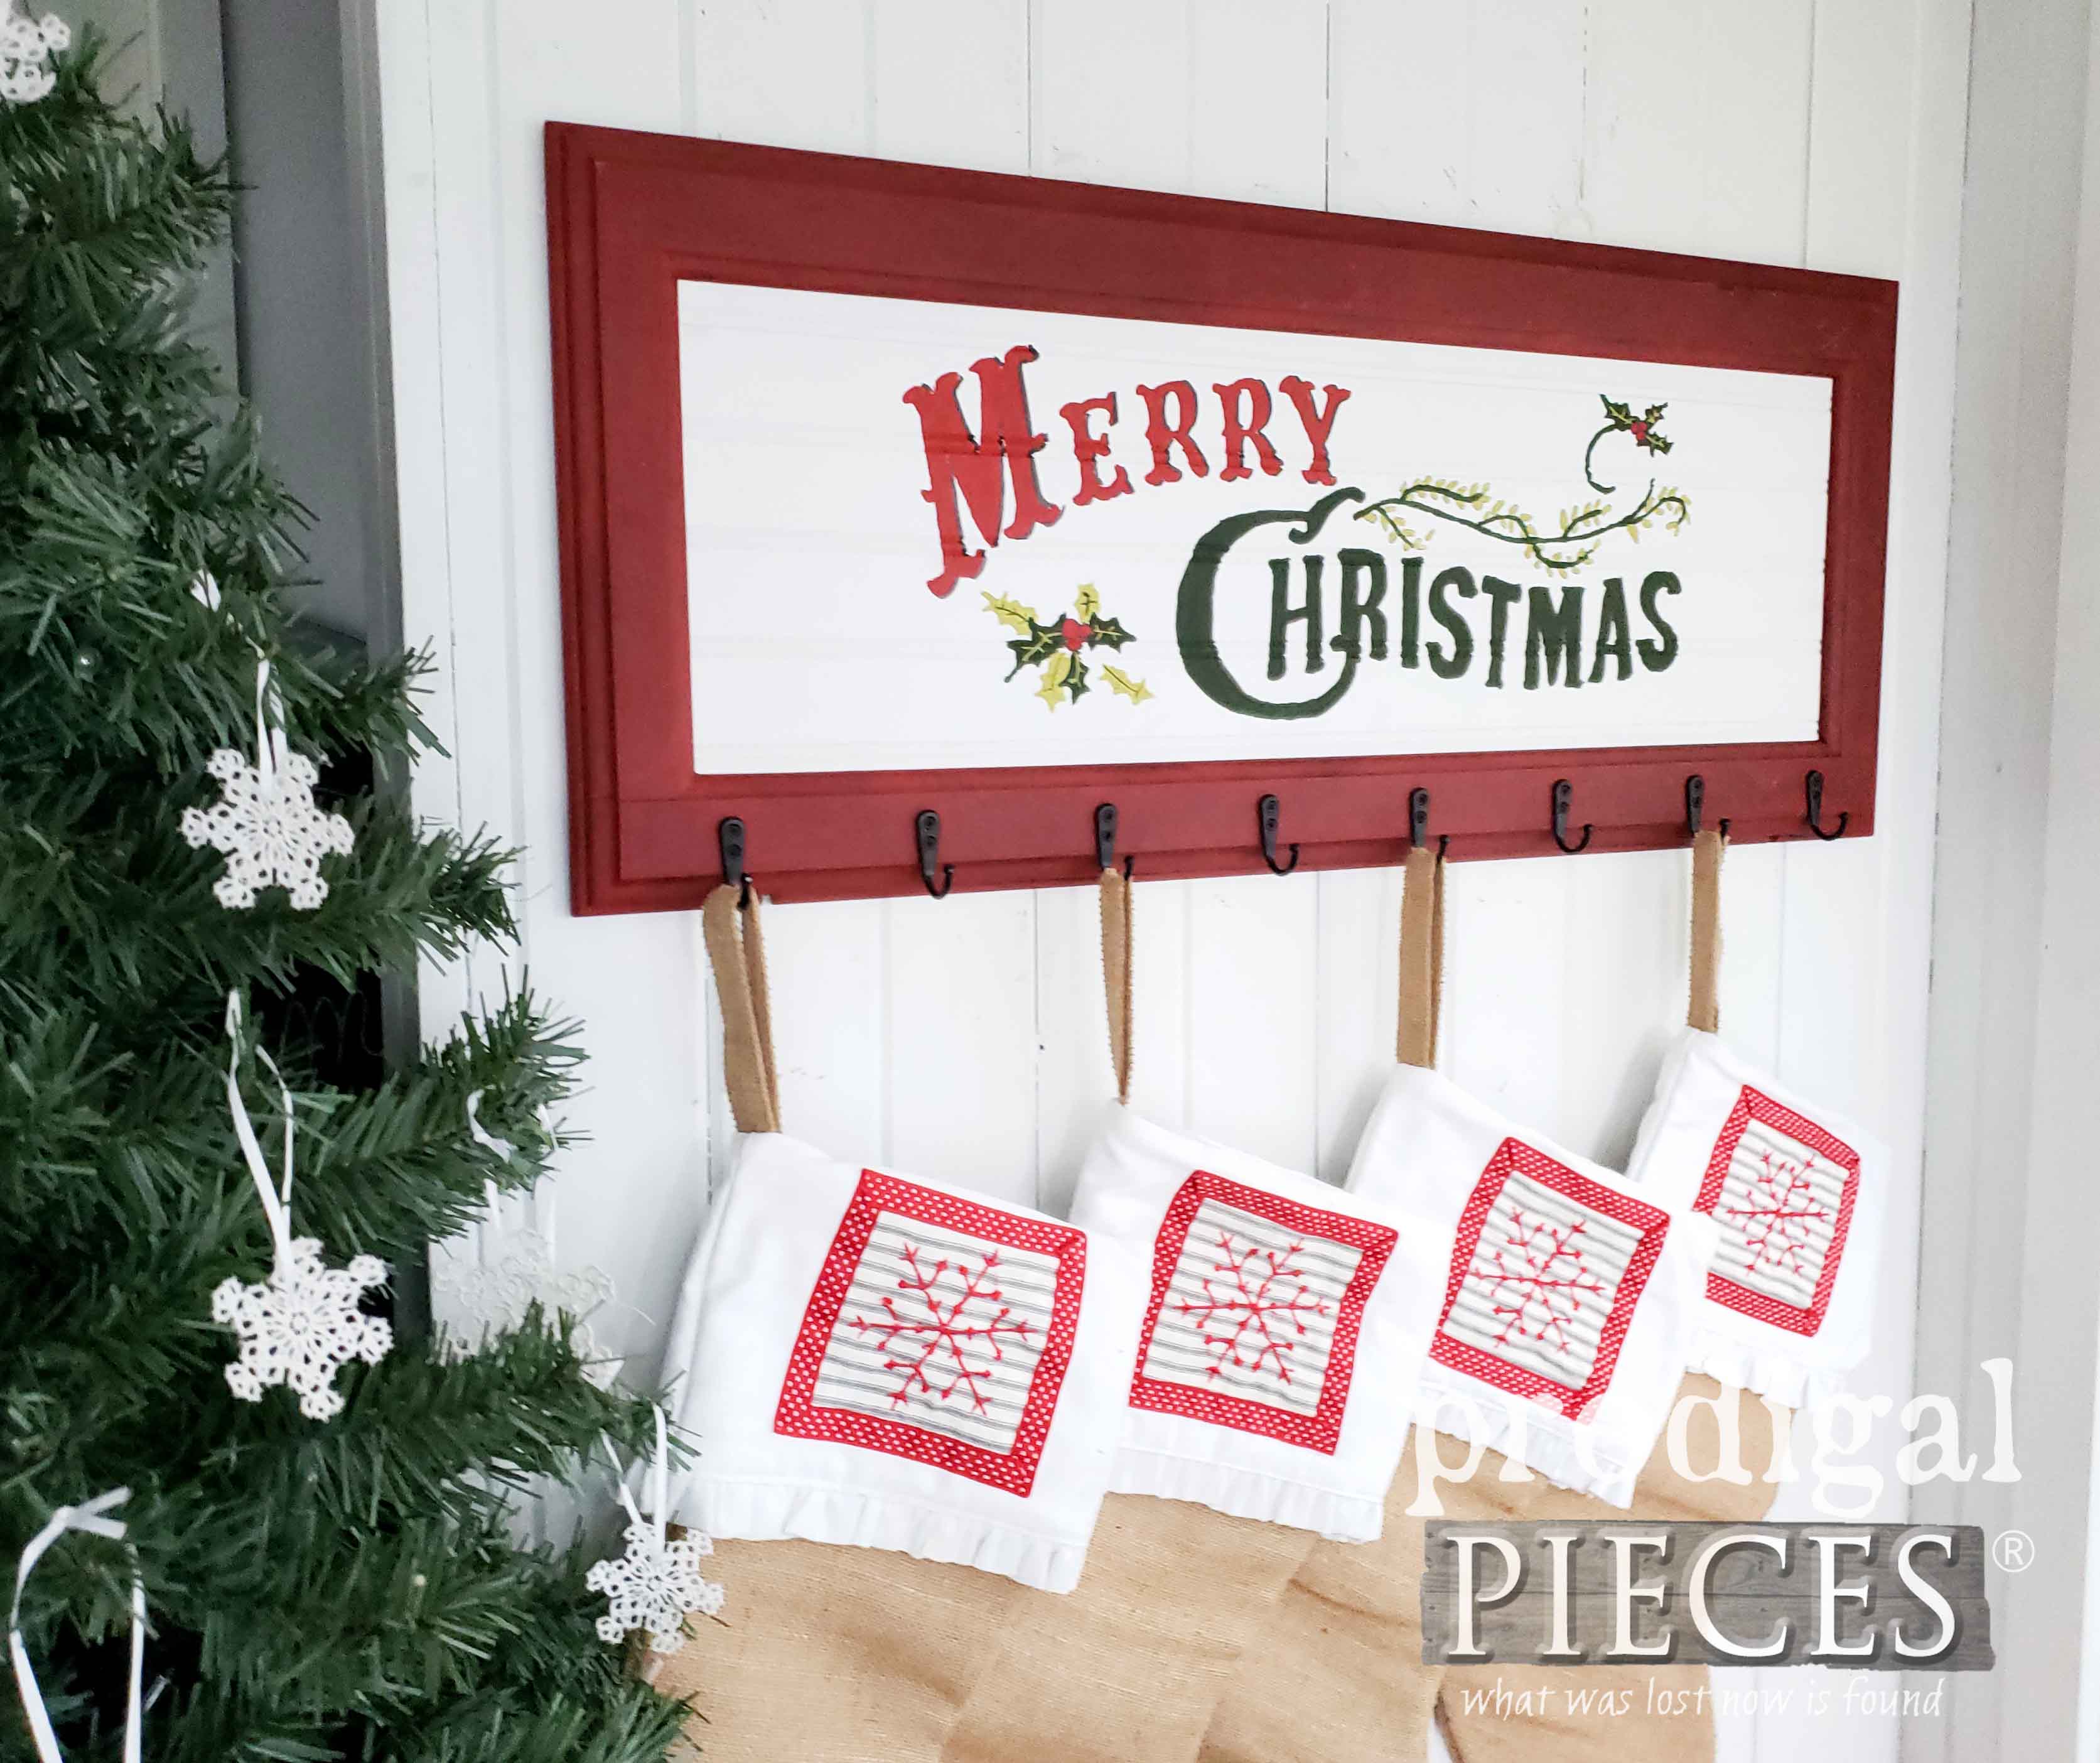 There's room for 8 stockings or hats, or whatever you'd like to display or corral. Isn't it fun? I think Mr. I did a fantastic job on it. {{high five!}}
SECOND PROJECT
Up next is Miss C., my oldest daughter. You can see all her past projects in these posts HERE. She picked out this beautiful cupboard door that I have repeatedly told her I'd love to have in my kitchen.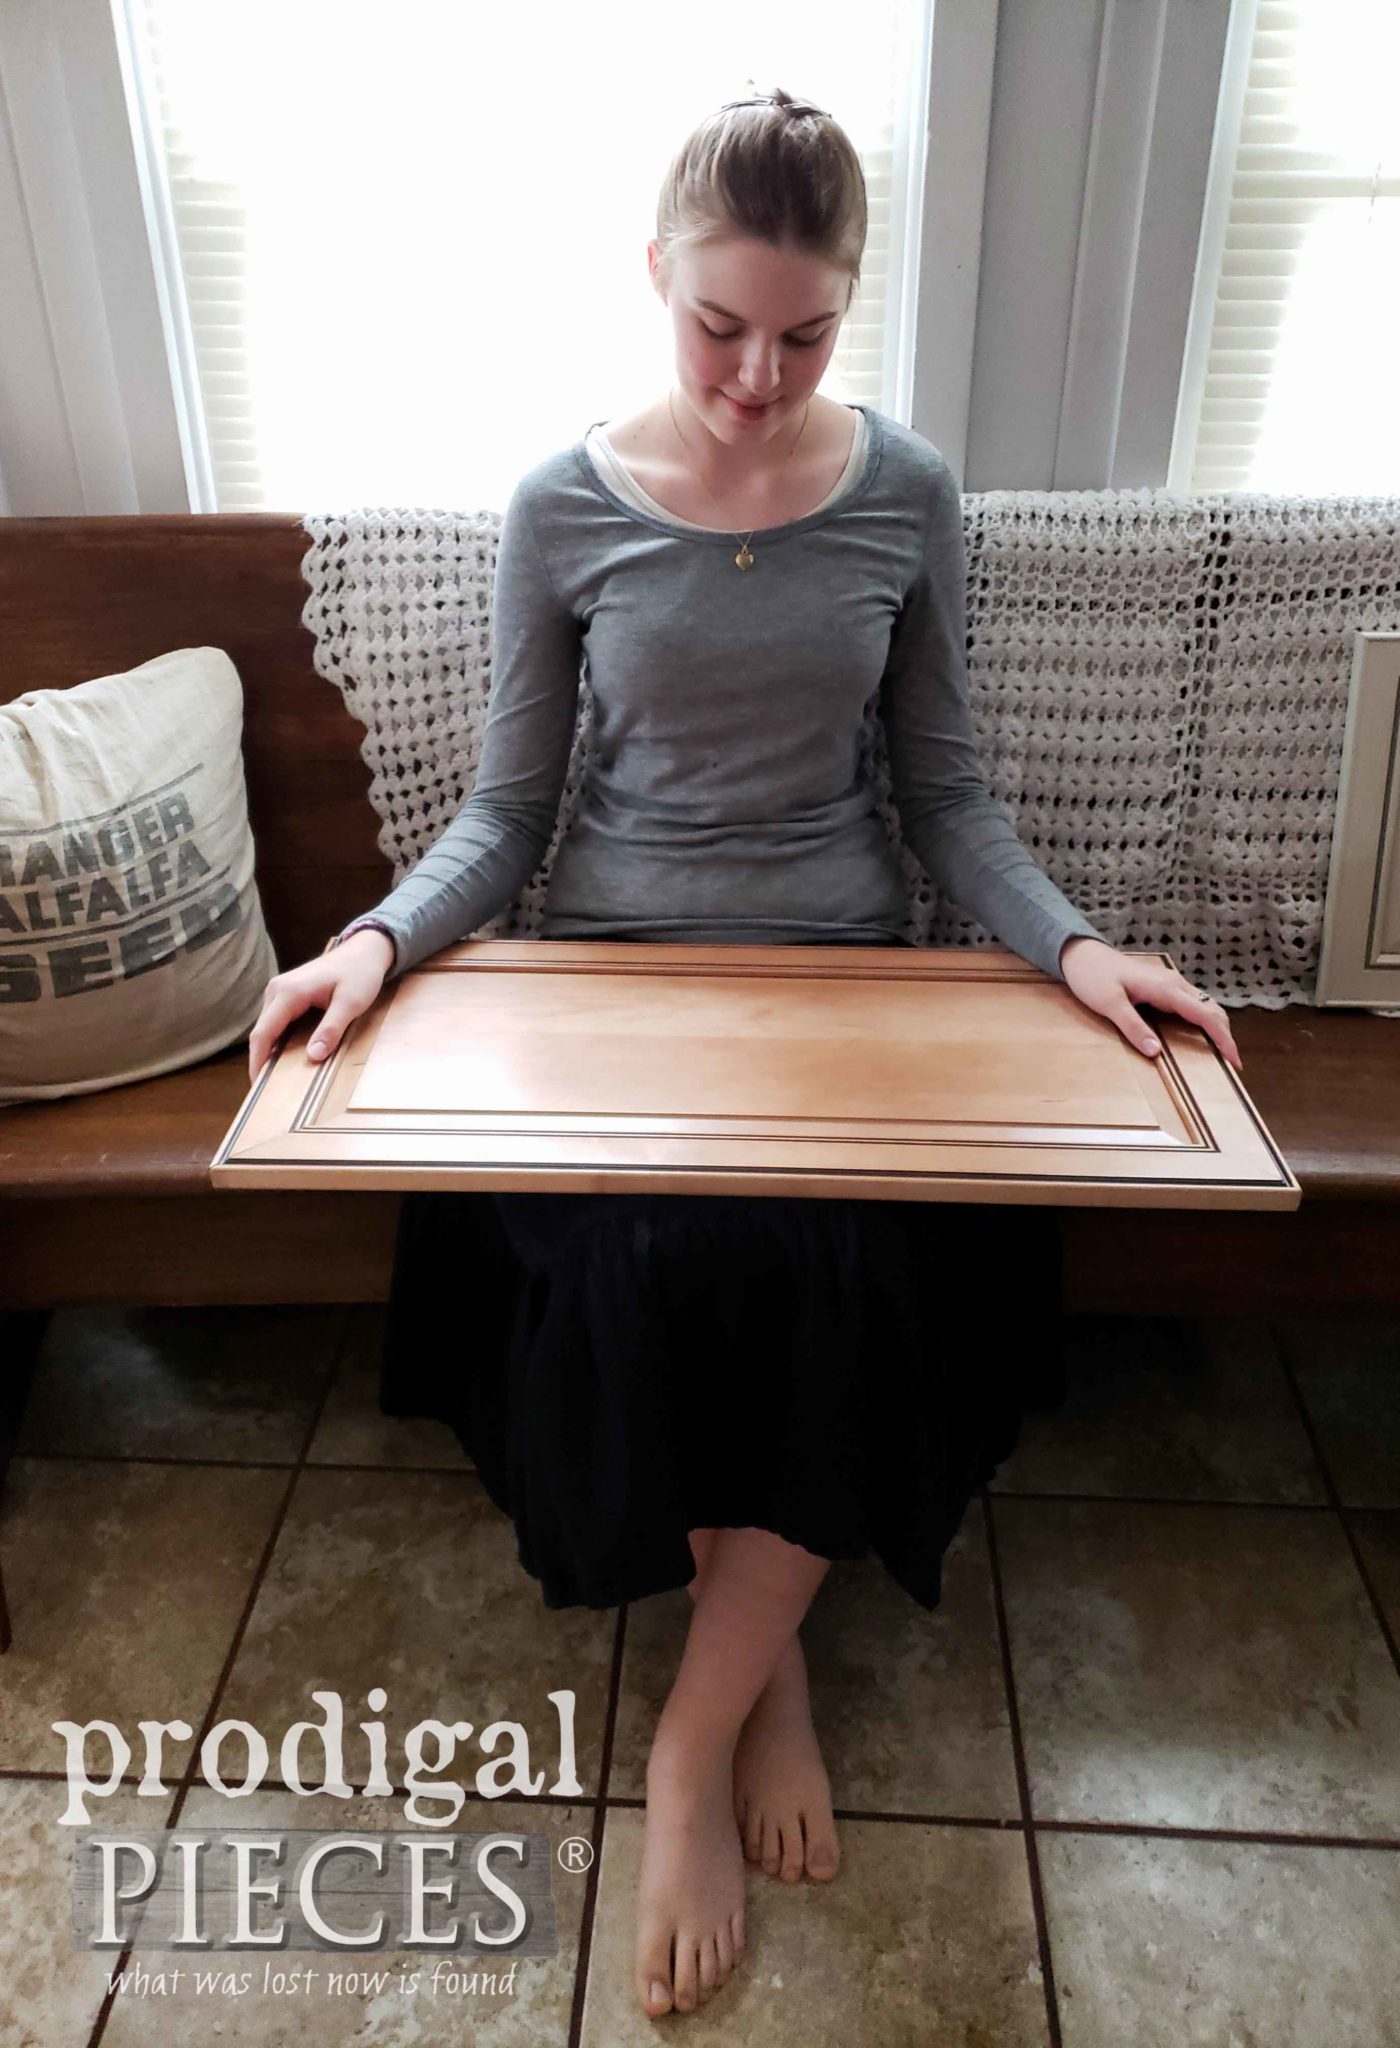 Since she loved the wood grain too, she decided to use it to create an Advent Calendar. If you're not familiar with what that is, Advent means "coming" in Latin, and is used to celebrate the coming of Jesus into the world. Christ's birth is what Christmas is all about, so her calendar idea is fitting.
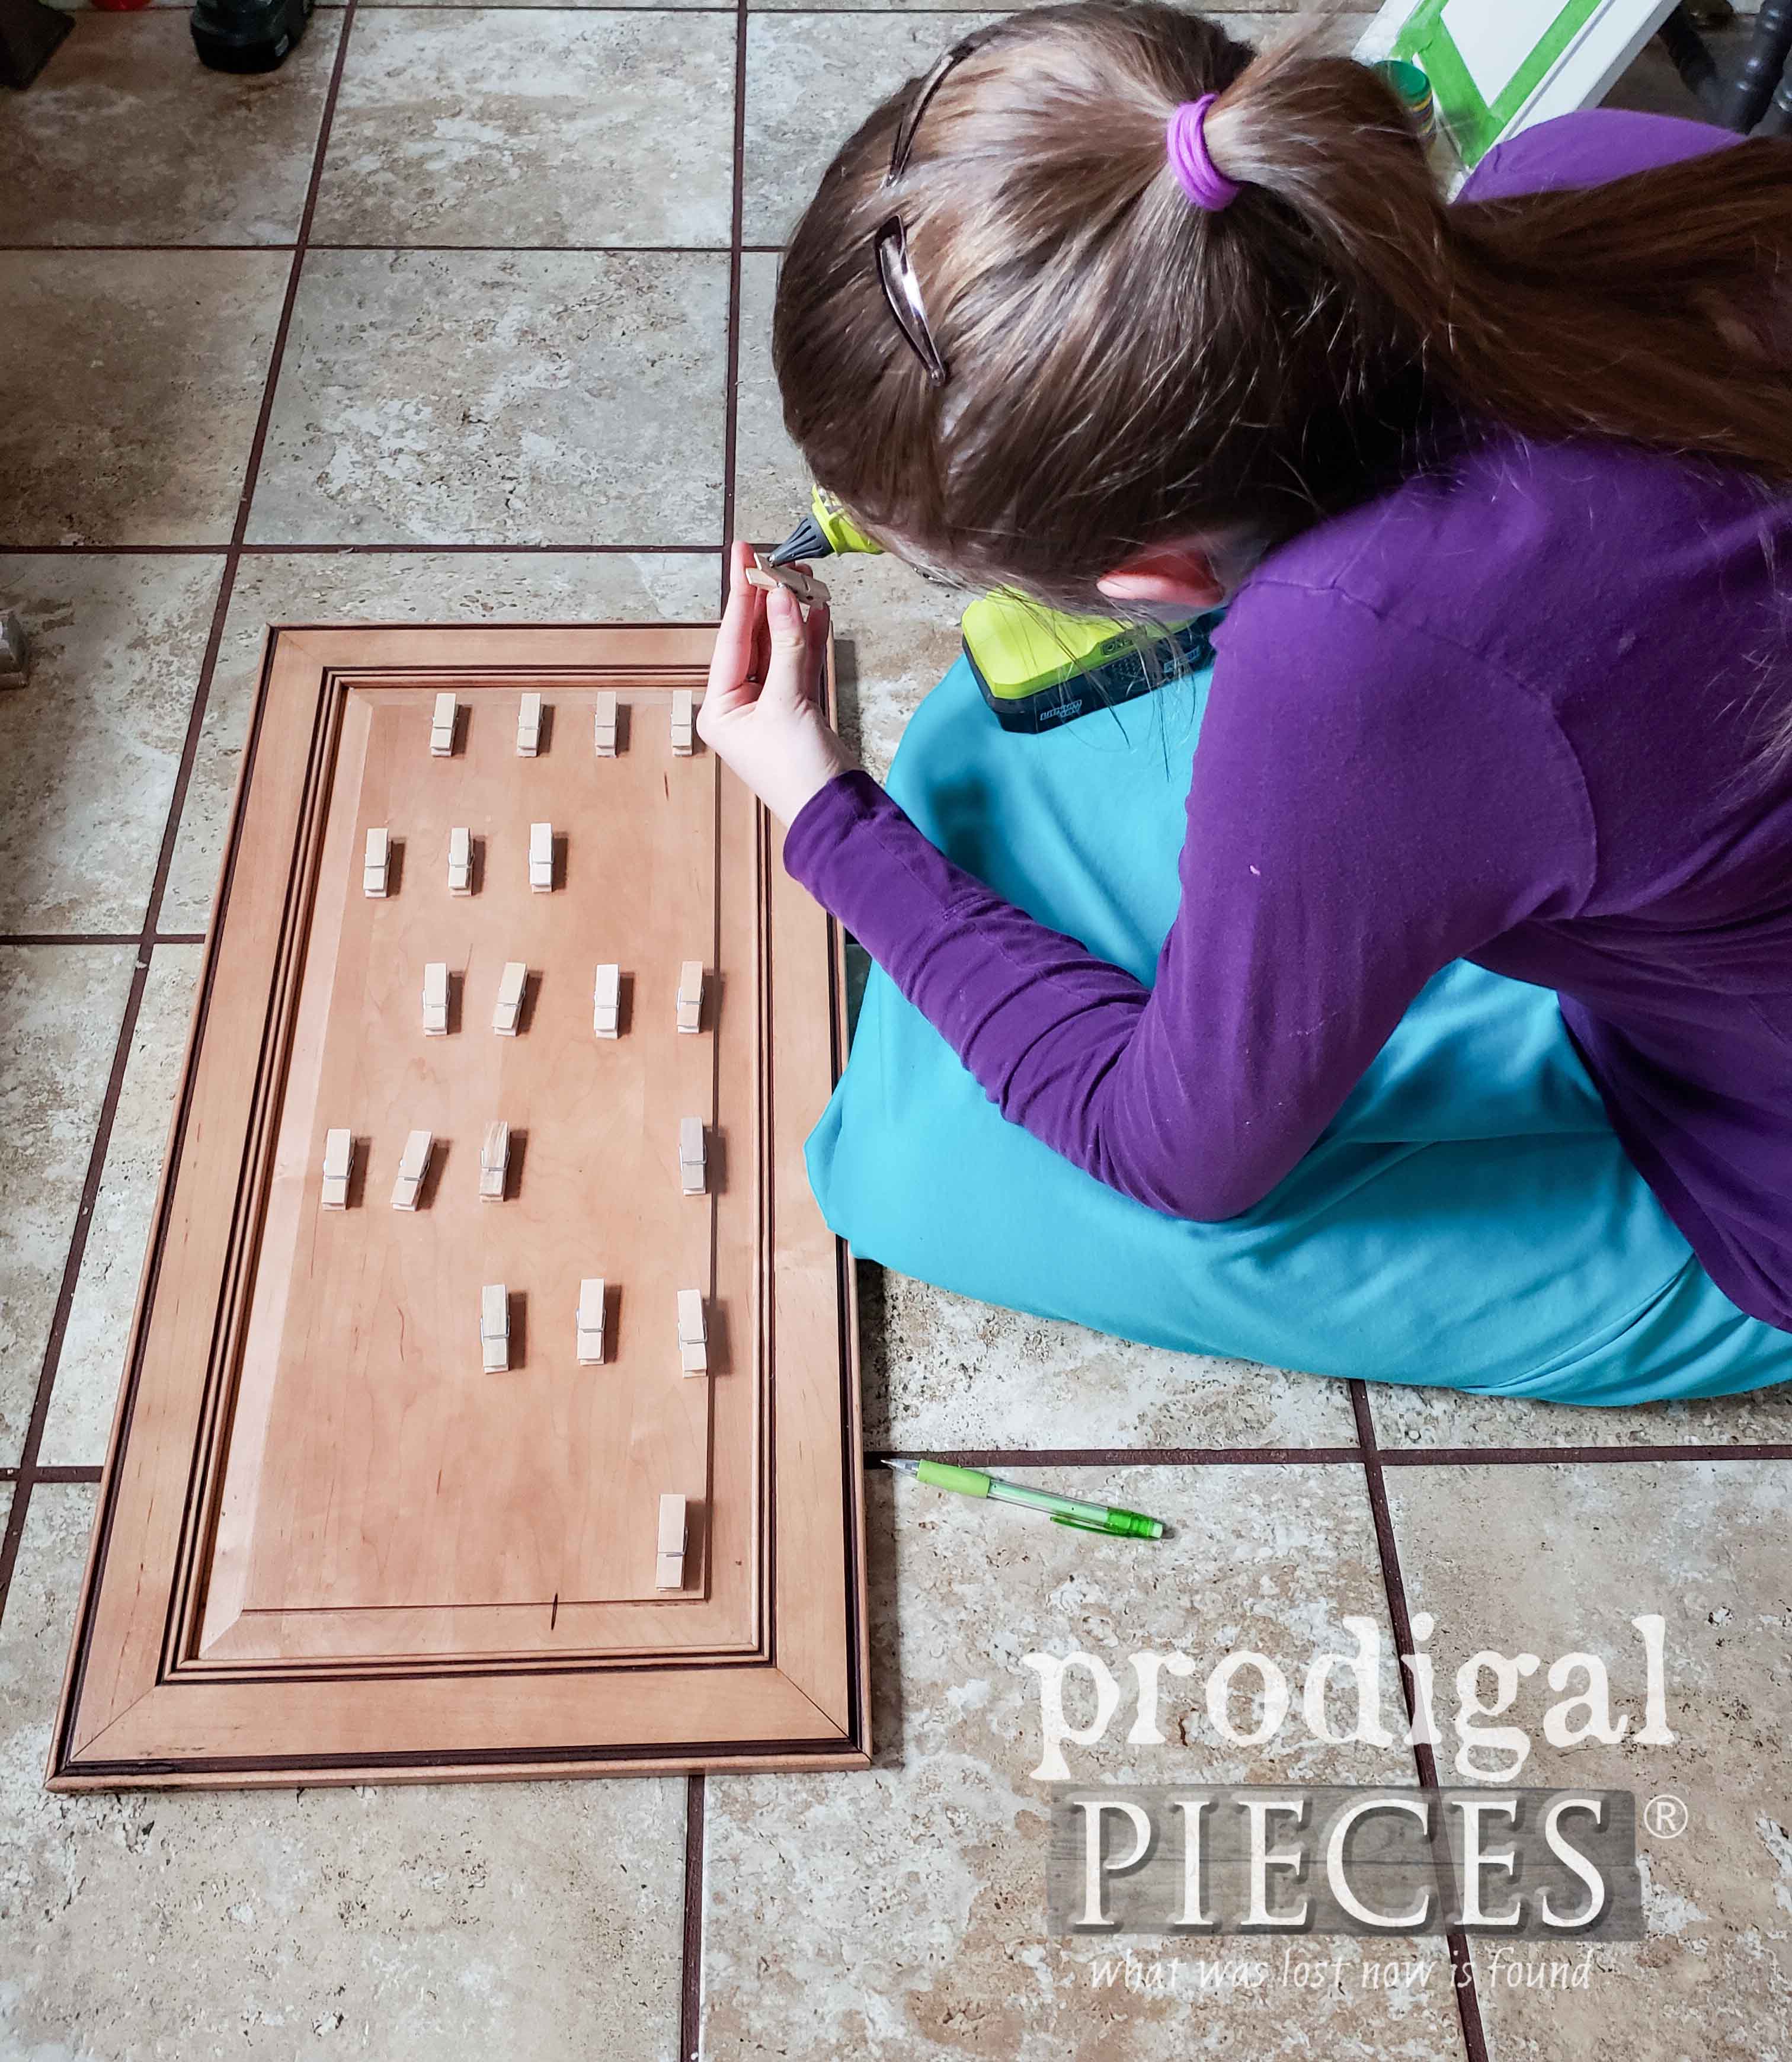
First, she measured and marked where she wanted to attach her mini clothespins. Using my hot glue gun, she adhered them in opposing rows.
 To save time as well as cost, she decided to purchase punched out Christmas tags that she could alter to her liking.
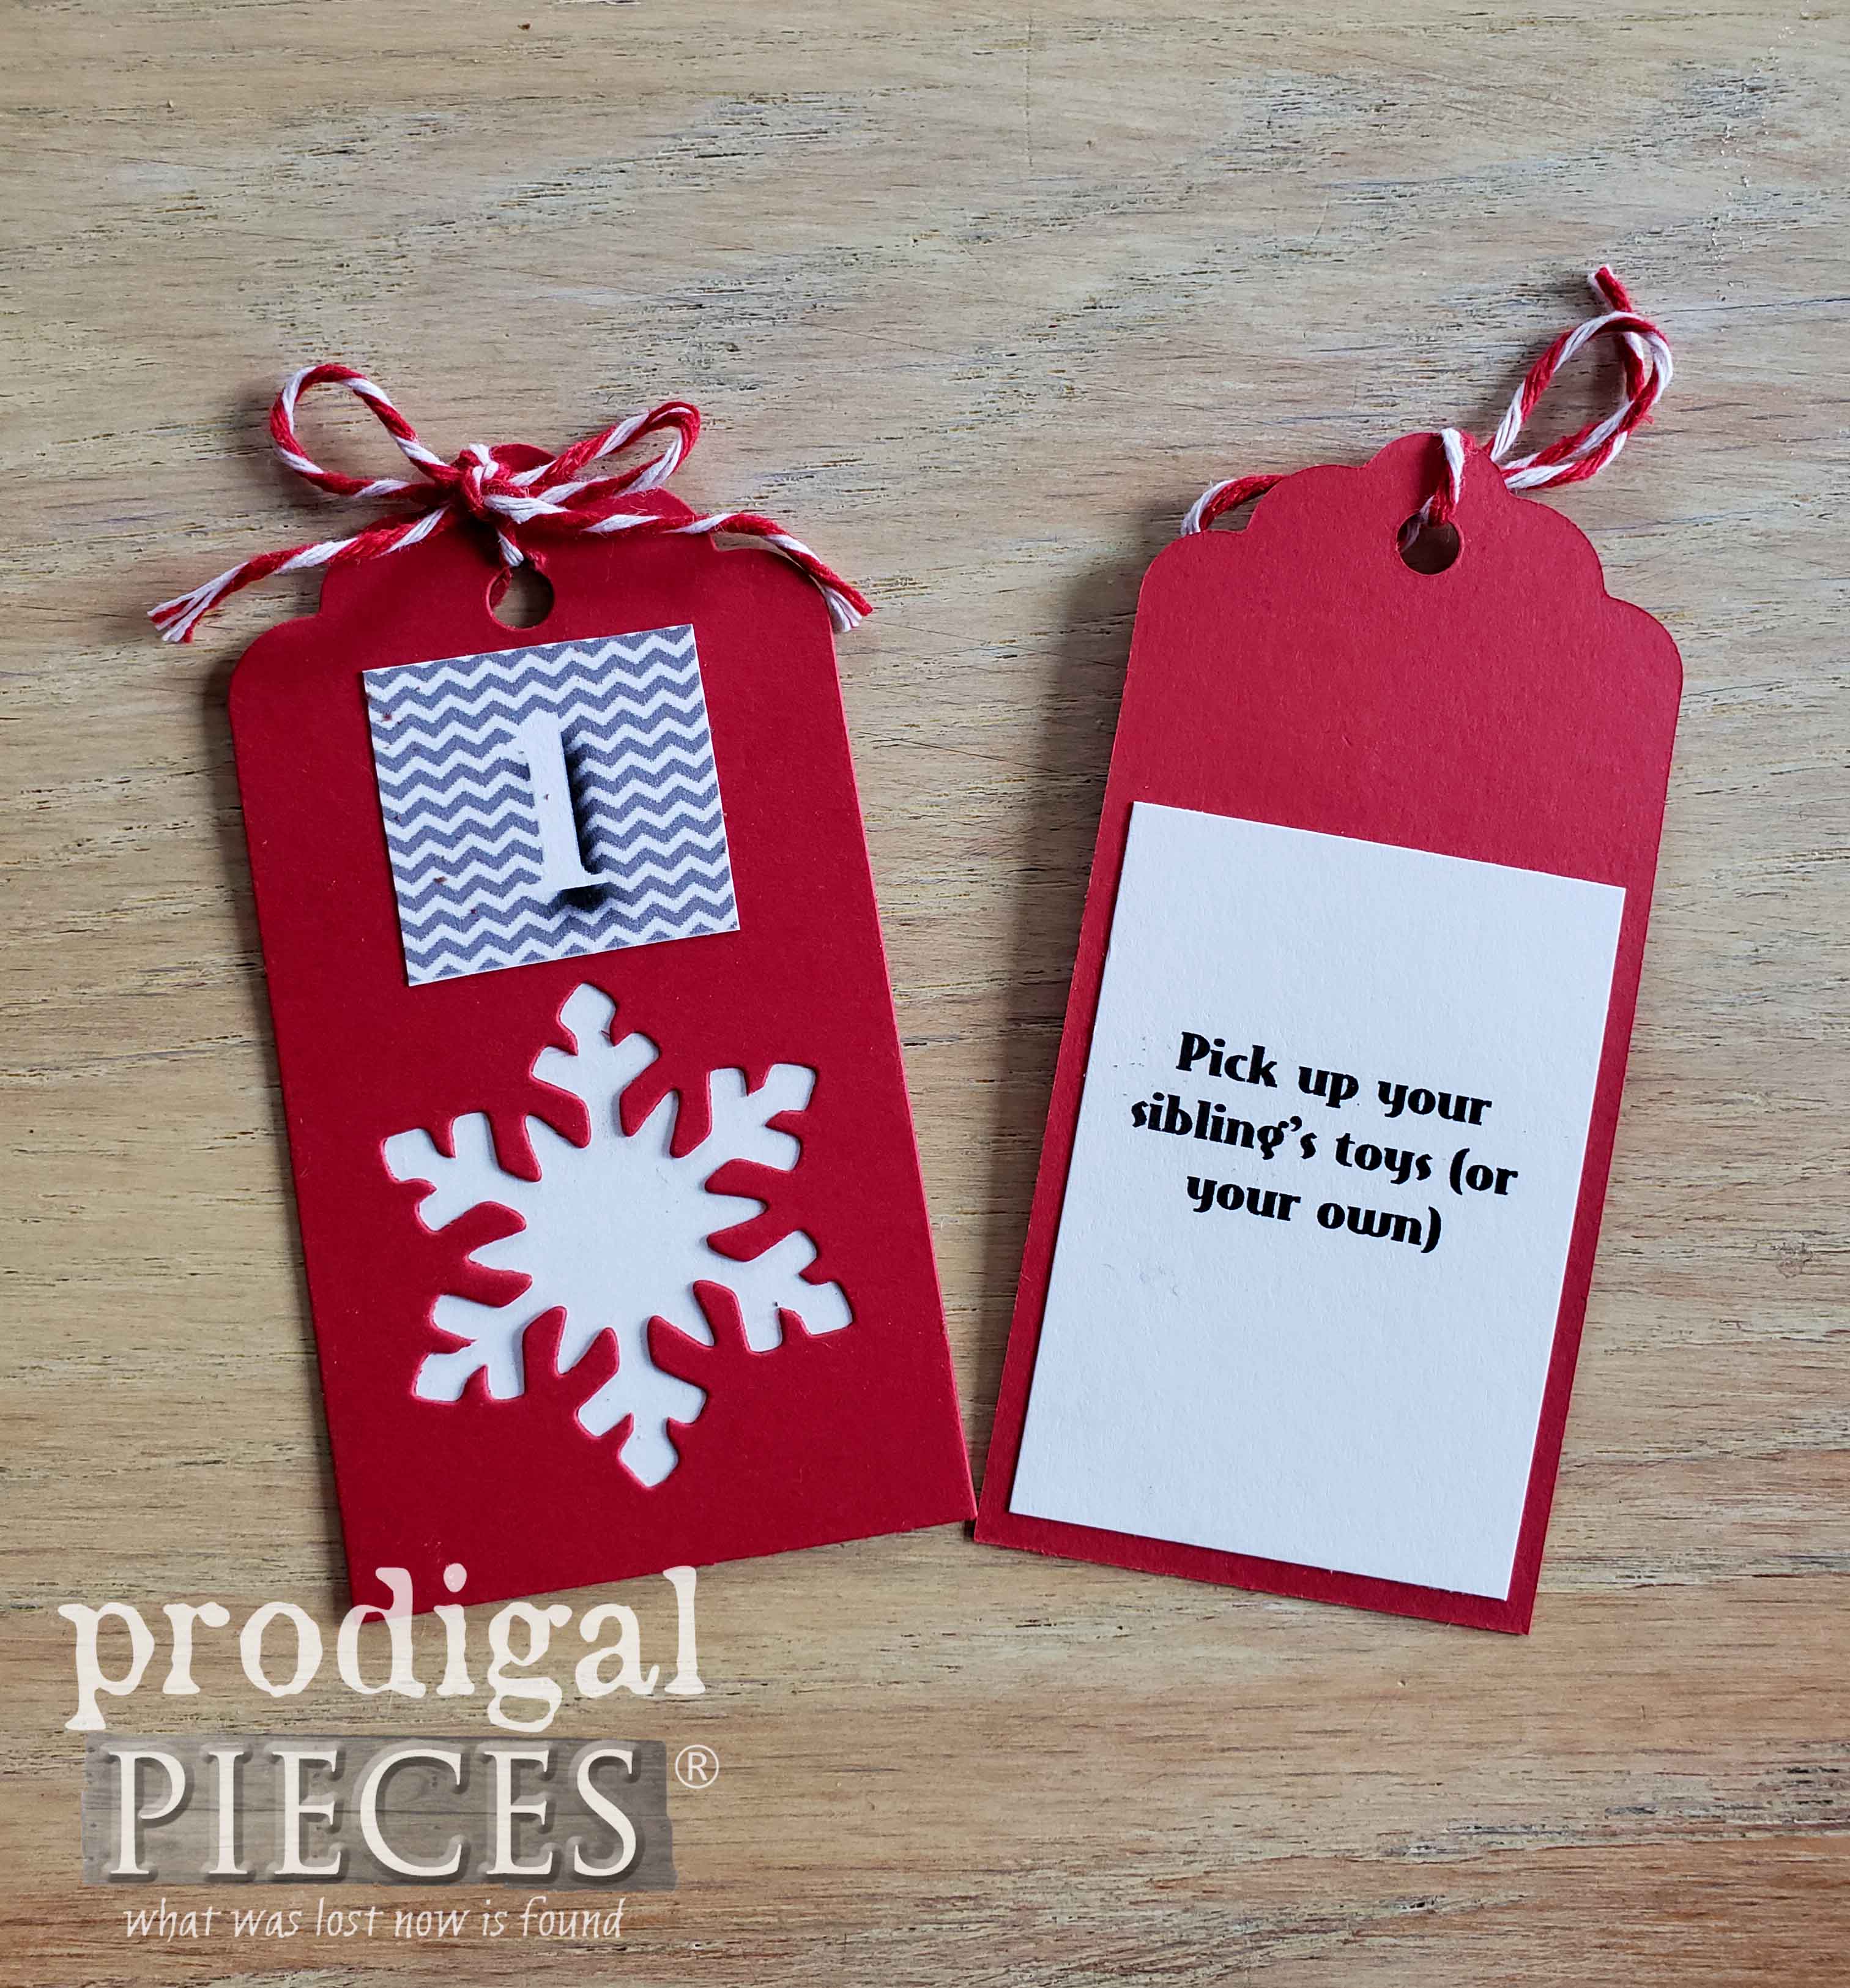
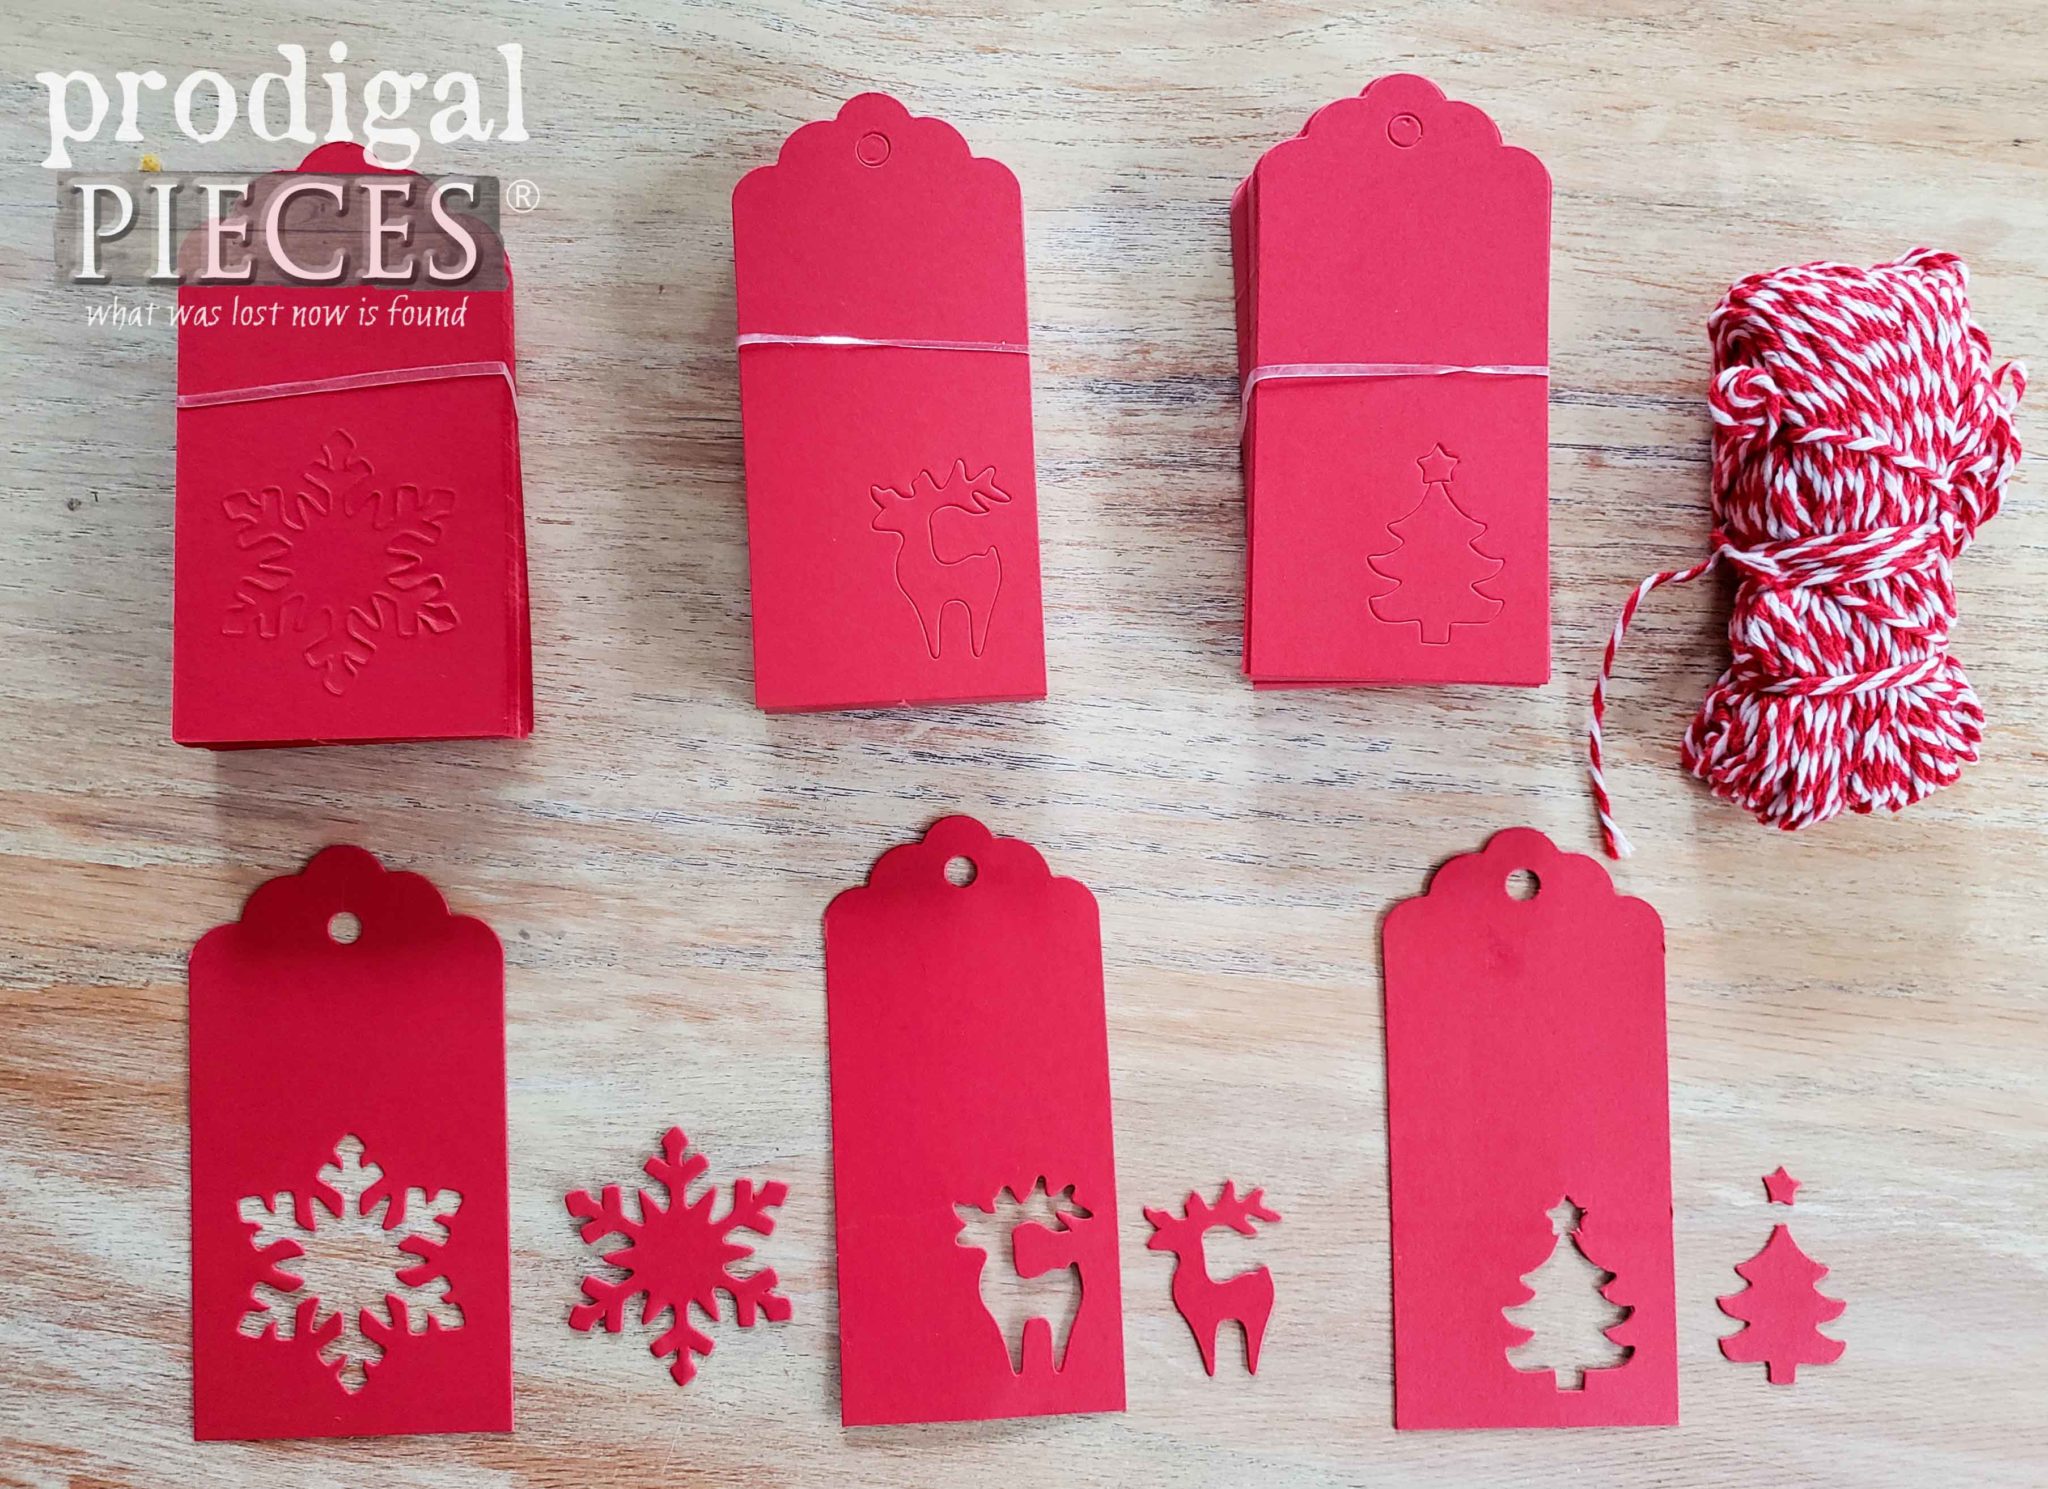 To create the design, we first made numbers in a sort of whimsical fashion to adhere to the front of the tag.
DIY STEPS
Click the links below to print your own set on white cardstock. These were designed to go with these red tags. However, you can print the tags below and adhere the numbers to the front.ADVENT NUMBERS PAGE 1 - CLICK HERE
ADVENT NUMBERS PAGE 2 - CLICK HERE
Also, to make the calendar not only fun, but a blessing to many, we created a few "gifts to others". We used this template to create our own. When you turn each tag over there is something simple that you can do for someone else this Christmas. For instance, one reads, "Make a Christmas card and give it to someone." or another reads, "Pay a compliment to a neighbor. Kind words spread joy". You can print our tags using the links below. We used white cardstock so white would peek out from the punched shape. Feel free to use patterned stock too. In order to make it fit the back of the tag, just crop the text to suit your design. Also, as mentioned before, you can simply print the tags as-is and adhere a number to the front.ADVENT BLESSINGS TAG PAGE 1 - CLICK HERE
ADVENT BLESSINGS TAG PAGE 2 - CLICK HERE
SECOND REVEAL
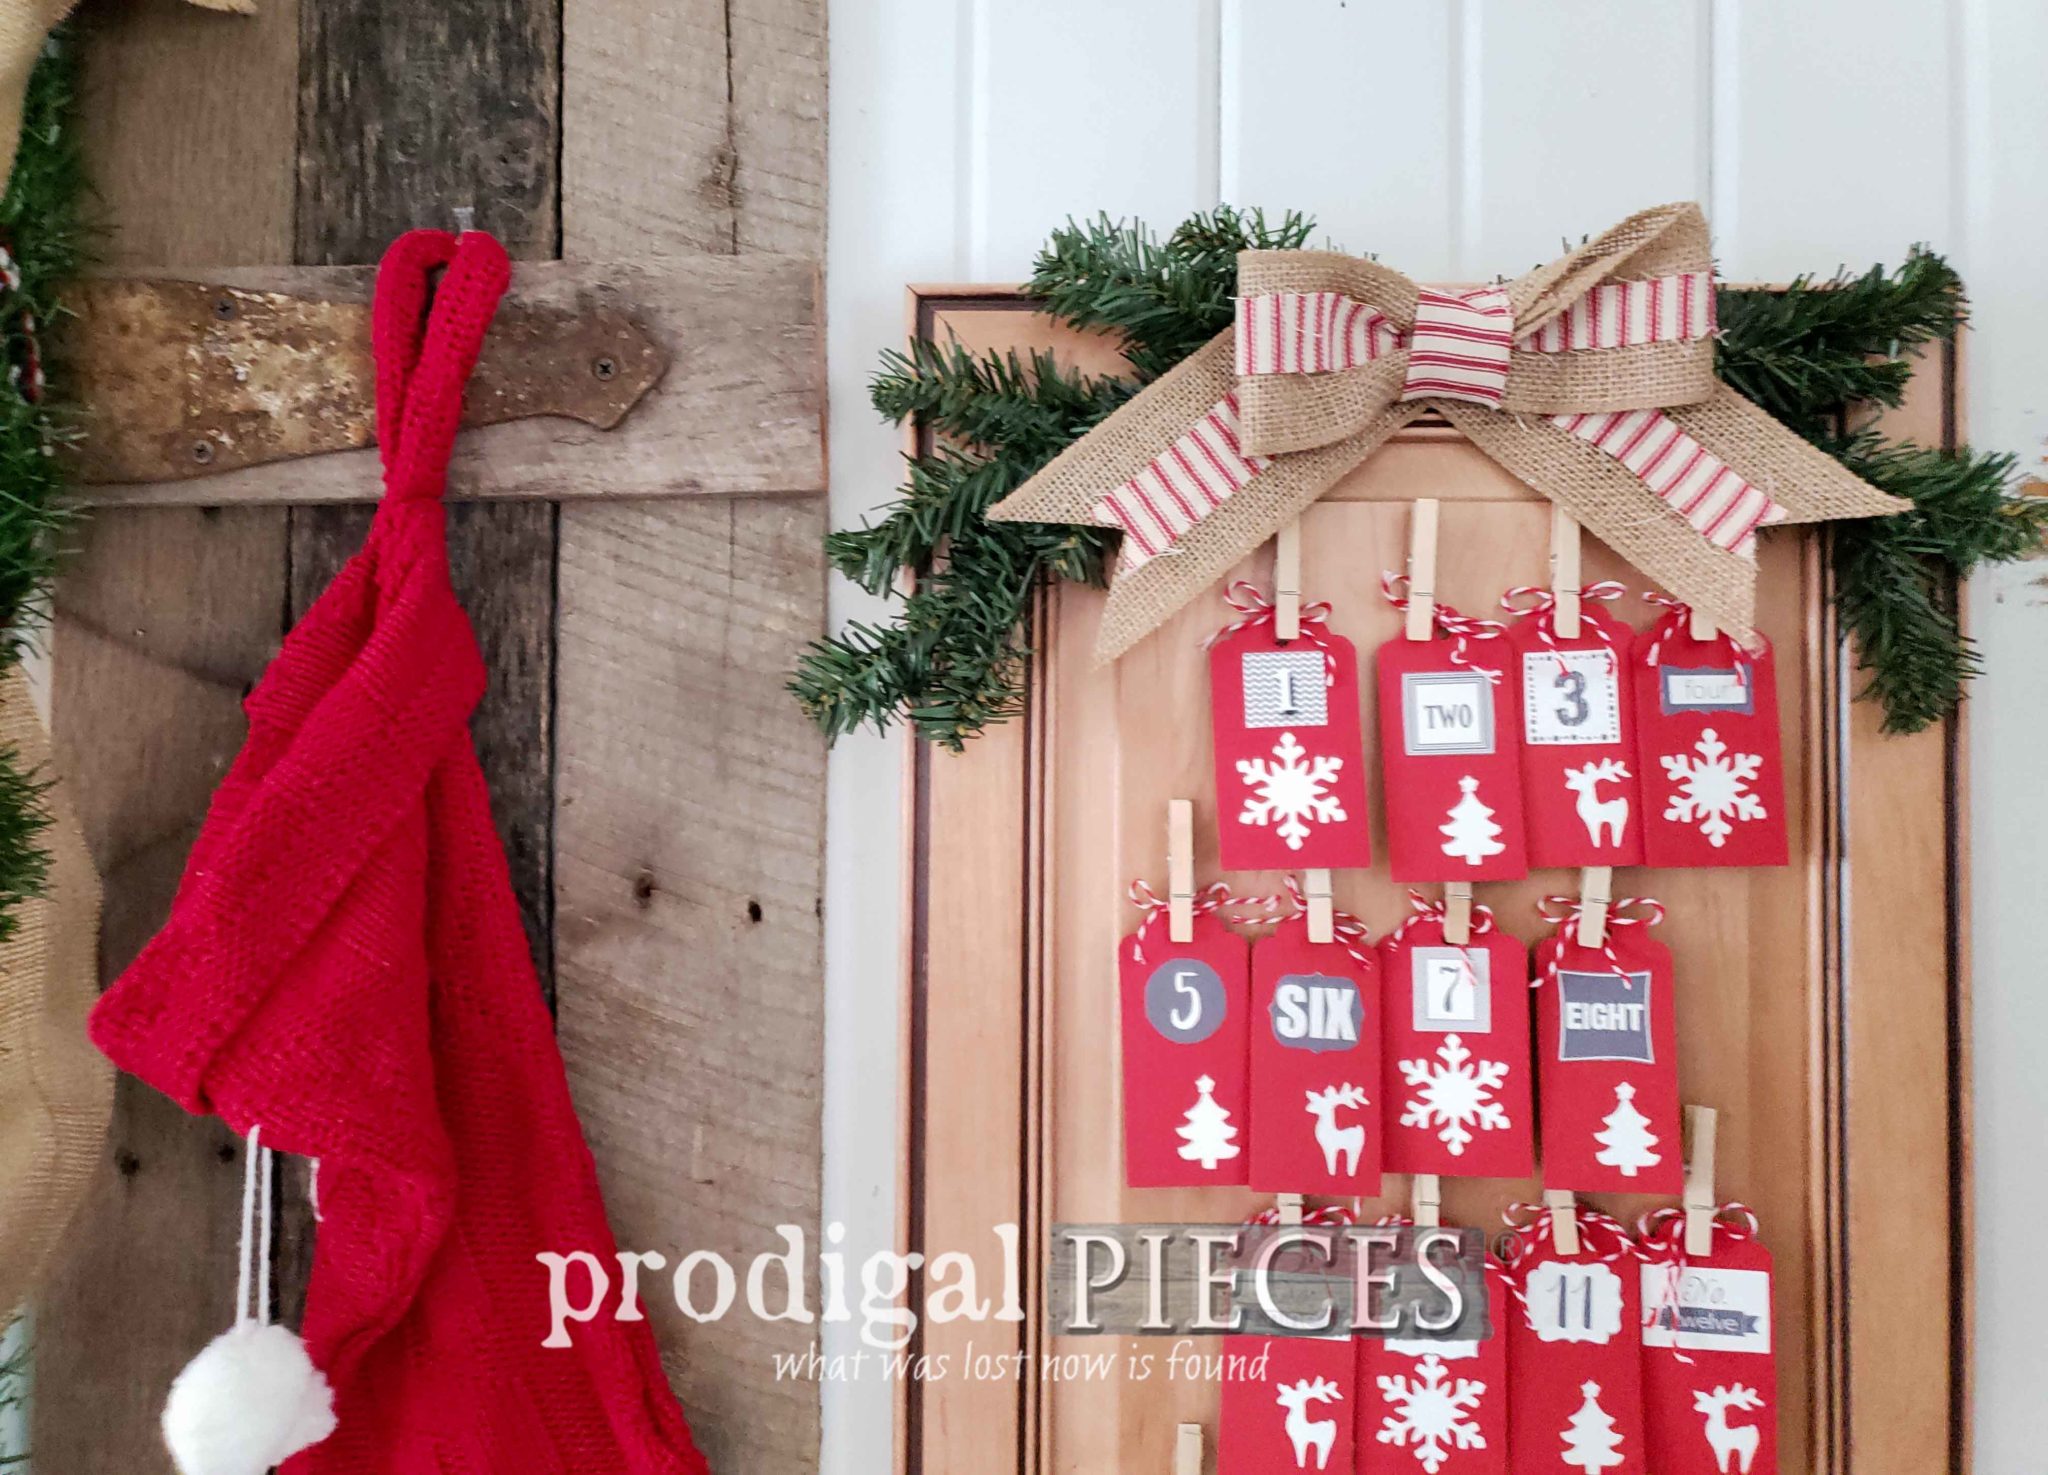
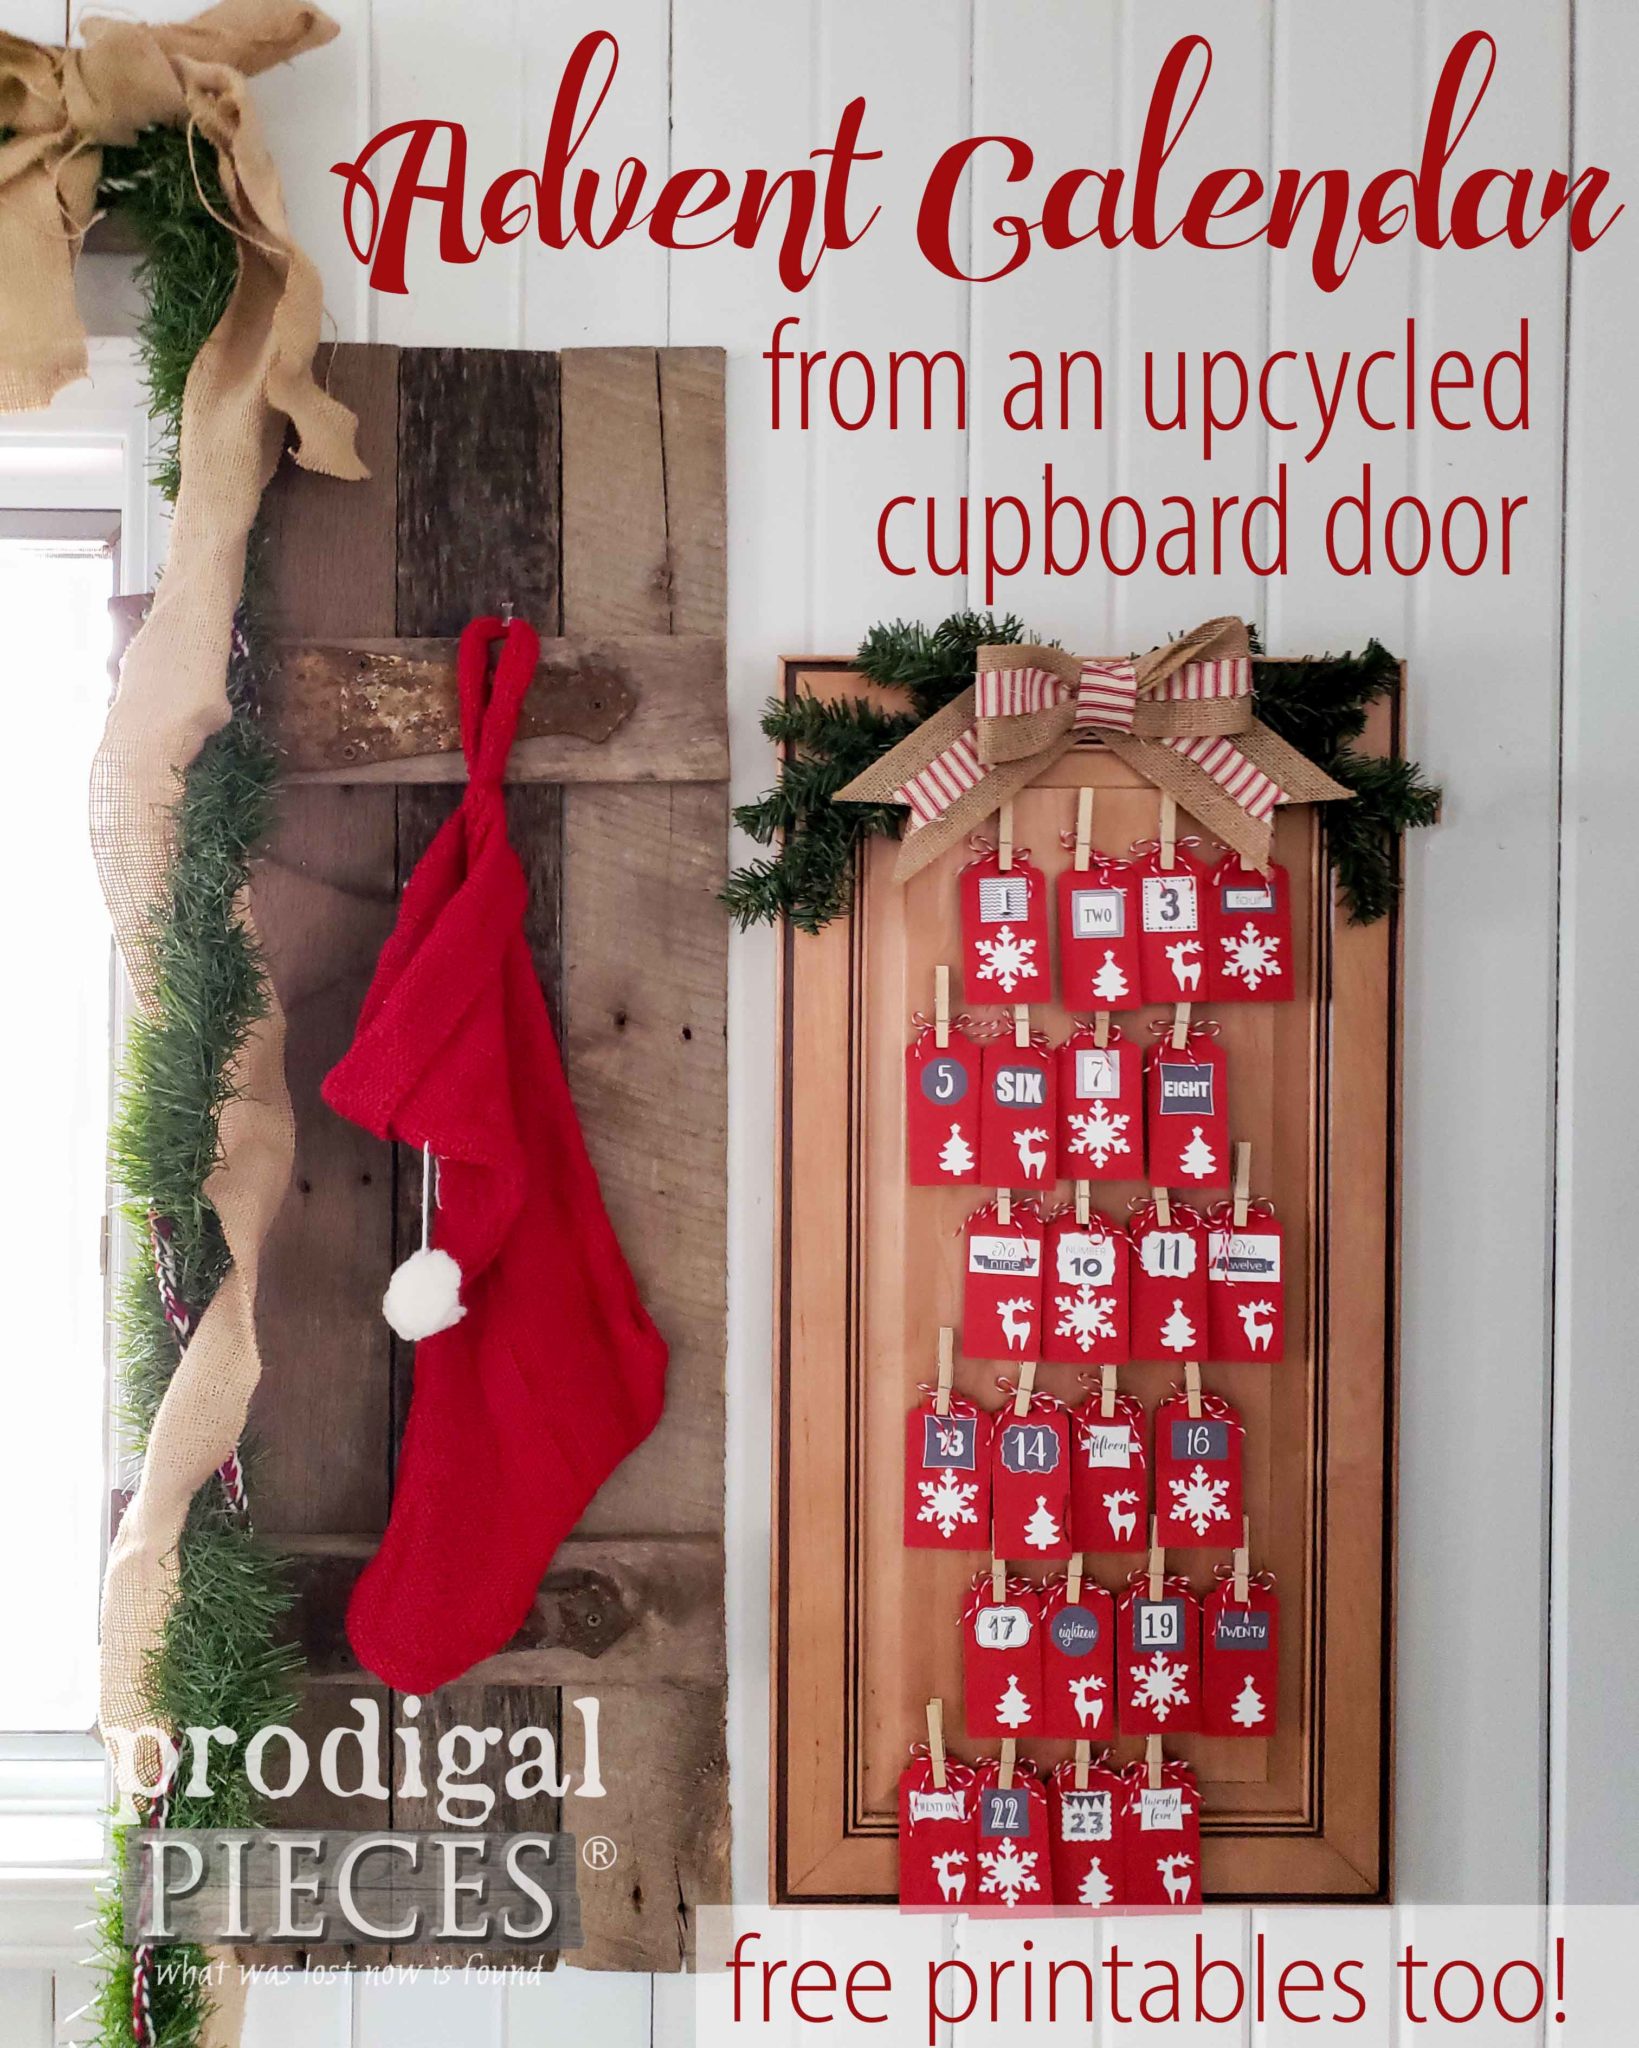
Finally, here is the DIY Advent calendar ready for this special holiday season. I love it!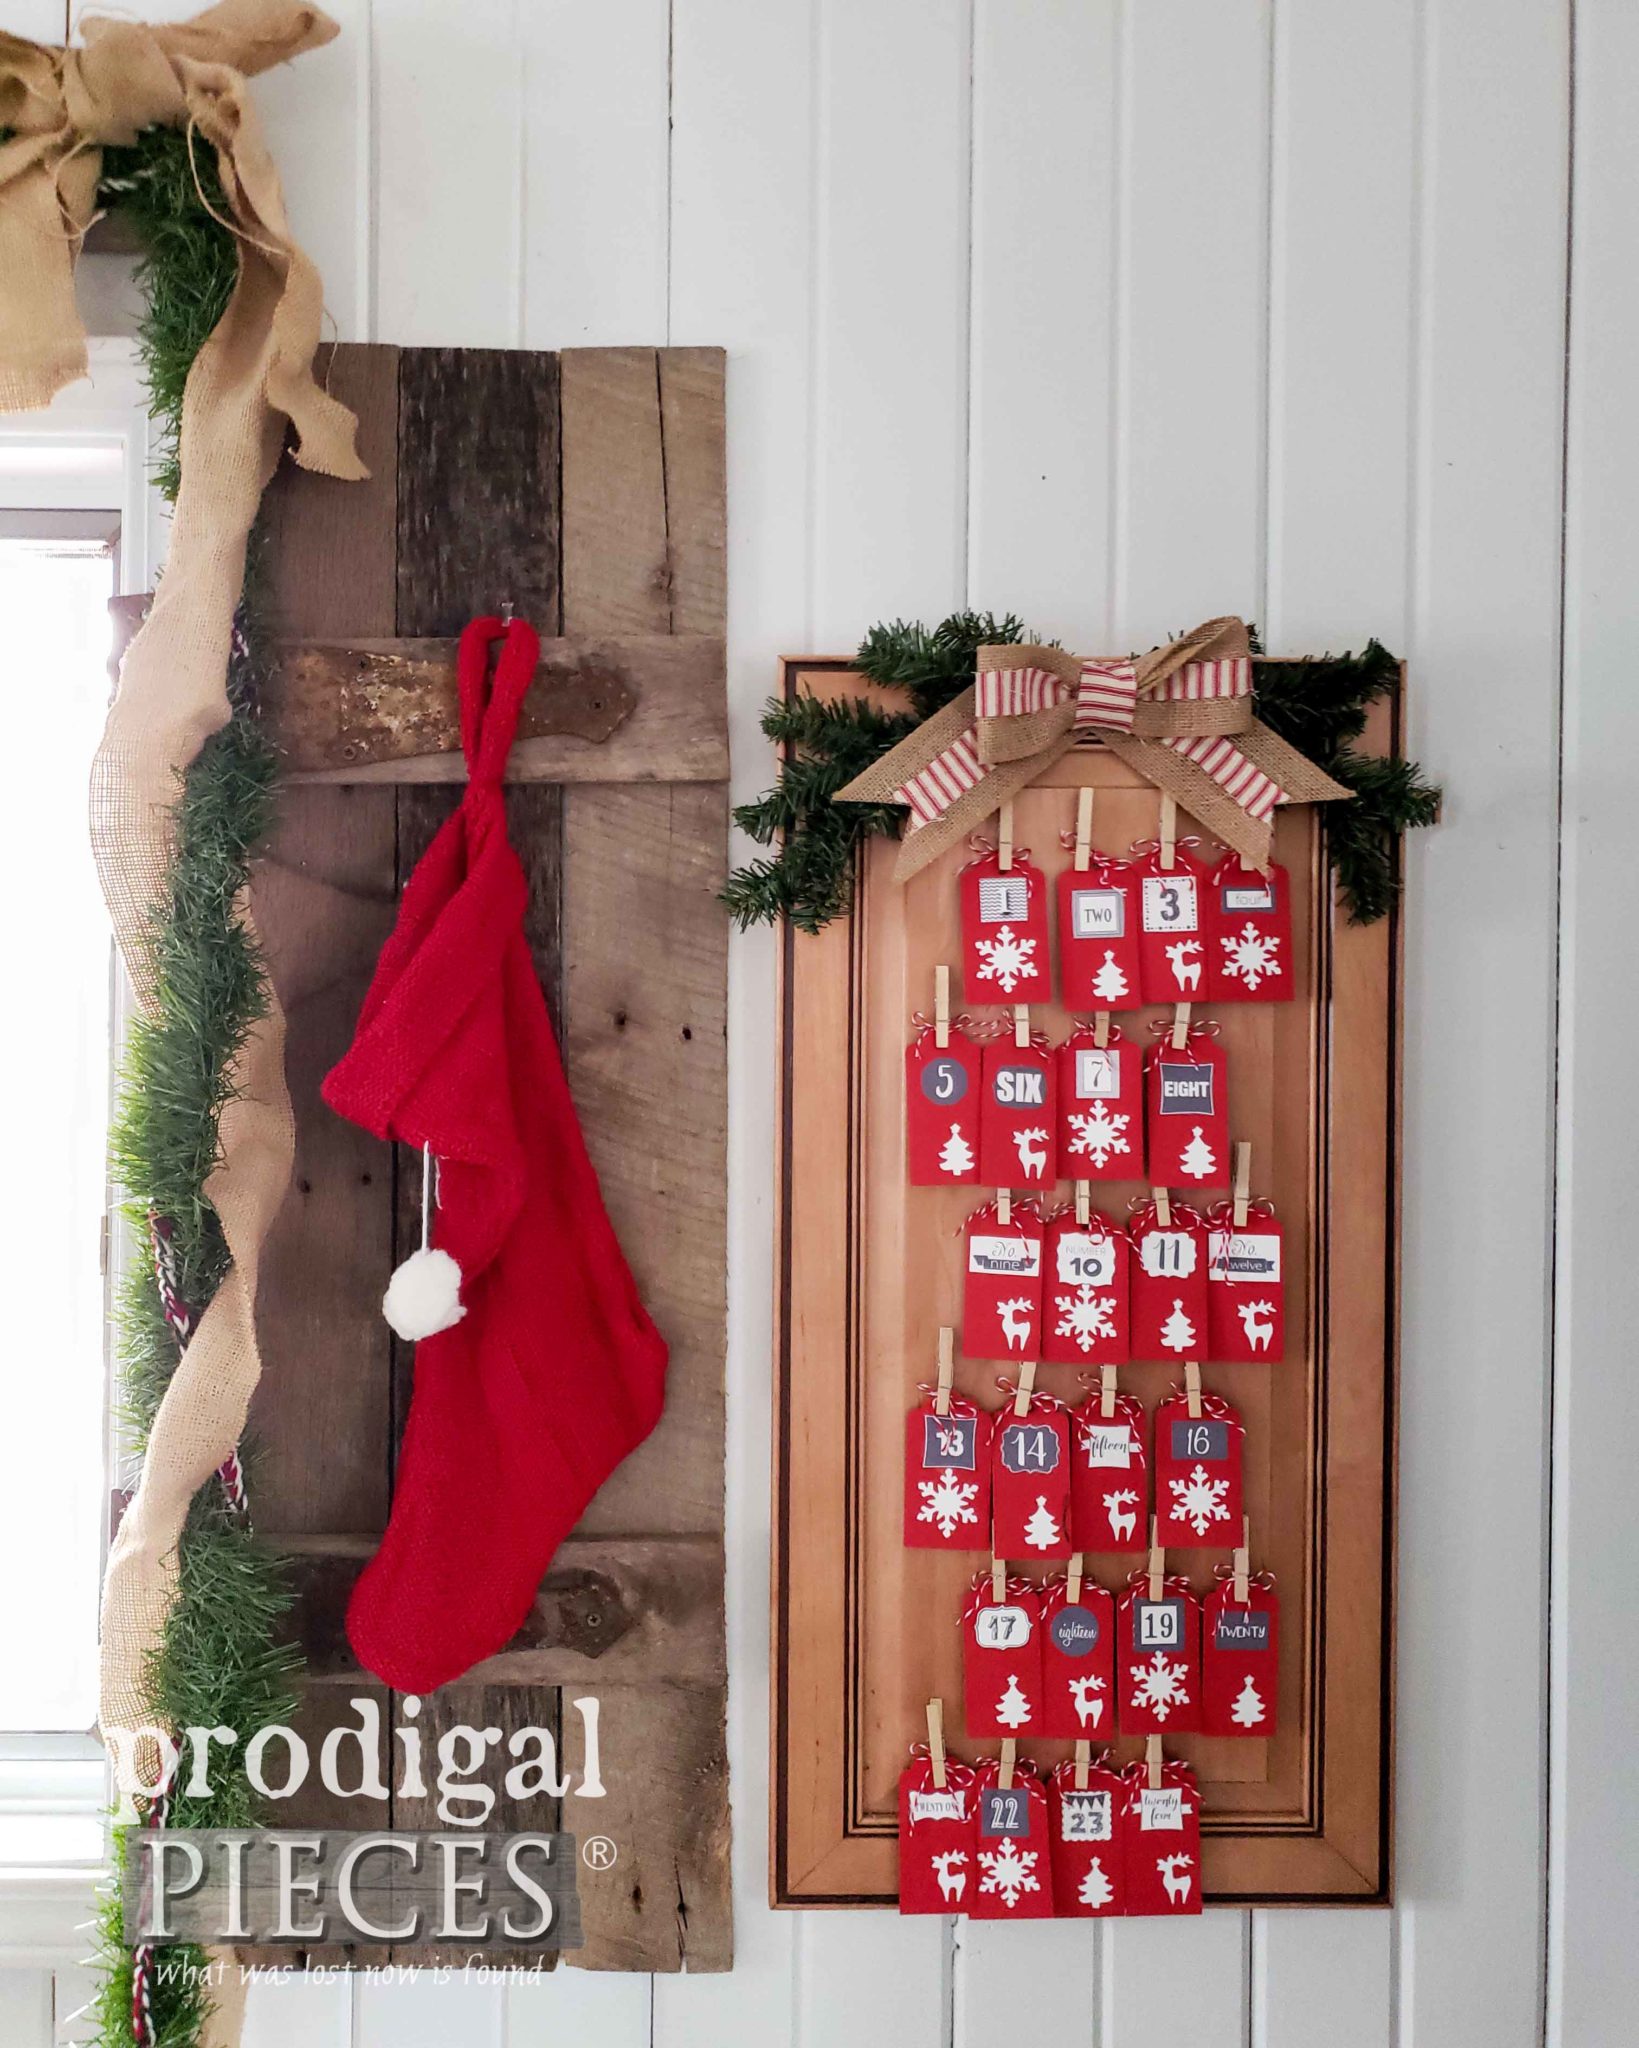
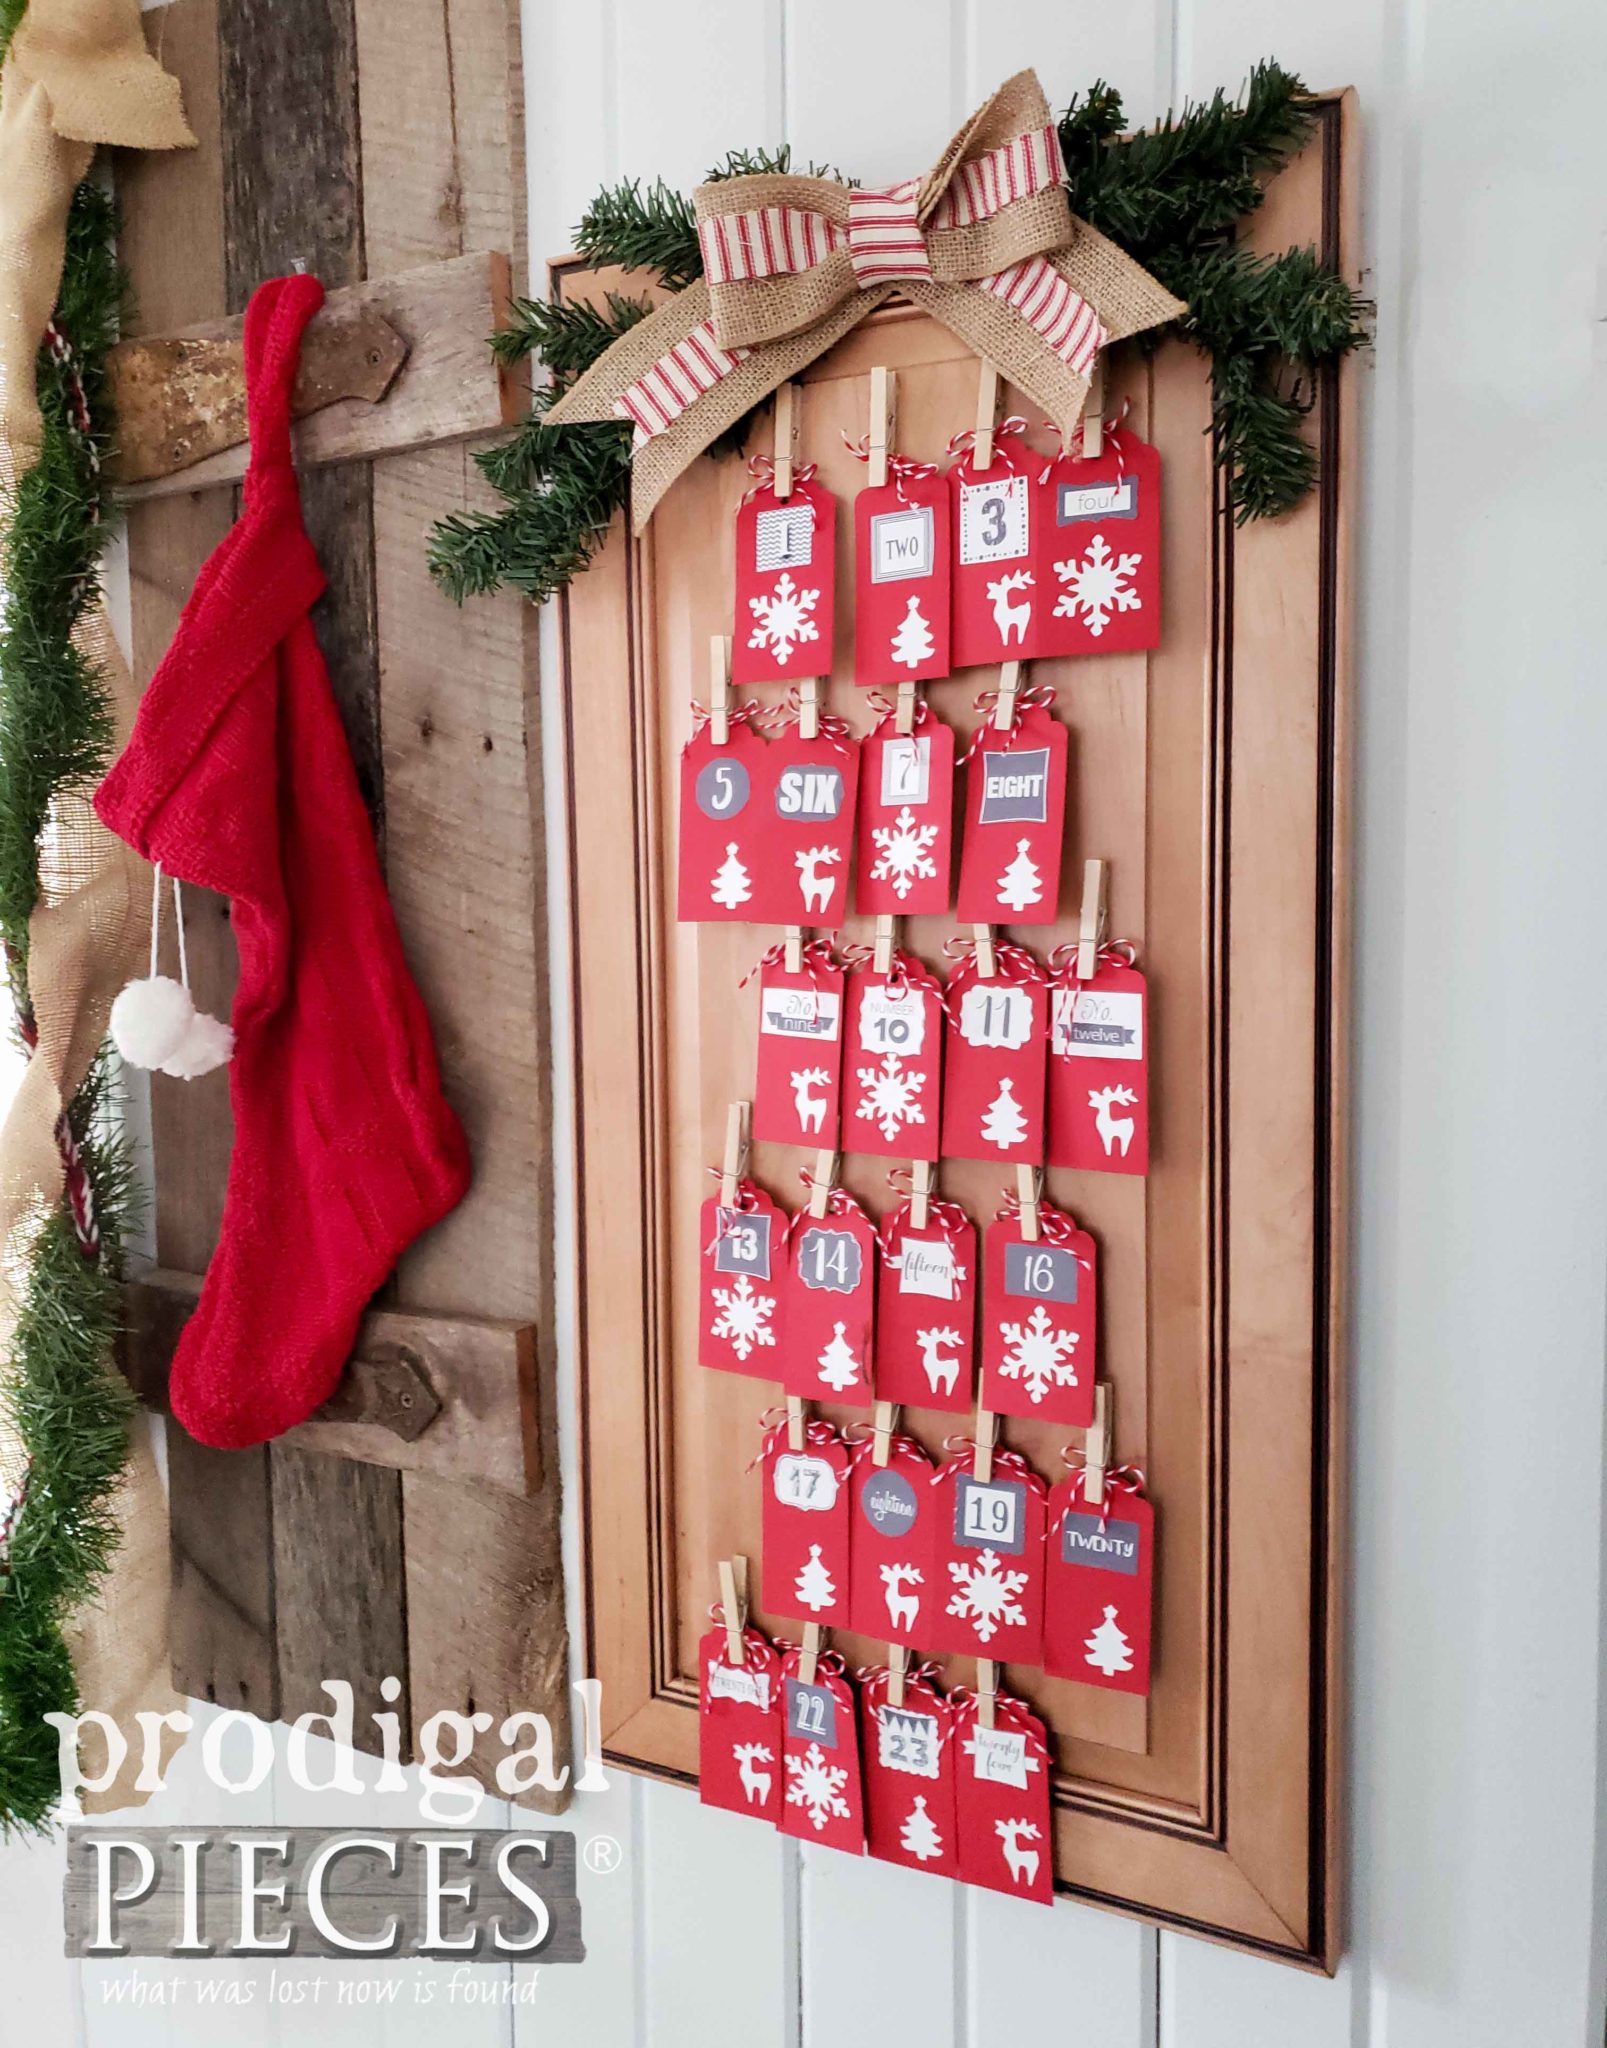
If you'd like to know how she created the burlap bow, just follow these steps:
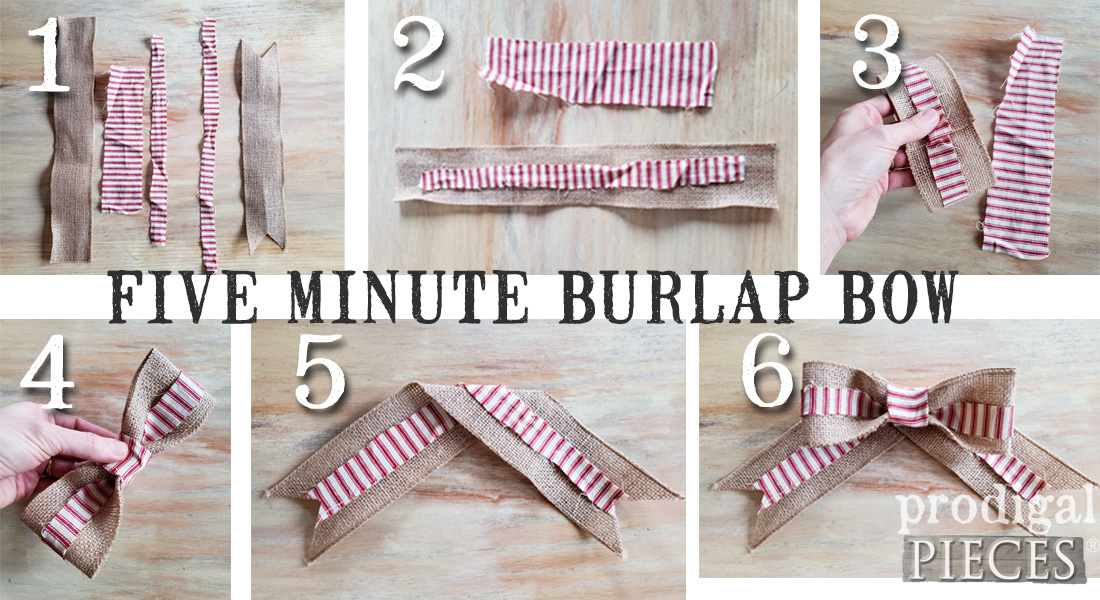
- Cut a 12" length of 2" wired burlap ribbon (found at dollar store), a 2" x 8" length of ticking fabric, a 1" x 12" length of ticking fabric, a 1" x 16" length of ticking fabric, a 12" length of burlap ribbon (fold in half and make a 45° cut from the outer corner heading upwards toward the fold on both ends)
- NUsing a hot glue gun, adhere the 1" x 12" ticking to the 12" burlap piece.
- Glue the overlapping ends together.
- Pinch the piece in this middle and wrap the folded 2" piece of ticking around the center and glue down. Trim as needed.
- Cut the 1" x 16" length of ticking in half, and cut ends to match the burlap. Adhere to the folded 16" length of burlap as shown.
- Glue bow to the bottom ribbon and you're done.
THIRD PROJECT
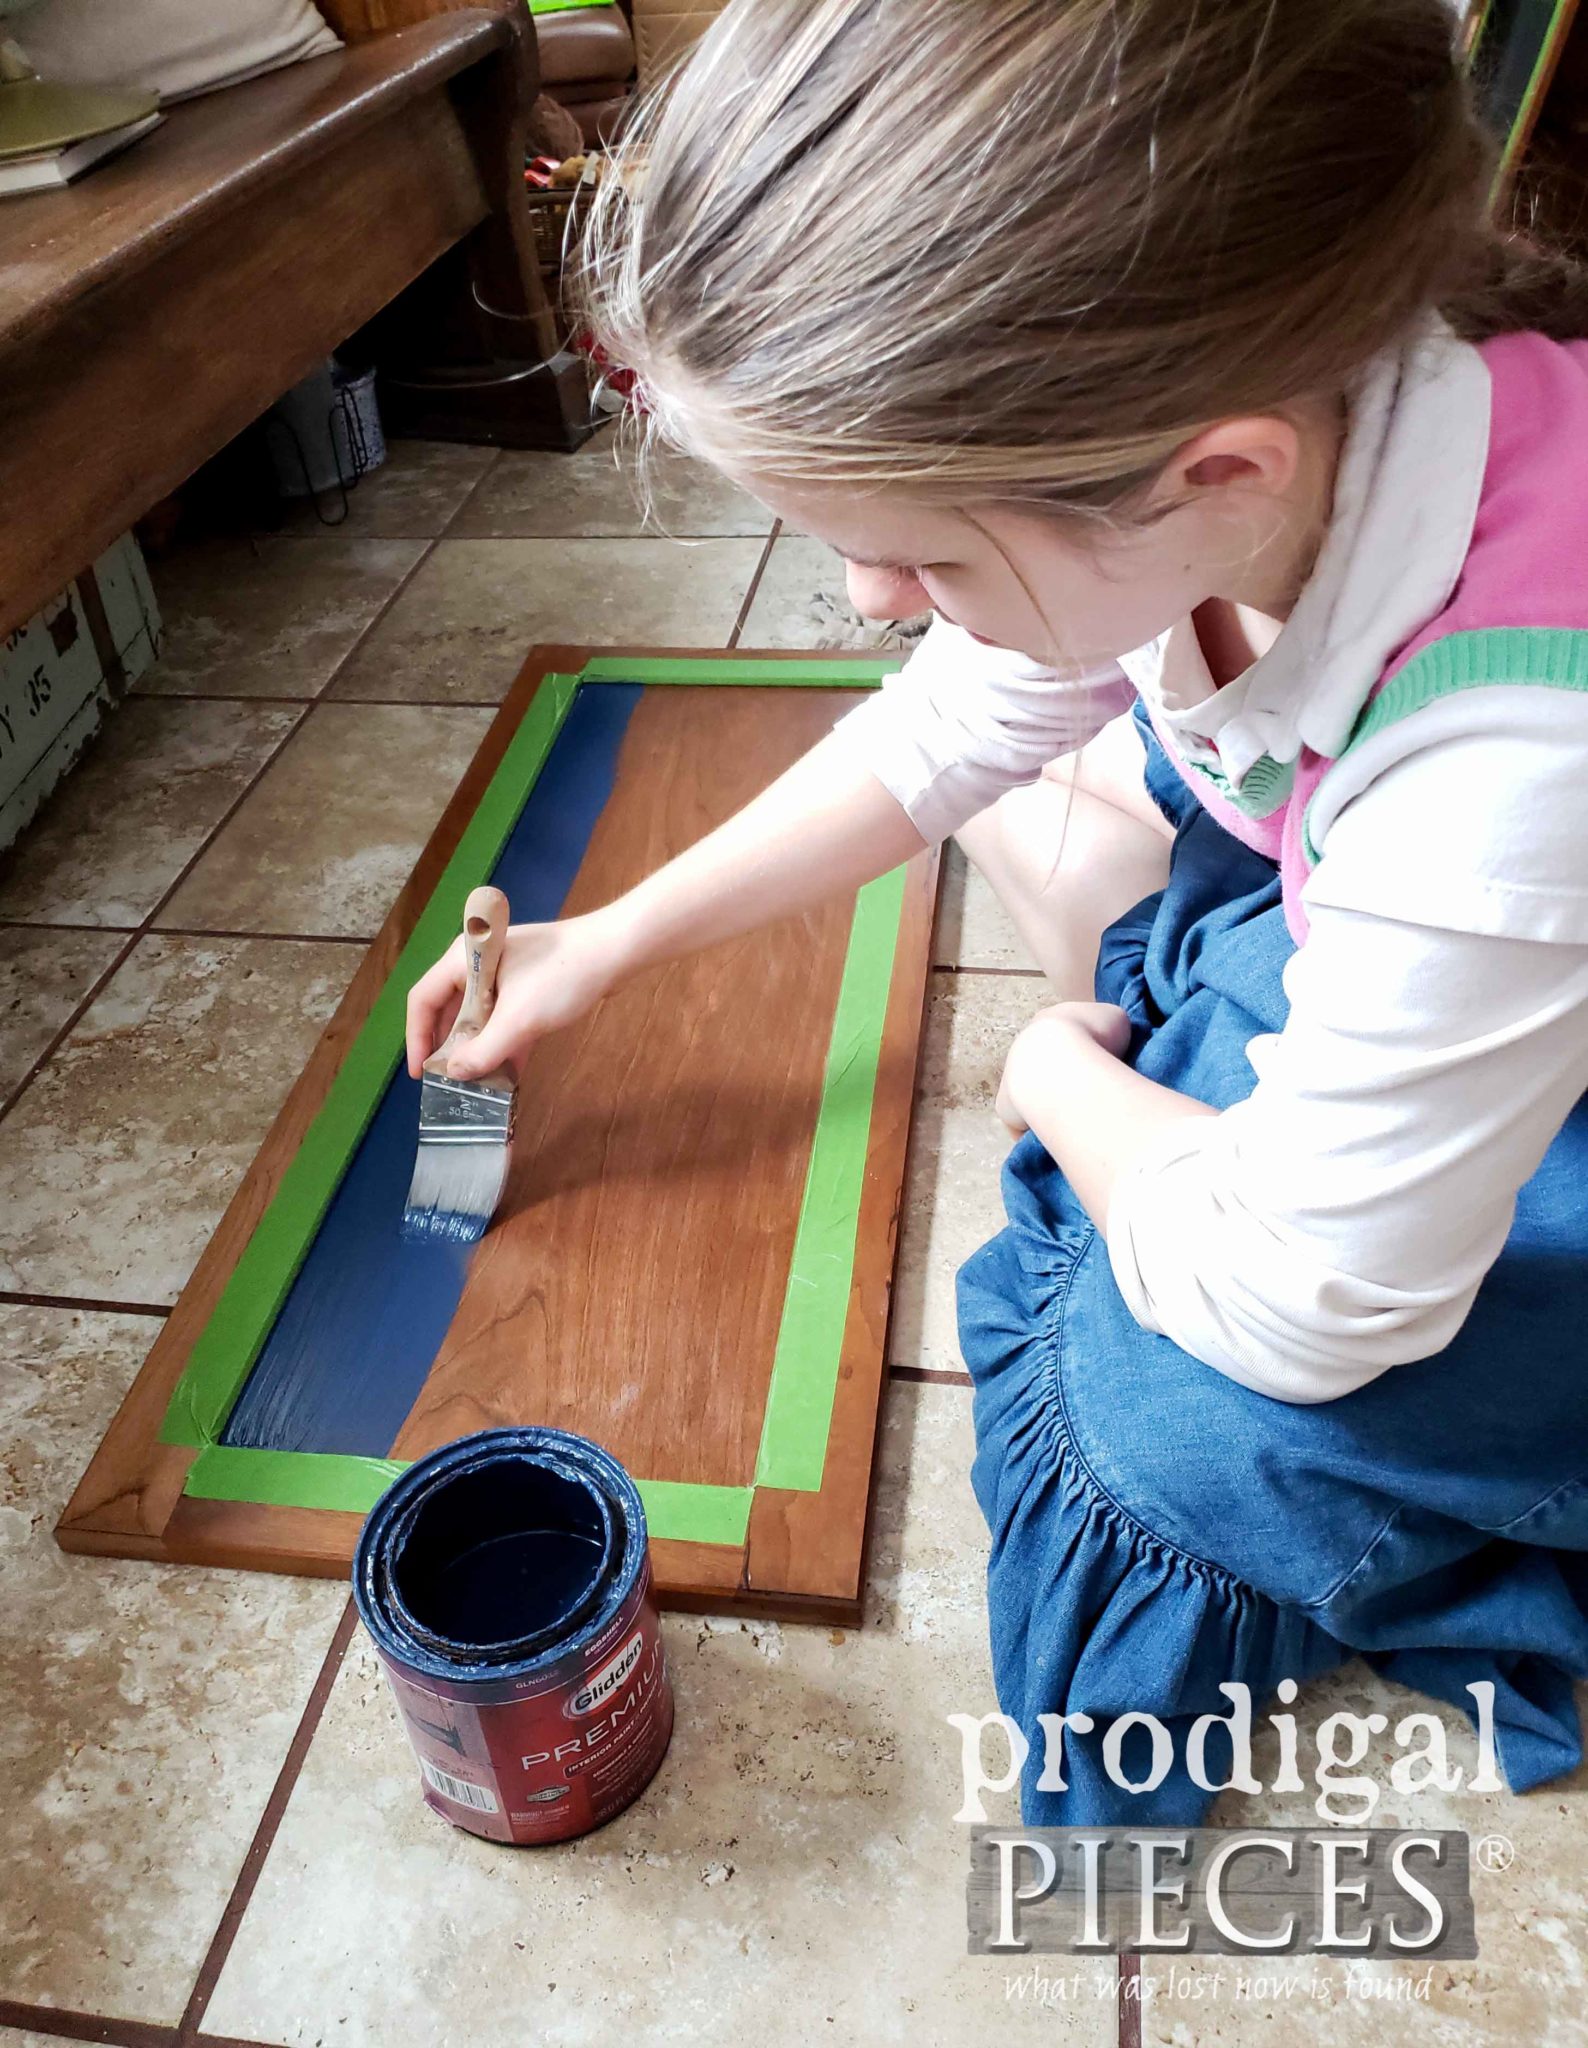
My next oldest daughter, Miss S., chose this cupboard door. Also, you can see her past work HERE in these posts.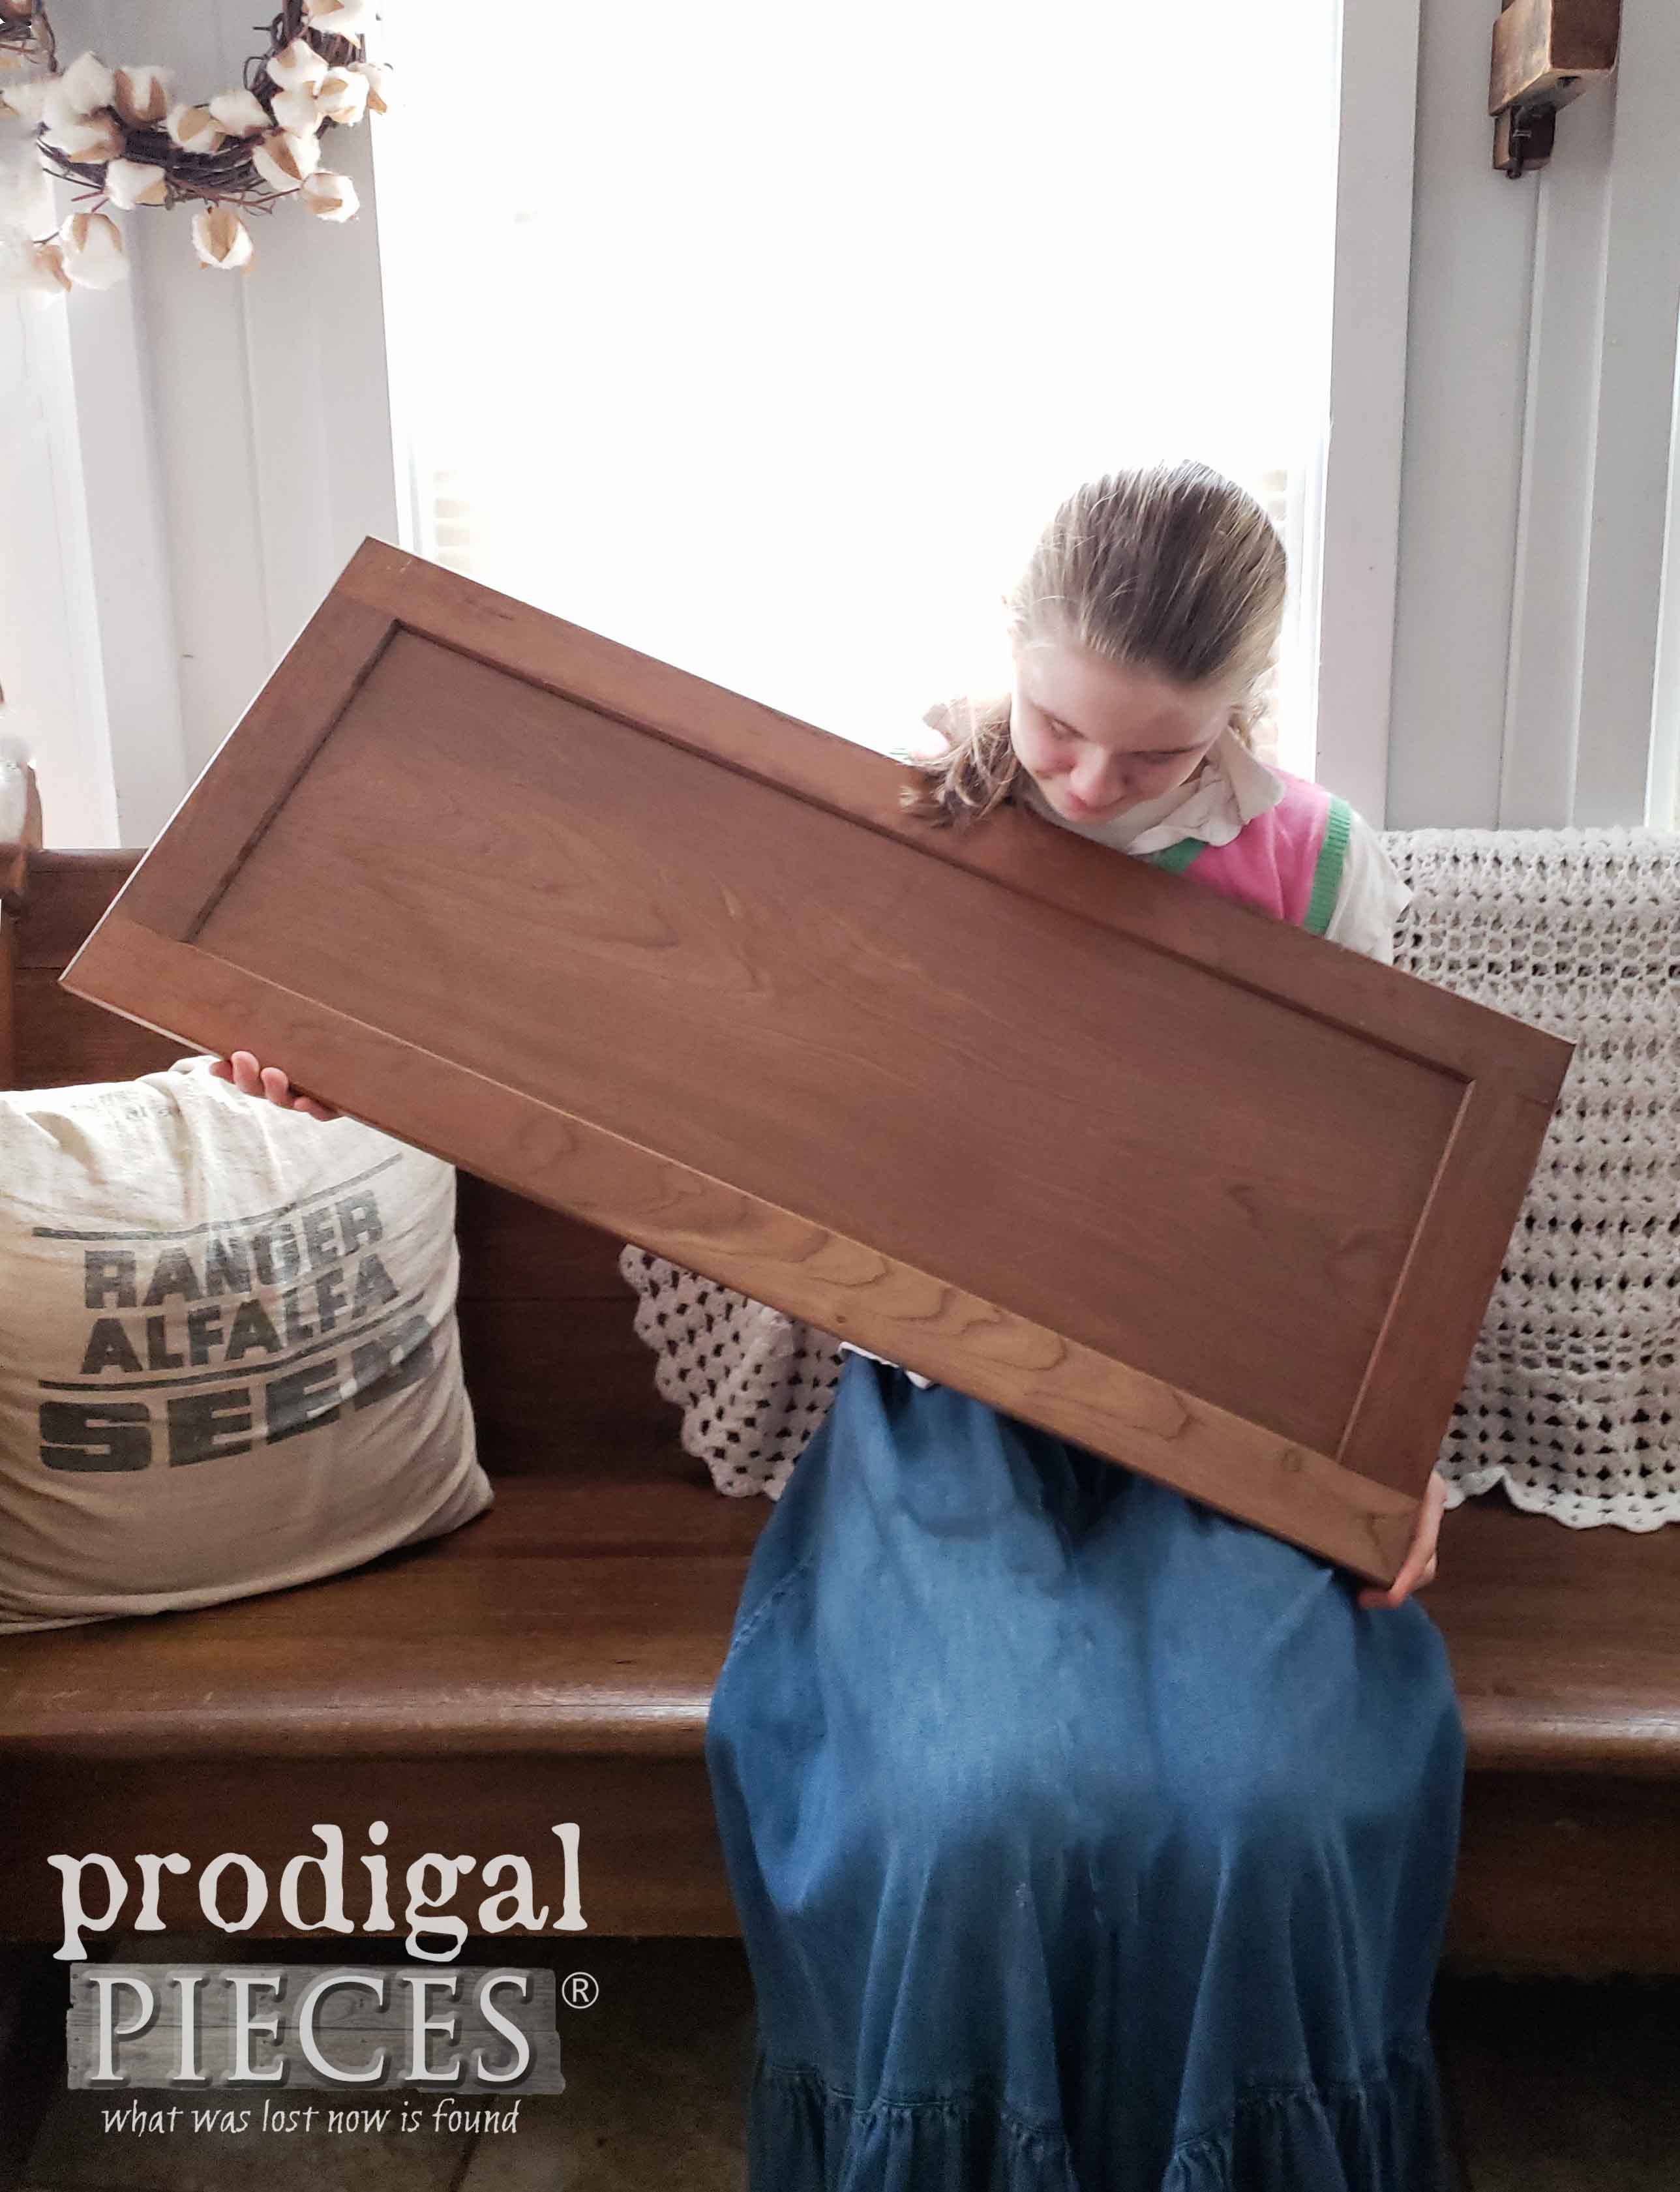 First, she chose to use a blue as a background and skip going the traditional Christmas colors route. She sanded and then applied the paint with a paint brush.
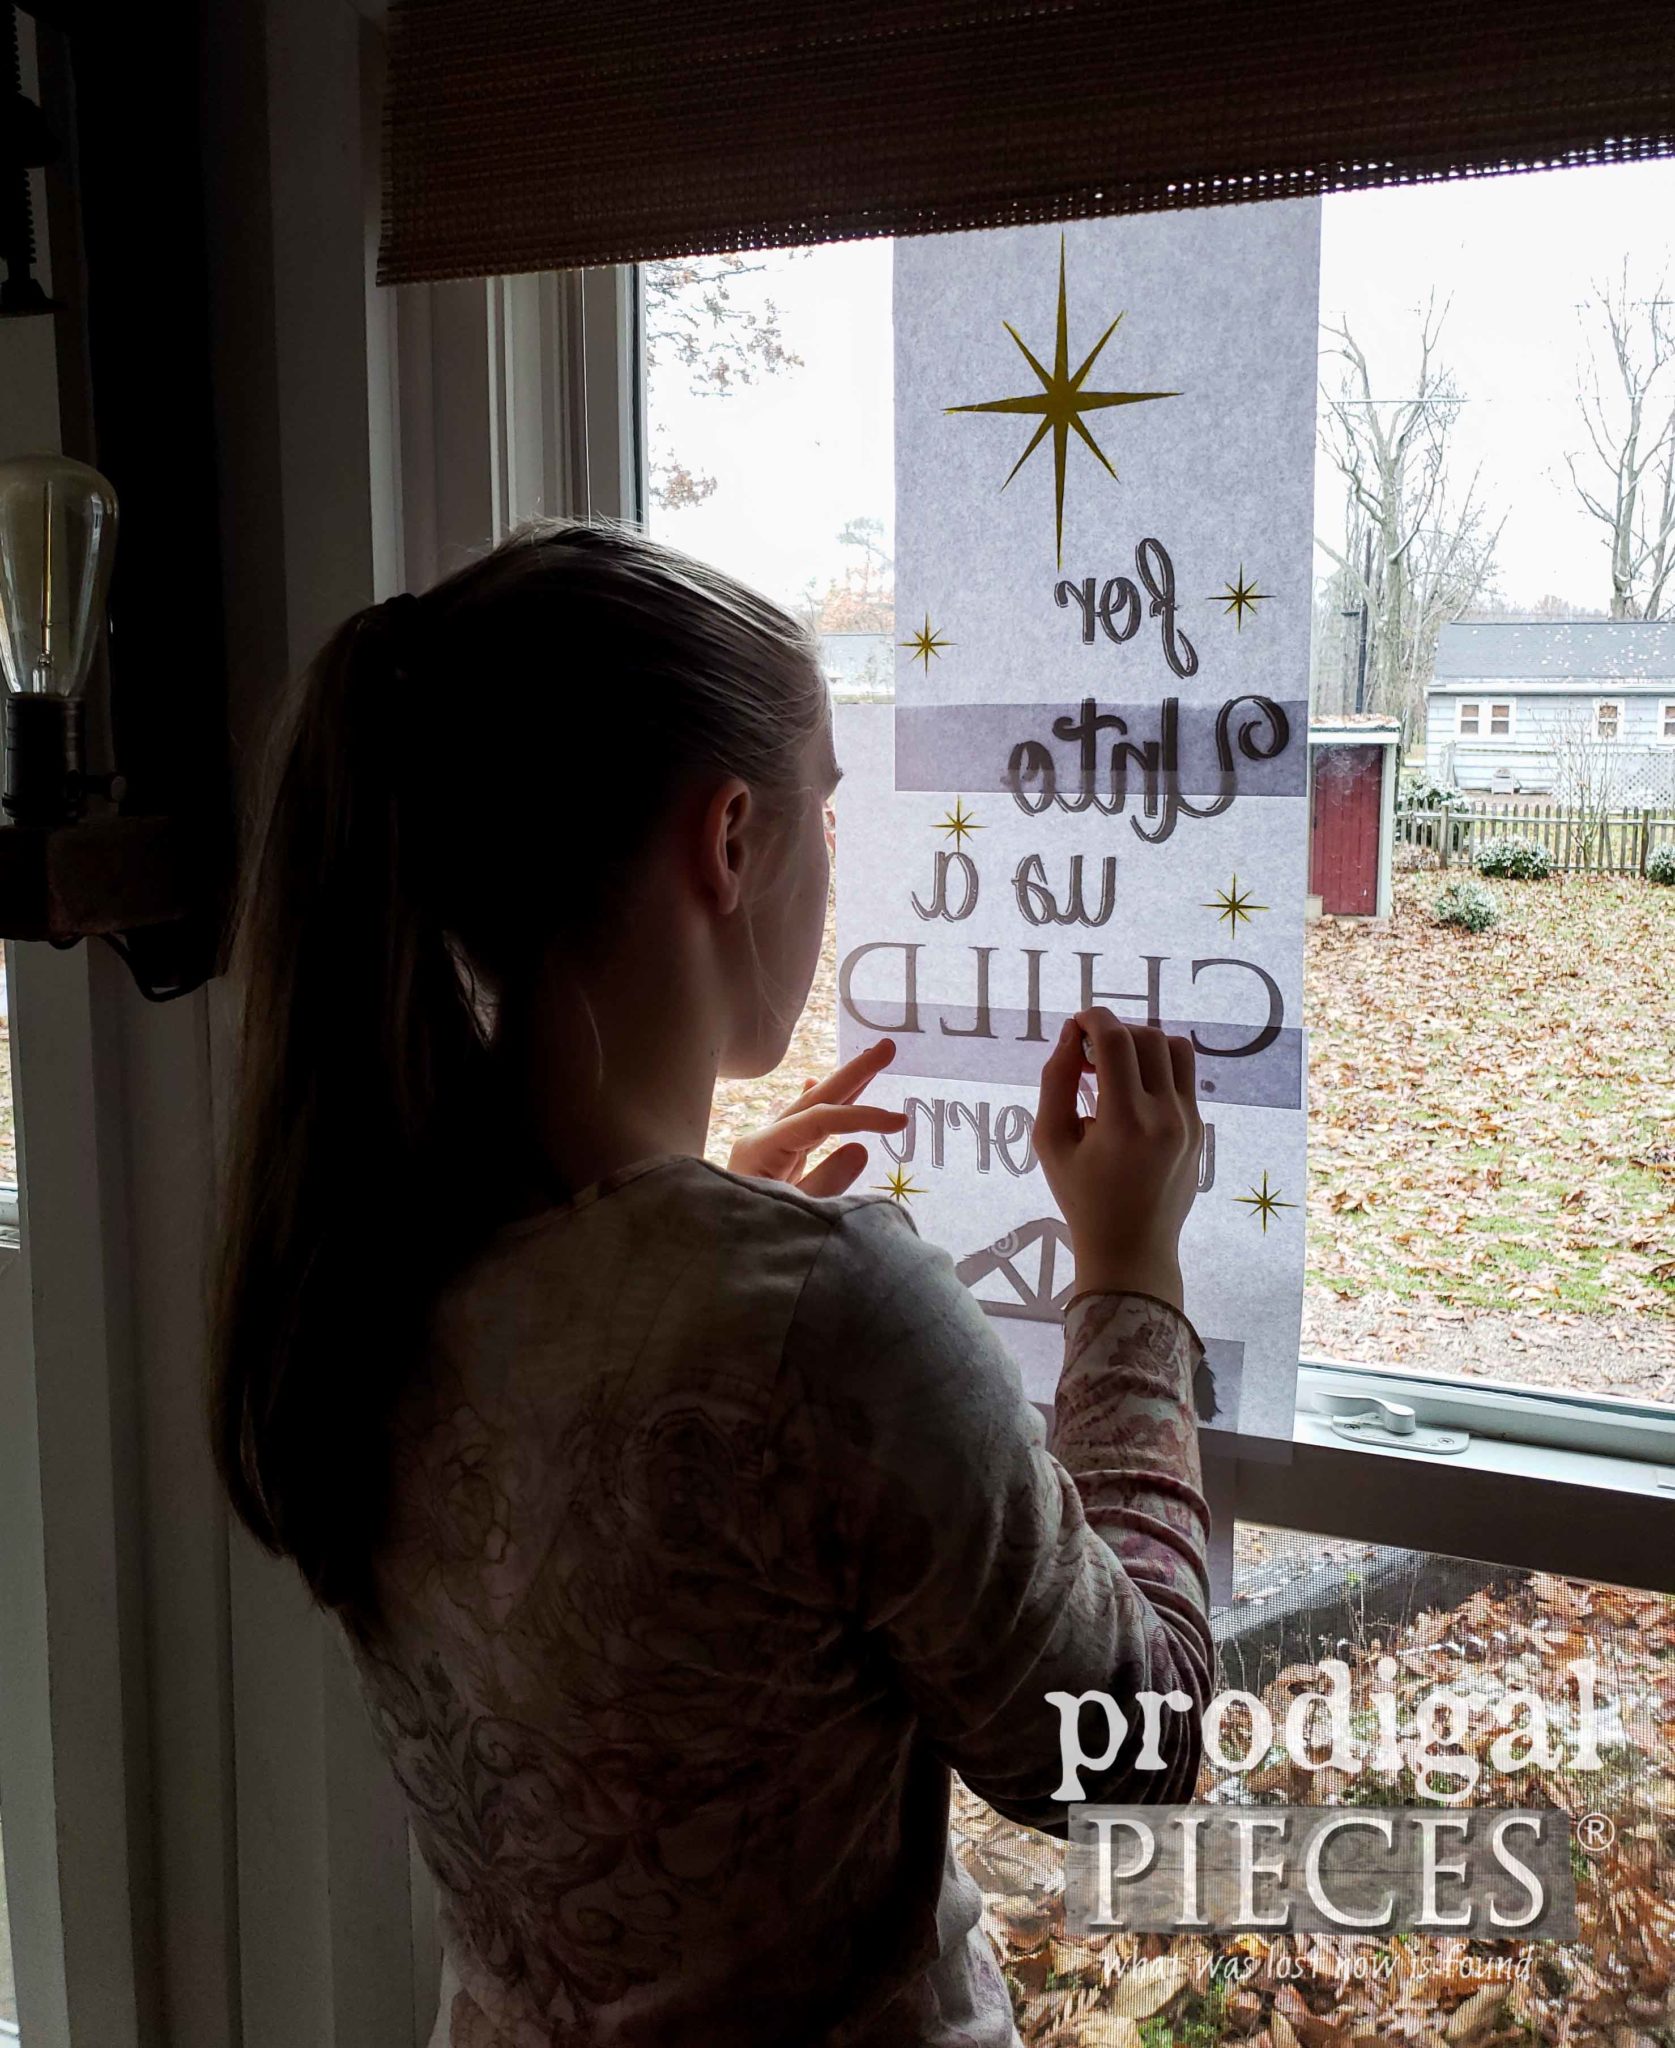
 Next, for her design, she wanted to create wall art in the center panel, but add a bit of fun. She too used my transfer method to apply a graphic we designed. Here she is rubbing the back with pastels.
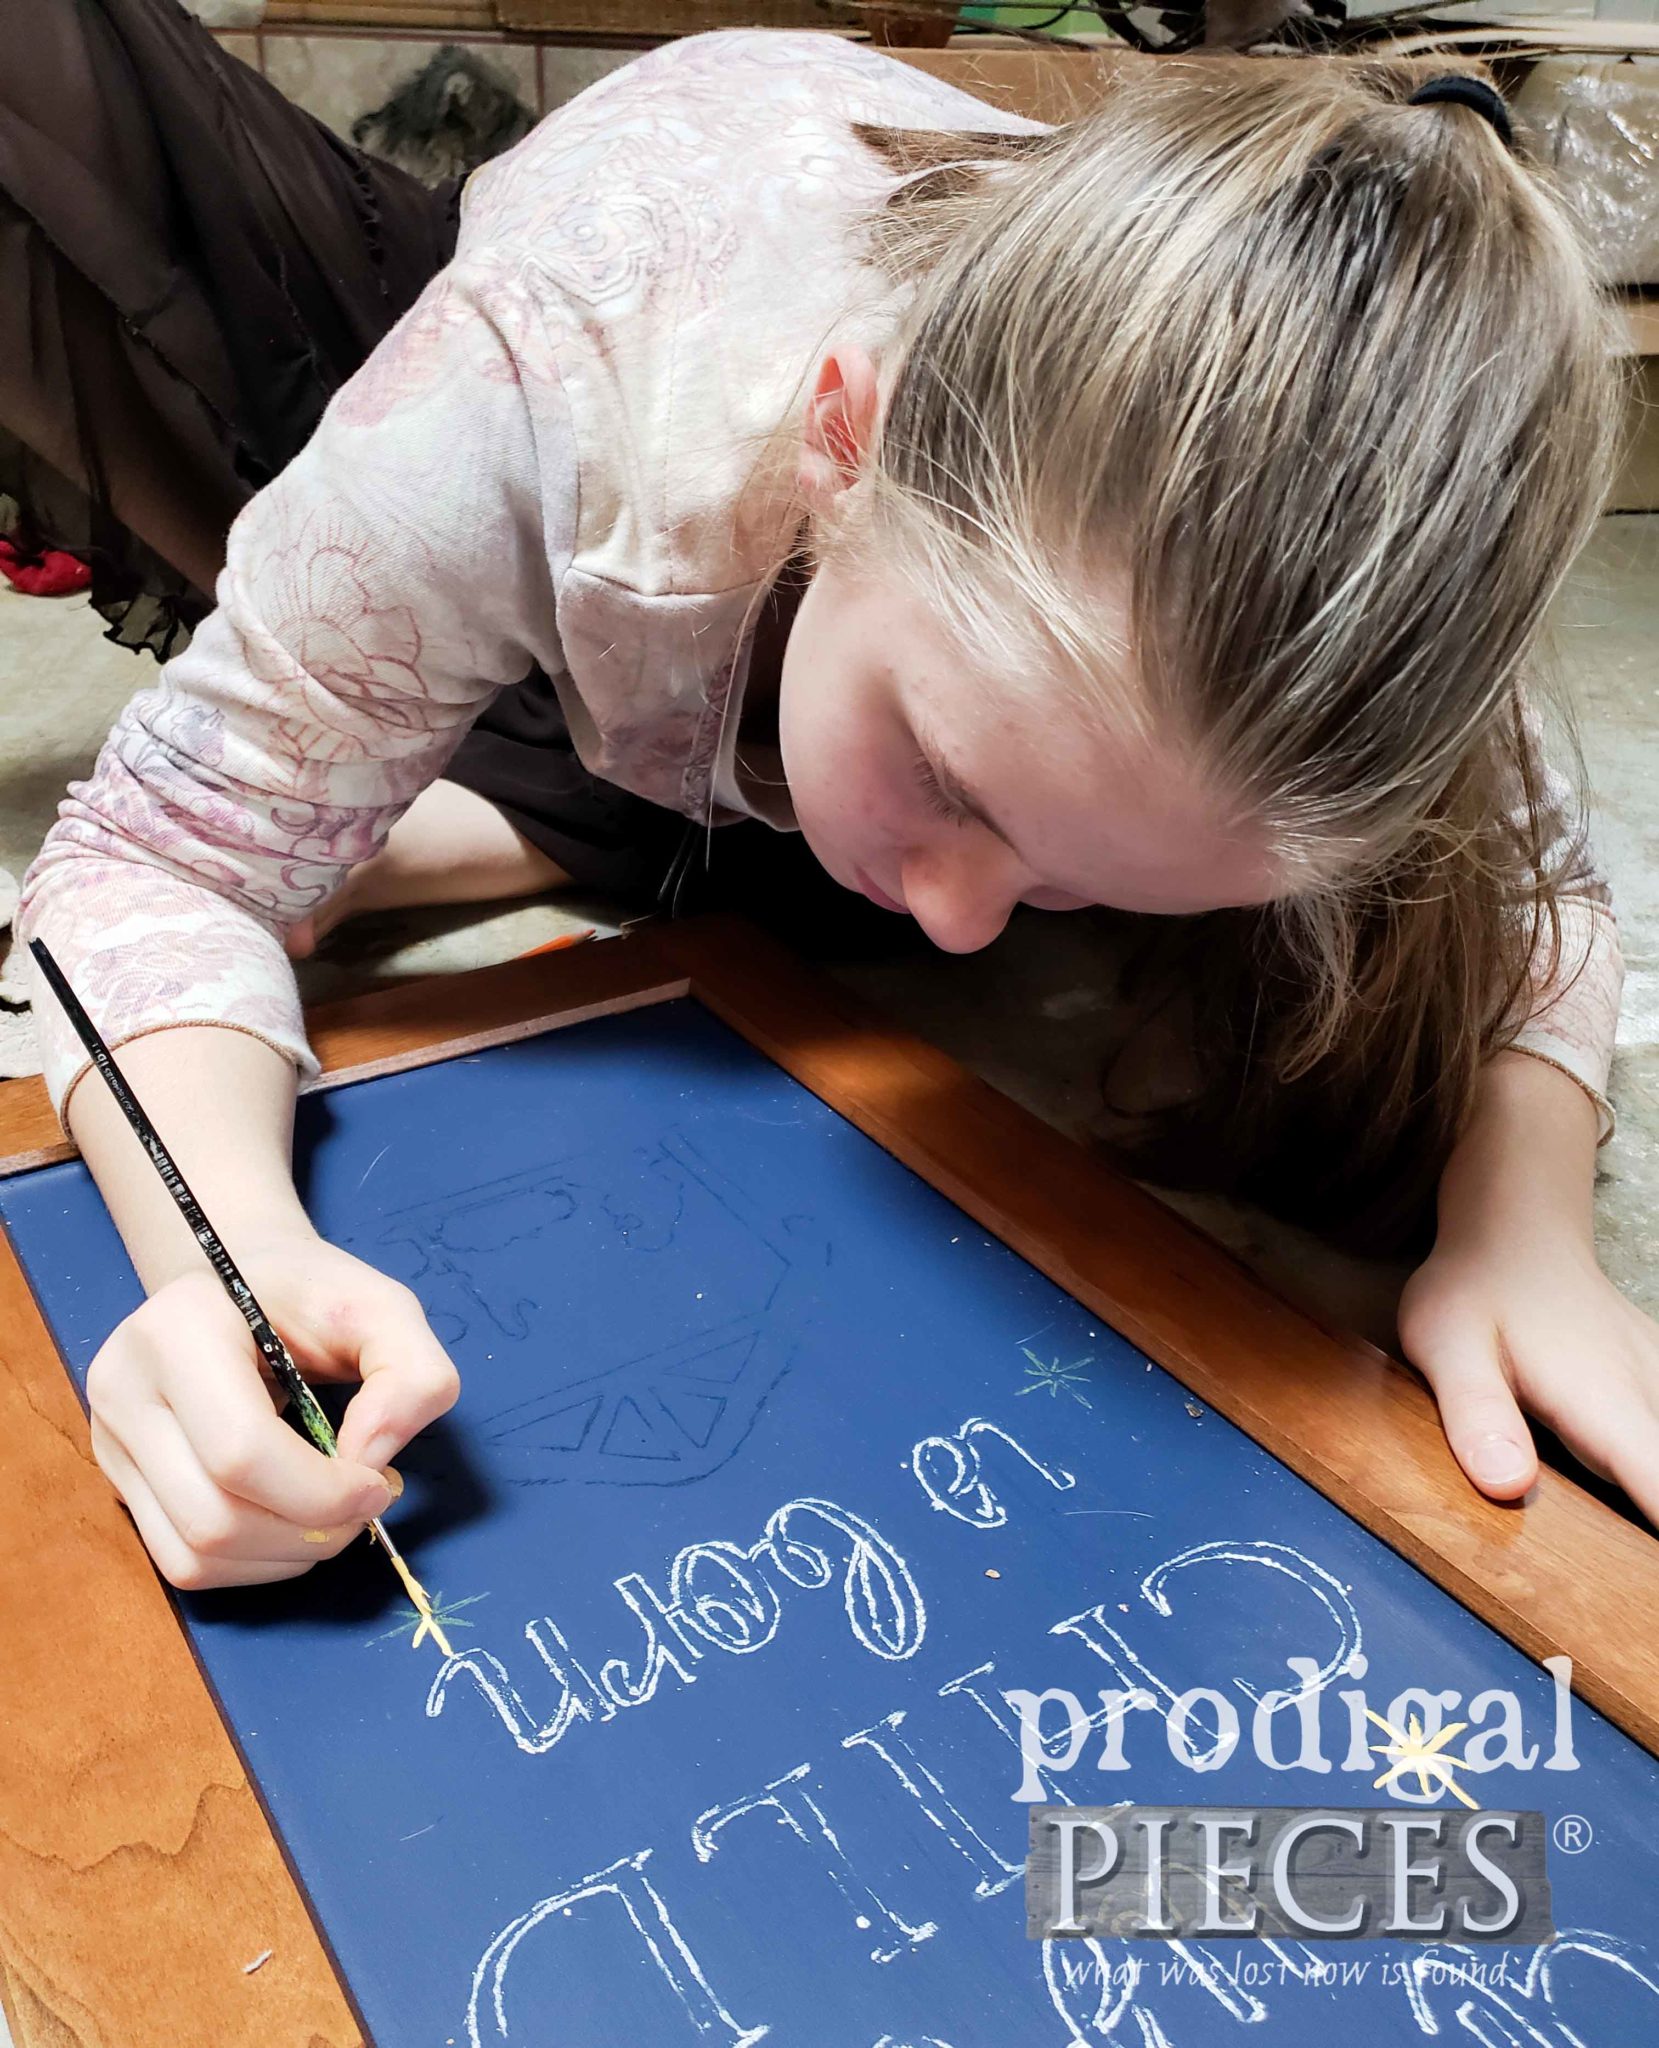
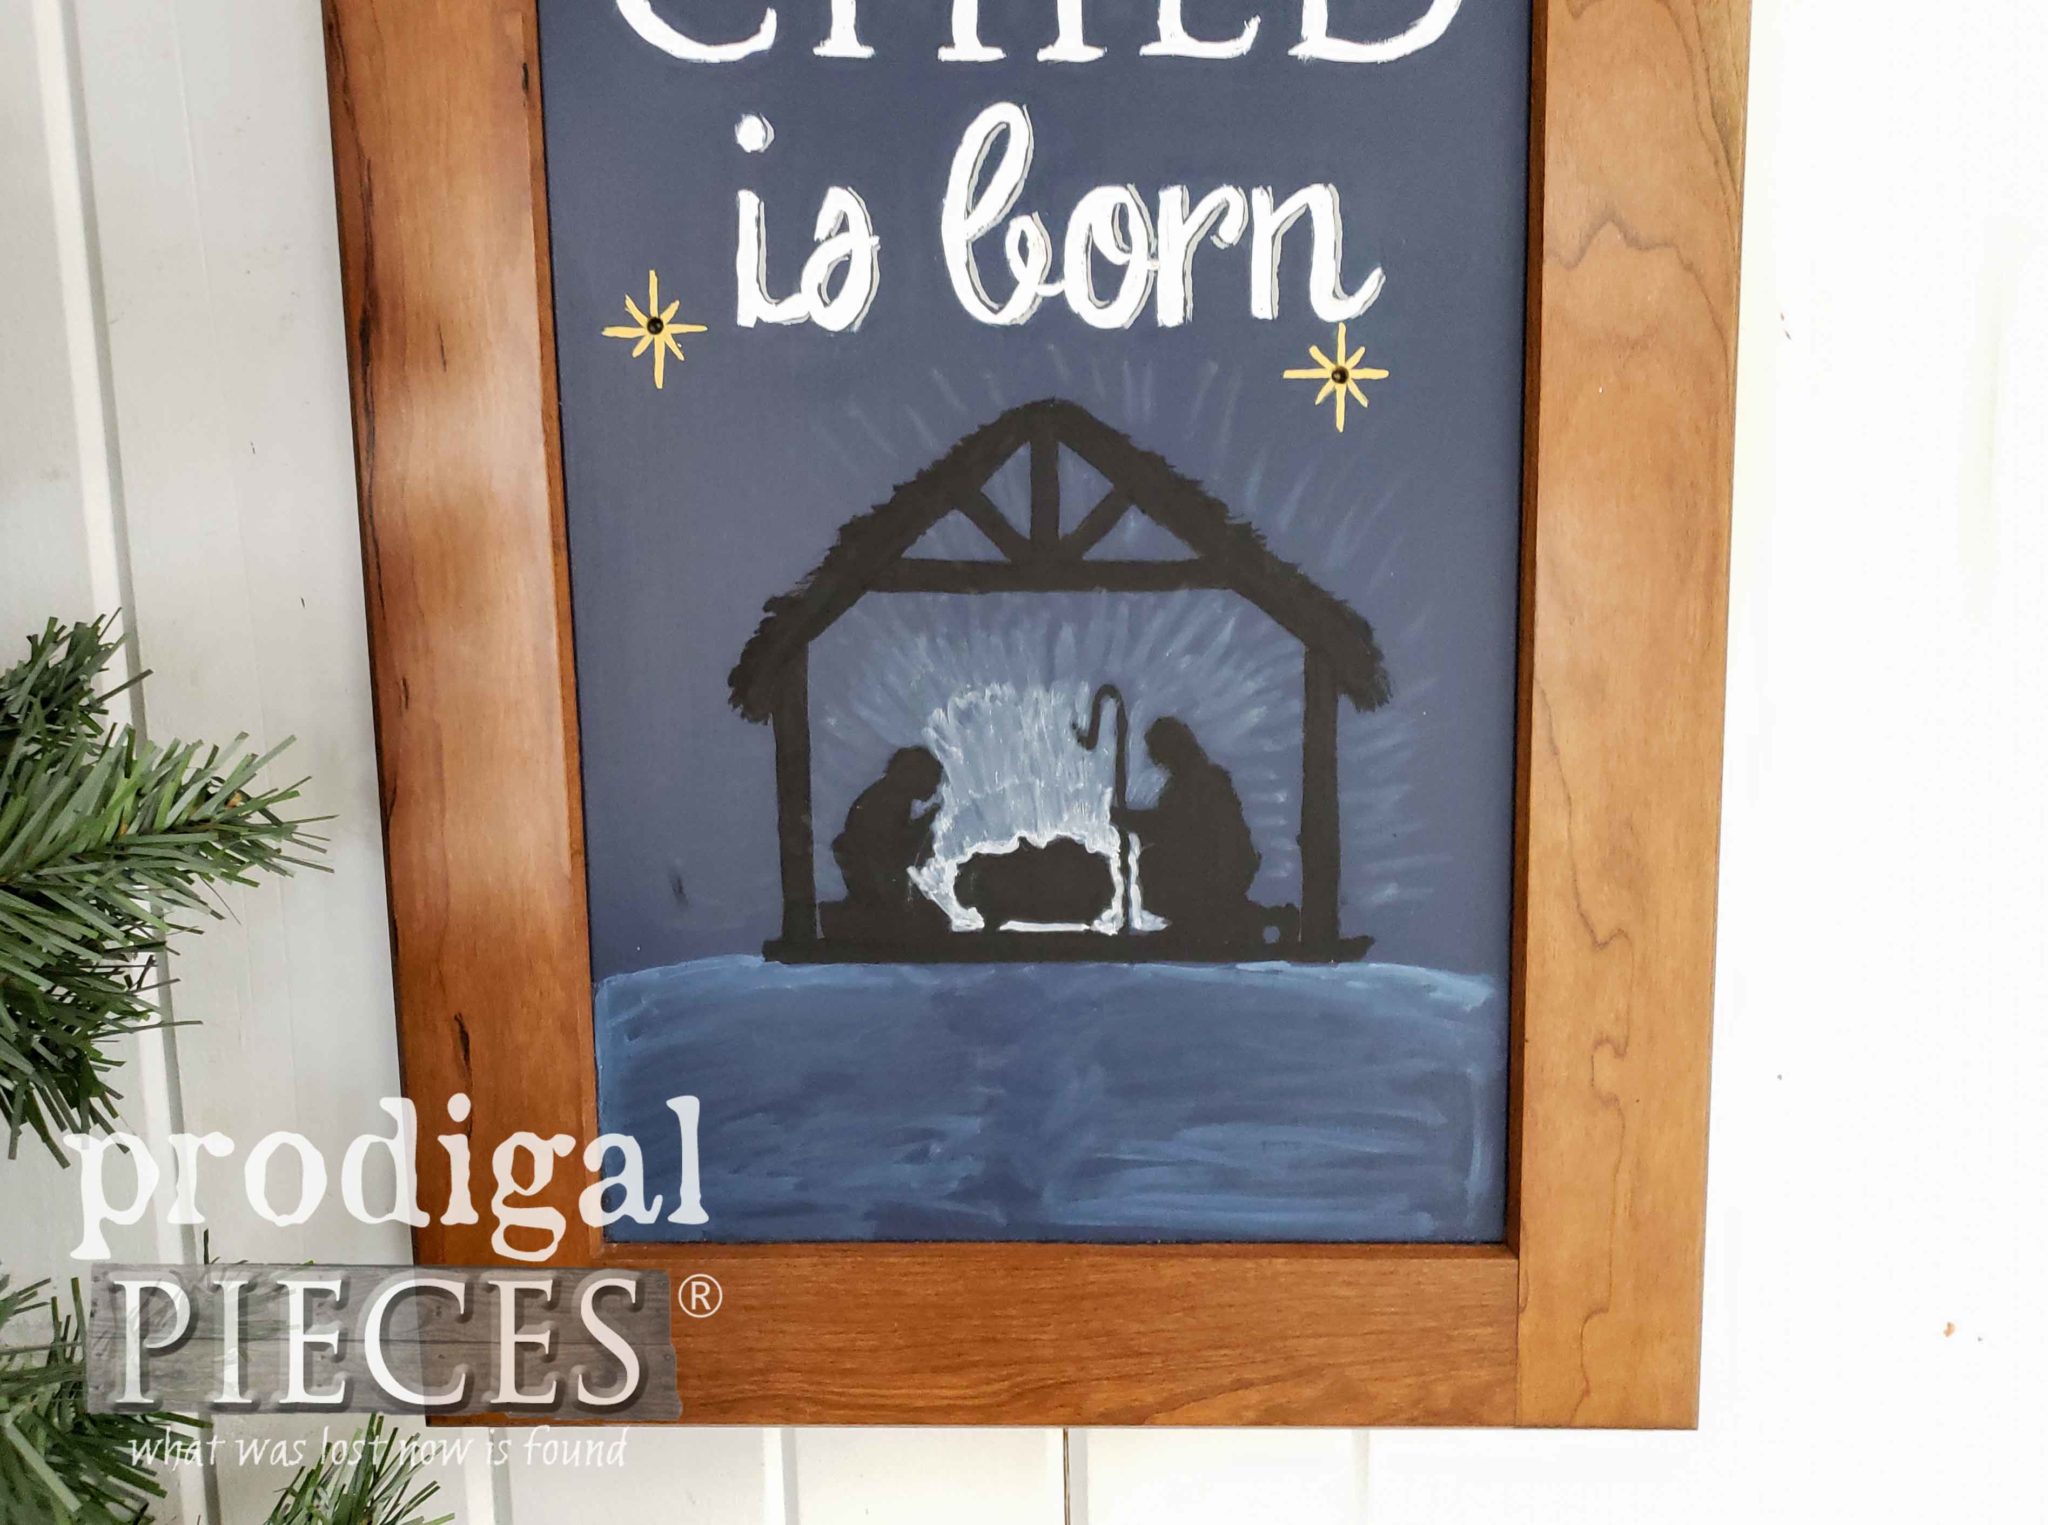
 Next, she applied the graphic to her Christmas cupboard door project and then hand-painted in the design. Look at her go!
 Last, she decided to add some lights to her wall art by drilling holes and mounting the battery-operated Led string lights from the back. In addition, she used my glue gun to attach the string of lights with the battery pack at the bottom. Also, she attached Velcro to the battery pack of the lights, and the back side of the cupboard. That way you can change batteries as needed.
THIRD REVEAL
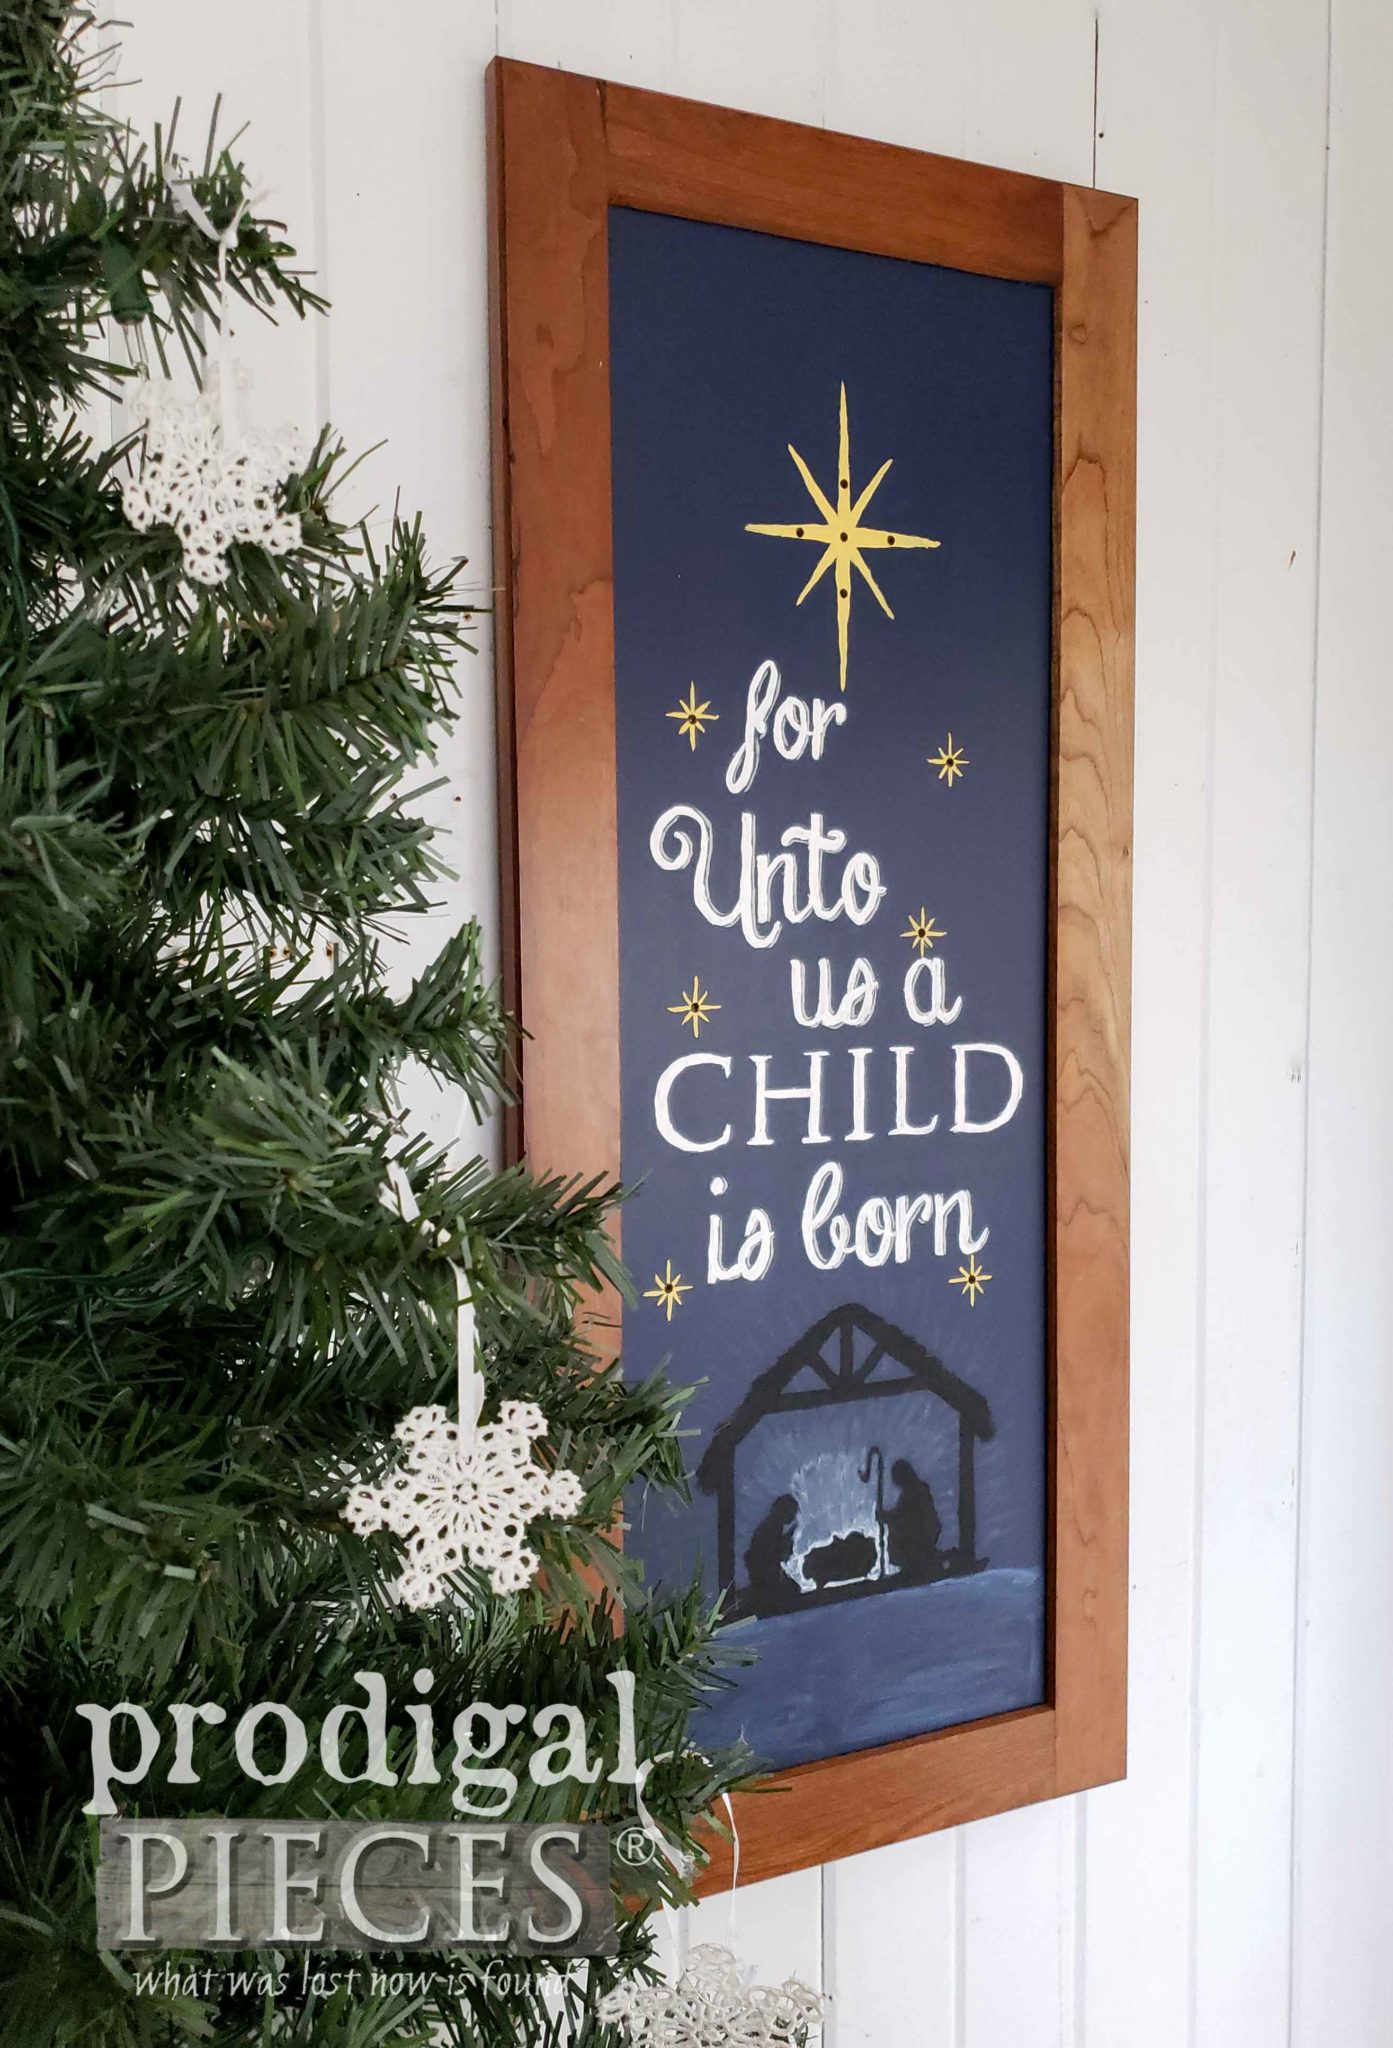
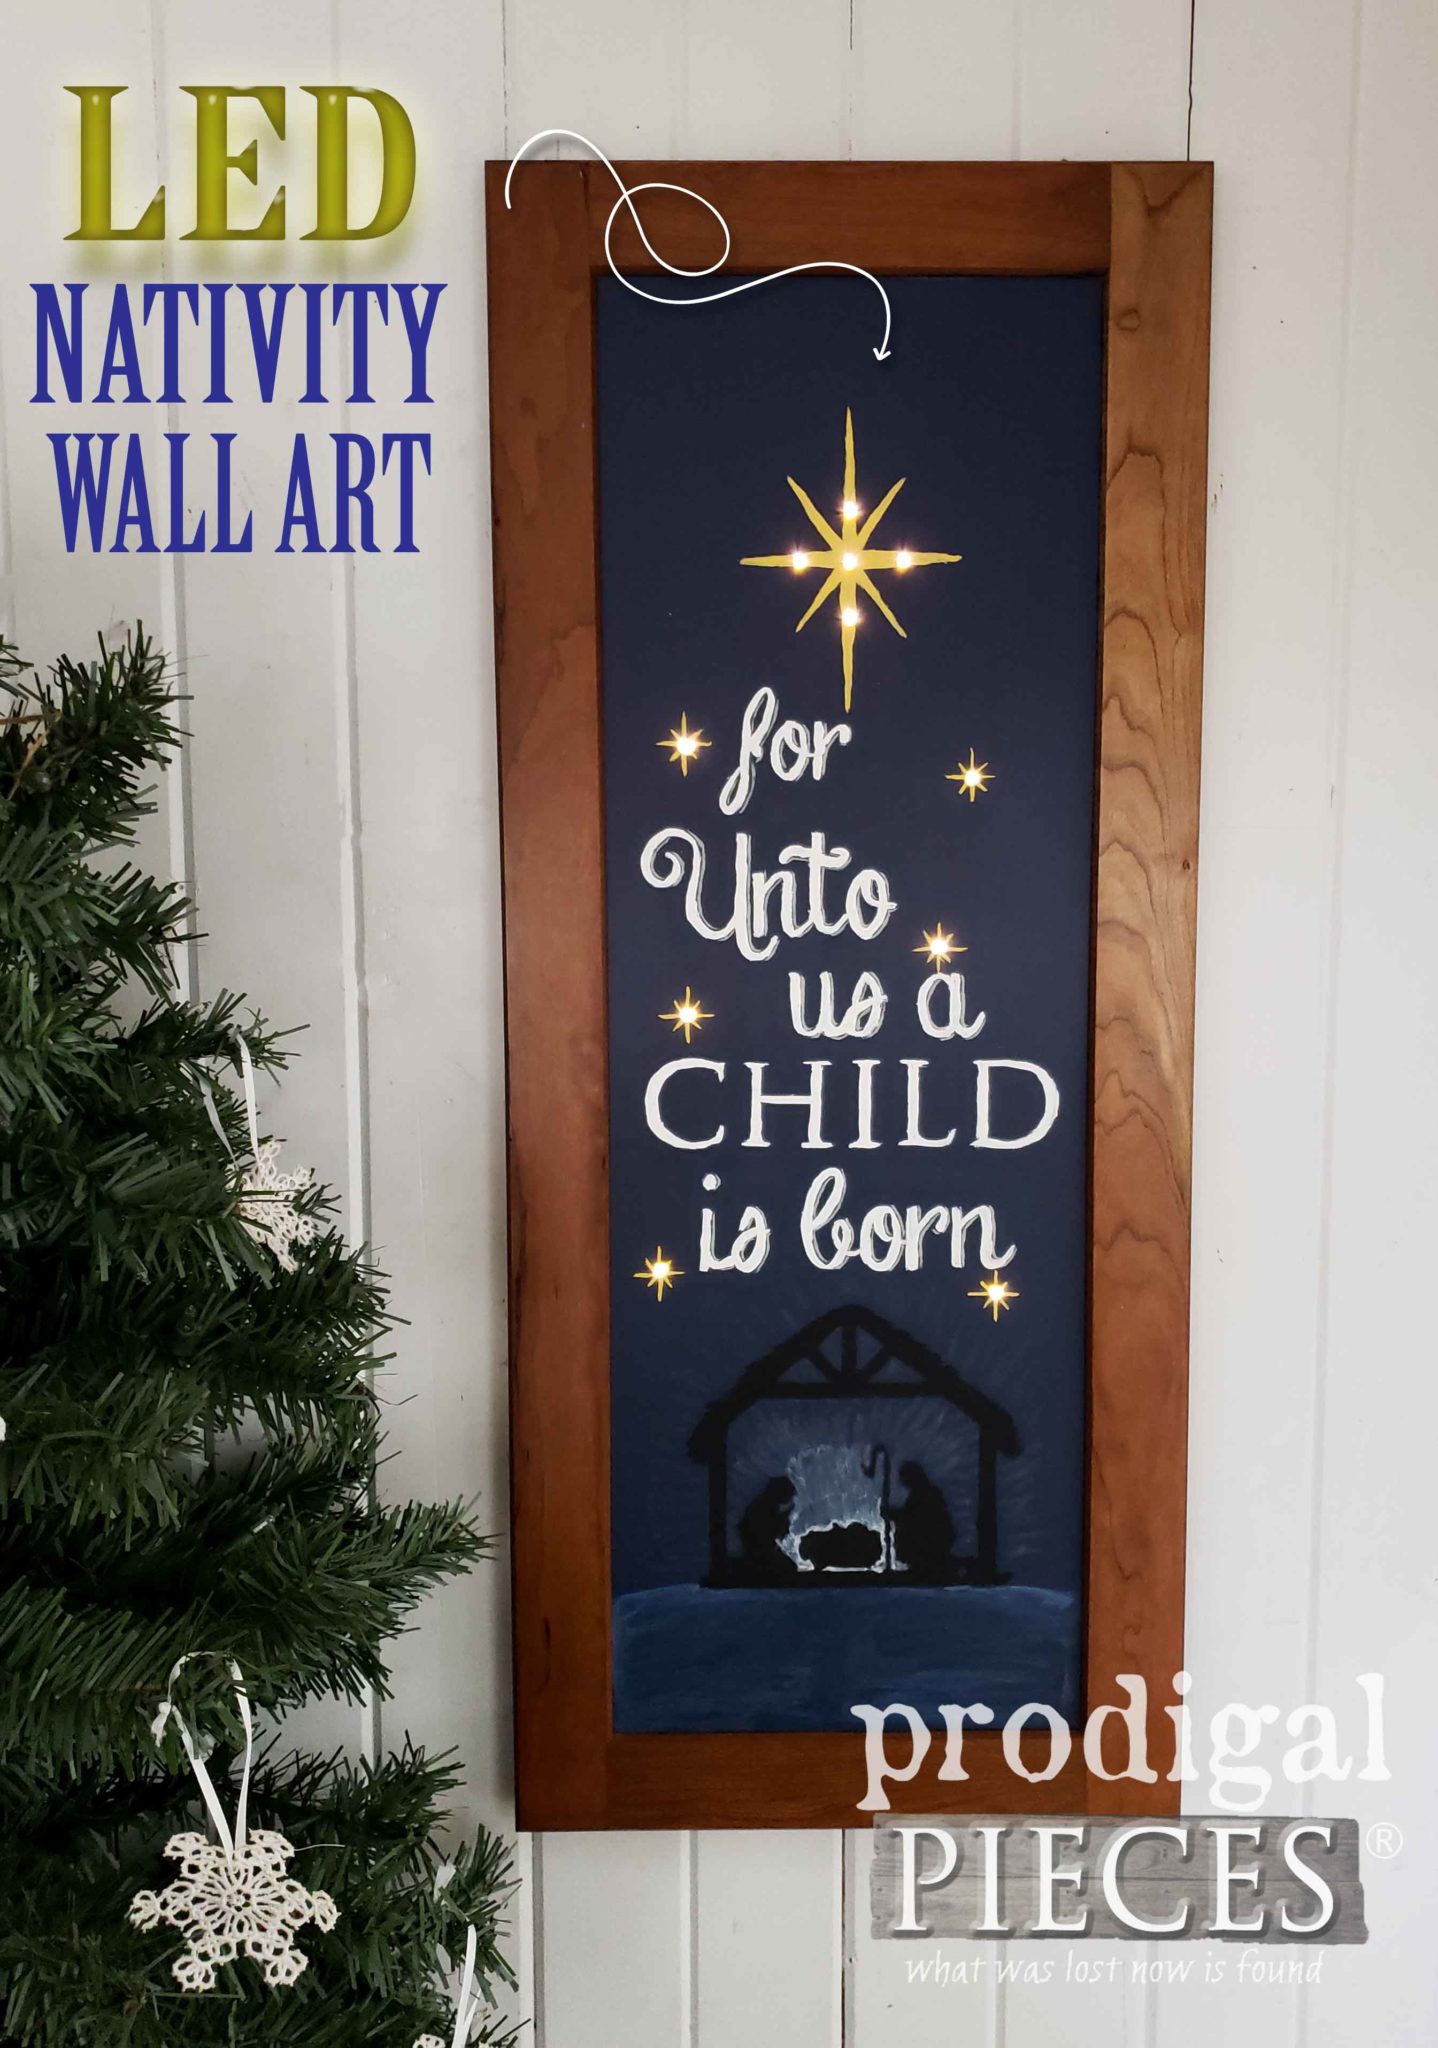
Here is her Christmas cupboard door wall art complete and ready to shine.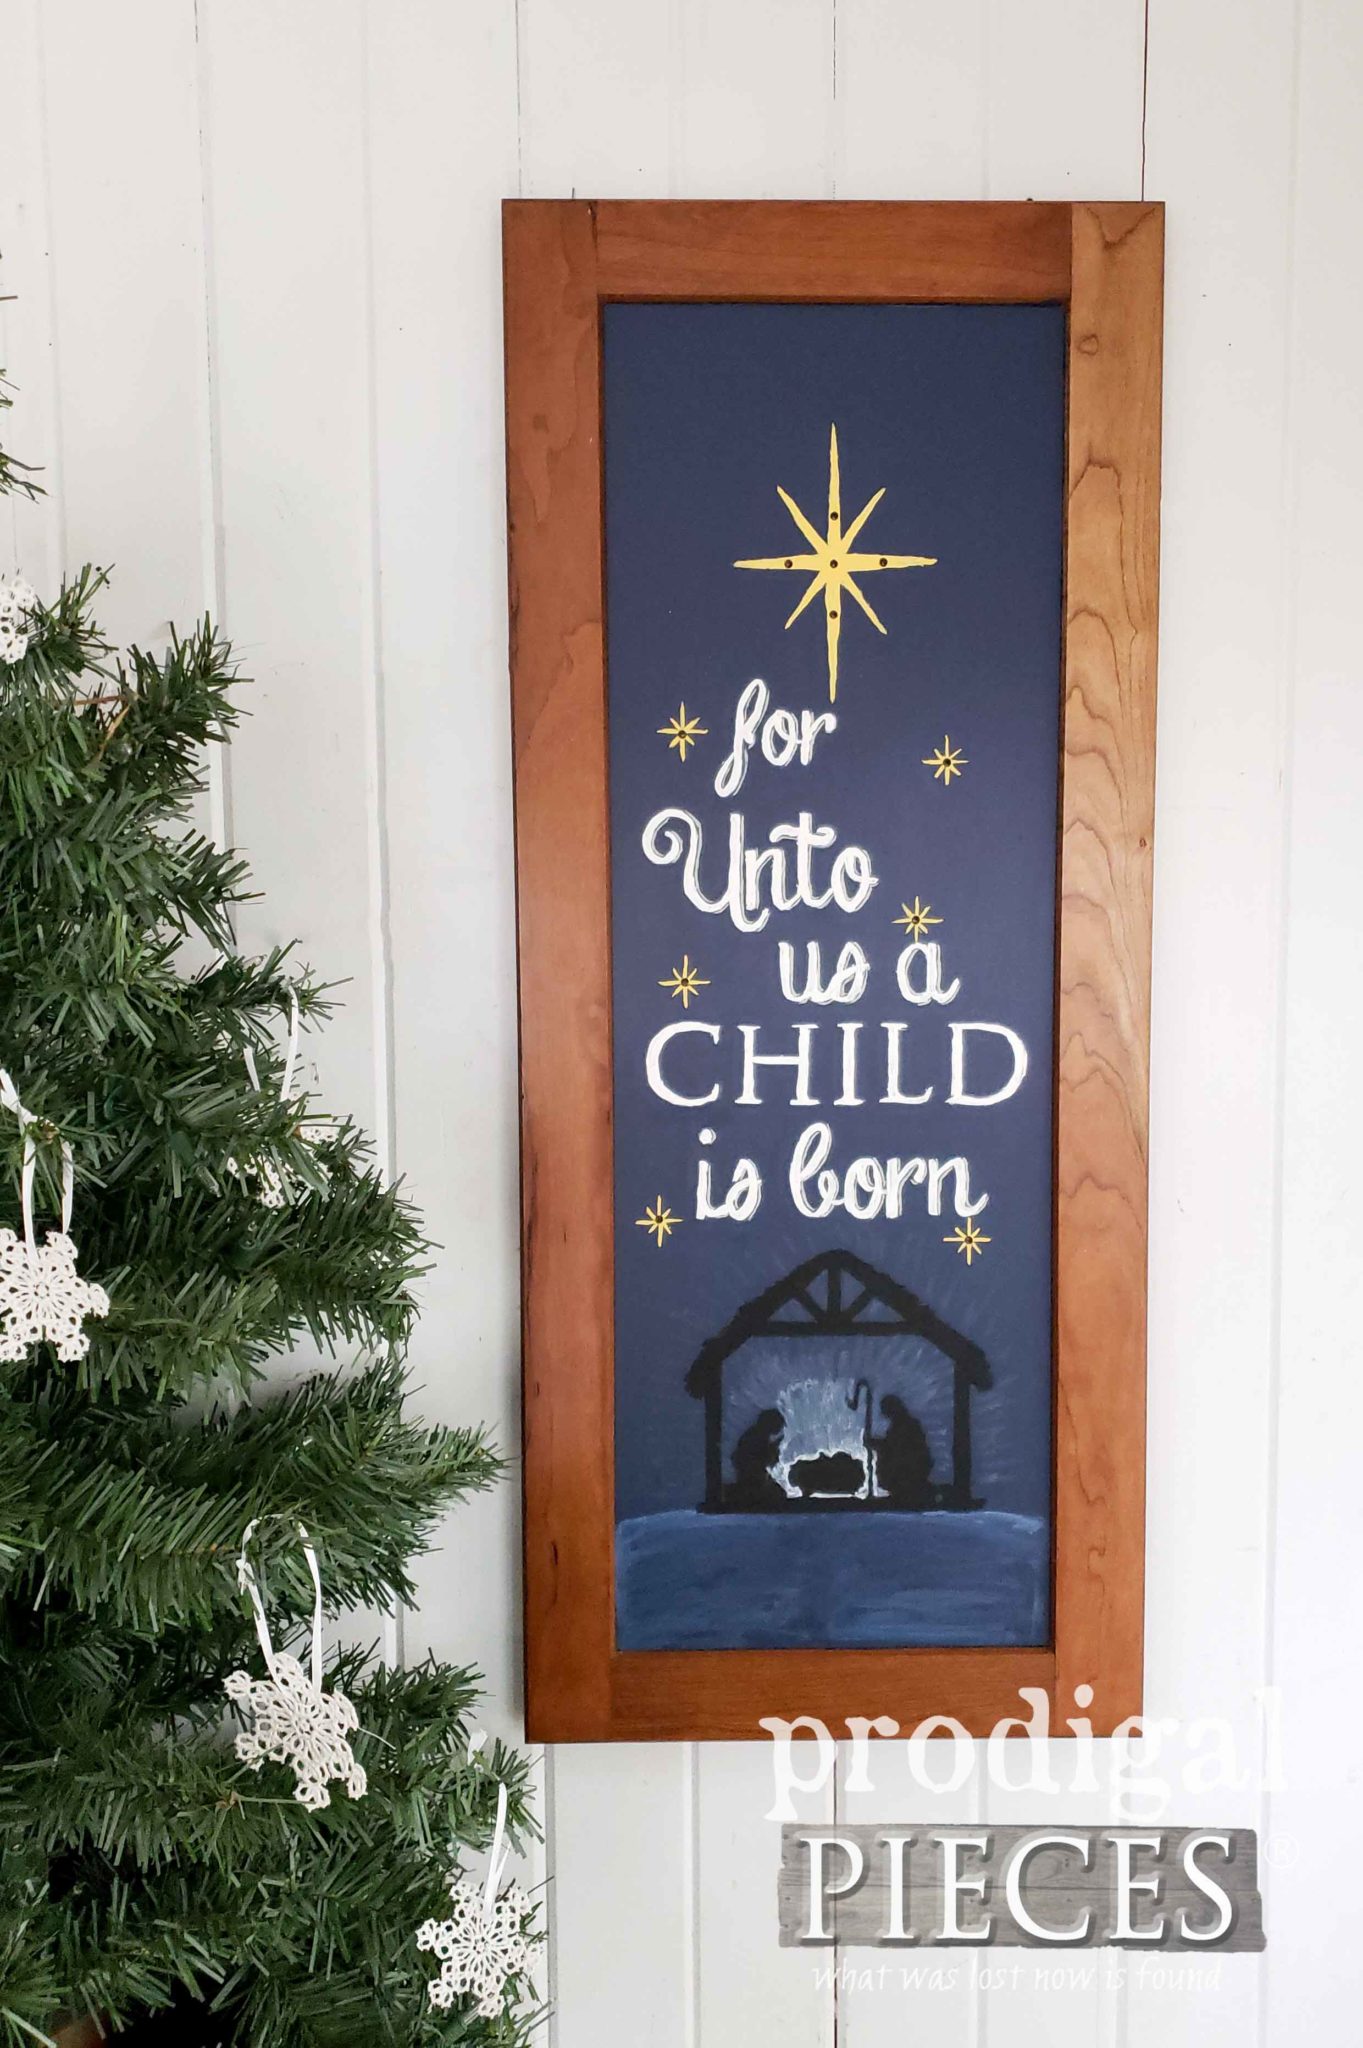
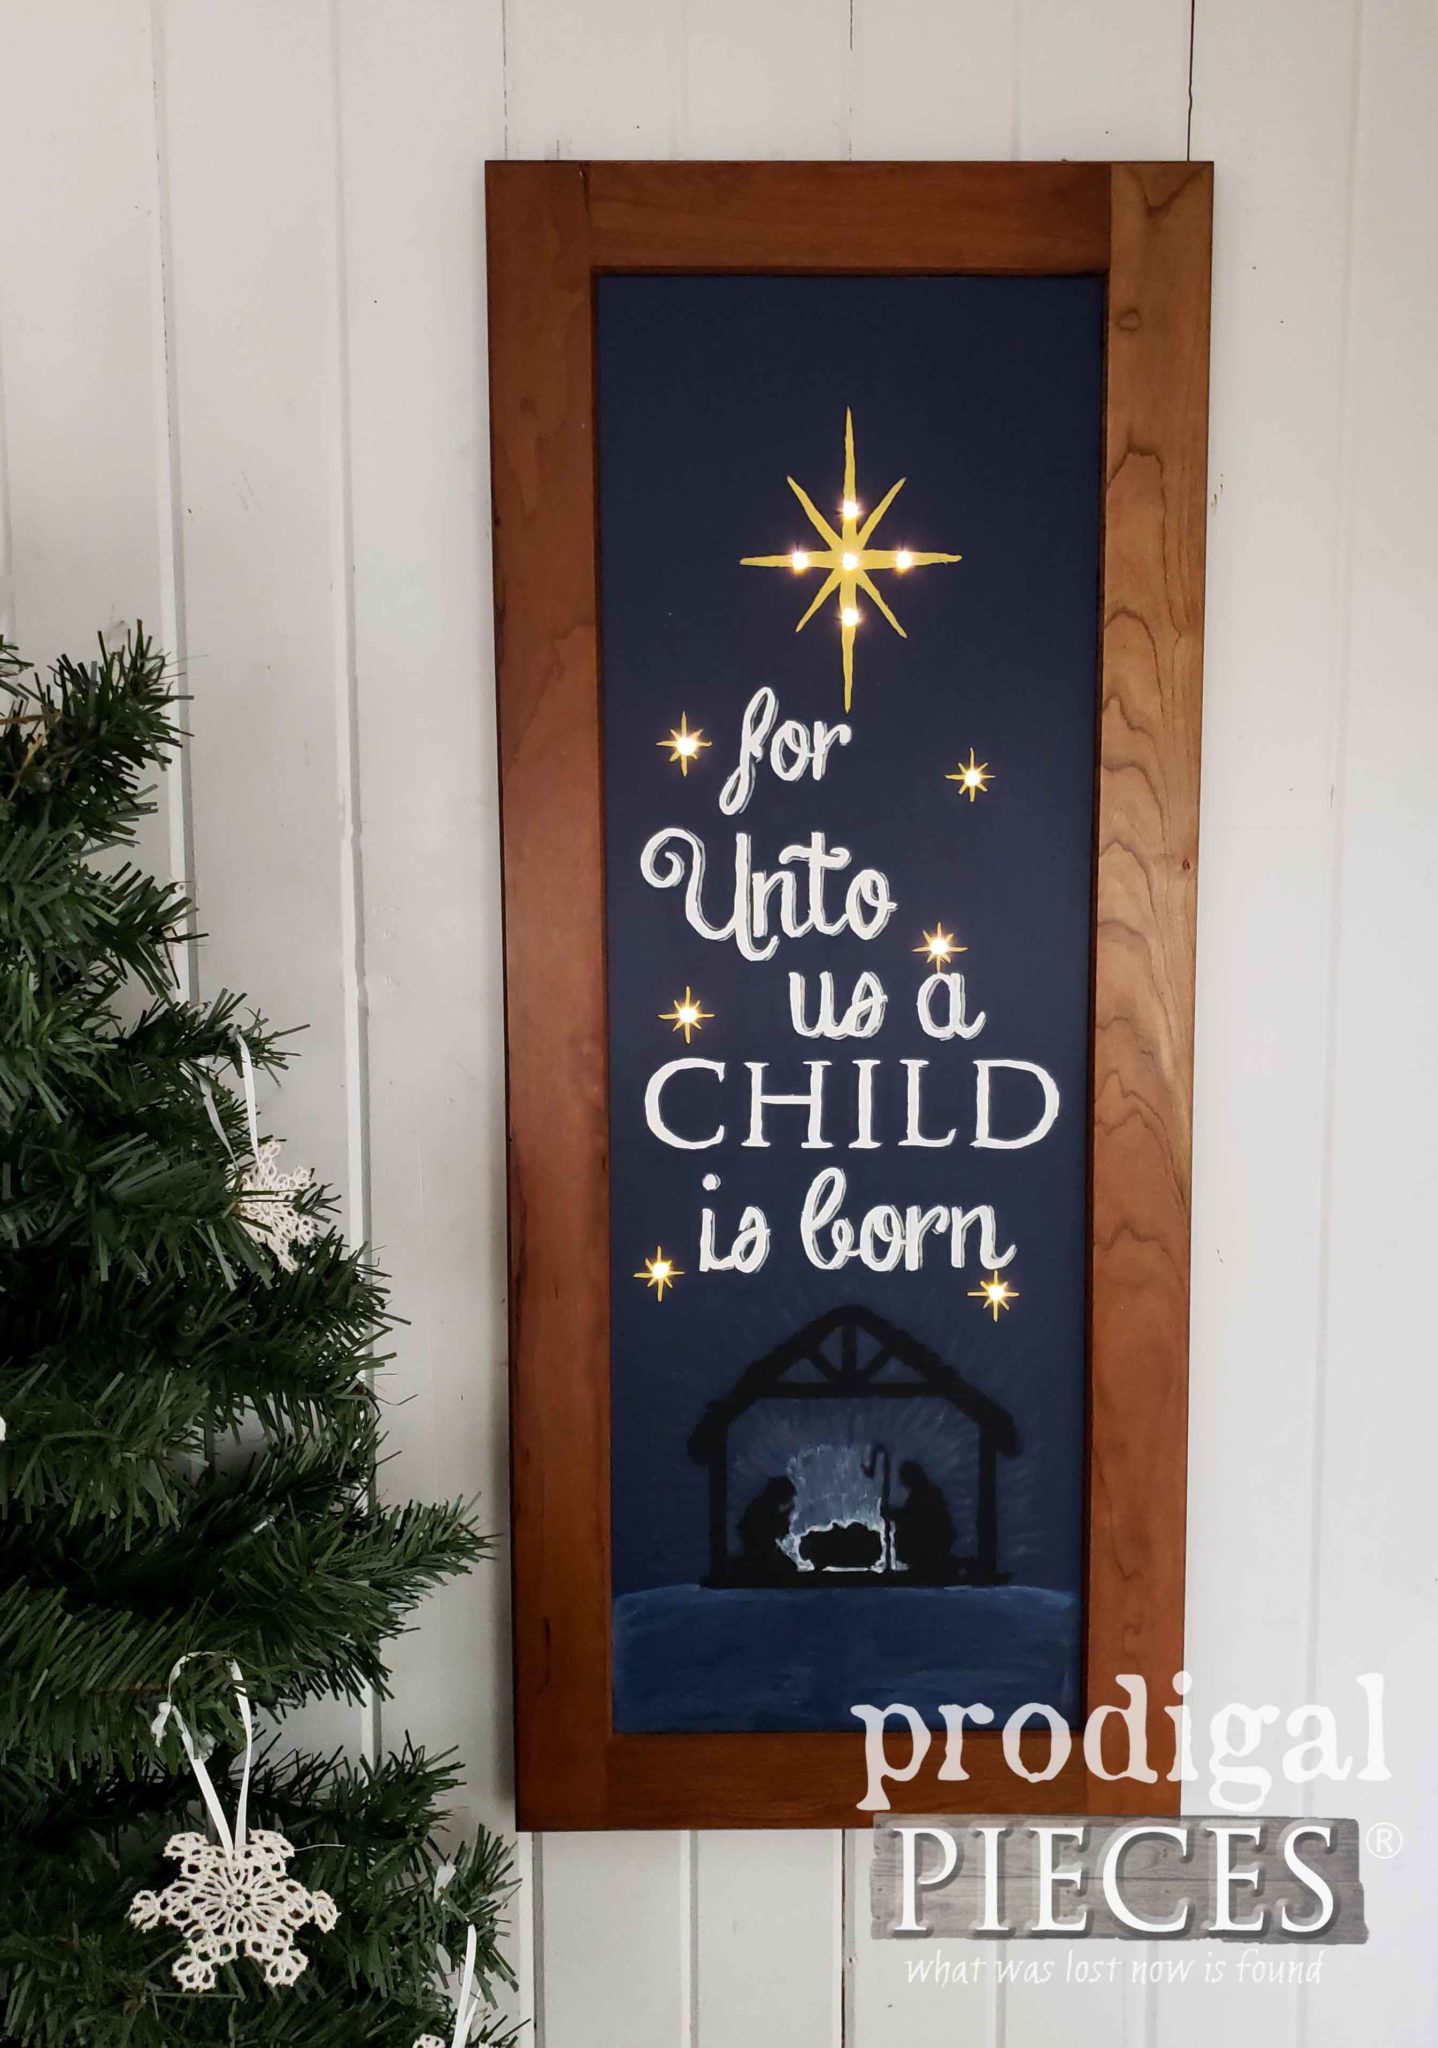 It look so beautiful lit up and has 3 different lighting designs to feature too. I'm so proud of her work on this. Undoubtedly, Jesus is the real reason for the season.
FOURTH PROJECT
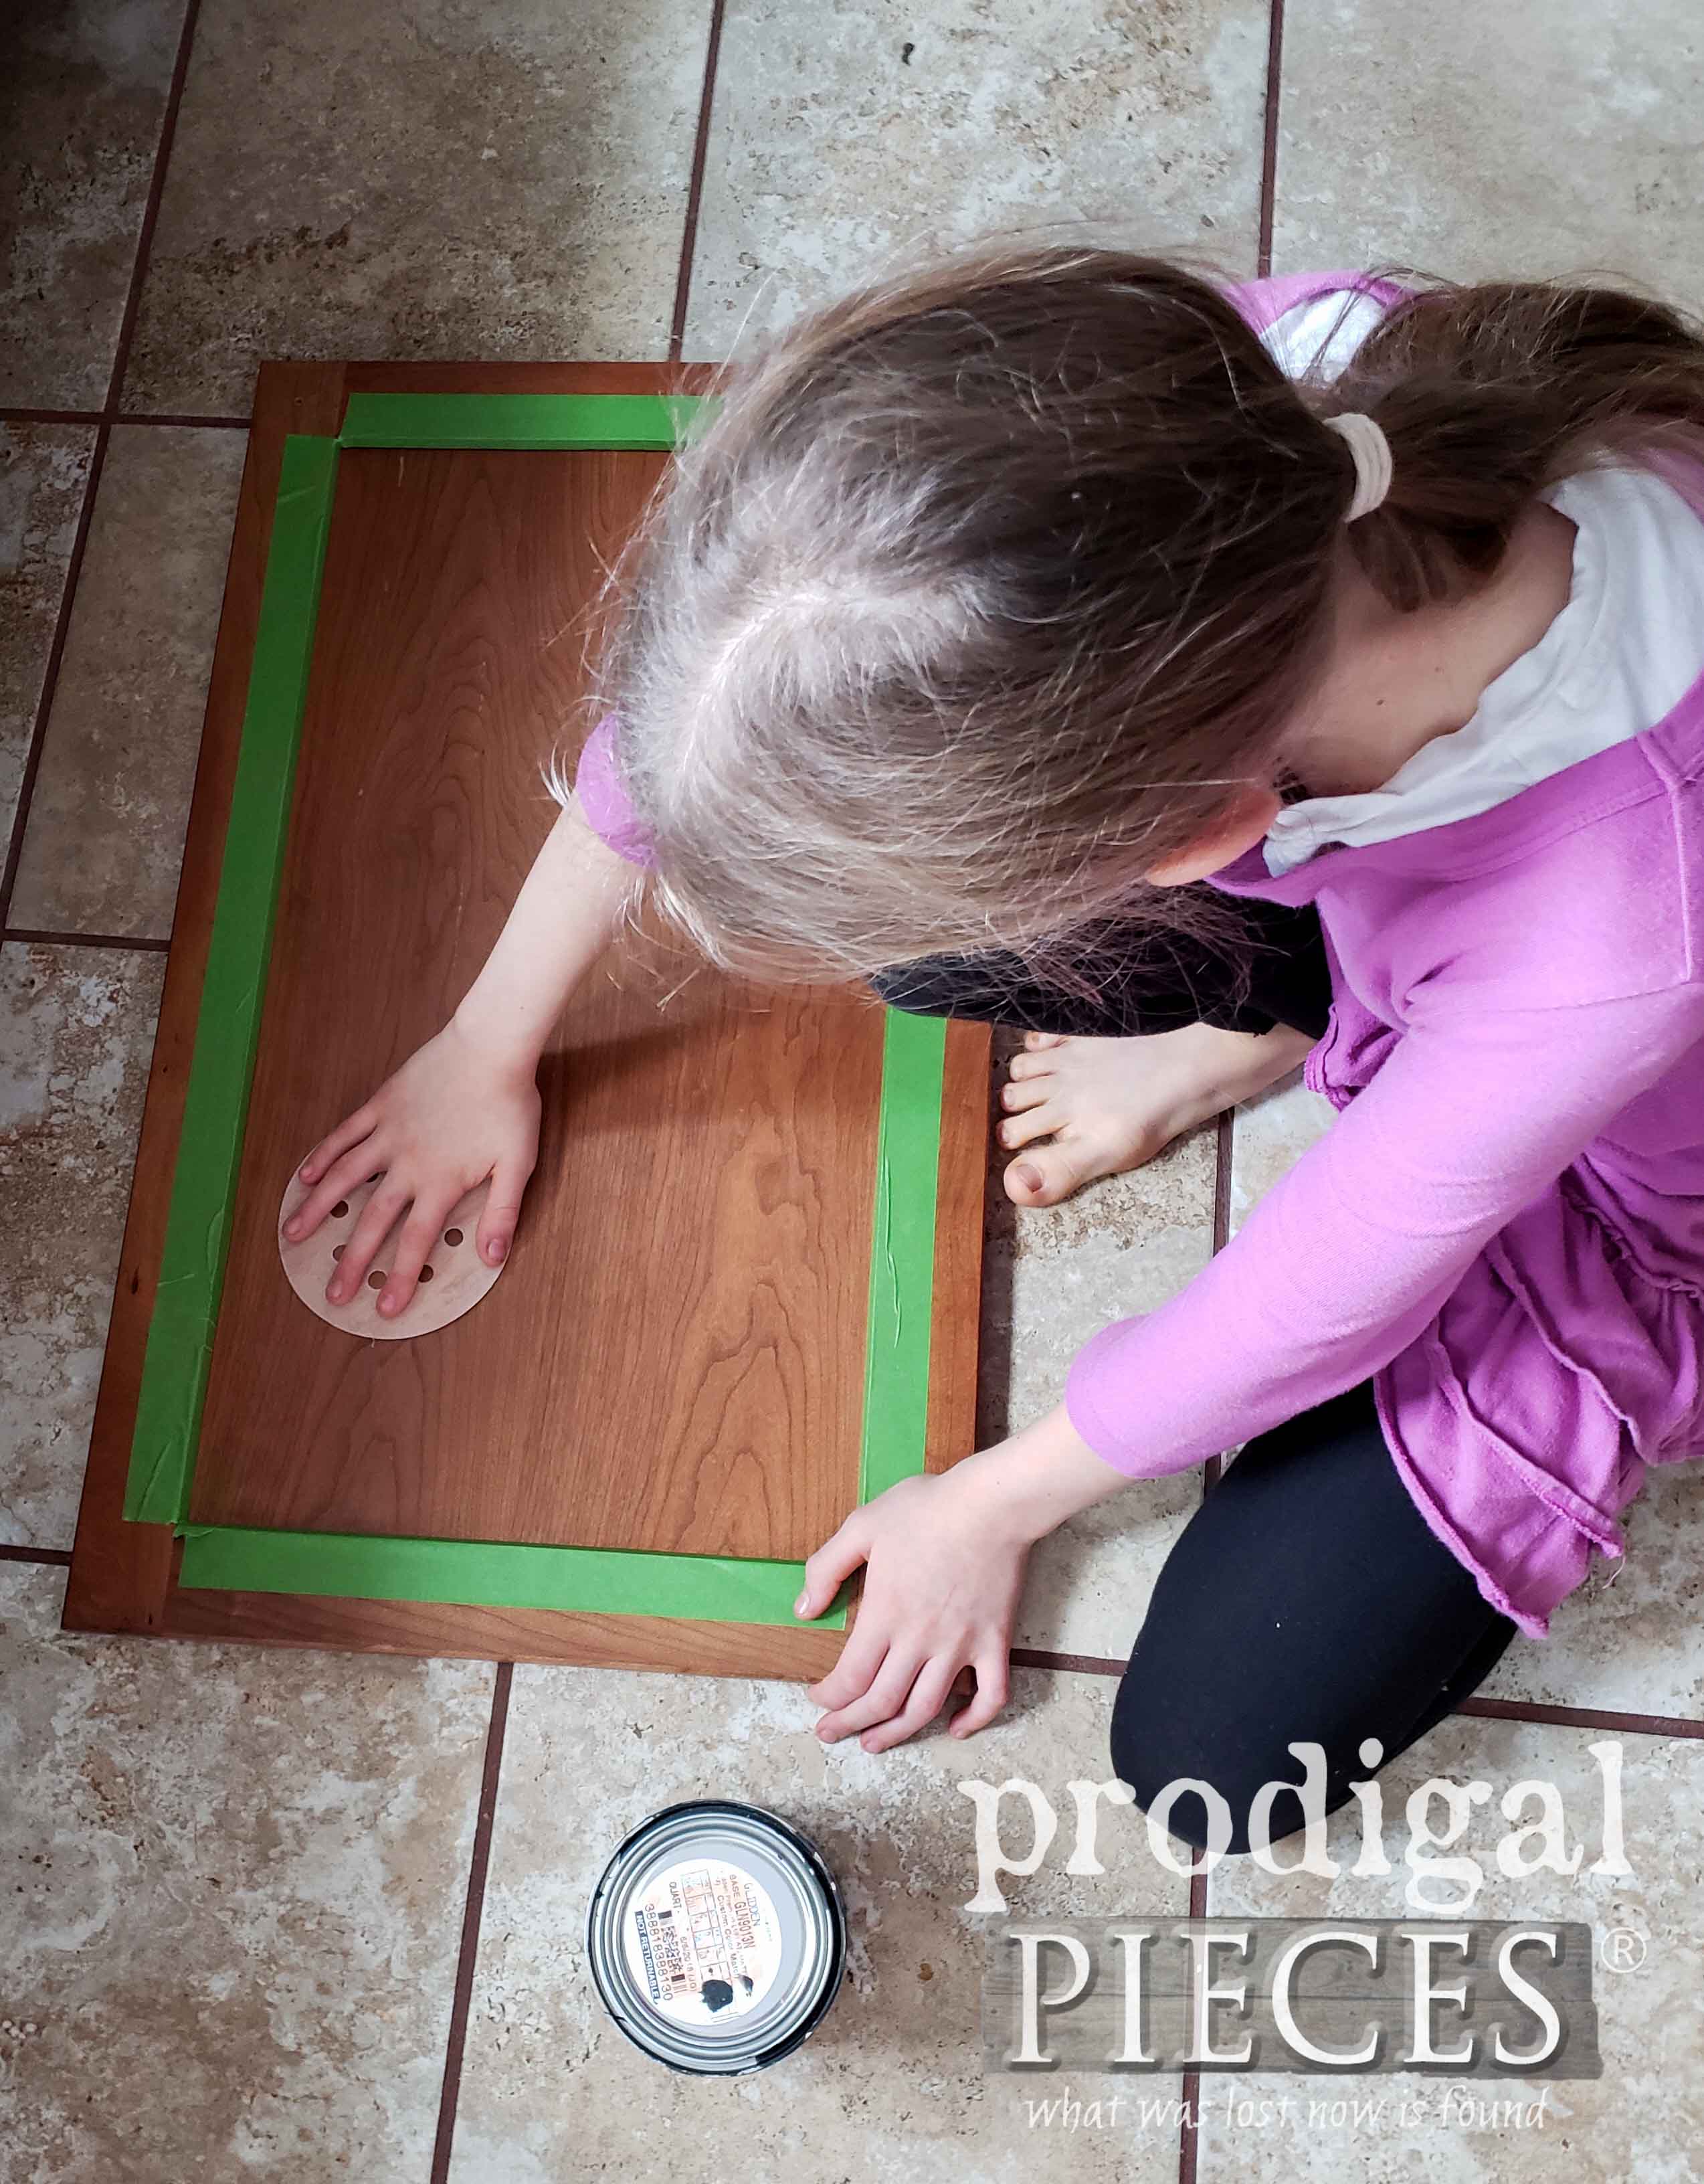
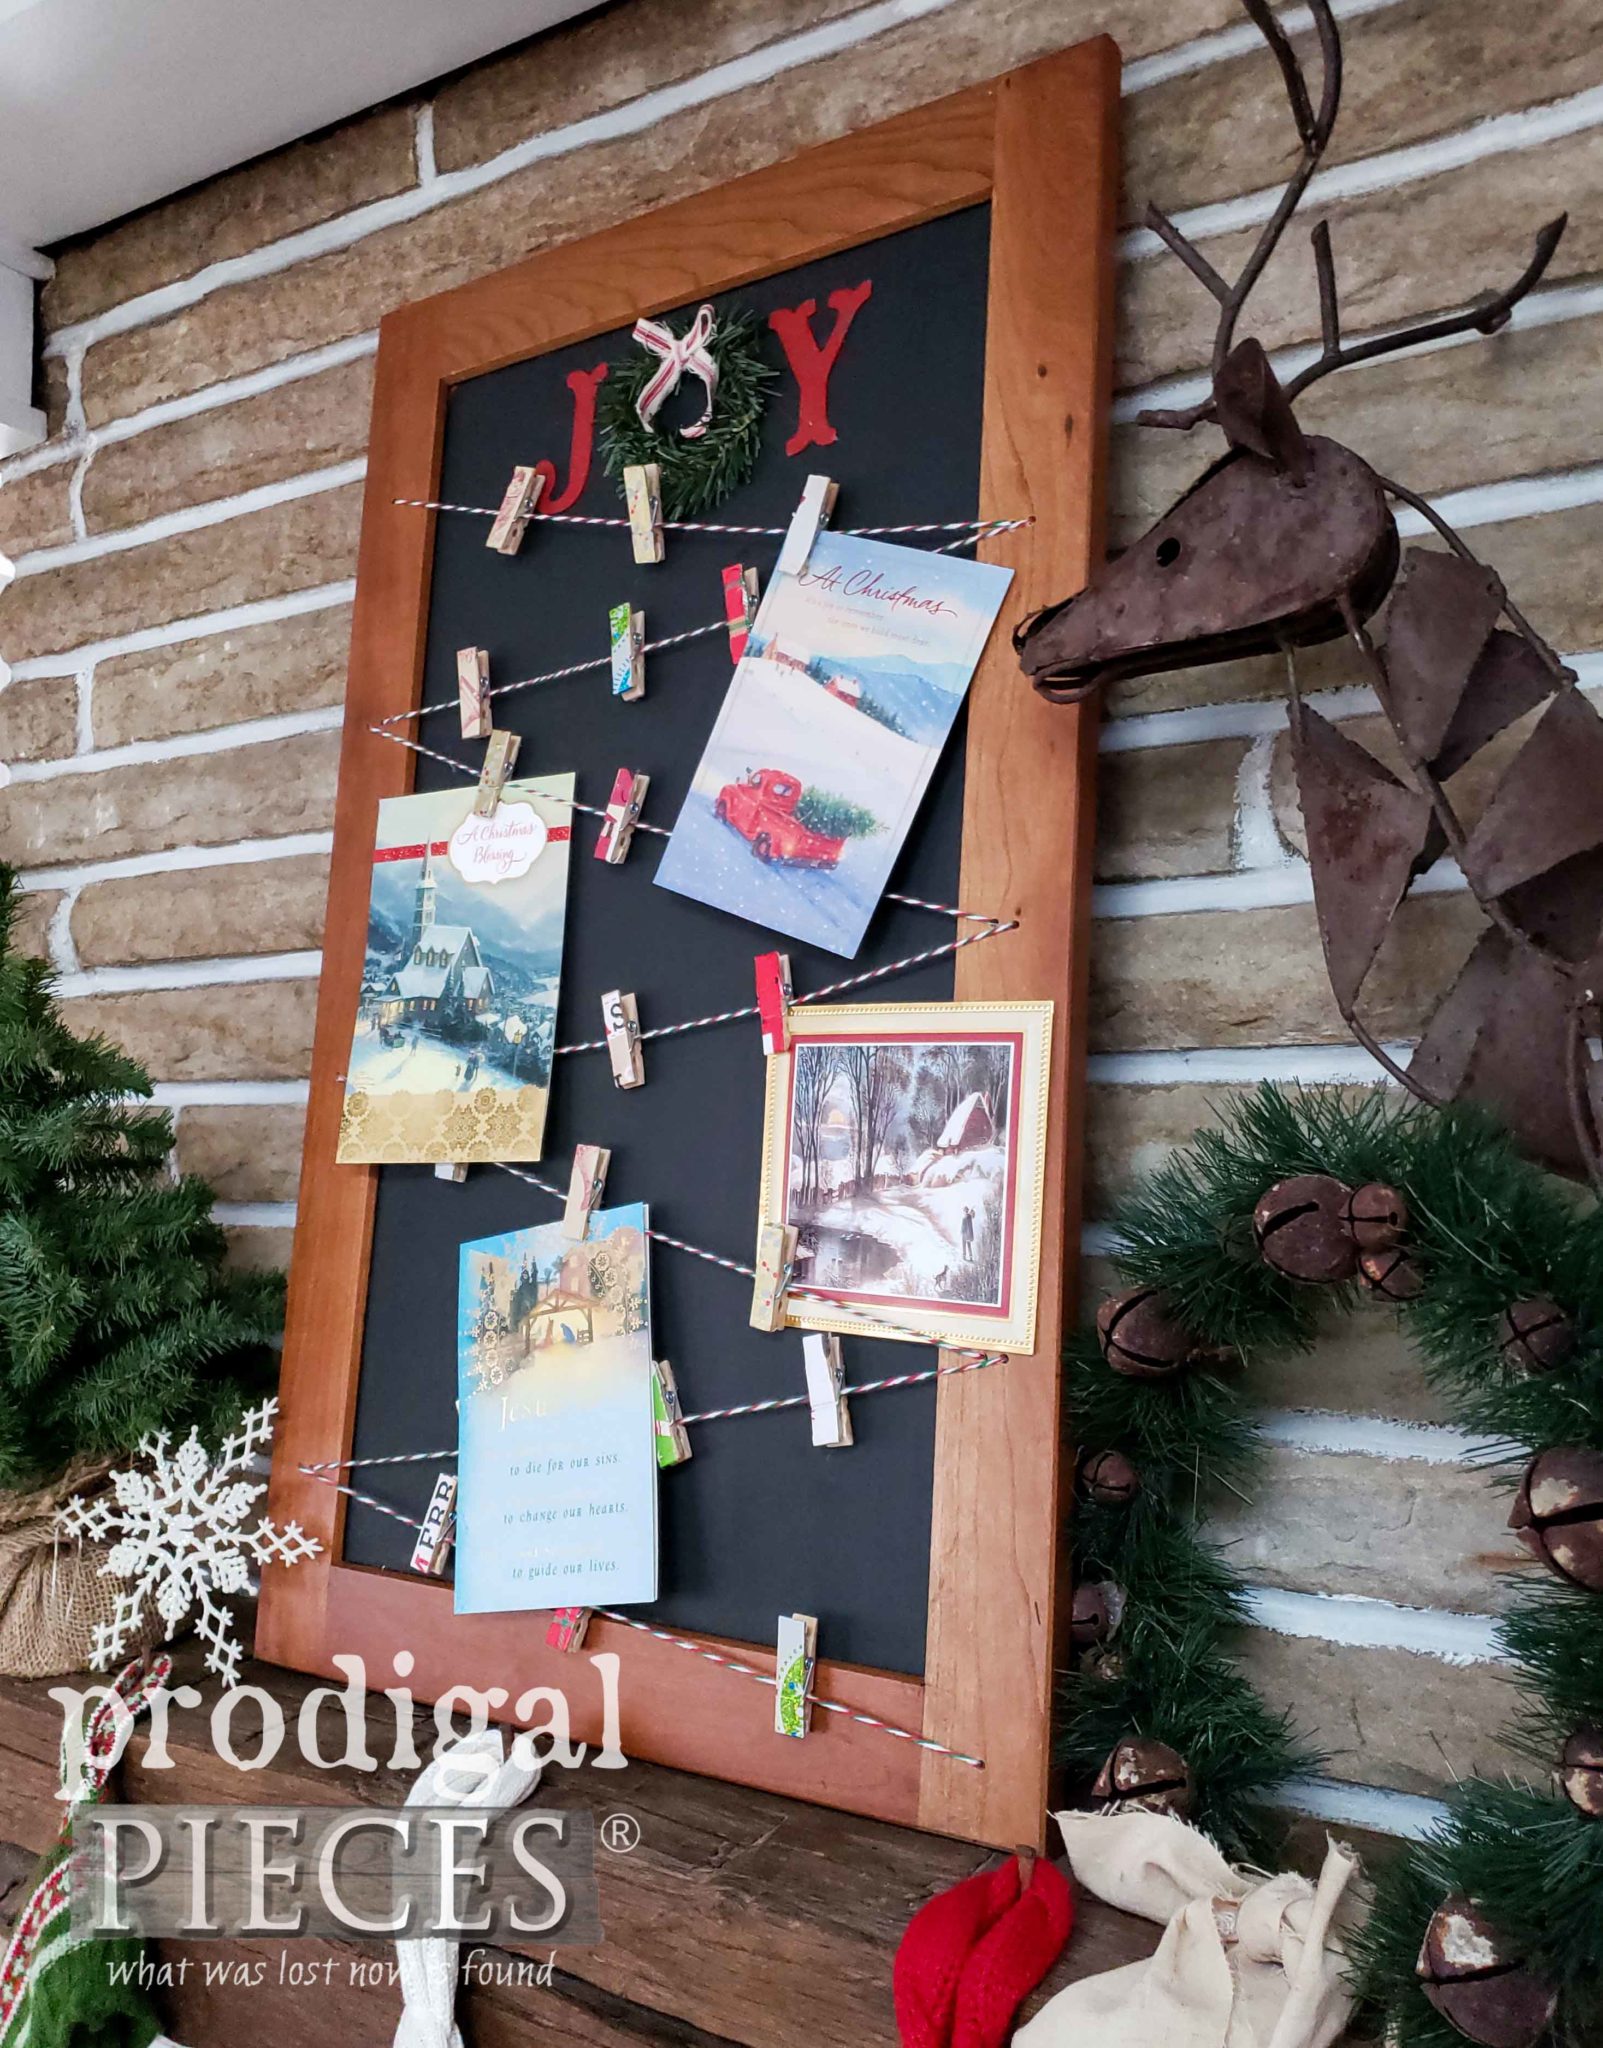
Next, the third of my daughters is Miss E. Can you tell we're having such fun with this? Her door is similar to the one Miss S did, but narrow. Her vision for her Christmas cupboard door was to create a DIY Christmas card holder - a place to hang all the wonderful Christmas cards that are received. Take a peek at her past projects HERE.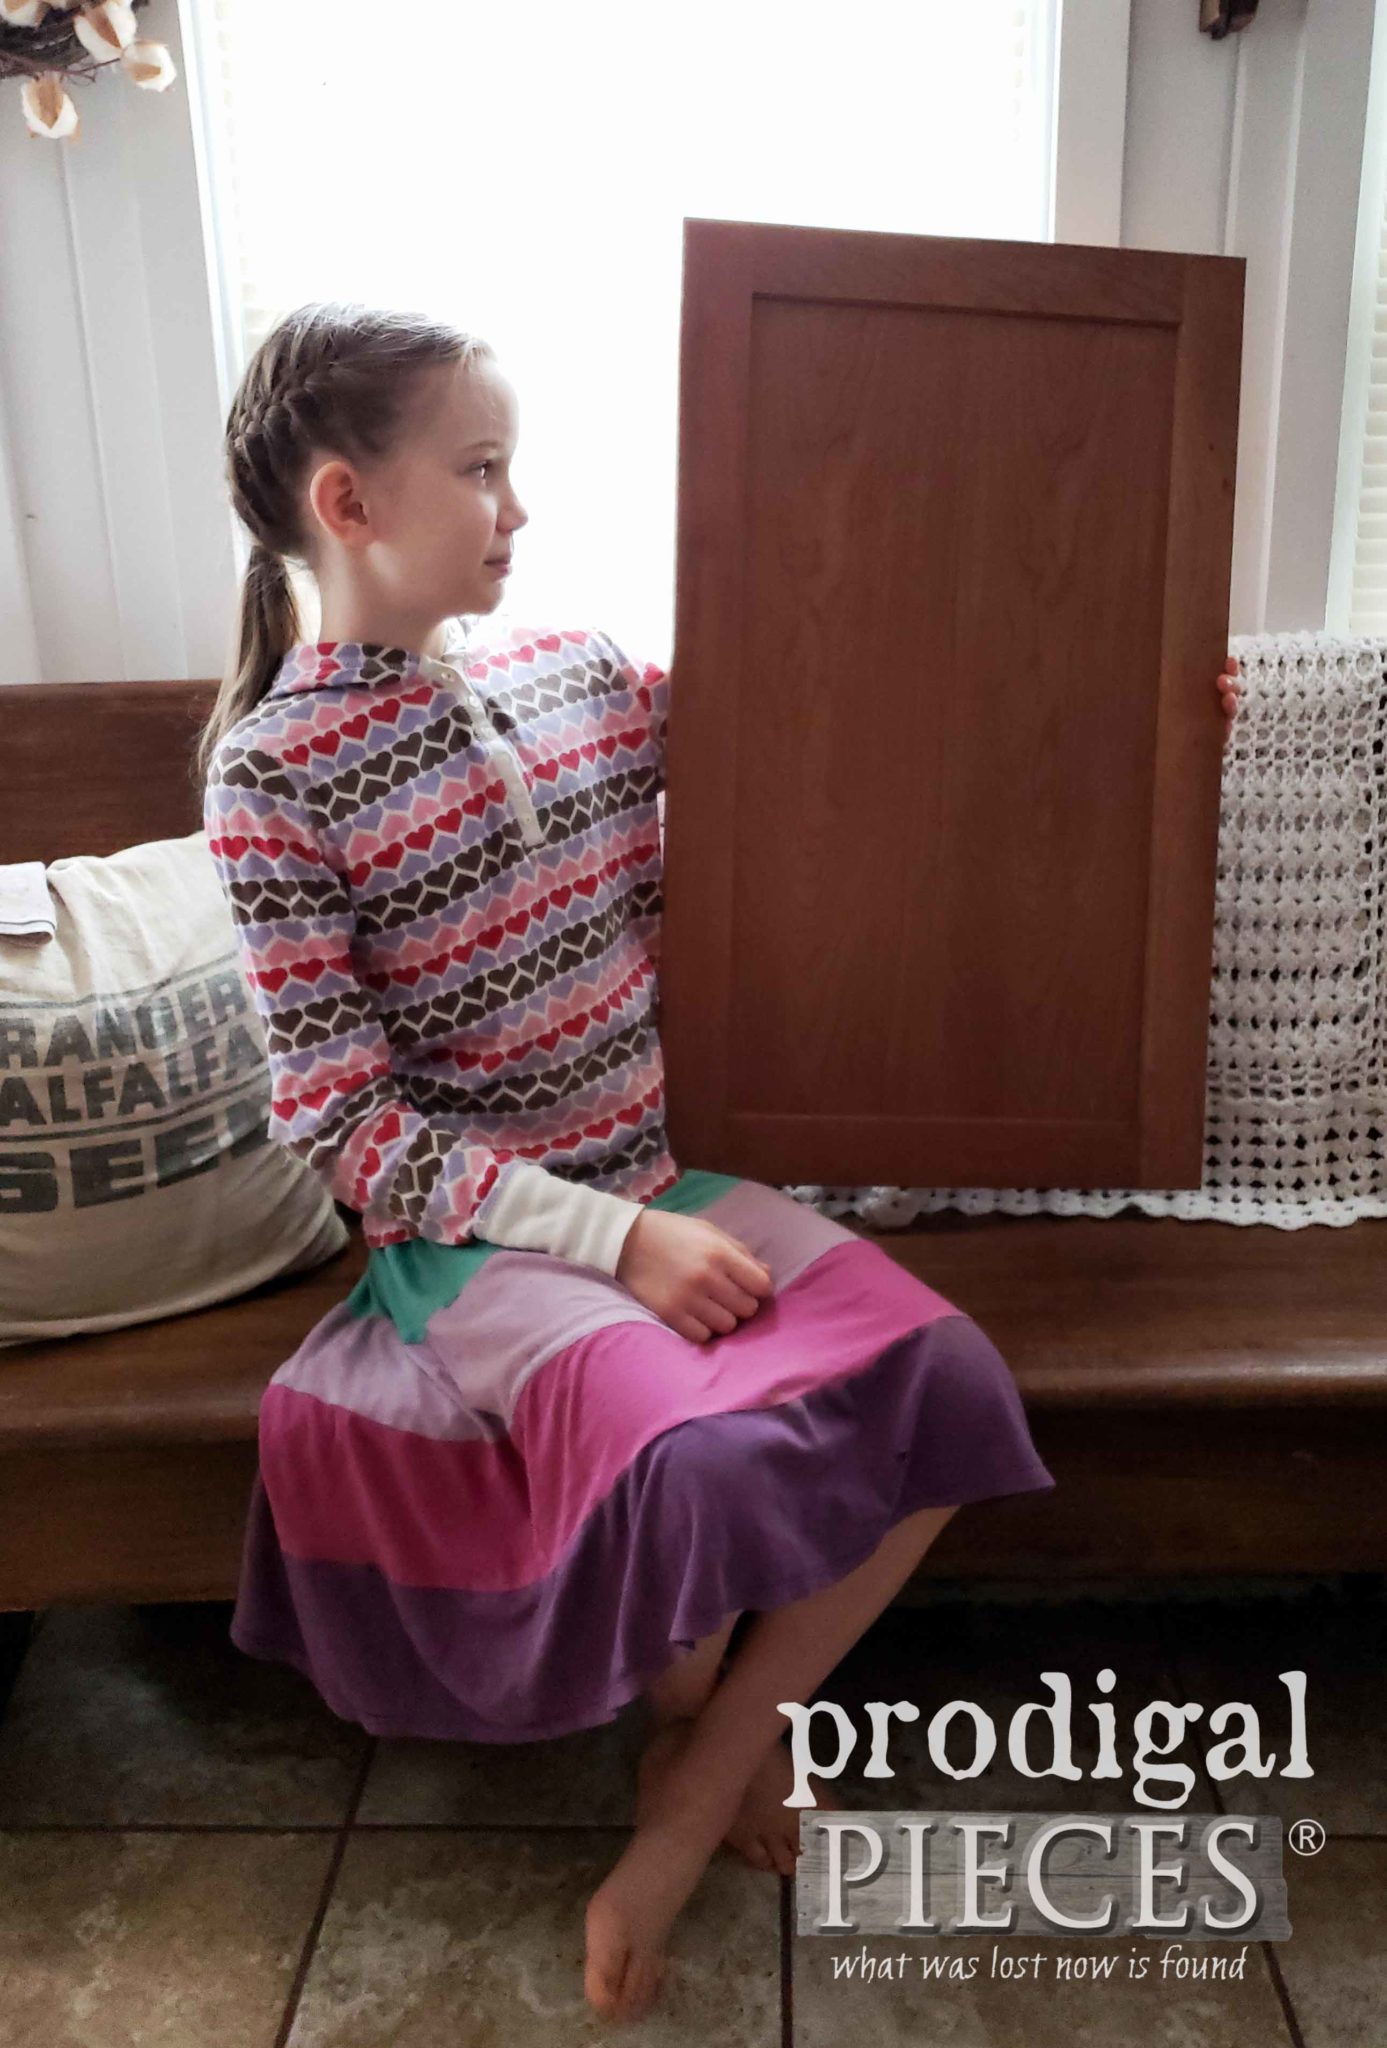 First, she began by hand sanding the center panel after we had taped off the frame. She also love to leave some of the original wood shine, and would focus on the center panel.
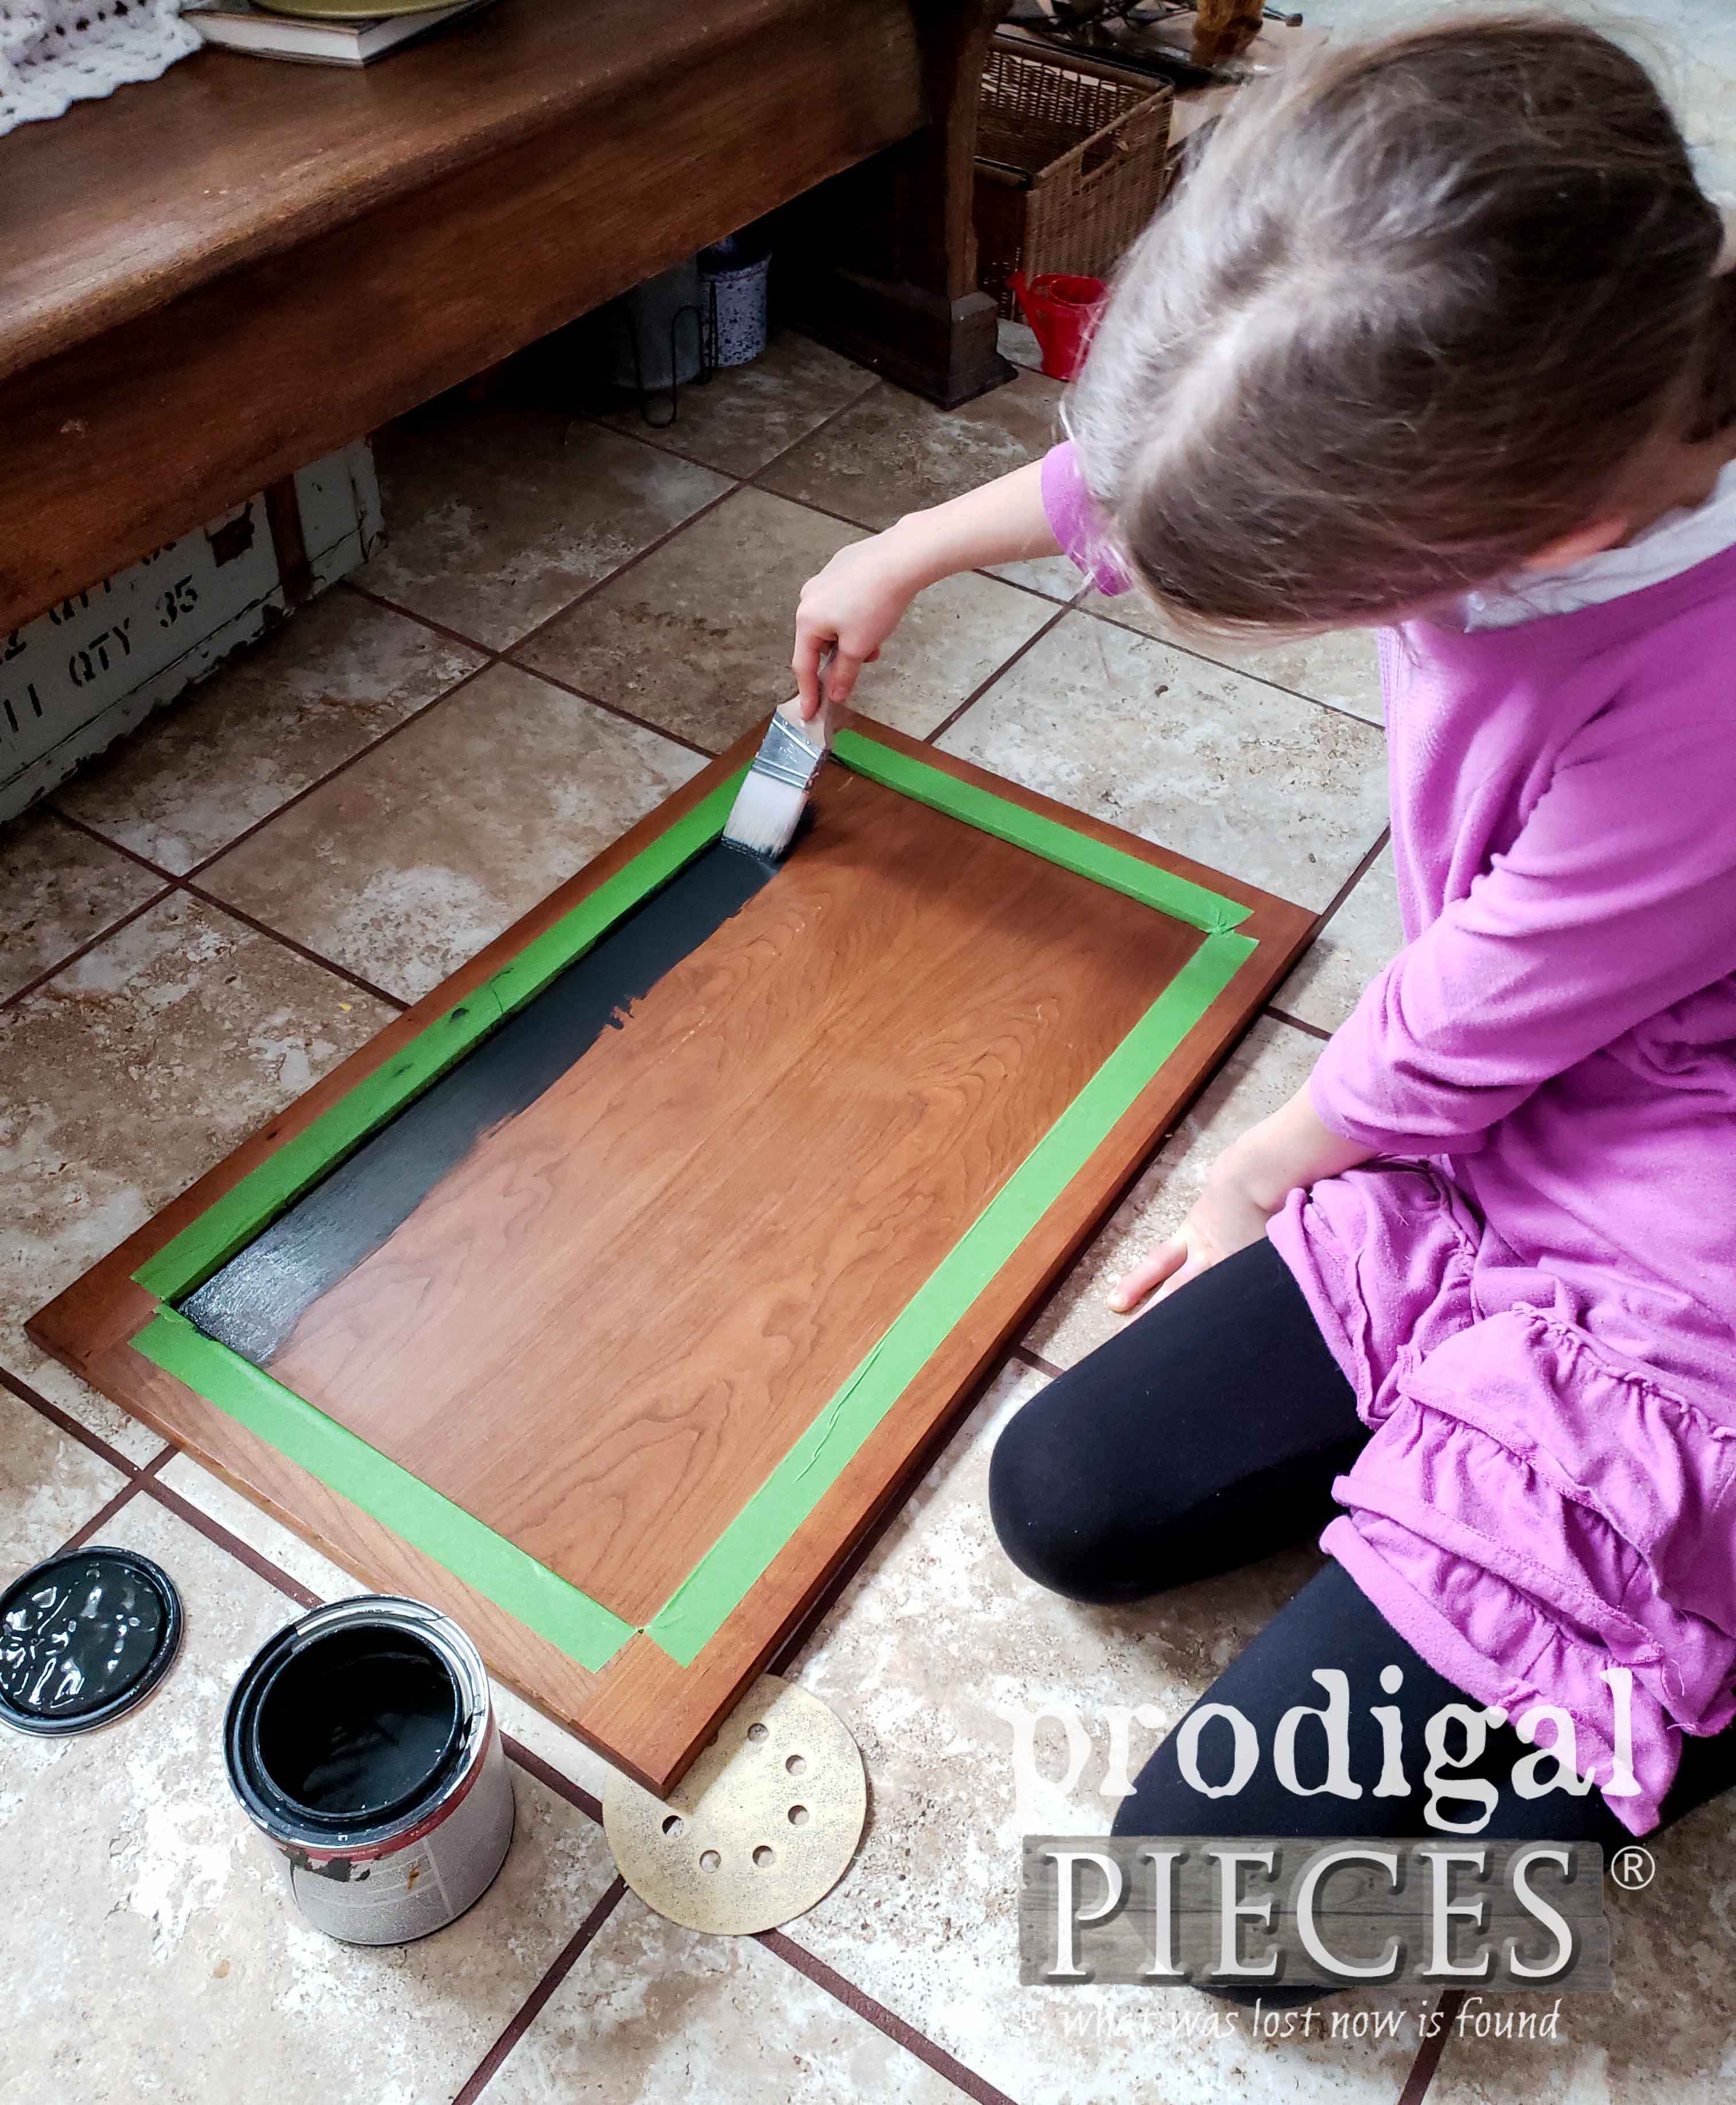
 Next, after wiping it clean, Miss E applied two coats of a flat black paint, letting cure in between. Just note, no special chalkboard paint is needed to make a chalkboard. Basic flat black paint works just as well. You can see how I've used it in all my past chalkboard projects HERE.
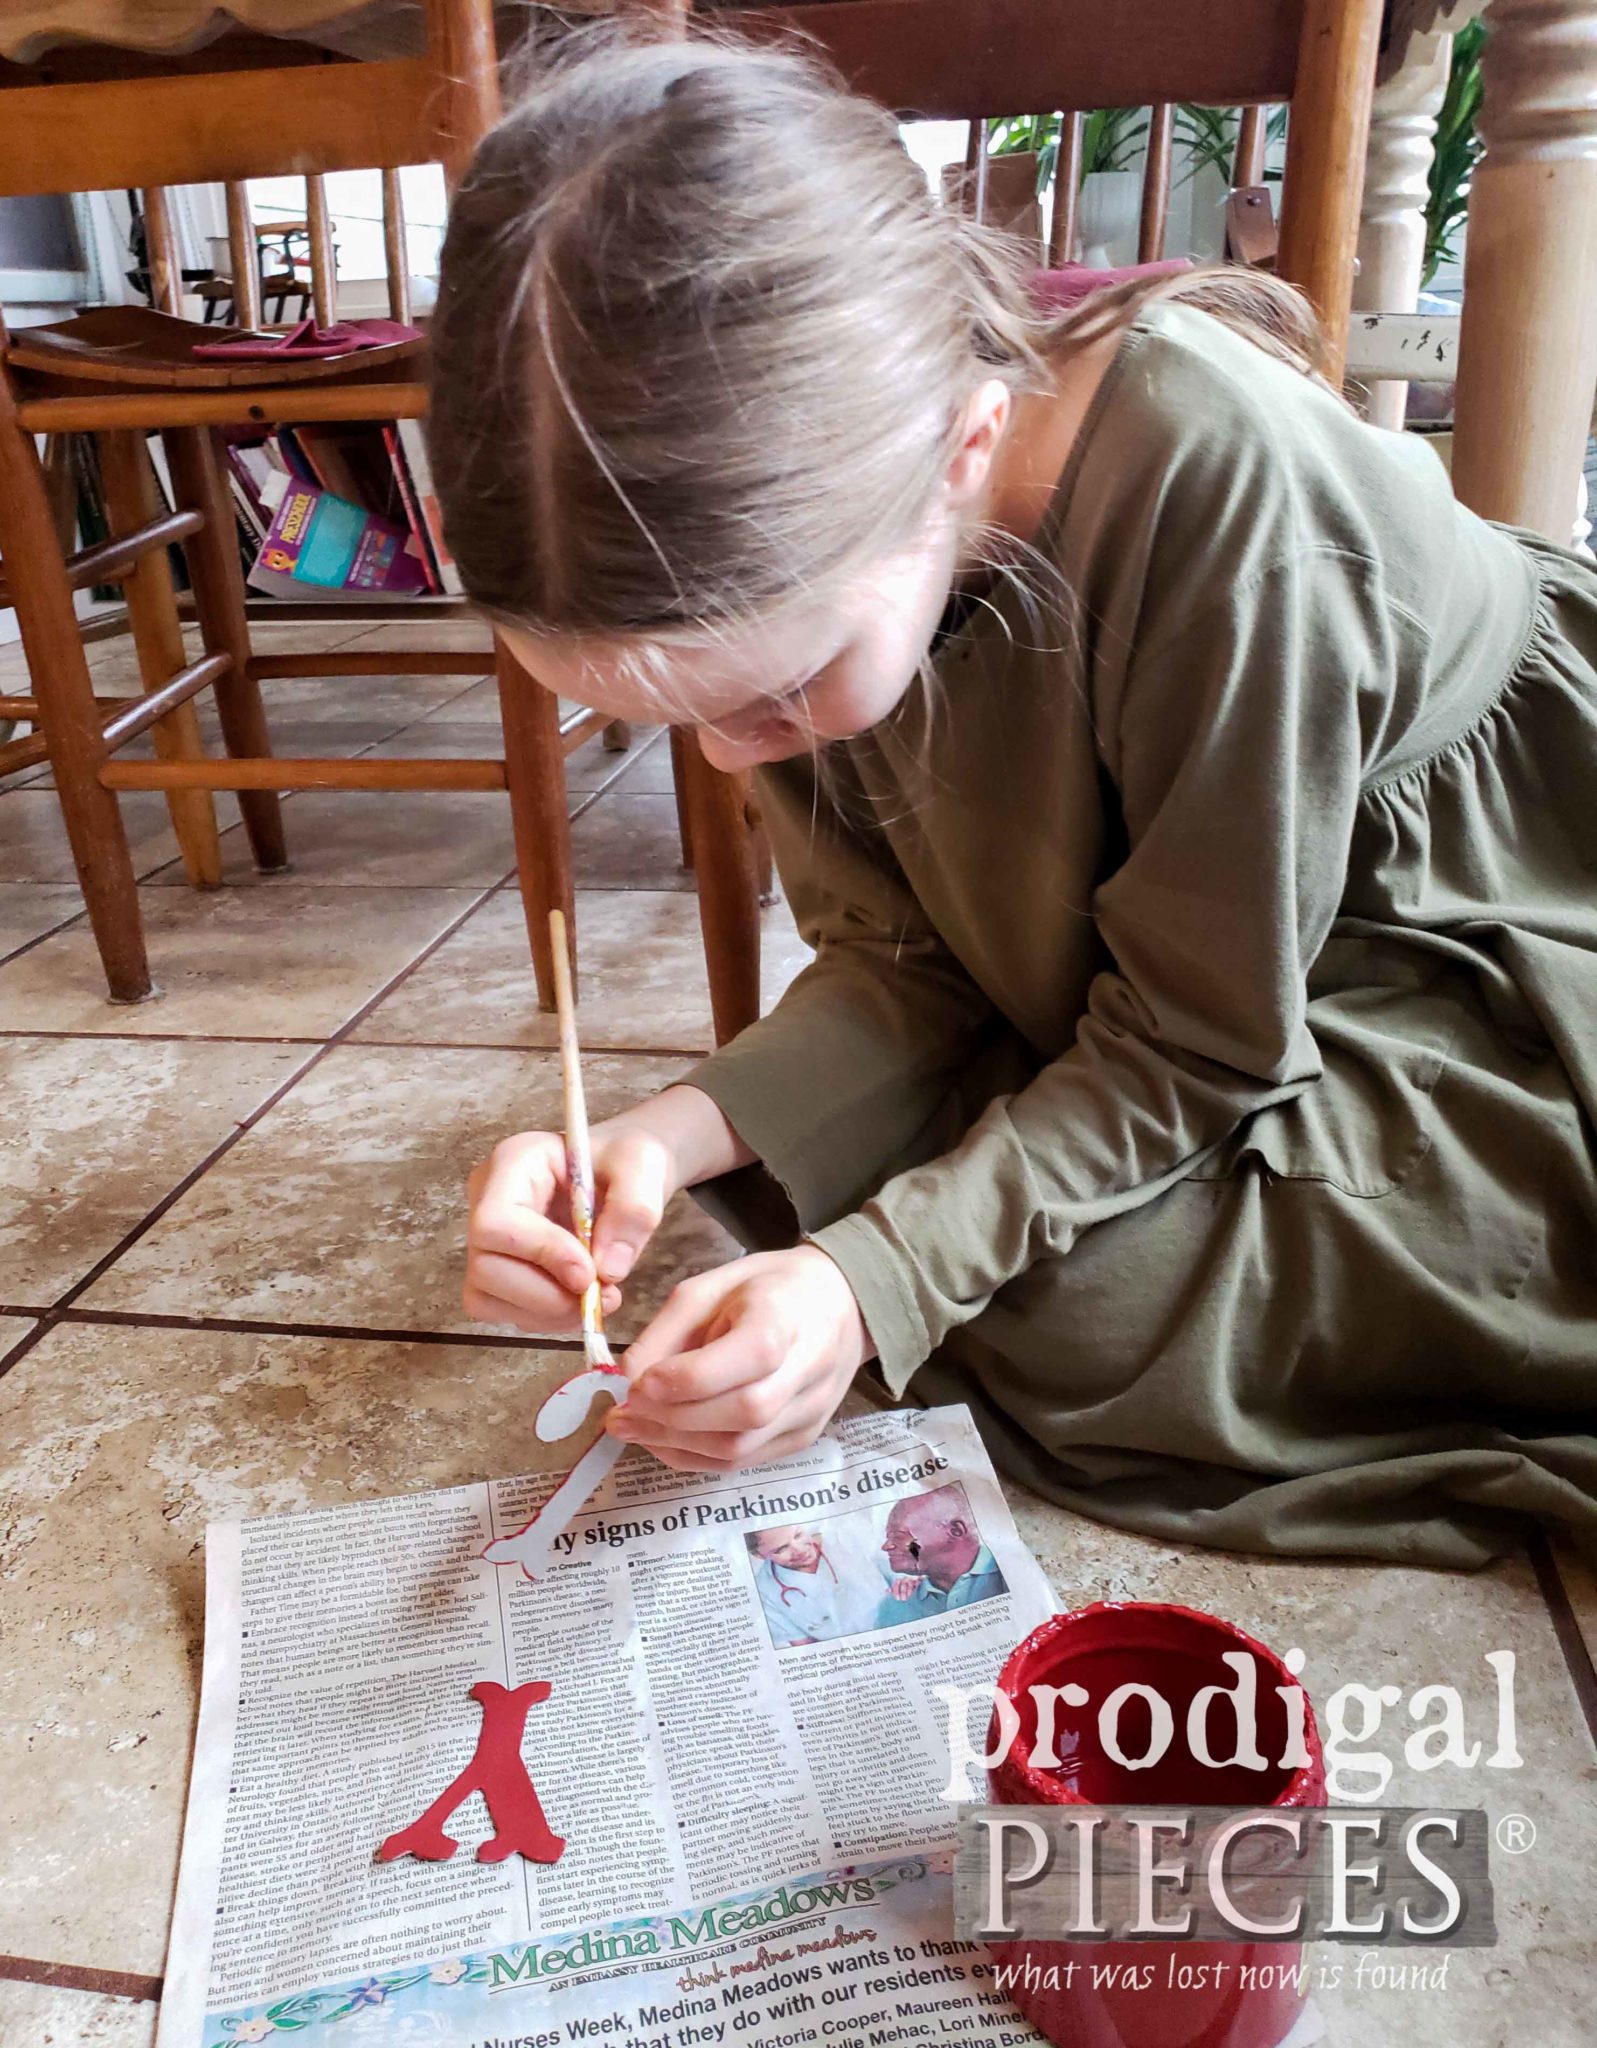
 While the paint was curing she painted a "J" and a "Y" from a set of chipboard letters in a red color. Her idea was to create JOY on the top of her Christmas cupboard door project, but the "O" would be a wreath.
 To make the "O" we found a new swag of faux greenery at the thrift store and cut a few pieces off to make a mini wreath.
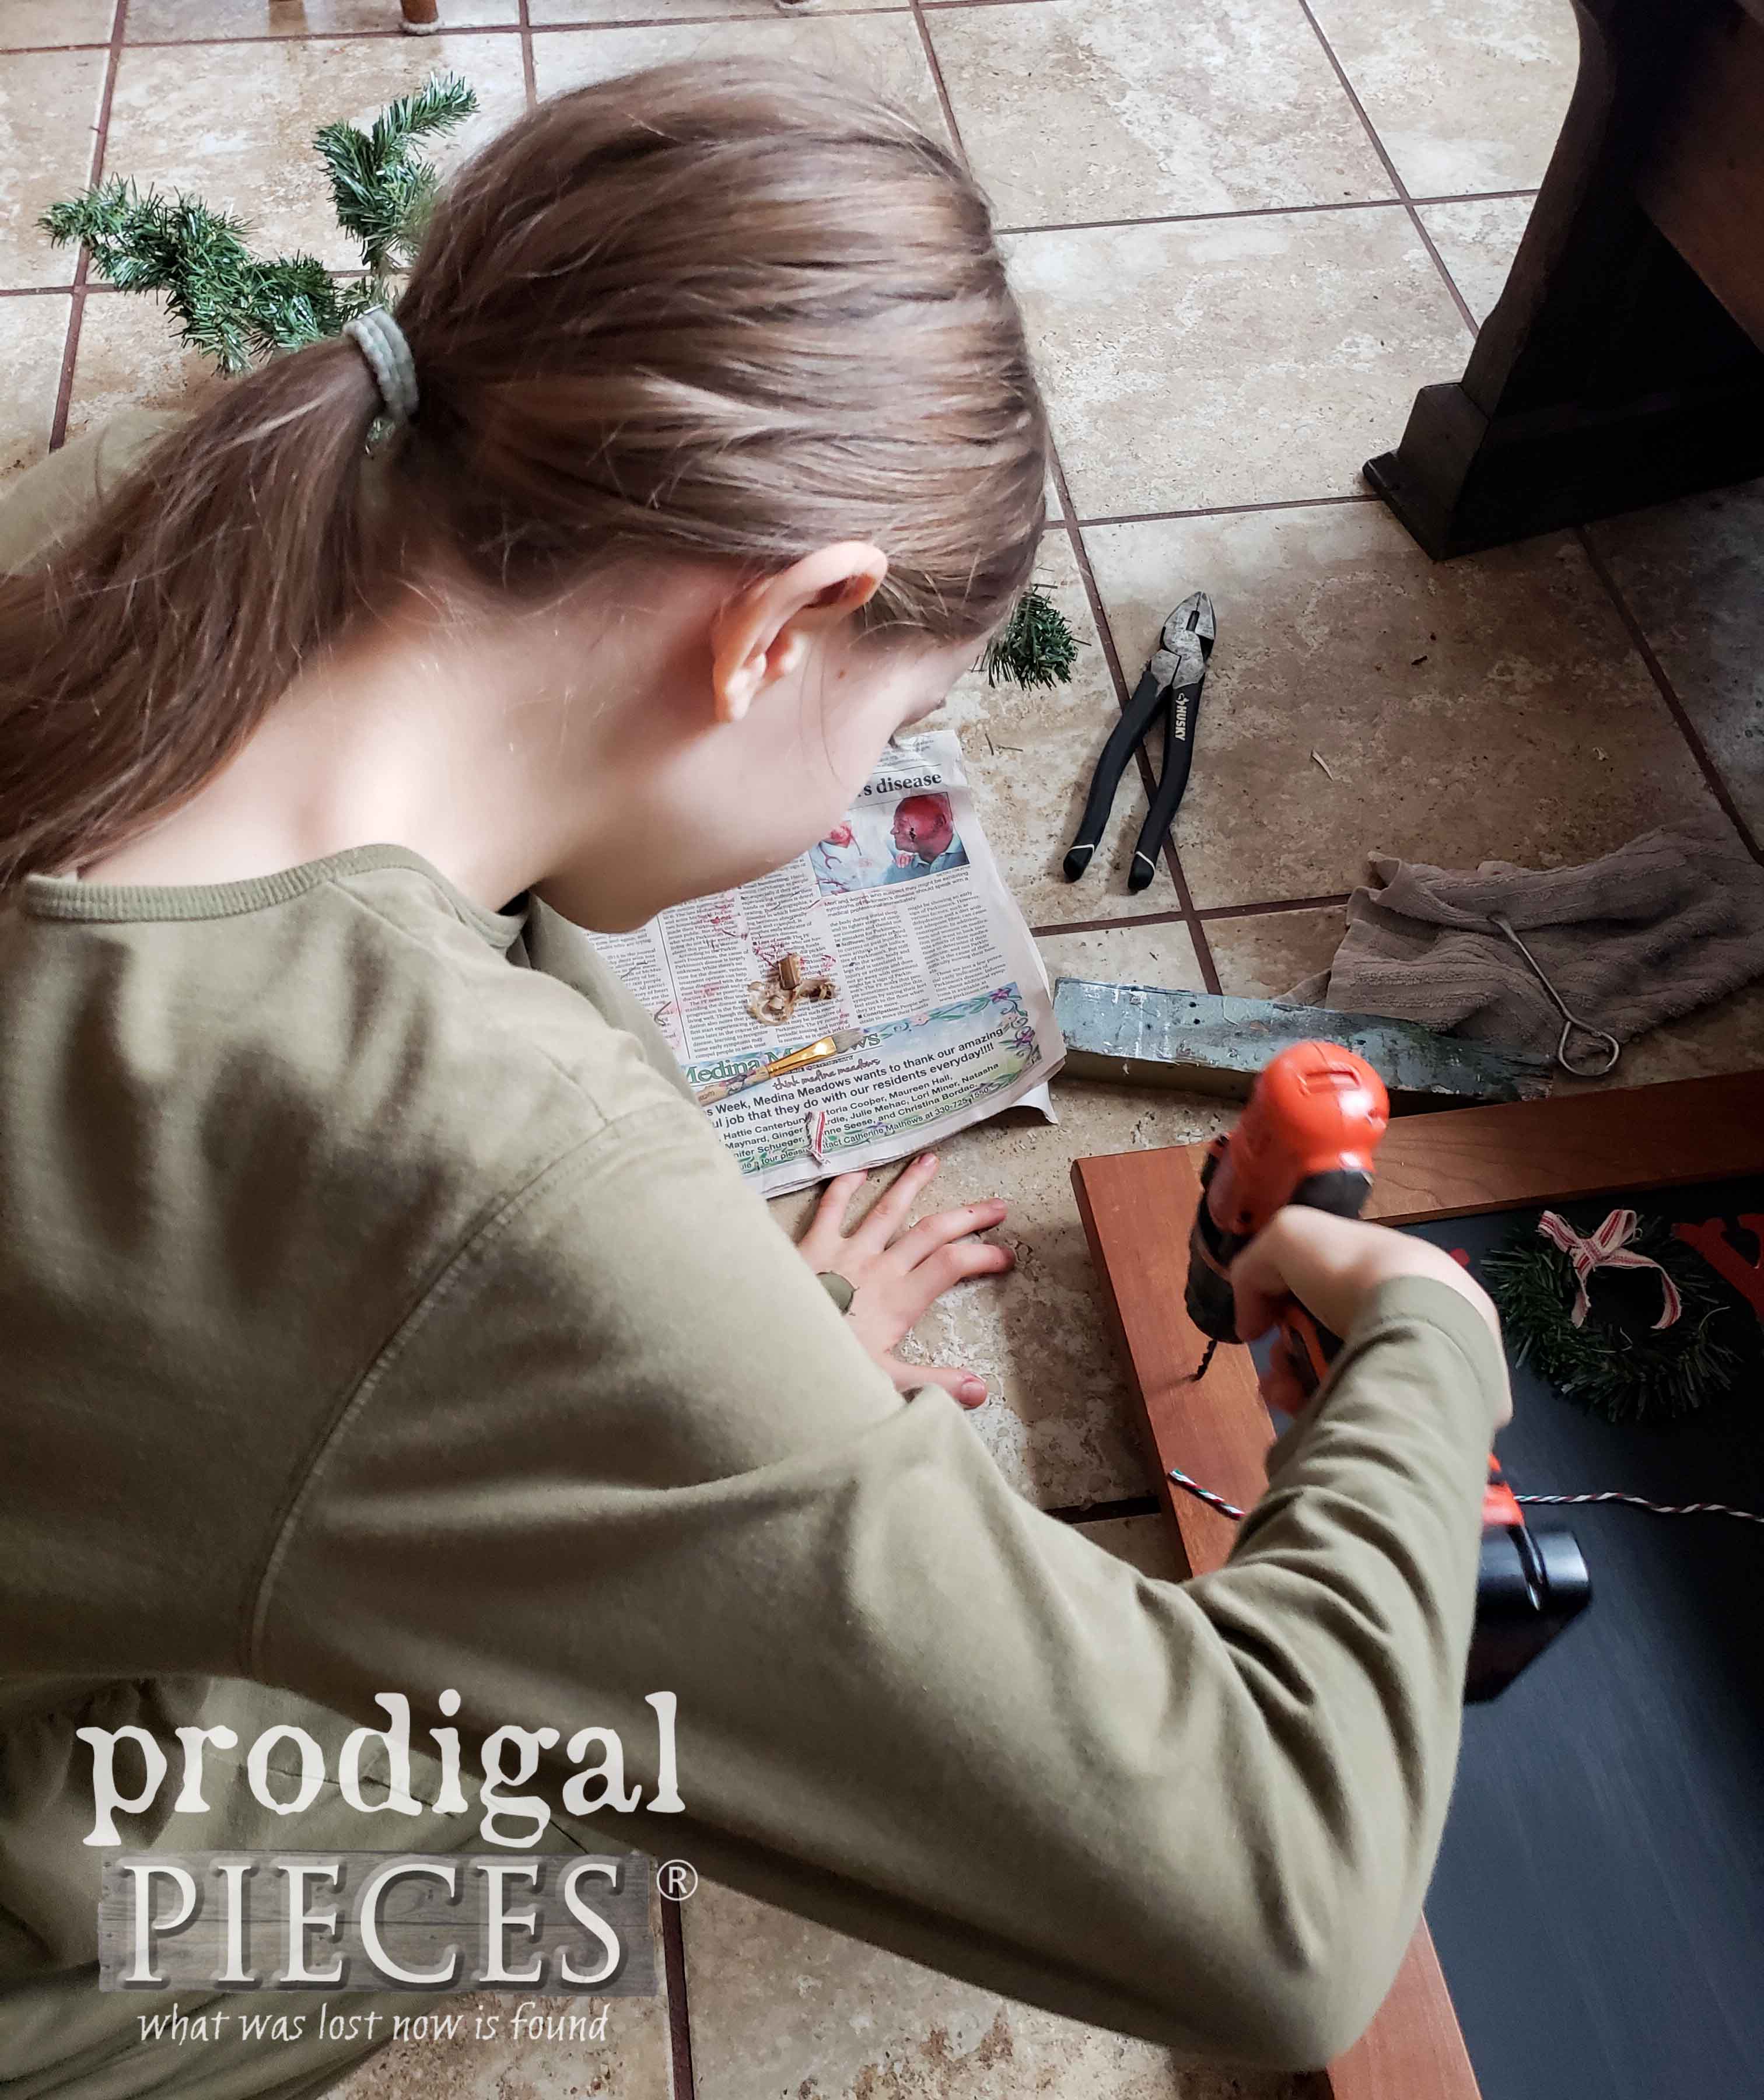
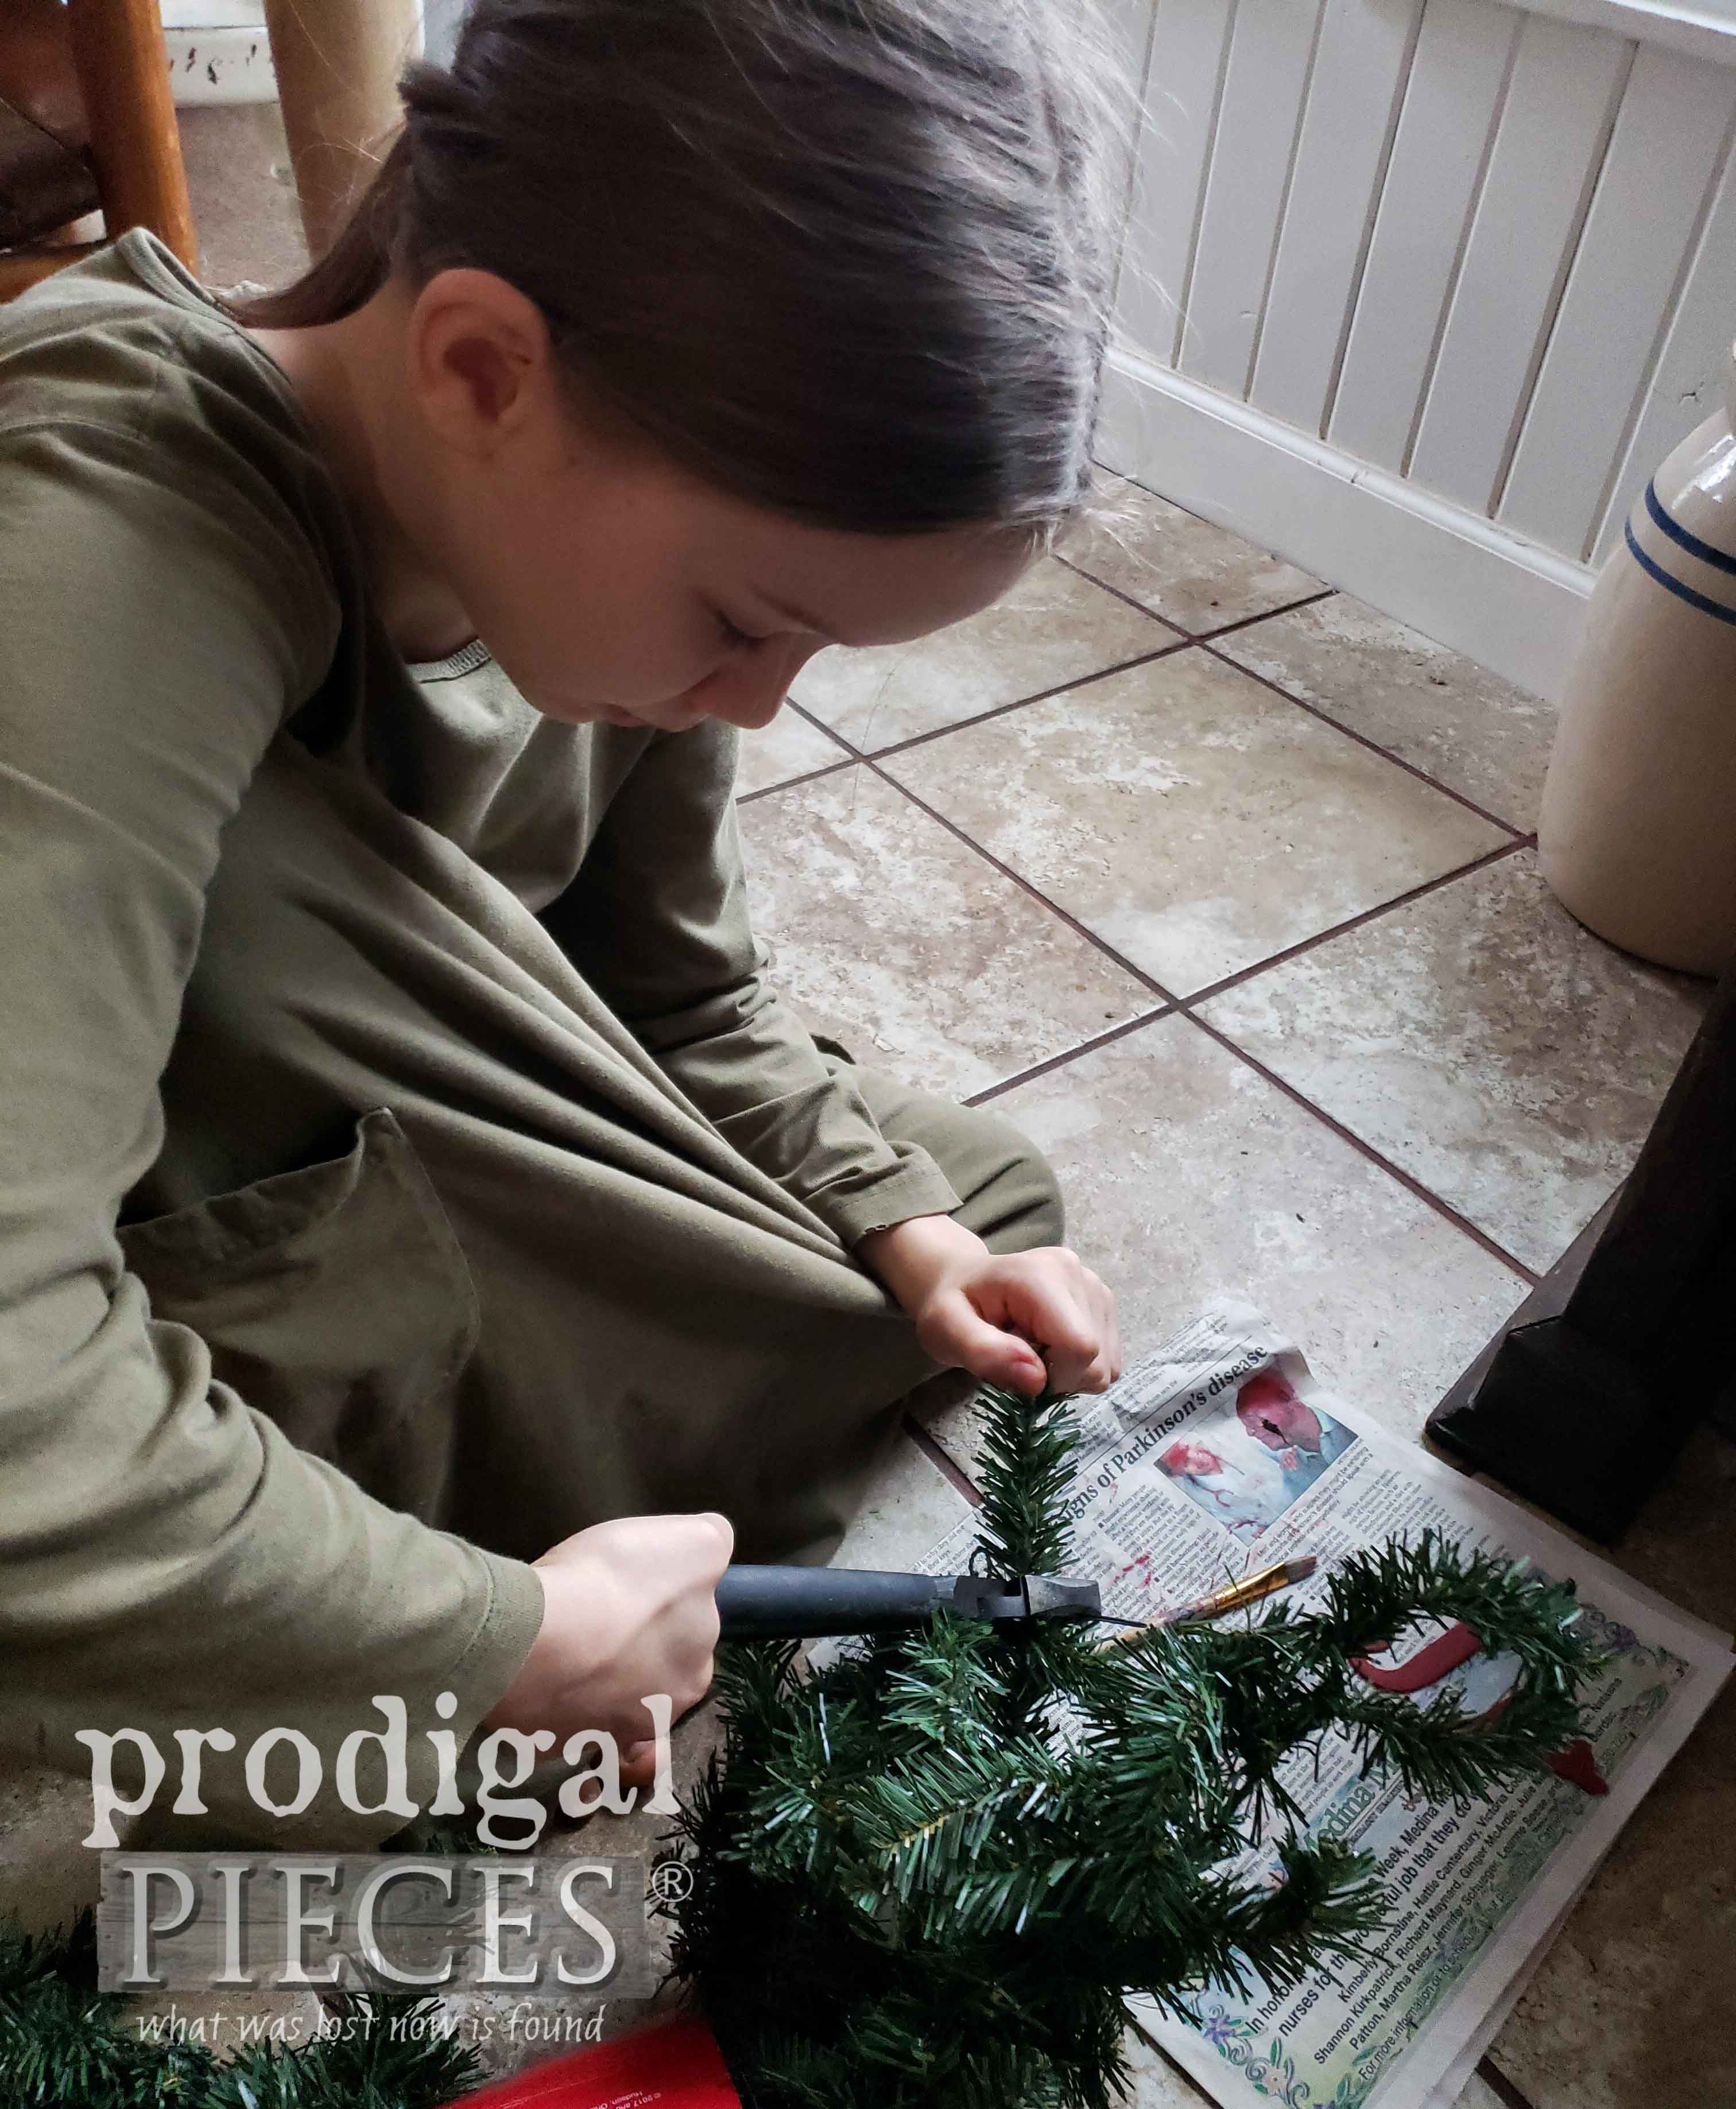 Last, in order to hang the Christmas cards, we drilled a few holes with my drill around the frame and strung up twine and clothes pins.
FOURTH REVEAL
Here's Miss E's DIY Christmas card holder all ready to receive the beautiful mailed gifts.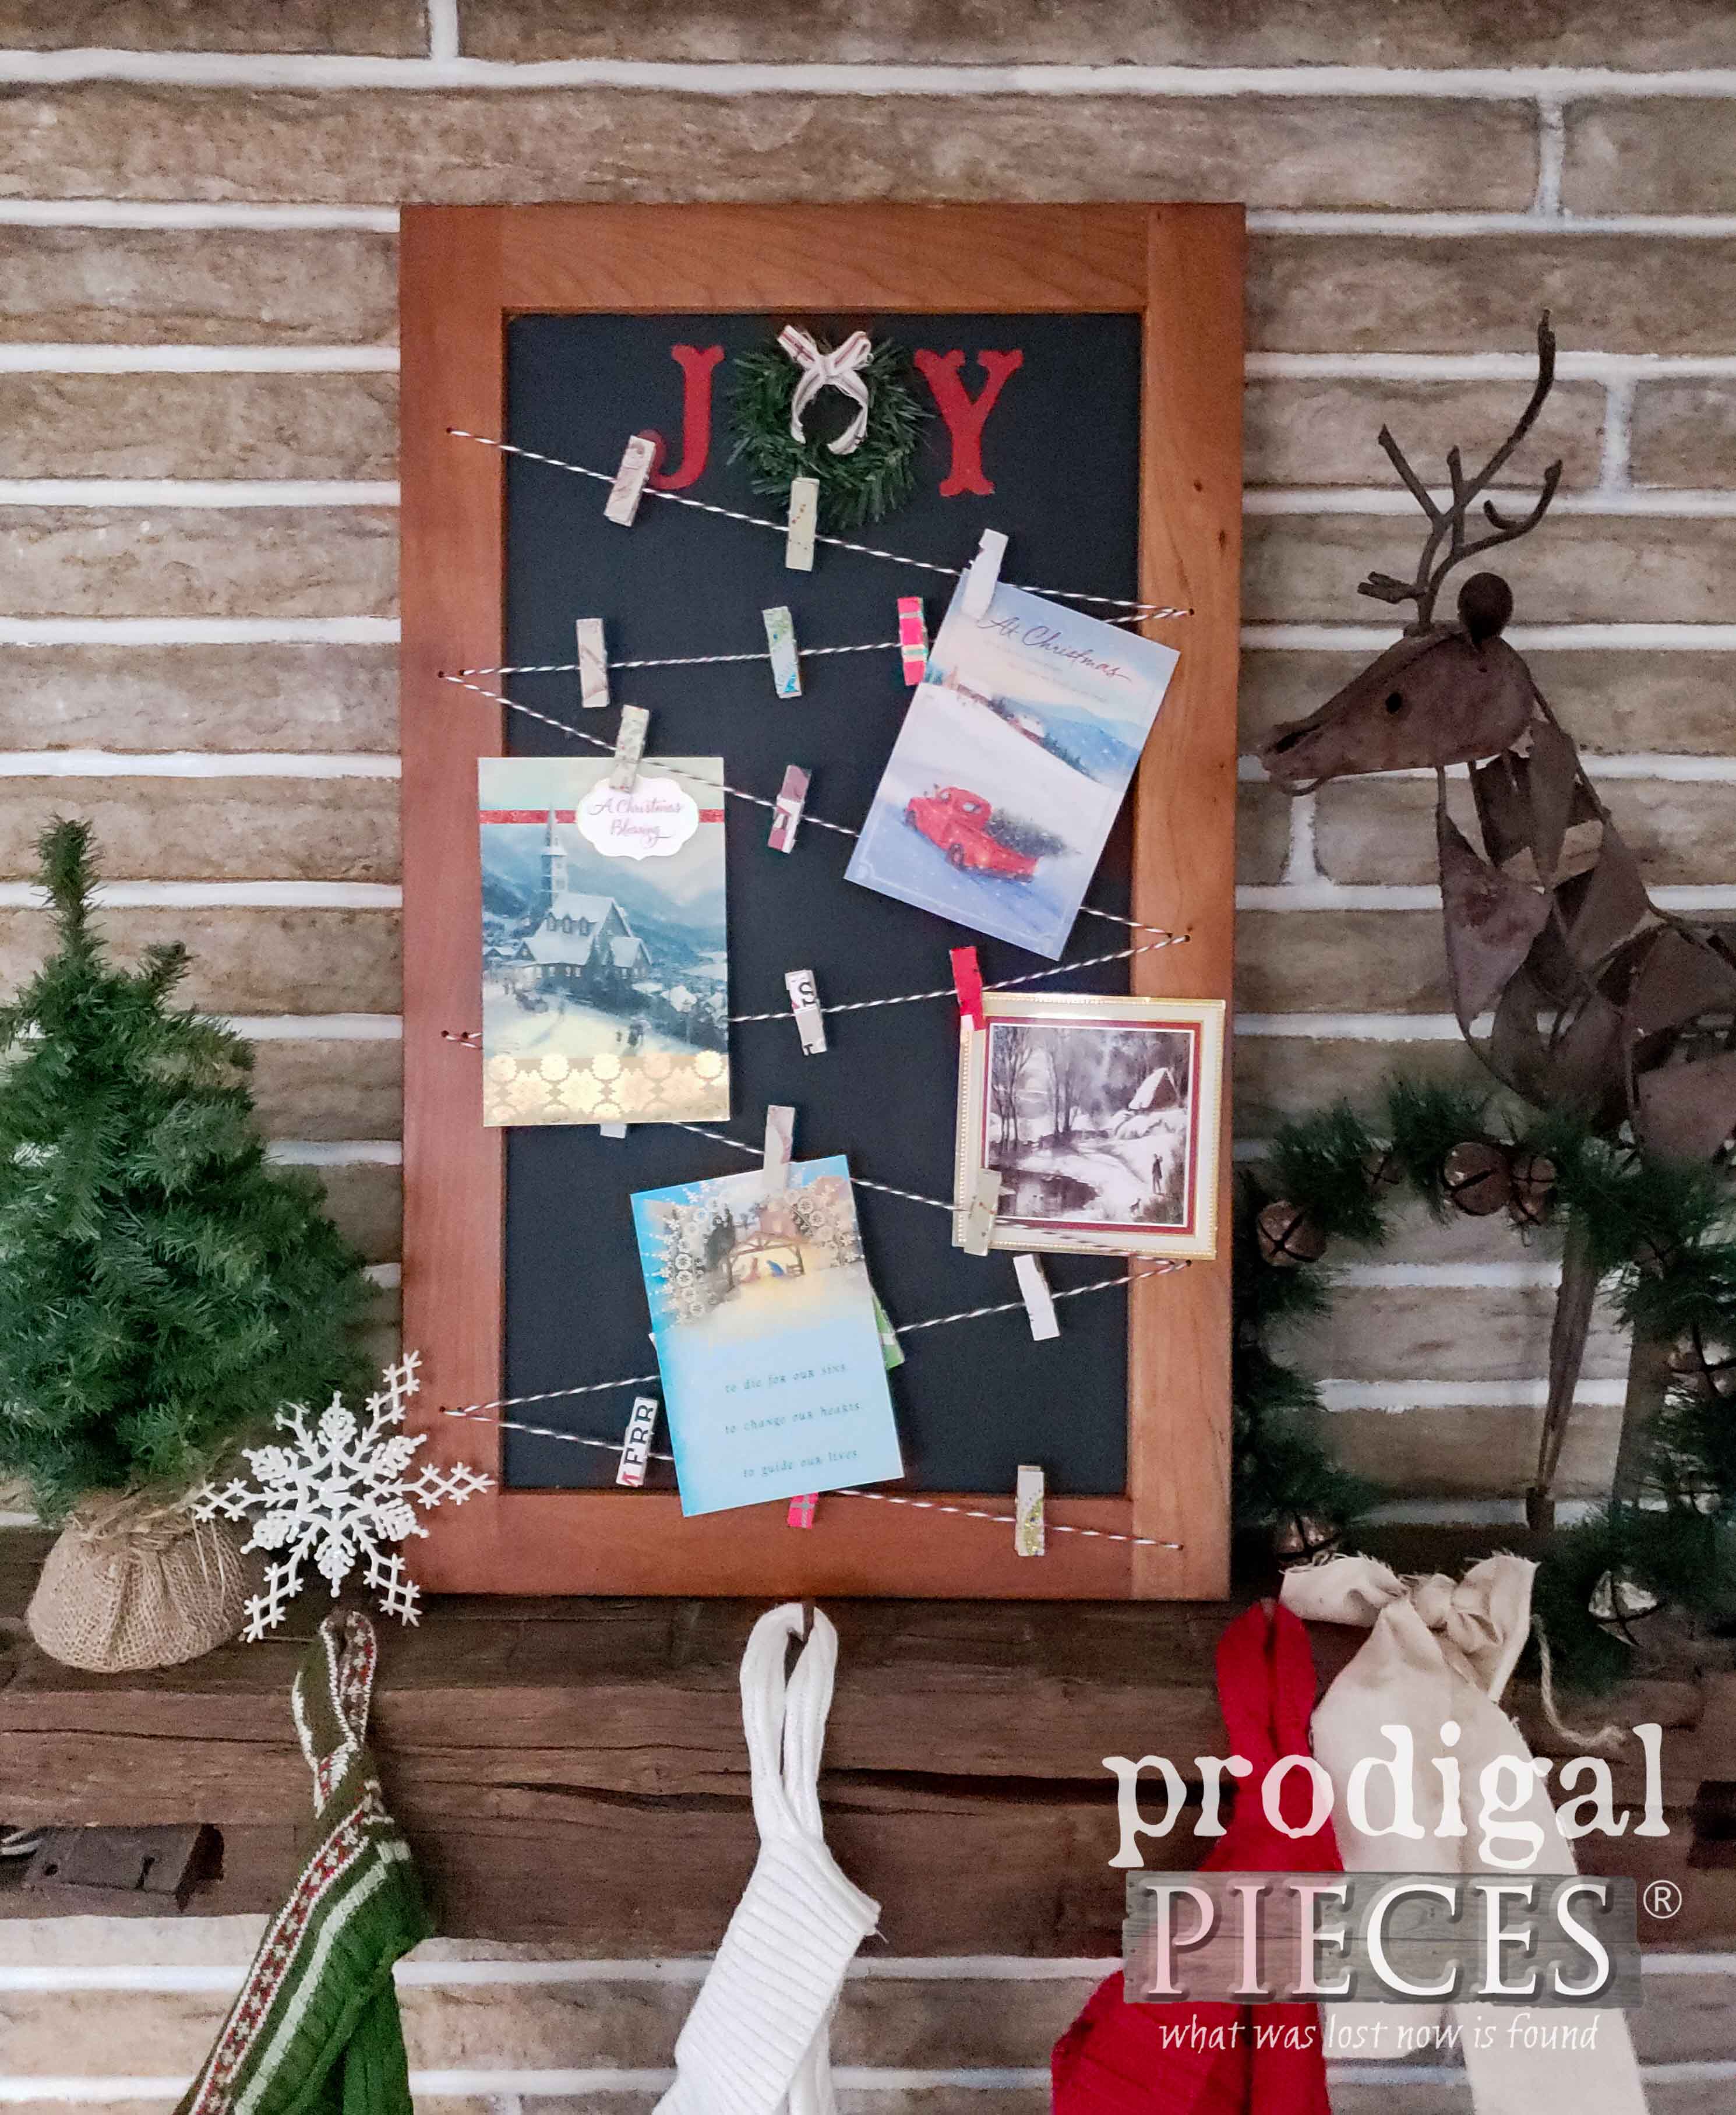
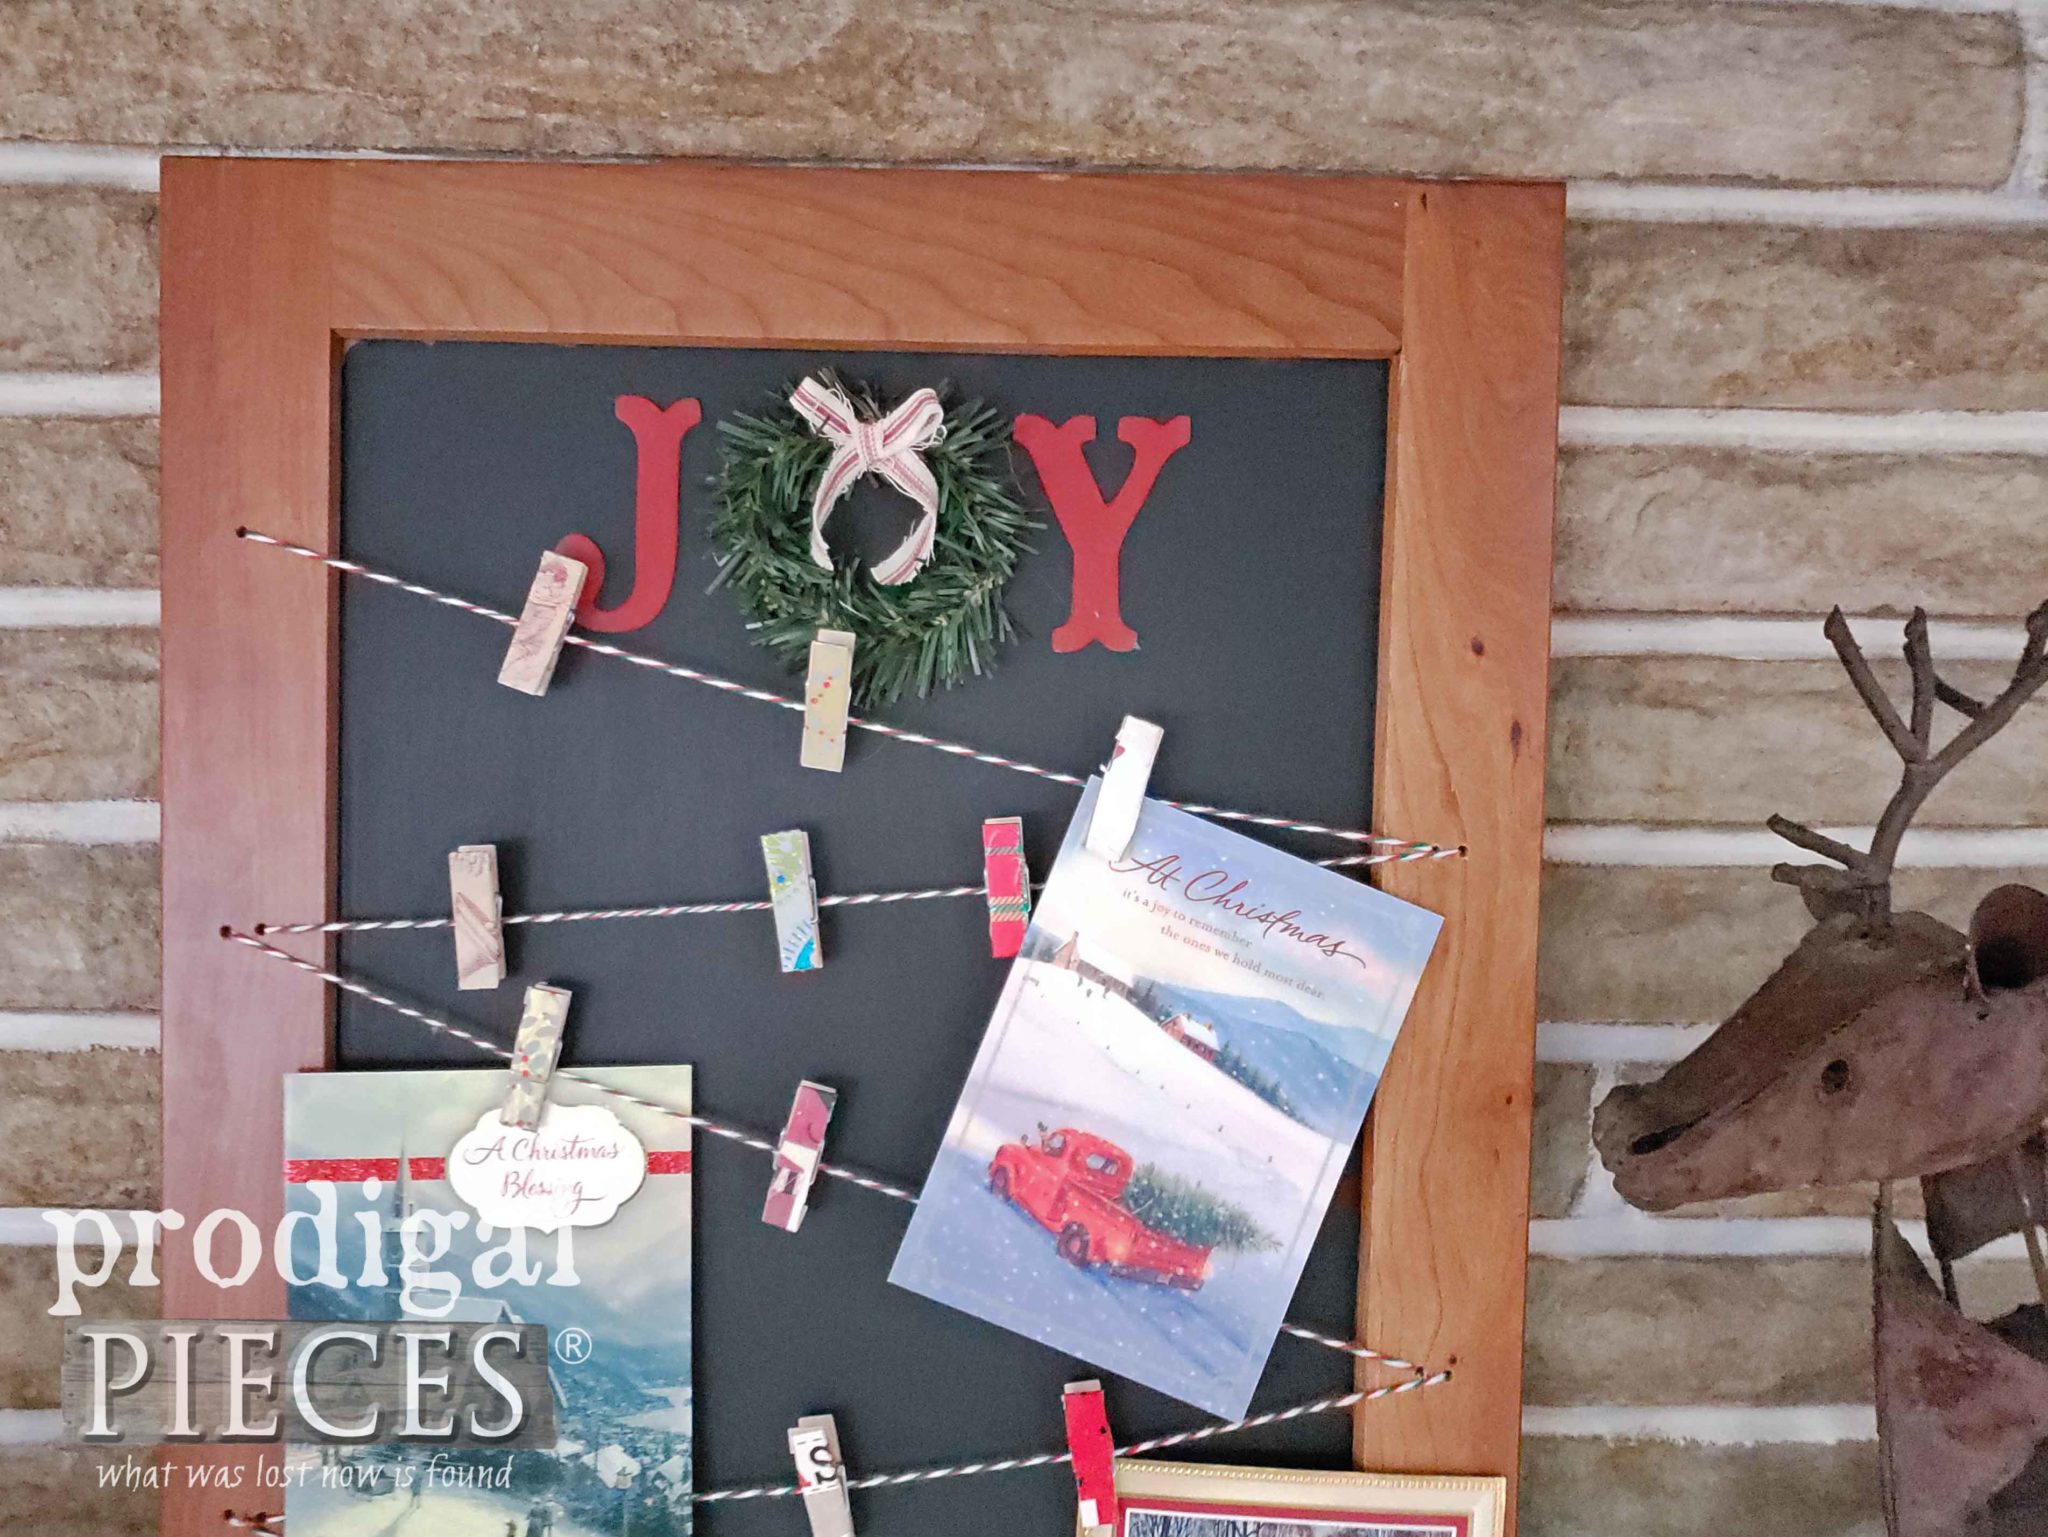 The chalkboard backing on this Christmas cupboard door makes it fun to add messages. Equally, it makes a great backdrop to display the gifts.
FIFTH PROJECT
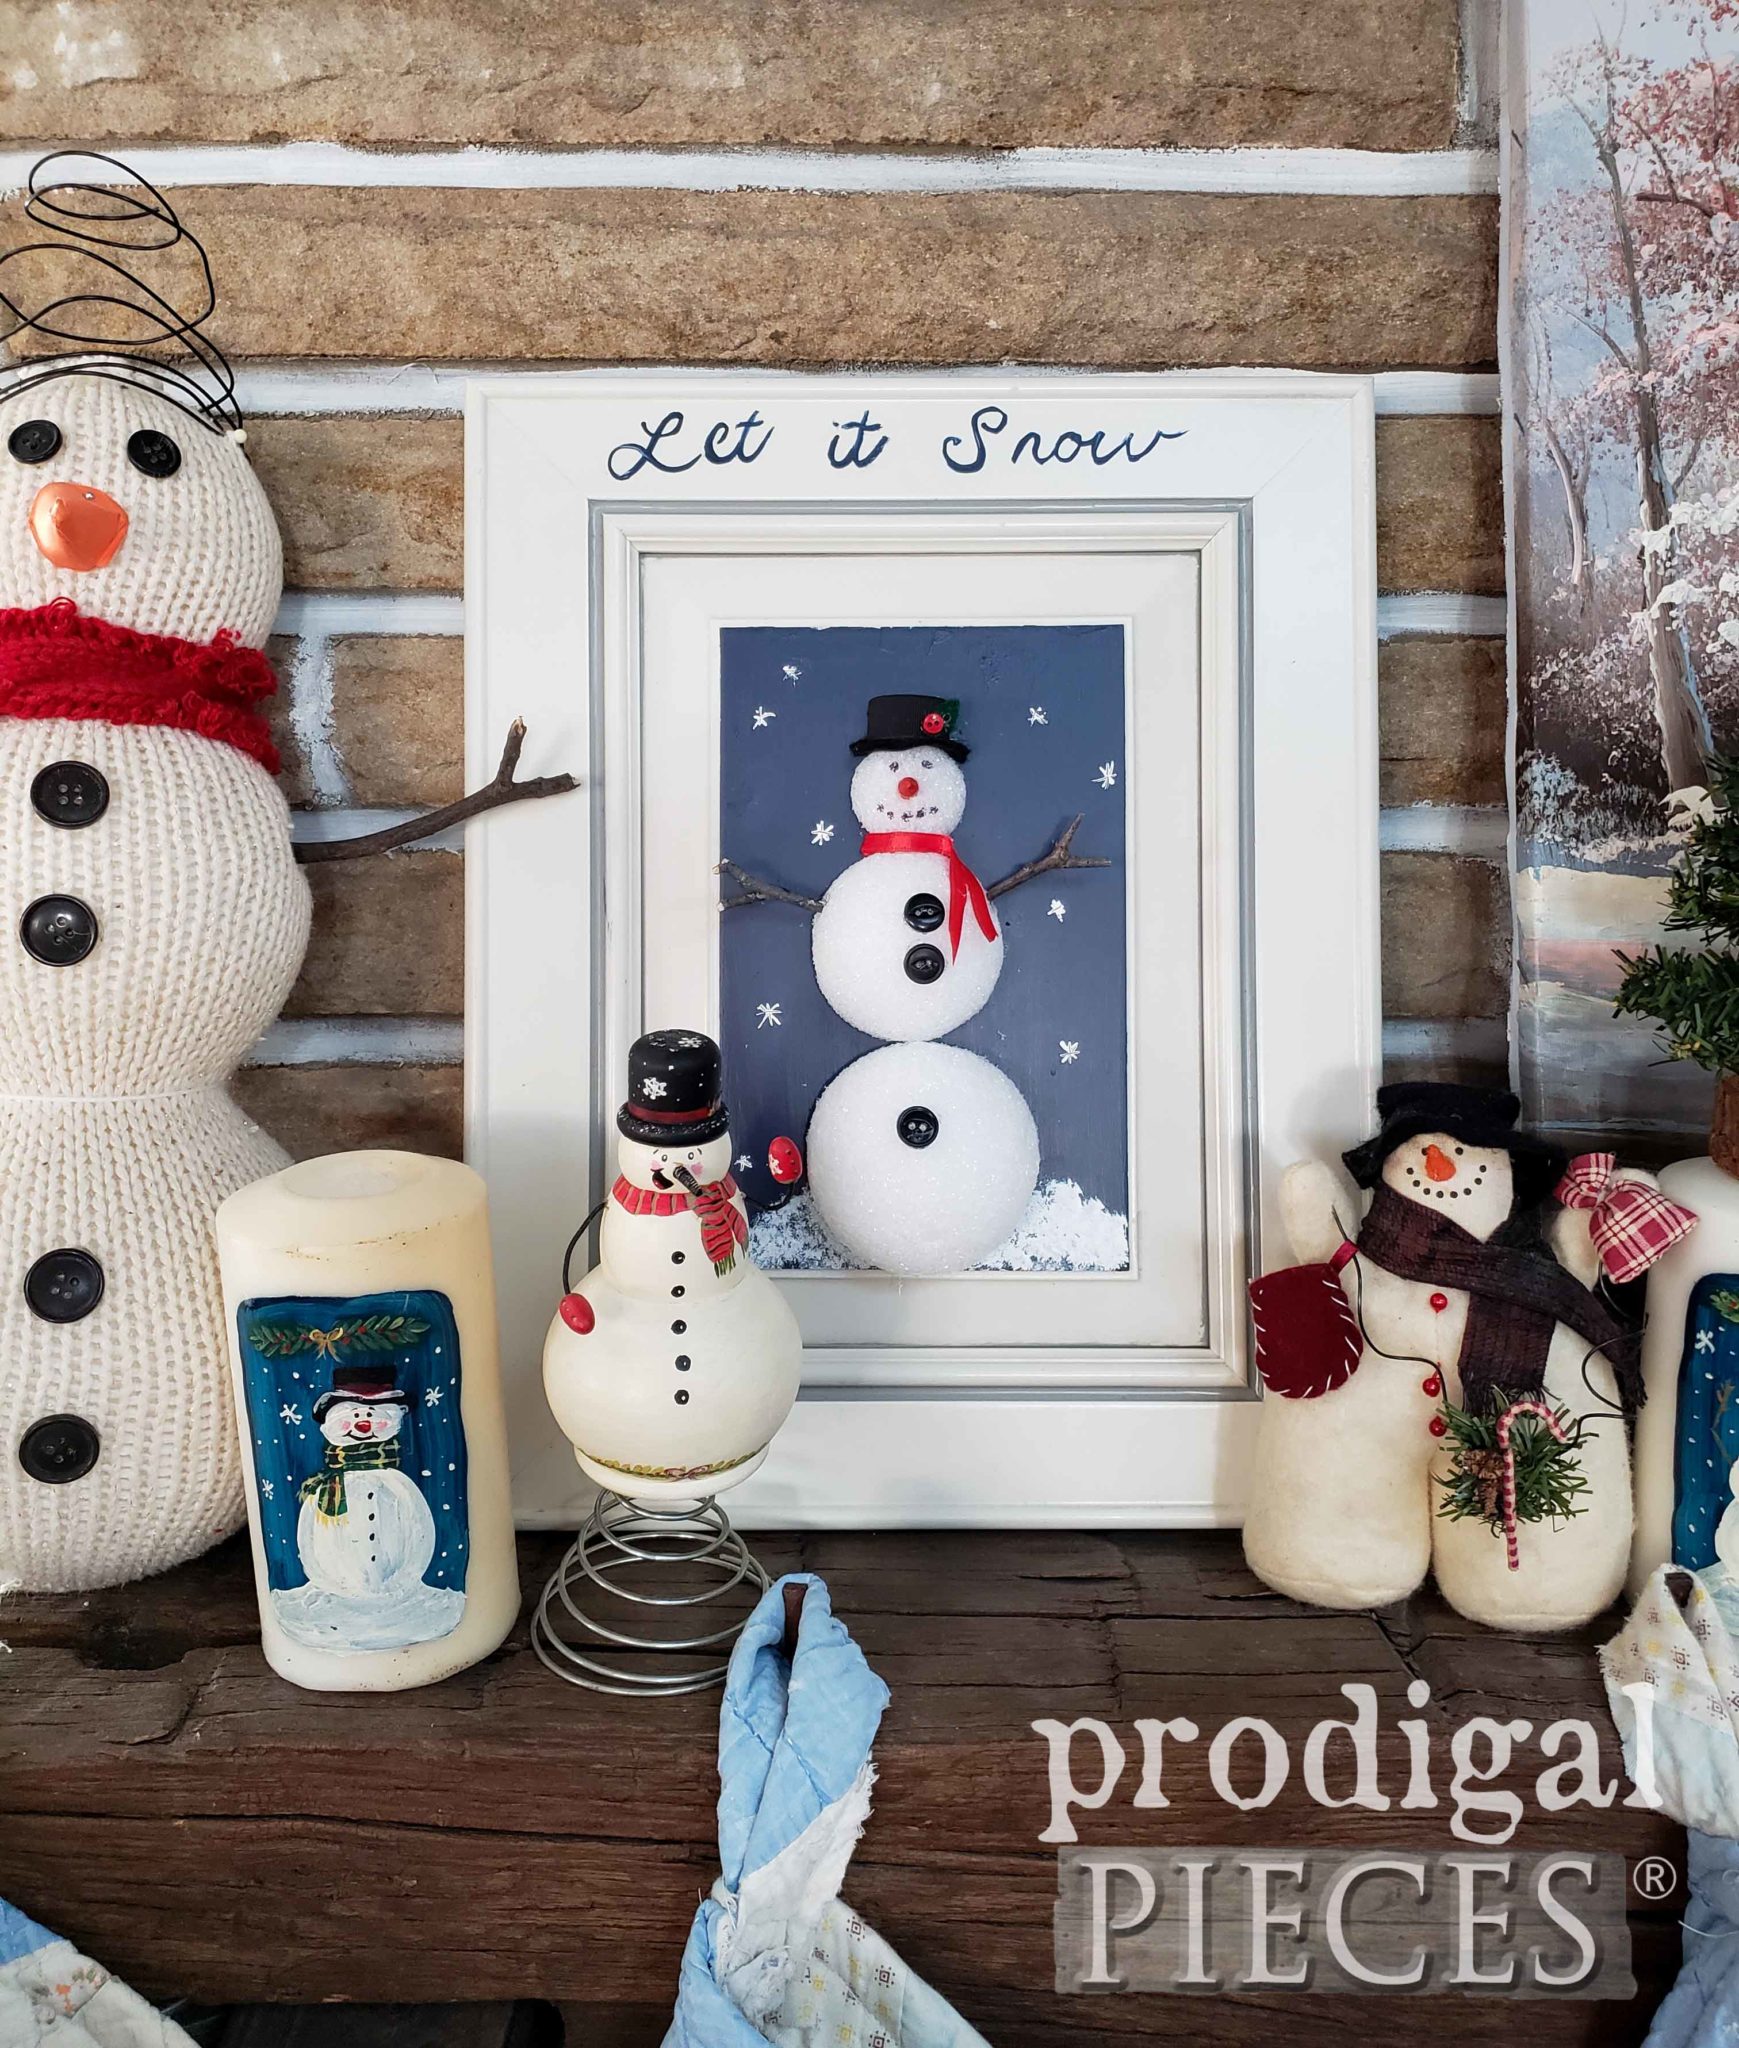
The next in rank of my kids is Mr. O. This little guy is my creative mini-me and is always looking for something to work on. He chose this smaller cupboard door to create DIY snowman art. Also, he has past projects for you to see too. Head HERE.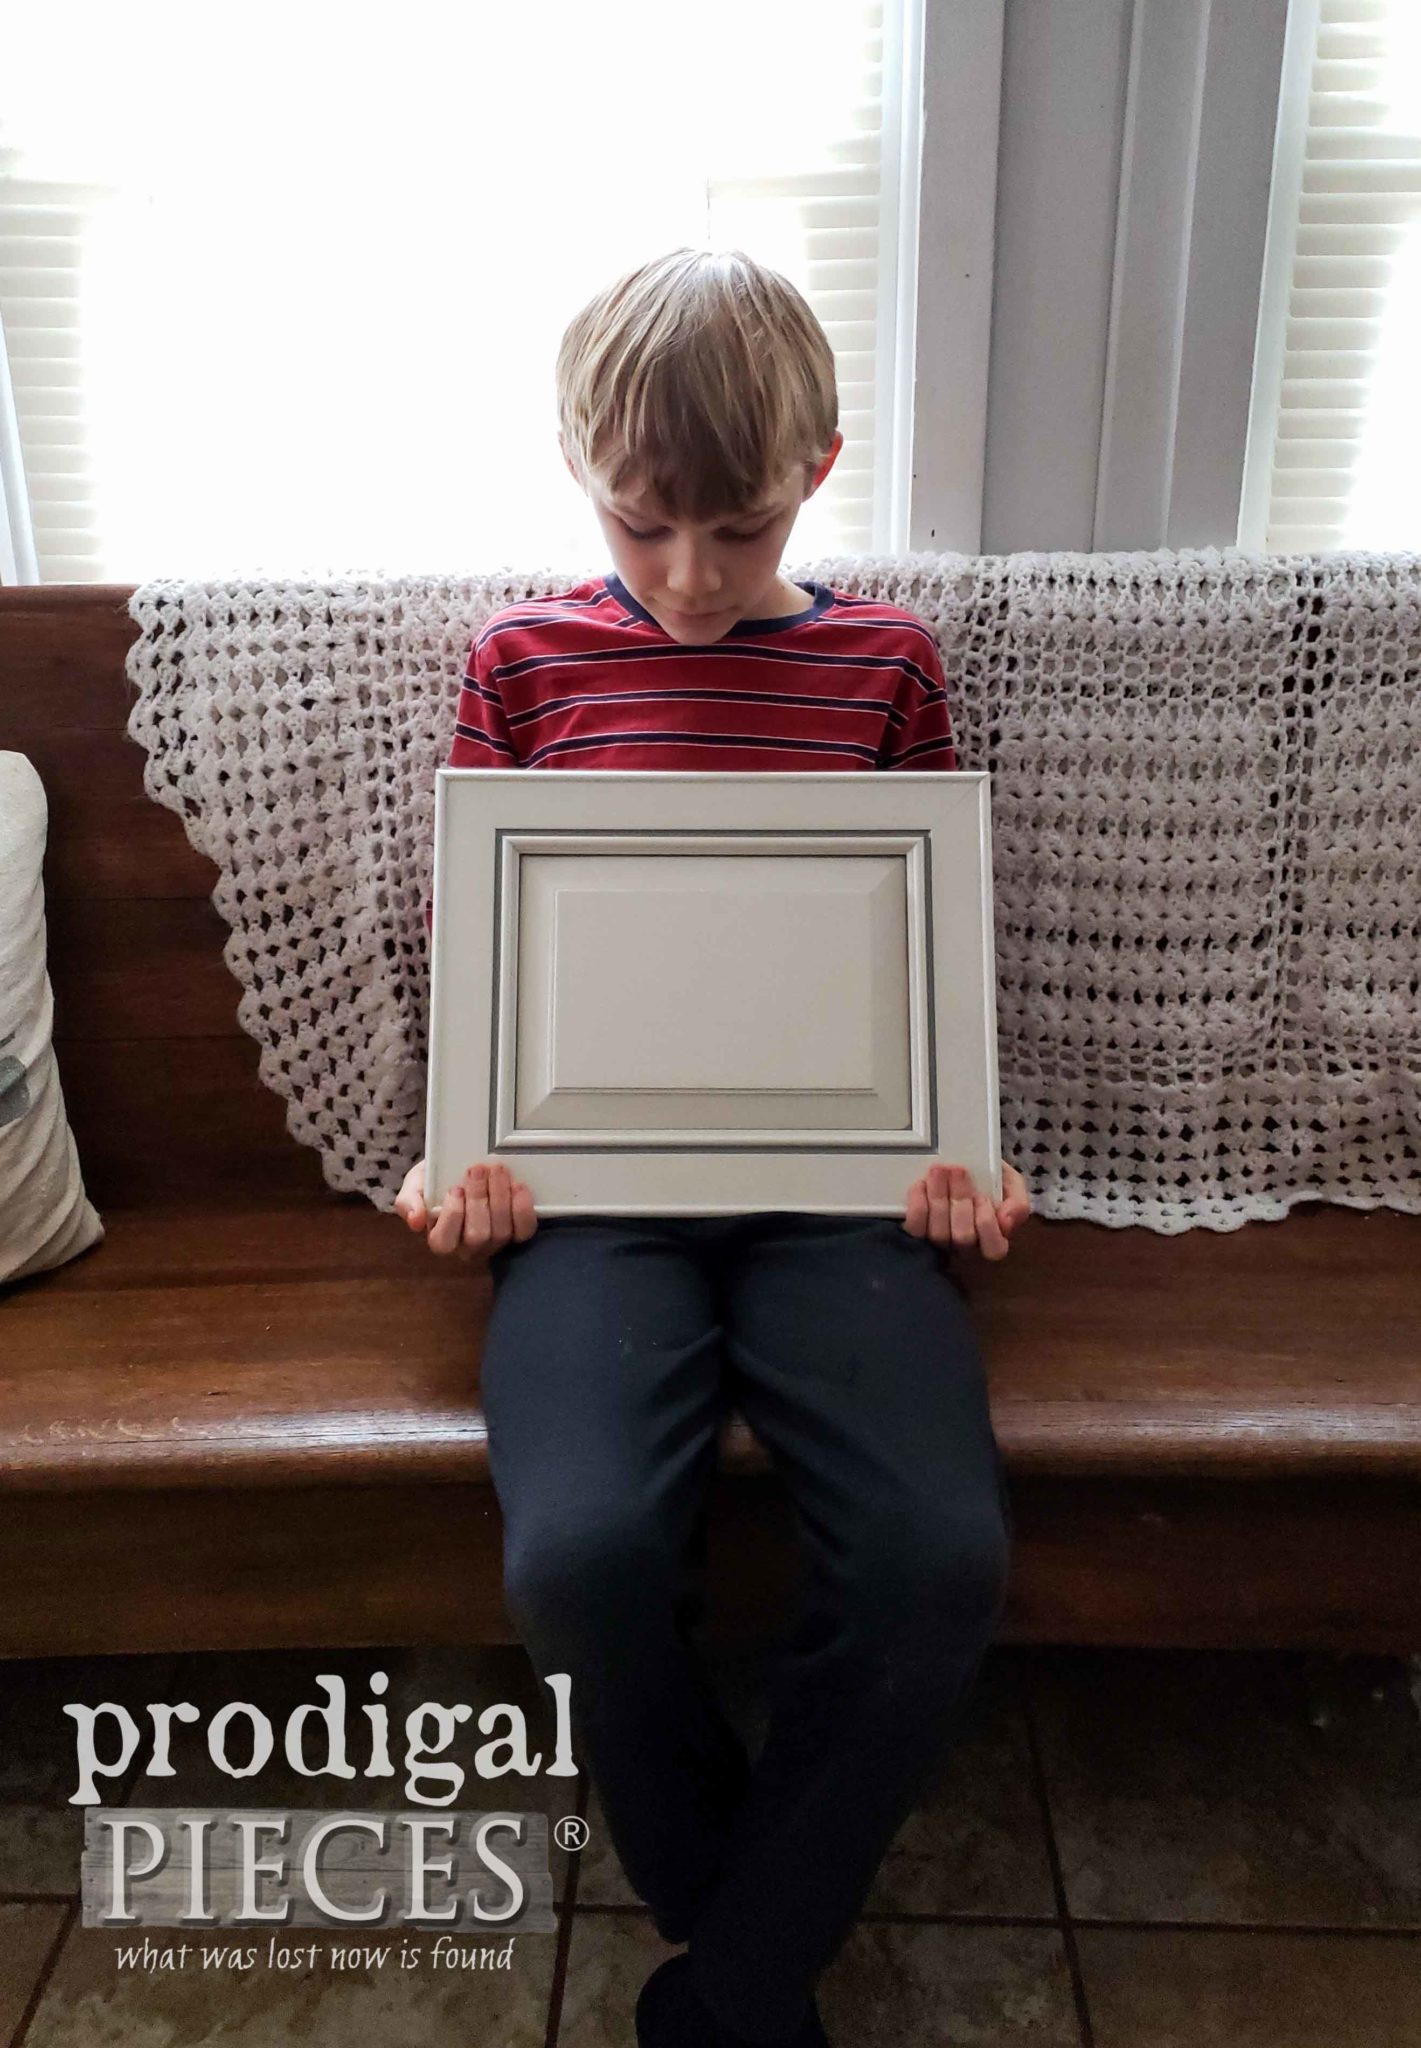 First, his goal is to show you how to make a decor piece for your home that could also be given as a gift, as well as be hung past the Christmas holiday season thru winter.
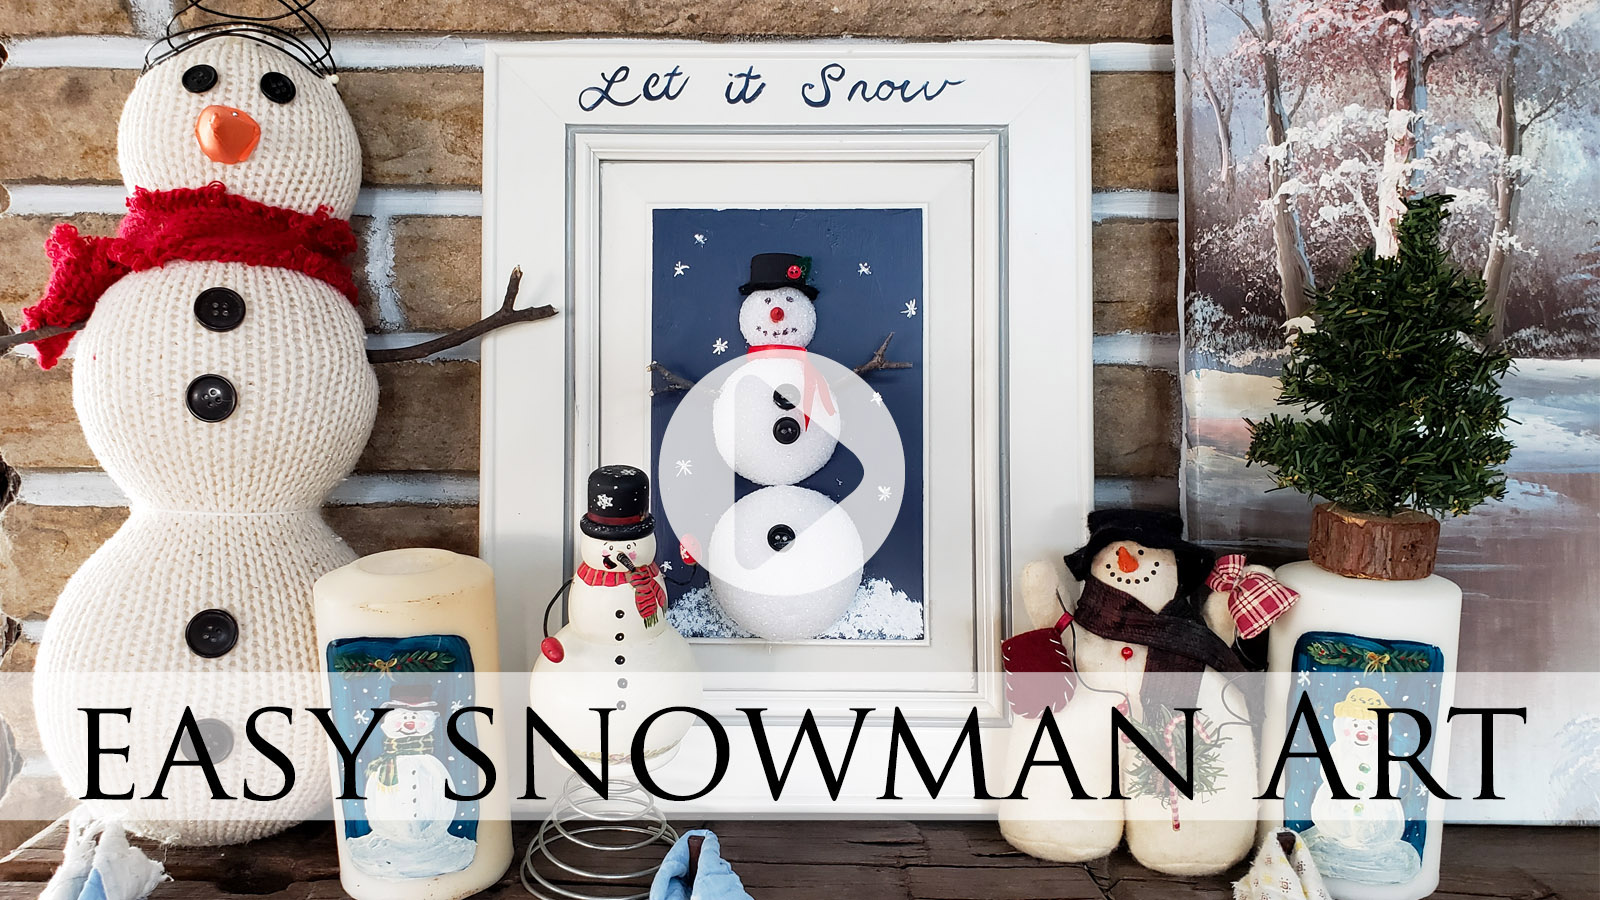
We thought it would be fun to create a video tutorial for our new Prodigal Pieces Kids Create project. If you're like me, I'm a visual learner and these help so much.
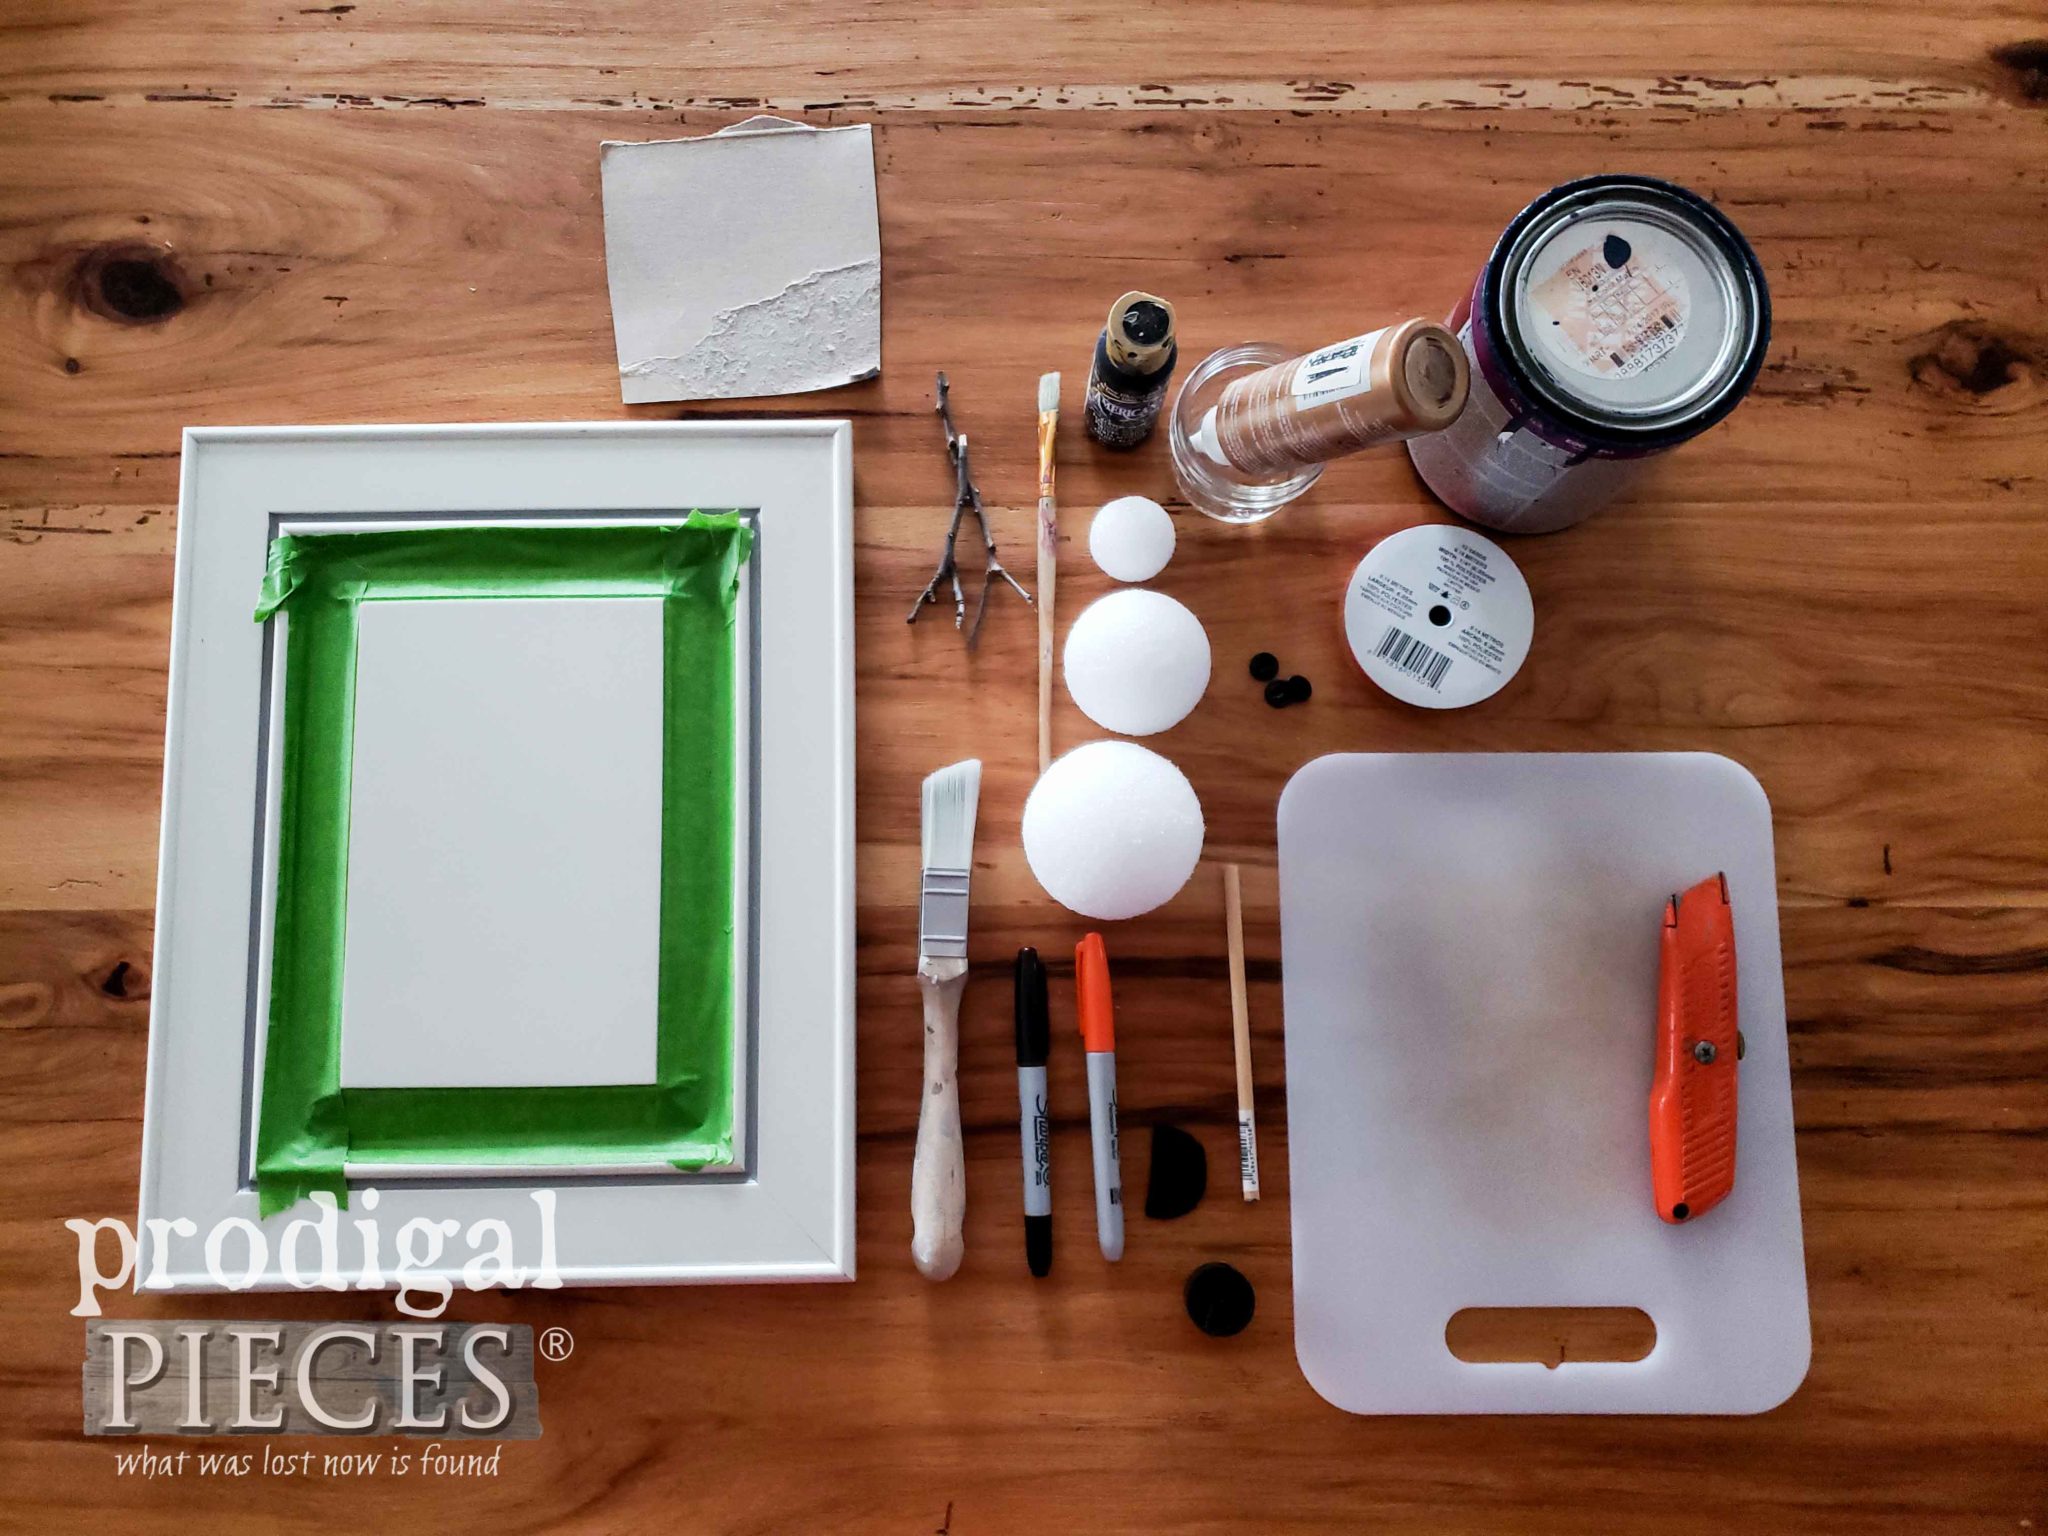 Here's our list of tools and supplies to create this DIY snowman craft:
Materials:
- a cupboard door or picture frame
- 3 Styrofoam balls in 3 sizes cut in half - 3", 2 ½", 1 ½".
- 1 length of ¼" dowel for snowman nose
- 3 small buttons
- 1 ½" circle of black felt cut in half. (this is the snowman's hat brim)
- an old bottle cap cut in half (approximately ¾" diameter cap is needed - we used a hot sauce bottle cap)
- 12" length of red ribbon (or yarn or felt or scrap fabric)
- black paint
- blue paint for background
- black marker
- orange marker
- two small twigs for snowman arms
- bits of red and green felt (or whatever you'd like use on his hat)
Tools:
- utility knife
- low-temp glue gun
- paint brush
- artist's brush
- FrogTape
- pencil sharpener
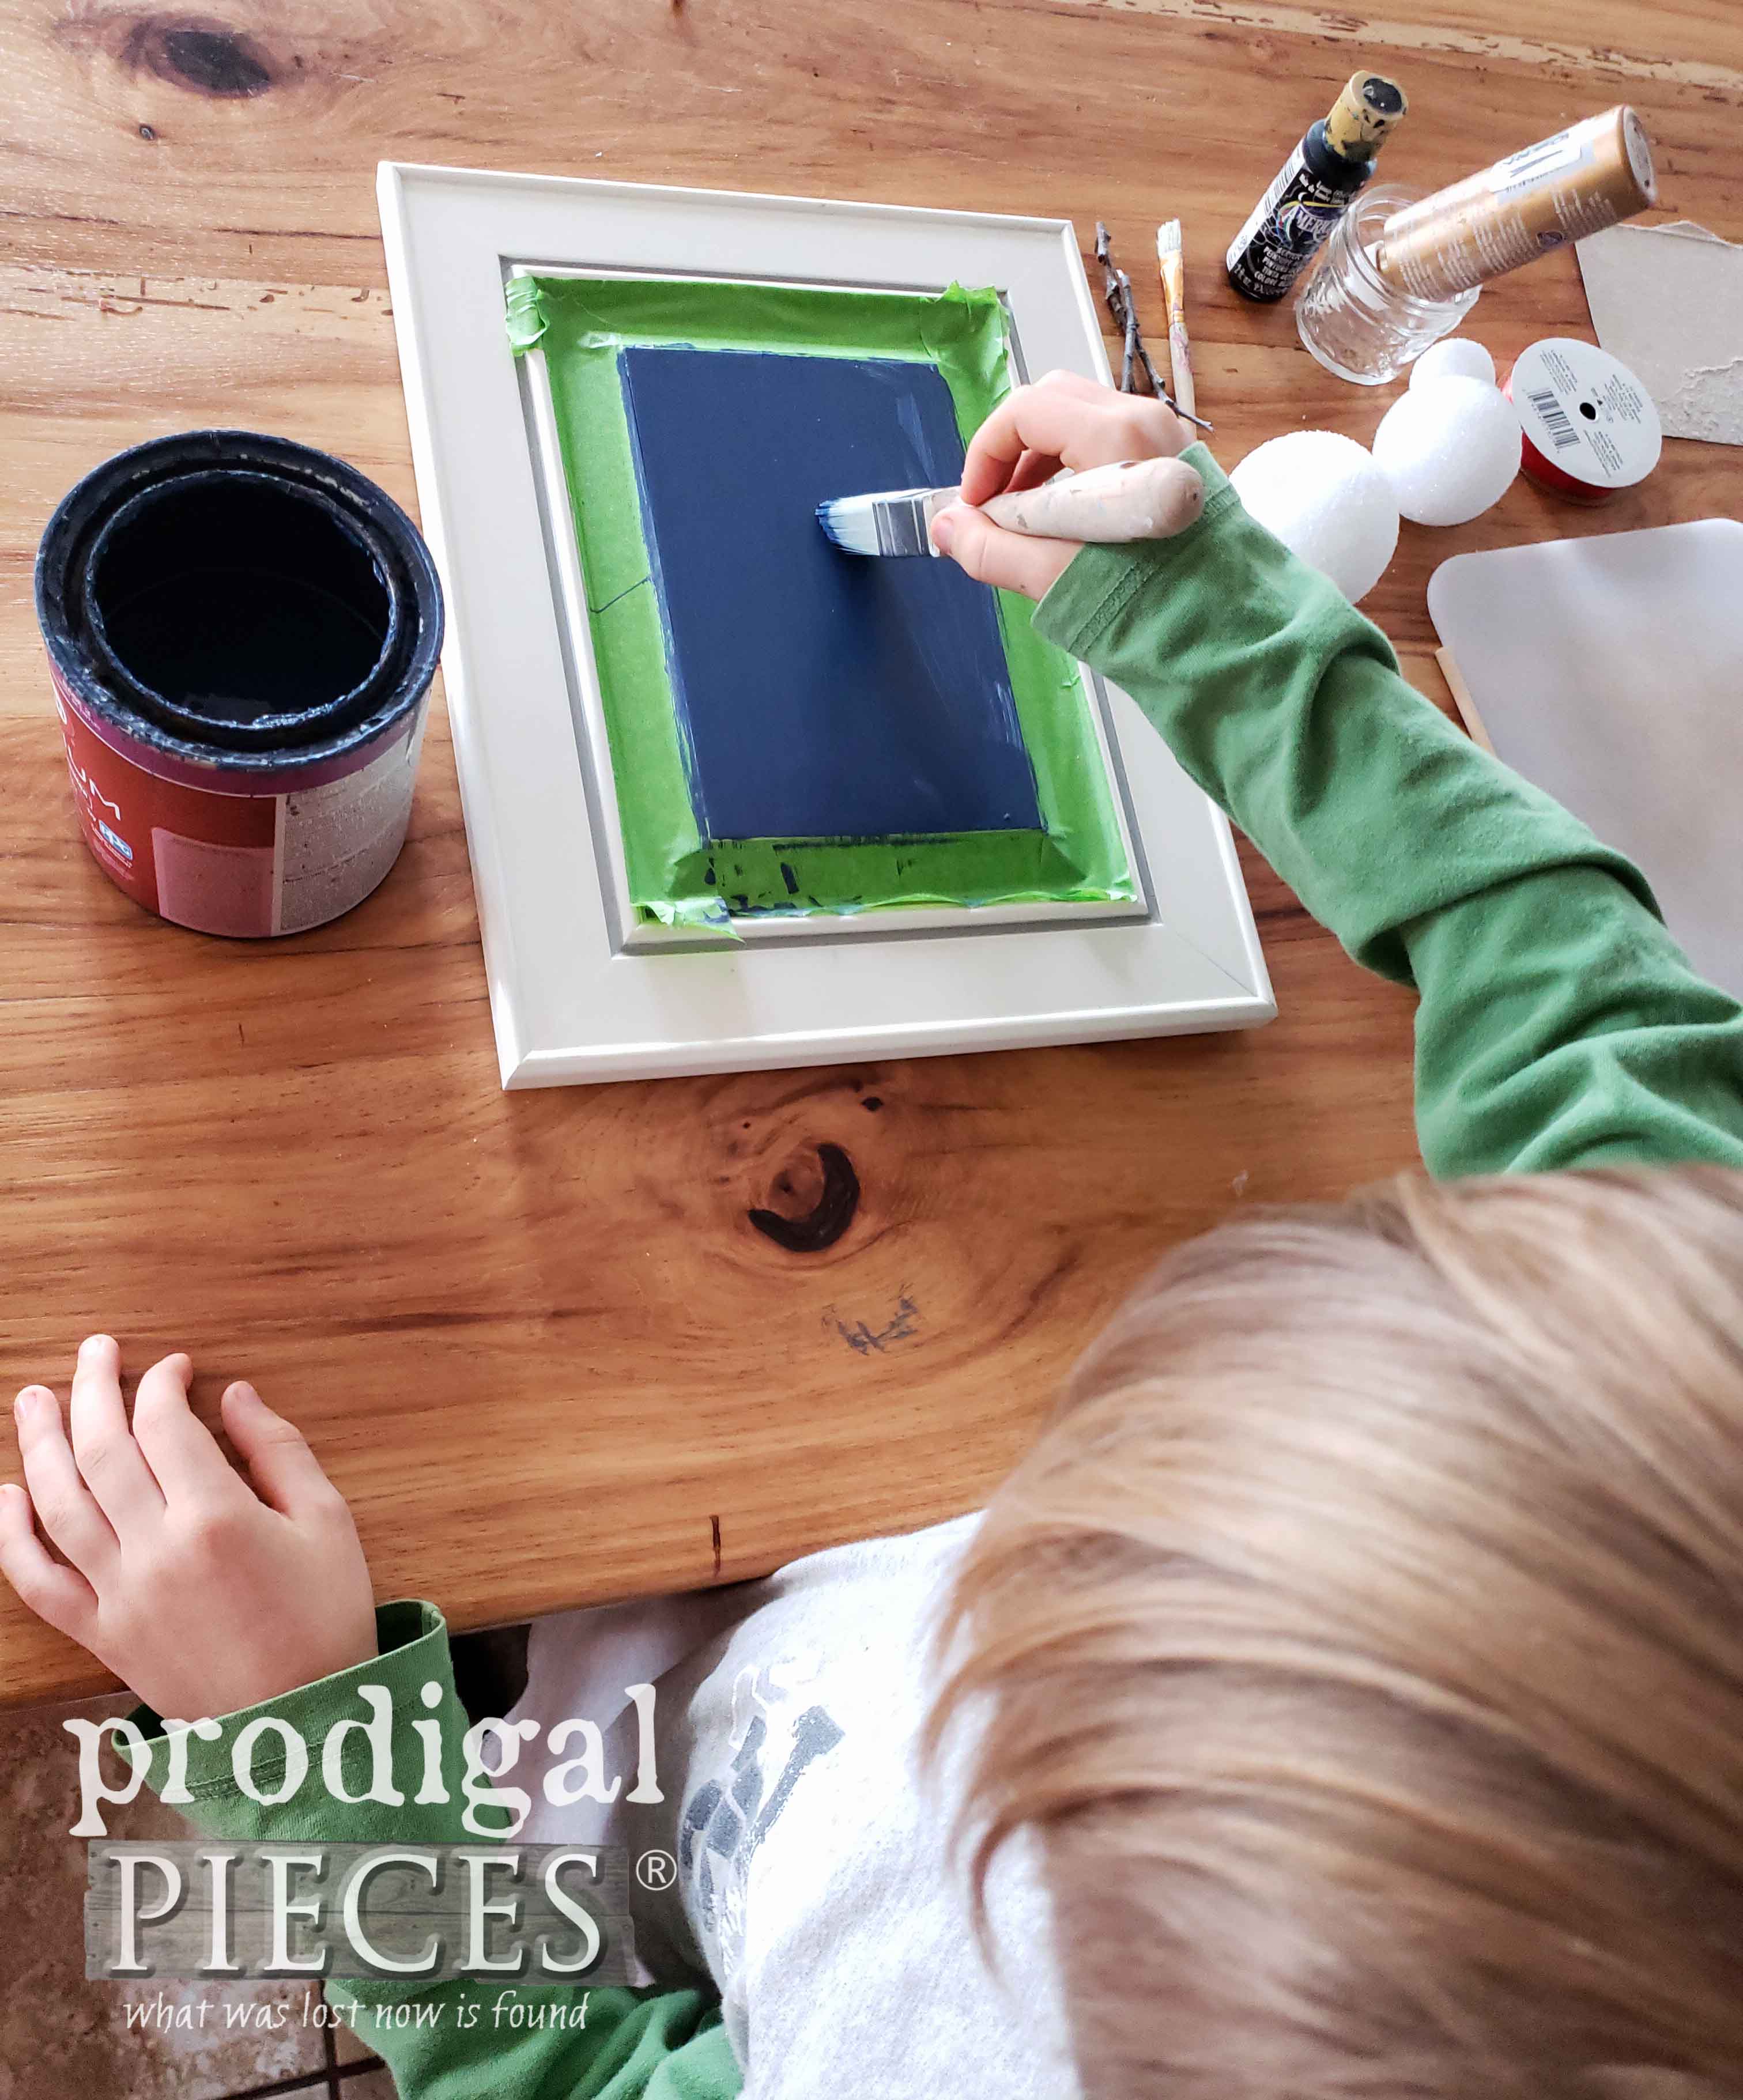 While he let the paint cure in between and after, we worked on the next steps. This is where a parent or adult needs to help a bit.
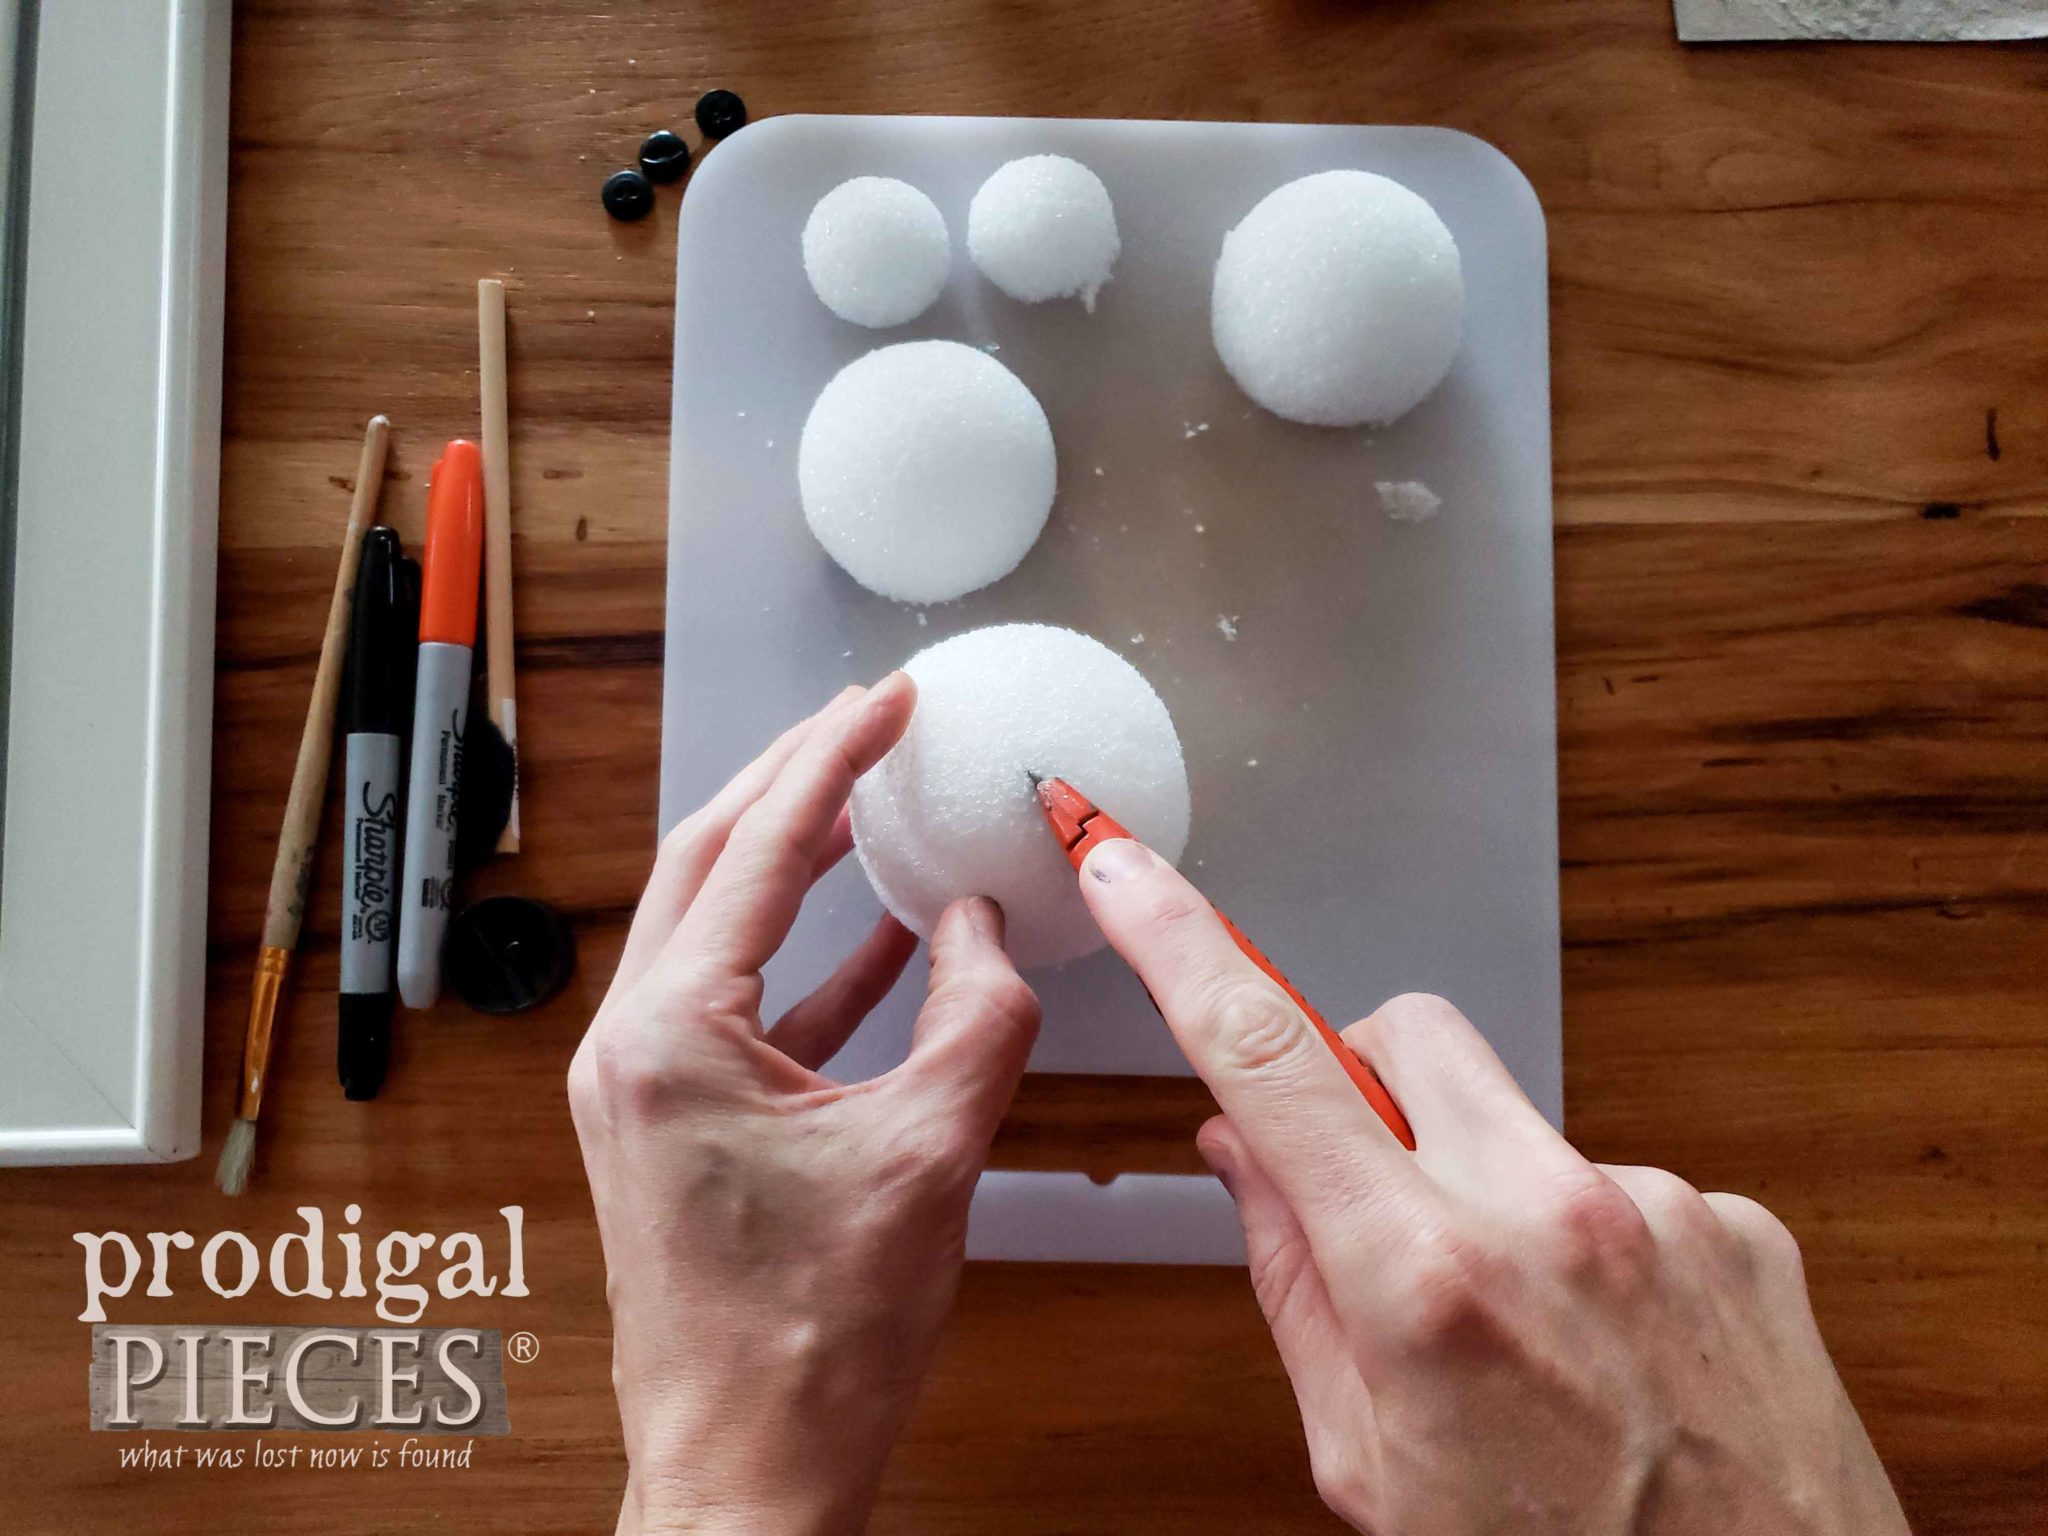
I used an utility knife to score the 3 Styrofoam balls and twisted to pop them apart.
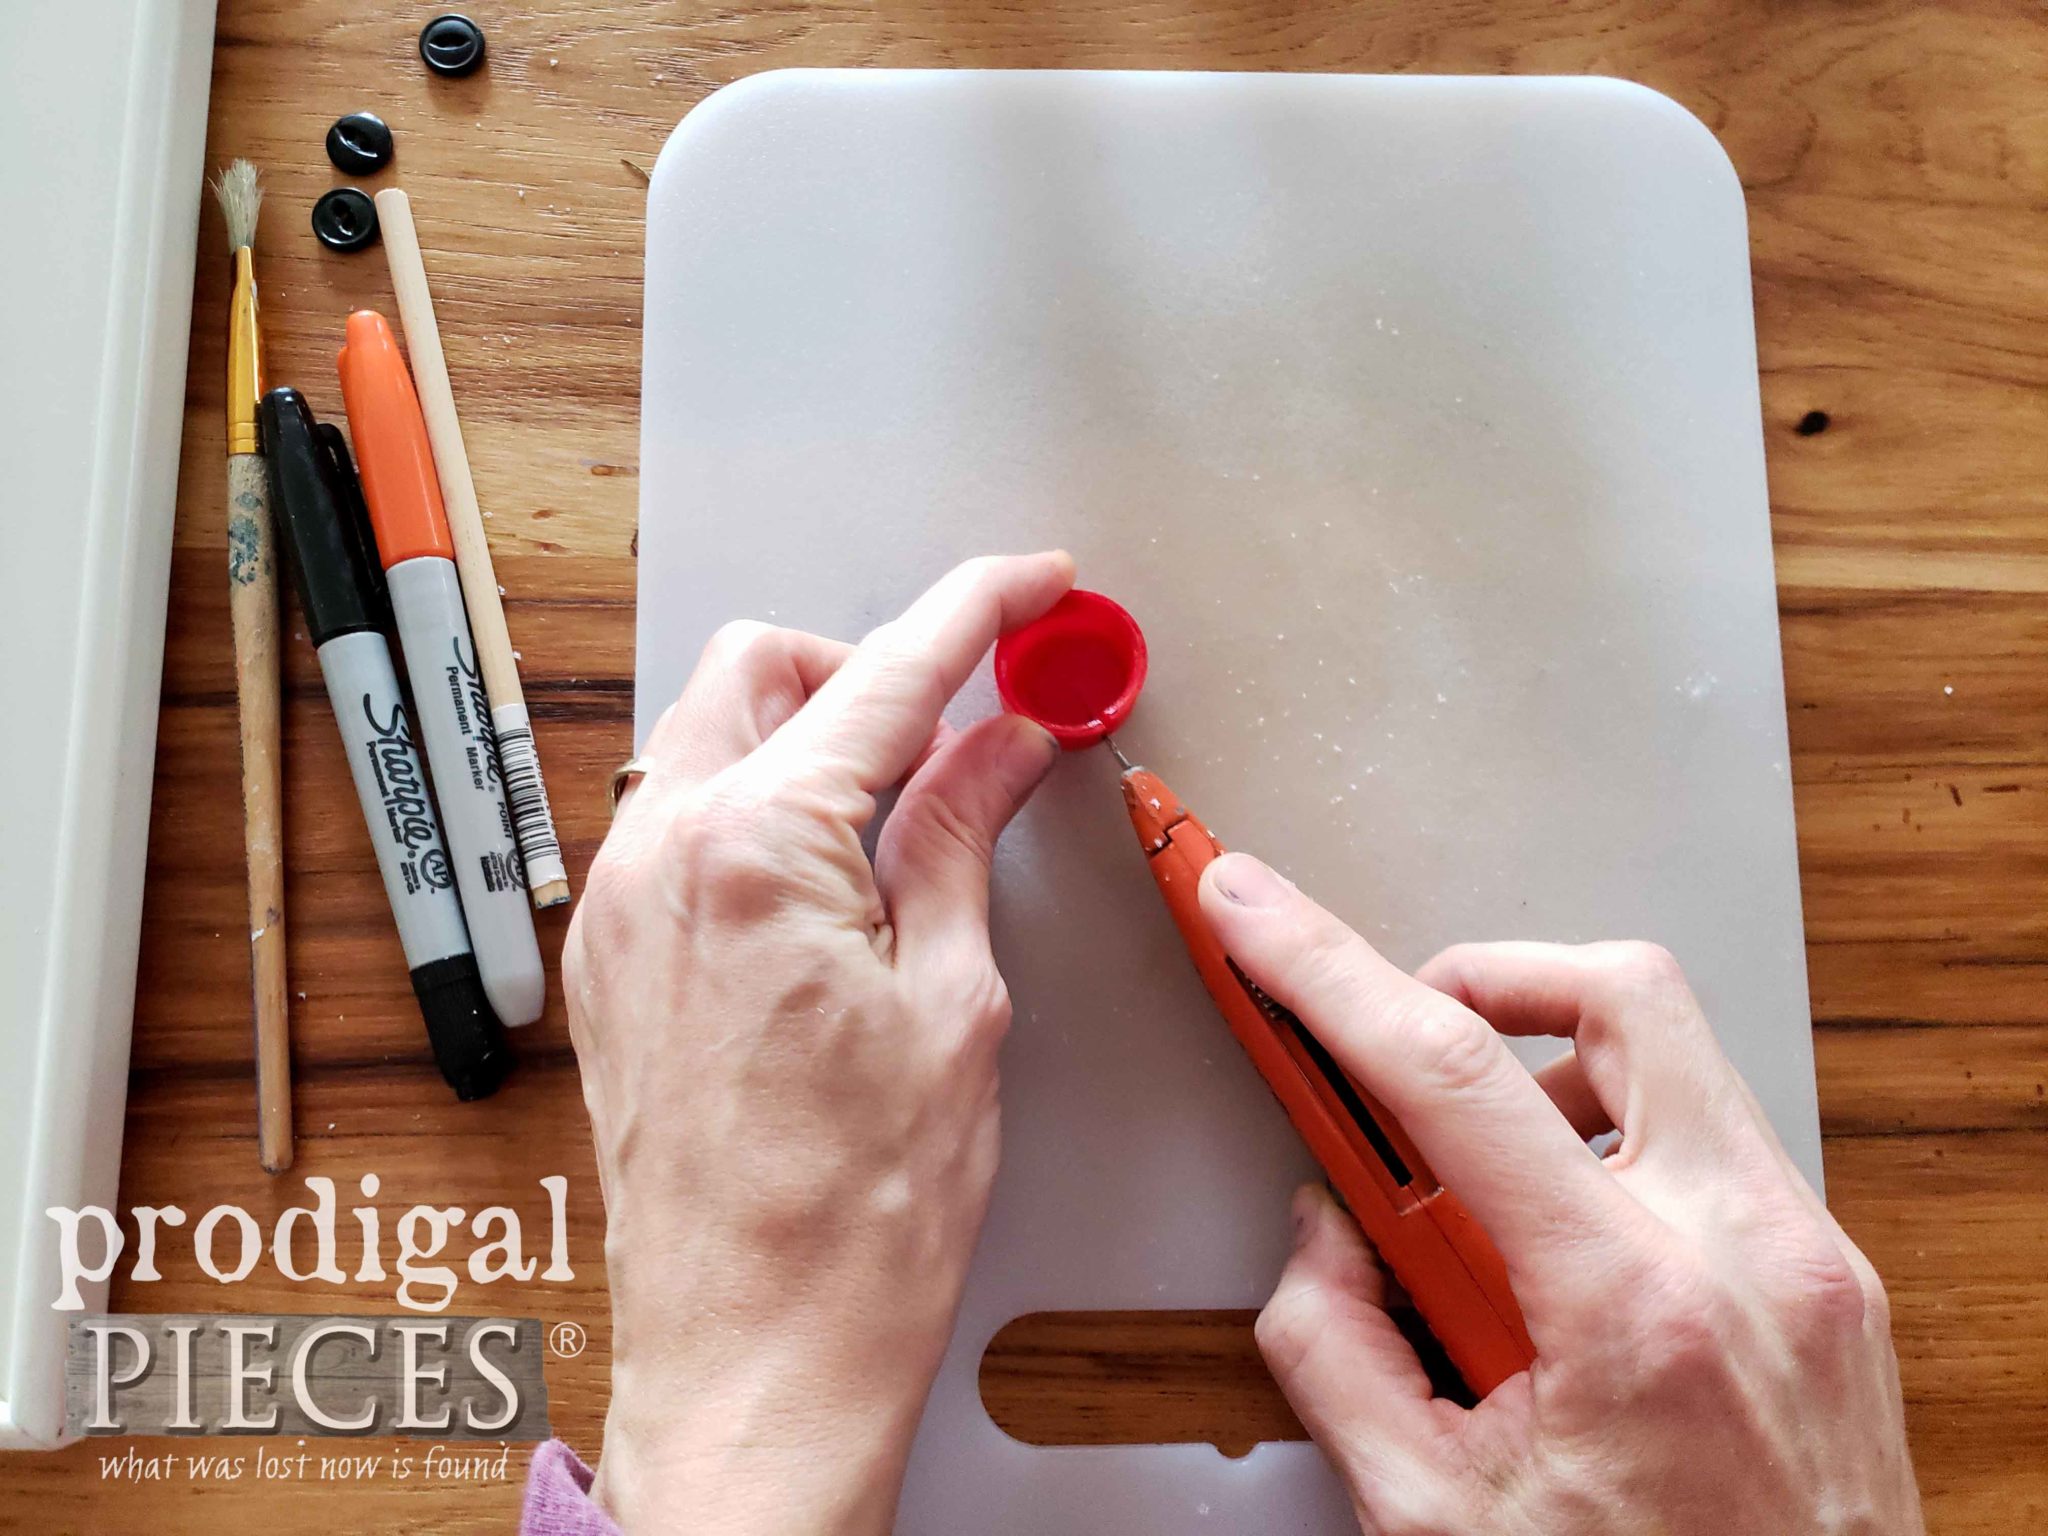
 Next, I used the utility knife to cut a hot sauce bottle cap in half.
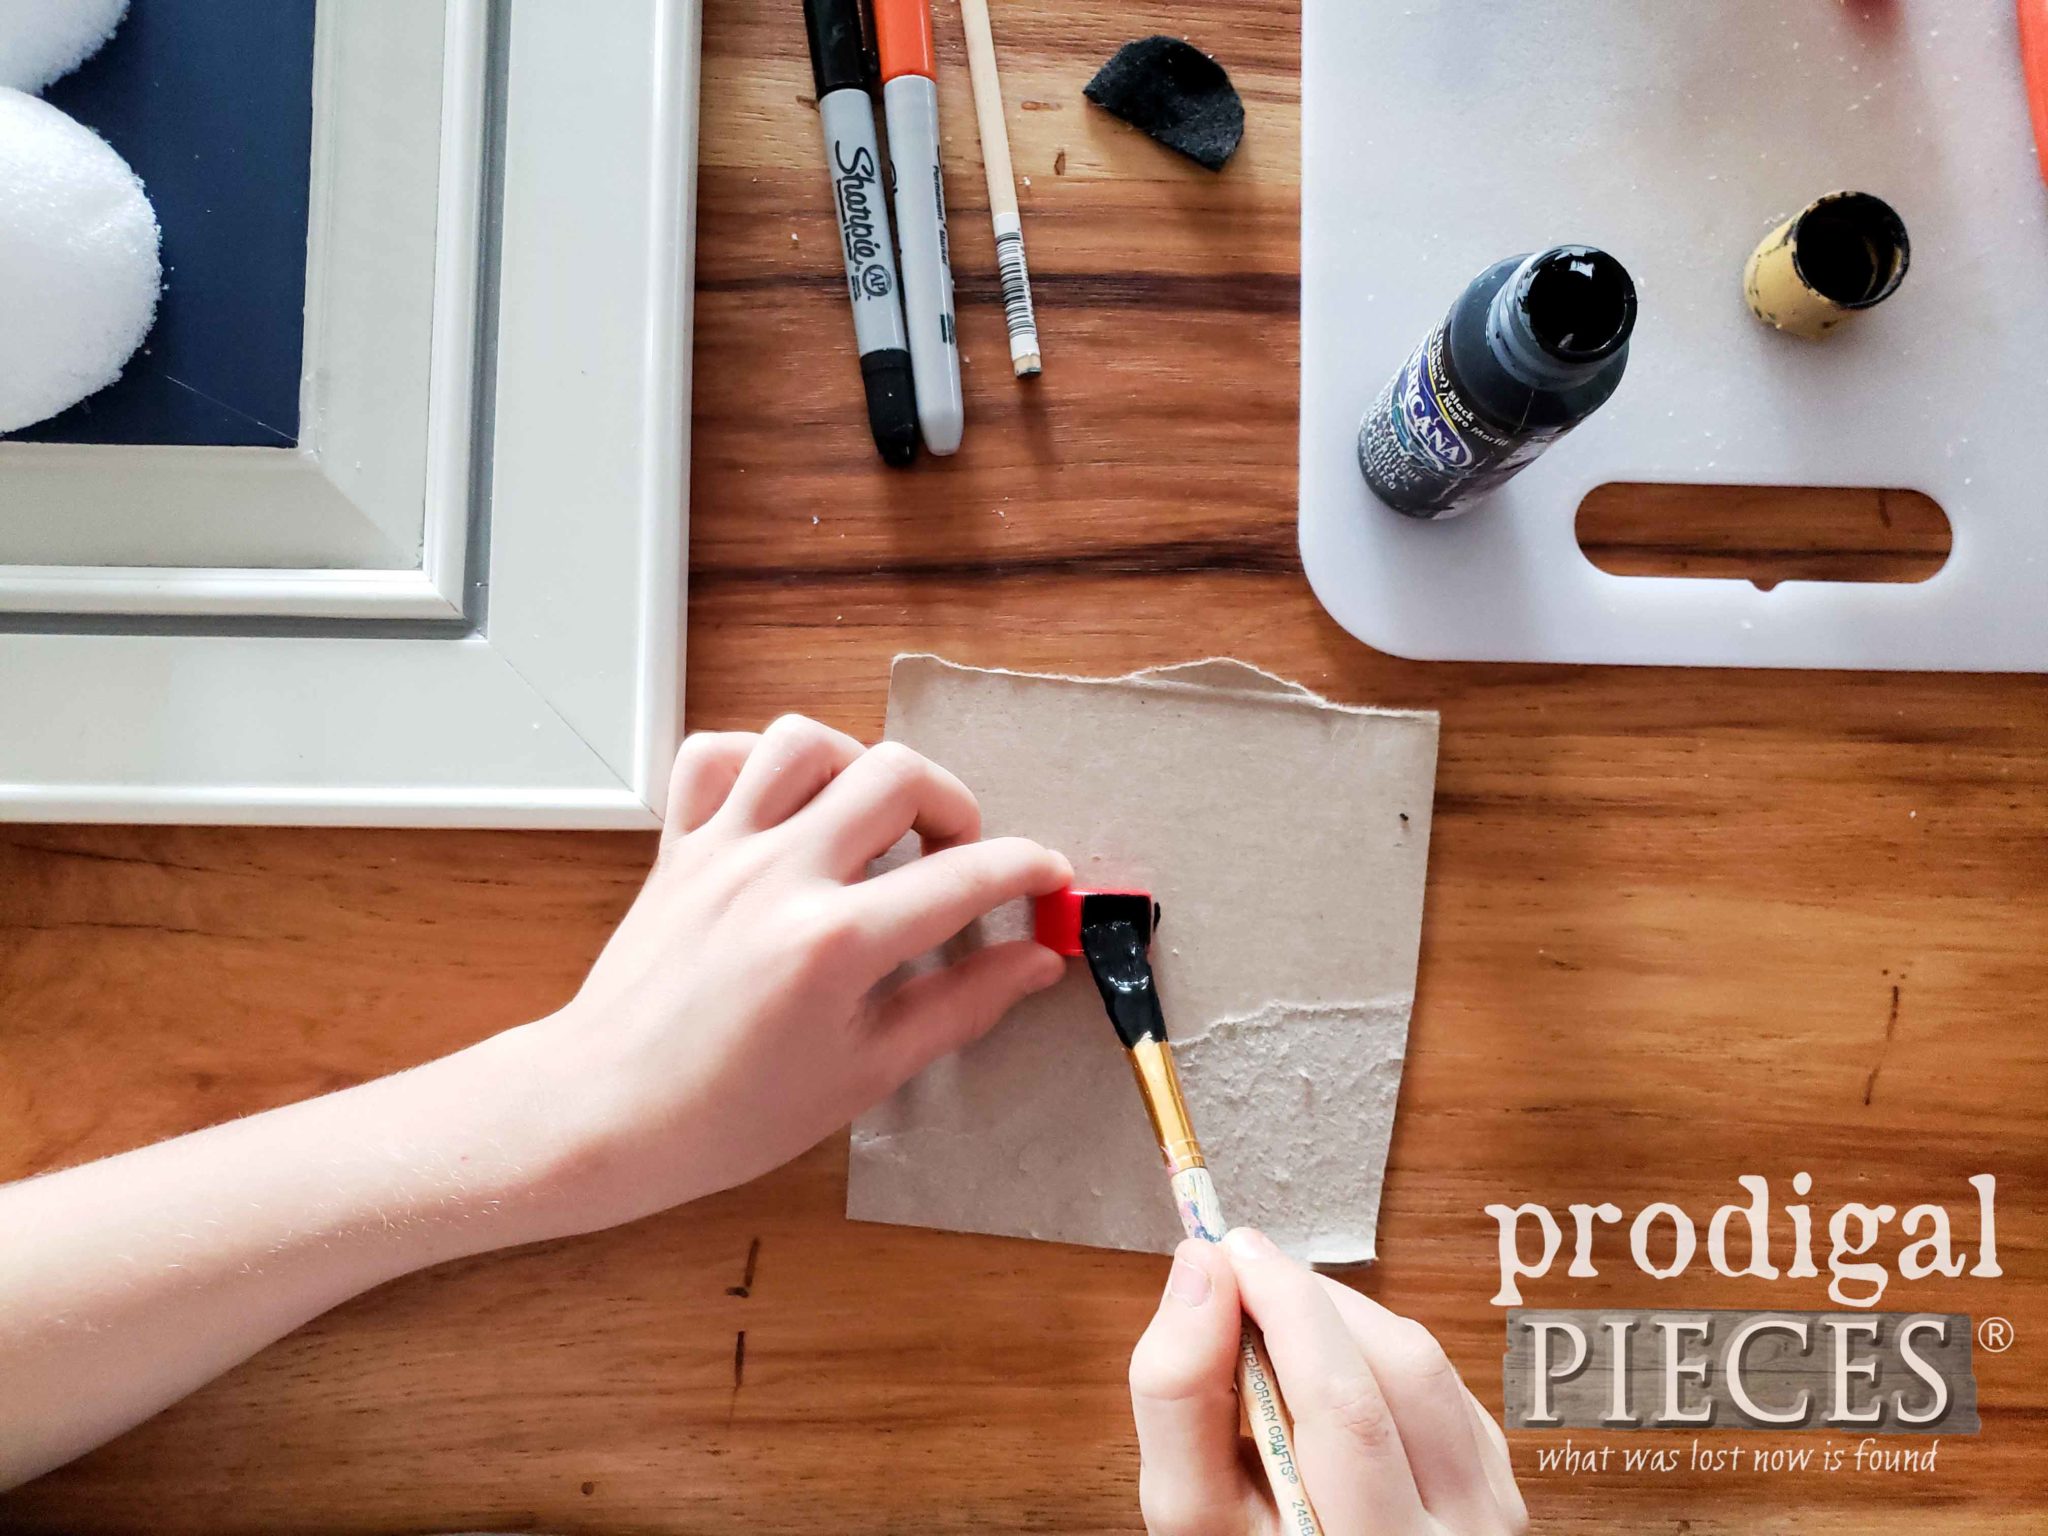
 Mr. O then painted the half of the cap with a flat black acrylic paint and artist's brush.
 As you can see in the video, Mr. O sharpened a length of dowel with a pencil sharpener, and then colored it orange. This is for the snowman's nose. Additionally, I cut off the nose piece using the utility knife.
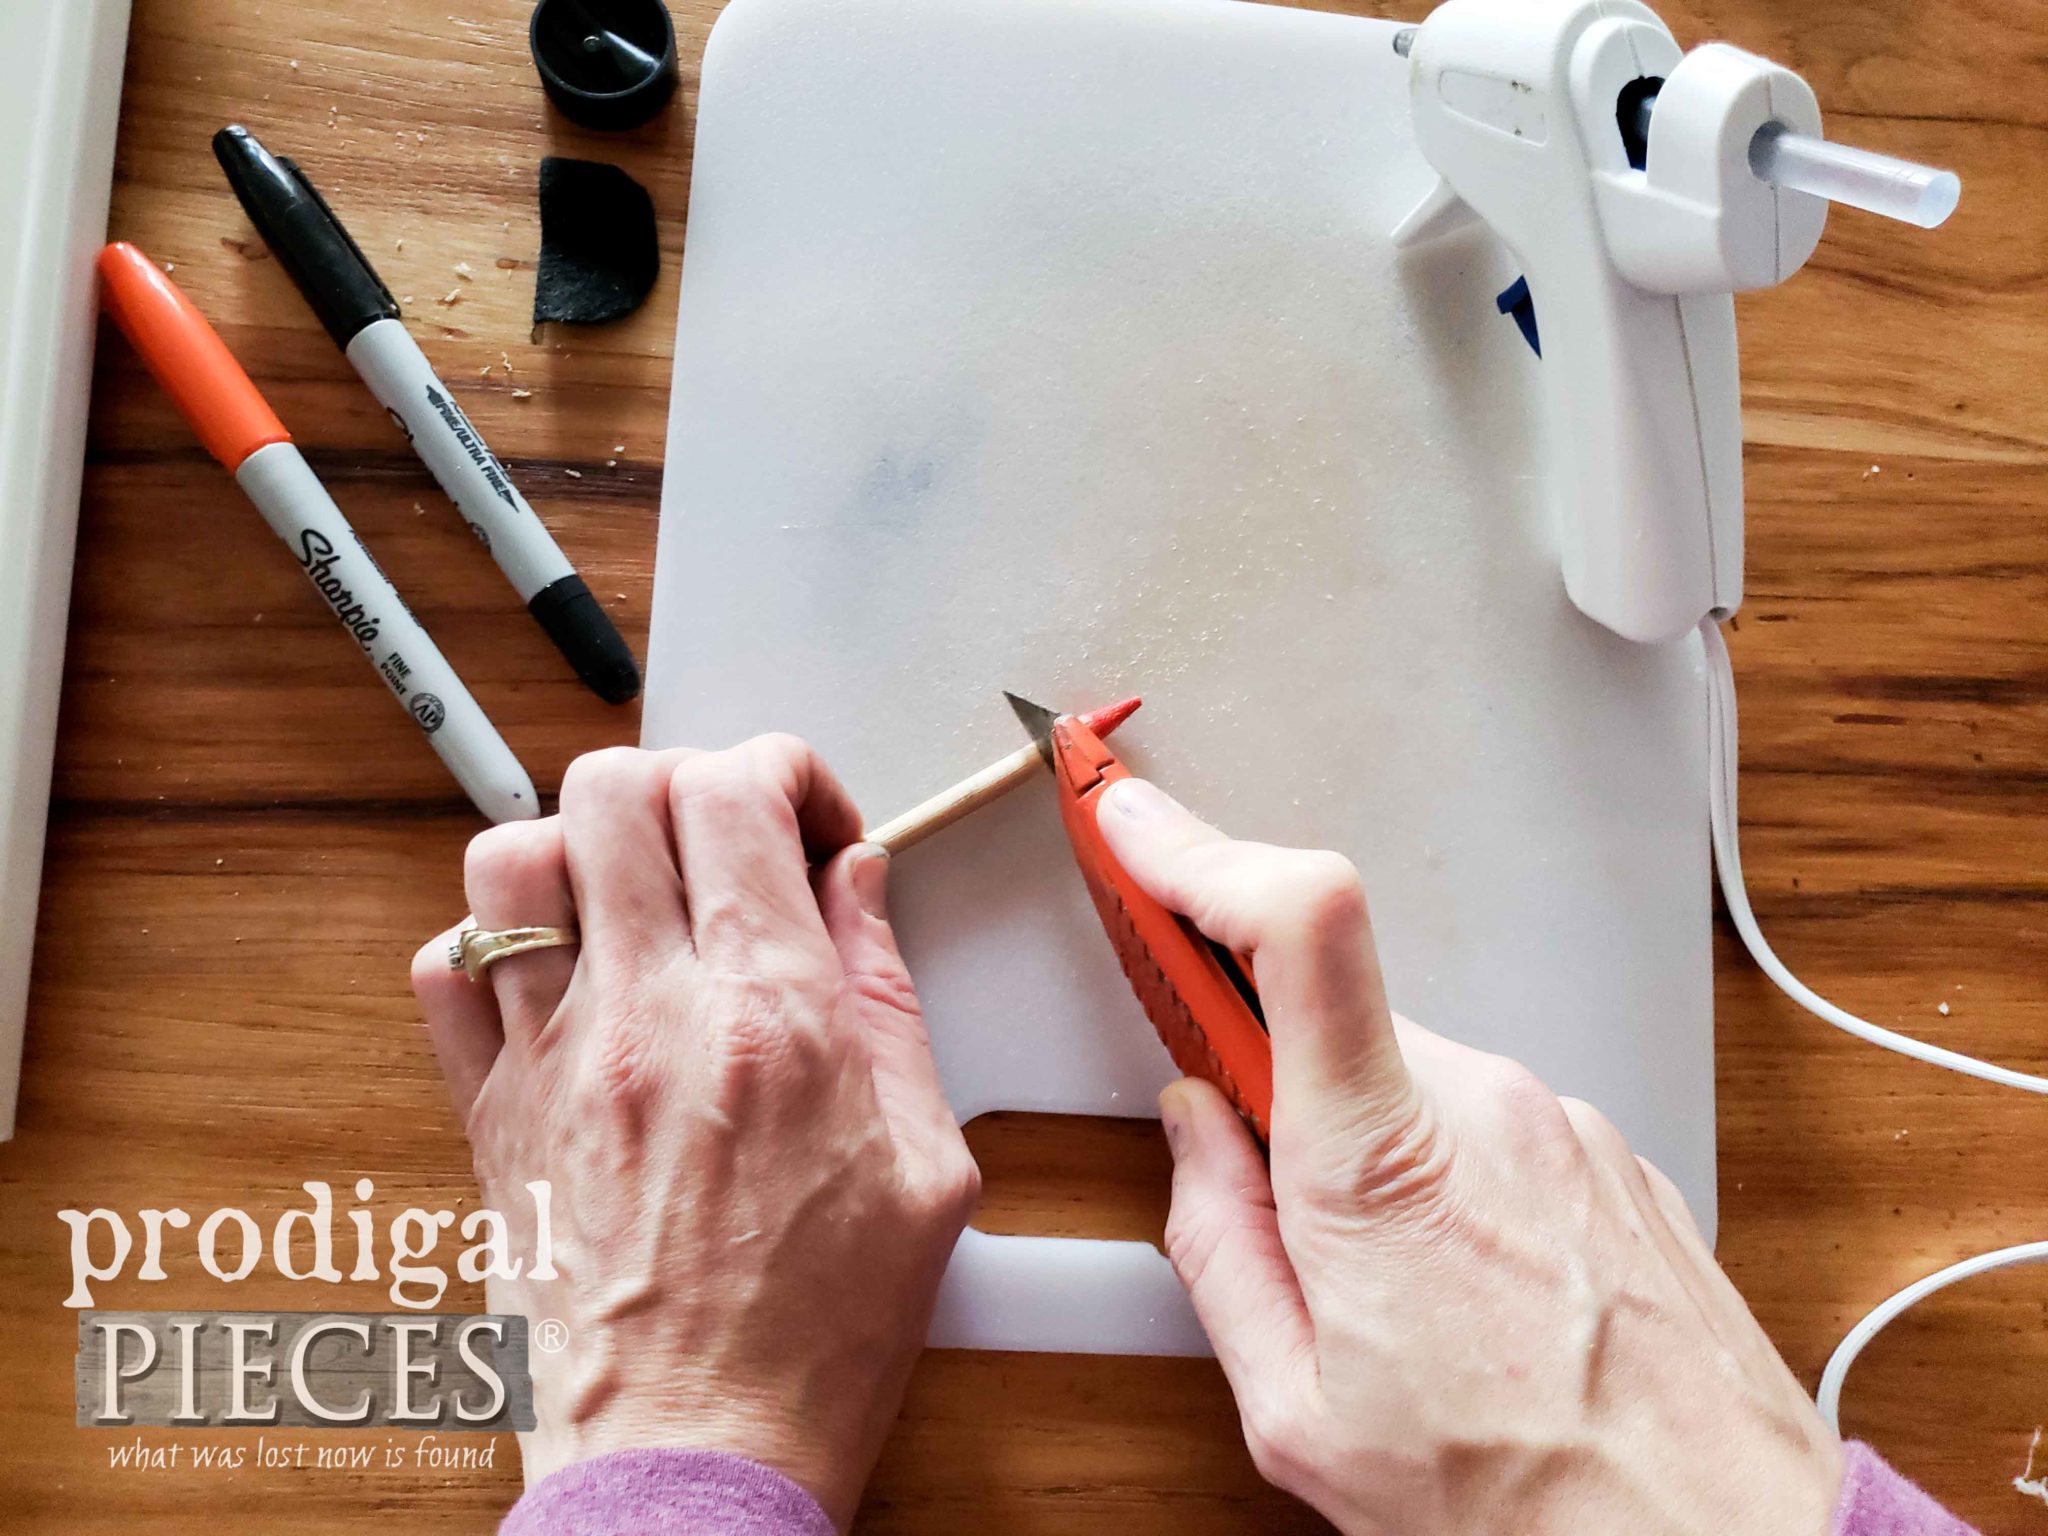 He assembled his DIY snowman art using the low-temp hot glue gun. The eyes and mouth were drawn on with a black marker.
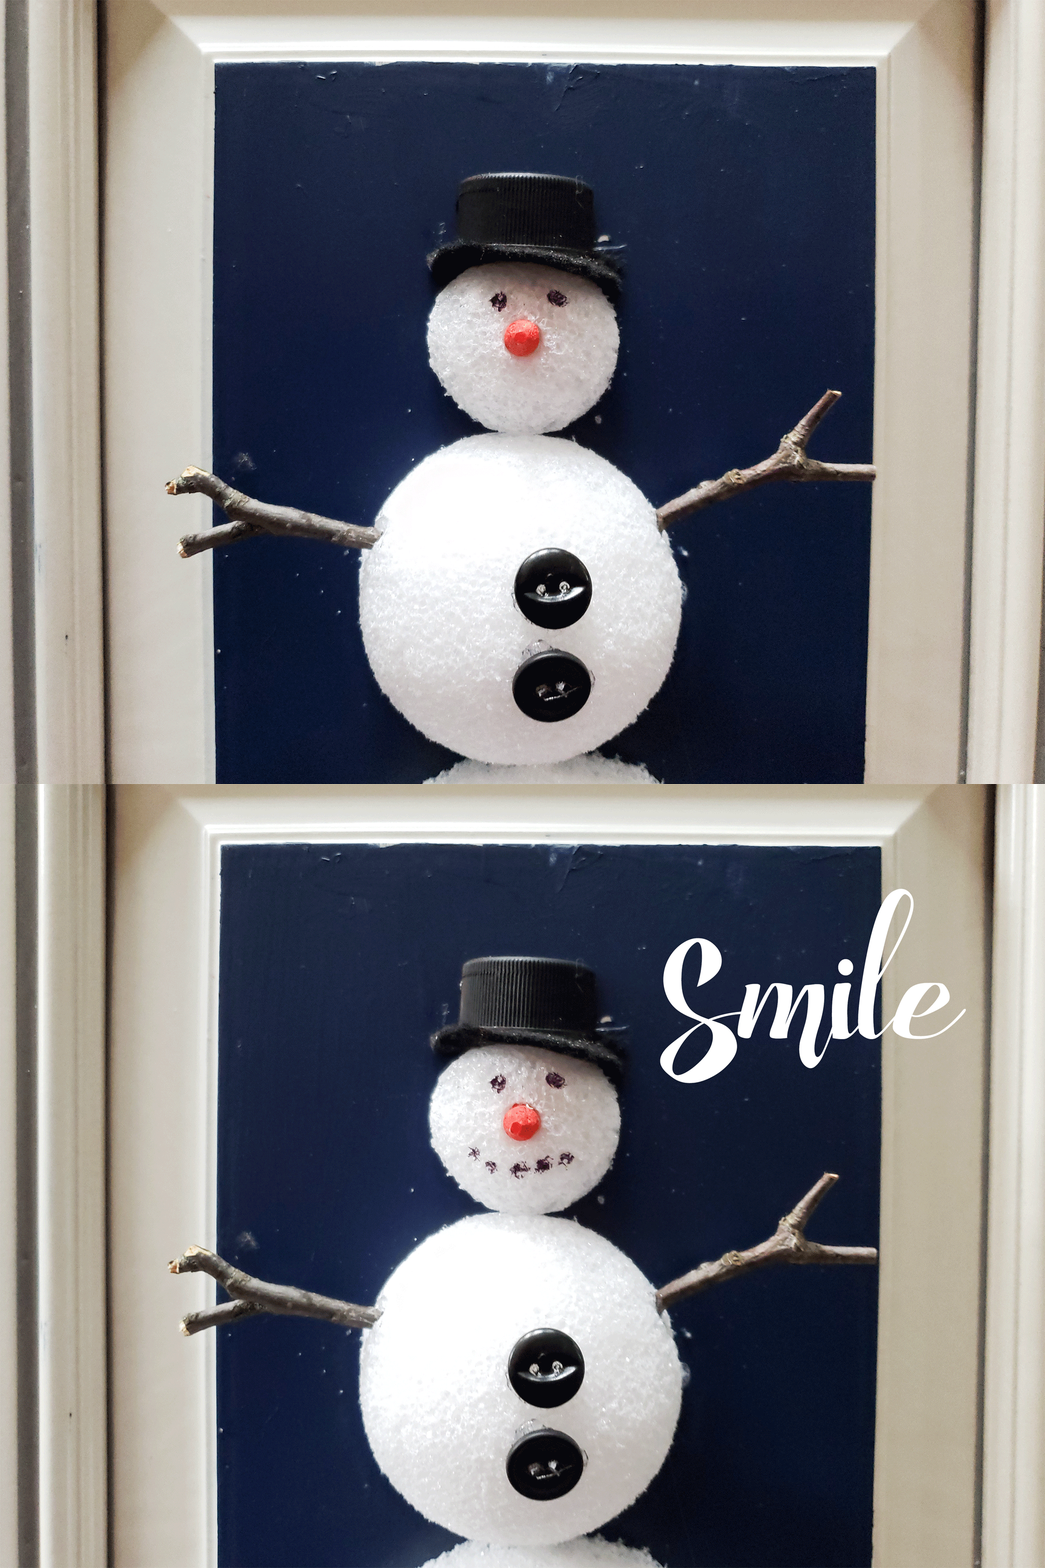
THE REVEAL
After adding the scarf, snowflakes, snow, and text, Mr. O's DIY snowman wall art is ready to go. We hope you enjoyed his video!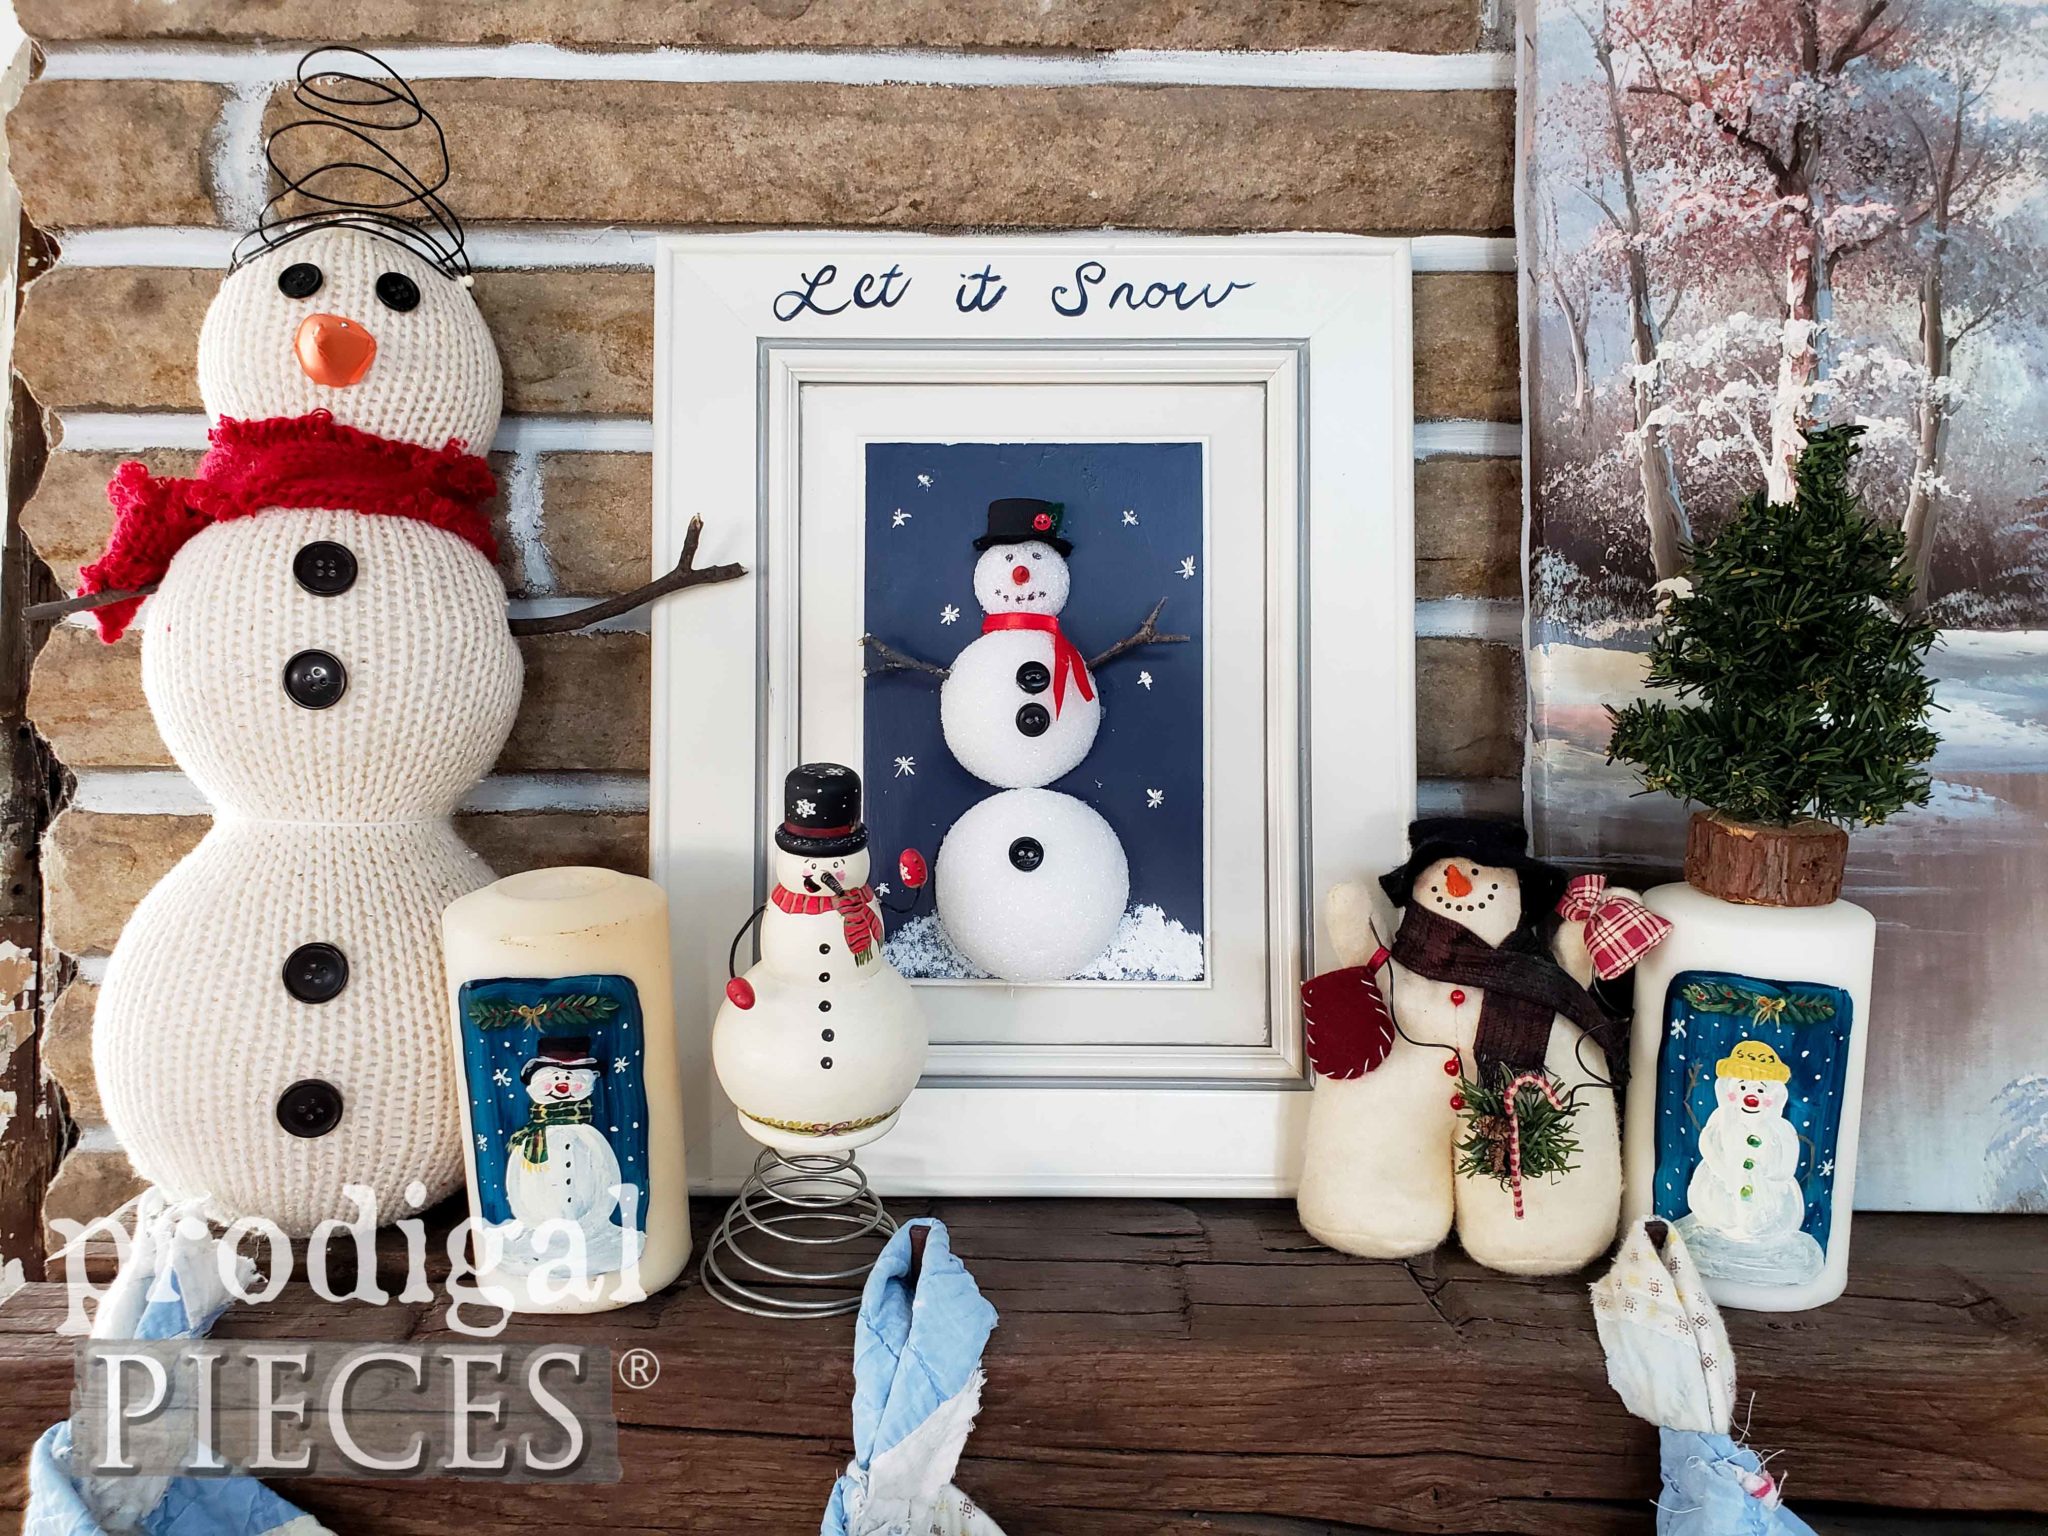
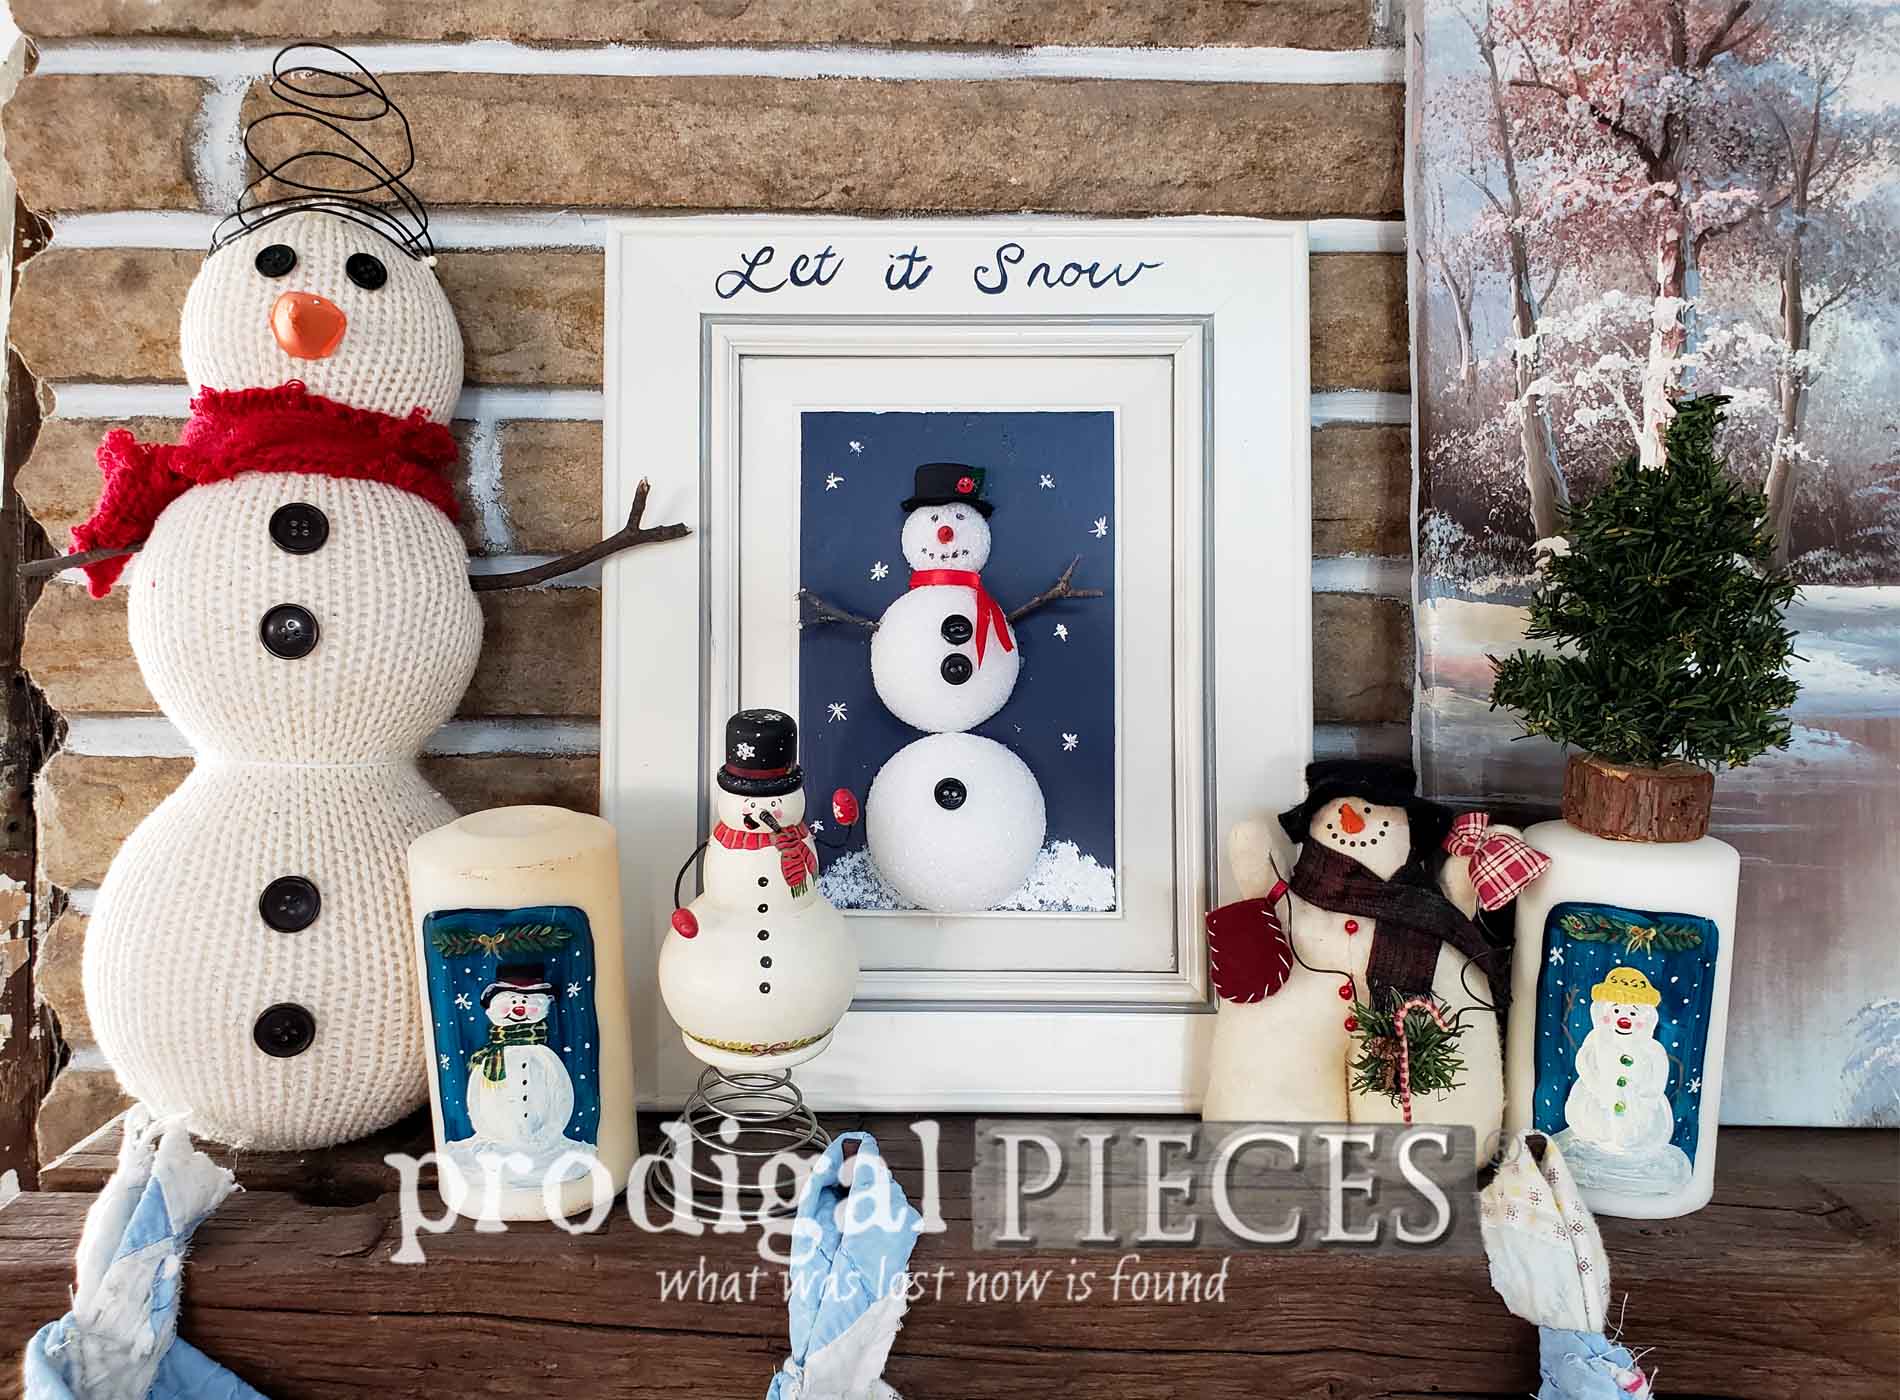
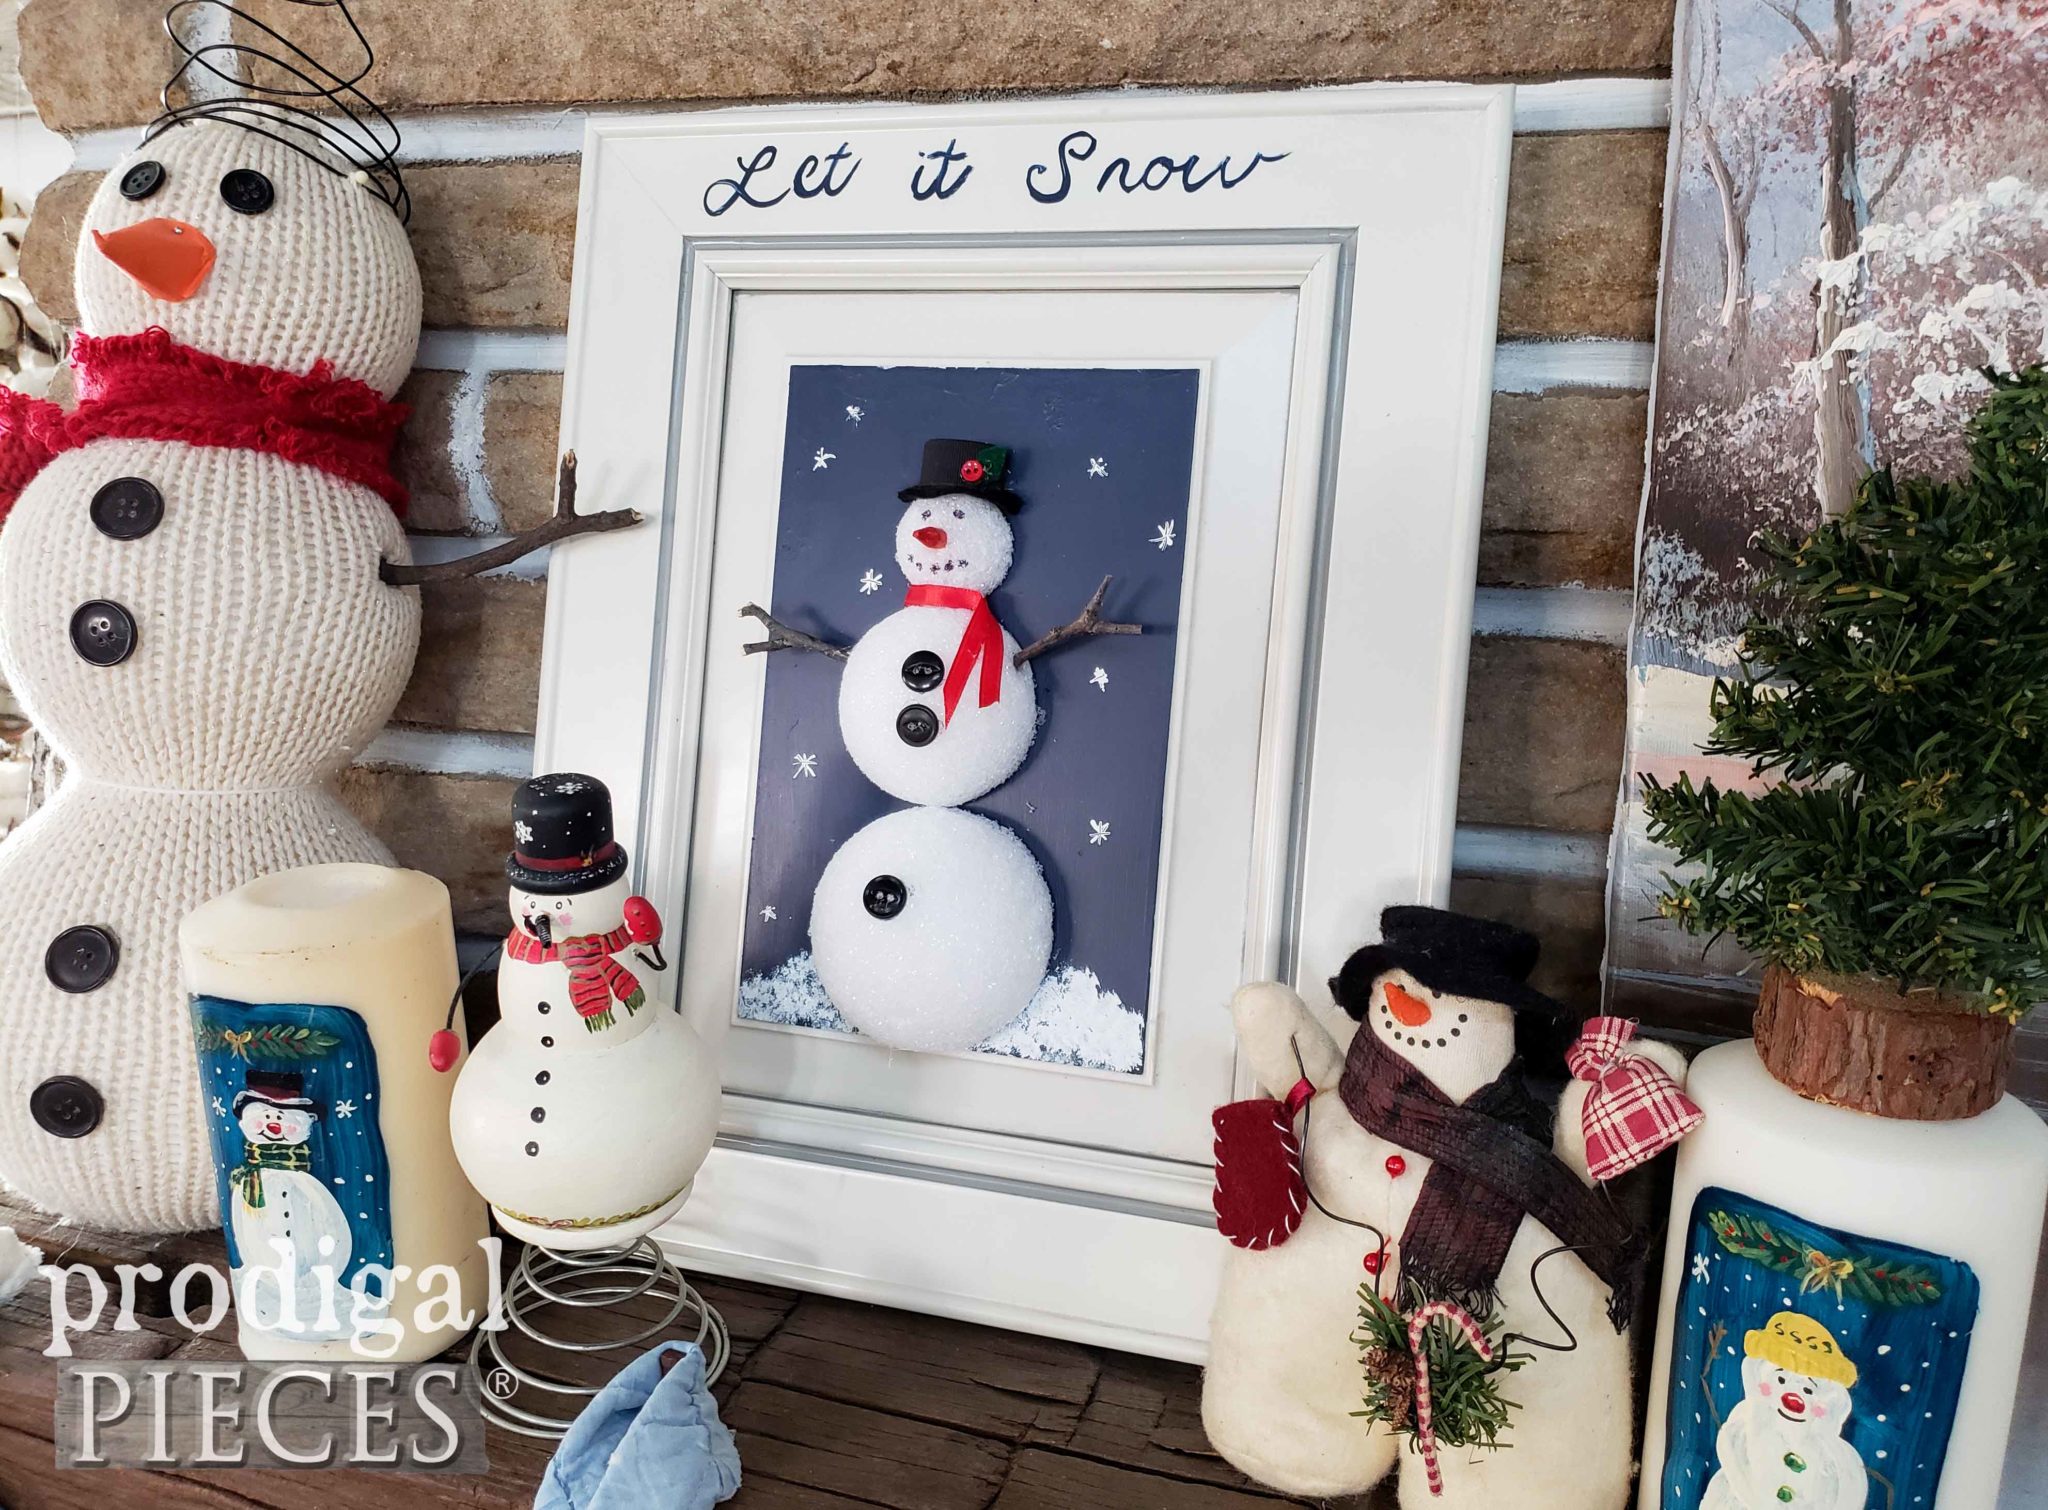 Doesn't it look cute with all my other handmade and hand-painted snowmen? I think I am slightly smitten with snowmen...tee hee.
LAST, BUT NOT LEAST
Last, but definitely not least, little Miss J. wanted in on this Christmas cupboard door fun. She couldn't wait until we were ready to start this project, so she actually did two projects. haha.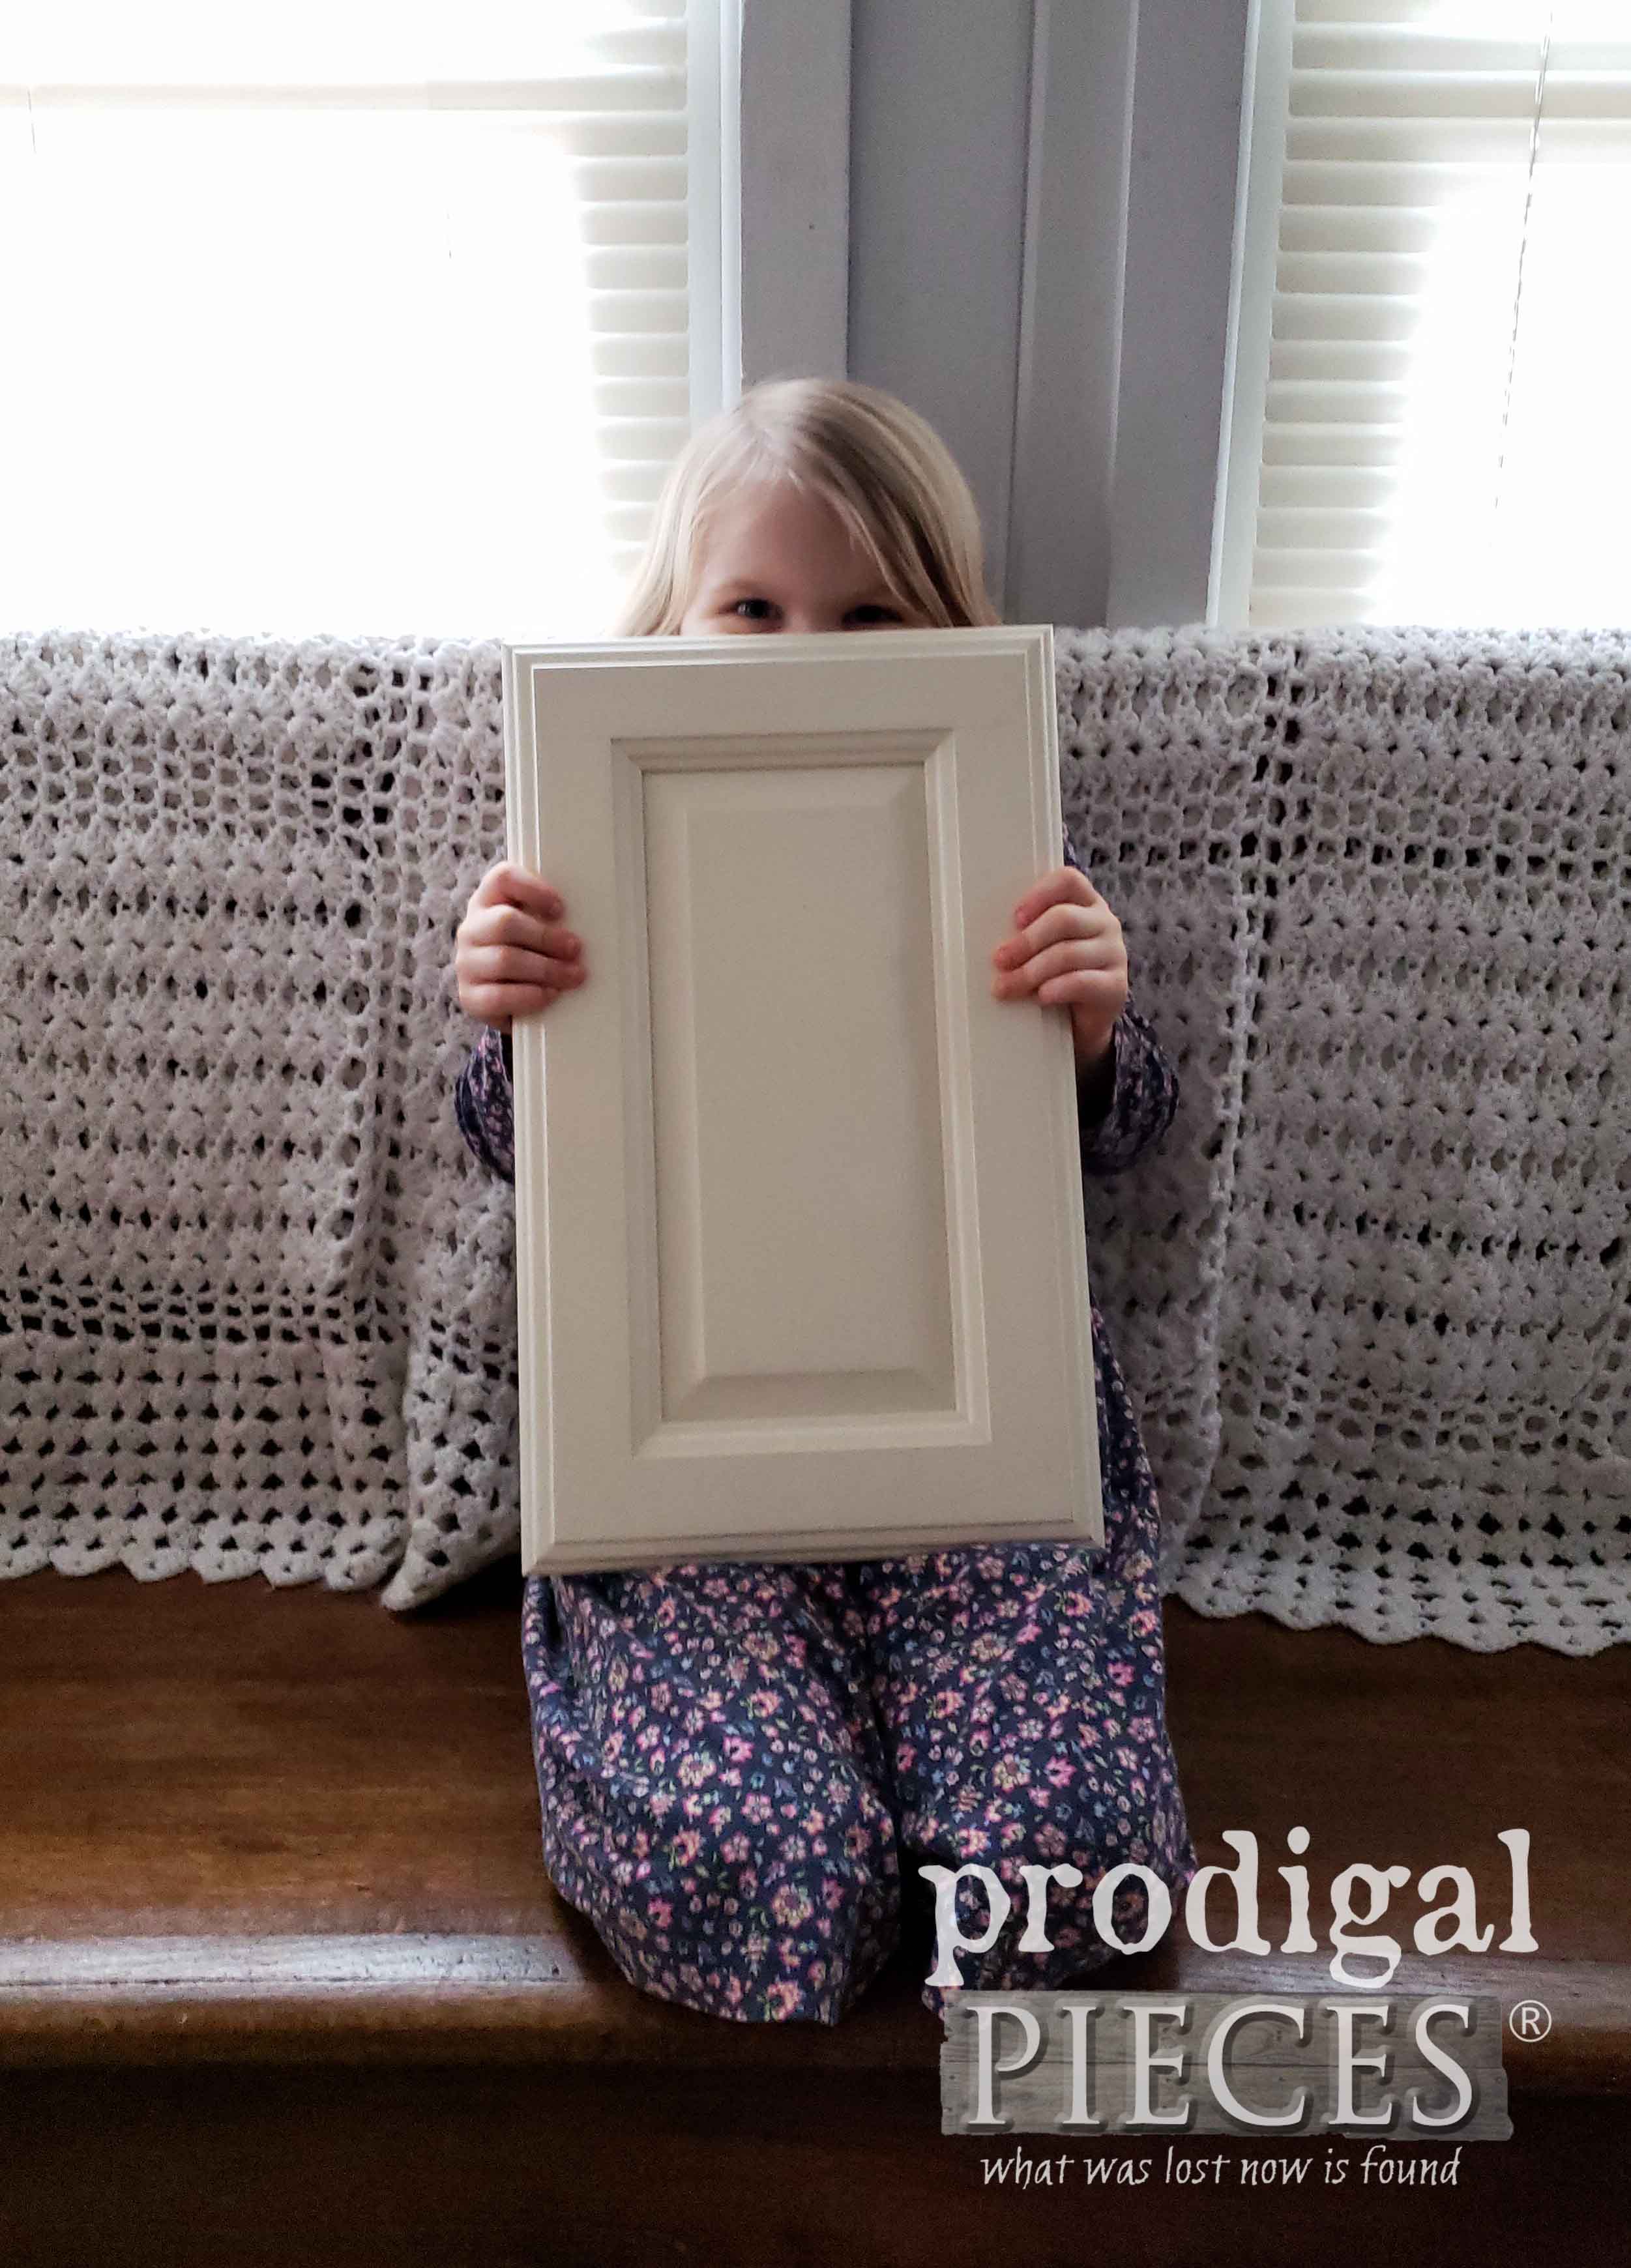 For her first project, she picked out a door with a beaded center panel. She fell in love with an upcycled photo holder project I created in this post, and wanted to make one of her own.
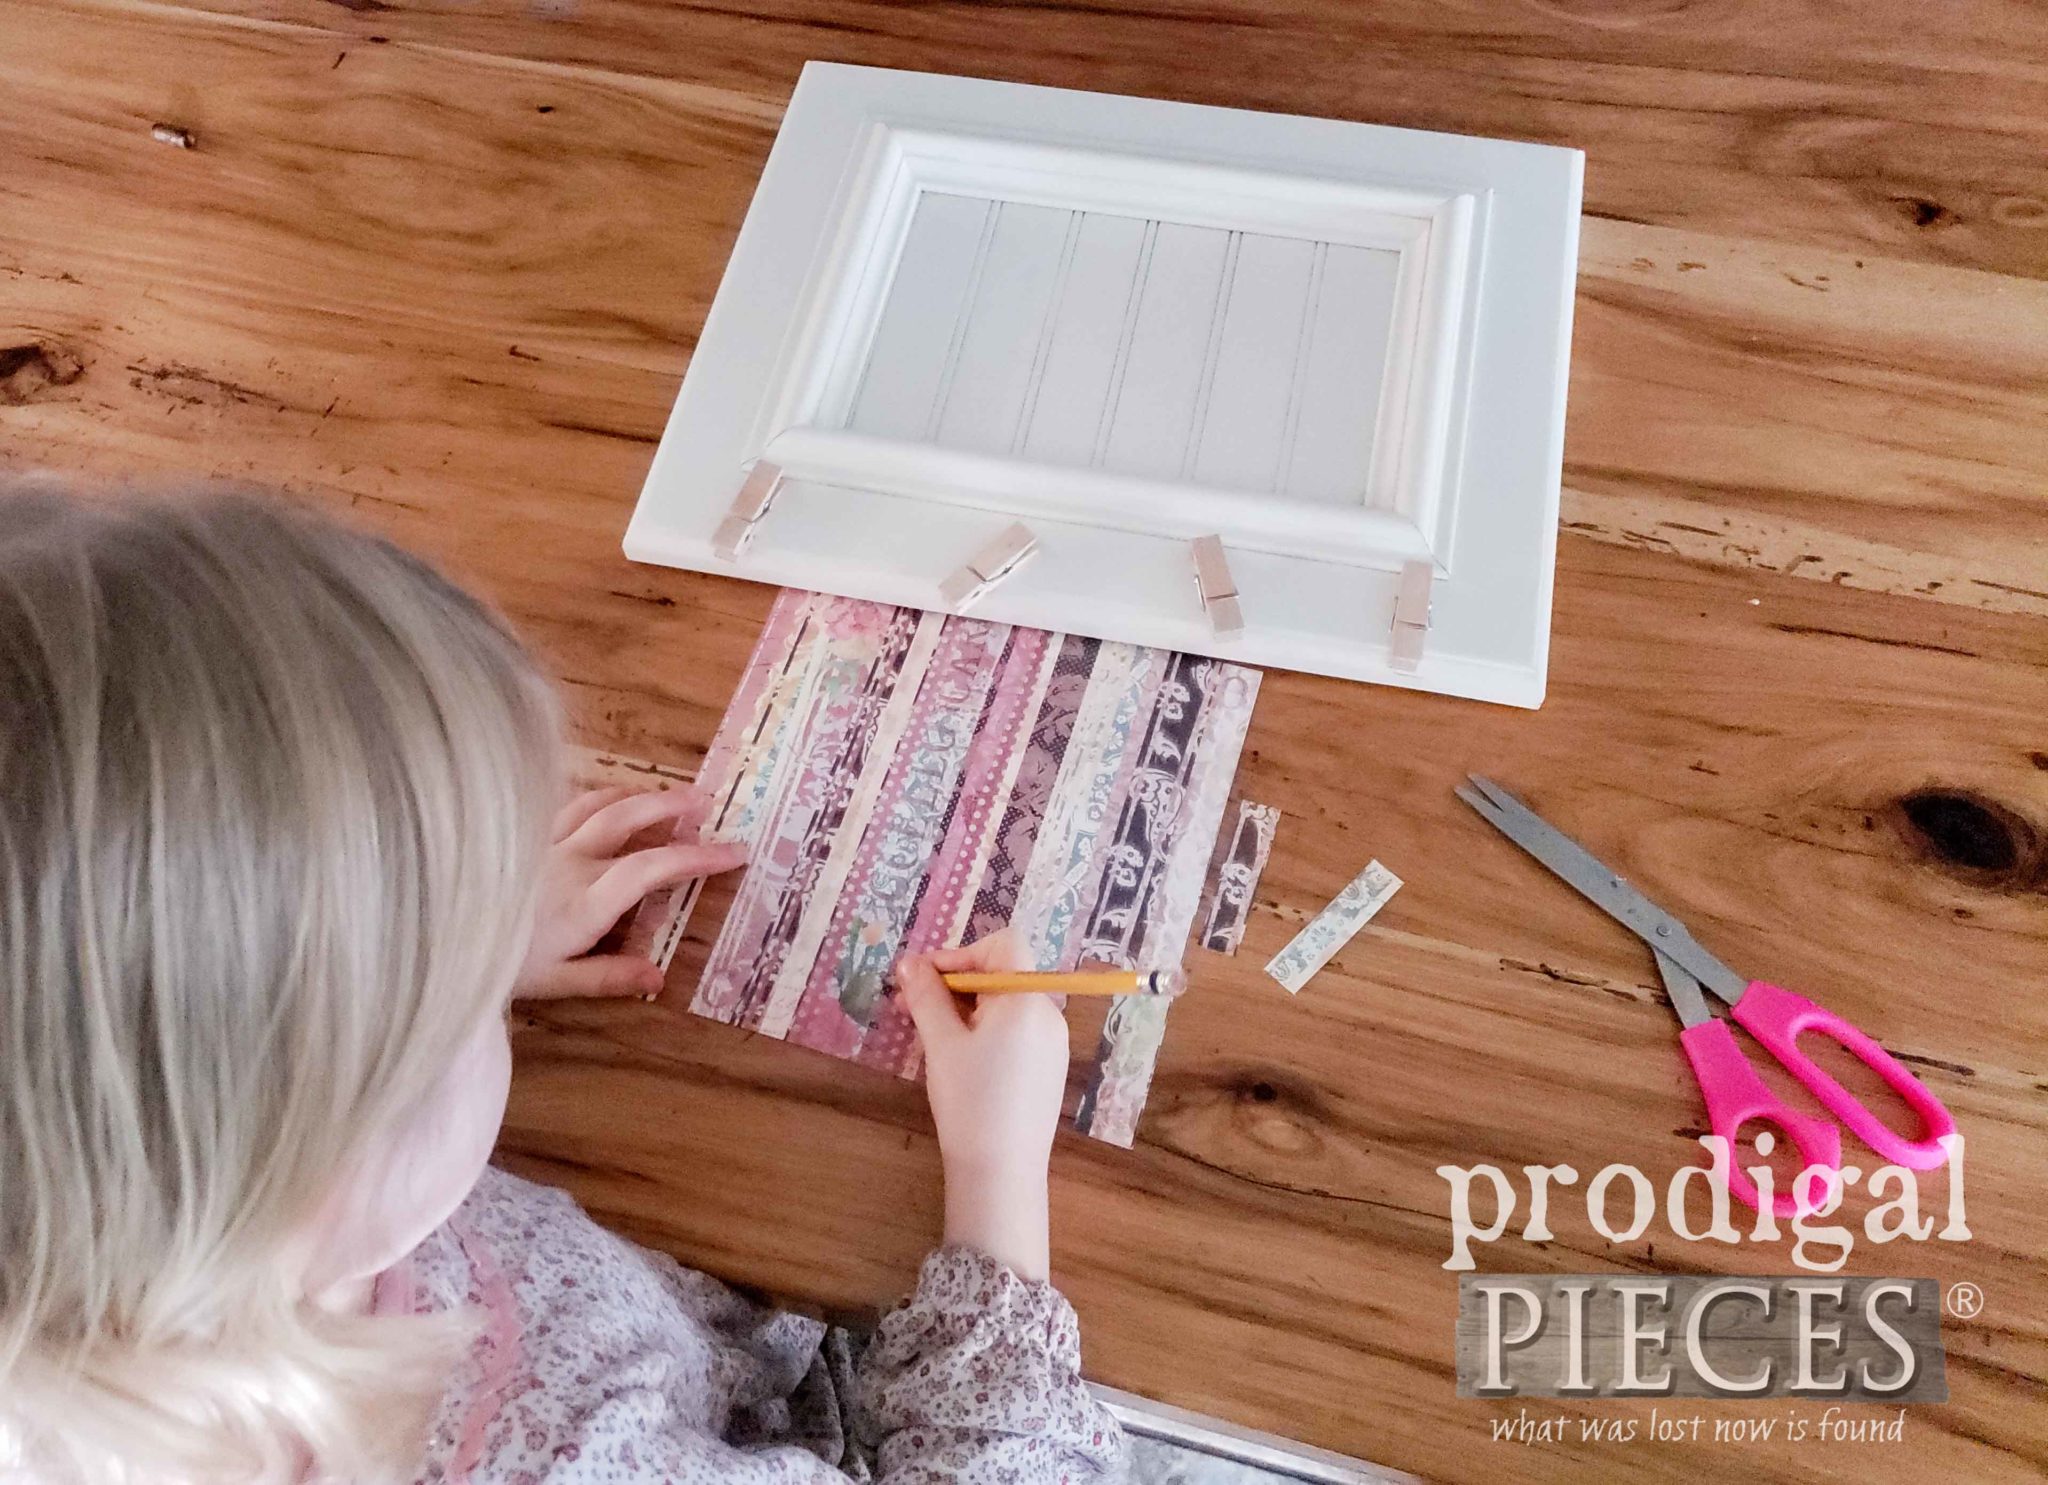
First, Miss J. traced a clothespin onto scrapbook paper.
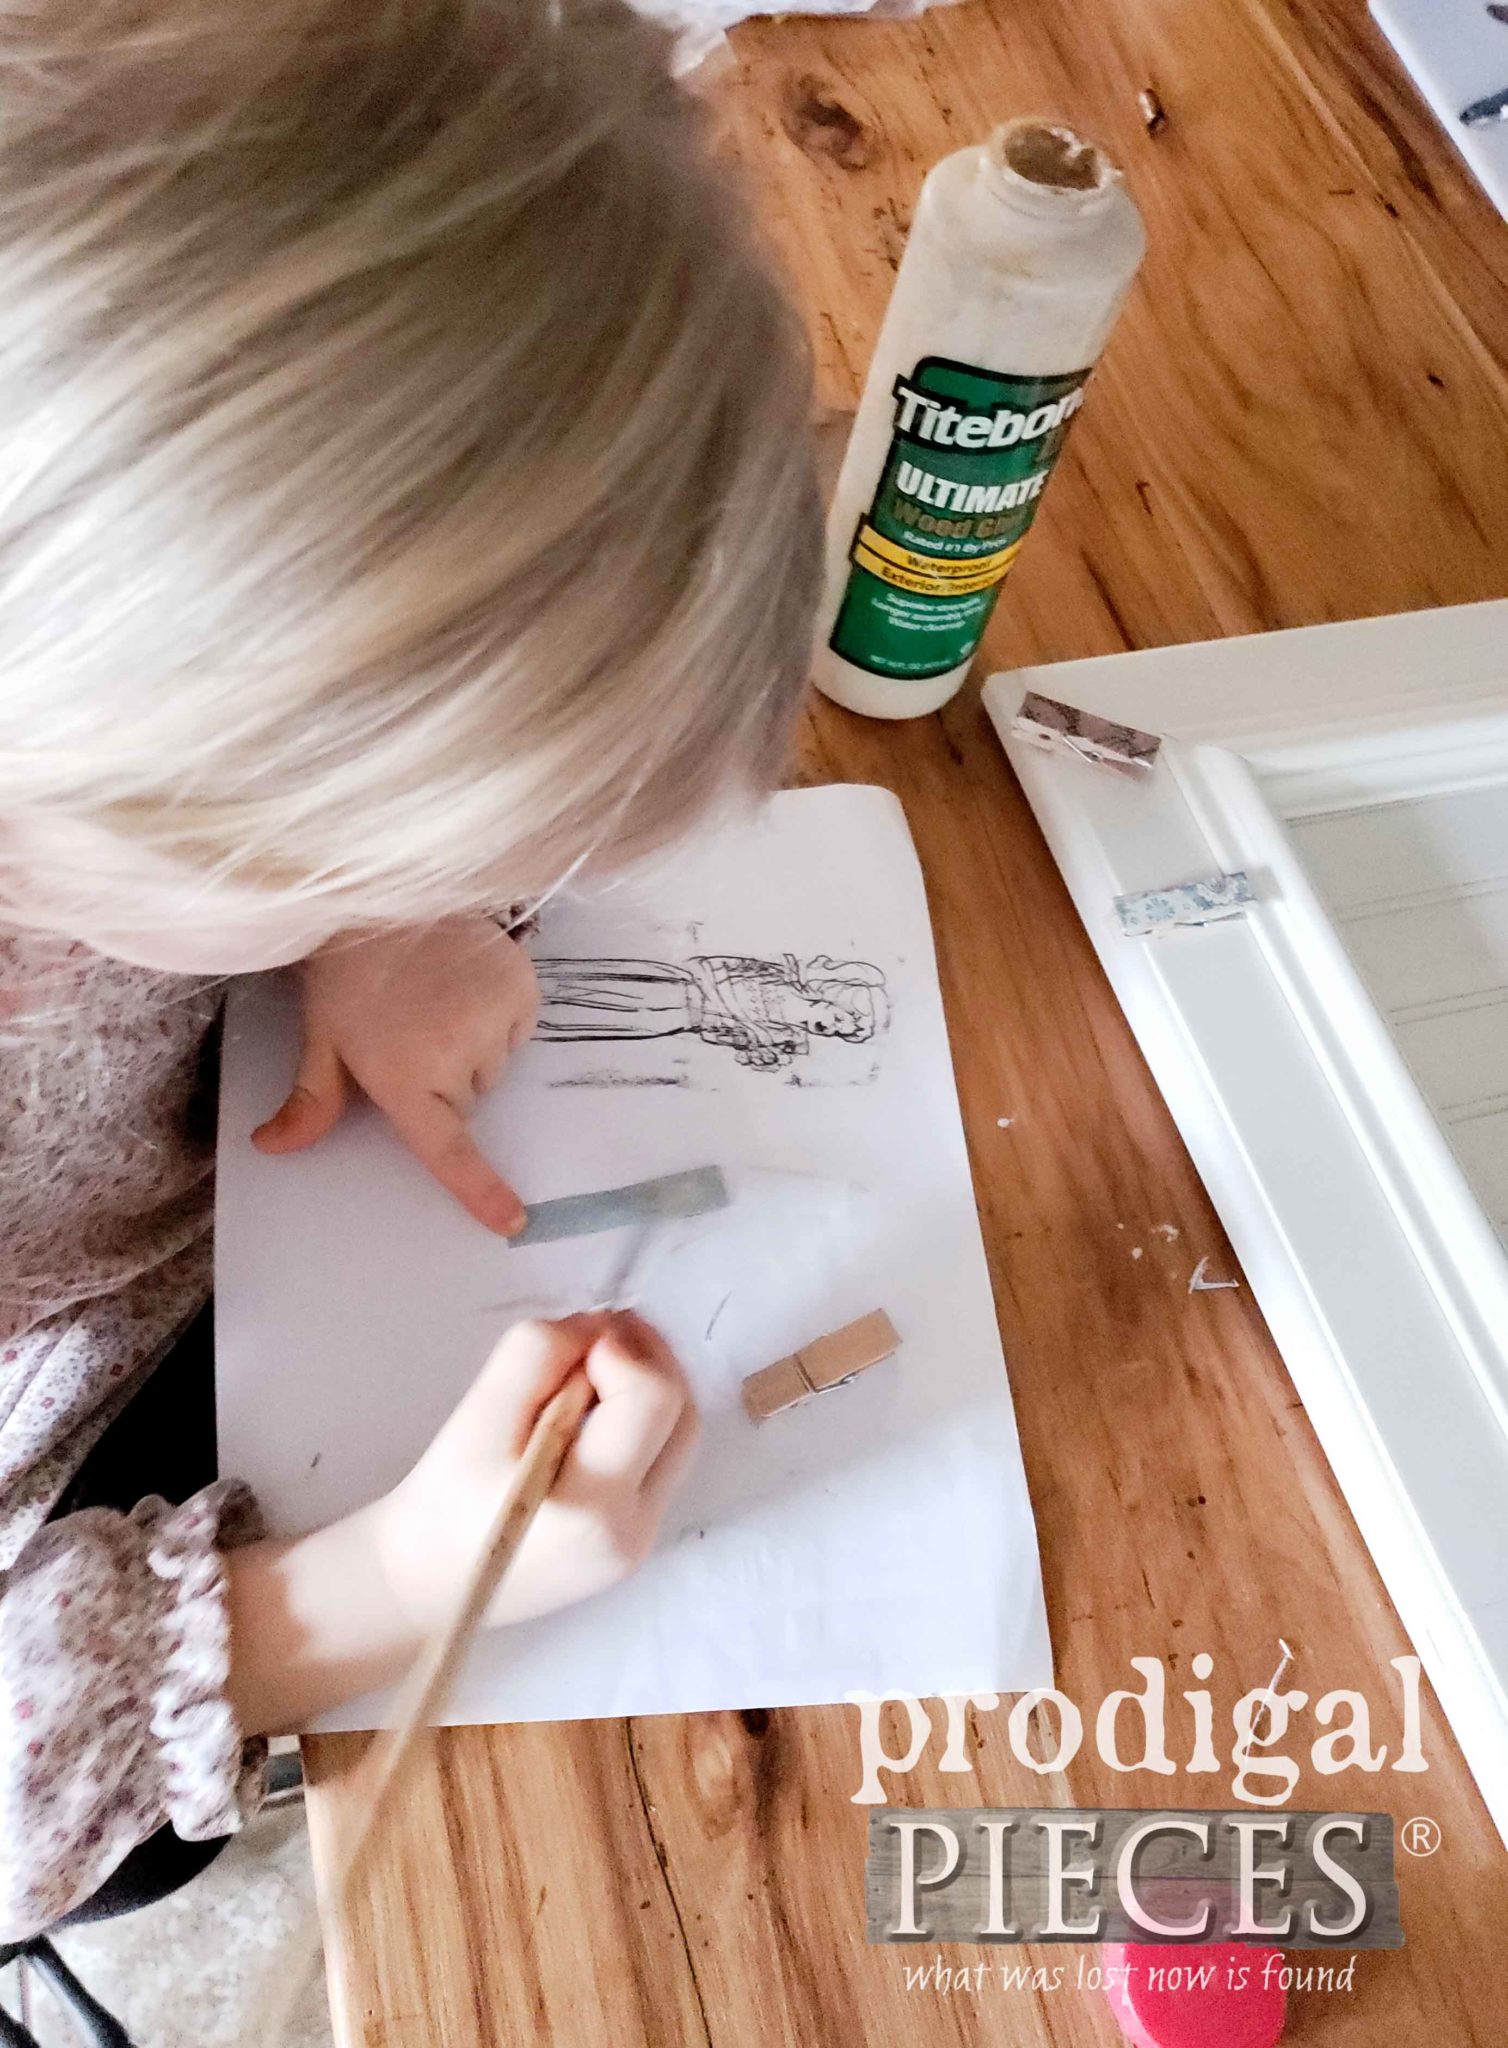
 Then, she glued the paper pieces onto the clothespins.
FIRST OF J'S PROJECTS
Once dry, I helped her glue them onto the bottom edge of the door. Plus, I added a bit of text to the center panel. She says this will make a great grandma/grandpa gift. I agree, don't you?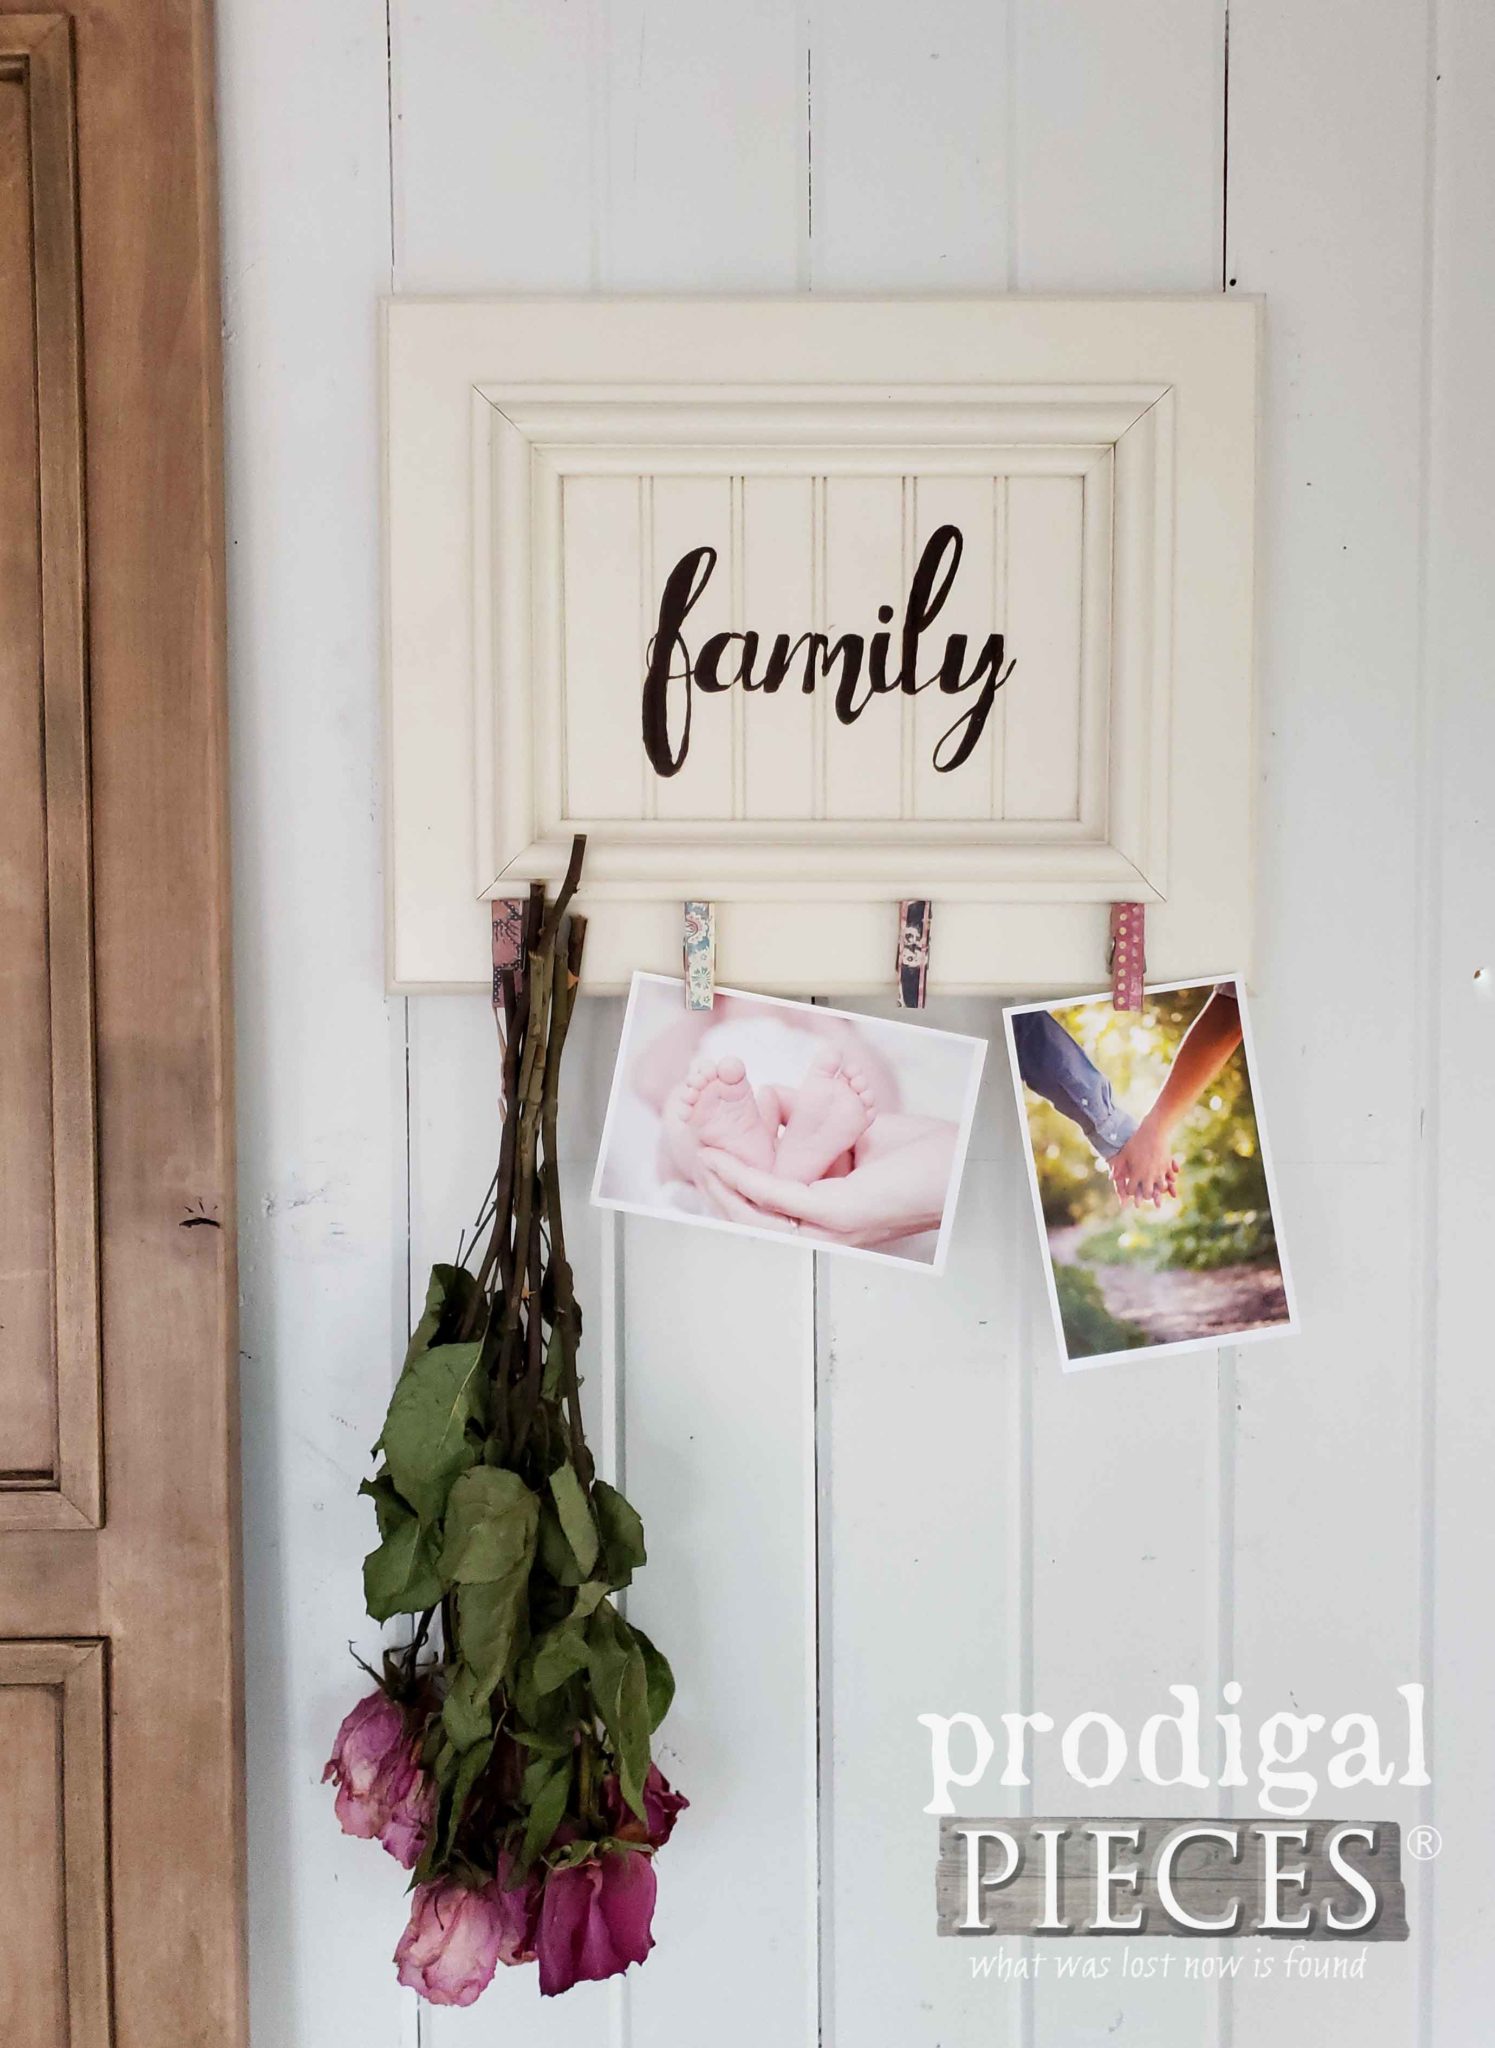 Now, because she worked on this before the other kids worked on theirs, she wanted to do a second one so as not to feel left out - per normal toddler behavior, of course. hee hee! She desperately wanted to paint something for this Christmas cupboard door project. Inevitably, I came up with a DIY cupboard door snowman for her.
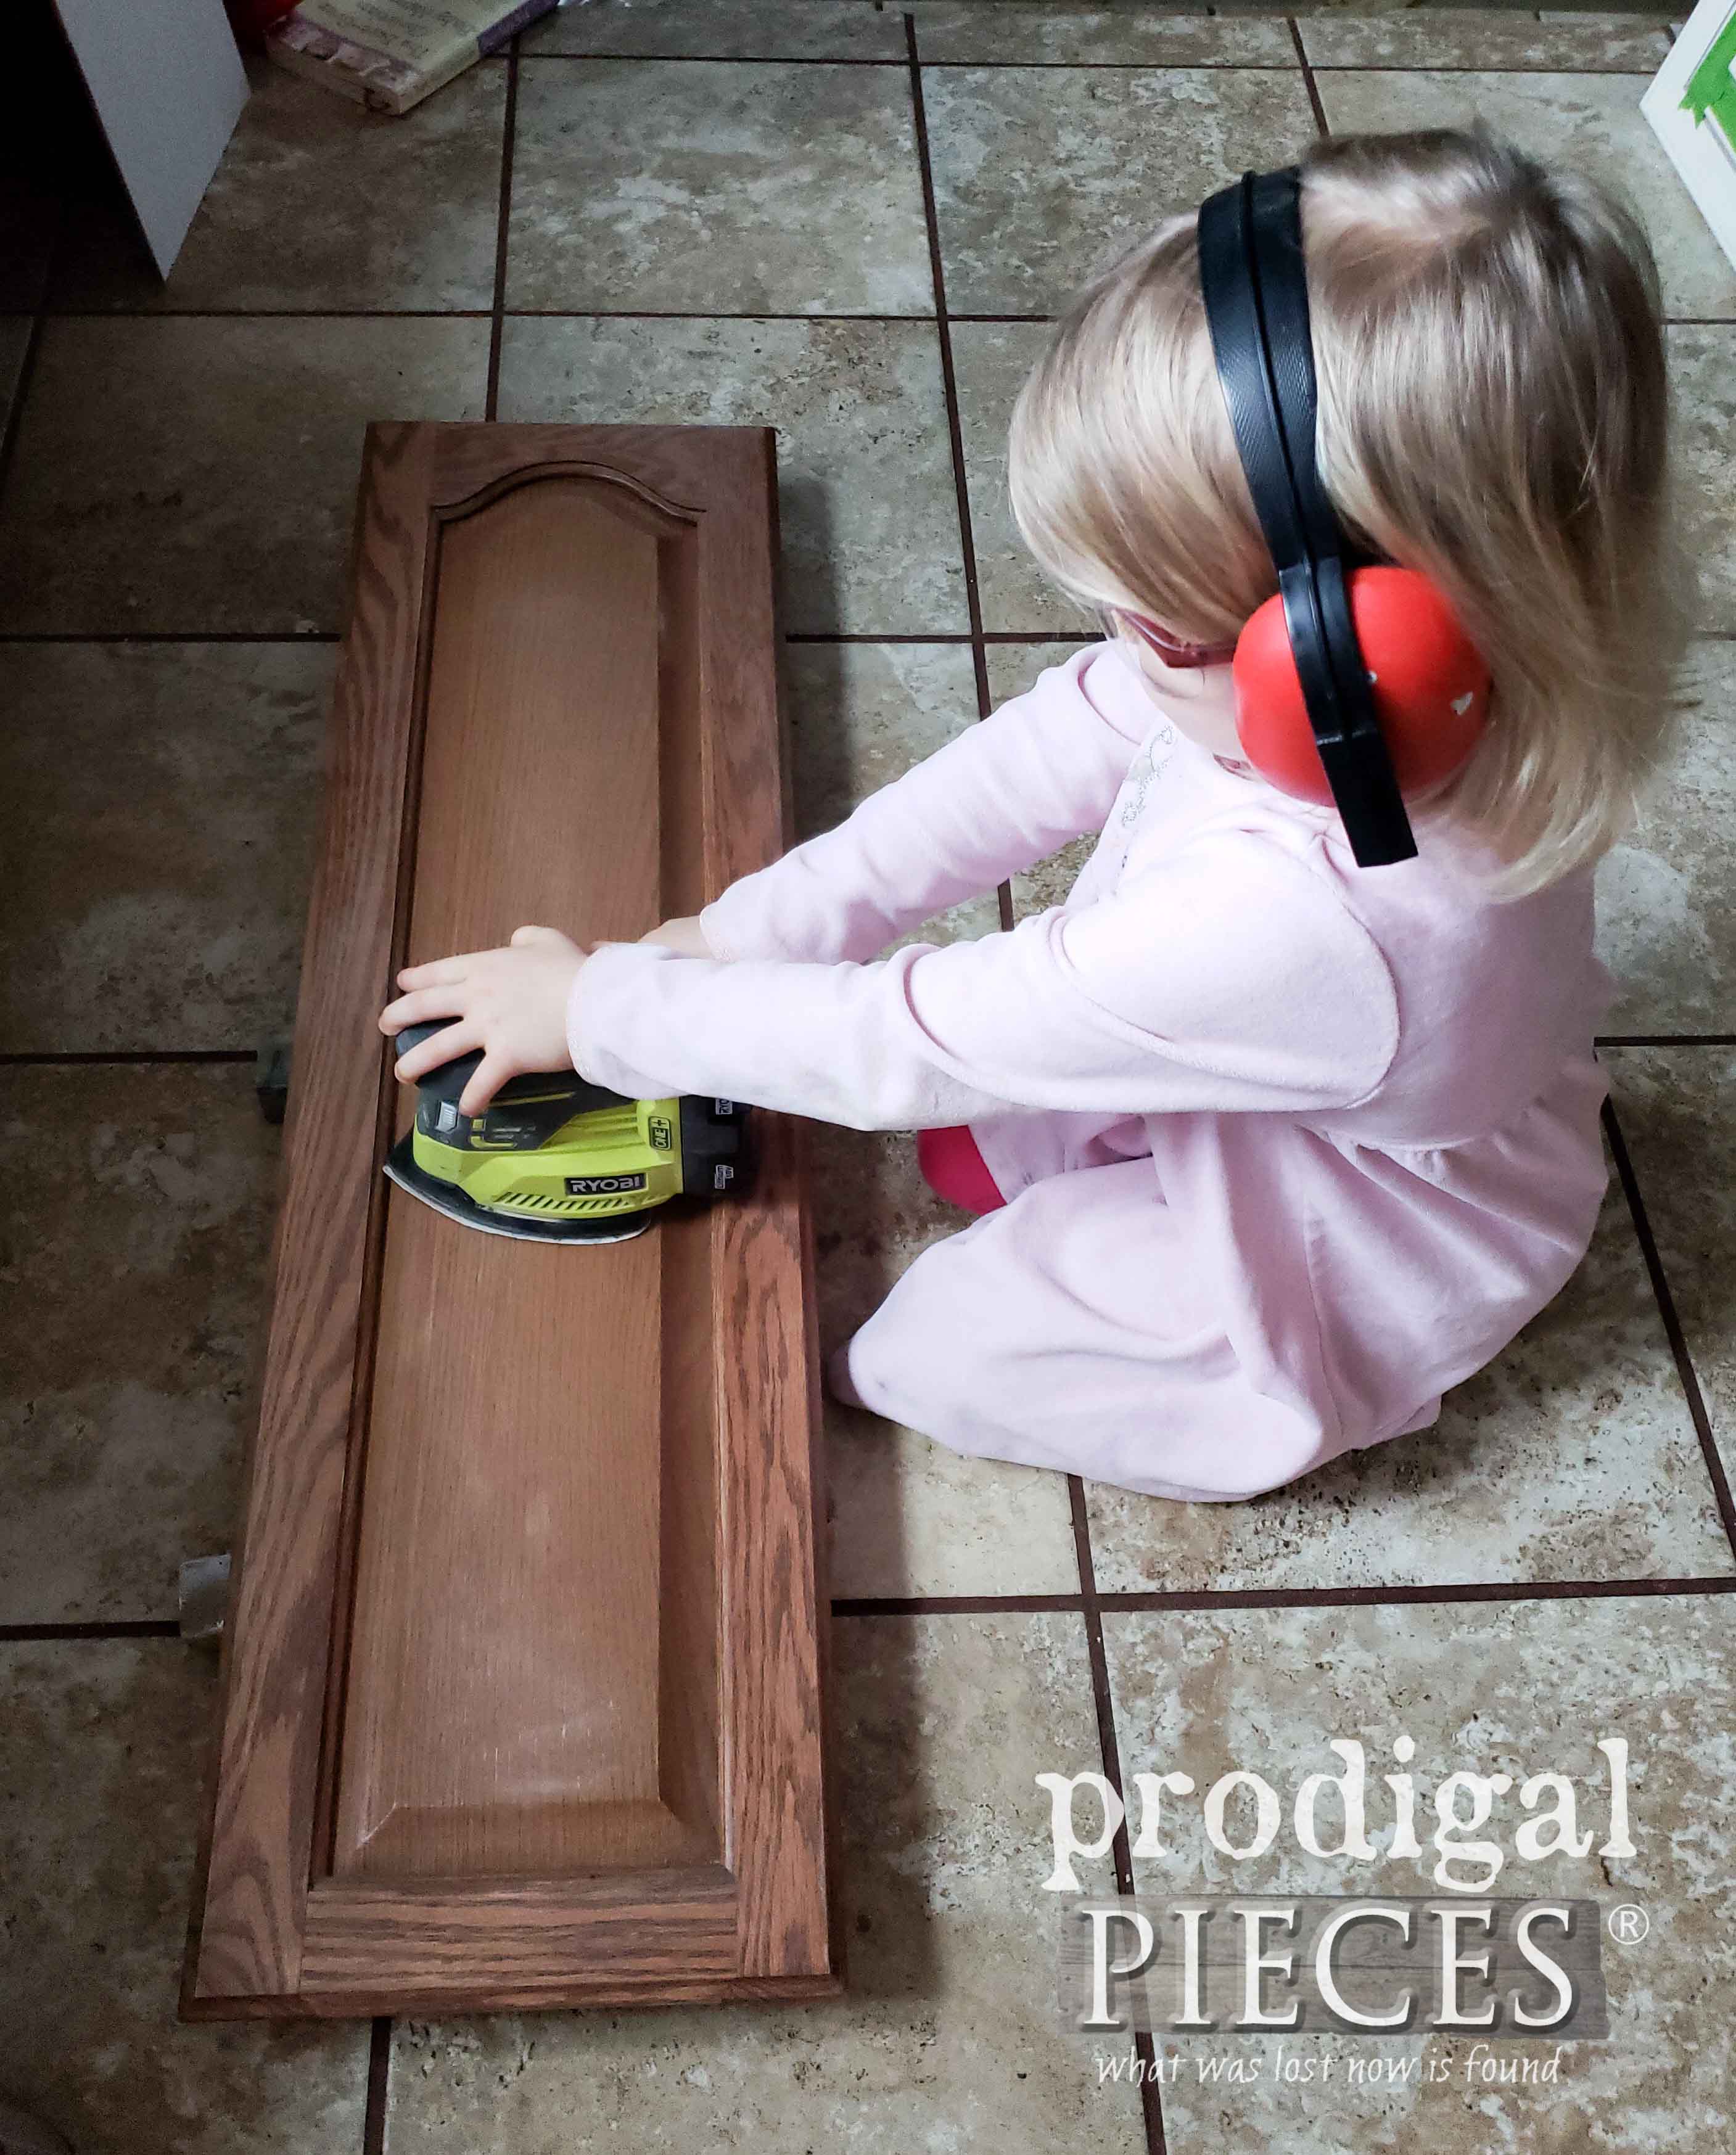
First, her desire was to show how she knows how to sand while wearing my protective gear. Just so you know she is posing with the sander off, but she DOES know what she's doing. Gotta love her tenacity.
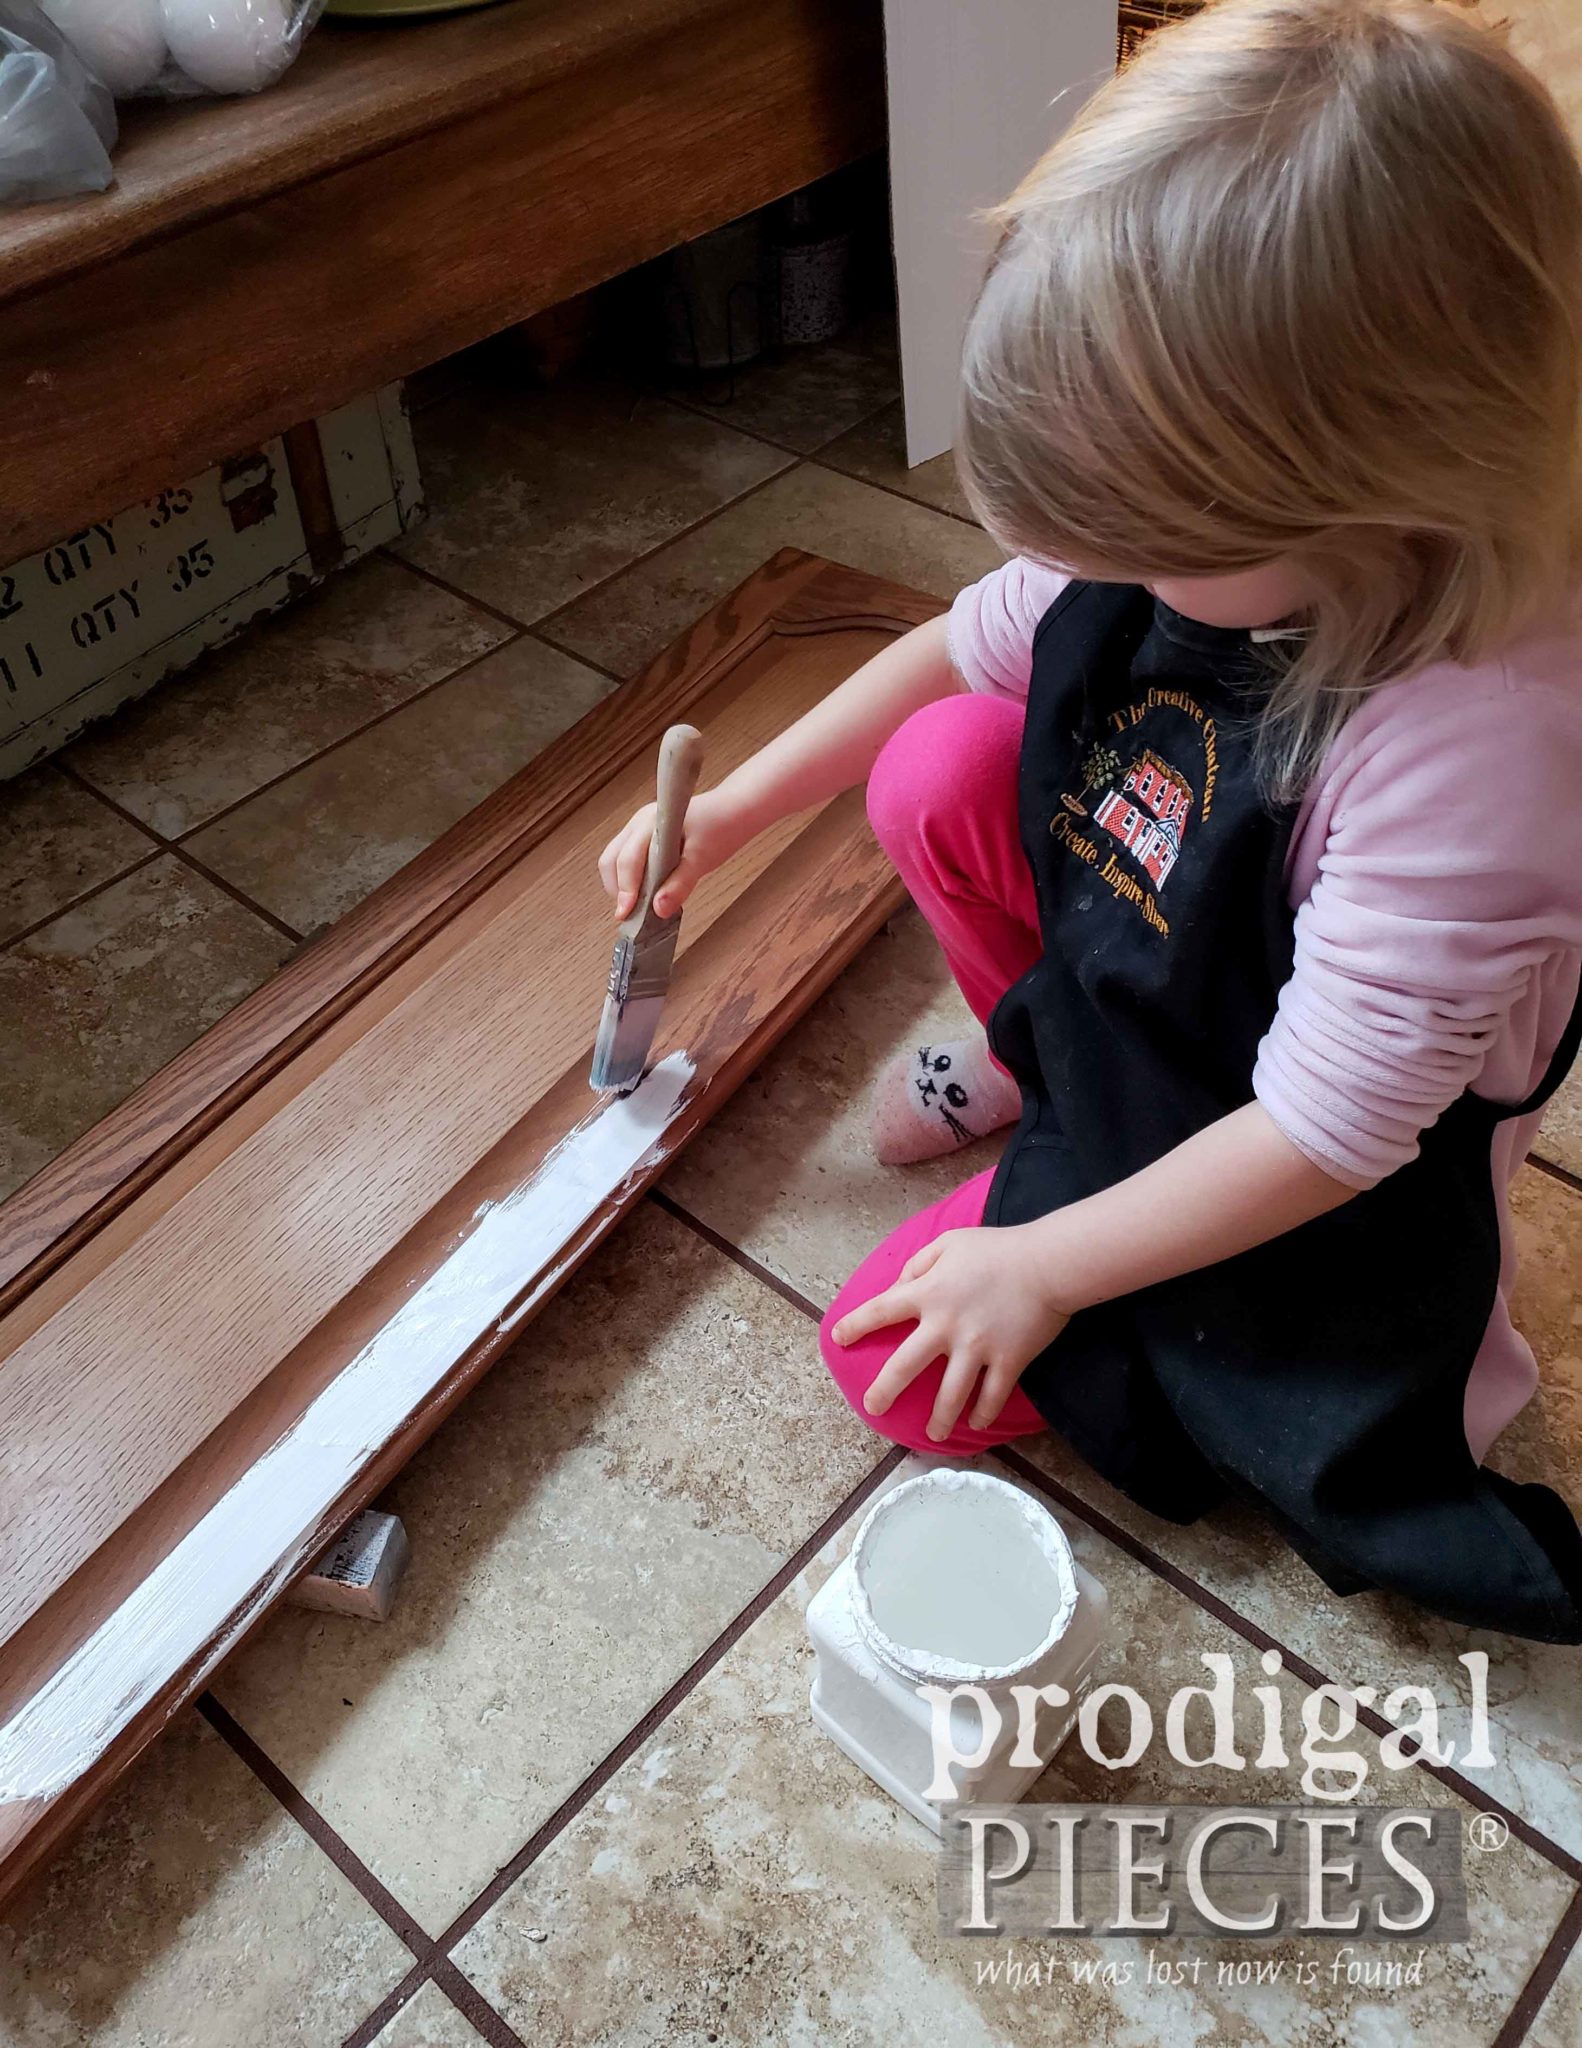
 Next, we used my Stubby Brush to give the bottom portion of the cupboard door one coat of white paint.
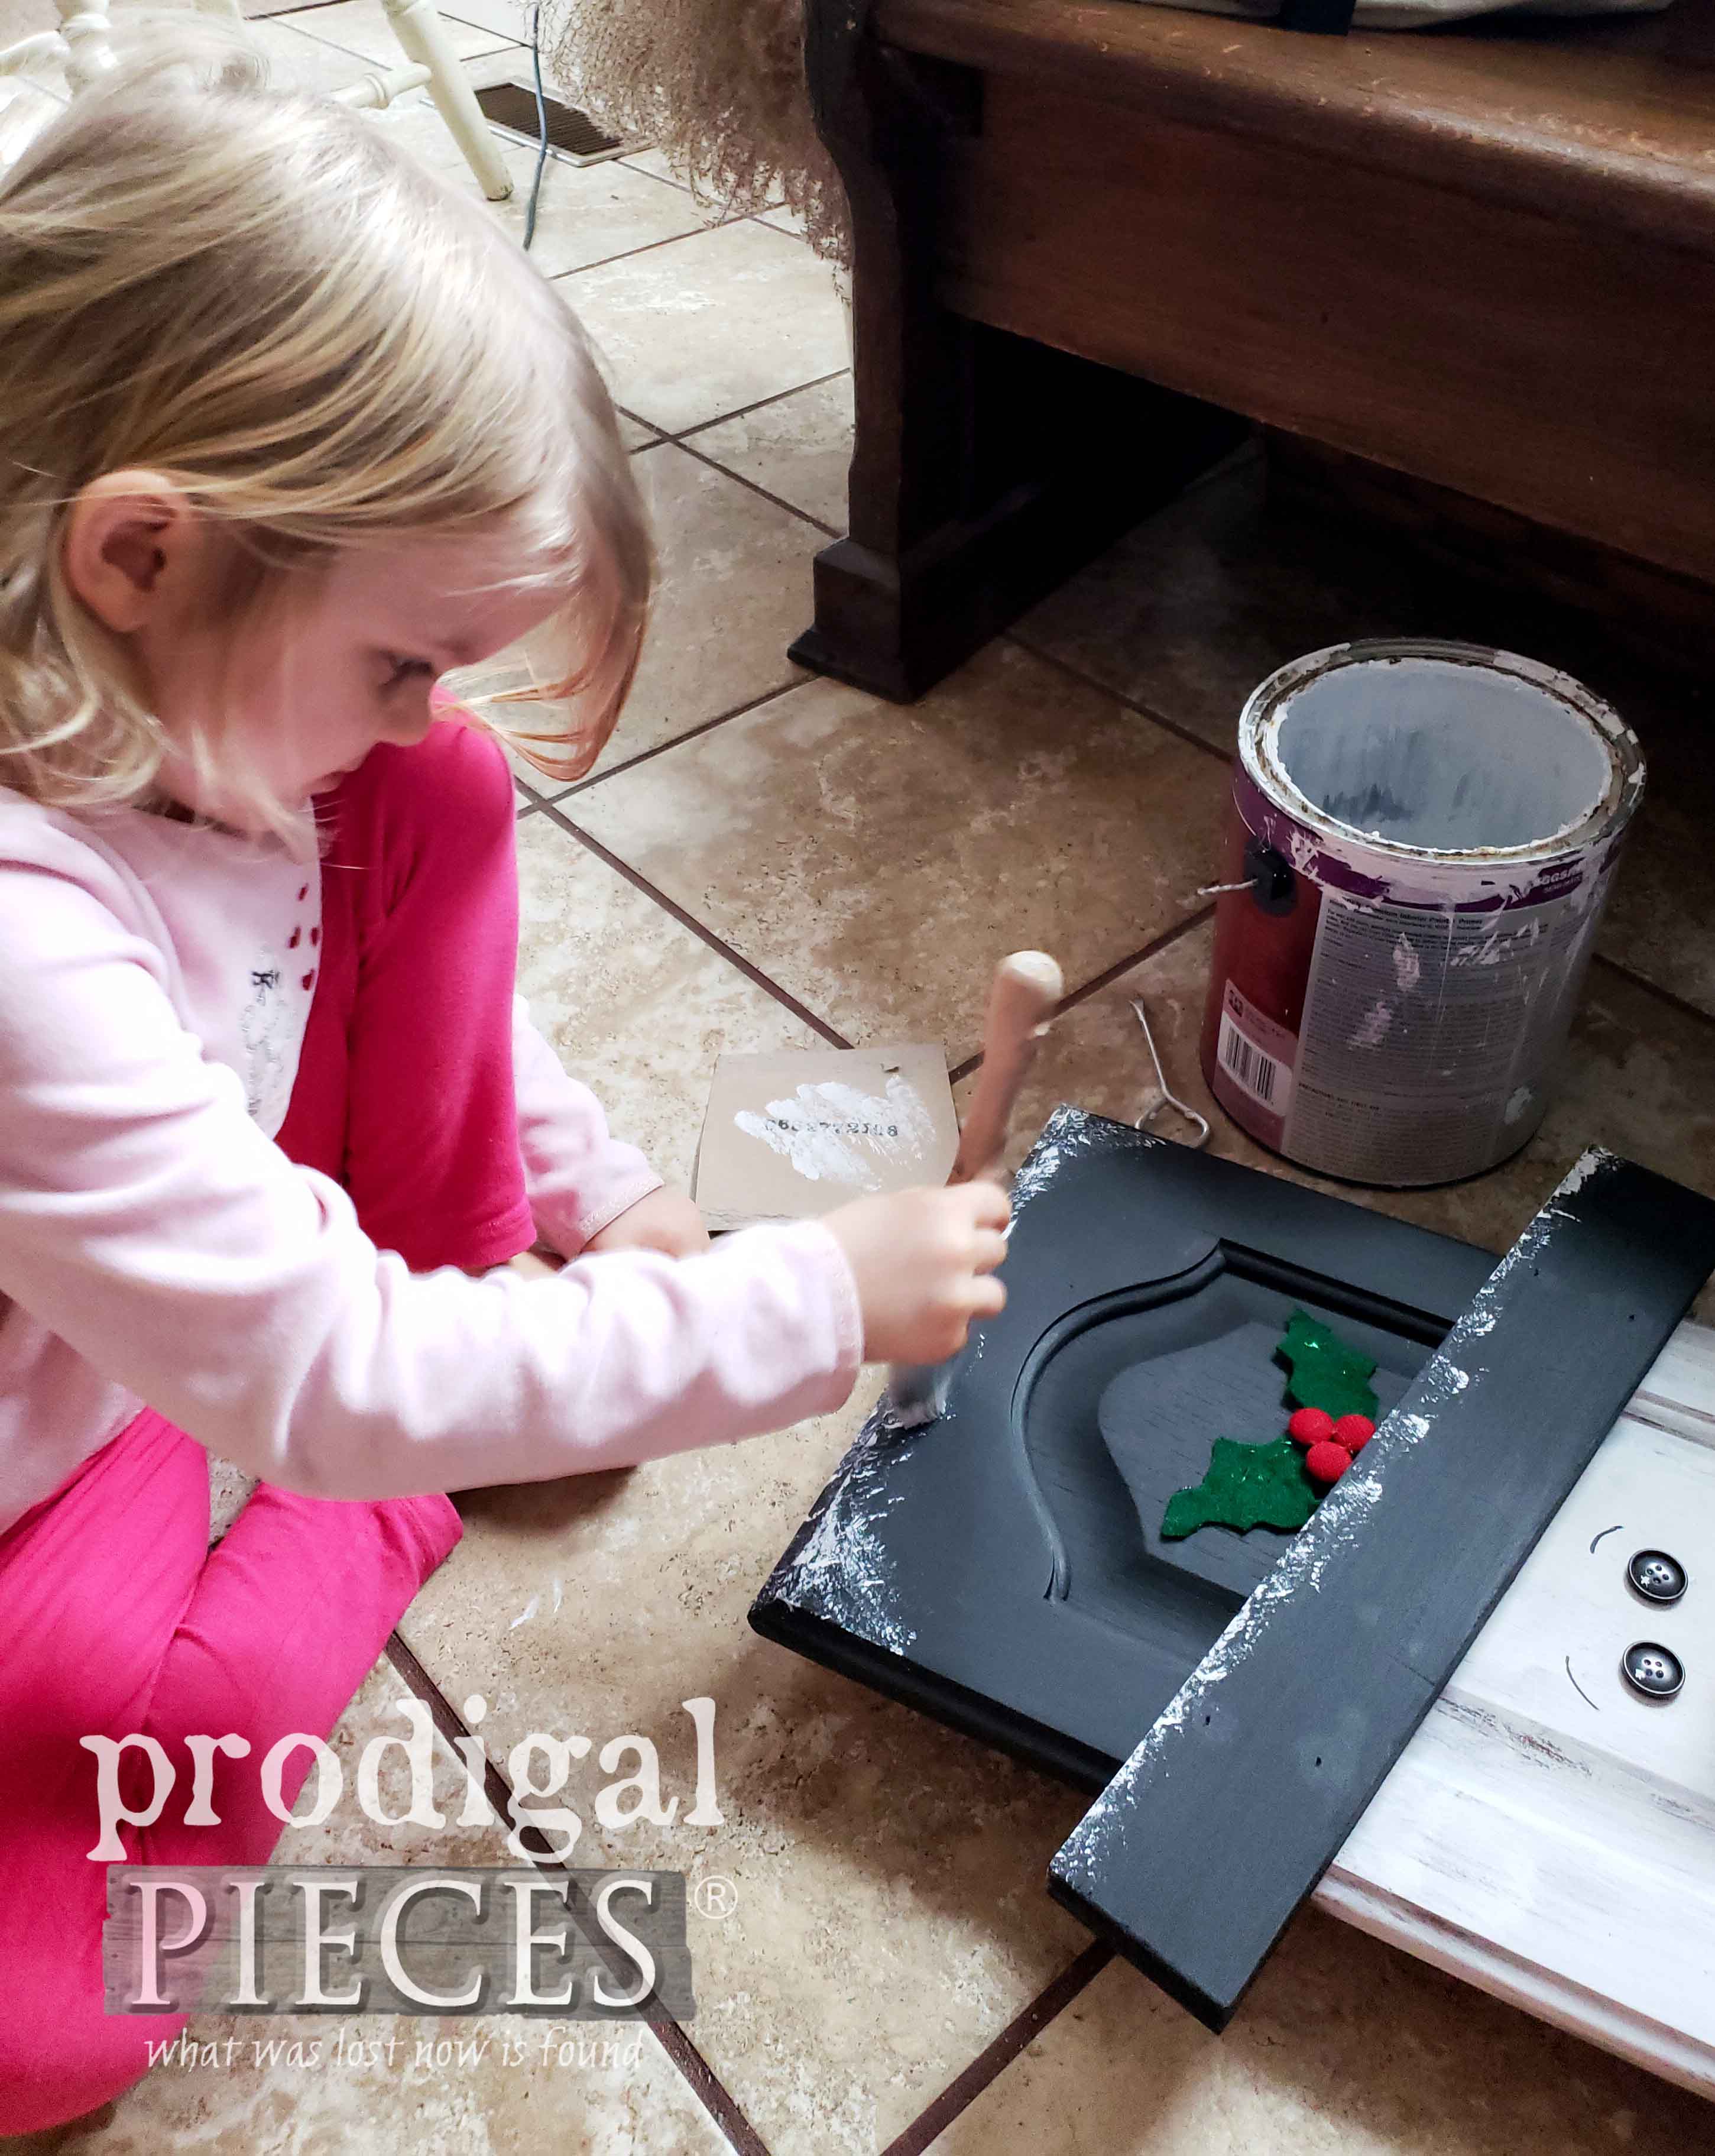
 While the white cured, Miss J. used a black paint on the top half (aka. the snowman's hat)
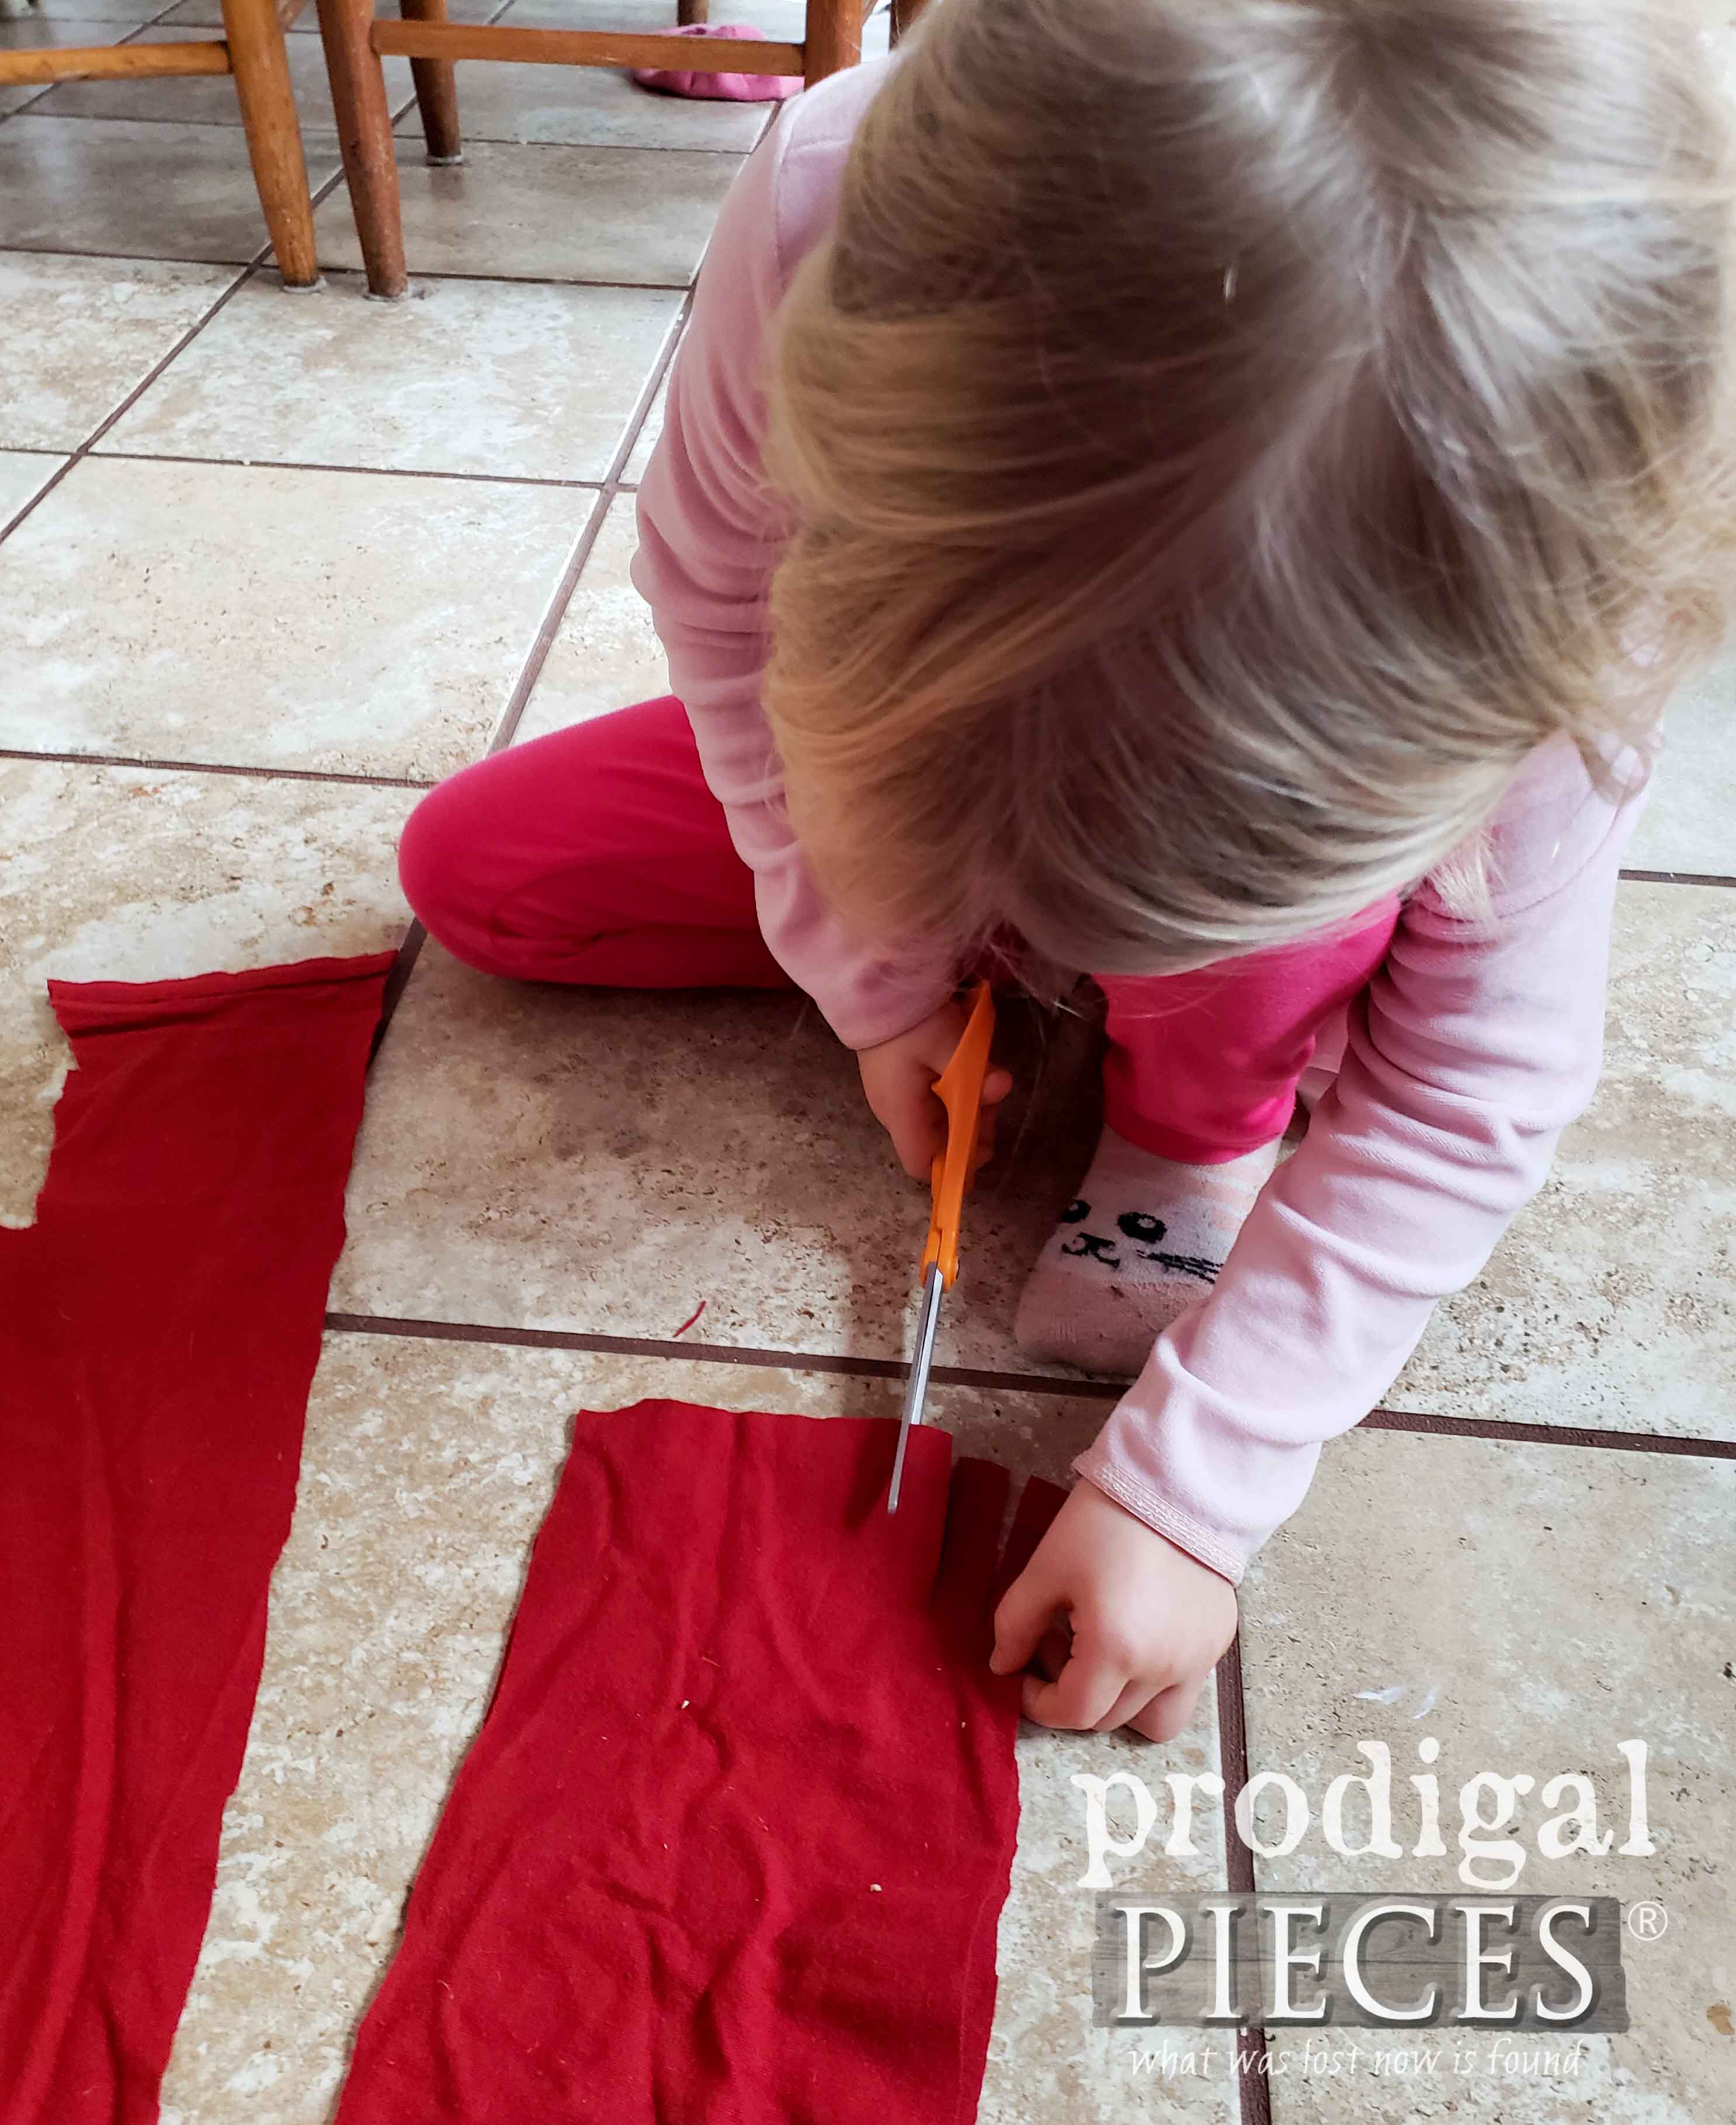
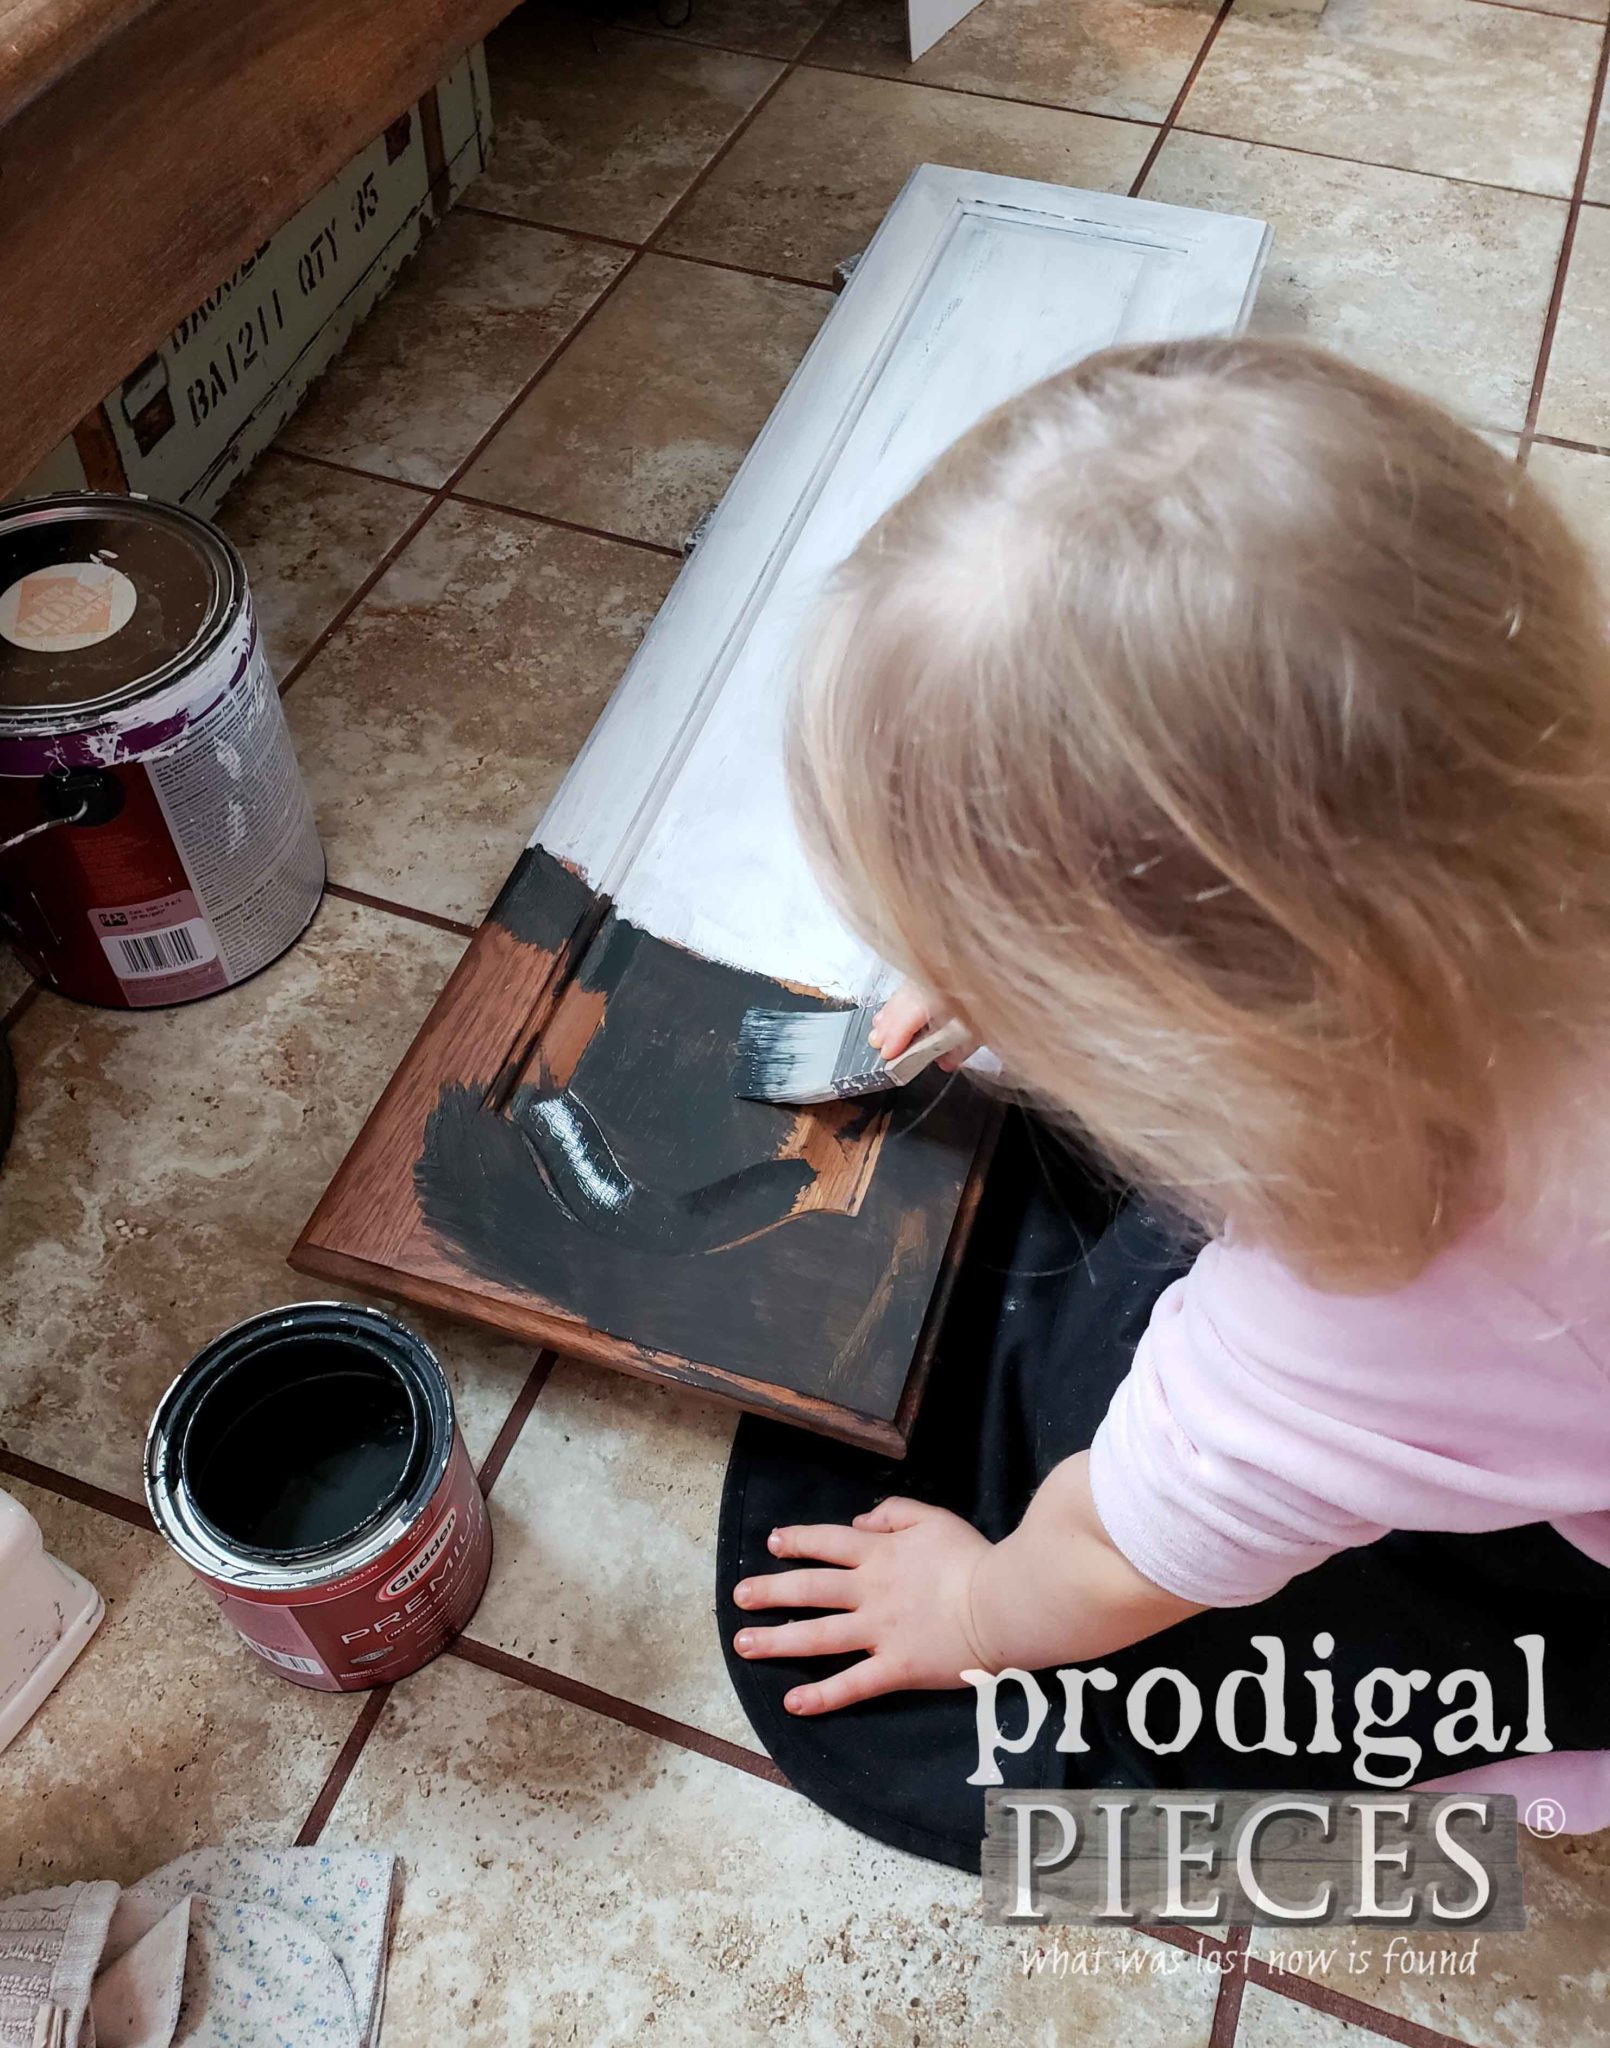 While those paint coats were curing, I cut a scrap piece of wood to be the snowman's hat and painted it black as well. Meanwhile, it was time to accessorize our snowman. Likewise, I had plenty of red flannel scrap left from this thrifted sheet I used in my Fourth of July buntings. Likewise, it would make a perfect scarf.
 Last, she wanted to add snow to the snowman's hat. Makes perfect sense to me!
SIXTH REVEAL
Meet Mr. Smile, a happy-go-lucky snowman ready to celebrate the holidays with you! You can't help but smile at him, right?!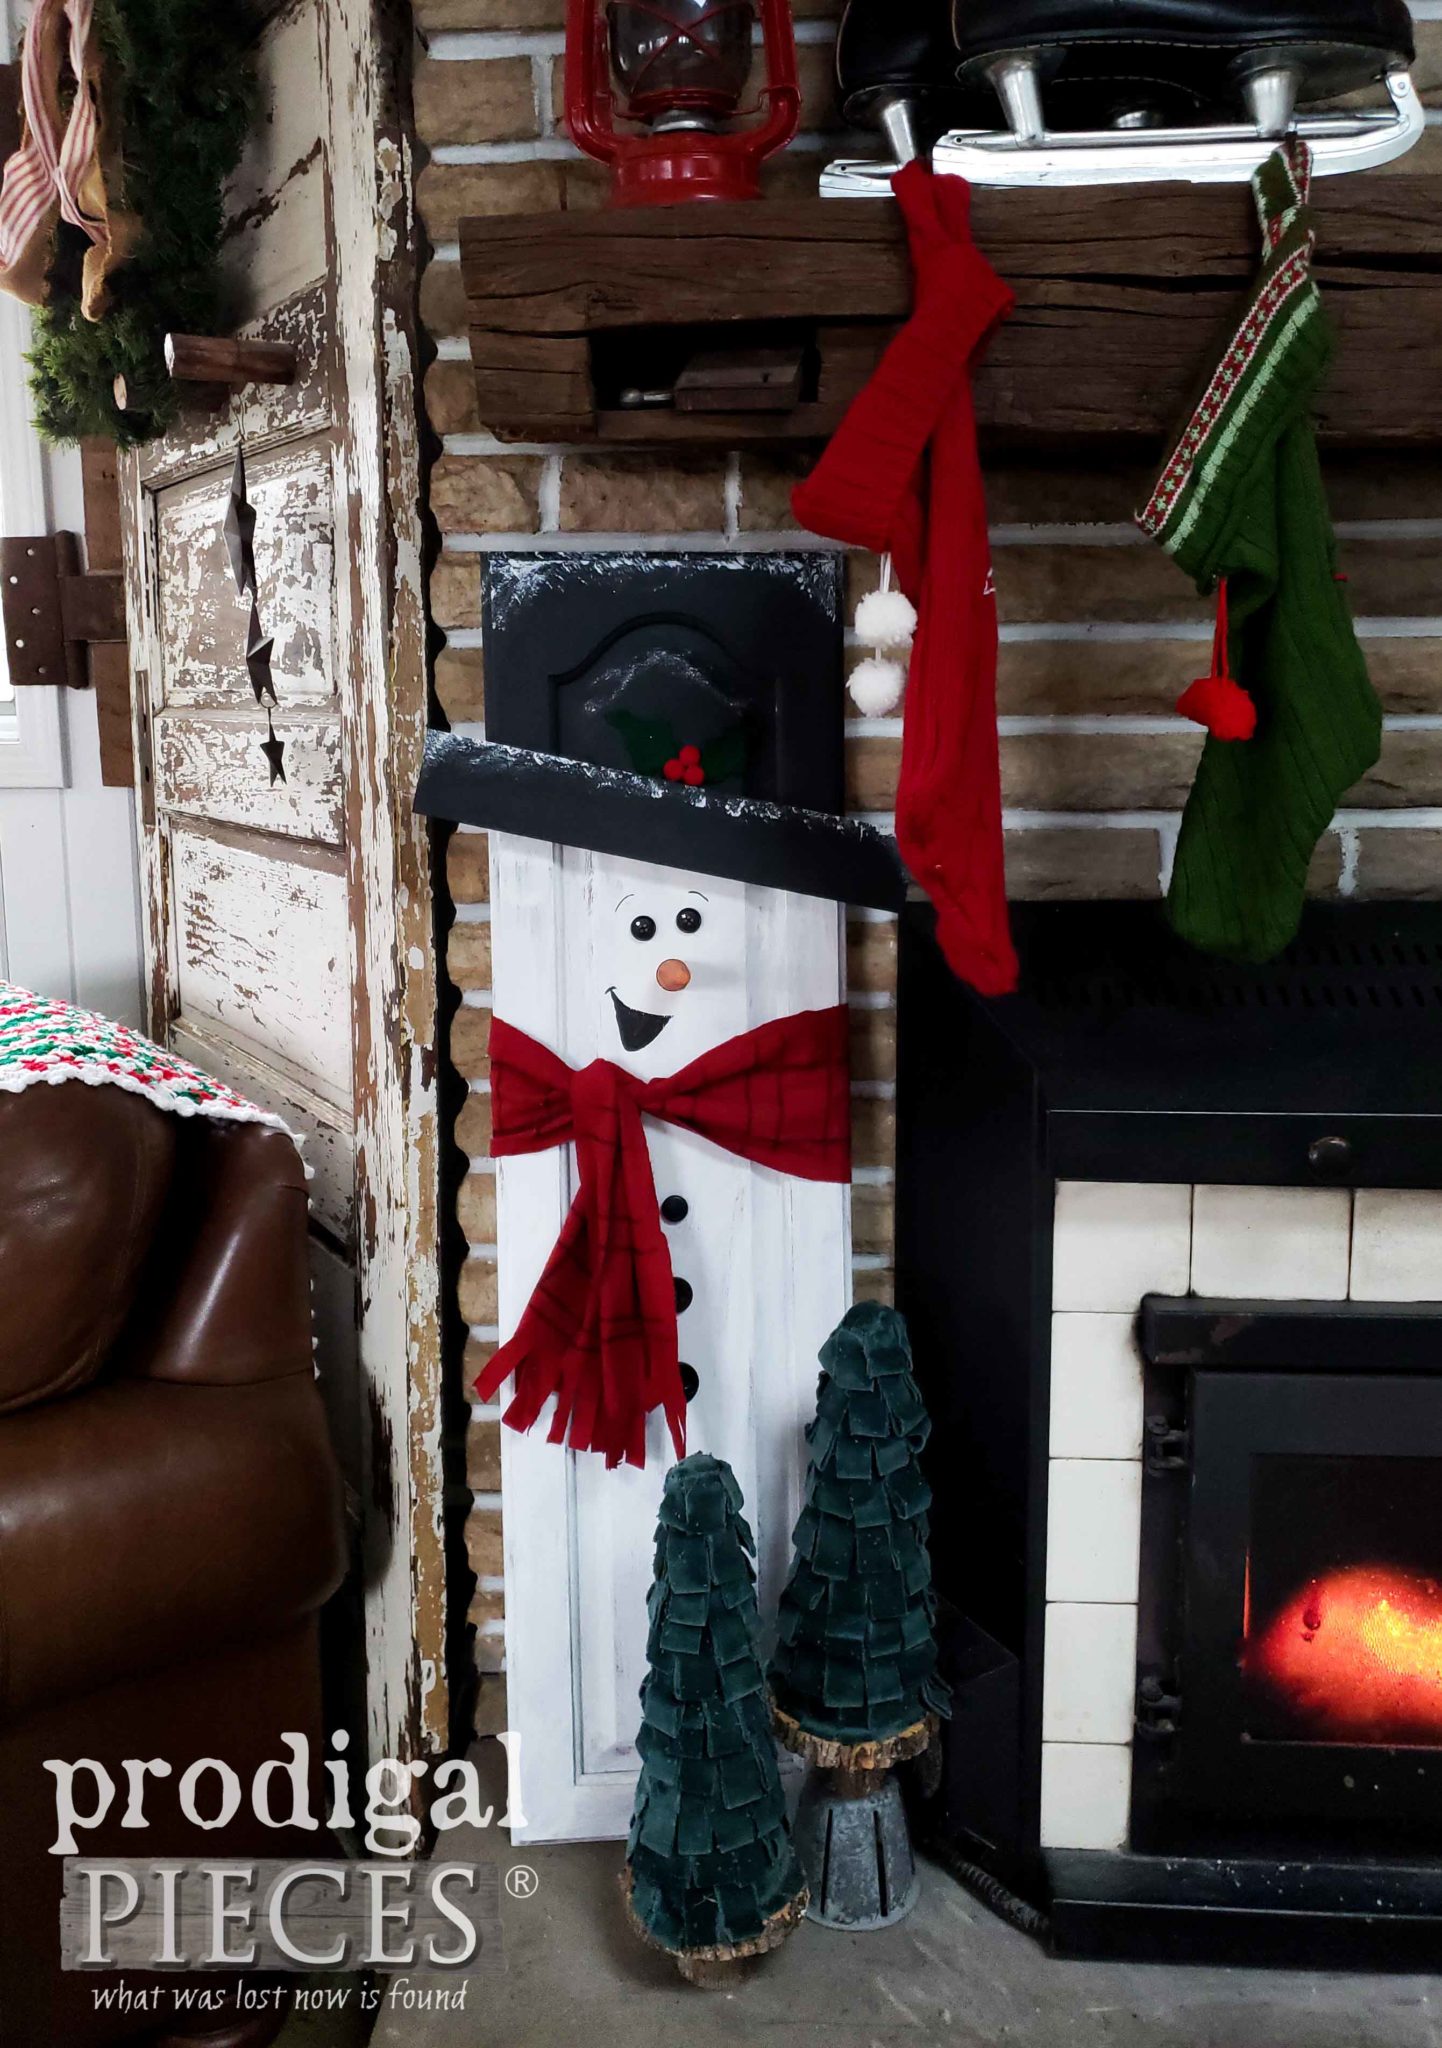
ALL DONE
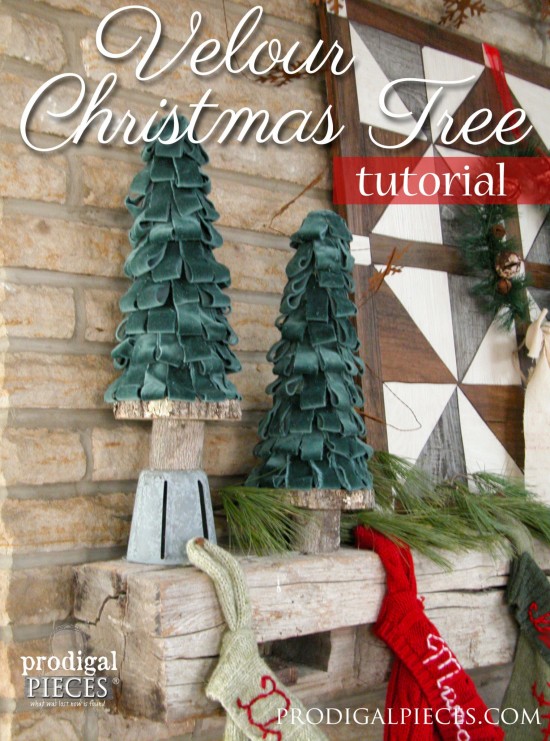
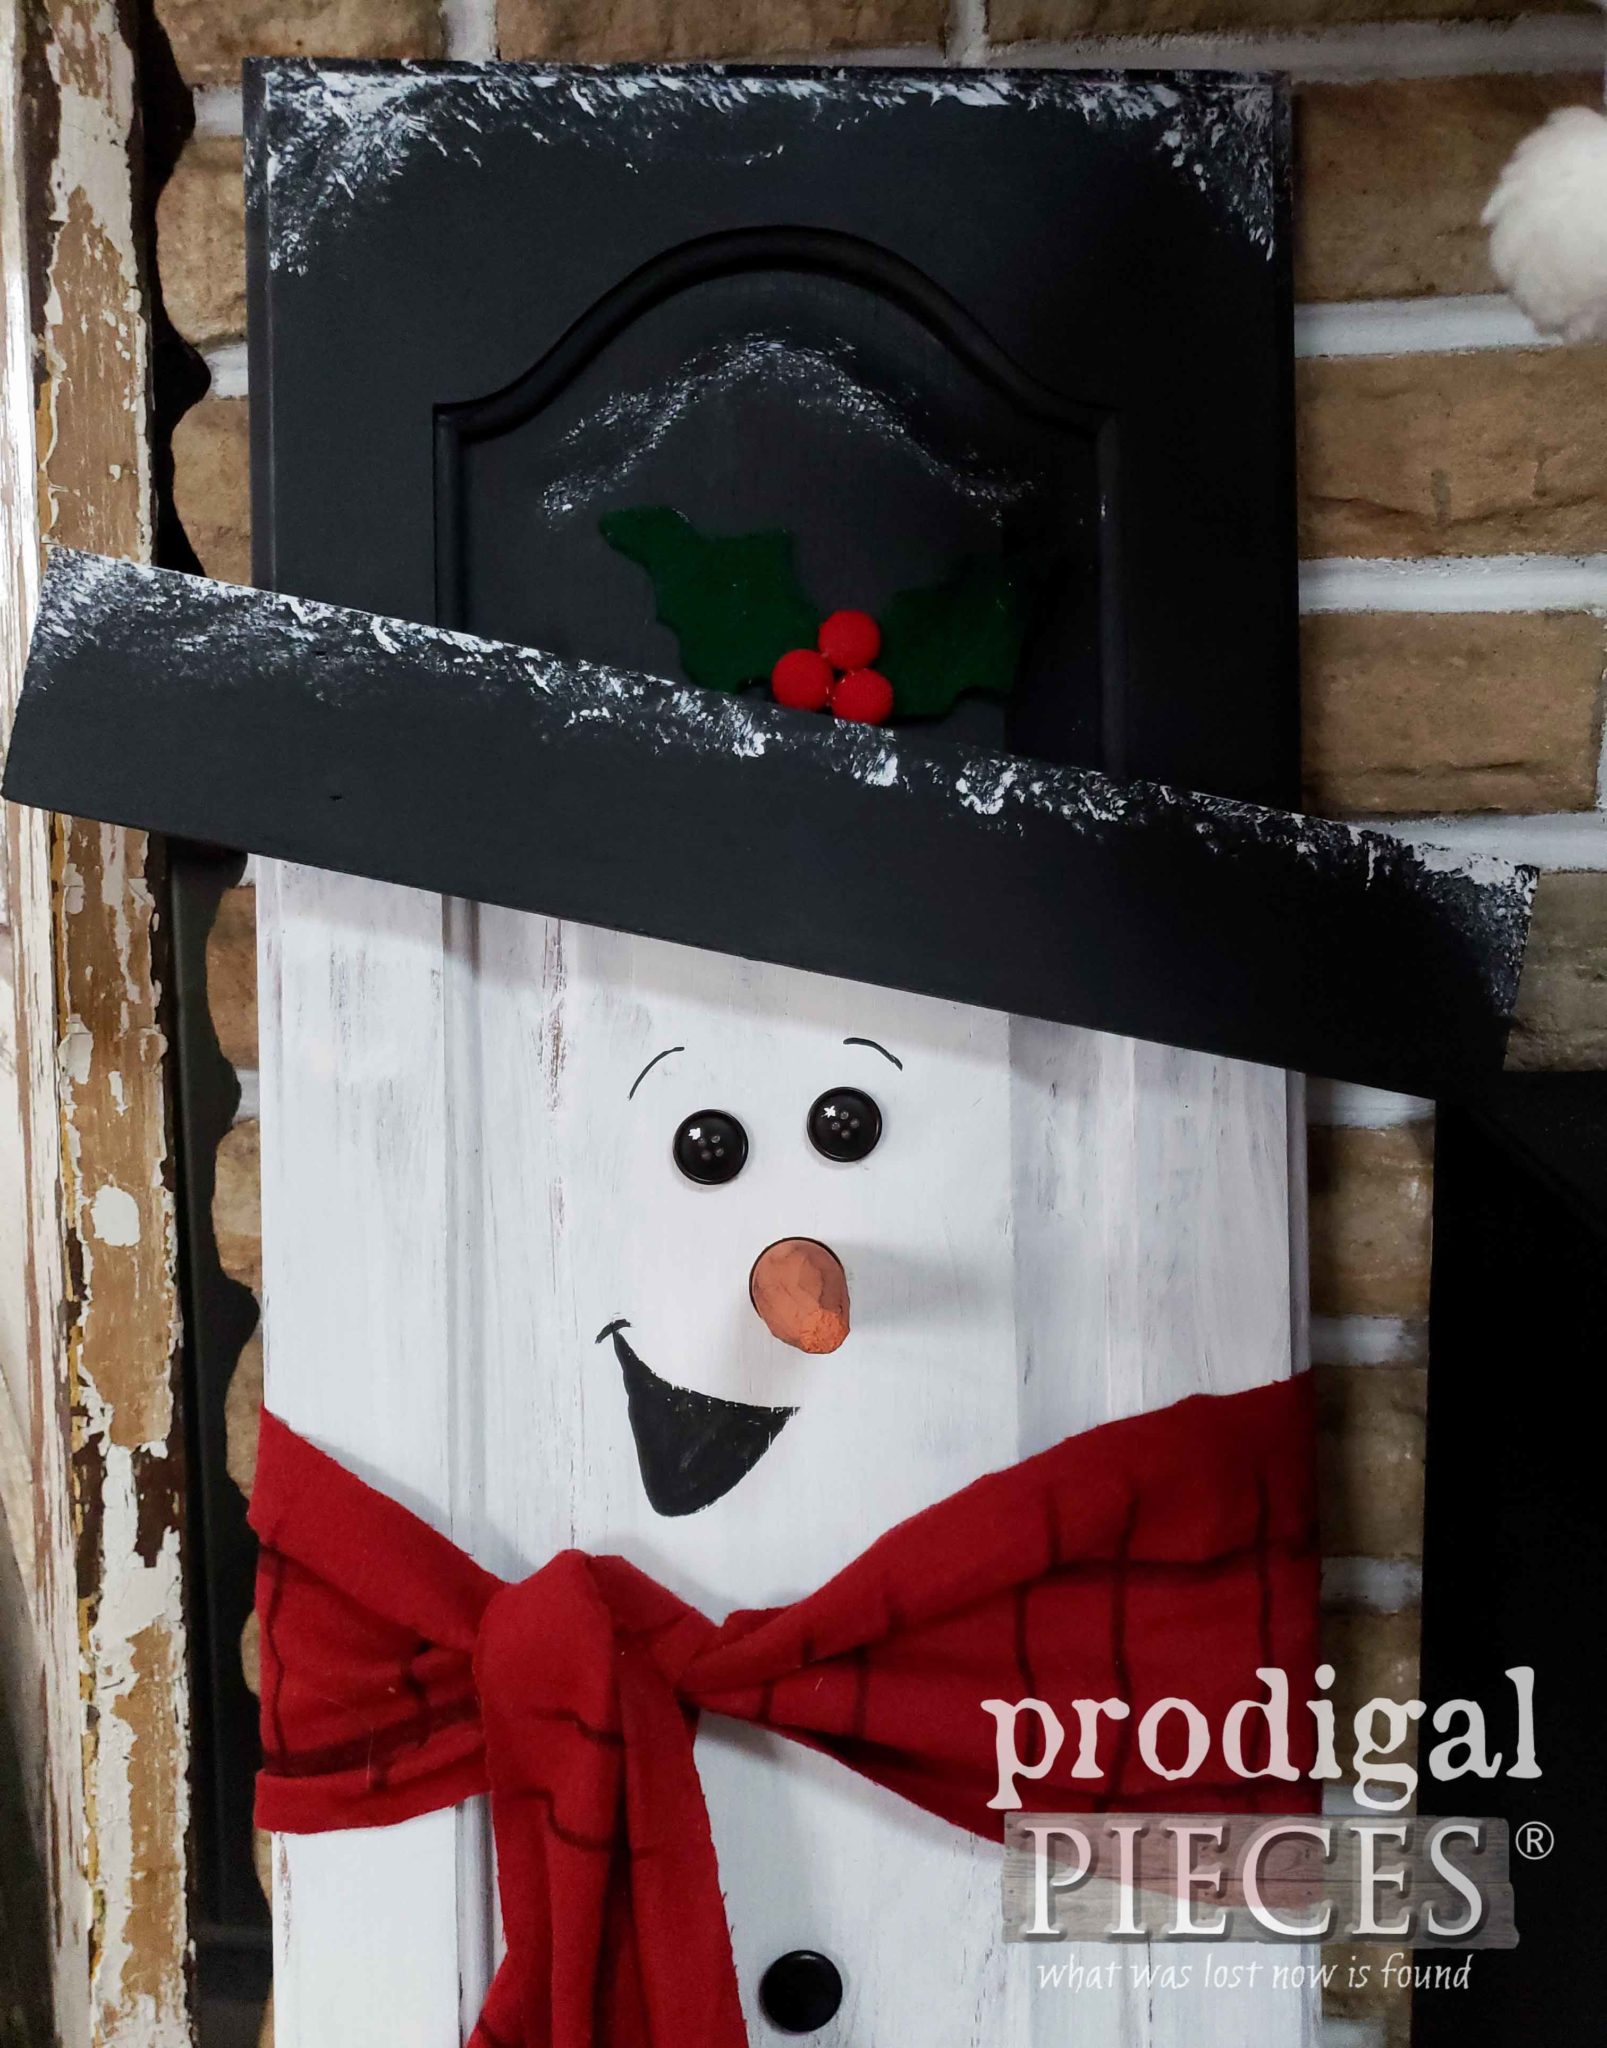
I whittled a broken rake handle into a point, while Miss J. painted it orange and used some brown wax to highlight. To set it in, we used a forstner bit in my drill to make a recessed spot and hot glued it in place. We also used a permanent marker to make the flannel scarf look plaid. And, his hat has a couple of cut felt holly leaves and a few thrifted toggle buttons as berries too. So fun!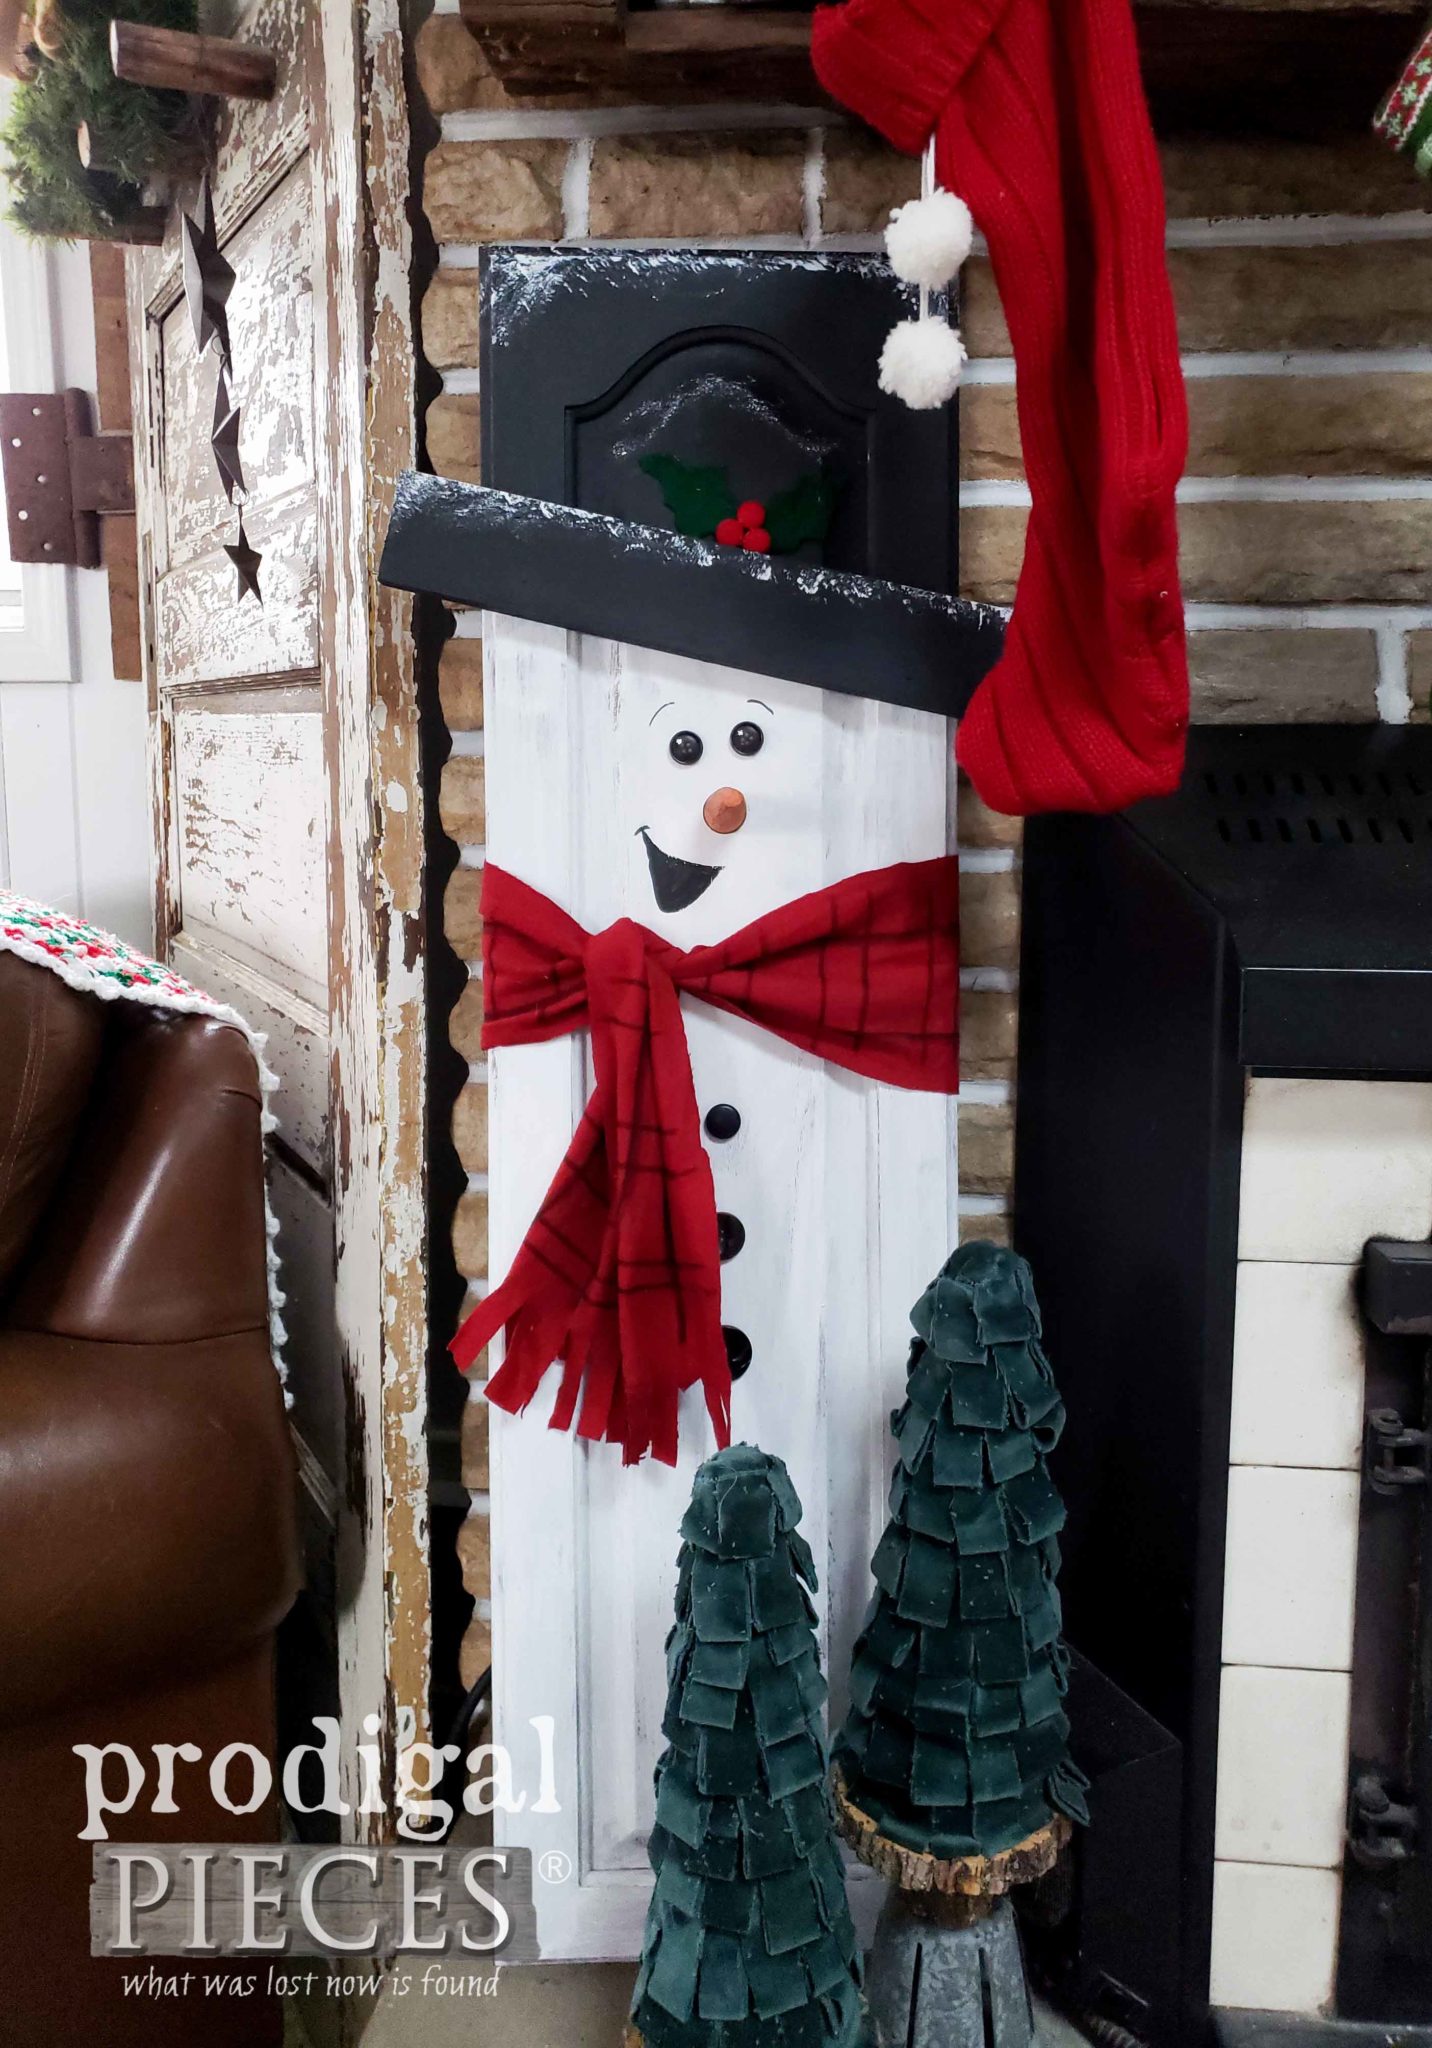 I must say he looks right cute nestled in to my DIY velour Christmas trees. (tutorial for those HERE)
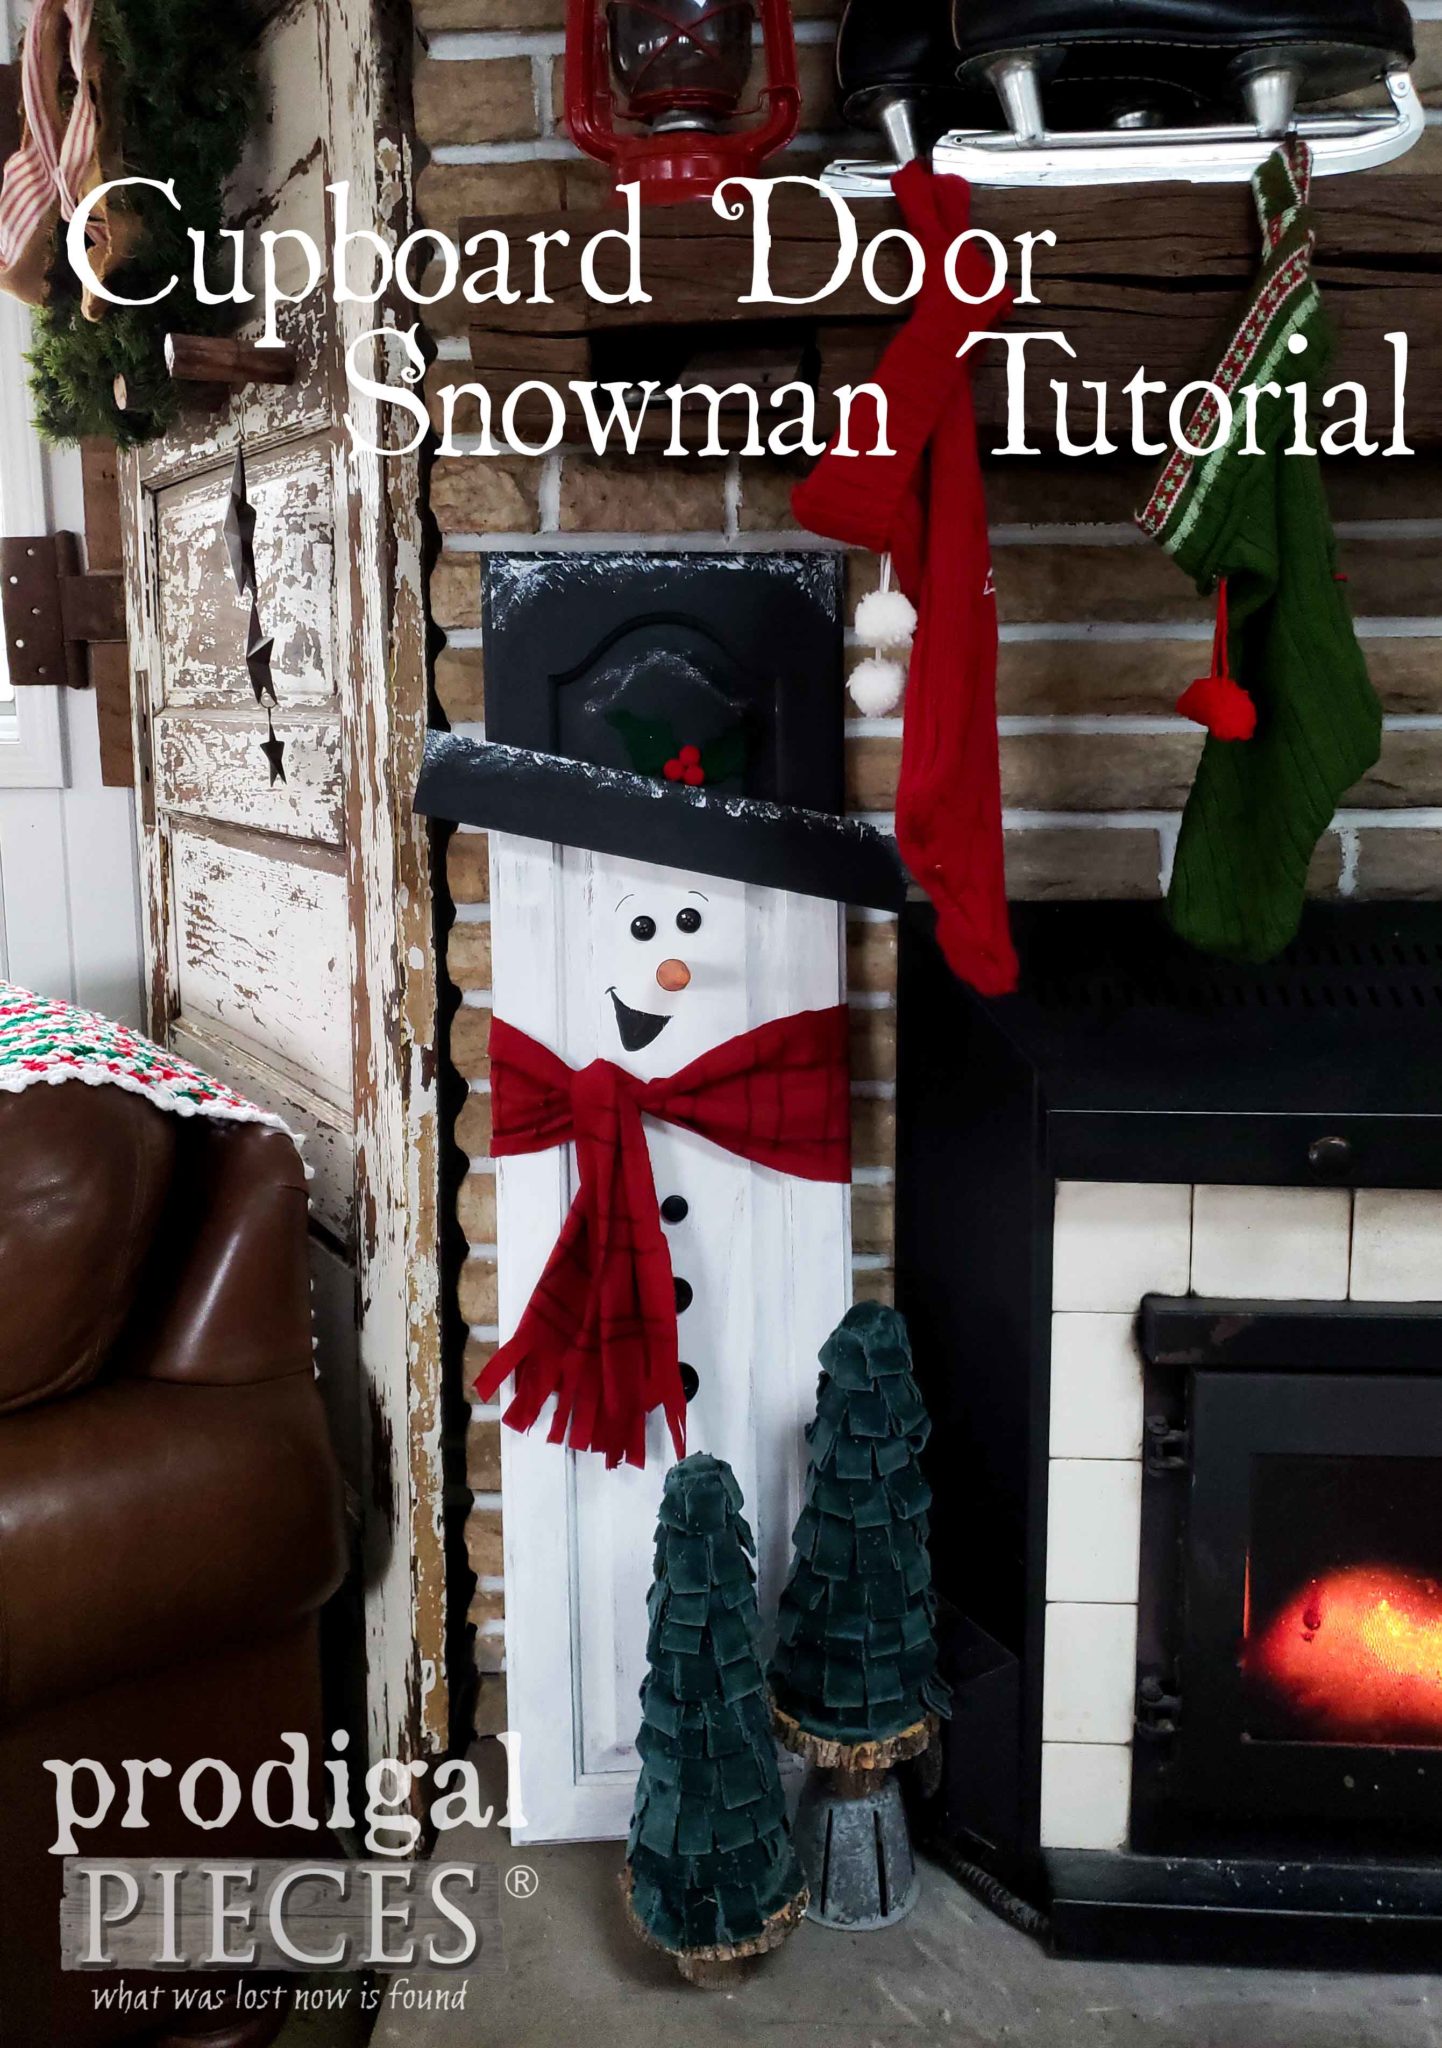
WRAP-UP
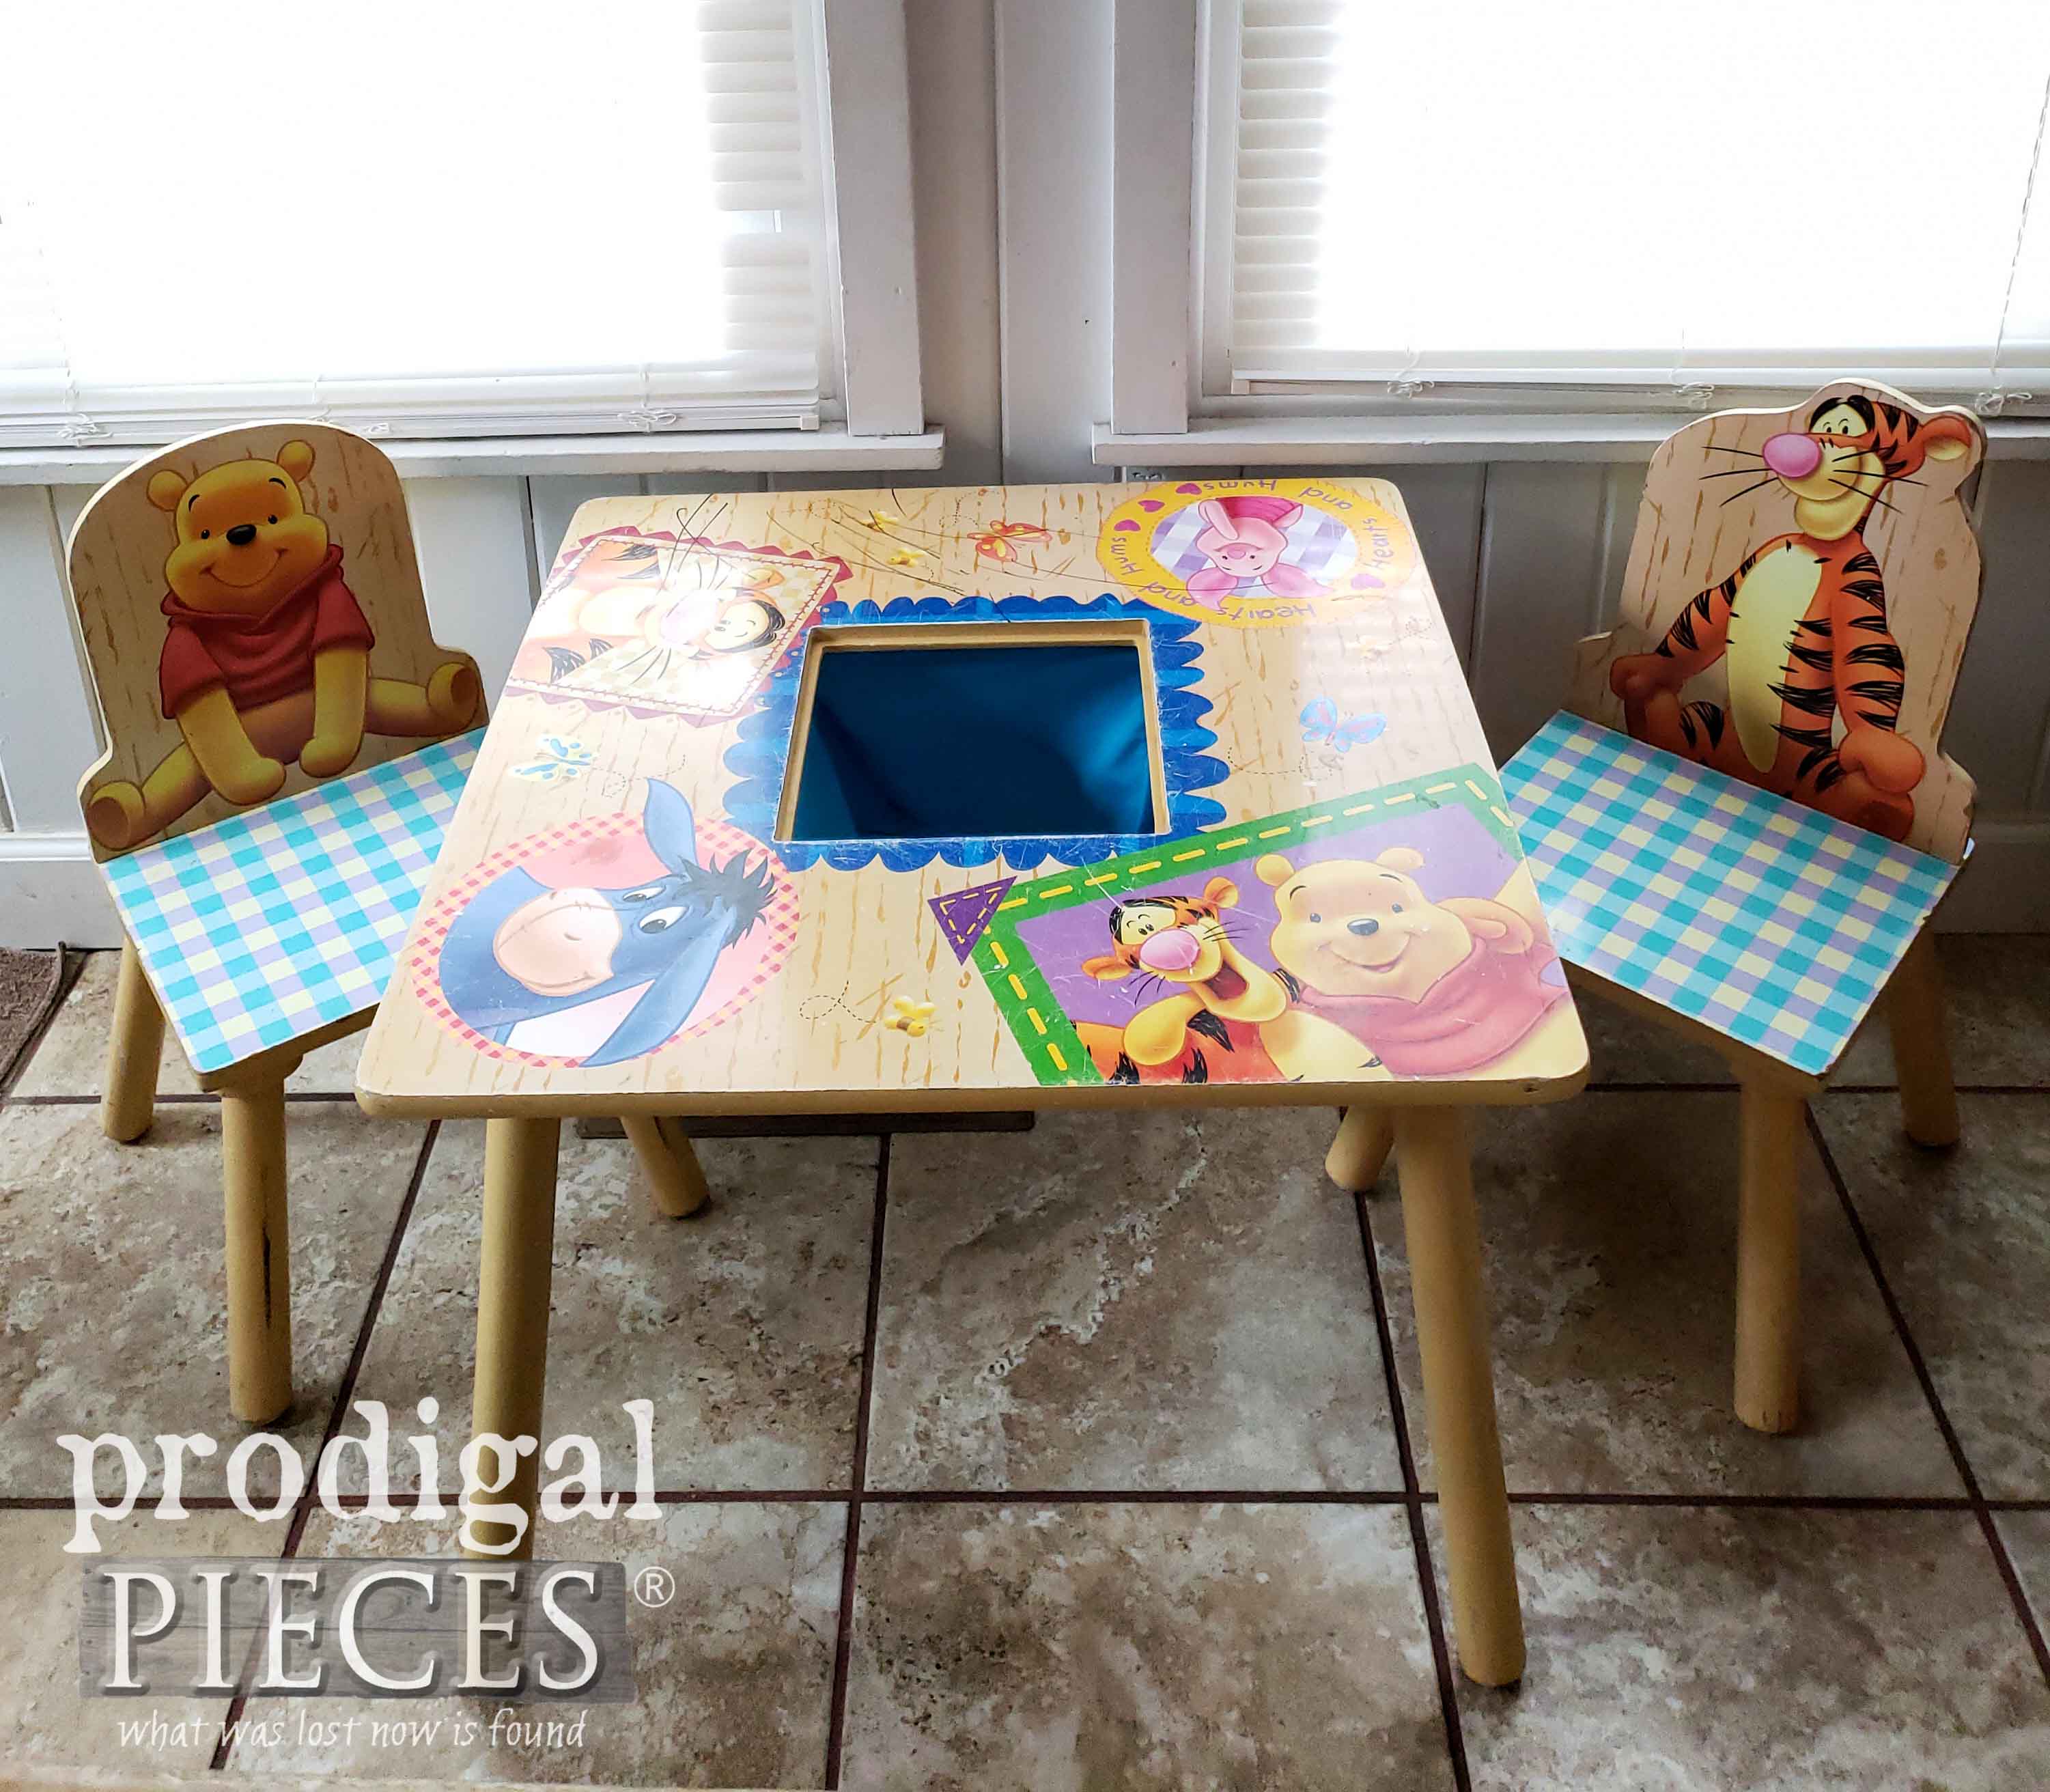
In conclusion, my kids' and my goal was to inspire all ages to give DIY a try. We had fun creating as well as sharing our ideas with you. Which one is your favorite? Each one of my kids' Christmas cupboard door projects are available for purchase in my online store. They can't wait to see where they end up. (that's a built-in homeschool geography lesson, ya know. tee hee!) In addition, pin and share these Christmas cupboard door projects to save them for creating with your own little people. Likewise, you'll be inspiring parents to take time to make memories with their children.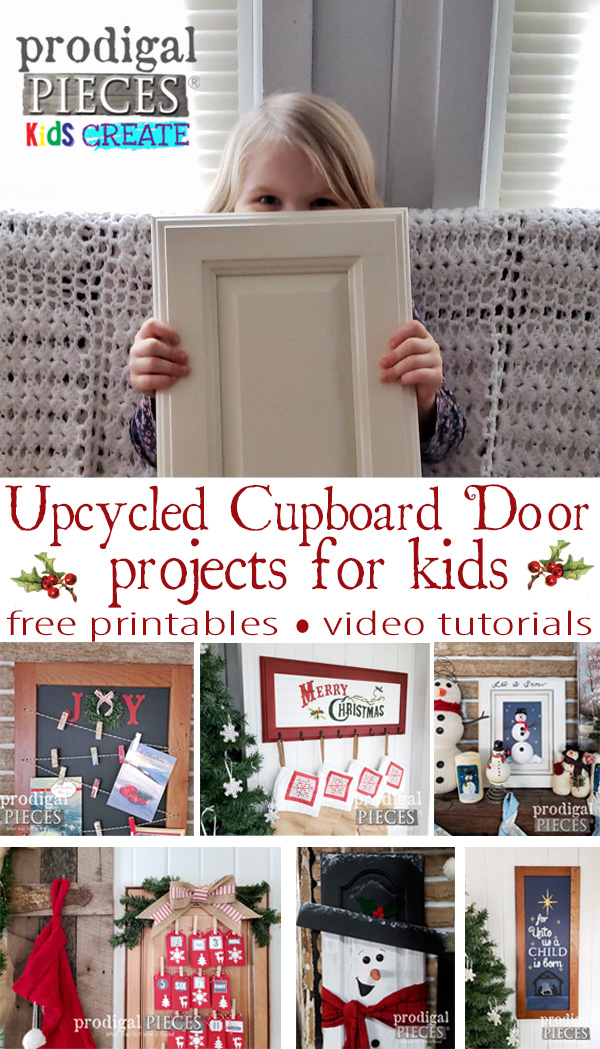 Up next, this thrifted play table set is about to get a complete makeover for our Furniture Fixer Upper day. Likewise, see the fun after HERE!
 Before you go, be sure to sign up for my newsletter. Until next time!
While you're at it, here are more holiday fun like these Christmas cupboard doors:
