 Mr I. is no newbie to this game, so I have my work cut out for me. You can see his past work in his own makeovers HERE. Seriously, it's hard for me to believe that not only am I a mom to a teenager, but he's already out-growing me. I'm not short at 5'10"!
 Nevertheless, he is still my baby and I love him and his 5 siblings with all my heart.

WE BEGIN
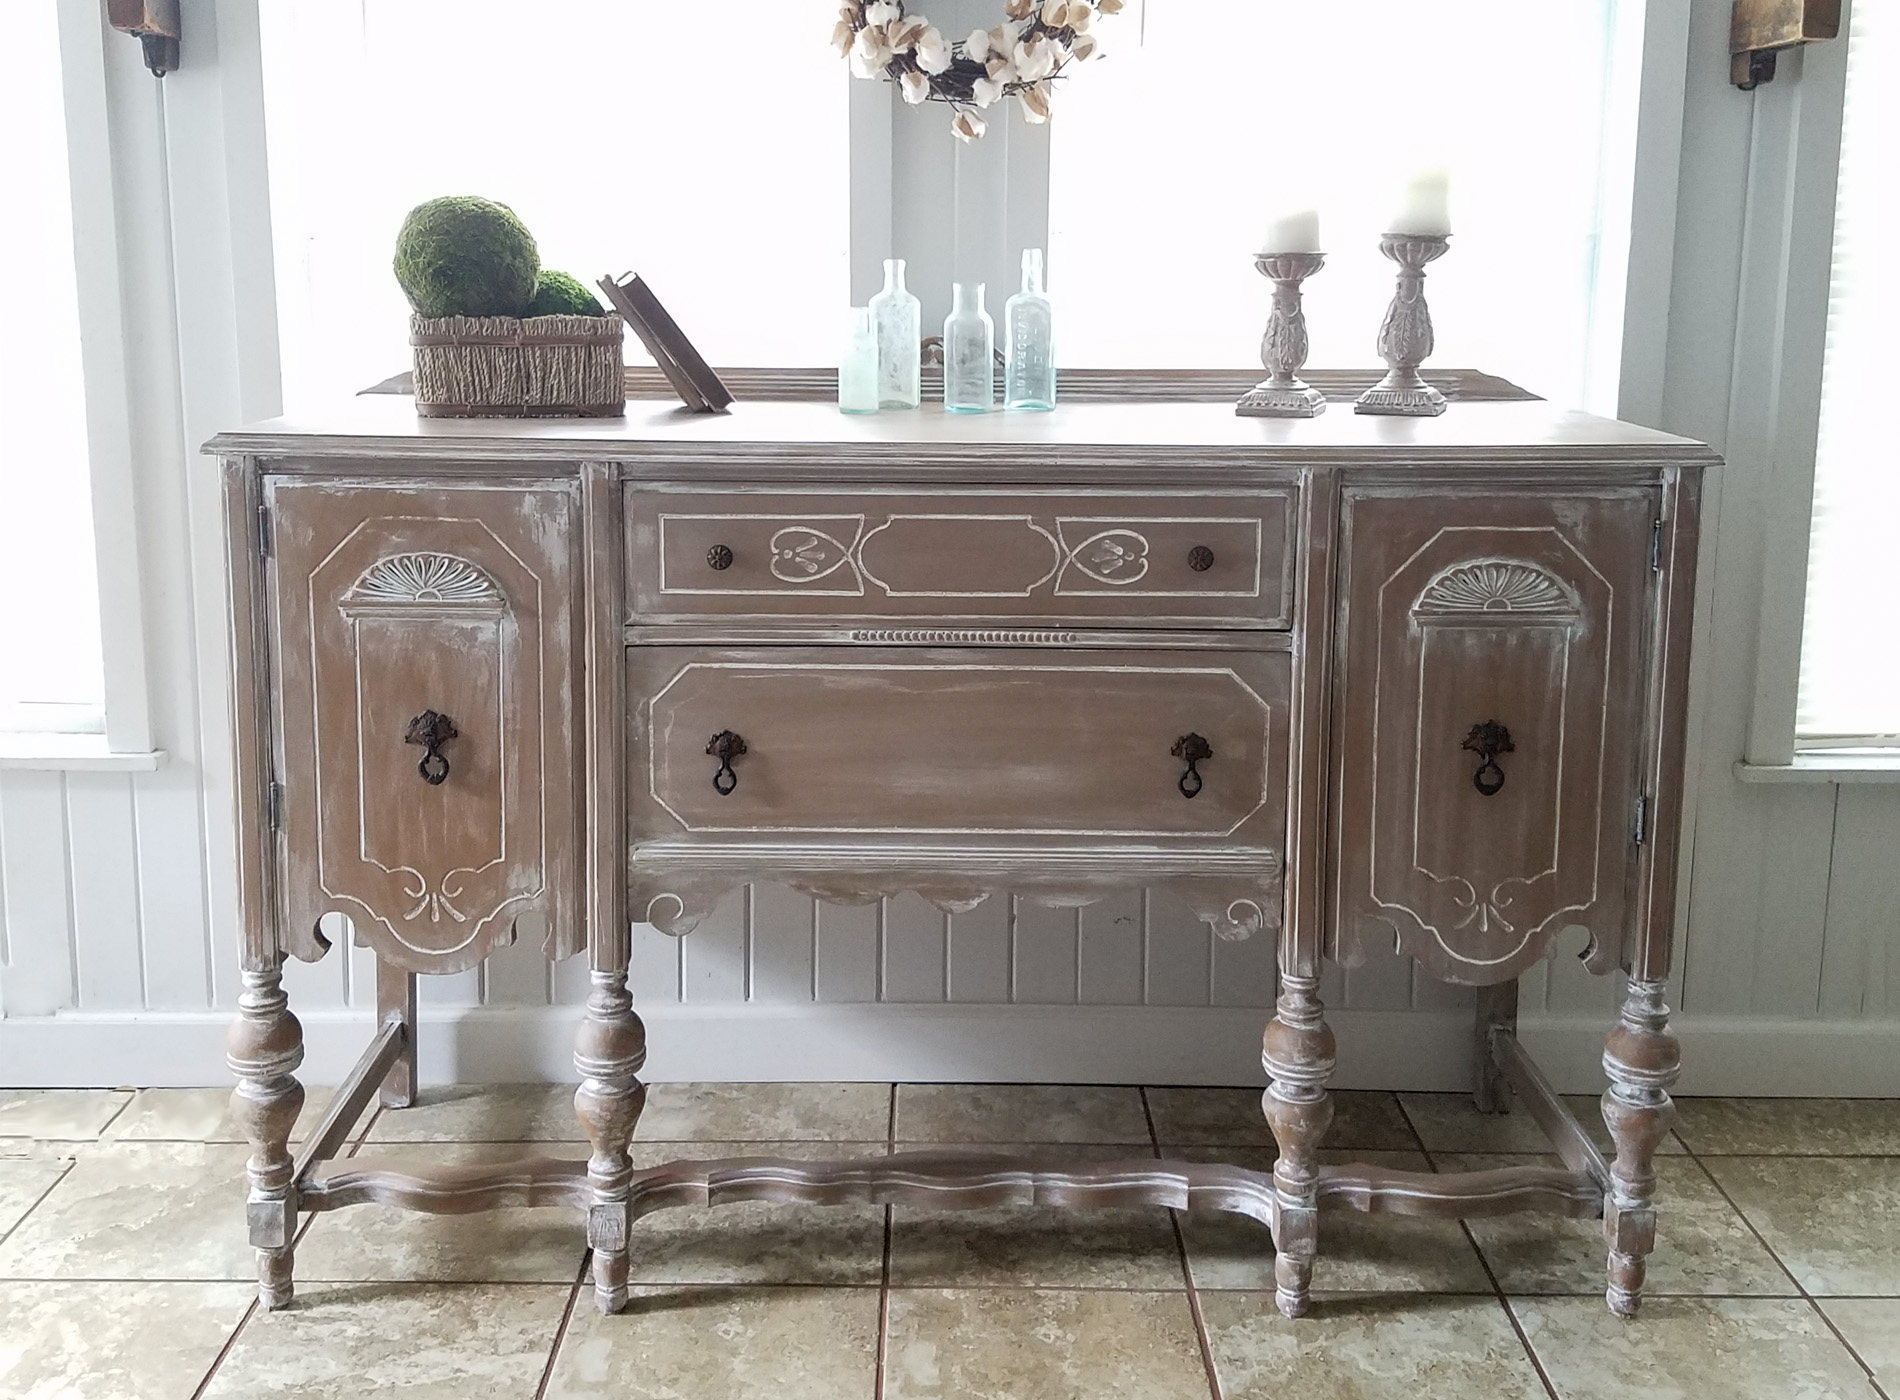
Okay, shall we get at it? Enter in the first contestant... This leggy beauty is gorgeous in design, has ample uses as an intended buffet, entry console, or even an entertainment stand. However, at some point it succumbed to a chemical mess that stained the top and missing chunks of veneer on the sides.


TIME FOR PAINT
Onward we go... To begin, since my alternative was to give this piece a fresh new look, I start out with this caramel-color paint I first used on my faux wood garage door makeover. After that, when I got to the legs, I switch to different because it totally makes painting spindles and turnings a breeze. No need to flip the brush in a thousand different angles to get coverage.
 Next, once I got two coats of the color on, it was time to create some depth to this piece and draw out all those gorgeous details. In addition, like I've shown you in all these posts, I am using my glazing technique to wash the buffet with a white paint, then wipe off.

You can see it in action in this video:

THE REVEAL
Last, when everything was cured, I added a protective layer of my handmade furniture wax. It gives it a soft glow that I just adore.
 This buffet makeover came out as I had hoped. As usual, I'm always addicted to glazing and how it brings out all those scrumptious details.
 And what's a buffet makeover without a little fun, right? In addition to the outside color, I added a pop of color to the inside. Same color that Mr. I used in his chest makeover seen HERE.


 Finally, there you have a refreshed antique buffet makeover, complete with glazing and some color fun. If you love this piece, it is now available in my online store.

 That makes for one entry in the Battle of the Buffets. {{fist pump action!}}
Additionally, pin and share this buffet makeover to inspire others to get out there and give DIY a try. Likewise, you never know who may be needing that little push.
That makes for one entry in the Battle of the Buffets. {{fist pump action!}}
Additionally, pin and share this buffet makeover to inspire others to get out there and give DIY a try. Likewise, you never know who may be needing that little push.
 ON TO THE NEXT ENTRY! What is more, head over to see the transformation of this Art Deco buffet by Mr. I. Be sure to stop by to see who won!
 Before you go, be sure to sign up for my newsletter. Until next time!

In addition, similar pieces like this buffet makeover:

