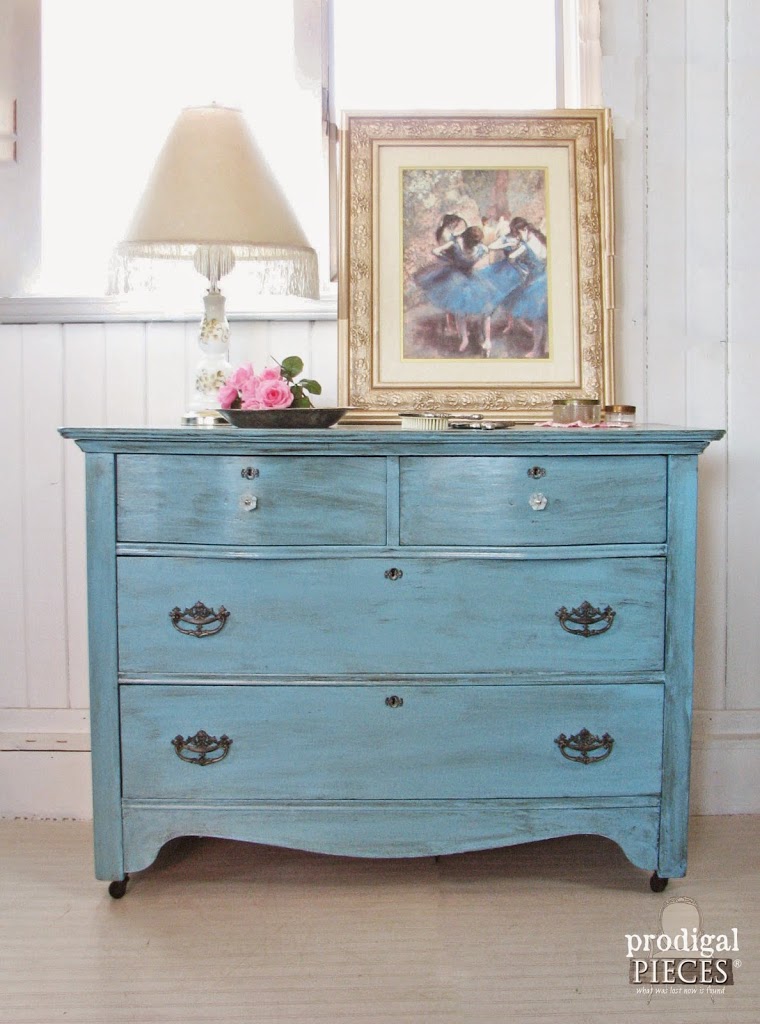
It's always so exciting when a baby is on the way. A young family is expecting their first baby soon, and as far as we know it's a girl. This new babe will need something to put their mini clothes in. I offered to refinish a dresser for the baby's room. As it turns out, the mama-to-be already found a dresser style that she loved and was hoping to replicate. Now we have a furniture makeover in the works. woot!
I've got to be honest that I had no idea how awesome this whole furniture makeover would turn out. You see, this month's themed makeover has the subject, "Inspired By" - meaning to redo a piece of furniture in the styling of another piece we've seen on the internet, movie, etc. I had NO inspiration because I have NO time to peruse such frivolous things like other blogs, Pinterest, and... what's a movie??
As it turns out, I was thankful to not only be able to give my SIL and her husband this gift, but also to fulfill the themed makeover quota. (she giggles wickedly)
LET'S BEGIN
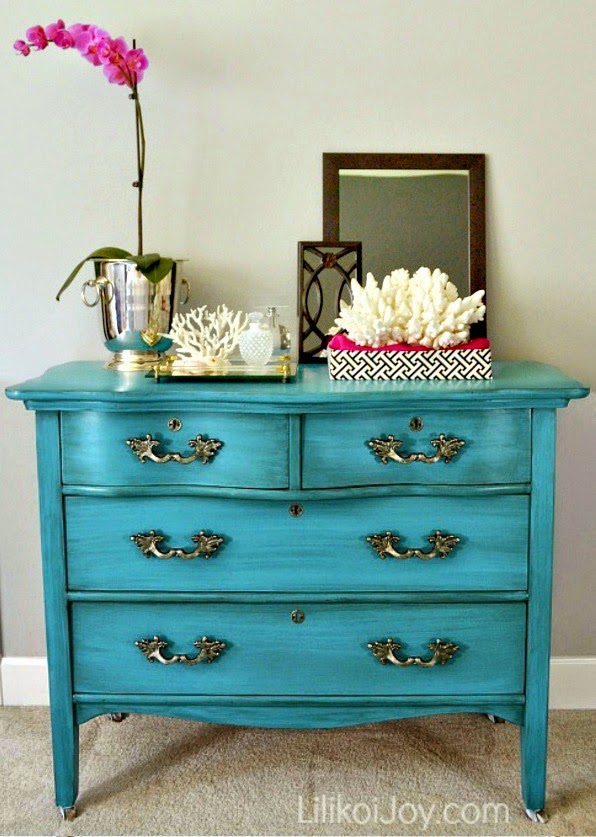
Enter in this gorgeous aqua blue dresser by Sharon at Lilikoi Joy. You know me and my Craigslist love, not to mention that it's aqua! (
My entire blog post about that color here - yes I LOVE it).
Sharon scored this piece on Craigslist and did a fantastic job of giving this lovely serpentine dresser a facelift to suit her style. You just have to head on over to her blog to read the full story.
MY PROJECT
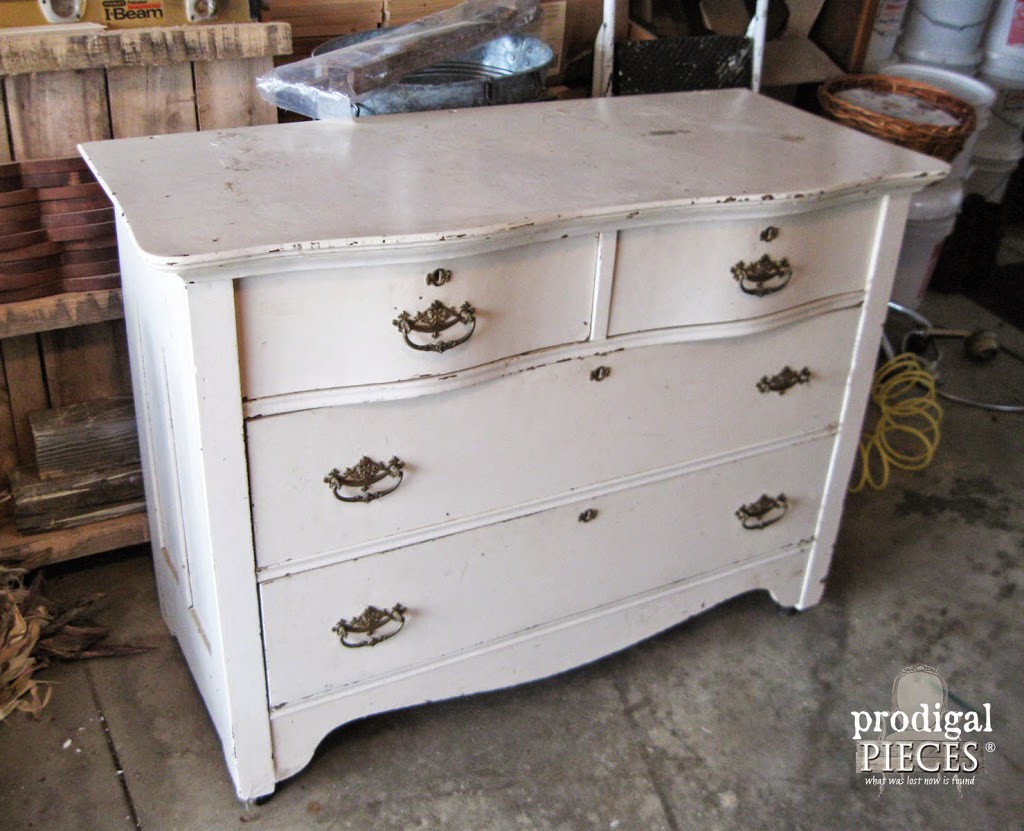
When she showed me the picture of the dresser that they had in their garage and was the mama's dresser she used in her bedroom as a child.
How sweet it would be to give her back that dresser for her own sweet daughter - in a much-improved state for sure.
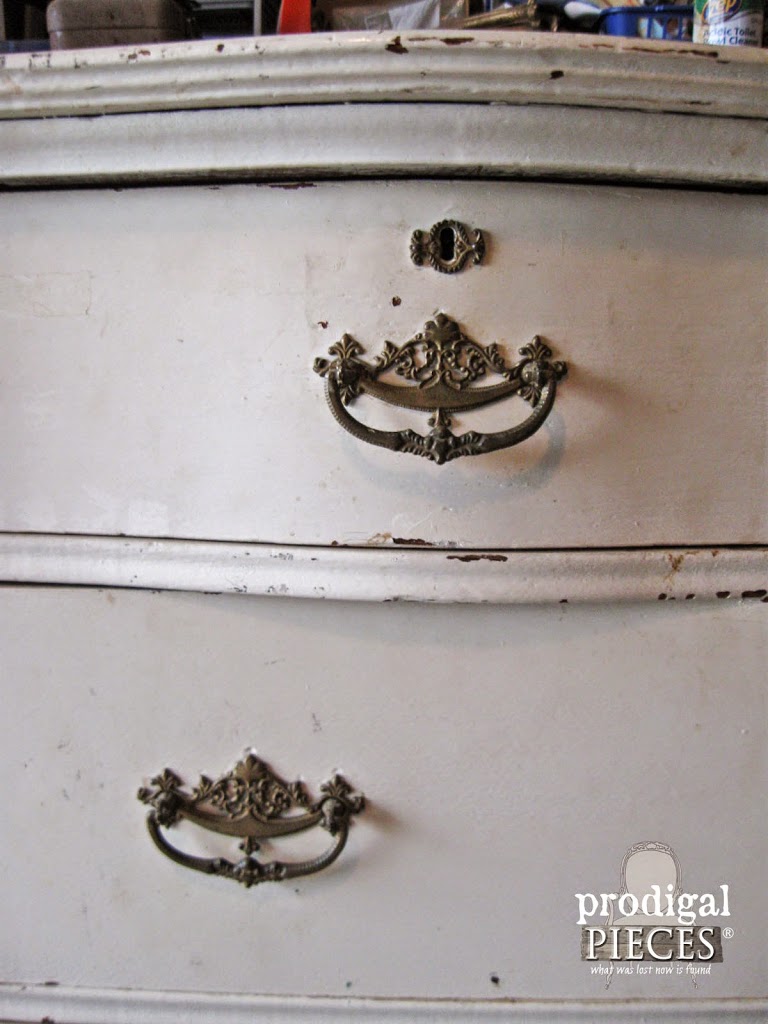
This forlorn dresser was missing a leg, had a broken swag on one of the drawer pulls, and had been painted white so long ago that it looked yellow.
I don't know about you, but that serpentine style is one of my favorites (I'm talking about that wavy look to the front). Swoon!
Although this dresser needed some love, it is such a well-built antique and I couldn't wait to get my hands on it. After doing a much-needed wood putty treatment to the cabinet, I grabbed my best friend, orbital sander, and went to work. It was hard to not want to yank all that paint off and restore this beauty back to it's original wood state. I mean, we're talking solid oak with a grain to die for.
HARDWARE
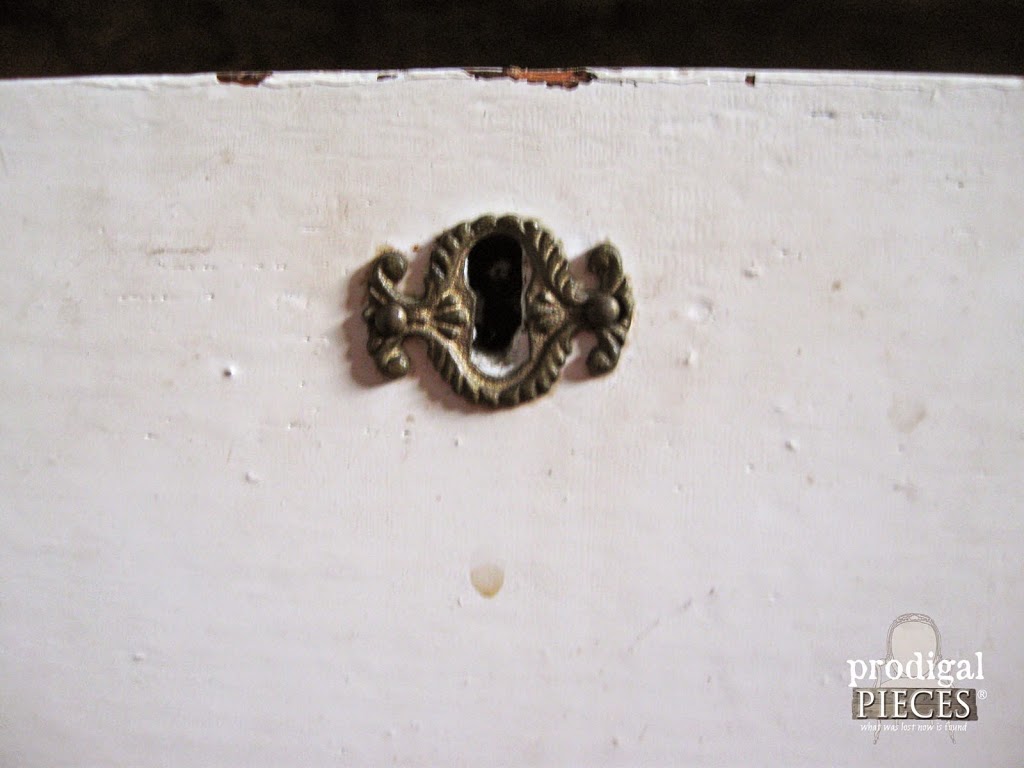
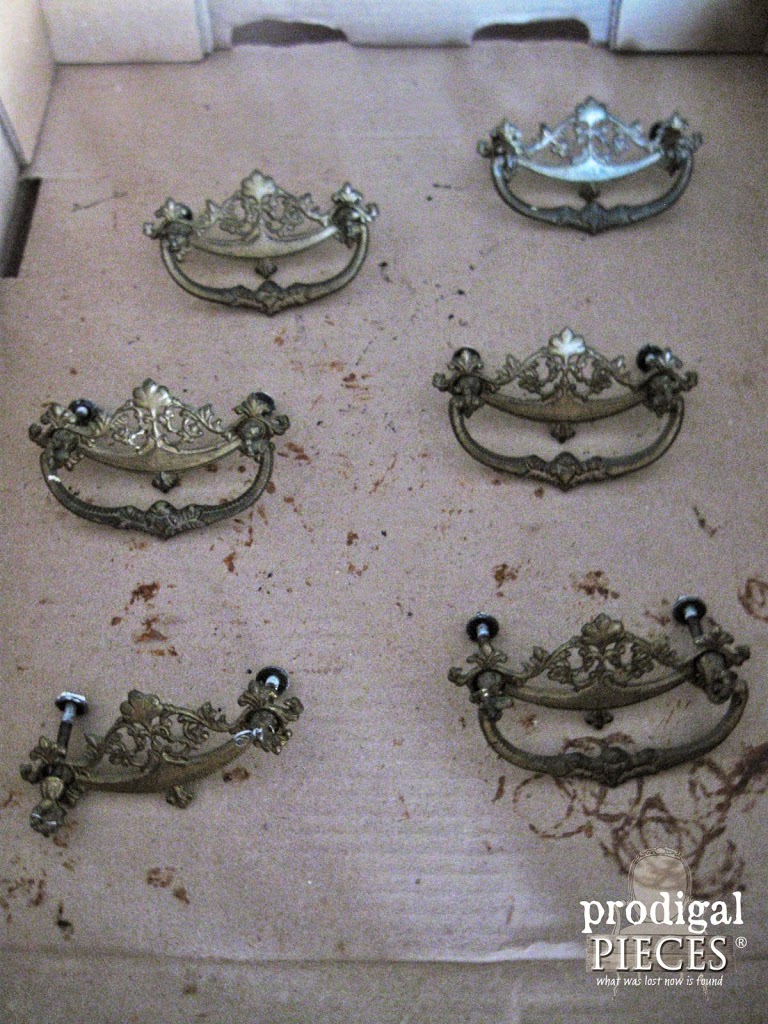
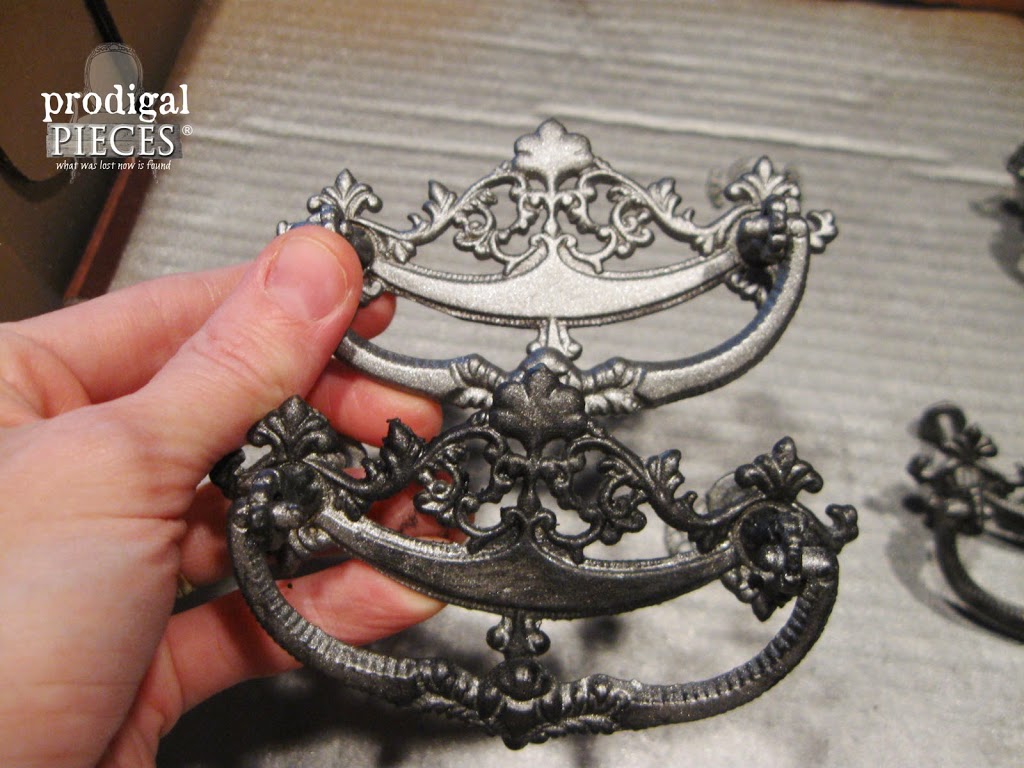
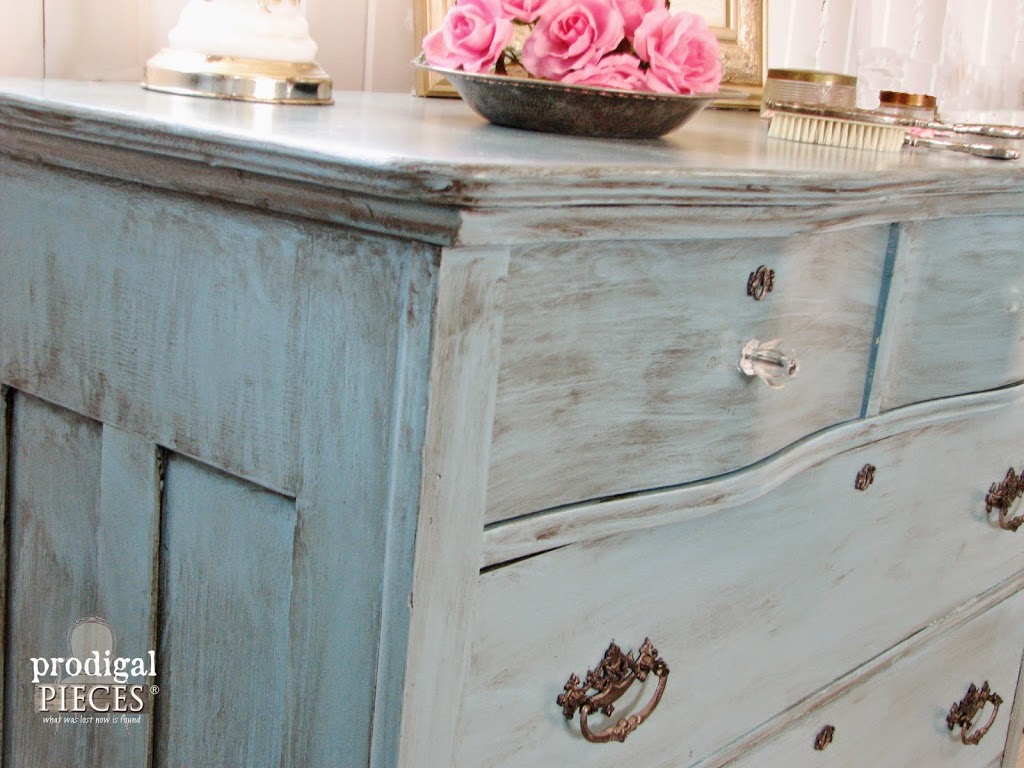
Once I had given the dresser enough "teeth" for the paint to adhere, I set out working on the pulls. It was such a shame that only one of them was damaged and we couldn't put them all back on. I normally don't paint solid brass, but since the inspiration dresser had a painted chrome finish to it's pulls, I went with a brushed nickel paint by Rustoleum instead. Ouch... I painted antique brass... gulp. That's a new one for me! deep breath. I mean, just look at those escutcheons. So dainty and ornate.
Since the new nickel paint looked too new, I used my go-to ebony Rub 'N' Buff to create a patina on the pulls. This stuff is great, I tell ya!
Back to the dresser... Since I was short one pull, I fill the holes in the top two drawers. Then, I drill new holes for a center-mounted pull instead. I love the glass effect and was able to find some locally. In addition to that upgrade, I had to repair a back leg so that it could hold a caster again. Thankfully, my in-laws had saved the pieces, and I was able to grab yet another caster from that lovely rusty, crusty gift I spoke of
HERE.
PAINT TIME
On to the fun part. The mama-to-be was hoping to use the exact same color that Sharon did, but since I already had a similar color in my stash that I used on
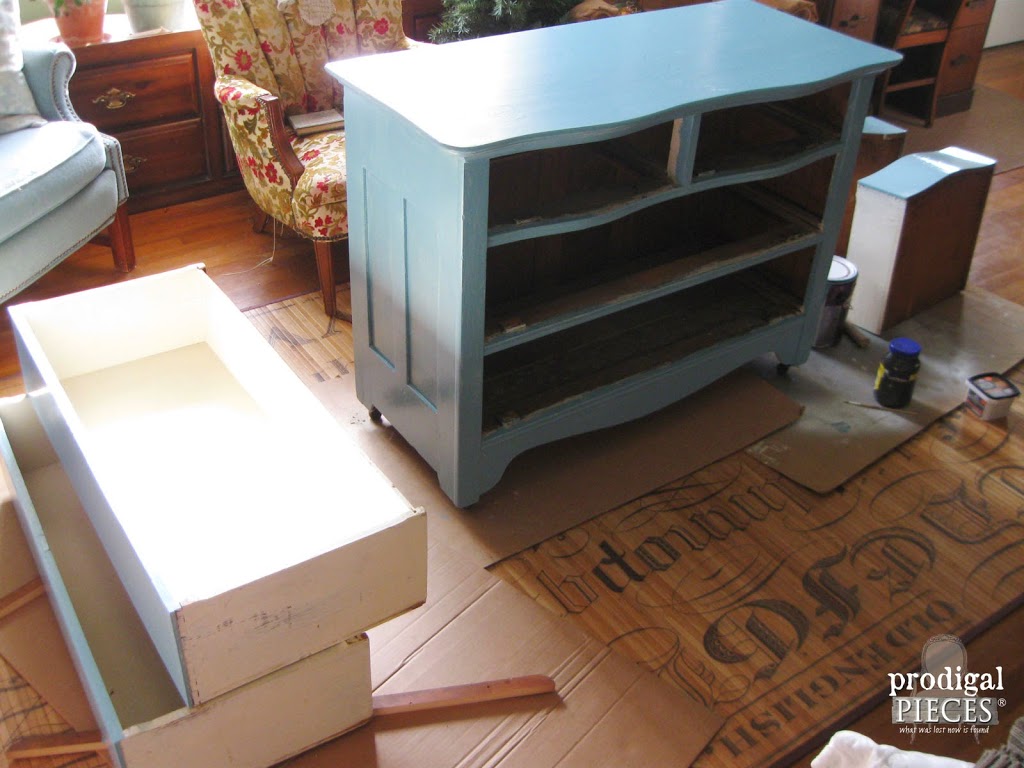
my Mid Century Modern makeover. My $7 seconds paint wins again! I brushed on several coats to the sides of the cabinet and drawers. However, I am using a foam roller to get a nice smooth finish to the top. Yes, it's that time of year, when snow flies and my house fills with furniture.
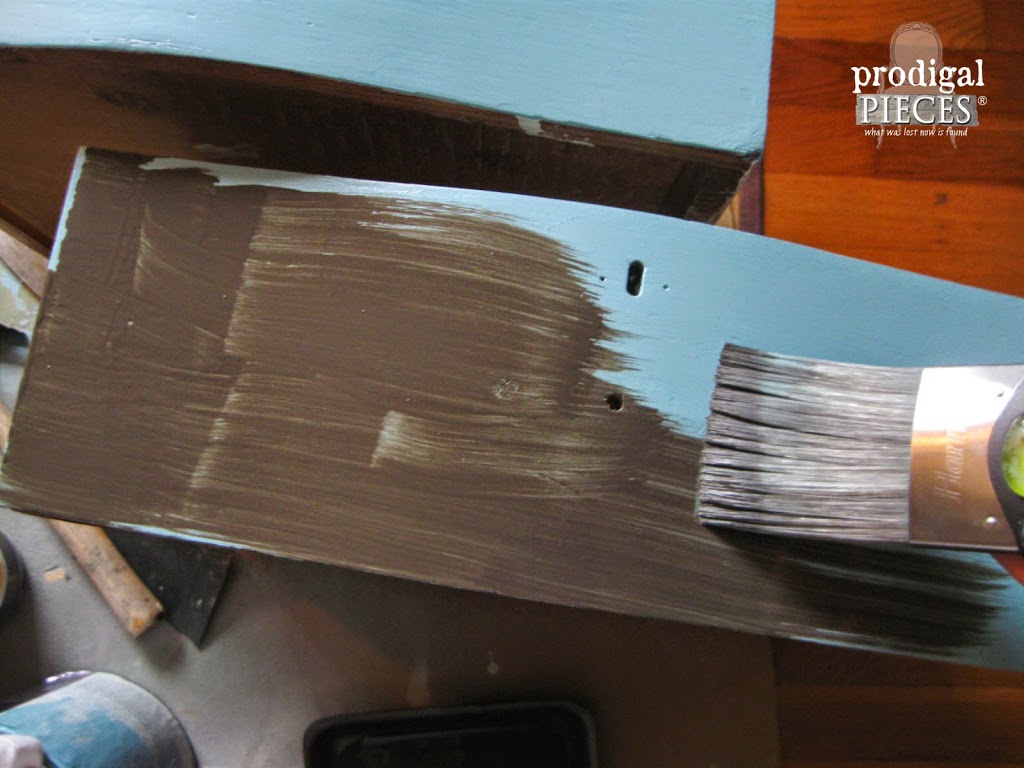
To achieve the glazed look that Sharon used, I whipped out my homemade glaze that I've used on my
garage door and several other pieces. I don't typically buy into the commercial stuff if I can make it myself - I know, I'm funny that way.
The typical store-bought glazing simply has an ingredient in it that allows you to have more work time before setting. I've got glazing down so that I don't need to worry about it drying too fast. Just brush on and then wipe off until you get the desired effect. No need for a $9 bottle. tsk.
For extra durability, I gave it a hand-rubbed wax topcoat. However, a hindsight was to have either taken the paint all the way down. Or use a paint gripping primer instead. Since the snow is flying here in the northeast, I'm limited on my outdoor time for sanding. Also, I didn't want to use that highly toxic primer in my home.
THE REVEAL
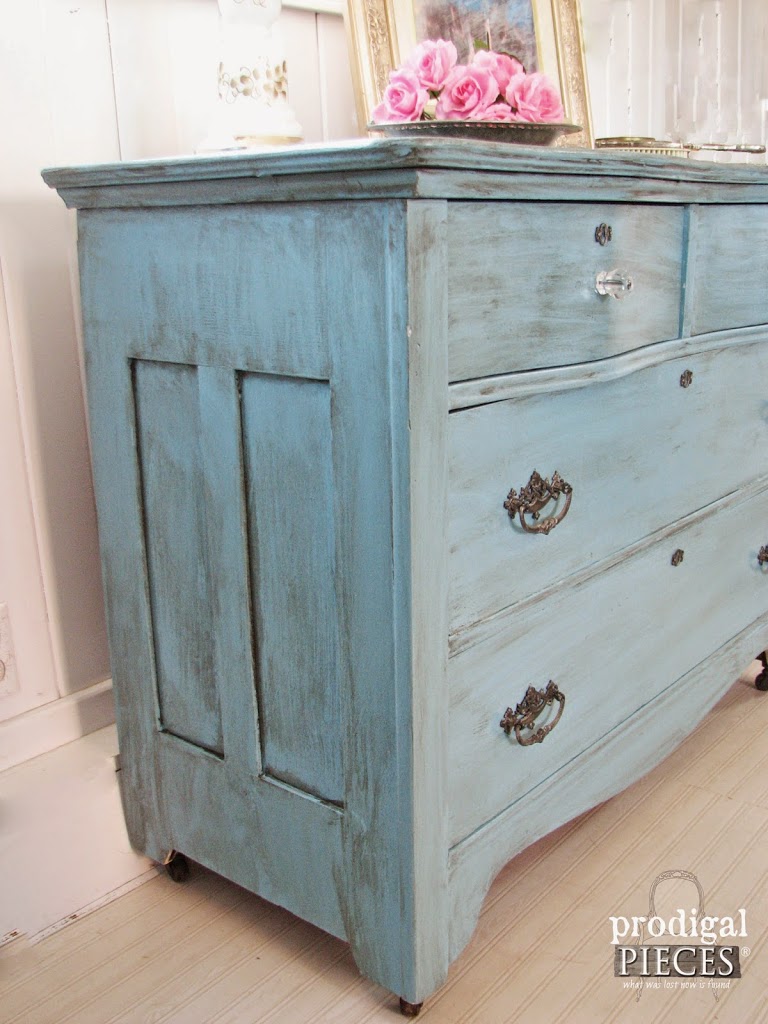
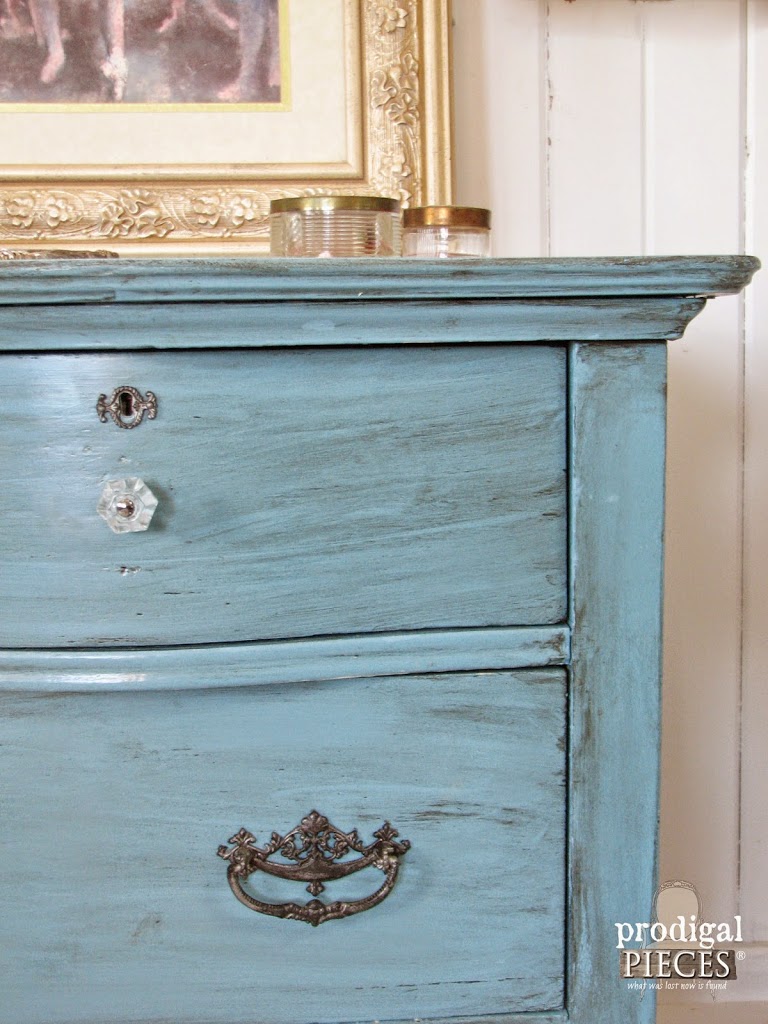
Here it is! What do you think?
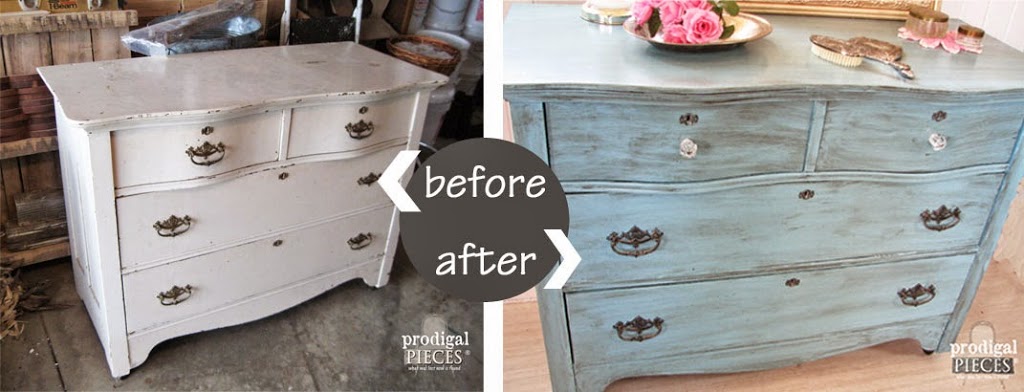
I don't think they're twins, but certainly related.
It's all good. Mama-to-be has a new dresser for baby, and I was able to complete my furniture makeover assignment. YIPPEE!

 PINTEREST | EMAIL
Also, want to see another furniture makeover? Check these out:
