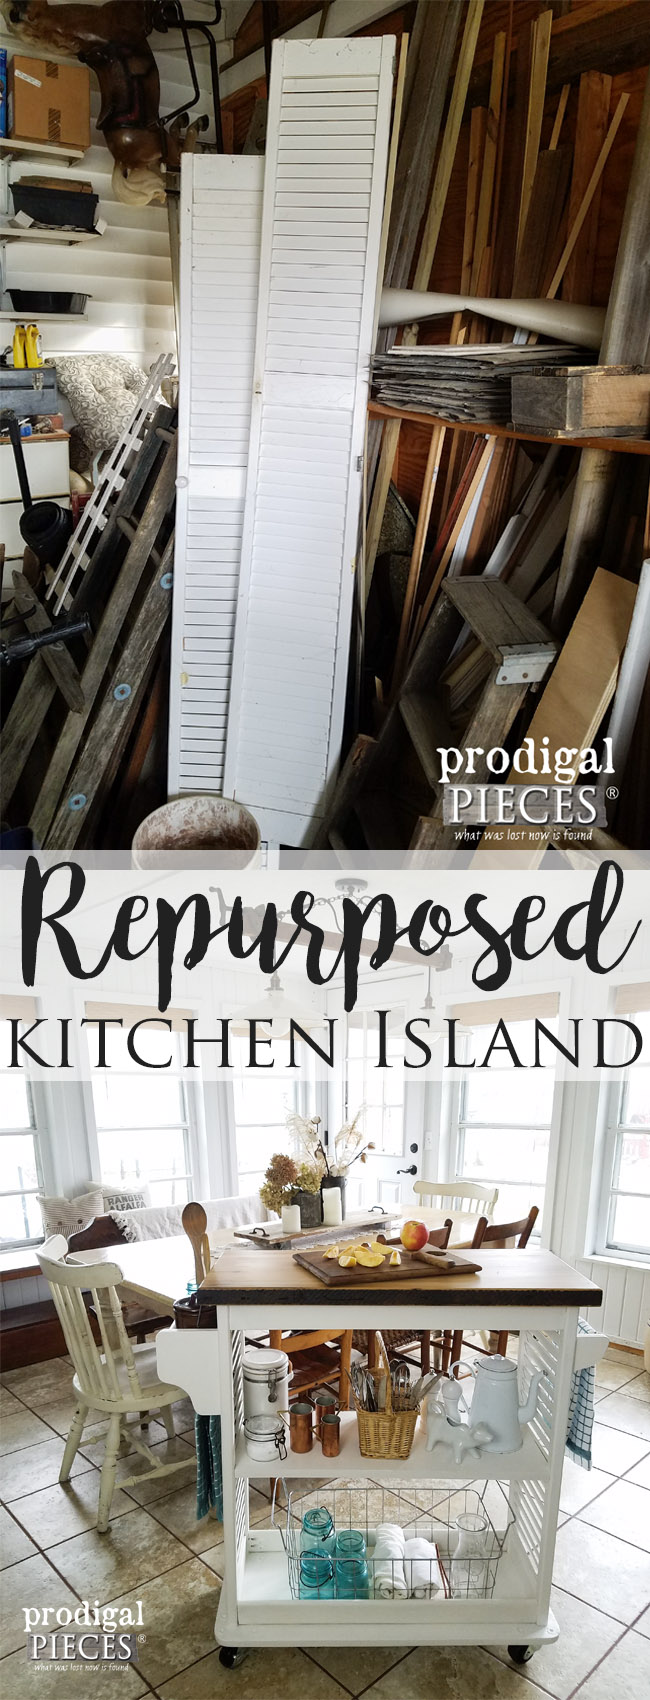
It's a new day and a new project on the way! When you're at the thrift store to you ever spy something that seems to sit there for months and then you start to feel sorry for it? Sometimes I cave and buy it hoping to give it new life. That's what happened when I kept seeing this beanie baby shelf.

Now, I will be honest...I can't stand the beanie baby craze, so I apologize to all of you who love them. They are cute, but I could never fathom having dozens of them. I call them dust catchers. Okay, so there's that. hahaha.
This is a well made shelf, but no one wanted it for obvious reasons. With that, I decide to have fun with this and recreate it all together. Consider yourself warned that I tend to go overboard, like my entry storage unit
I created HERE. This is where my stash comes into play.

DIY TIME
First, I found this wood board that only needed less than a quarter inch taken off the end to replace that "My Beanies" board. I chopped it with my miter saw and then took out the sign. In order to do that I used a nail punch and hammer to push the nails all the way through. I pull the nails out of the board once it's removed and fill the holes in the beanie baby shelf with wood filler.

Finally, my goal was to turn this shelf into as much of a functional piece as possible, so I decided to add some pegs to hang coffee mugs.

I cut those from some dowel with my hack saw and sanded the ends. Then, I taped off my drill bit so I would be able to get the same depth on each hole. I drilled in at an angle with my drill so that the mugs would hang and not fall off.

Then, once holes are drilled, I add wood glue to each hole and plug in the dowel. Done!
MORE FUN
Then out comes my handy Kreg pocket hole jig and I add pocket screws to the board I with pegs in it and attach it to the shelf.


THE REVEAL
Nothing like spray paint to make things new and here is the first part of my recreated beanie baby shelf.

Buh-bye beanies and hello farmhouse! {{happy dance}}


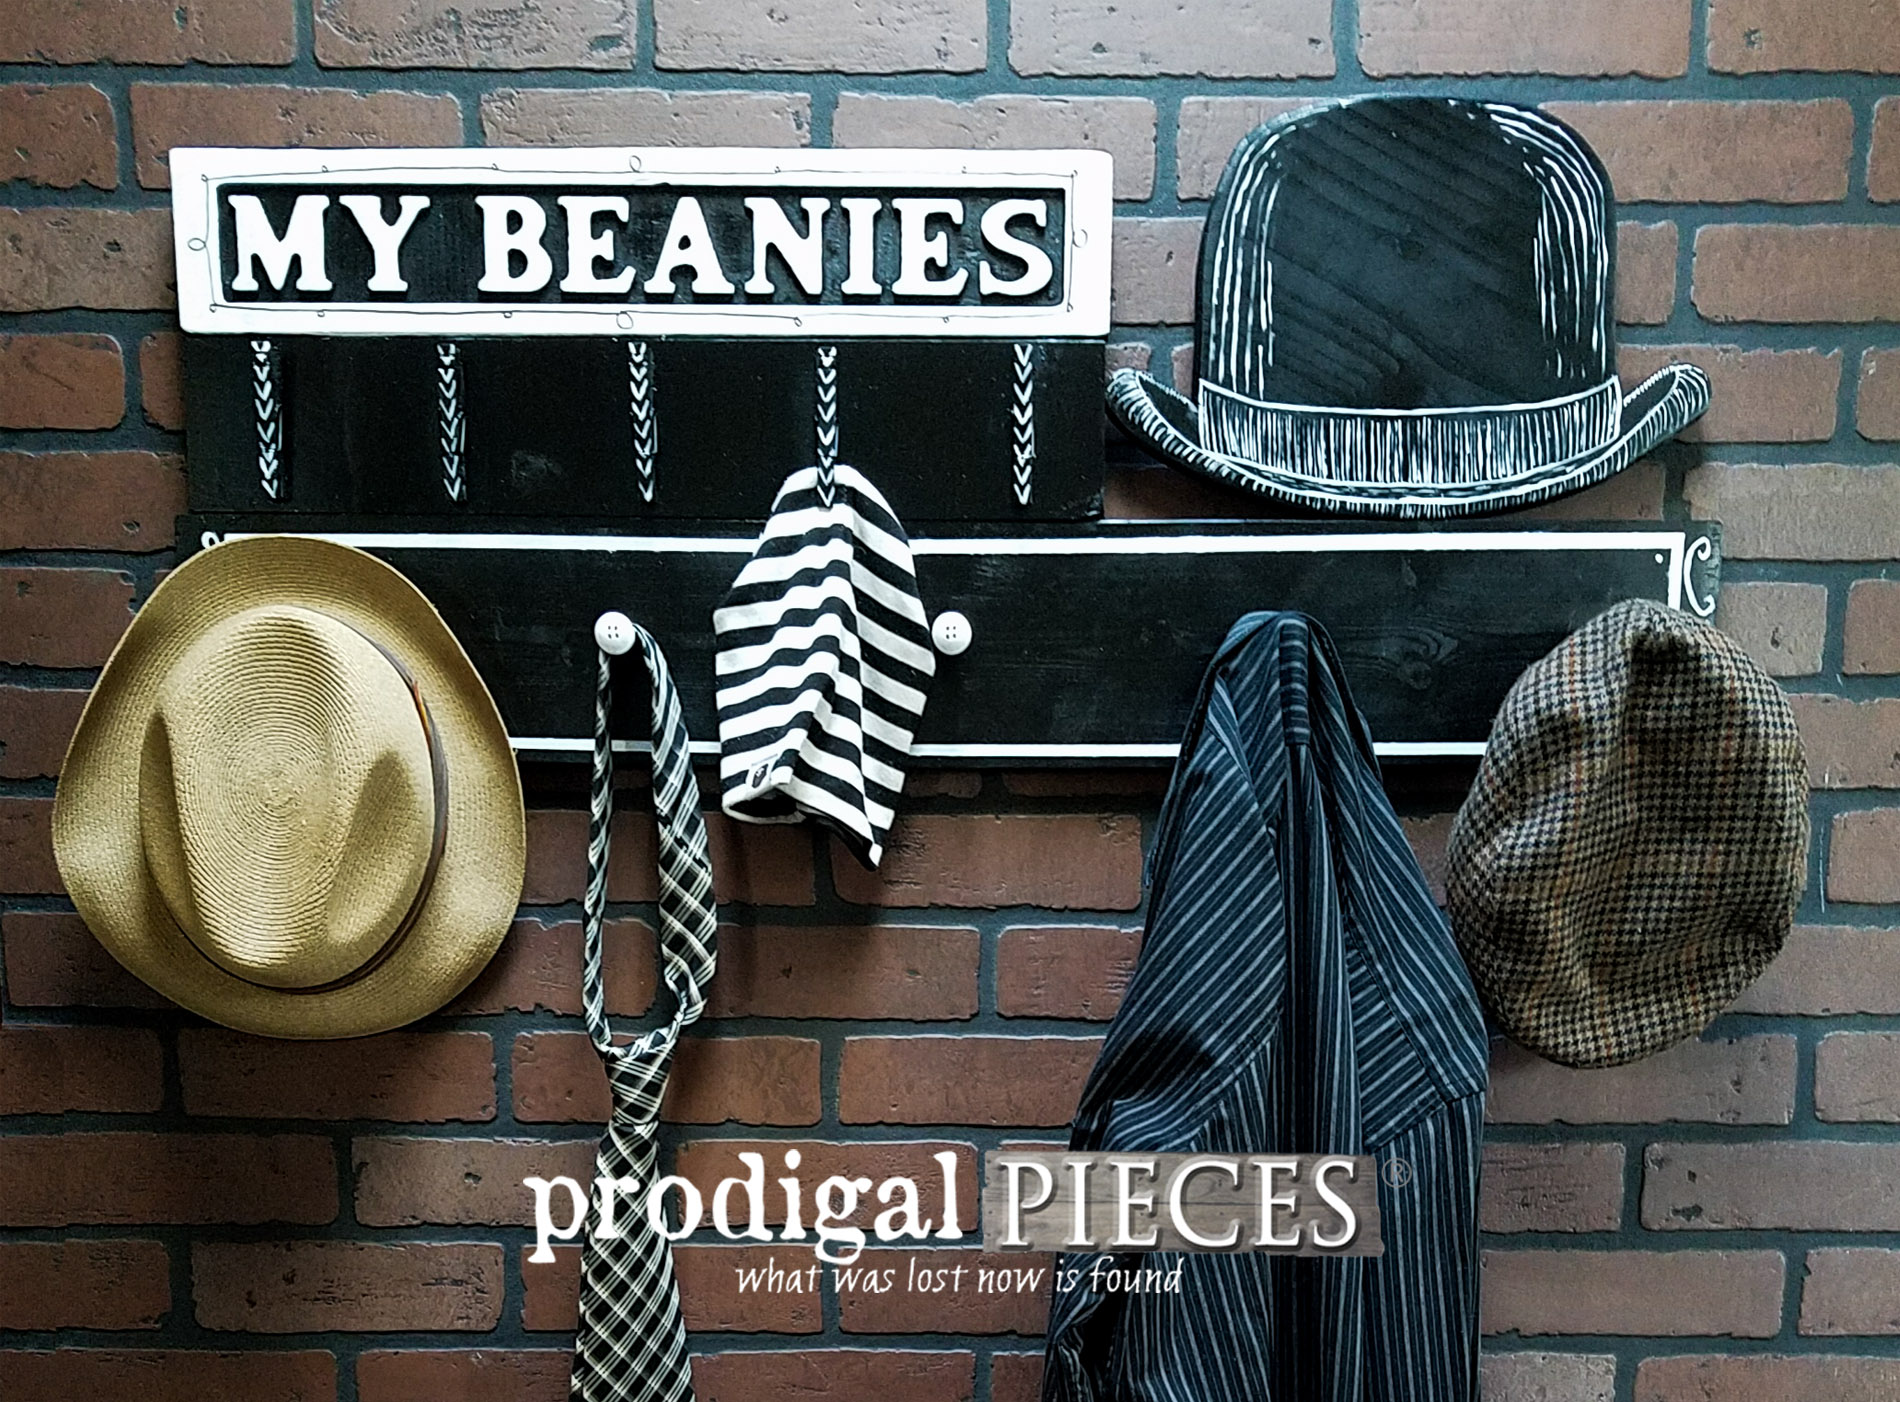
I didn't have the heart to burn the "My Beanies" board because it still was cool and someone took the time to route out those letters. So, what do I do? Go all out and build this. Ha!


What a nut I am, right? I totally played around with this and created a coat rack (
tutorial here) with a place to hang your beanies. My idea of a beanie collection are HATS. I do tend to hoard them and they may or may not be dust collectors. tee hee hee.

And yes, all this came from that teenie board I yanked off. I told you I would take it to the hilt. I laugh at myself. Though at the same time I think this is reminiscent of how God sees us, what we truly can be. Thankfully, He looks past the obvious and knows our hearts despite what others see. And He creates us to the hilt.


UP NEXT
Well, I hope you all enjoyed how a thrifted beanie baby shelf got me into a DIY challenge. Also, there's always a way to recreate your decor and it's fun! If you love either of these creations, you can find them along with many other goodies in
my online shop.

Additionally, I invite you to pin and share to inspire others to think past the obvious and have some fun. That's what makes life worth living.

Up next is
Trash to Treasure Tuesday and these are my project pieces. Any guesses? Come see their
new life HERE. Be sure to
sign up for my newsletter. PLUS, you will get your FREE Furniture Buying Checklist and special discount to
my shop. Until next time!


 PINTEREST | EMAIL
Also, more projects like my beanie baby shelf: