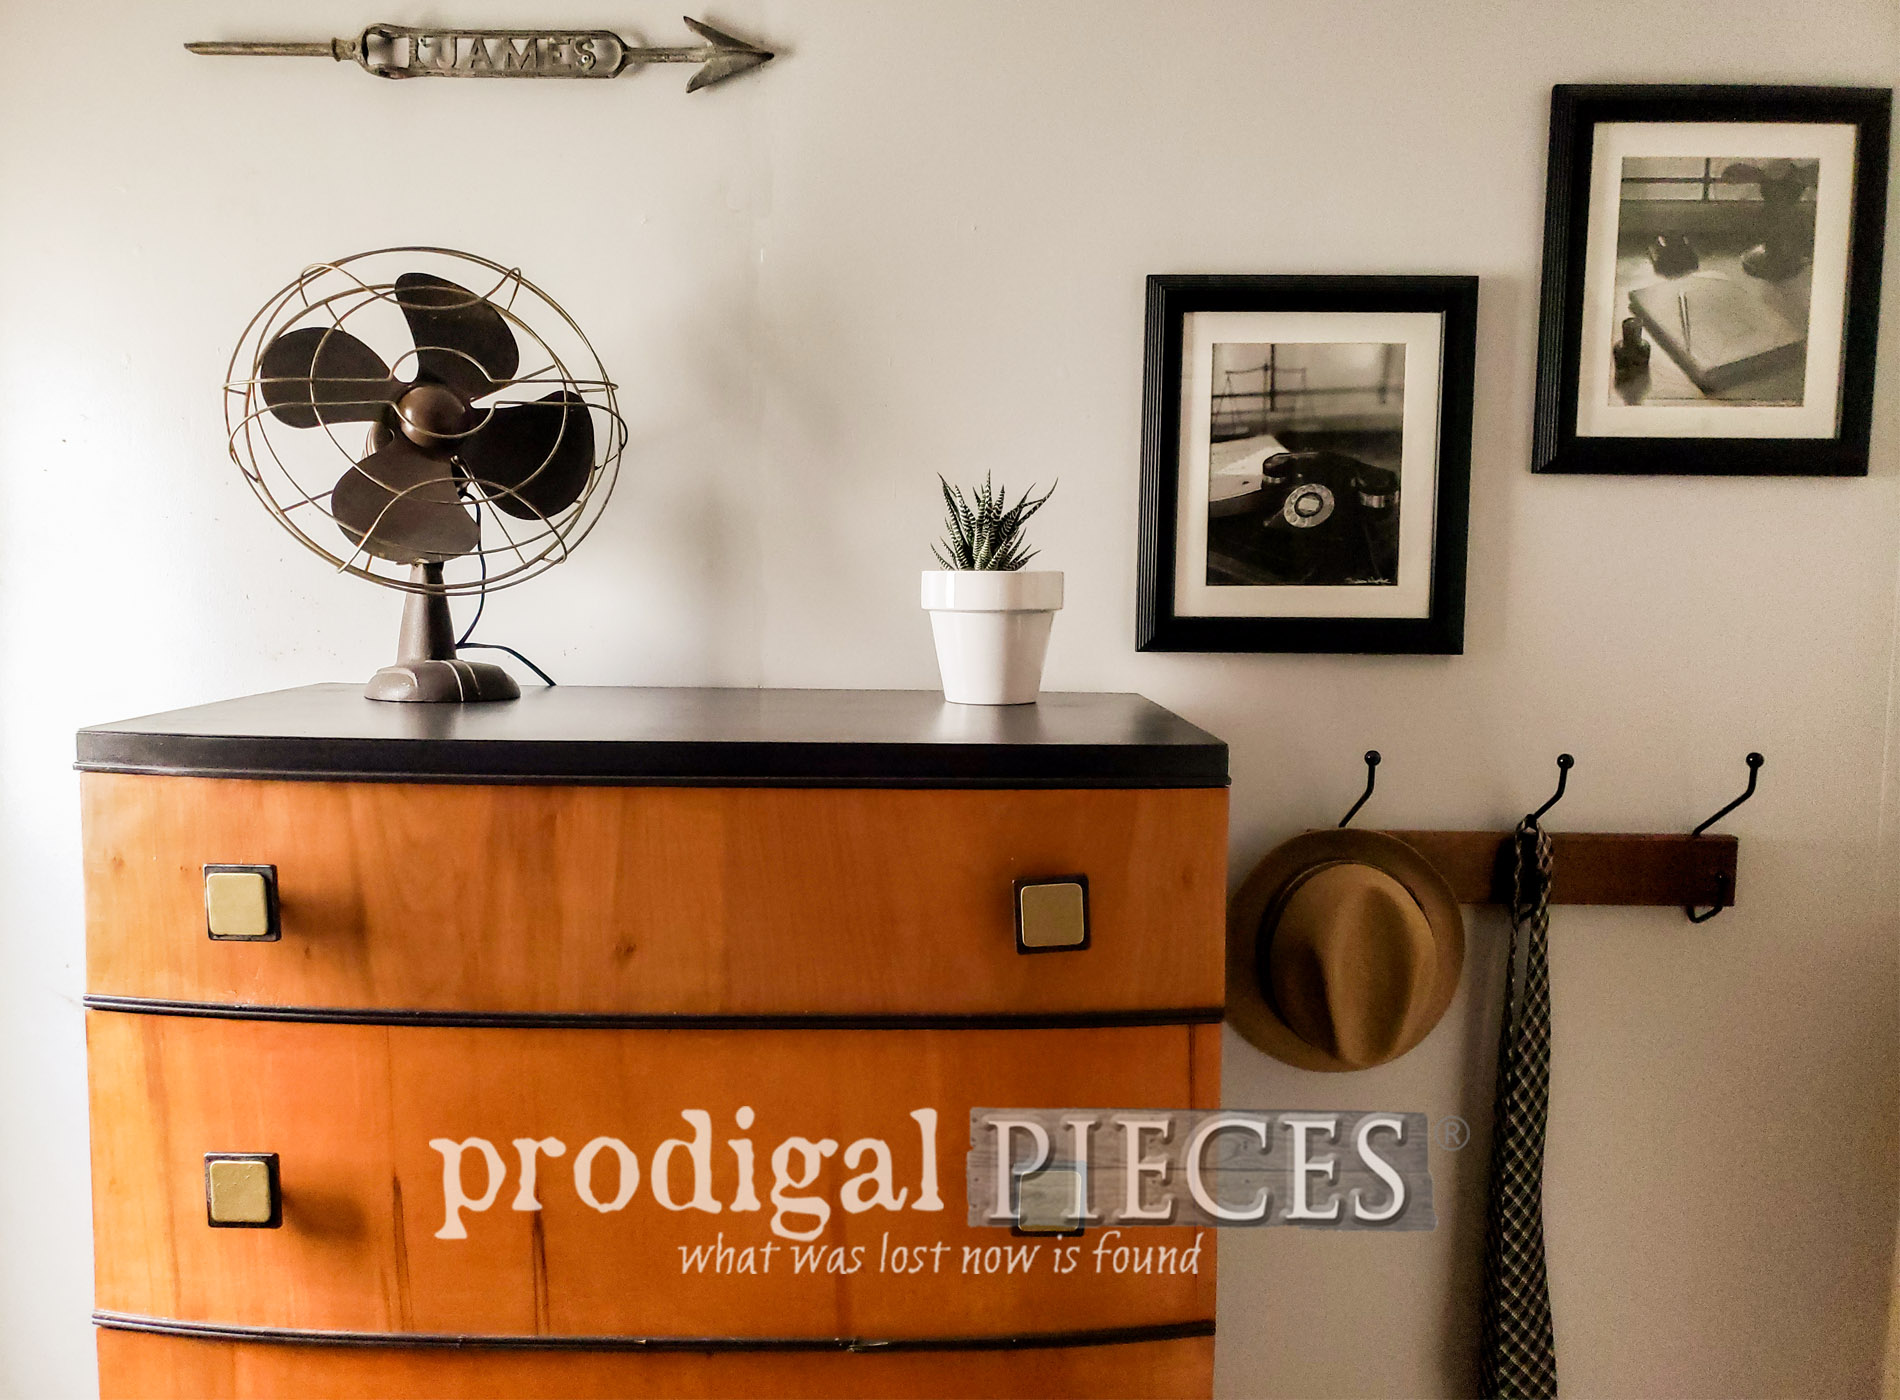
Spring is in the air! That means city cleanup is happening and you know what that means...
trashure. Yasssss... While I could easily spend four weeks of junkin' bliss perusing my city quadrants, I don't. Sadly, I would need 10 of me to tackle all I could find. However, I do shop Curb le Chic in my neighborhood for gems like this. Talk about a sweet find! This Art Deco chest of drawers looks as if it gave up. Not me!
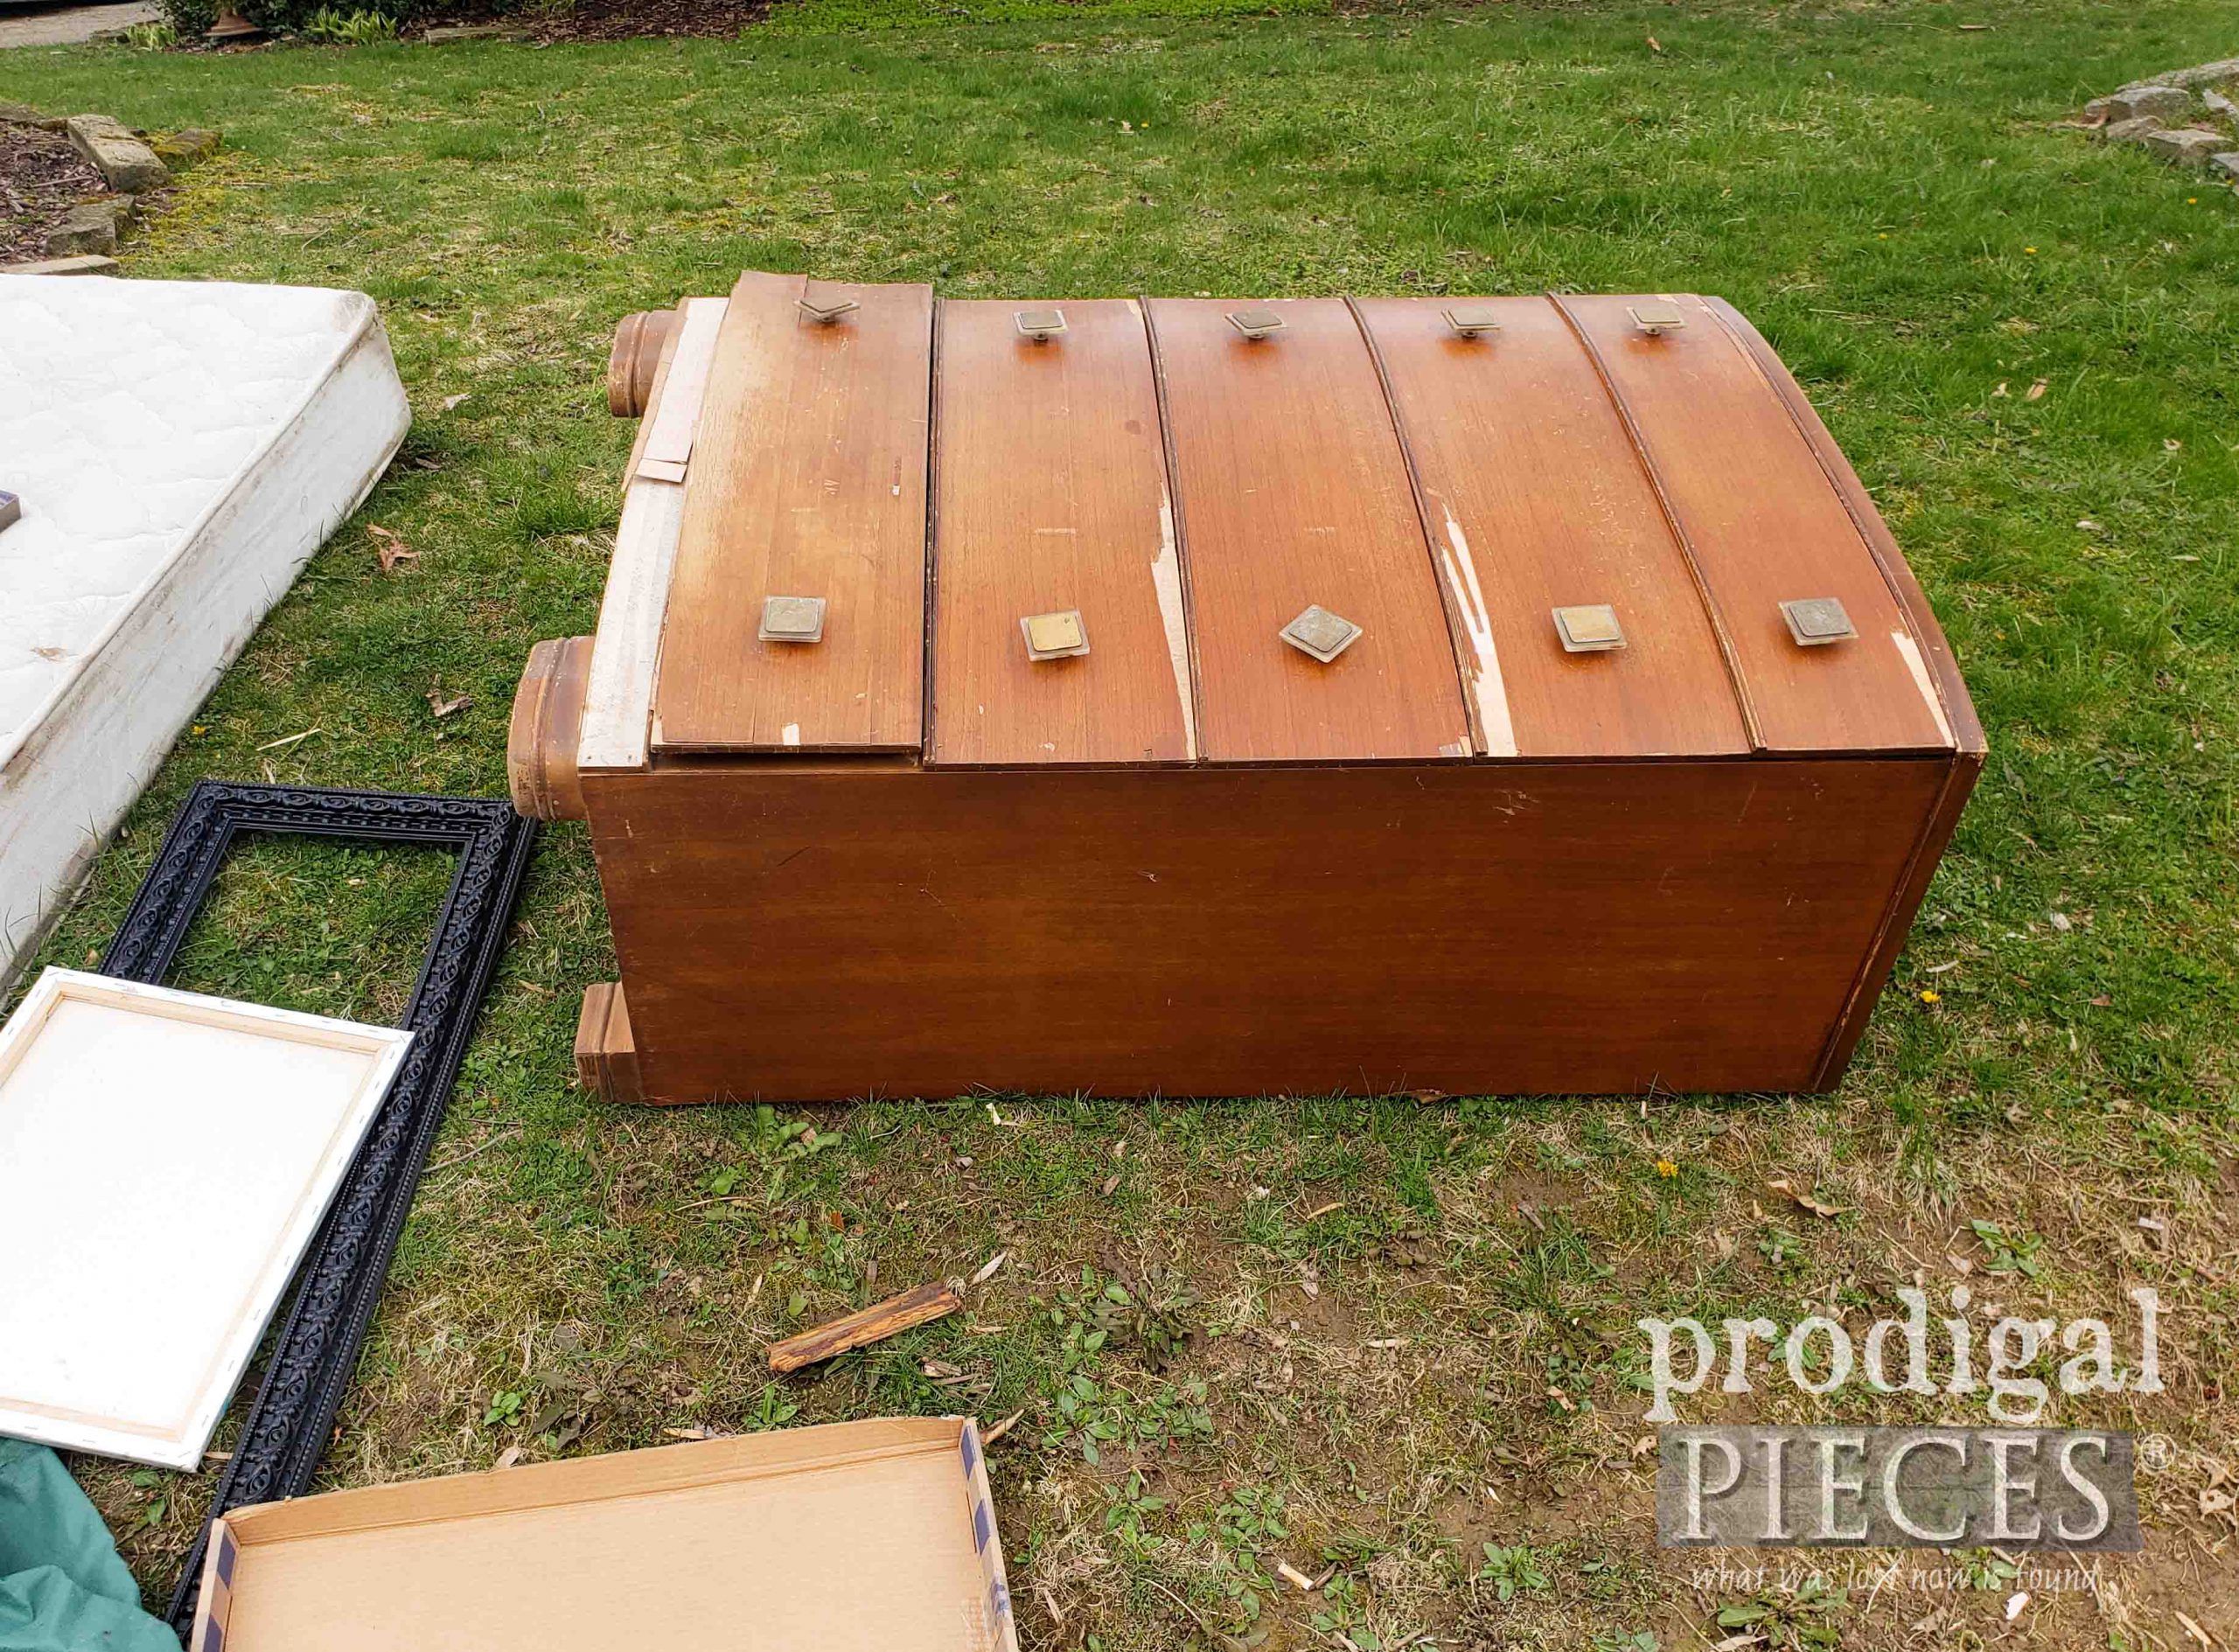
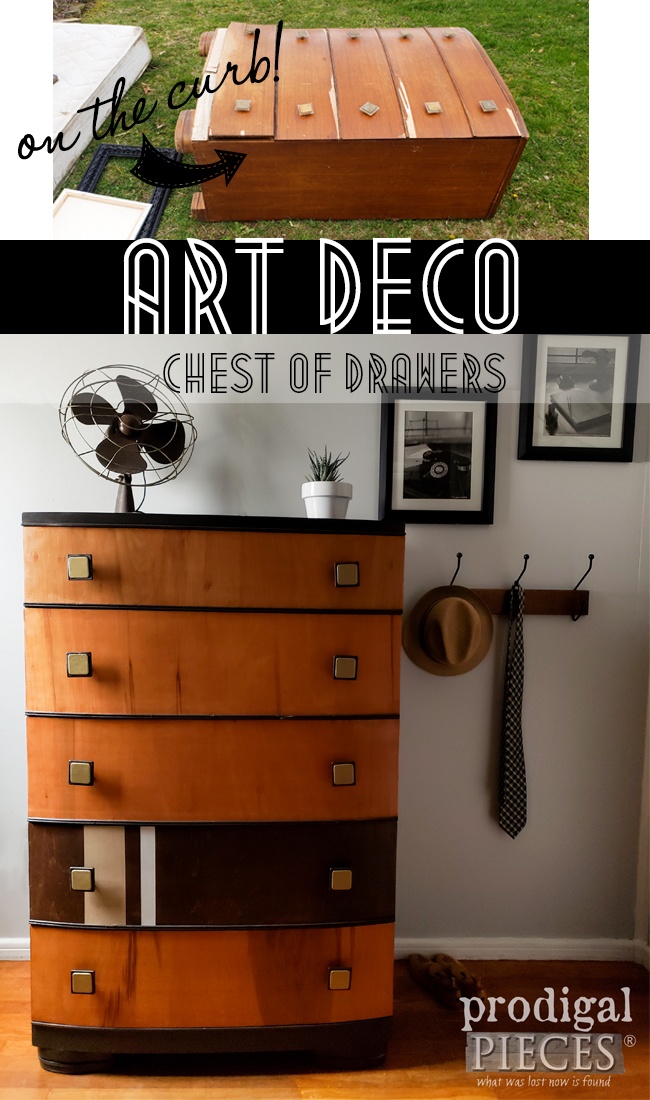
If you follow me on social media, you saw that I found LOOT. {{happy dance}} This chest is one of several pieces I found. It looks like me some days...like falling down and I can't get up. haha. Also, with this chest in this pile, I picked up a large, gorgeous, ornate wooden frame. Of course, I couldn't leave this chest there. It is so solid and well-made. All it needs is some Larissa lovin'.
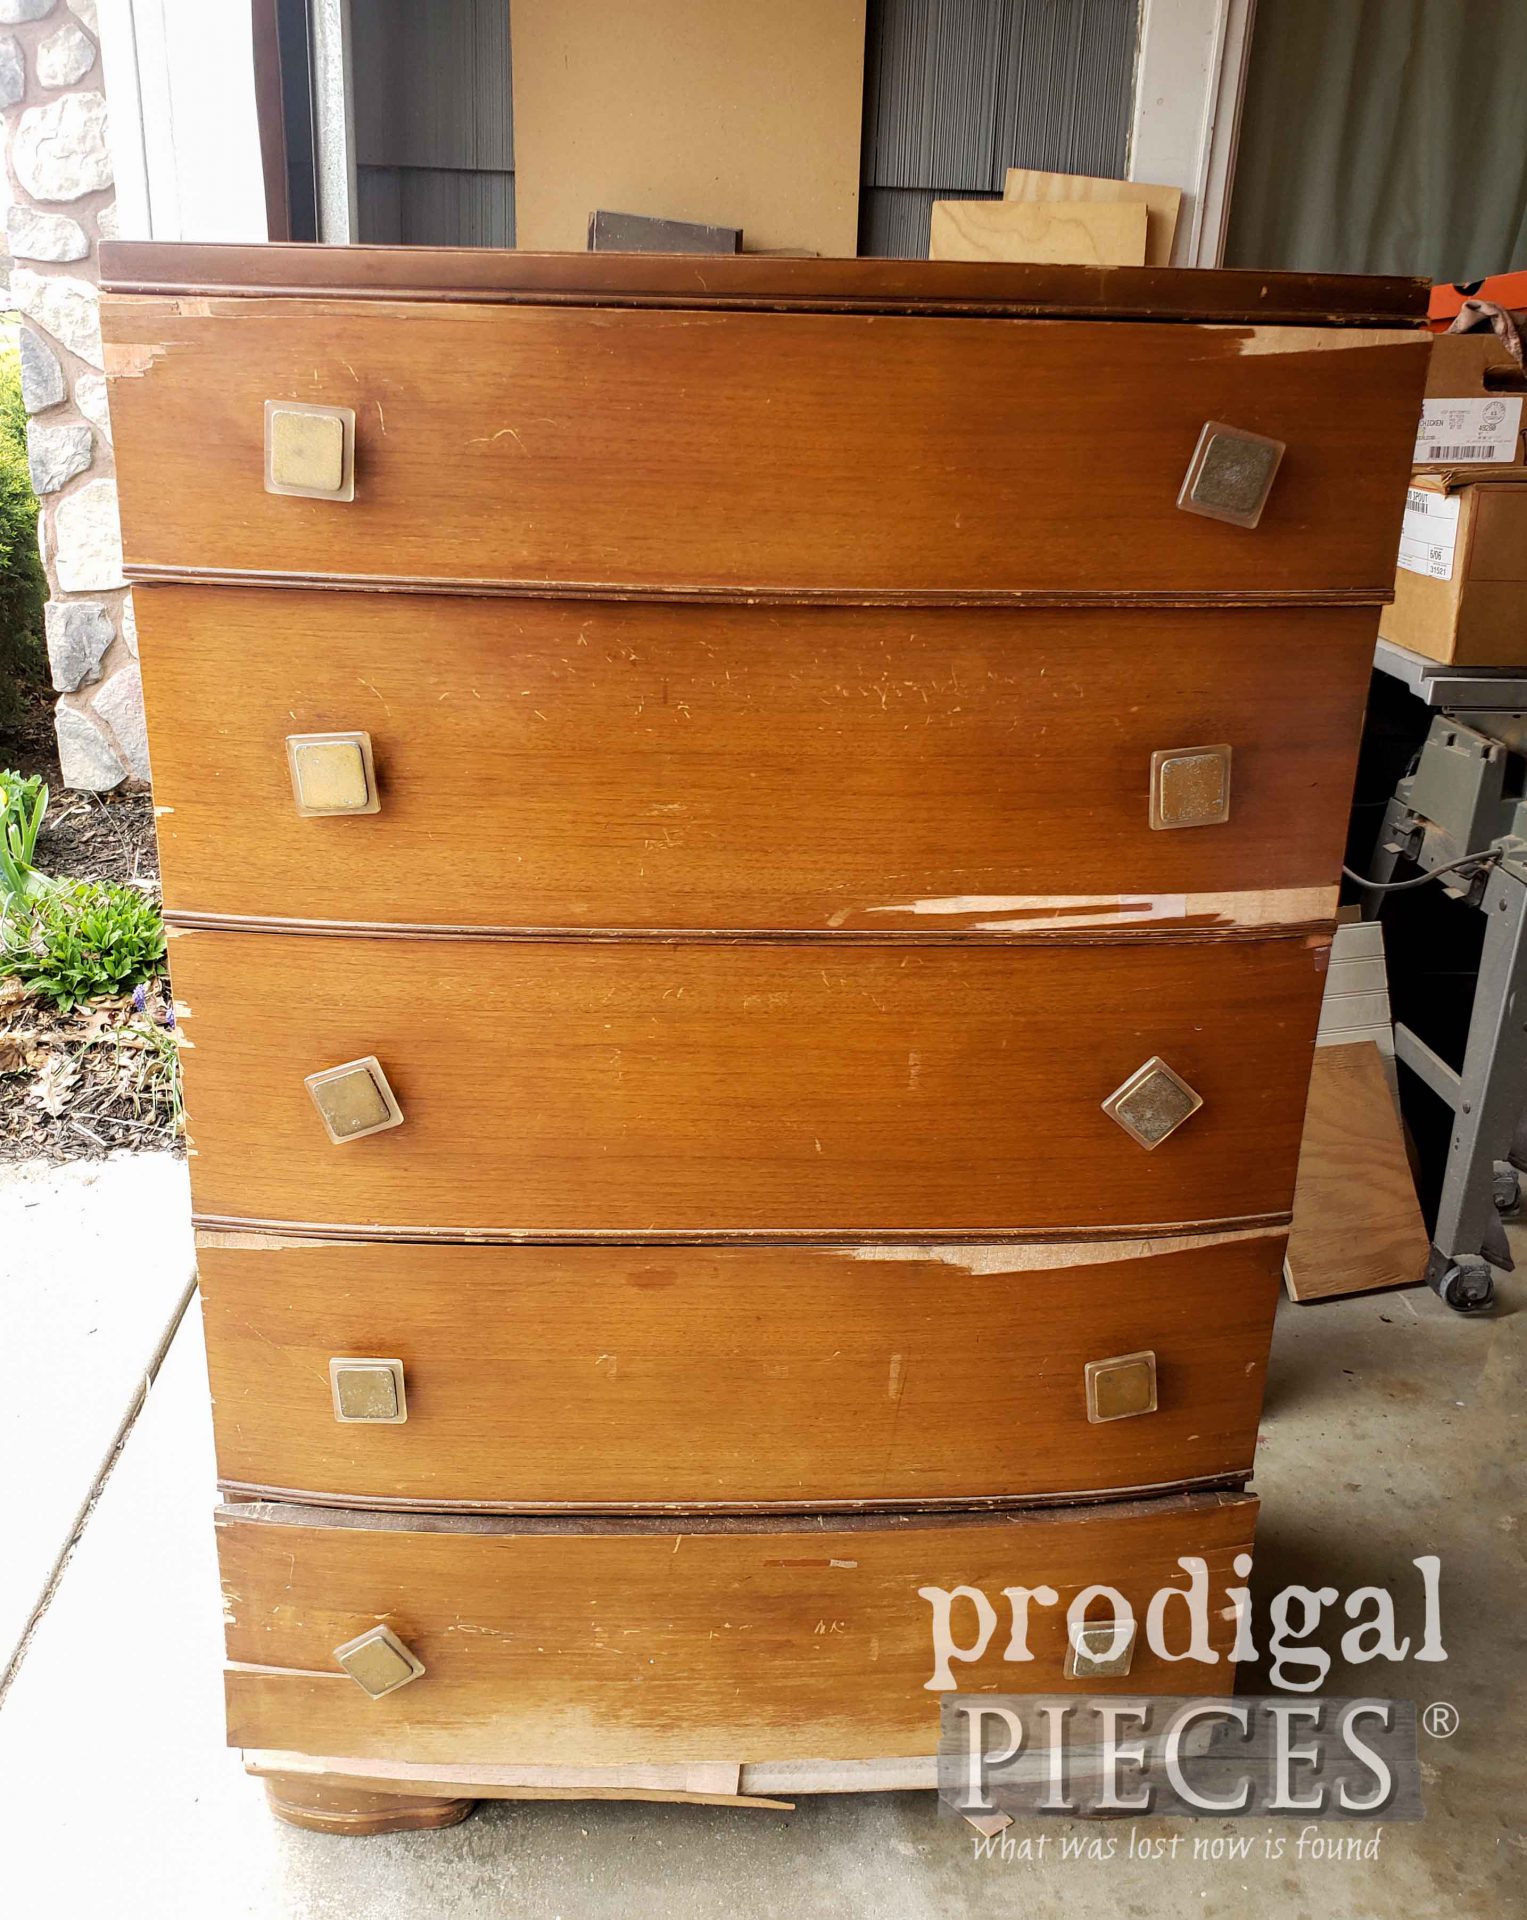
Peeling veneer, scuffs, scratches, but...no stink. SCORE! All of this fuss is superficial and is redeemable. Isn't that just like us and how we need our Jesus our Savior? While some give up, He sees beauty.
DIY TIME
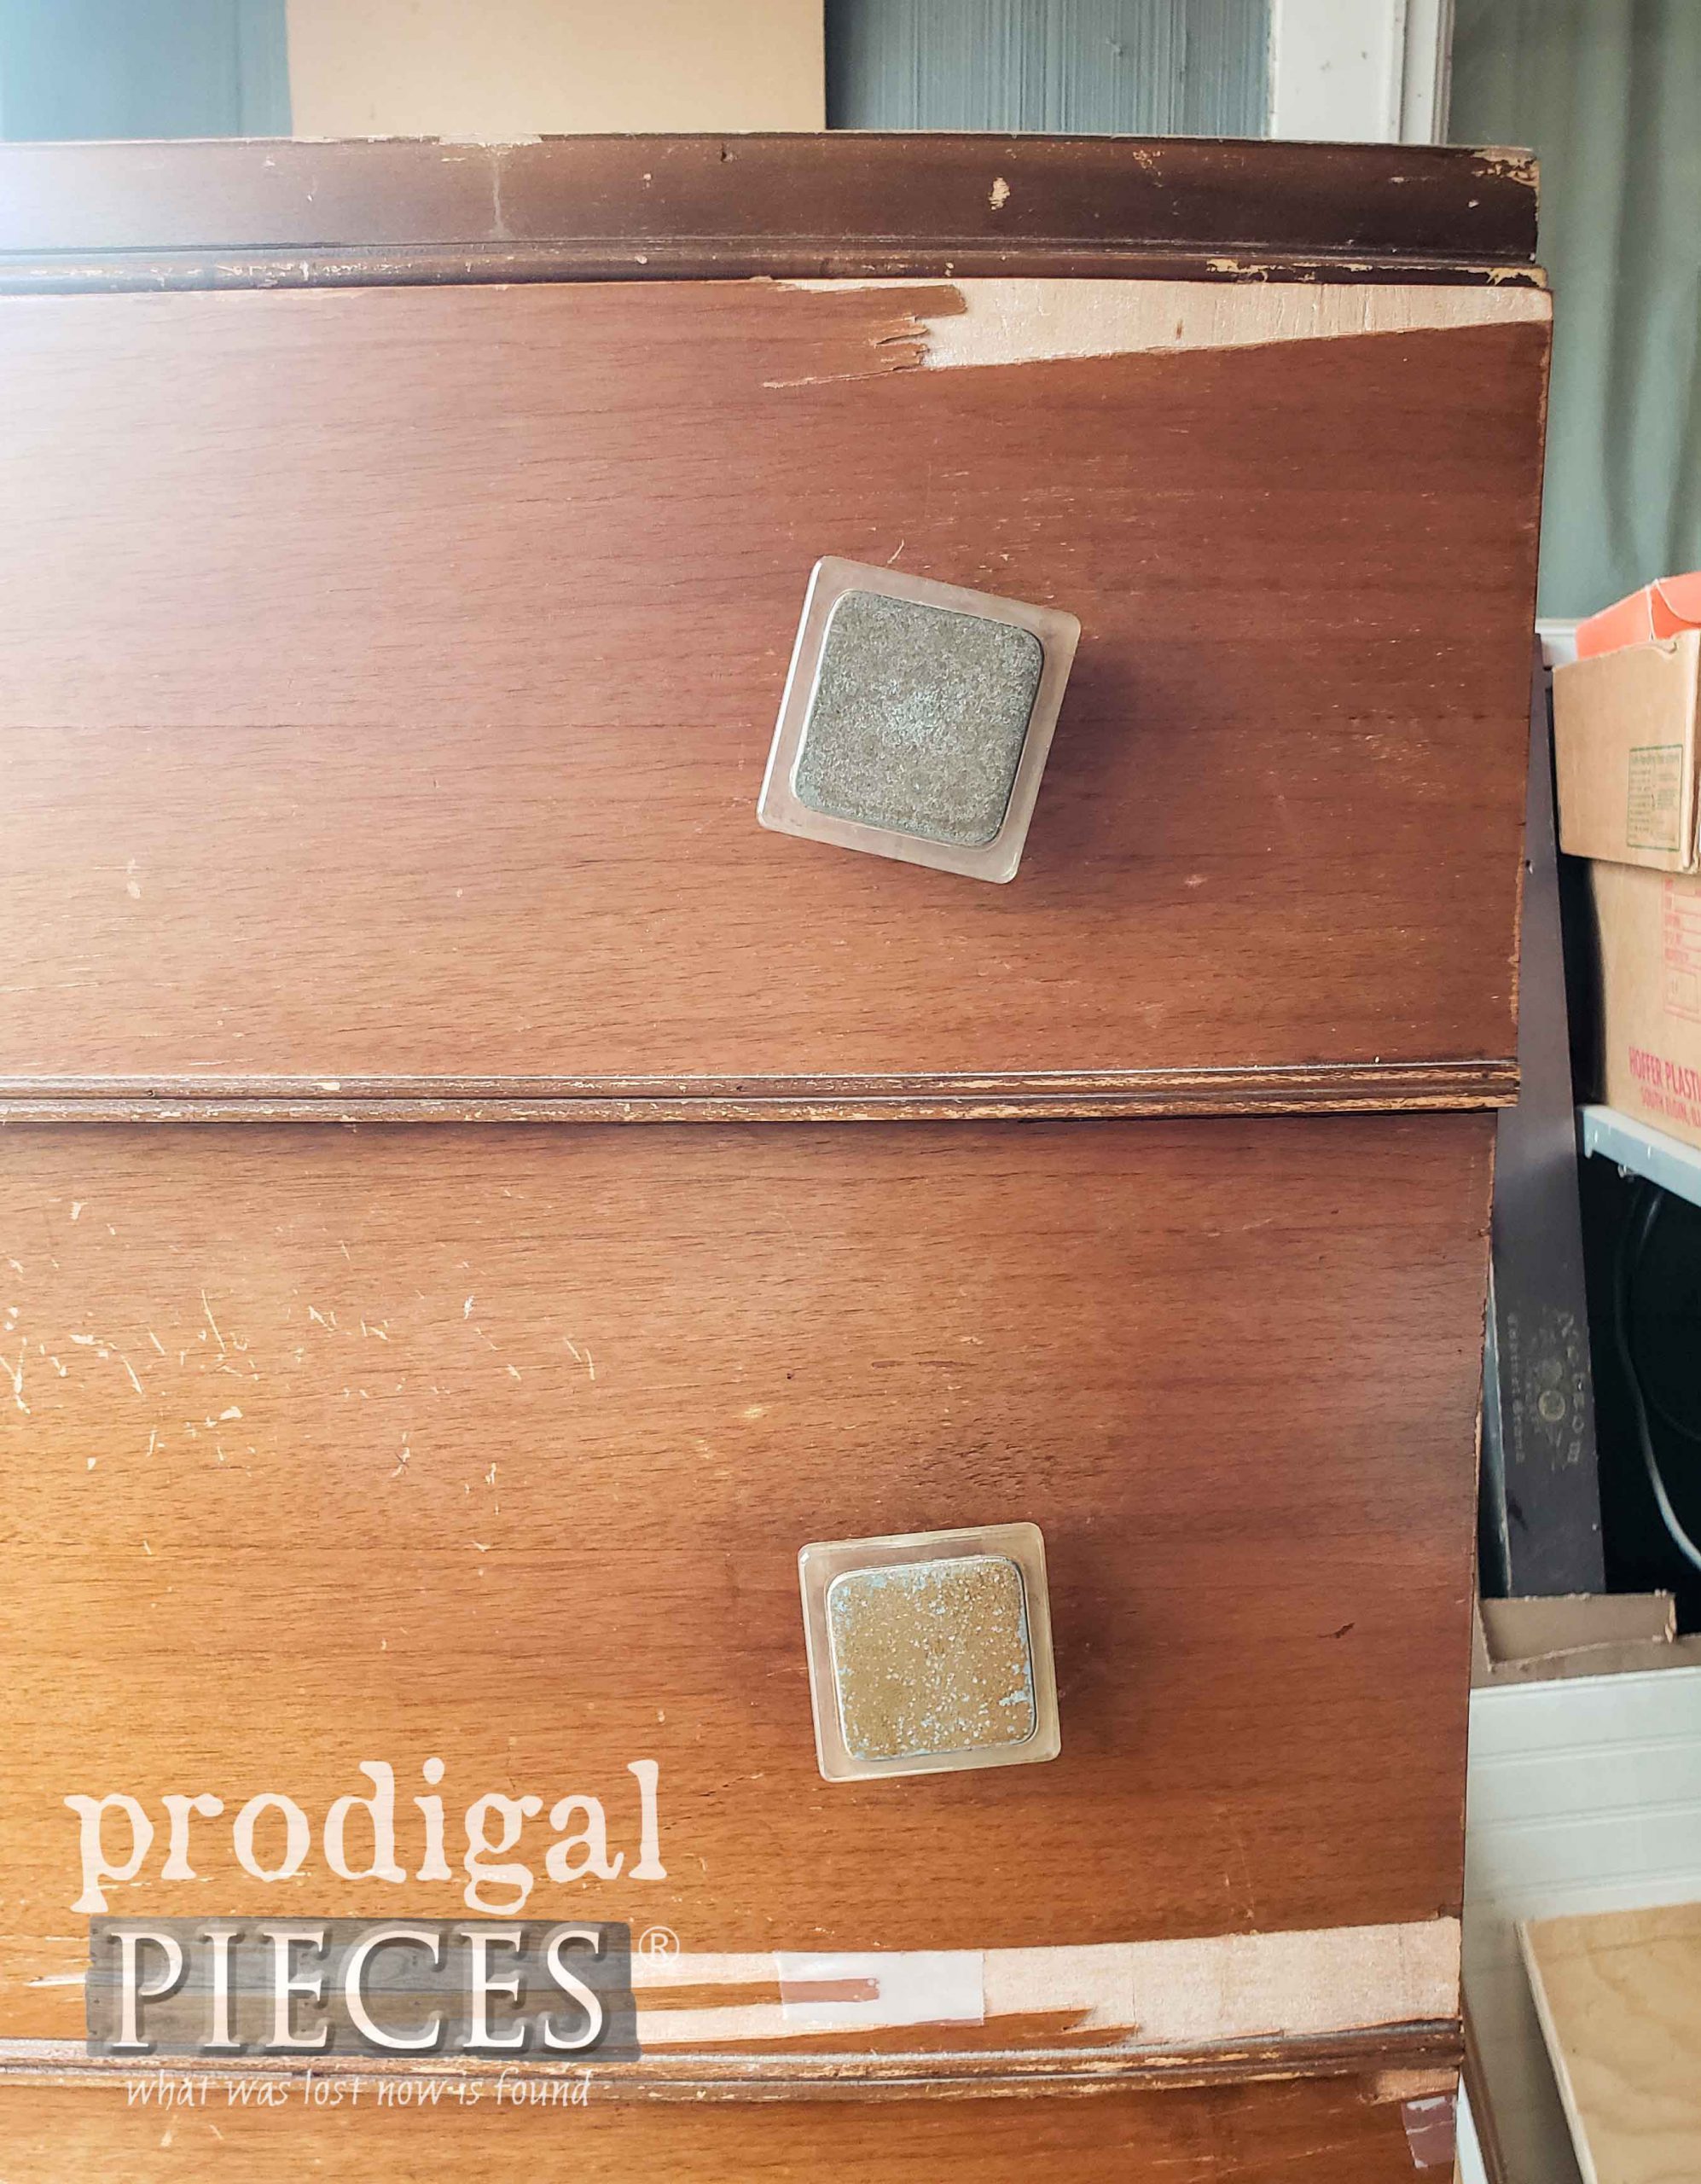
First, I grab my magnet to see if those pulls are brass. The are actually painted aluminum. The acrylic bases aren't in the best shape, but nothing I can't work with. Thankfully, they come apart so I can tackle them separately.
TIP: Always carry a magnet with you while junkin'. Brass, real silver (not silverplate), copper, and aluminum are all non-magnetic.
Next, I take my putty knife and pop off the beaded trim on the drawer fronts and remove the veneer. Lemme just say that I have spent HOURS on certain pieces taking off veneer, even with
my towel soak method. When this veneer peeled off like a Post It note, I did a huge happy dance.
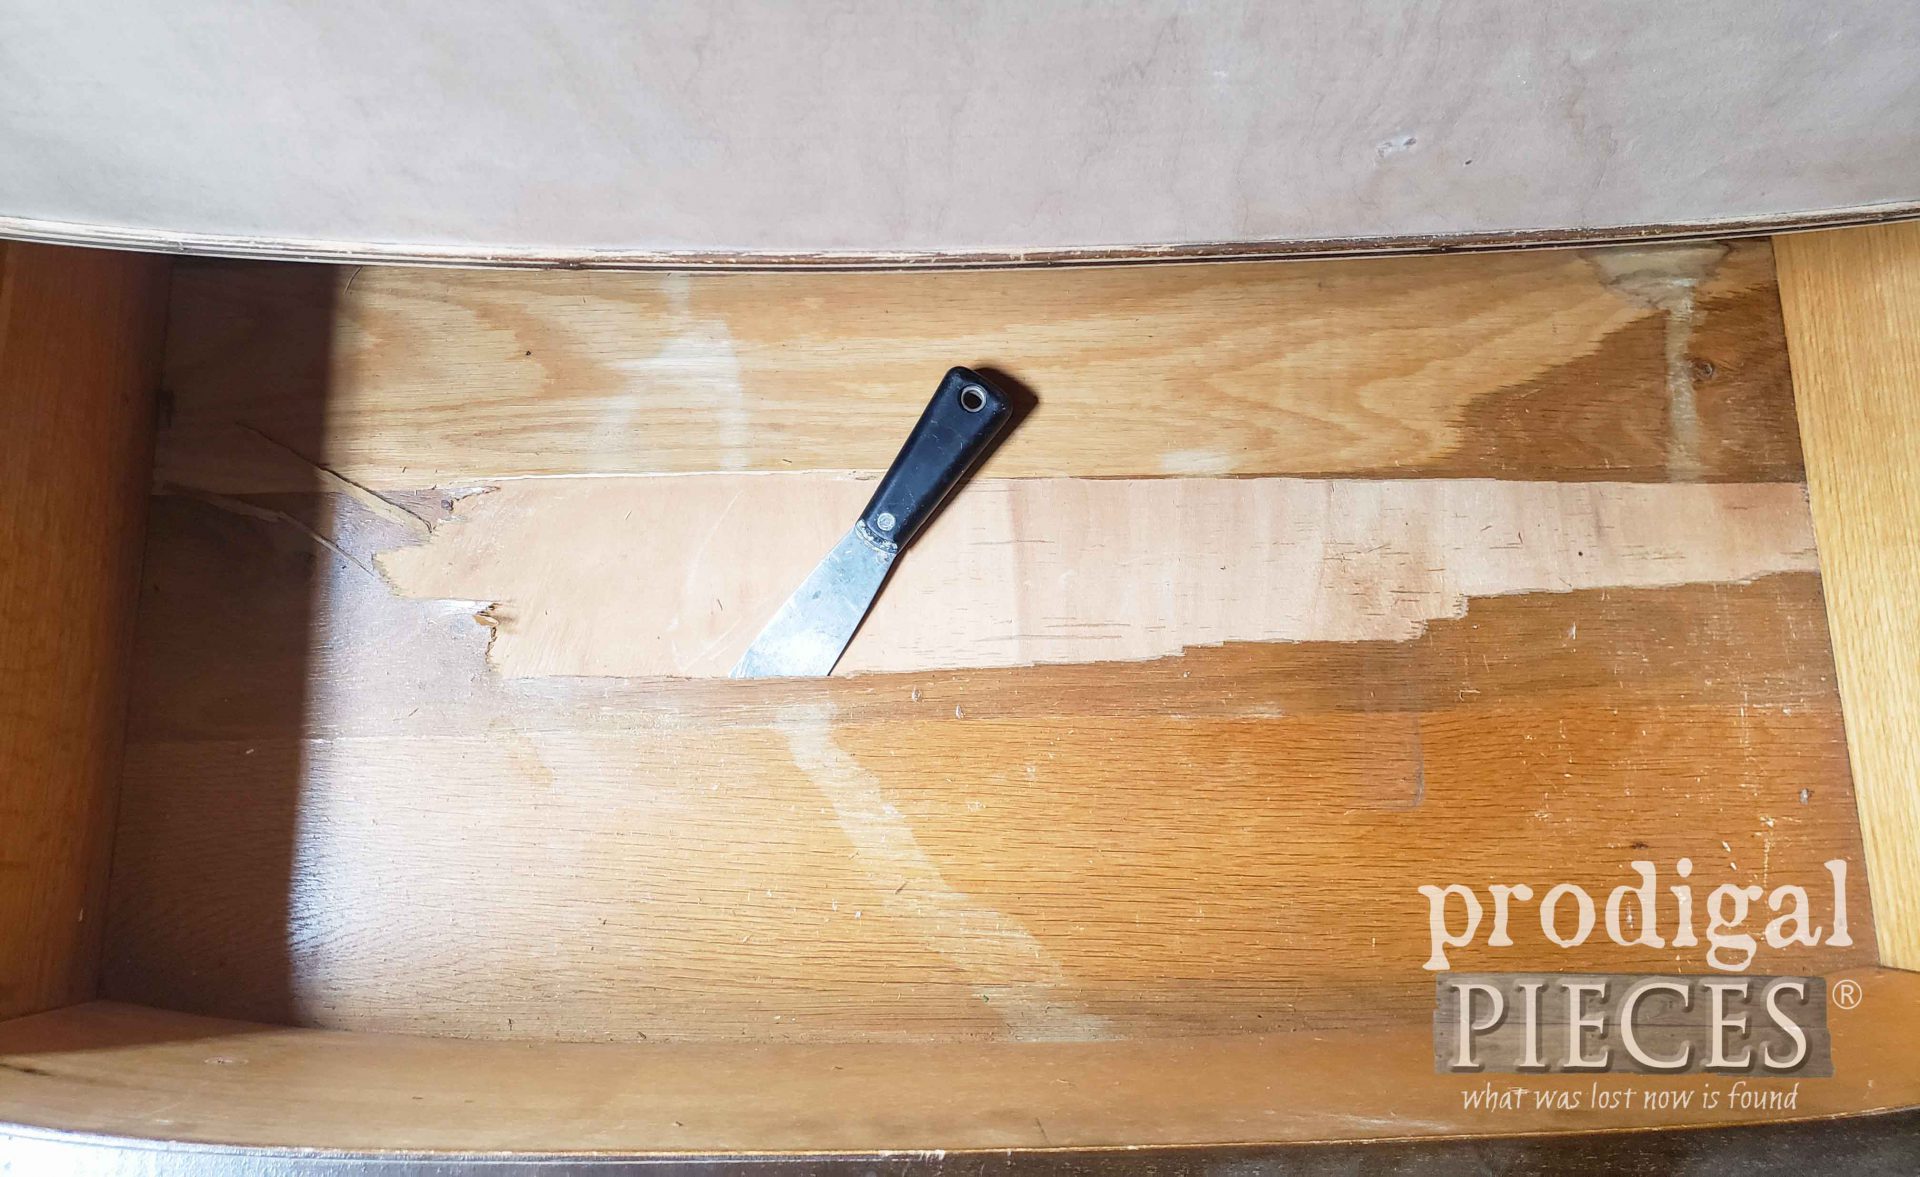
In addition, I have two drawers that had messed up veneer
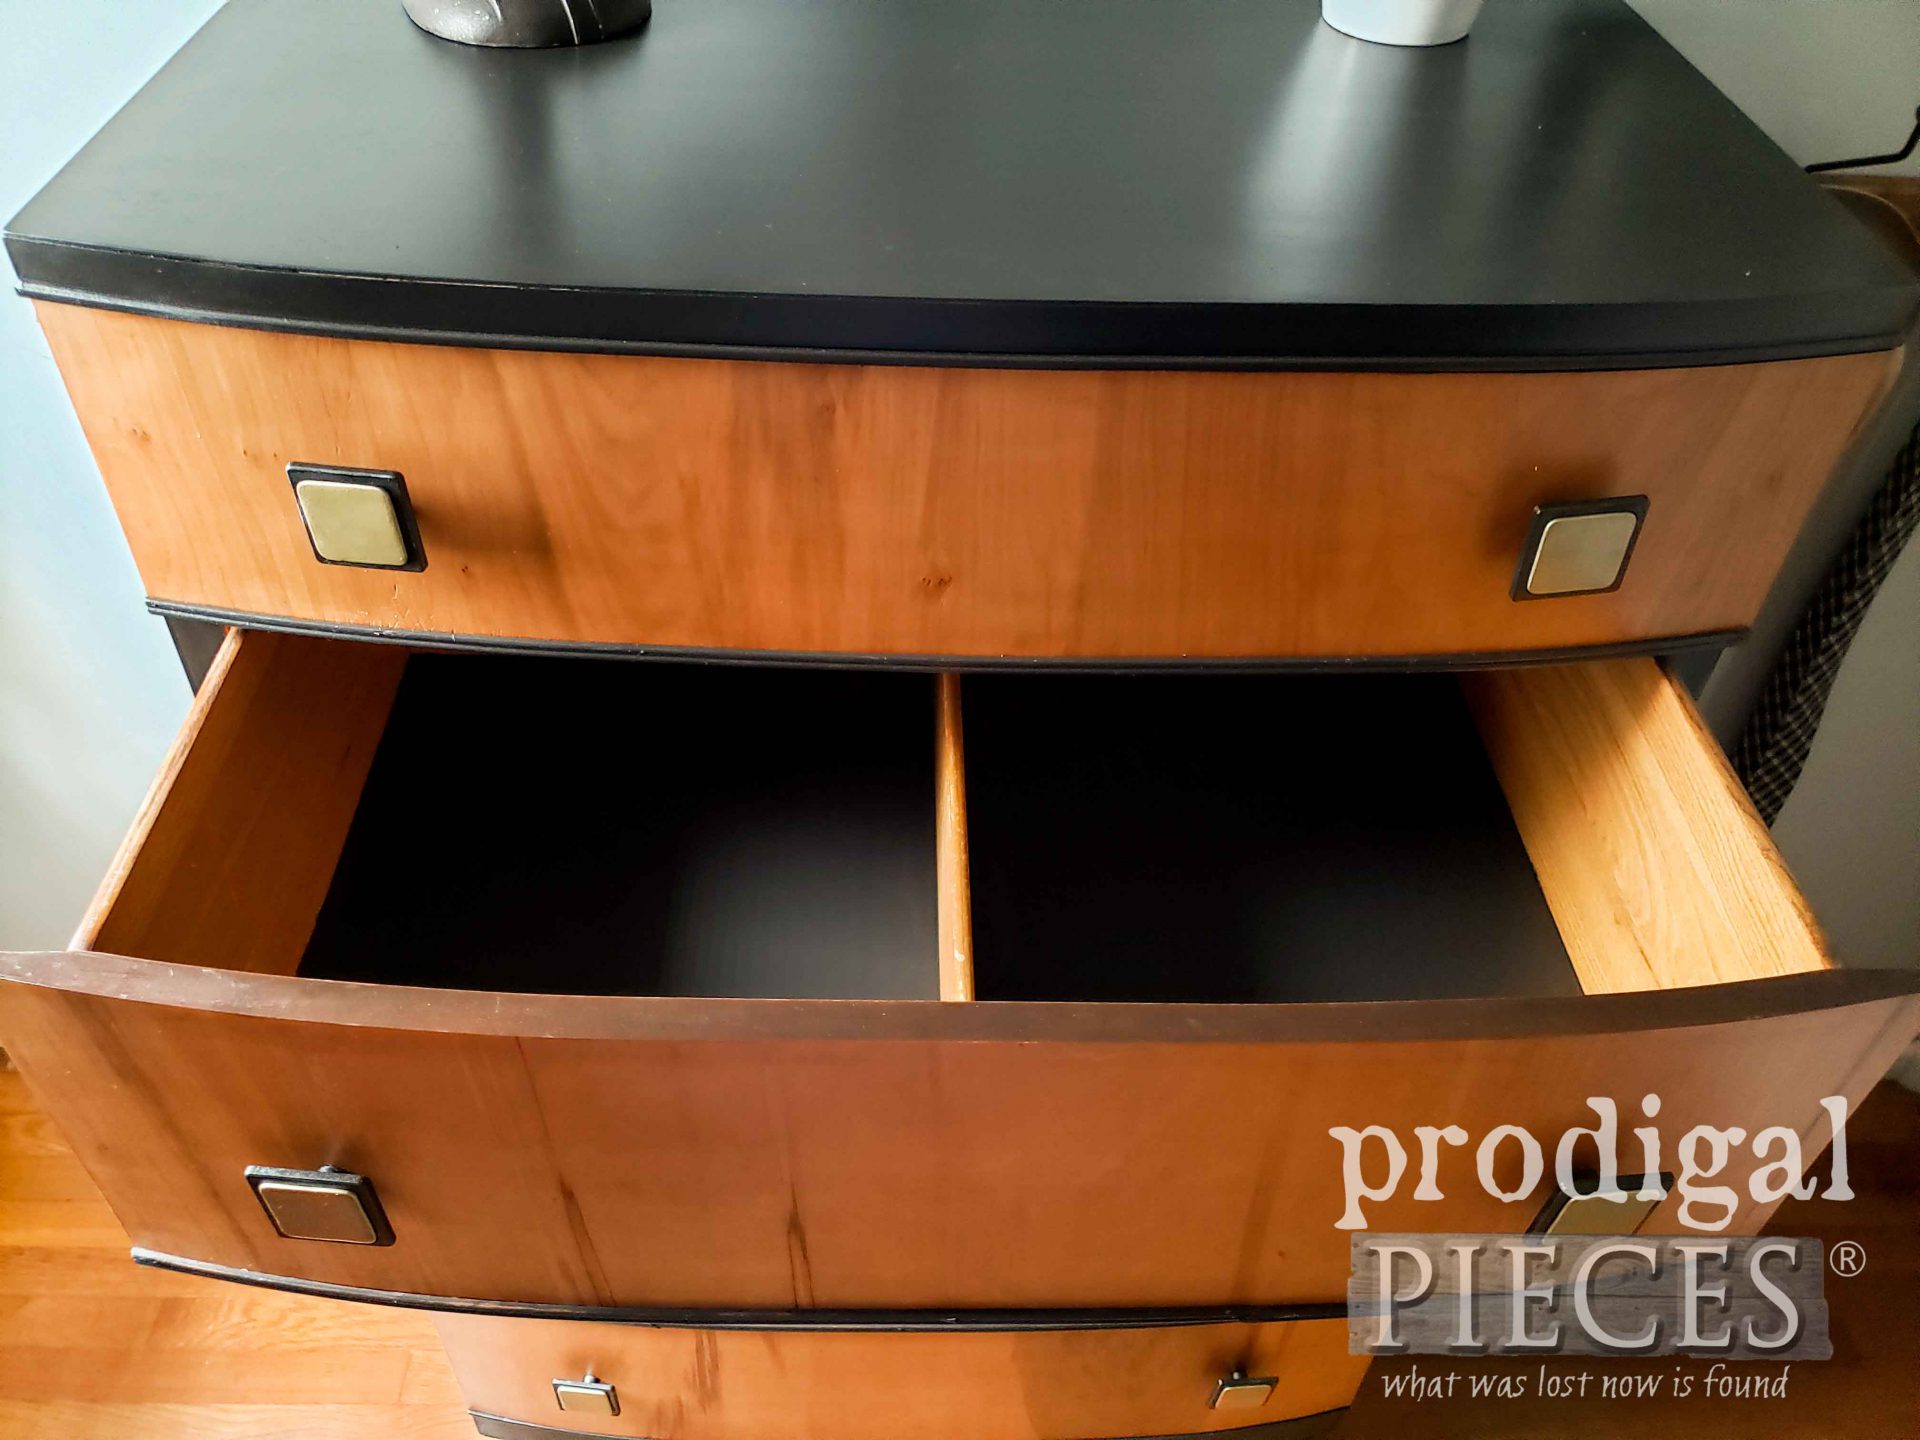
inside the drawers. This is not near as fun as the drawer faces. It took me hours to use my heat gun and chip out that veneer. whew! I have oodles of bruises and aches to prove it.
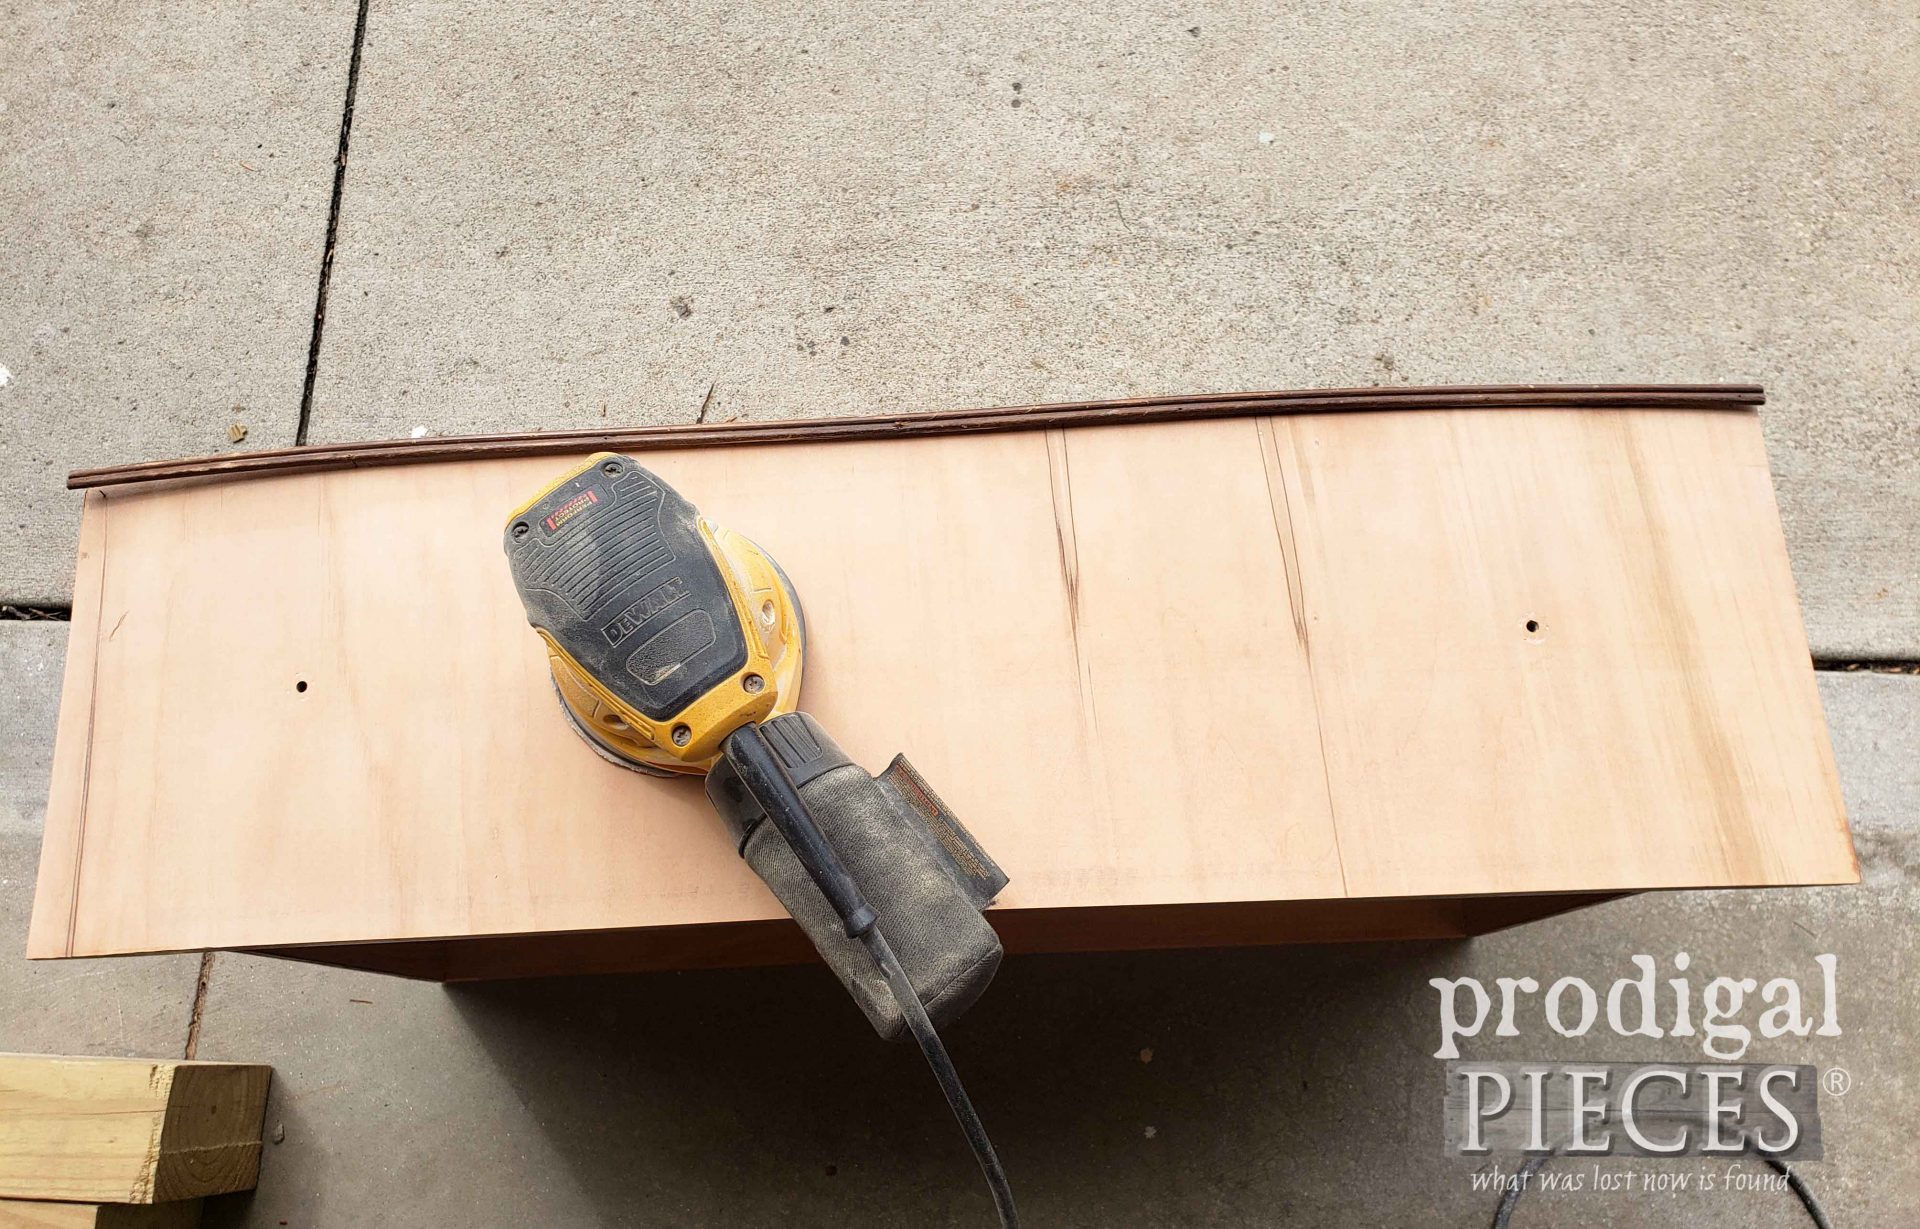
Here's the wonky part. When you pull off veneer you don't know what you're going to find underneath. With that in mind, I feel pretty good about this because it is so super solid and built to last. With four of the five drawers I was excited. However, when I got to the fourth drawer in the stack it was a different wood...kinda green.
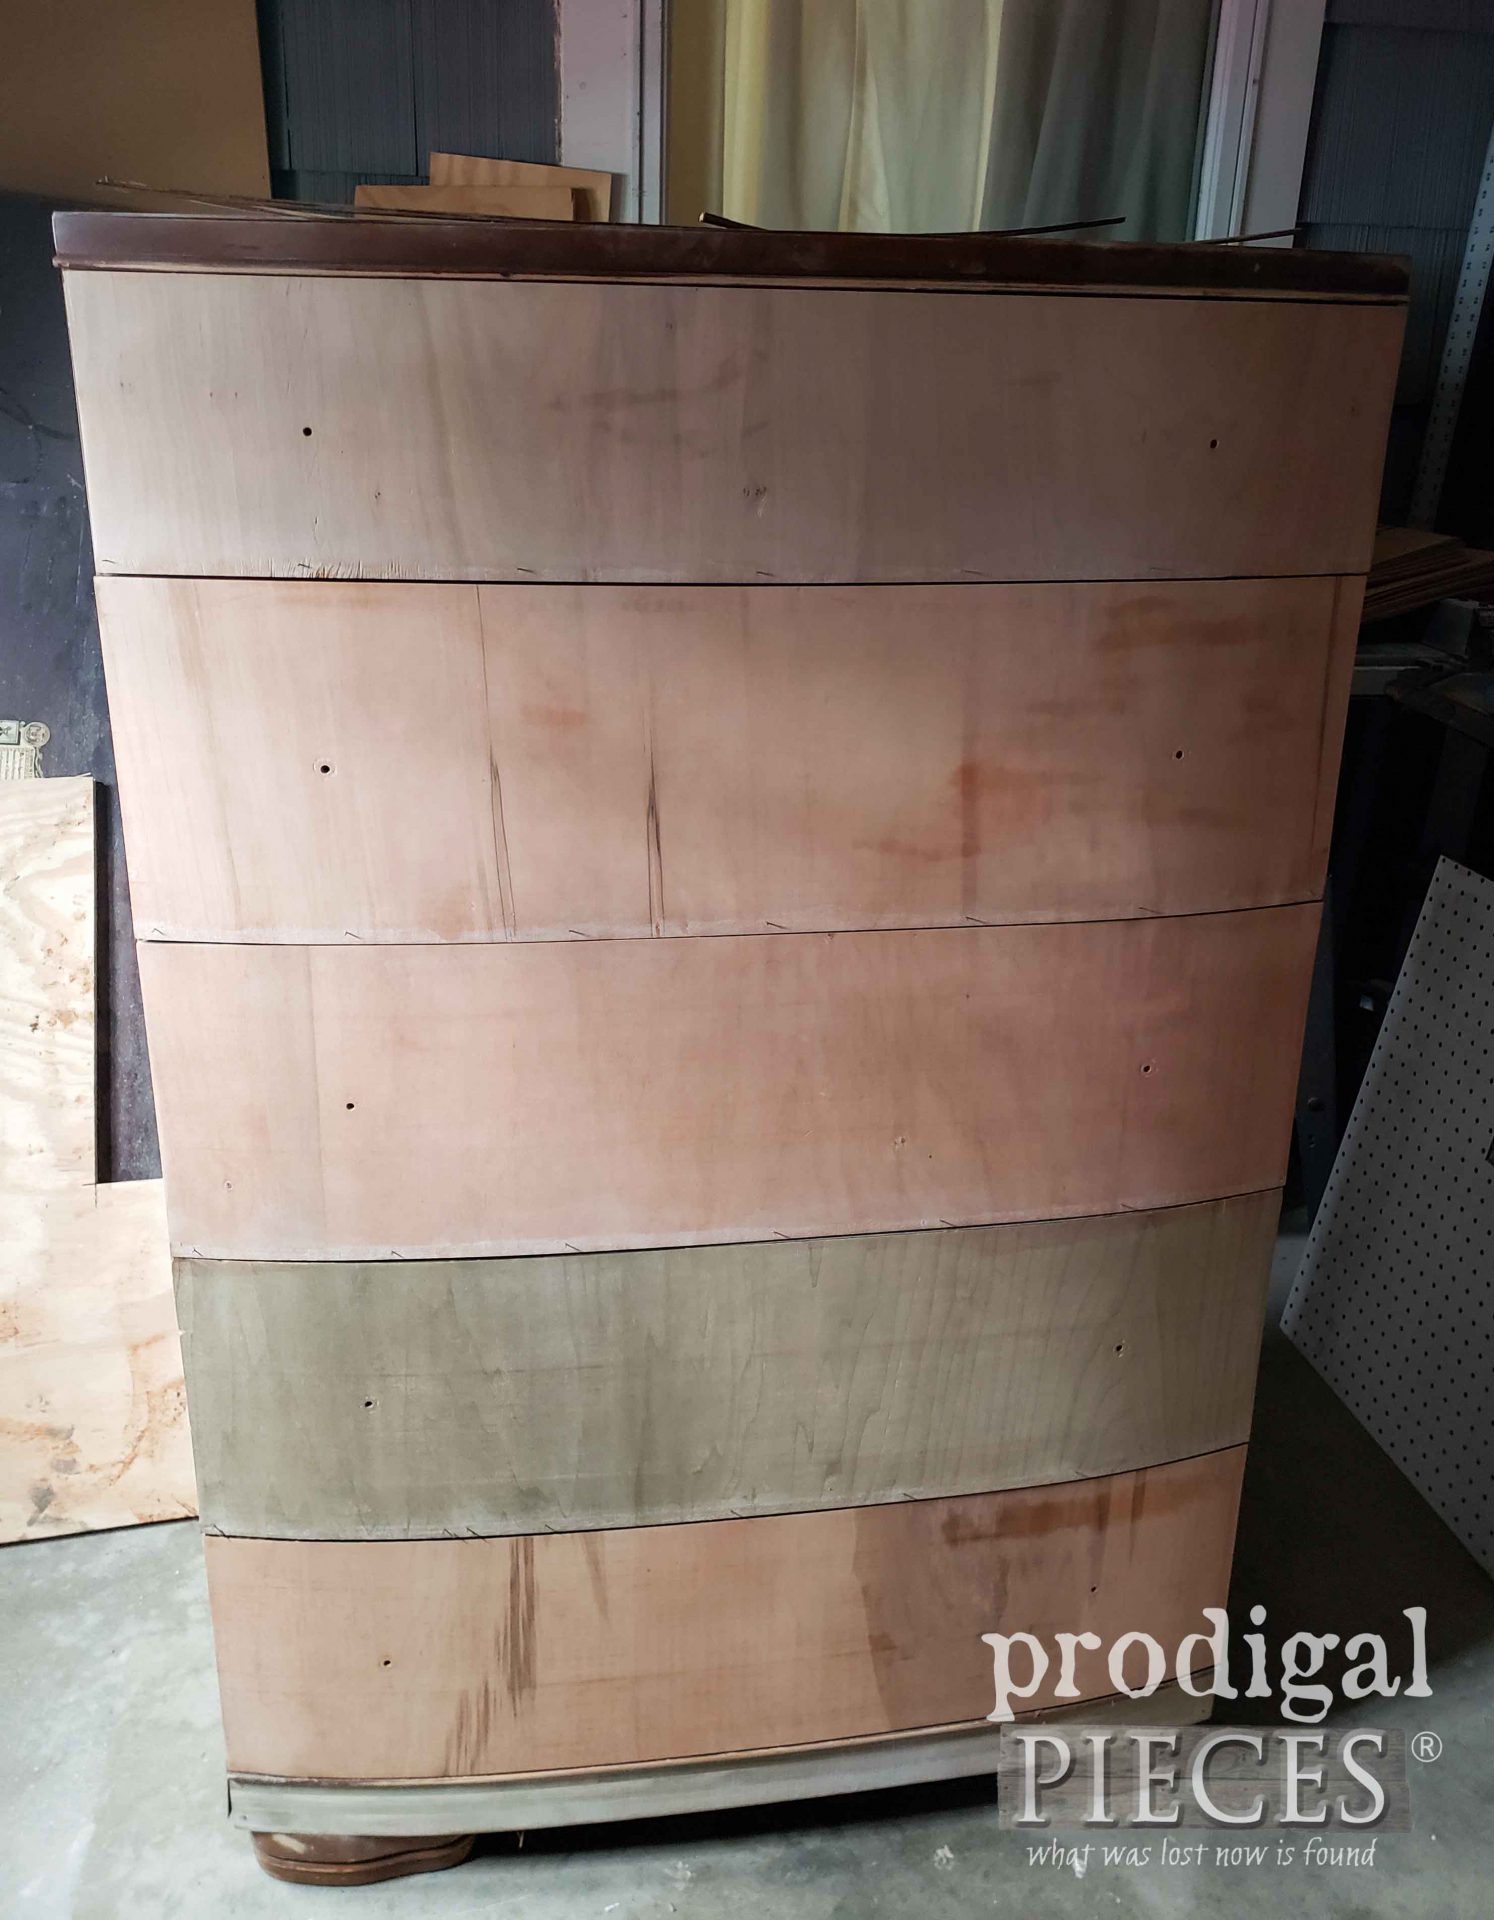
No worries though because it just means I can have fun with it. {{fist pump!}}
NEXT STEPS
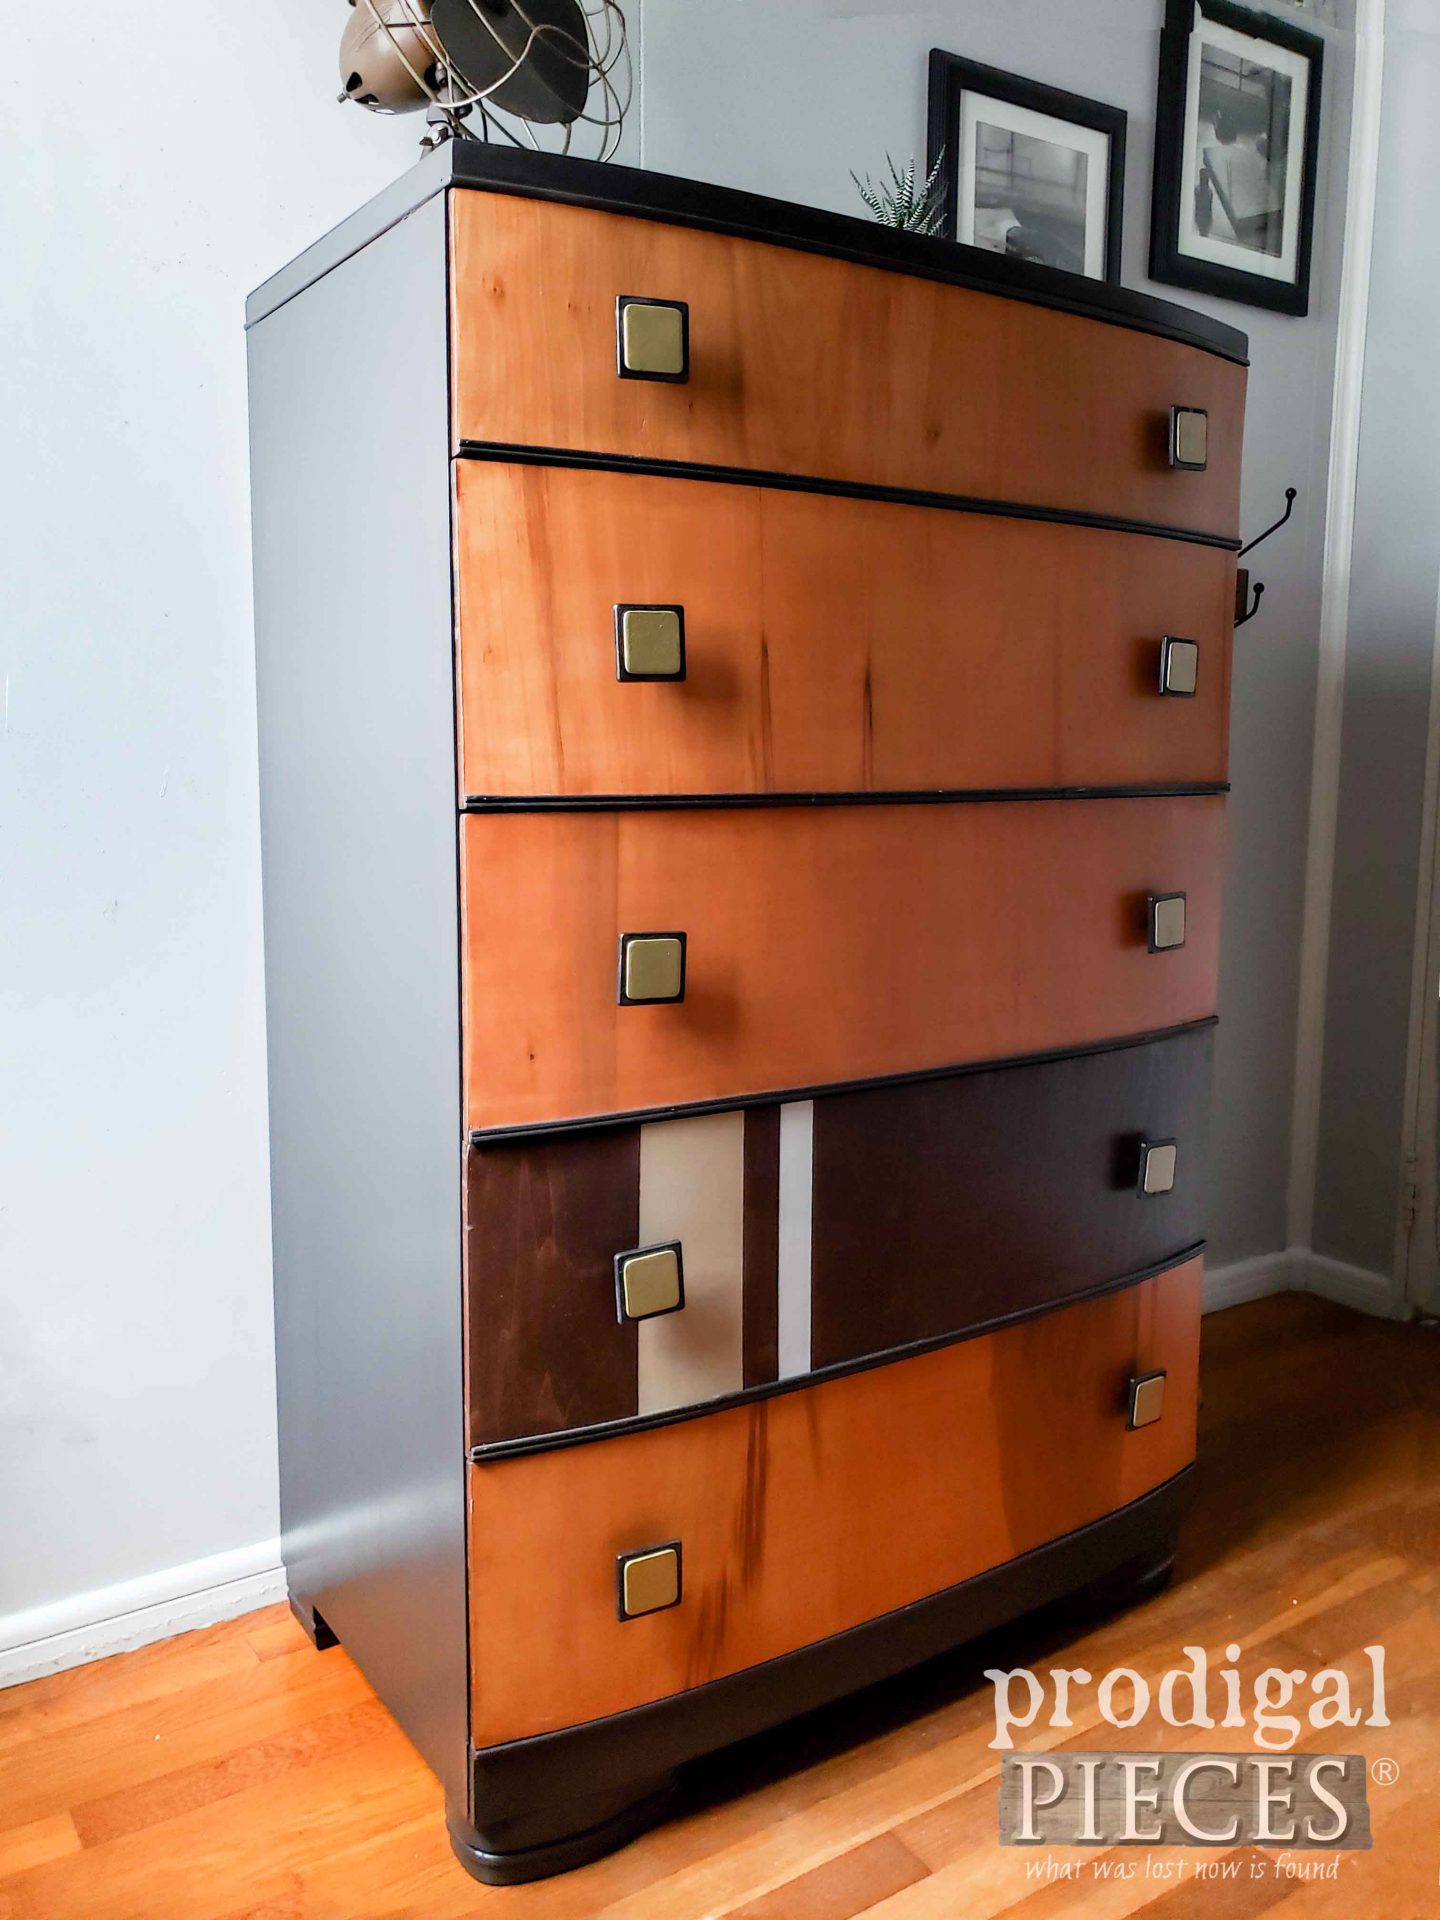
Finally, time to put this Art Deco chest makeover together and add the finishing touches. First, I apply a Summer Oak Stain to the matching drawers.
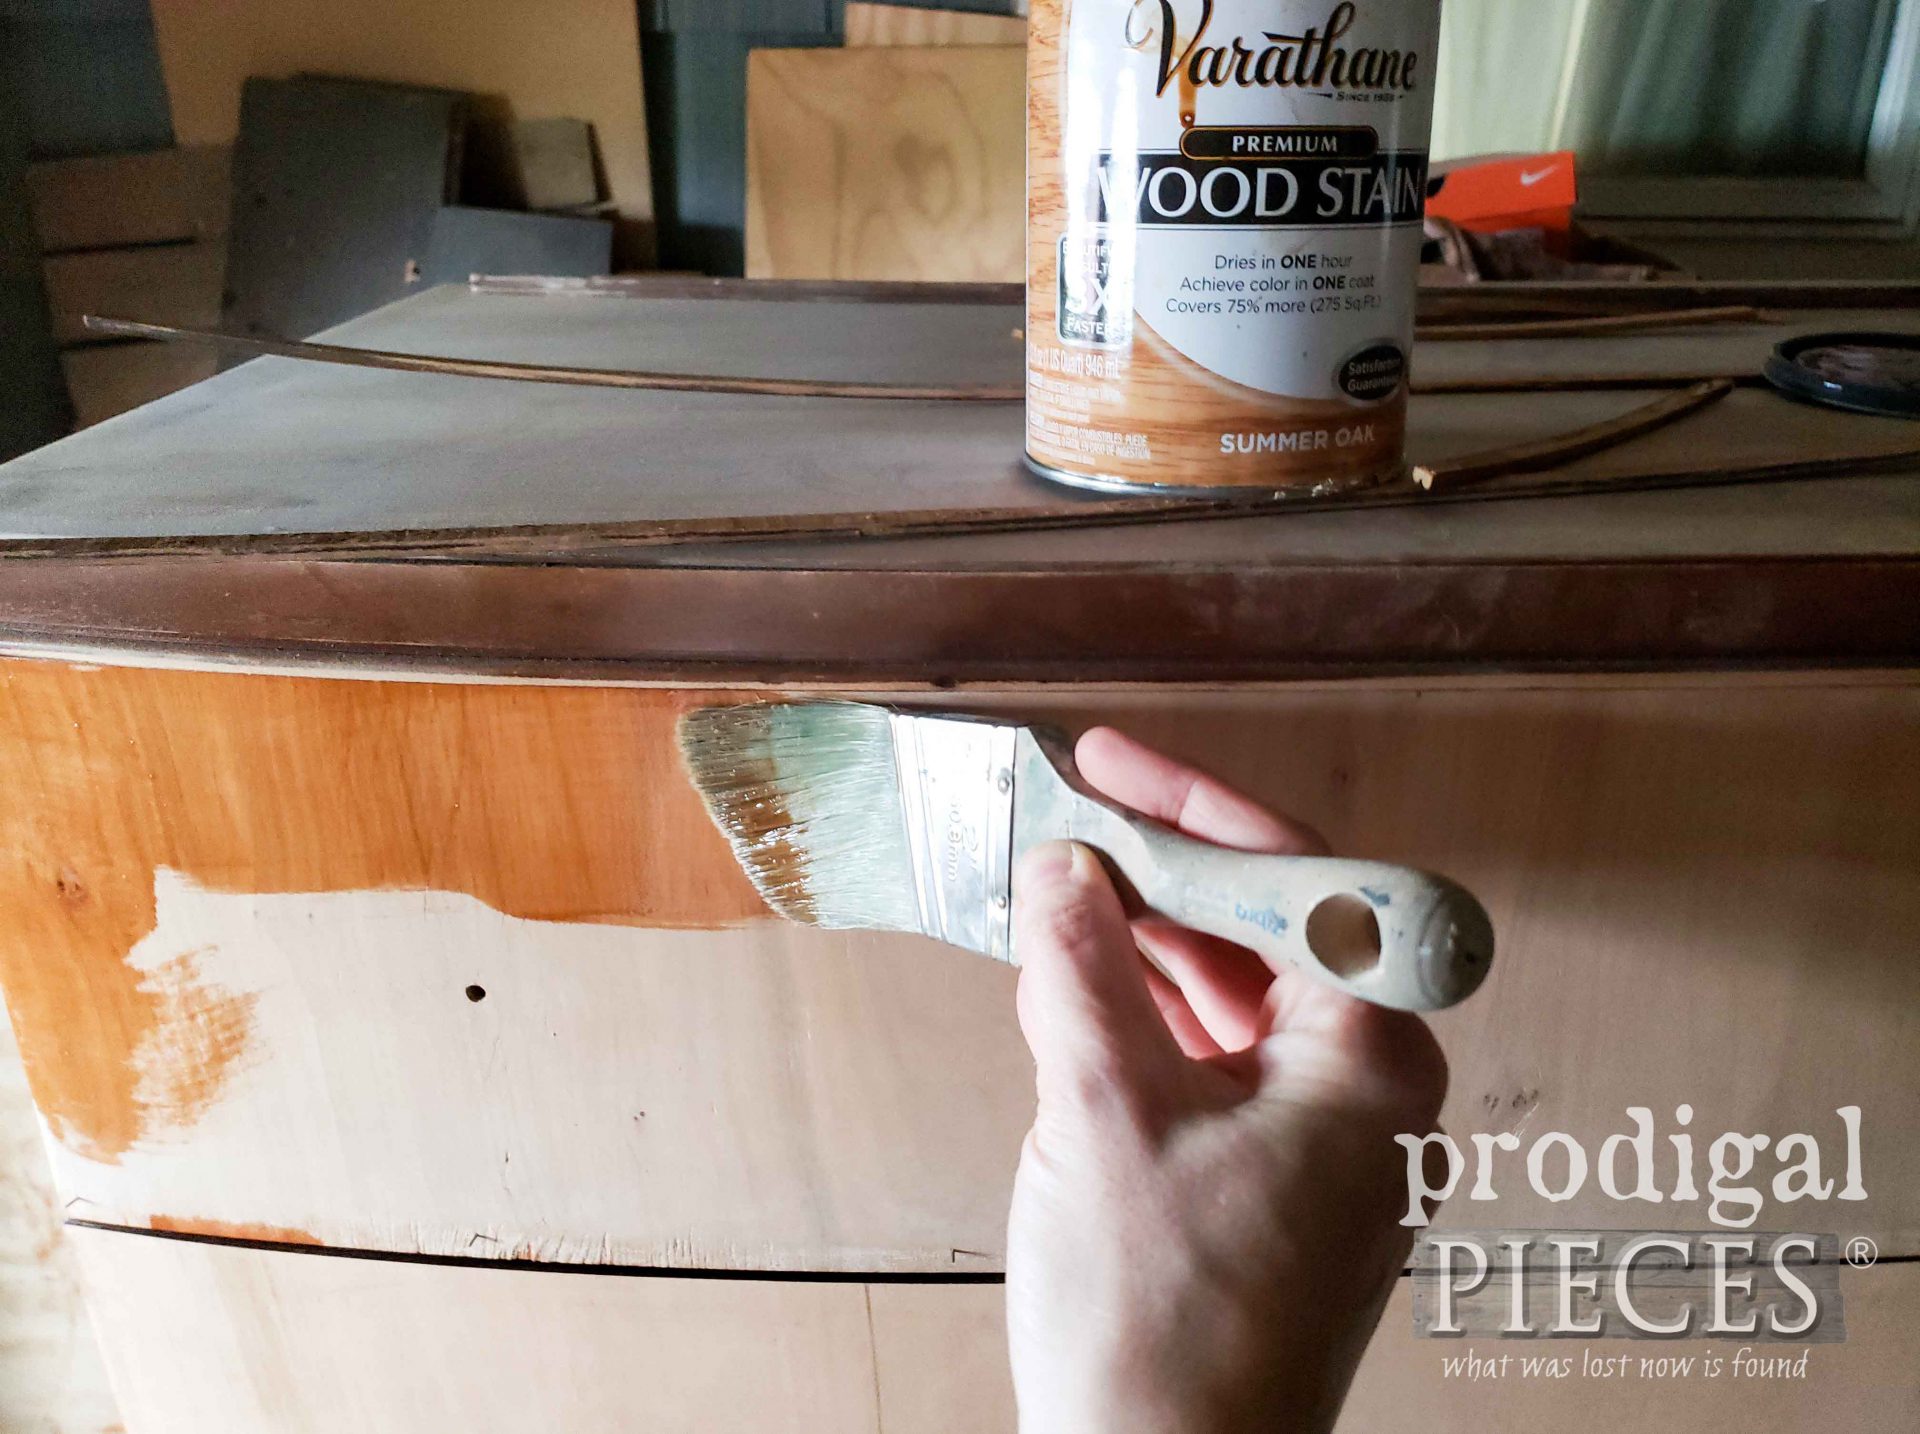
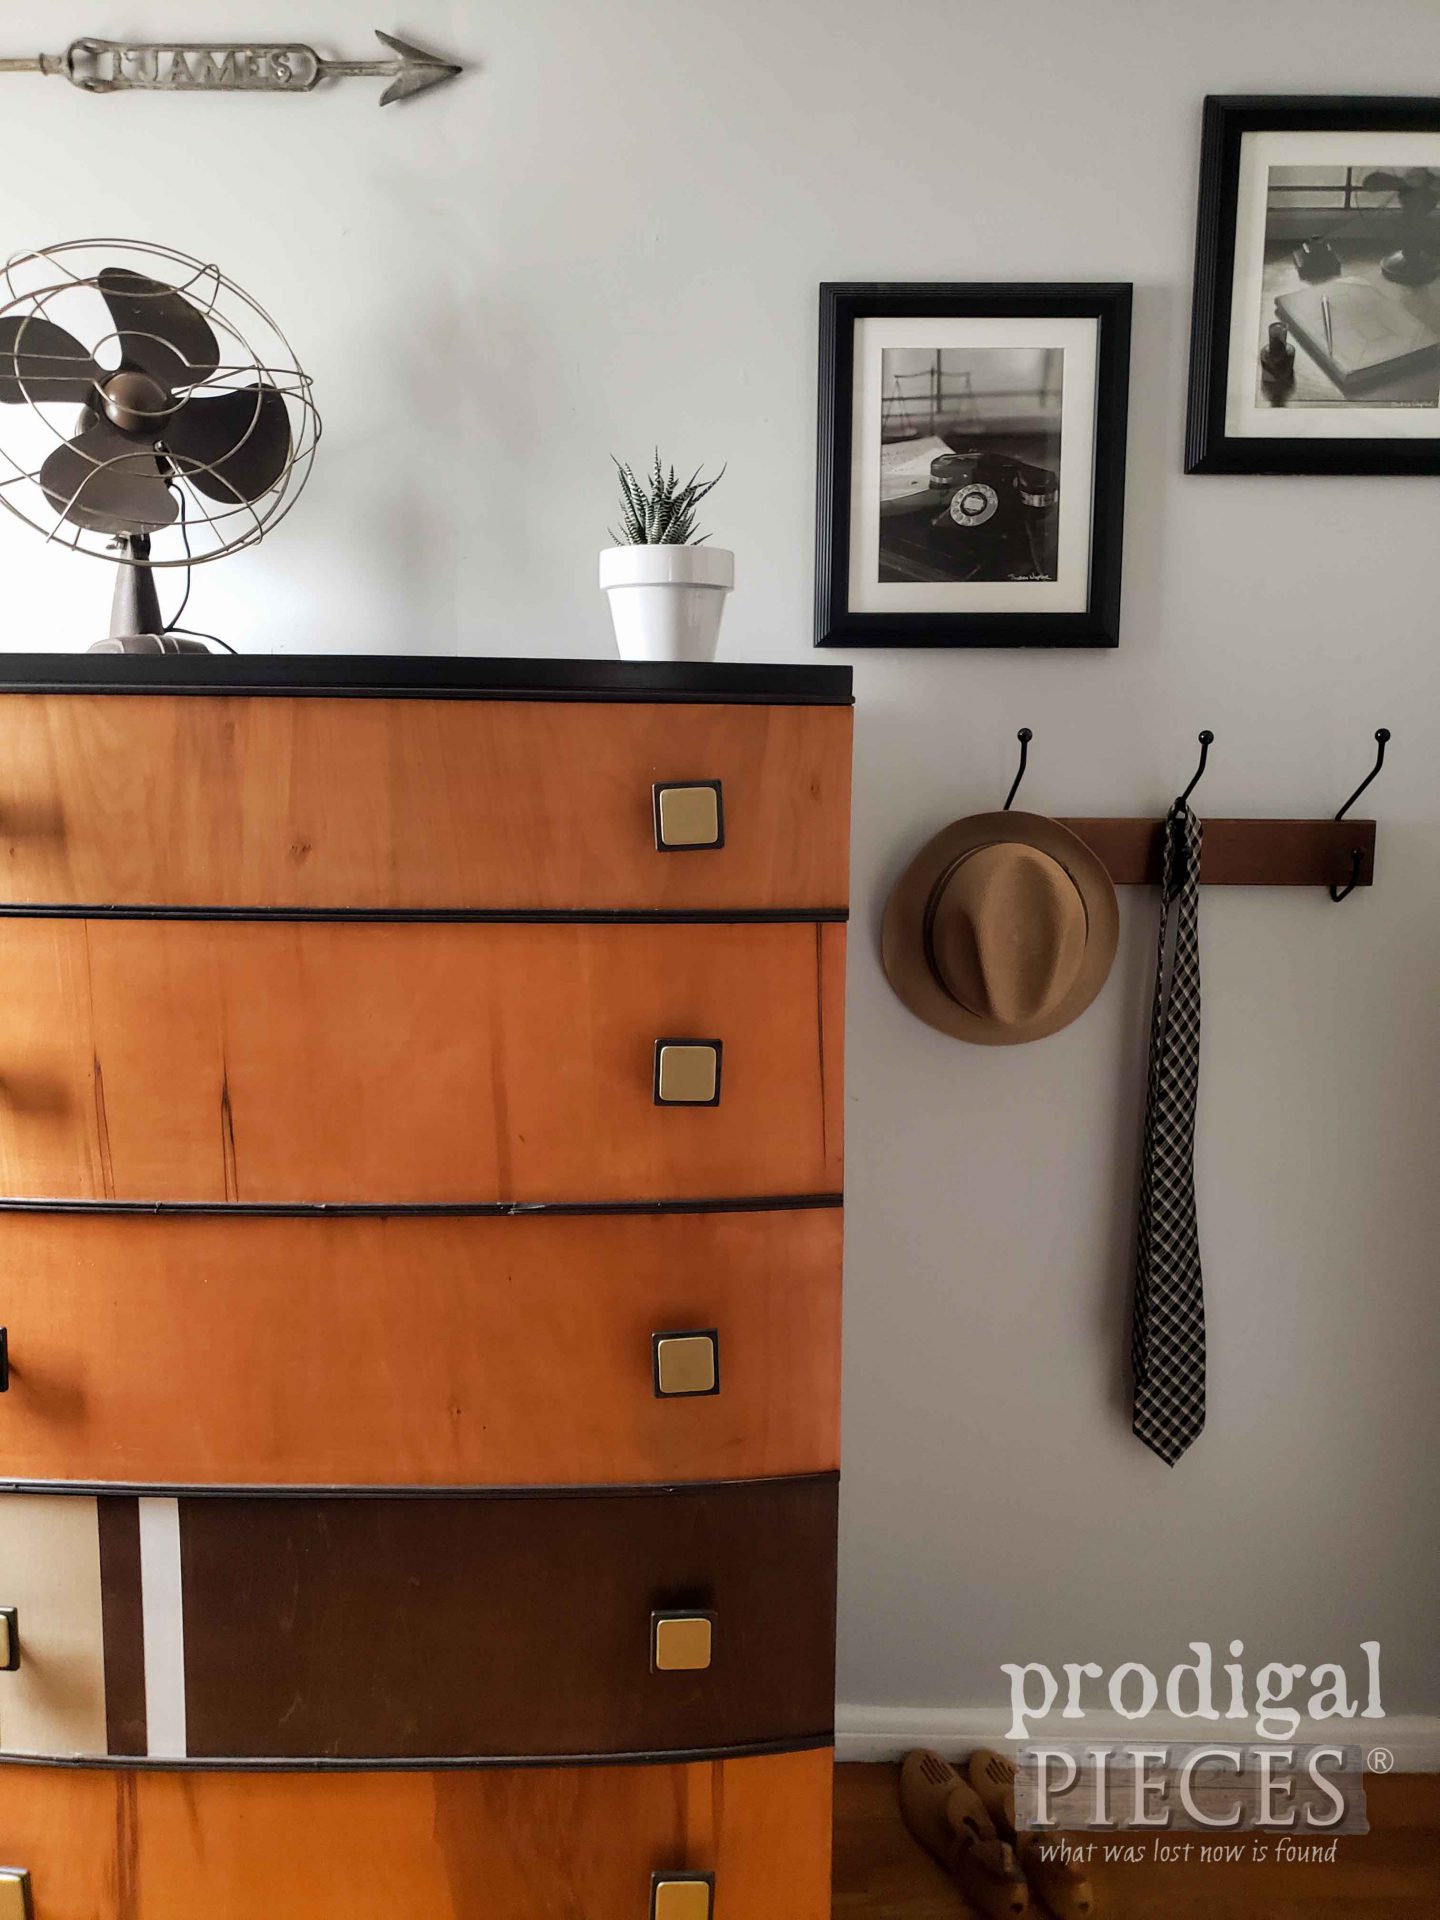
The odd drawer got a coat of Hickory Gel Stain. Bonus fun, is that I decided to add a few masculine stripes. This chest definitely has a manly vibe, so I want to draw on that.
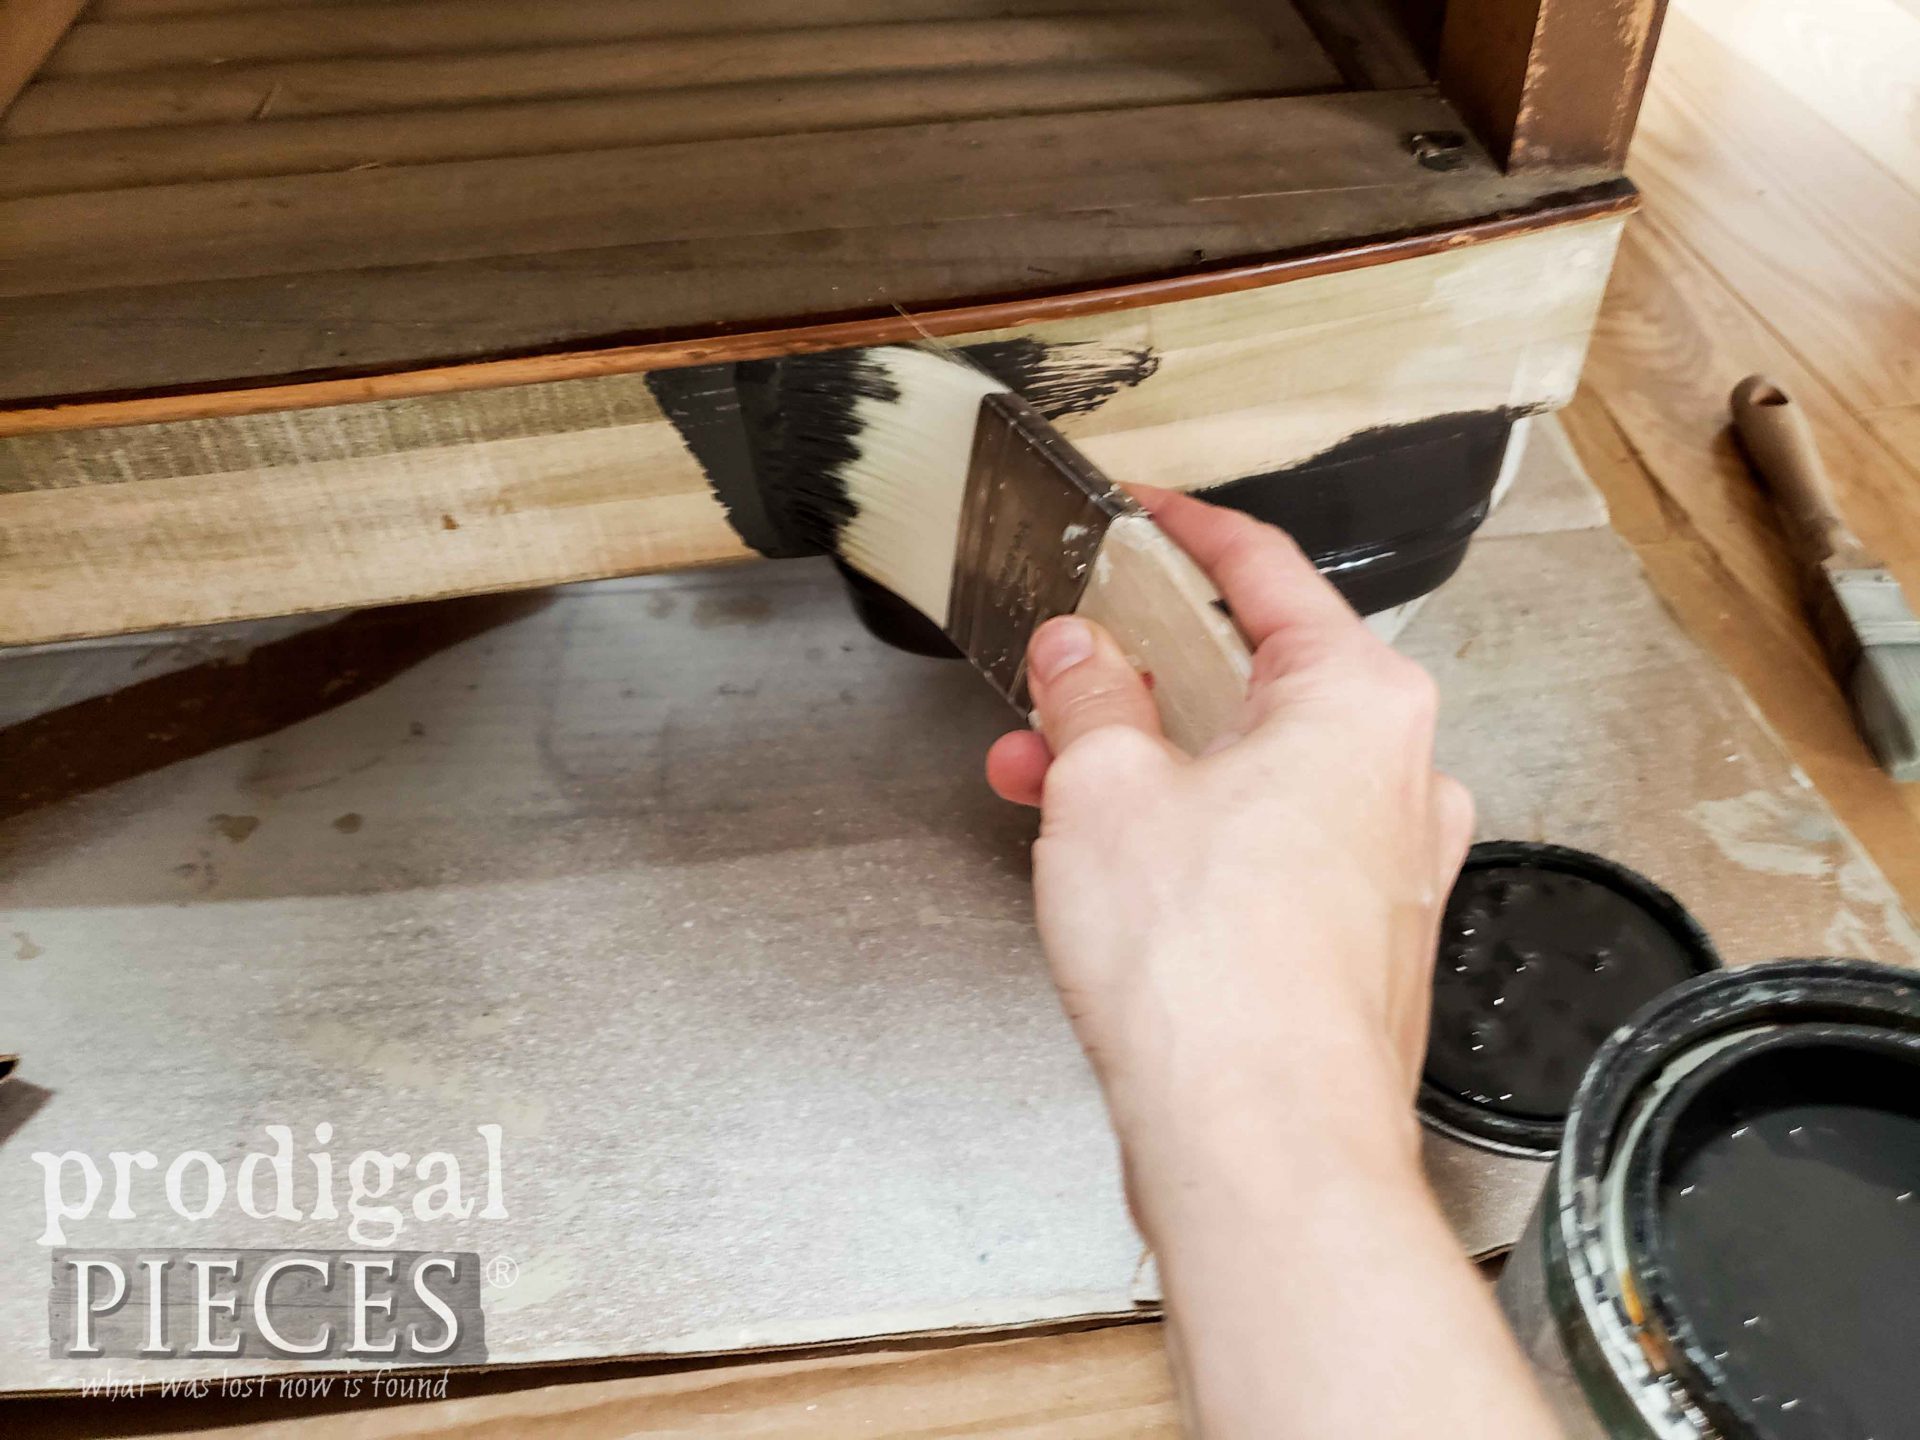
Next, I apply a custom deep gray/brown paint to the chest body.
Last, but not least, I clean up the brass hardware, but dress up the plastic backplates with Oil Rubbed Bronze paint.
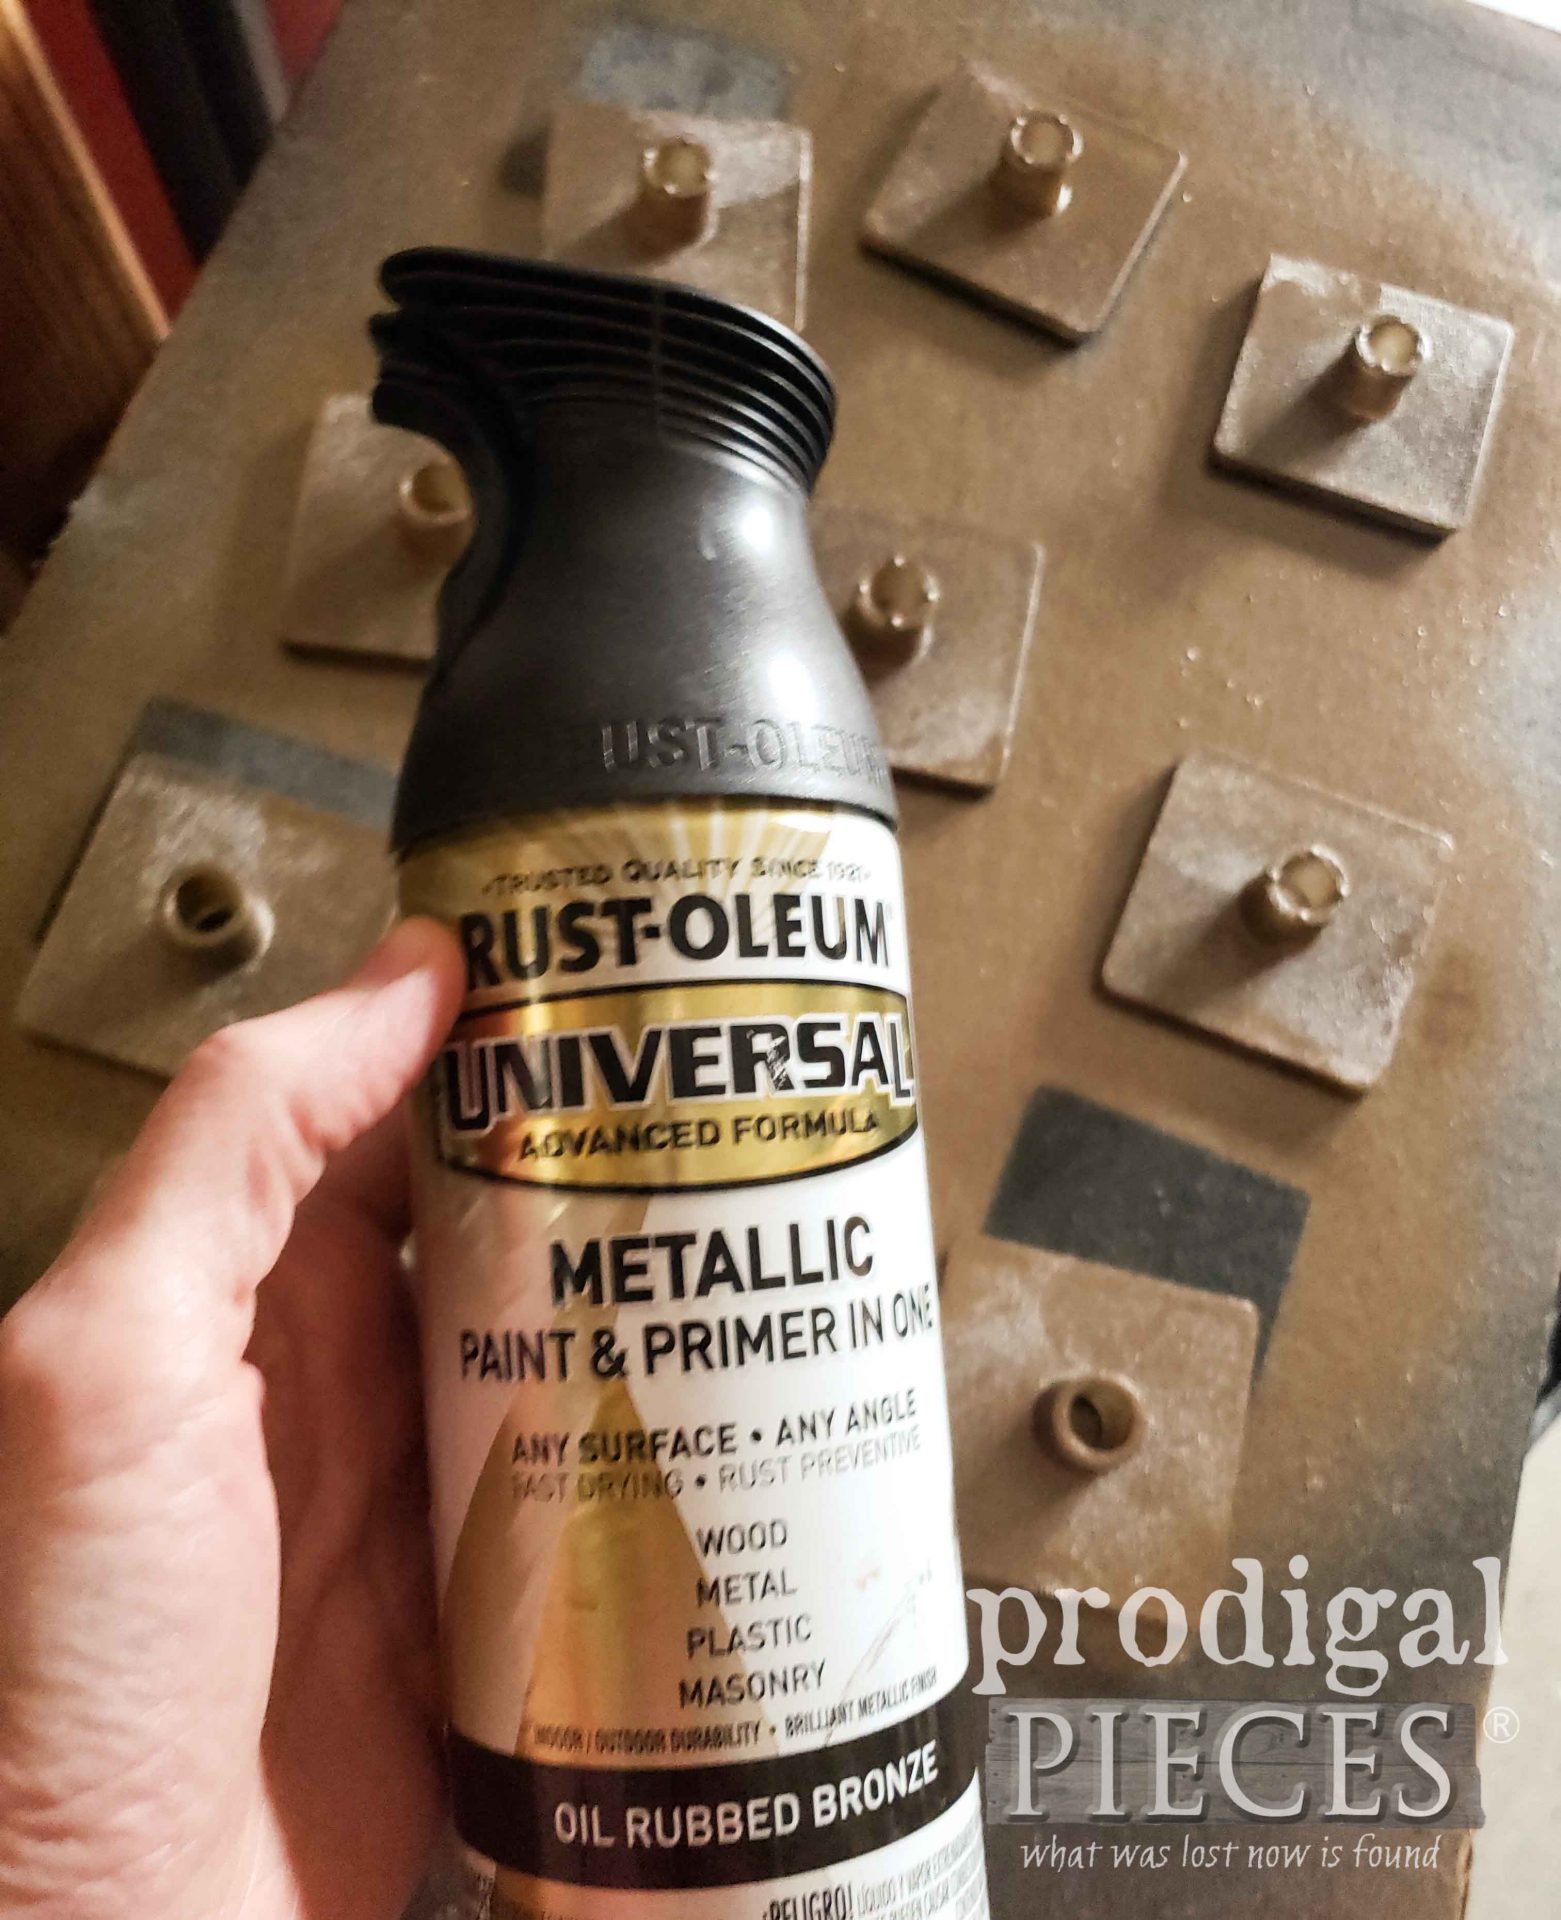
I chose this to update the acrylic, but also a beautiful backdrop to showcase the gorgeous brass pulls. Then, after much tweaking to loose veneer, cleaning up drawers, and a whole passel of other fixes, I'm calling it complete.
REVEAL
Here is my masculine Art Deco chest of drawers made new. woot!
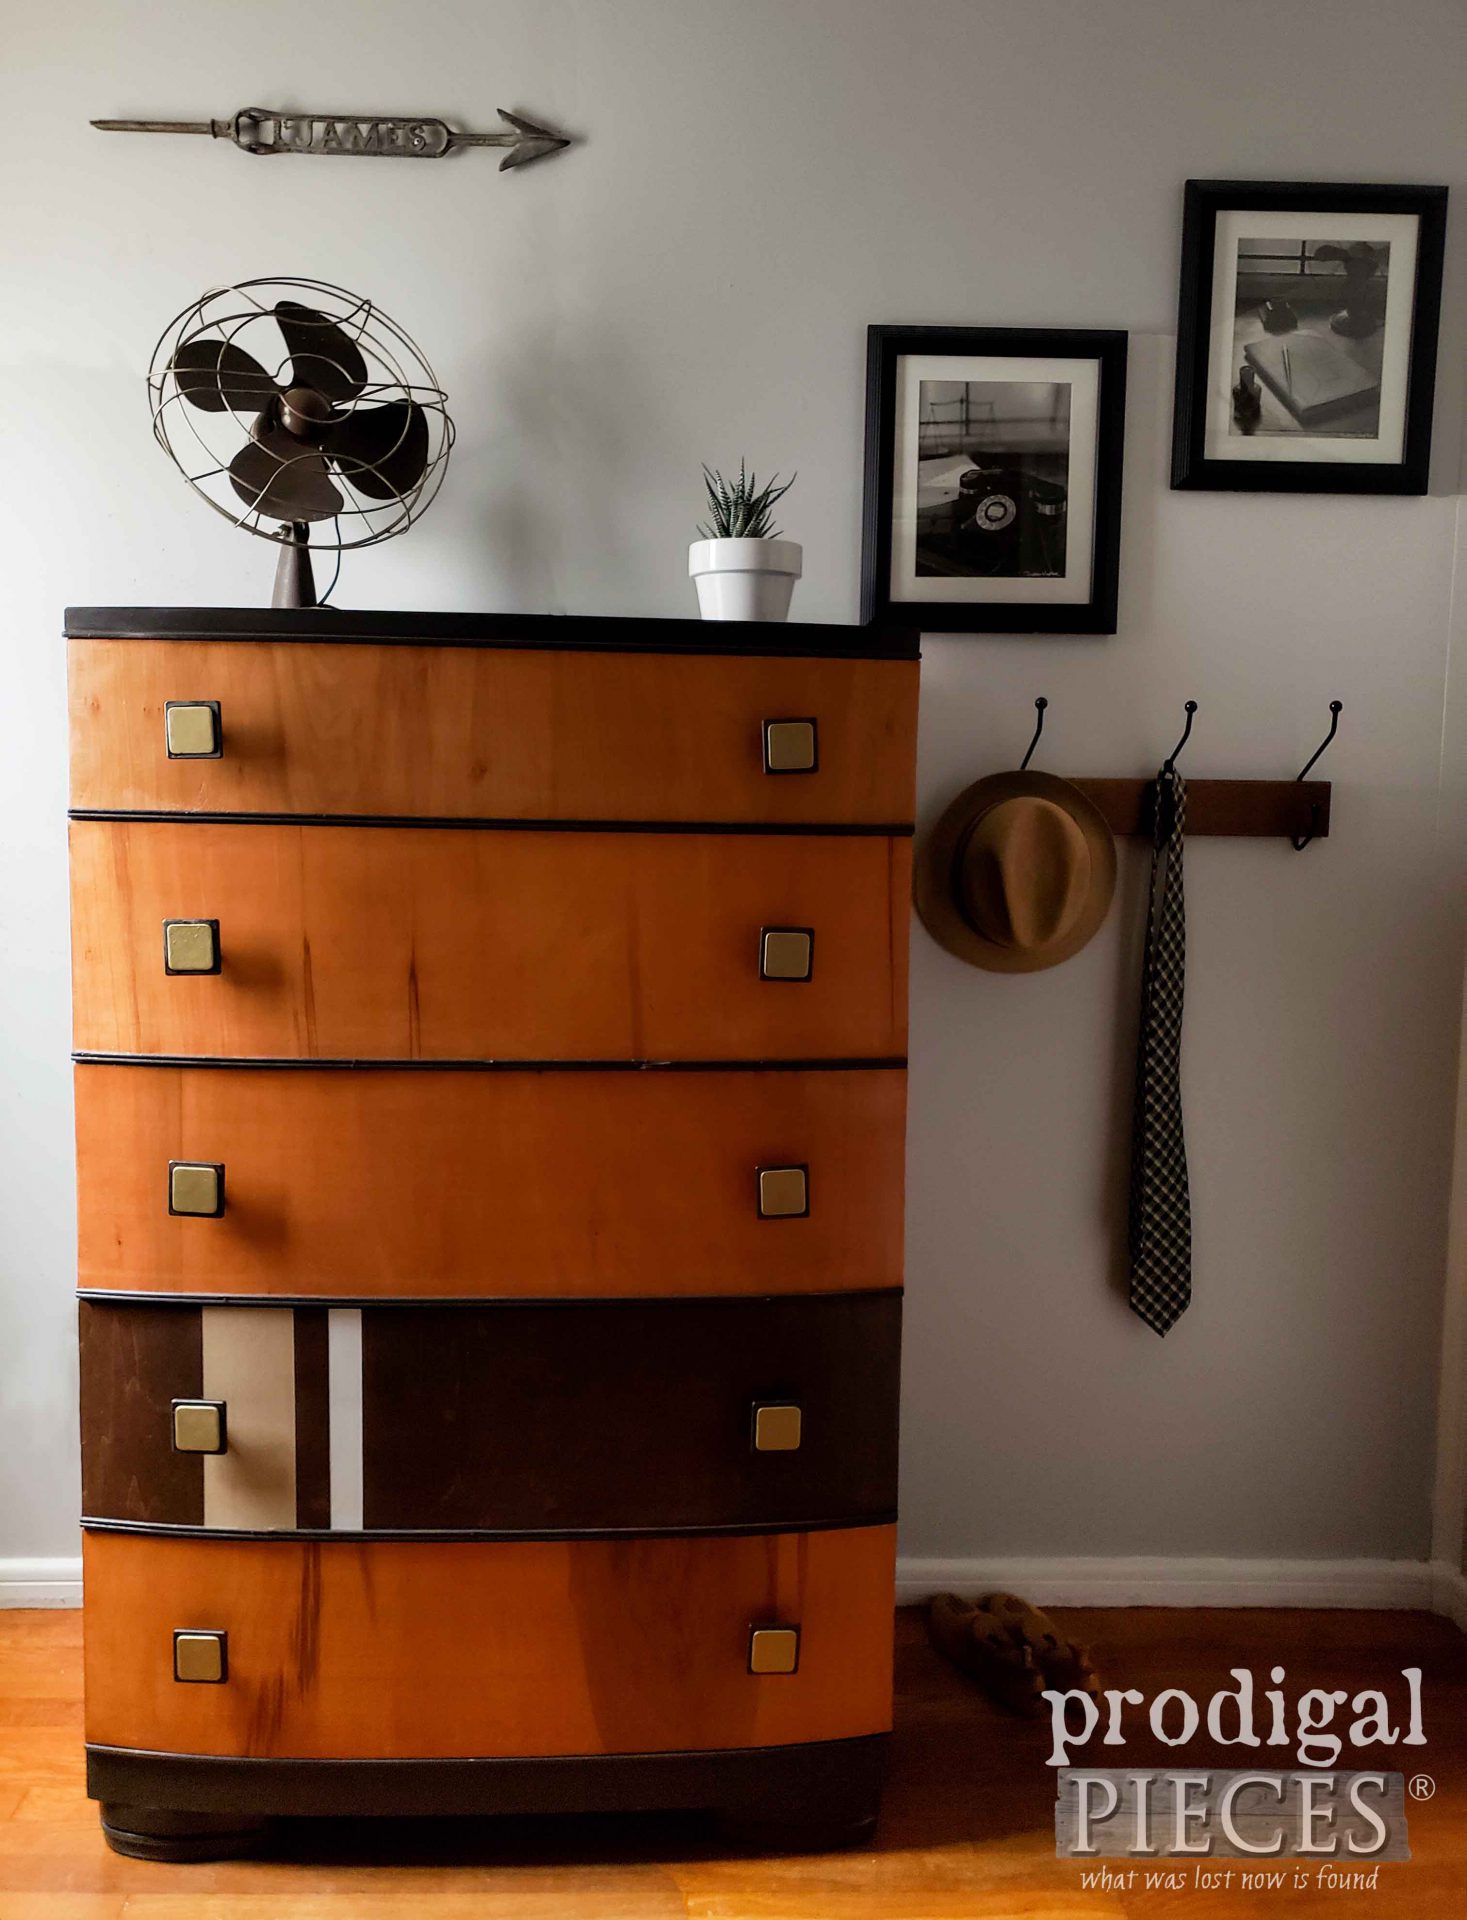
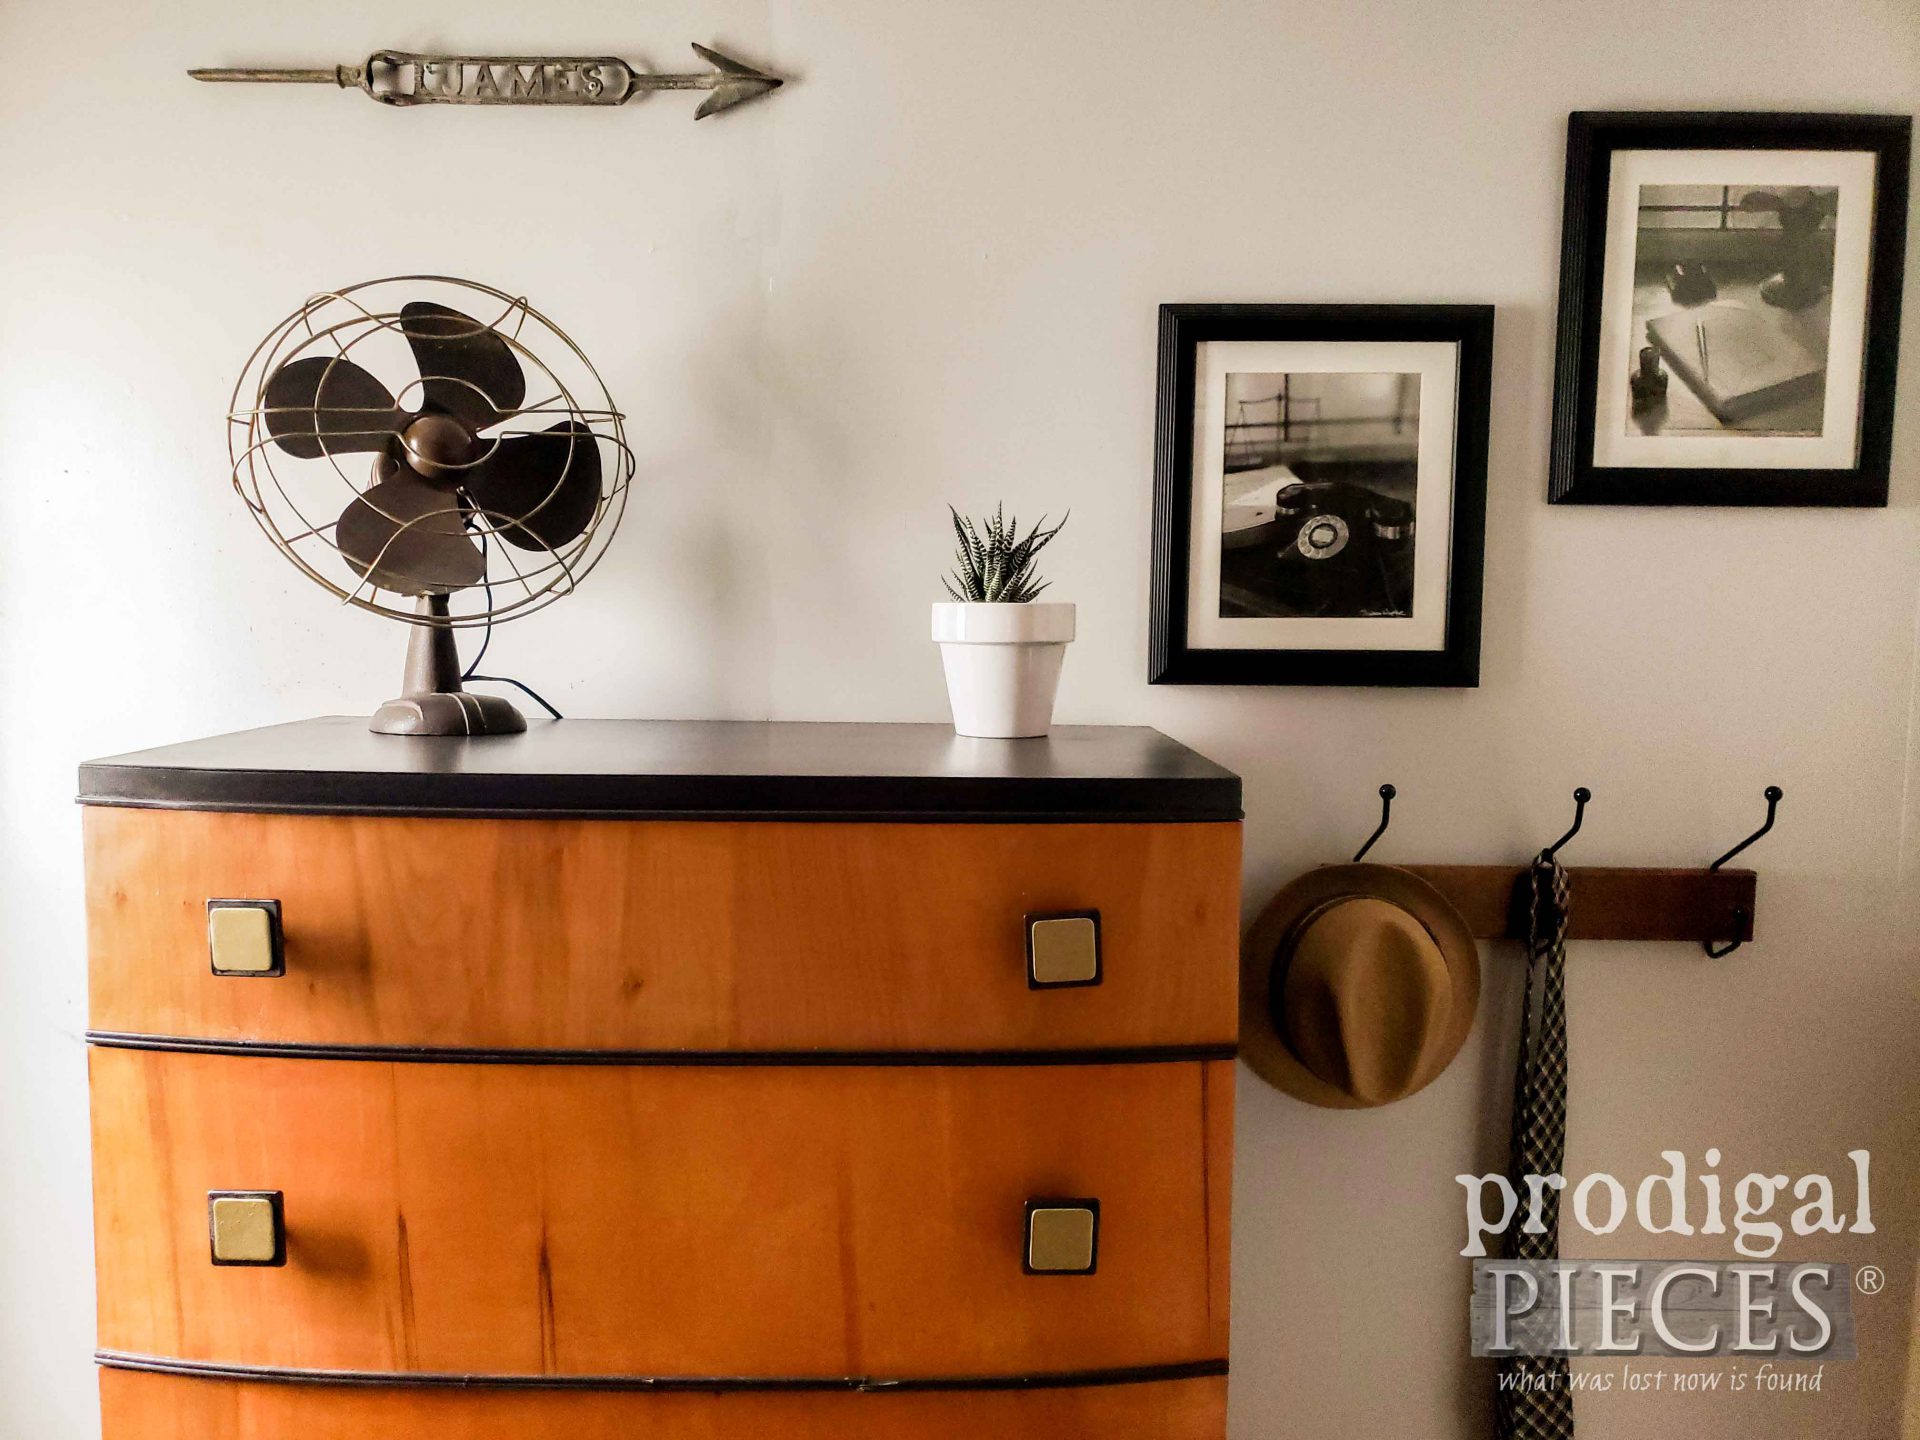
Much better! That snaggle-tooth veneer is gone, that worn feel disappeared, and now a new presence is made. Do you love it?
Classic pieces like this are hard to come by, so I most definitely wanted to see it revived. Now it is ready for many more years of use as a feature piece. If you'd like to make it your own, you can find it and much more available in
my online store.

Additionally, pin and share this Art Deco chest of drawers makeover to inspire others to see beauty in the worn.
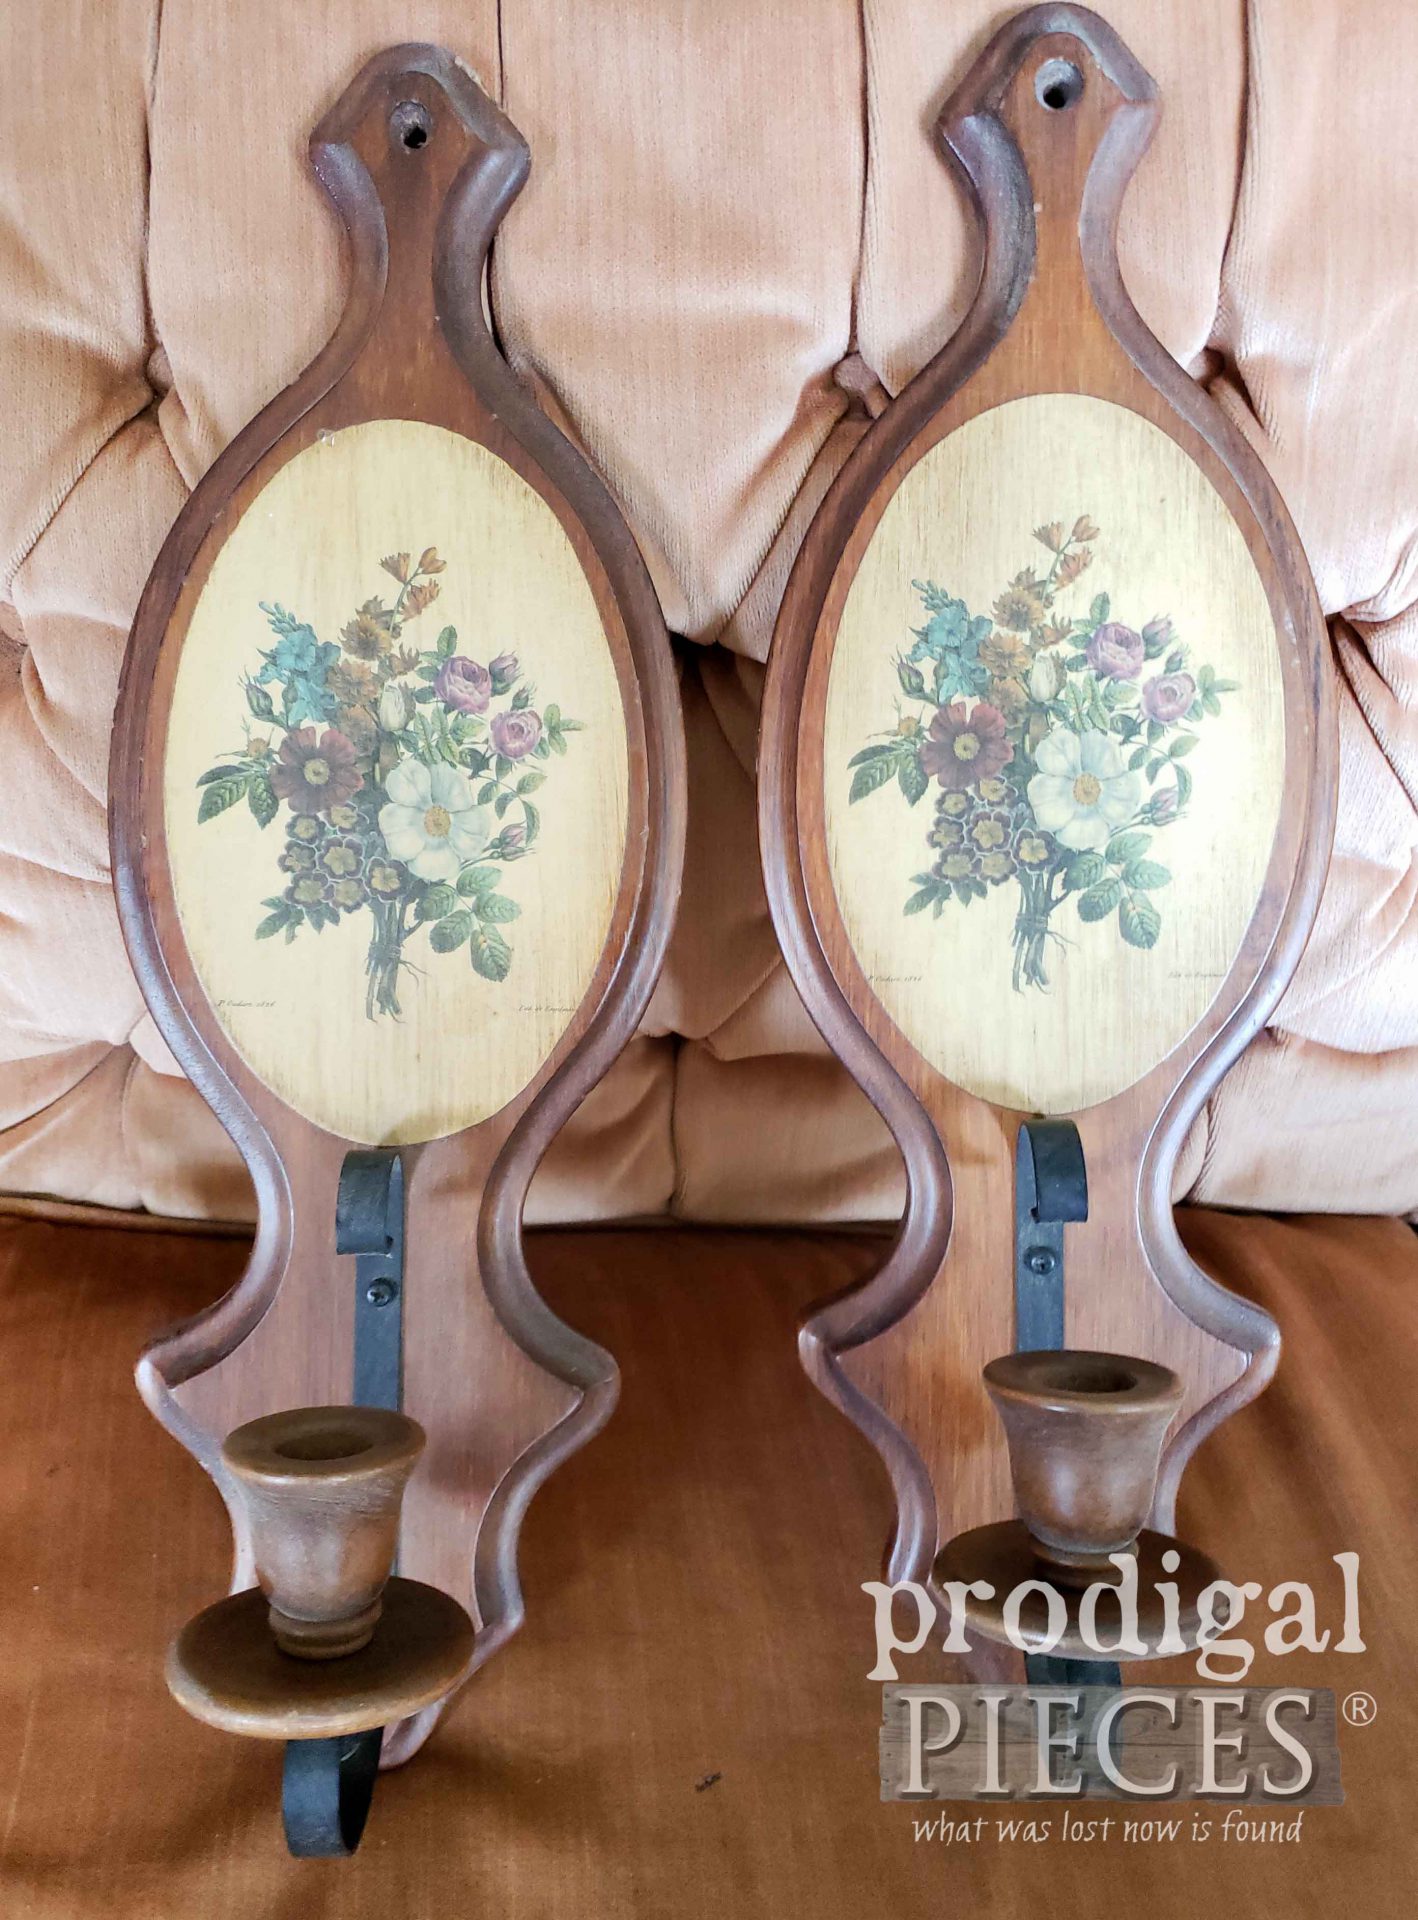
Up next, these vintage candle sconces are about to get a change-up.
See their new look HERE.
Before you go, be sure to
sign up for my newsletter. Until next time!

 PINTEREST | EMAIL
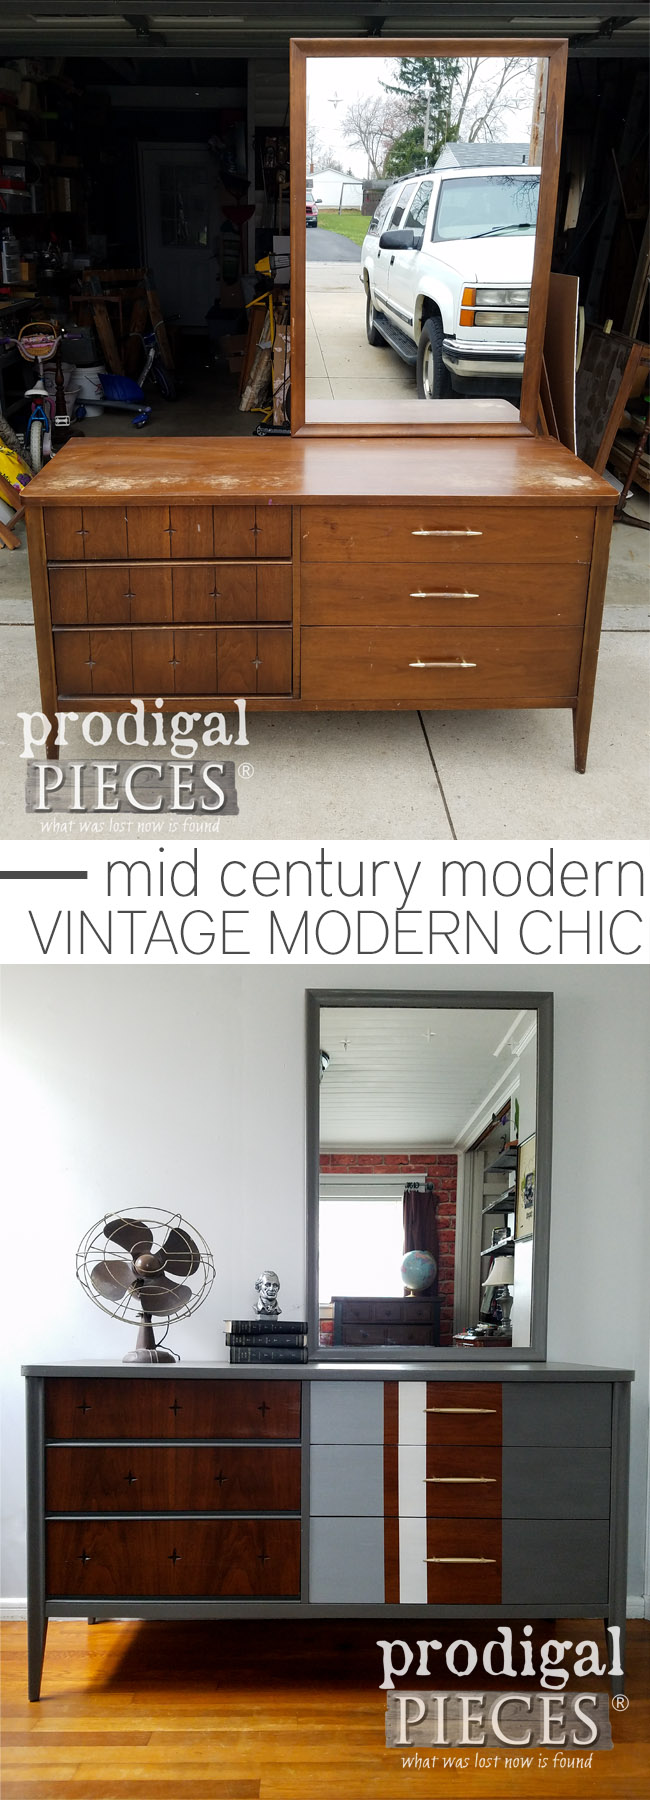
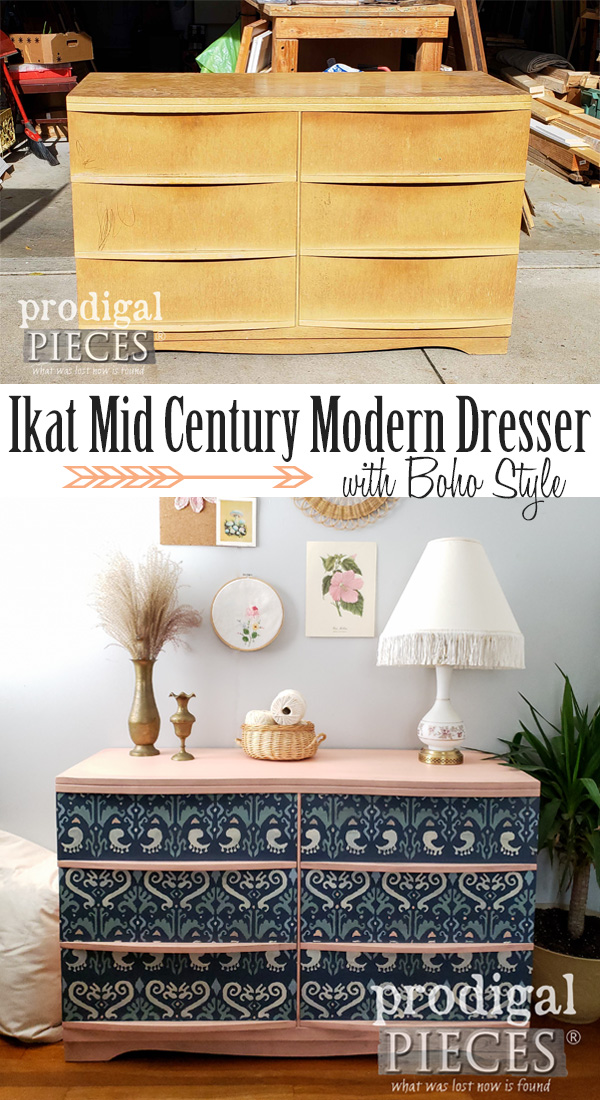
Also, more furniture makeovers like this Art Deco chest of drawers:
 If you follow me on social media, you saw that I found LOOT. {{happy dance}} This chest is one of several pieces I found. It looks like me some days...like falling down and I can't get up. haha. Also, with this chest in this pile, I picked up a large, gorgeous, ornate wooden frame. Of course, I couldn't leave this chest there. It is so solid and well-made. All it needs is some Larissa lovin'.
 Peeling veneer, scuffs, scratches, but...no stink. SCORE! All of this fuss is superficial and is redeemable. Isn't that just like us and how we need our Jesus our Savior? While some give up, He sees beauty.


 Here's the wonky part. When you pull off veneer you don't know what you're going to find underneath. With that in mind, I feel pretty good about this because it is so super solid and built to last. With four of the five drawers I was excited. However, when I got to the fourth drawer in the stack it was a different wood...kinda green.
 No worries though because it just means I can have fun with it. {{fist pump!}}
 The odd drawer got a coat of Hickory Gel Stain. Bonus fun, is that I decided to add a few masculine stripes. This chest definitely has a manly vibe, so I want to draw on that.
Next, I apply a custom deep gray/brown paint to the chest body.
 Last, but not least, I clean up the brass hardware, but dress up the plastic backplates with Oil Rubbed Bronze paint.
 I chose this to update the acrylic, but also a beautiful backdrop to showcase the gorgeous brass pulls. Then, after much tweaking to loose veneer, cleaning up drawers, and a whole passel of other fixes, I'm calling it complete.

 Much better! That snaggle-tooth veneer is gone, that worn feel disappeared, and now a new presence is made. Do you love it?

 Classic pieces like this are hard to come by, so I most definitely wanted to see it revived. Now it is ready for many more years of use as a feature piece. If you'd like to make it your own, you can find it and much more available in my online store.
 Additionally, pin and share this Art Deco chest of drawers makeover to inspire others to see beauty in the worn.
 Up next, these vintage candle sconces are about to get a change-up. See their new look HERE.
 Before you go, be sure to sign up for my newsletter. Until next time!


