Do you consider yourself a
trashure junker? I'm not talking about someone who drives around with a car/truck filled with literal junk, but rather someone who sees glorious potential in the cast-offs and unwanteds. Anyone like that is a friend of mine. Maybe you're not the on that boat yet, but maybe I'll be the one to inspire you. {{wink, wink}}. Take for instance this vintage washboard wall art. It isn't exactly ugly, but it sure could use an update to suit today's rustic farmhouse style.

At first glance, you'll notice it's made entirely of wood, both solid and manufactured. Also, if you look closely, you'll see the hand-painted prairie wife doing laundry. I'm smitten with the artist's work, but it totally dates itself to late 80's early 90's. For my purposes, however, I'm aiming for a bit older than that. woot!
THE AGING PROCESS
As you can imagine, my first order of business is to remove those panels. While I'm not necessarily aiming to get rid of them, but rather change them up. First, I remove the nails holding the plywood pieces in place.

For the top panel, I want to create my own typography art. You can see how much I adore typography in this
cedar chest makeover, all these previous posts, and in this
video tutorial below.

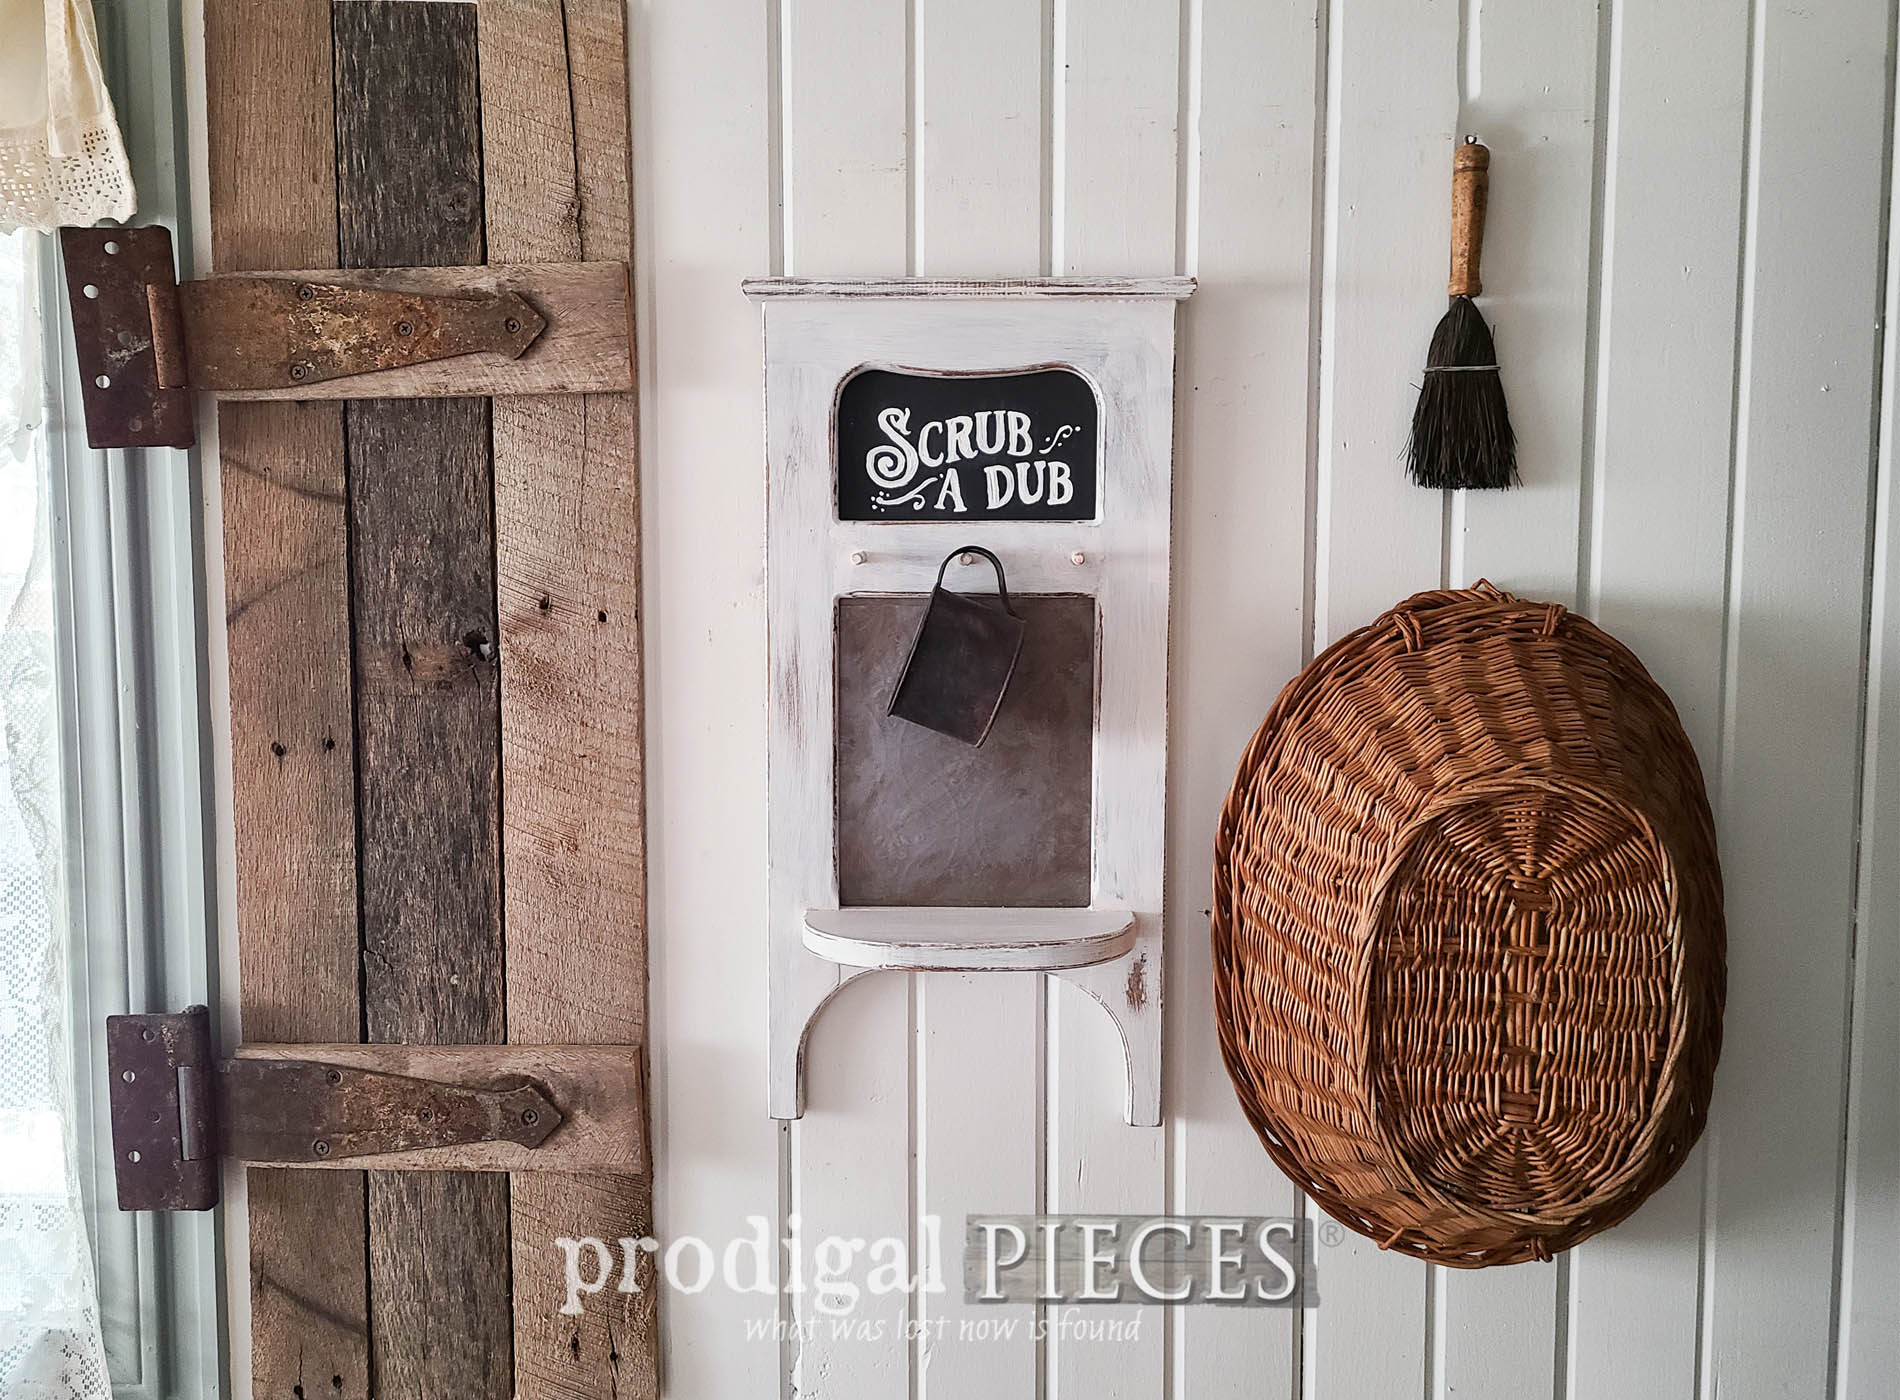
Since this vintage washboard isn't really a washboard, but rather in the likeness, I design a laundry sign to suit it best. But, before I can add the art, I need to give a few coats of a black milk paint.

NEXT STEPS
Next, while the paint cures, I set about to dress up the bottom panel. Since this is wall art in the likeness of a vintage washboard, I want to give it that effect. Enter in these adhesive tiles I found at the local dollar store. I've many ideas of how to make use of them...eep!

Then, I stick one on and then paint with this weathered steel spray paint I have on hand from previous projects.

Before I can call this makeover complete, I want to add more functionality to the washboard. First, I grab my dowel stash and cut 3 pieces. After that, I use my forstner bit and drill to make holes in which to place the dowel.

Then, to finish it off, I use a custom mix paint to whitewash it to make it cohesive.

With my youngest helper watching my every move, she helps me install the panels with
my point driver. It's the handiest thing ever!

WASH TIME
Finally, with a smile in my heart, my vintage washboard (aka. 80's creepy wall art) is refreshed and ready for many more years with a brand new "old" vibe.


Not only did the whitewash brighten it up, but also the pressed tin effect with aged appeal gives it a nod to the past. In case you're wondering, I've had my hands on several washboards over the years. I have my grandparent's washboard, but also have had several in
my shop. However, my favorite (one featured in a magazine) is
this one that I turned into a wall cabinet with a silverware box.


As with all my projects, my ultimate goal is to inspire you. This project was super-simple and budget-friendly so that anyone that can paint can tackle something like this. With that in mind, I'm curious...what would you have done with this vintage goodie?
Additionally, if you'd like to make this a part of your home story, you can find it and more available in
my online store.


SHARE
Last, let's spread inspiration love by pinning and sharing so others can join our DIY fun too.

Before you go, take a minute to
sign up for my FREE newsletter so you can see what I do with these two cuties. Or
HEAD HERE for the repair and update.

Until next time!

 PINTEREST | EMAIL
In addition, more thrifty makeovers like this vintage washboard wall art: