Do ever feel like things are just meant to be found by you? I call it
trashure after the old adage, "one man's trash is my treasure". With that, I found a reason for a vintage suitcase upcycled project for you for
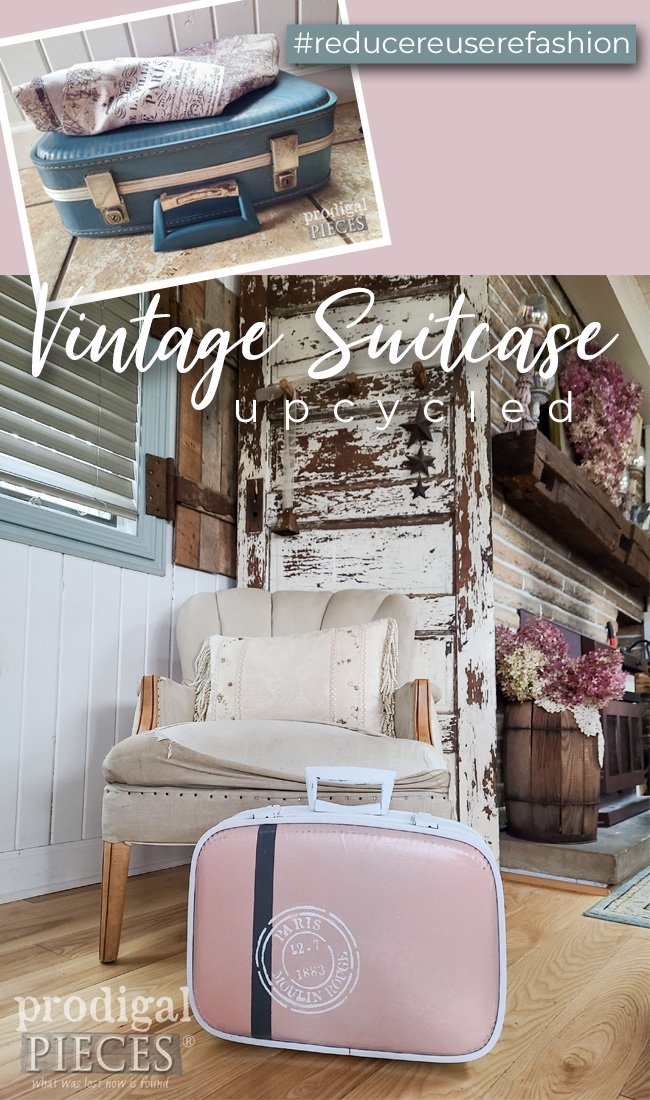
Reduce, Reuse, REFASHION time. Peek at what I spy first.


Not only are these blue cases my favorite because... well.. blue, but also, I have sold dozens in my online store. In fact, at the same time I also find this shower curtain. Ooh, la, la!

Hence, I'm feeling a luggage makeover.
DIY TIME
If you've missed out on my past travel case escapades, check these out to get an idea of what I can do:
With that, let's have some fun. If you want to do this too, here's what you'll need:
TOOLS & SUPPLIES
- vintage suitcase
- old/damaged shower curtain, or whatever other item you want to refashion. The sky's the limit!
- spray paint or any other paint of choice
- paint brush
- fabric scissors
- spray adhesive and/or hot glue gun with glue sticks
- quilt batting
- optional - painter's tape, stencil, transfers, decoupage materials (tissue paper, napkins, etc. or any other decorations)
- optional - sewing machine

STEP 1
First, we need to clean up the exterior and interior. I wipe the outside down with rubbing alcohol to remove any grim and residue. Then, I remove the damaged lining.


However, before you toss that stuff, be sure to hang onto it as we'll use it as a pattern for our new pieces in a bit. Also, make sure to pay attention to the way you are disassembling as you'll be reversing this as you insert new lining. Take pictures or make notes so you have reference.
STEP 2
Next, it's at this point that you can decide how to run with this vintage suitcase upcycled project. I want to create layers for a time-worn look, so I take flat black spray paint to give it two coats letting cure in between.

You can see how I've used this same technique on this
thrifted box makeover or this
thrifted cheese box makeover as well.
STEP 3
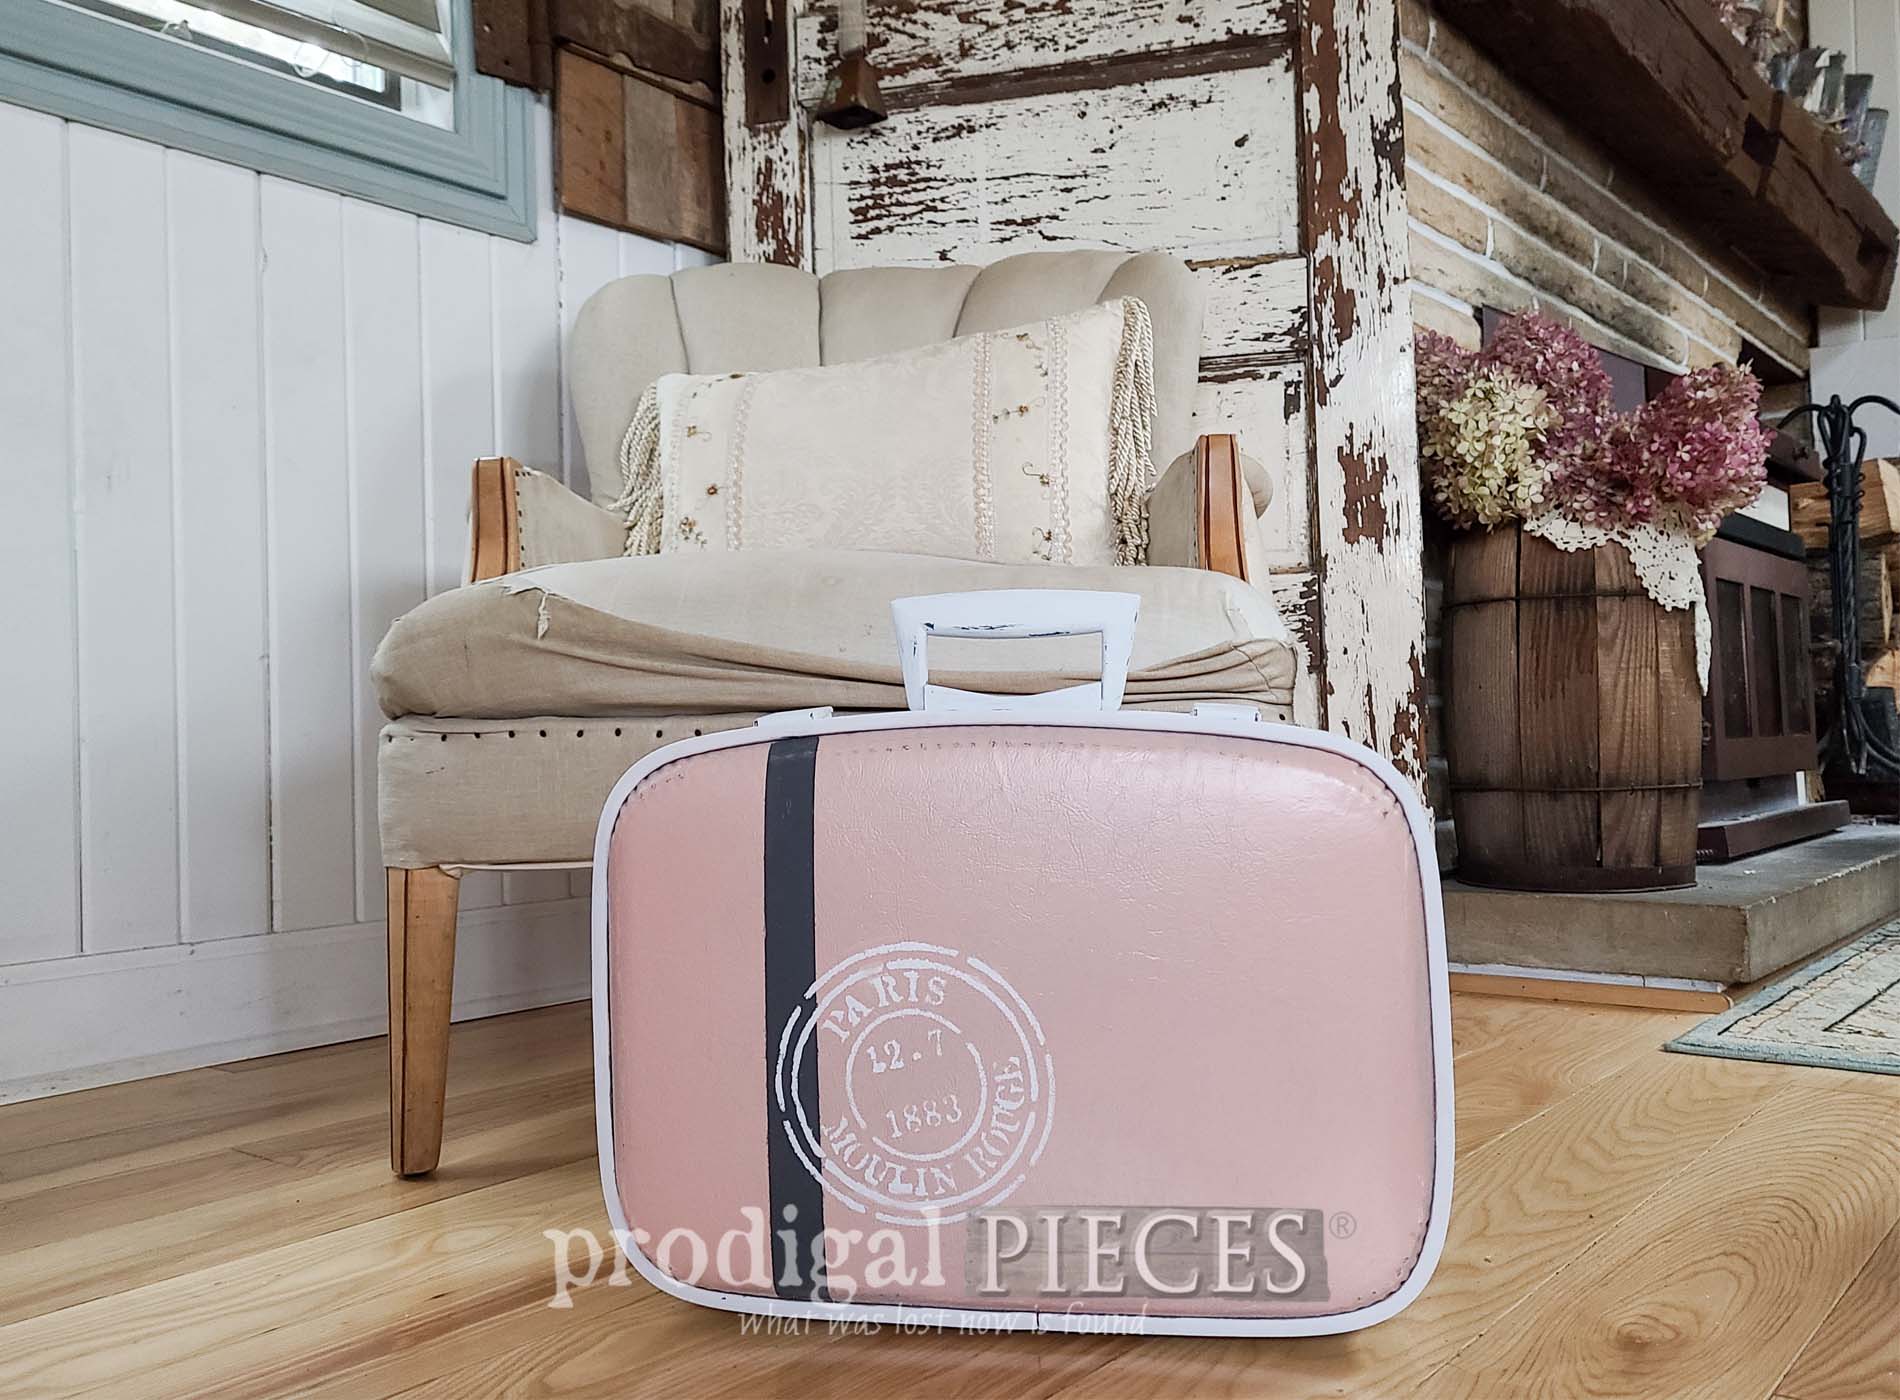
After the paint cures, I use a pink spray paint to only paint the flat surfaces, and a white milk paint for the side panel.

In addition, I use painter's tape to make a stripe on the pink panels using a gray acrylic paint.

Even more, this not only updates it, but adds the bit of ooh, la, la I'm after.
STEP 4
Last, it's time to take care of the interior. I use the old lining pieces to cut the shower curtain into new lining parts.

While I'm at it, I also cut batting and use my spray adhesive to line the suitcase before adding the lining.

Not only do I cut the panels out of the shower curtain, but also the side trim of the base compartment and make a new ruffle trim with a running stitch for the top compartment.

To assemble, I use the spray adhesive to attach the pieces following the reverse order of removal of the original lining.
FINISHING TOUCH
Finally, after our DIY adventure is complete, our vintage suitcase upcycled project is ready for many more years.


The pink suits the lining and also softens the case up, while the white is refreshing.


Isn't that fun? I'm smitten with the outcome for many reasons. The suitcase is perfect for use for travel, for tucking in memories, or for fun decor. What would you use it for?


What is more, if you'd like to make this part of your home story, you can find this and more in
my online store.

SHARE
Likewise, I want to hear from you. Have you ever tried your own luggage makeover? Additionally, leave some comment love below and pin and share to inspire others too.
Before you go, be sure to
sign up for my FREE newsletter to see what becomes of this thrifted table.

Until next time!

 PINTEREST | EMAIL
While you're at it, check out these other refashion fun projects like this vintage suitcase upcycled: