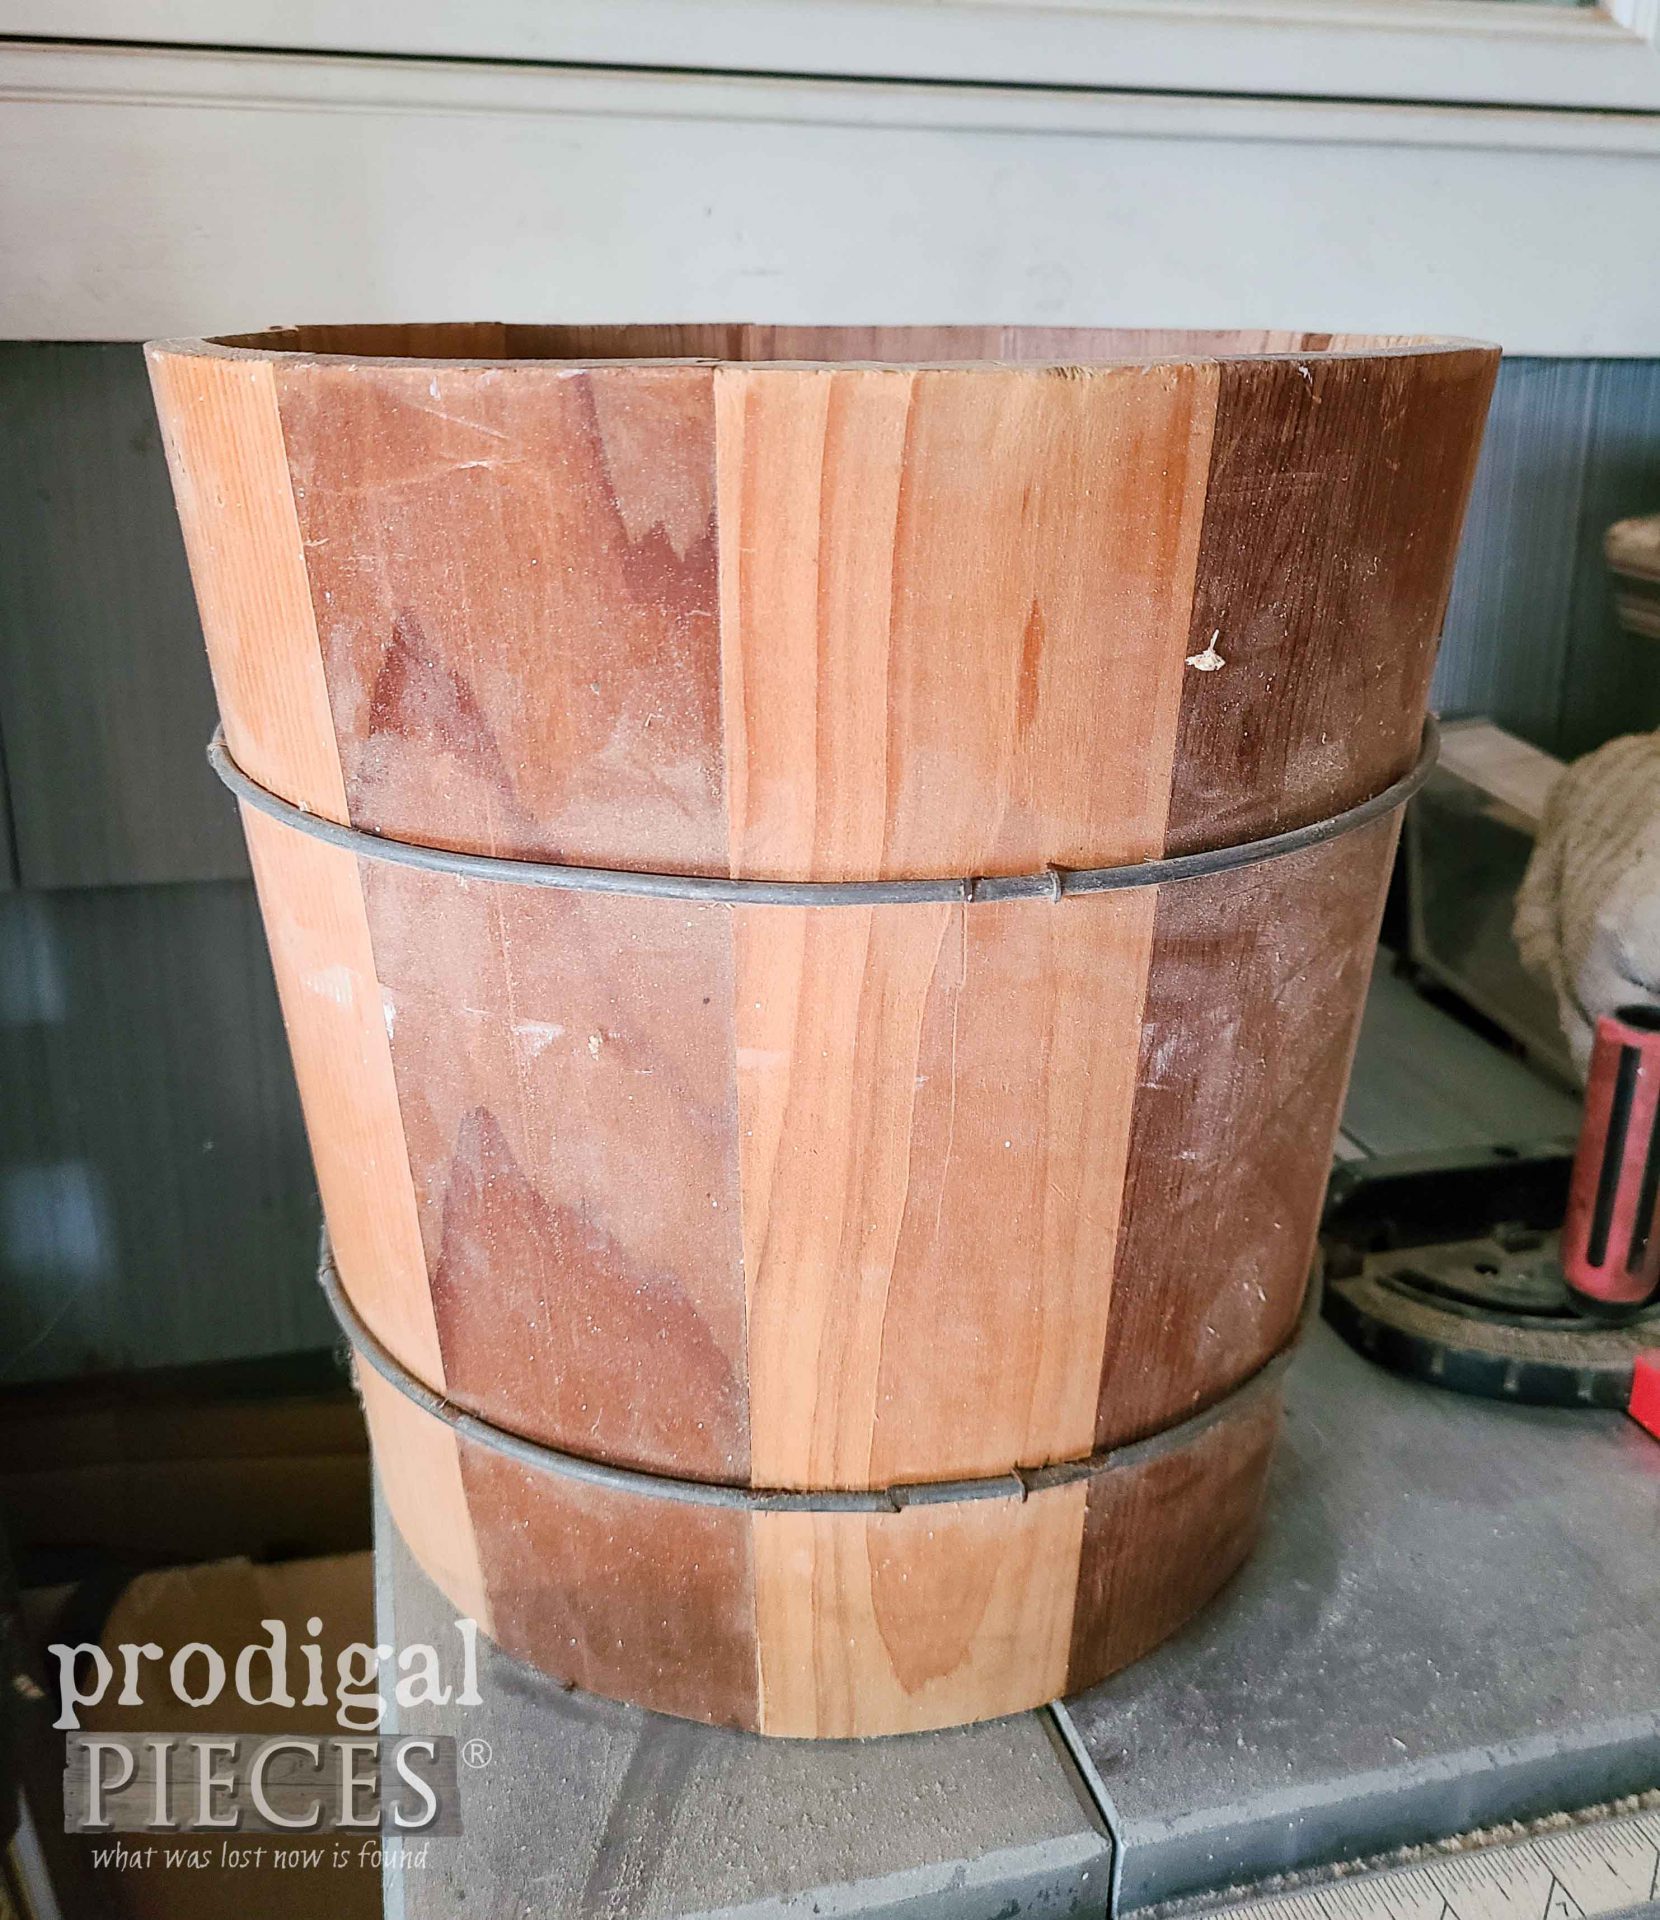
 I pulled it off the curb during our city spring clean-up nearly 10 years ago. eep! I've used it in my home before we remodeled our family room. However, since then it's been waiting for a new home. Today's the day it gets a new life and makeover to make it more my style.
MAKEOVER TIME
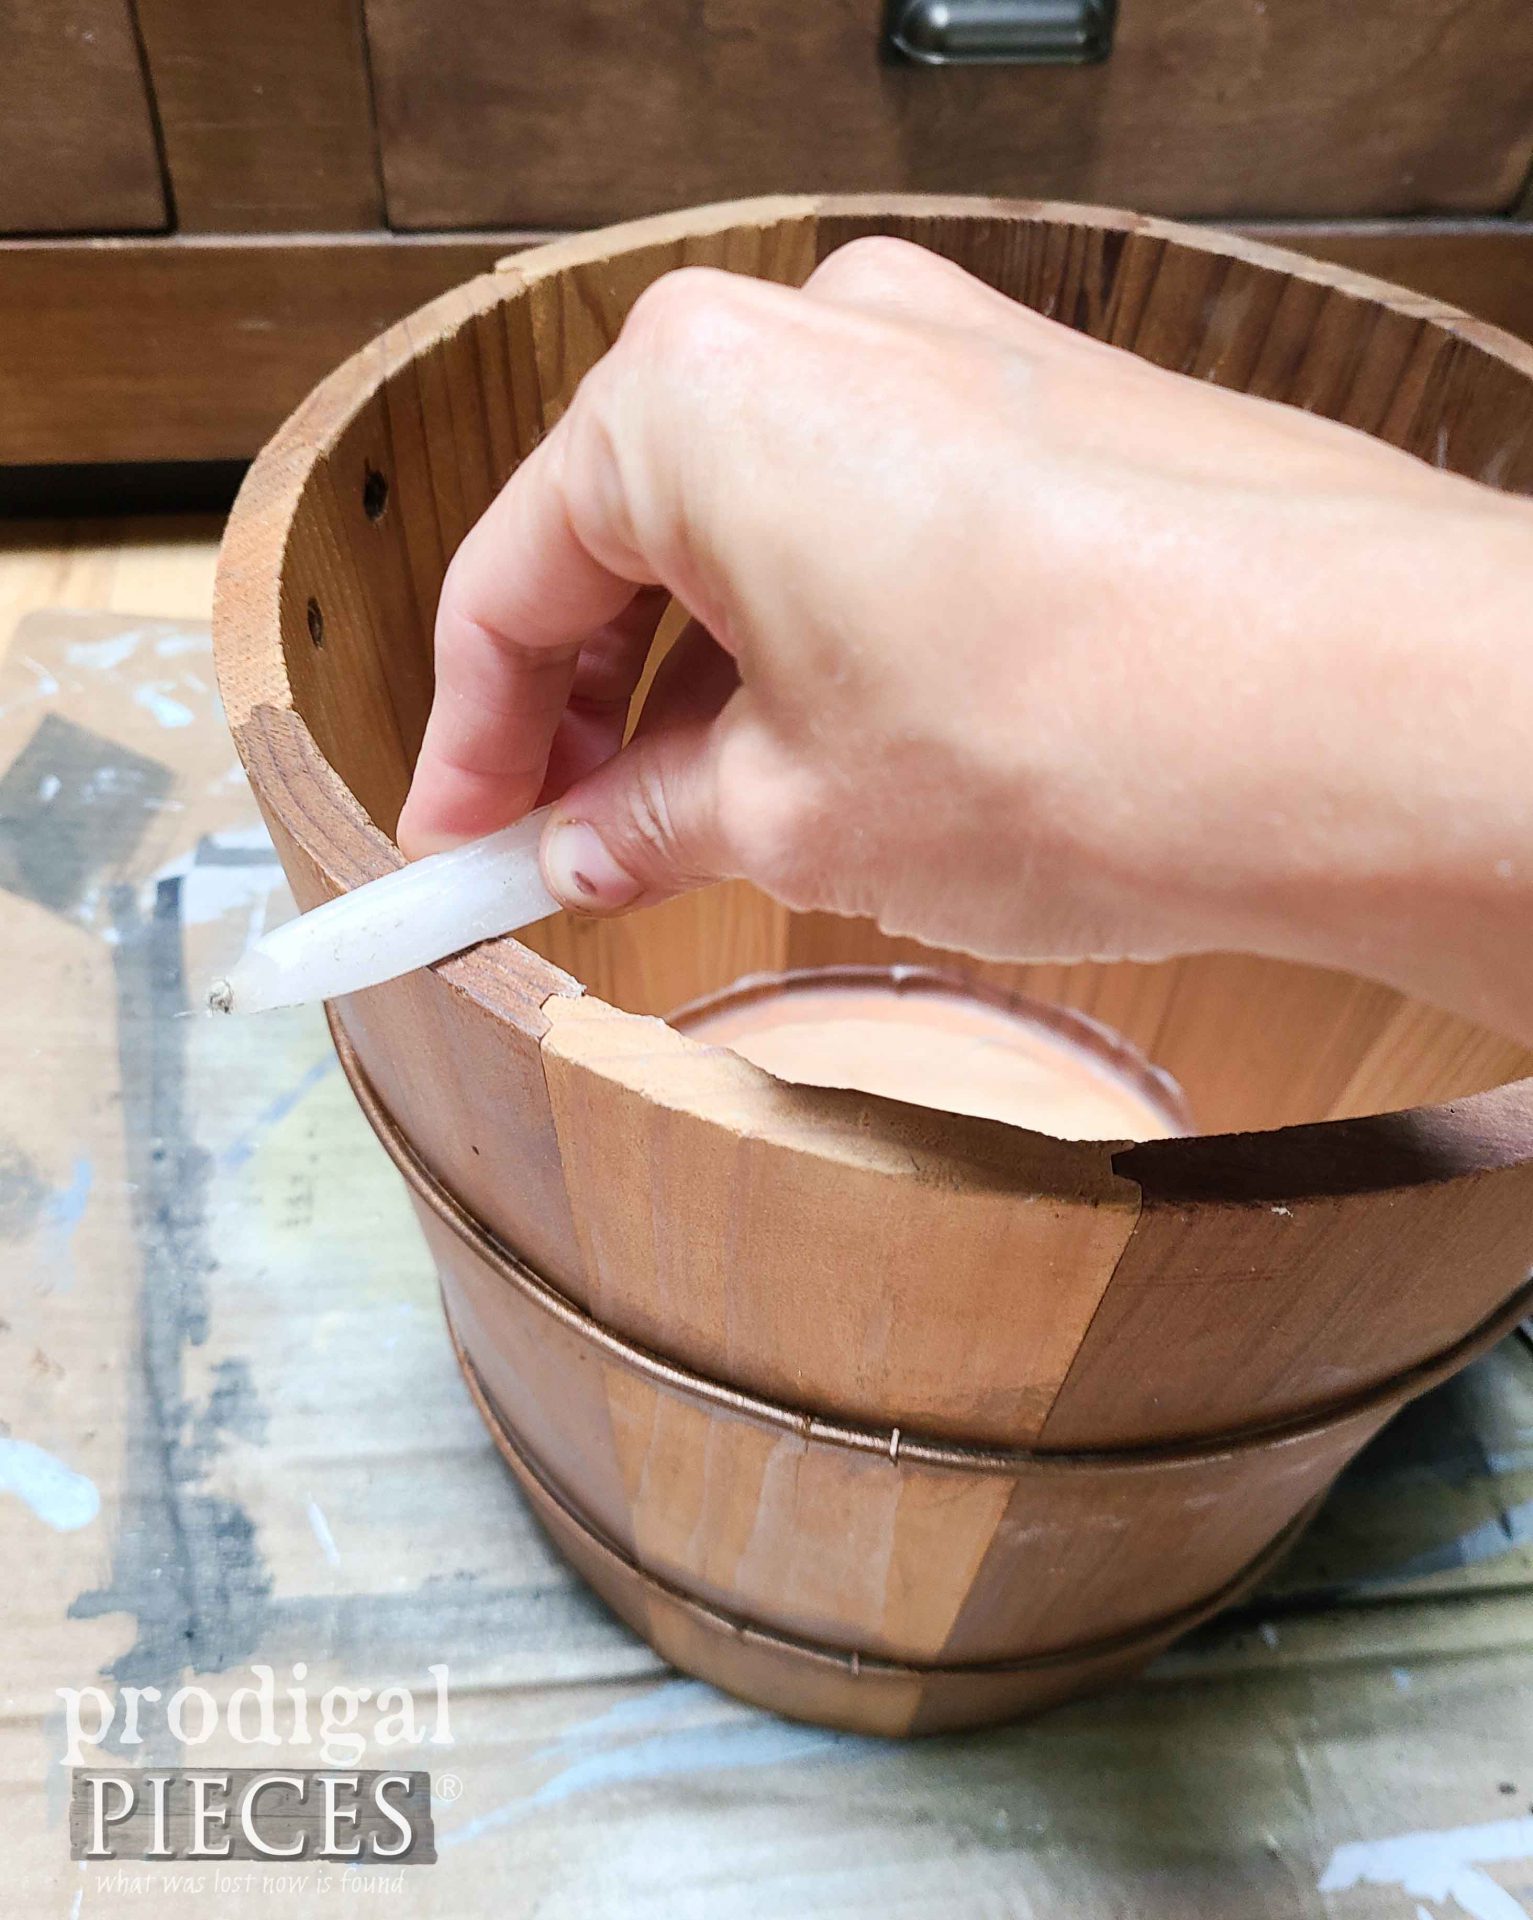
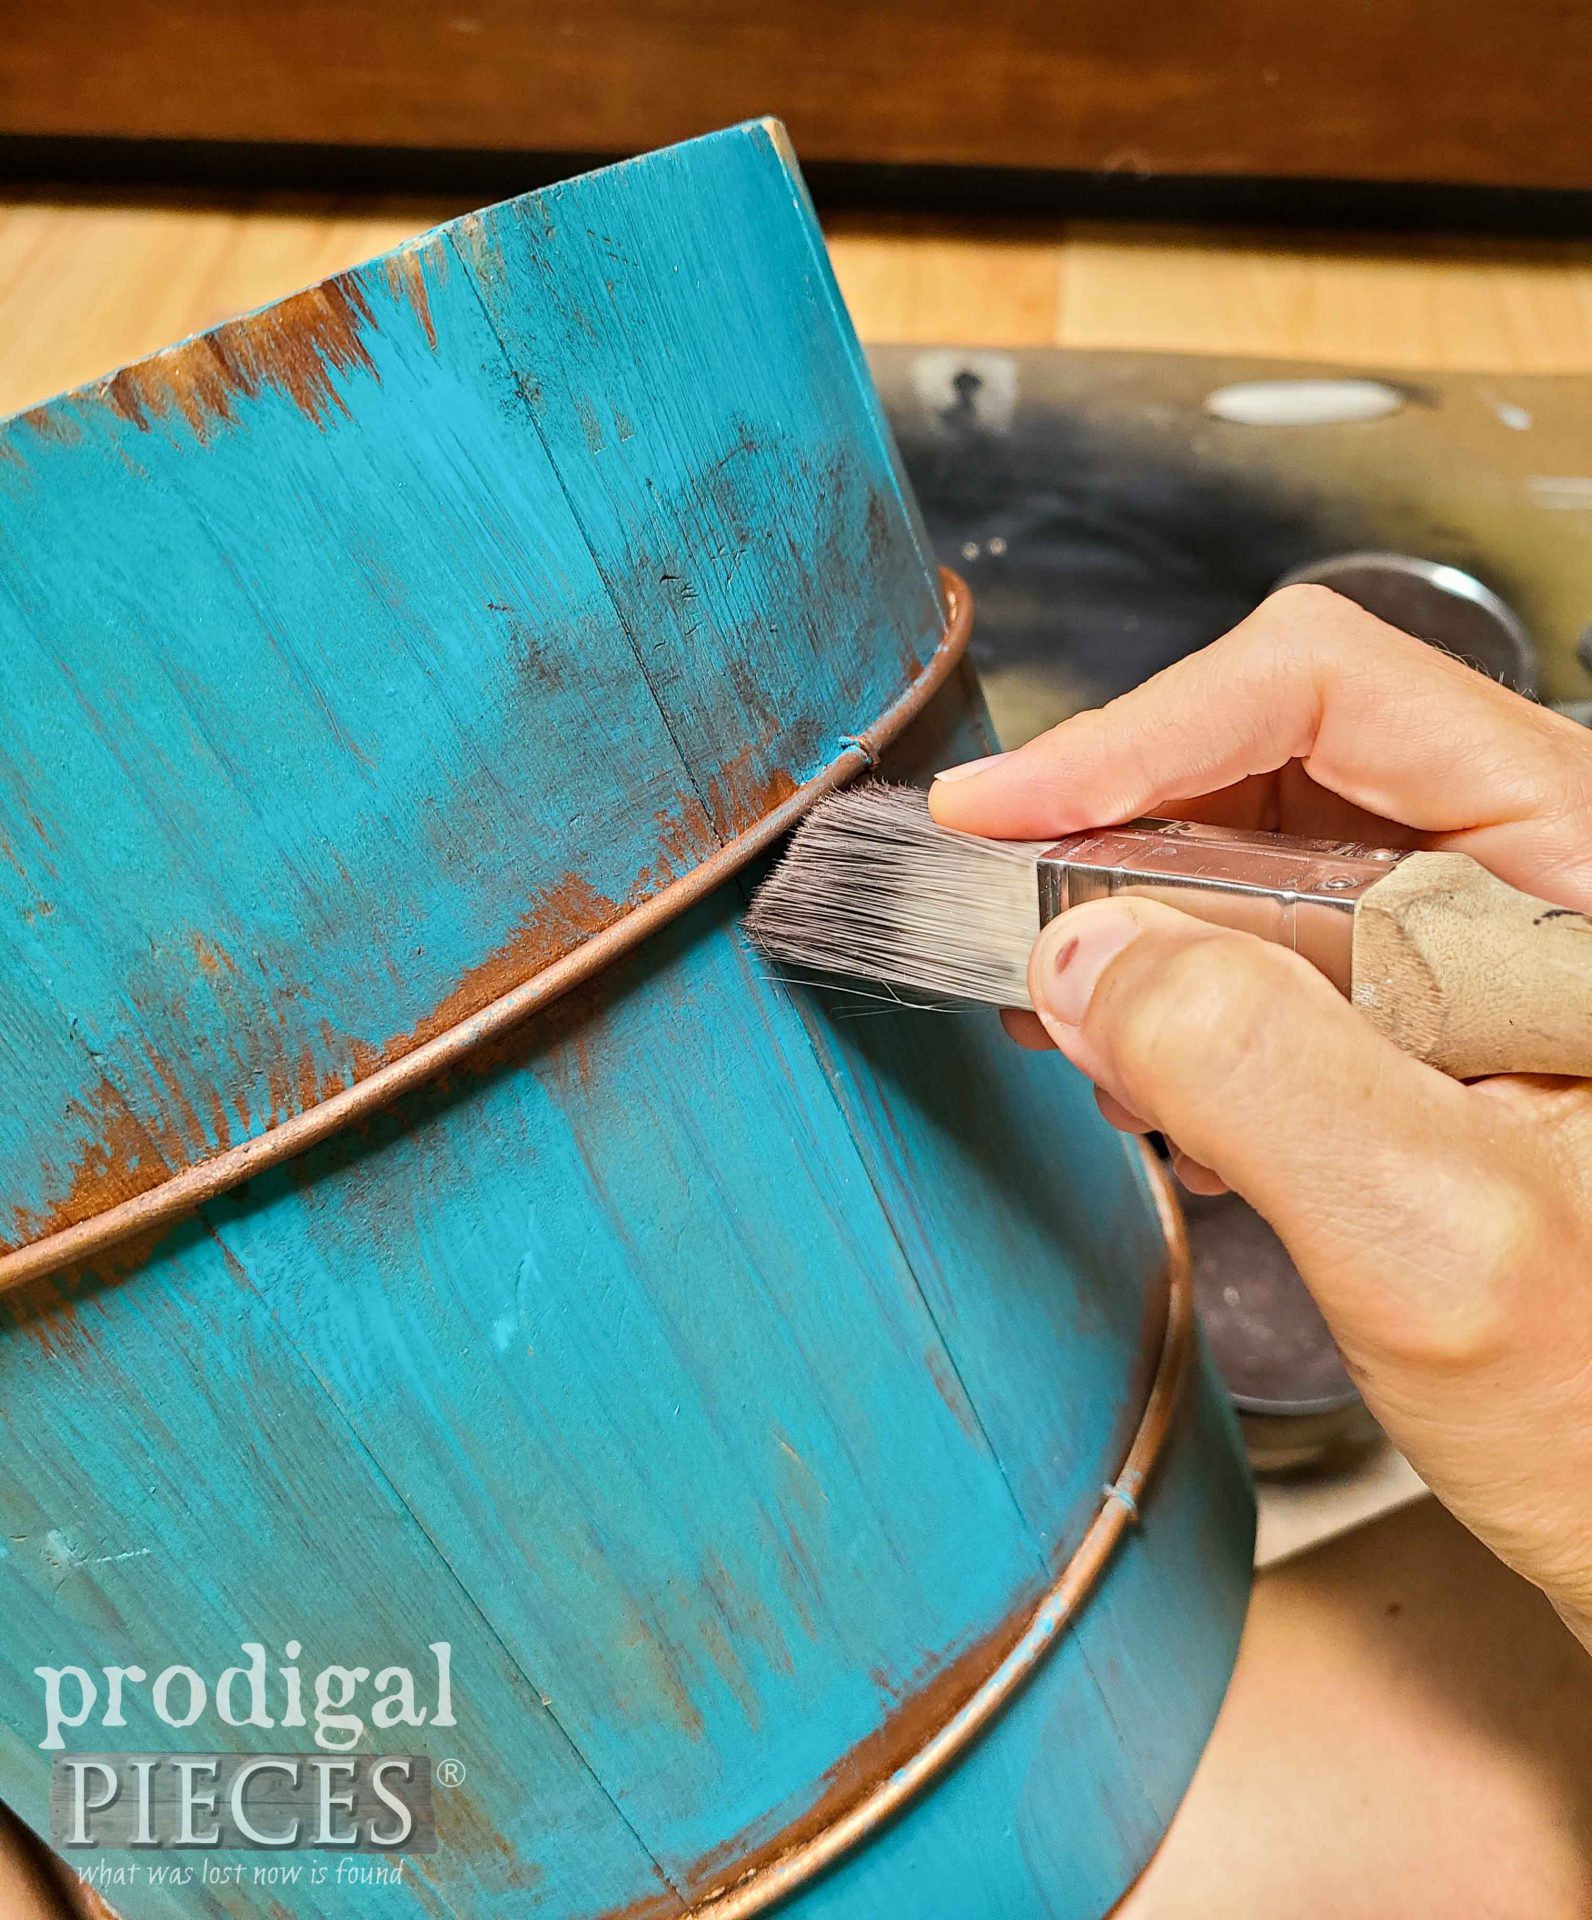
Yes, I'm a lover of all things natural wood which is why I've kept it in it's original state for so many years. Even my home is full of mixed woods, and very few painted pieces. Not only is the bucket wood in great shape, but it also holds together beautifully. For me, though, it needs a refresh to give it more of a story. First, I break out this antique bronze metallic paint to go over the wire rails.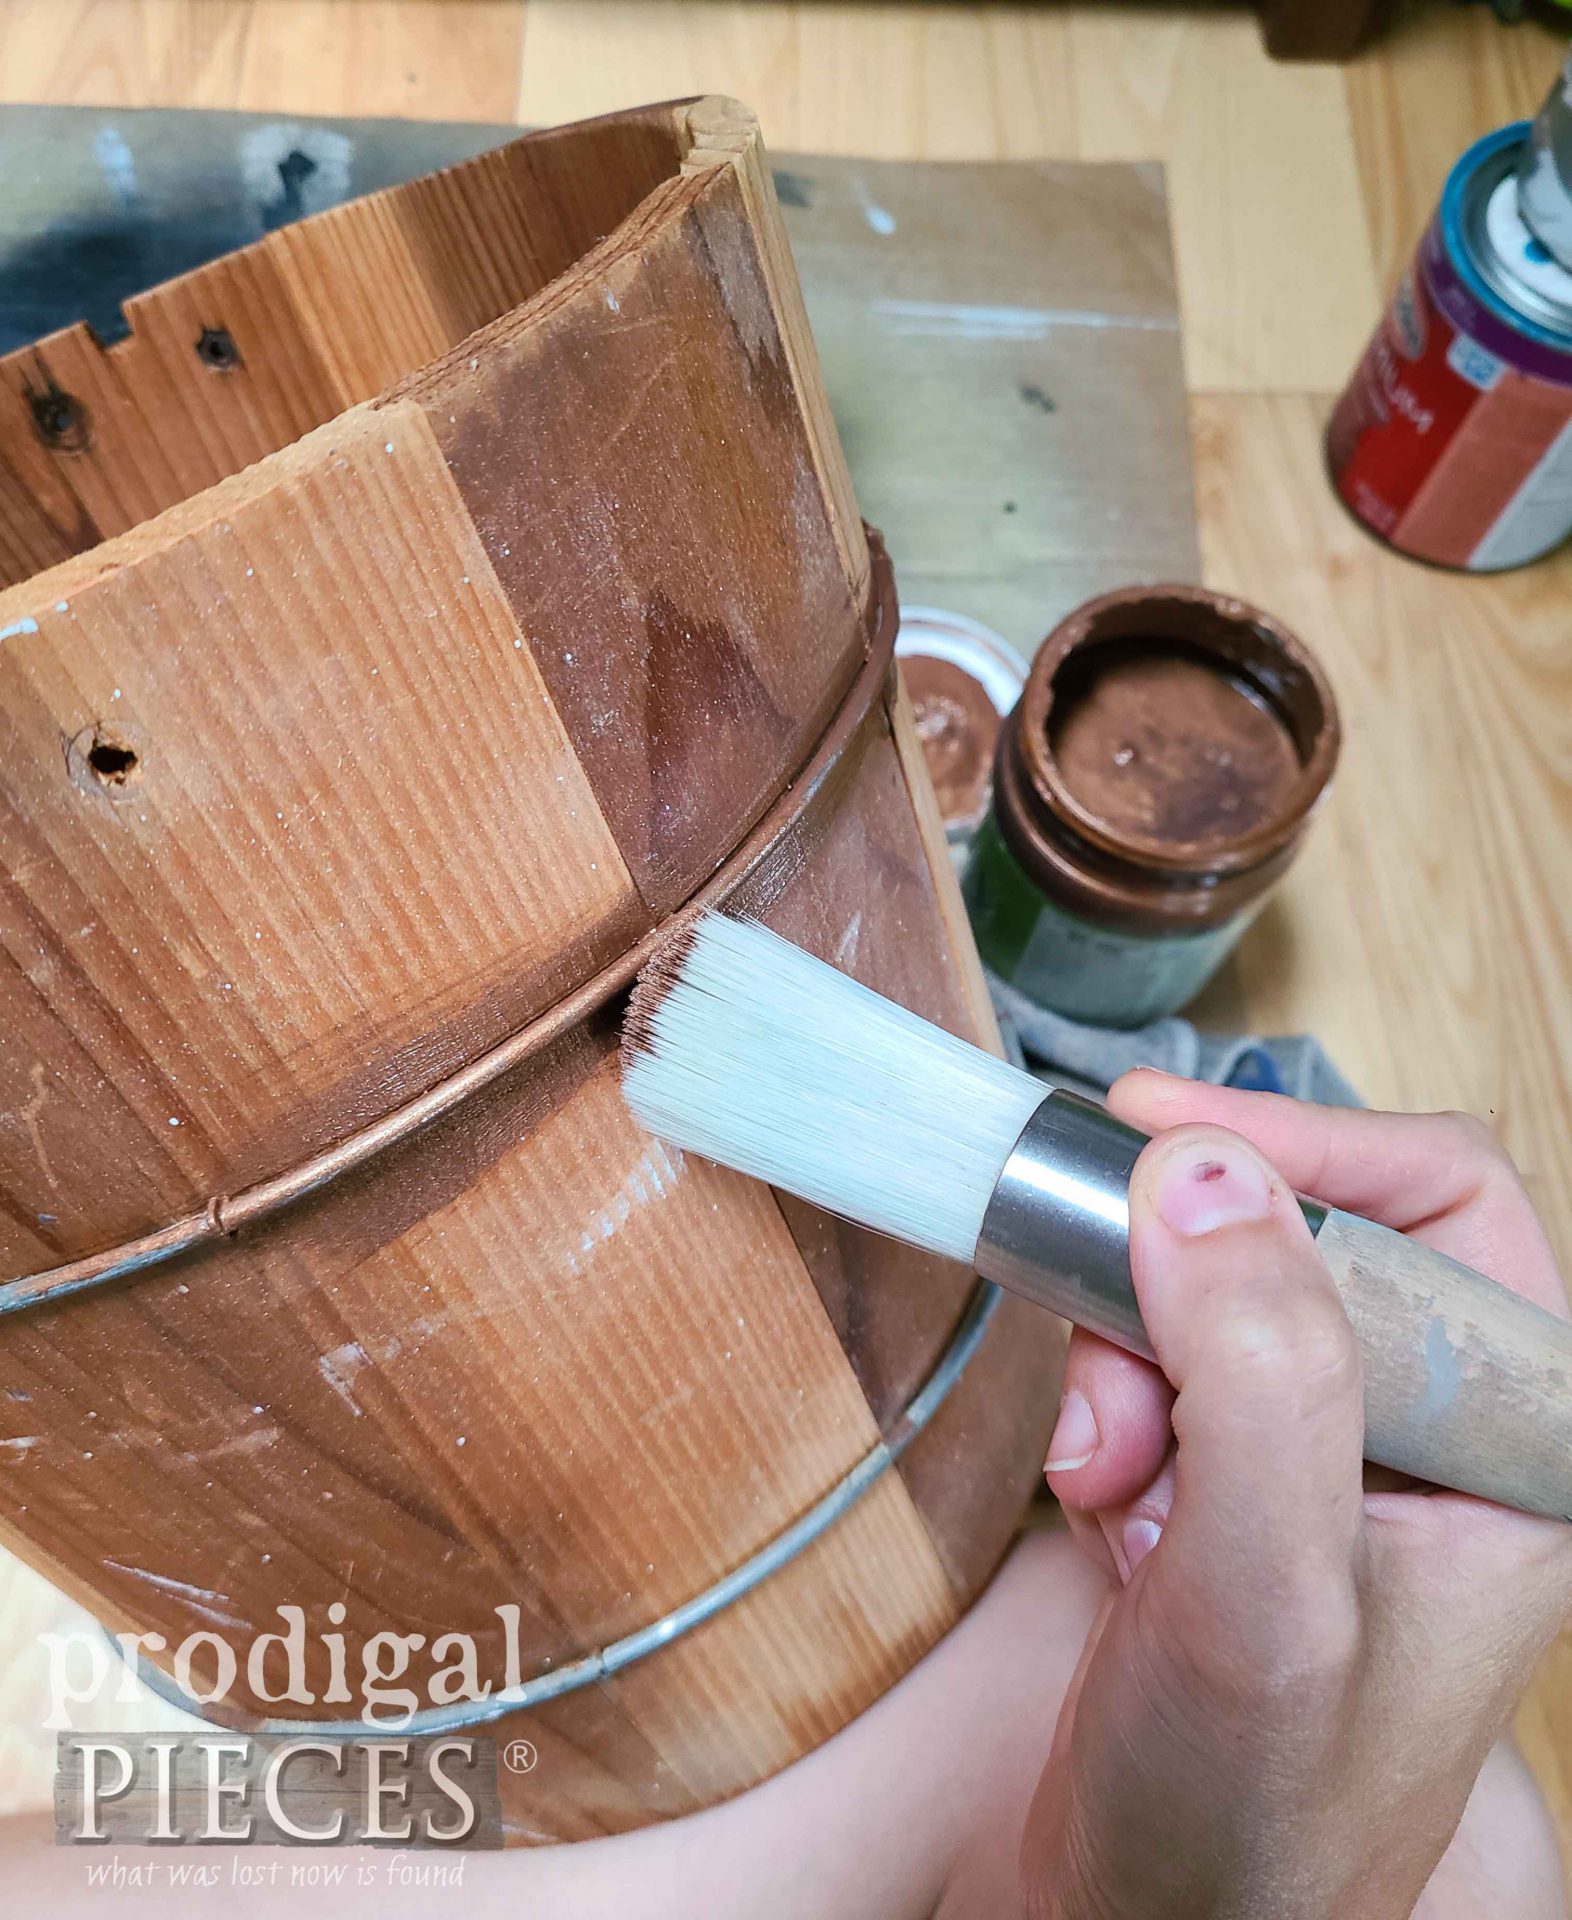 Notice I'm brushing onto the bucket as well to create a sort of patina where in normal age, the metal would have bled onto the wood. Next, I use my old candle to wax areas that I want to look aged. In addition, you can use petroleum jelly, as I did in this chest of drawers makeover.
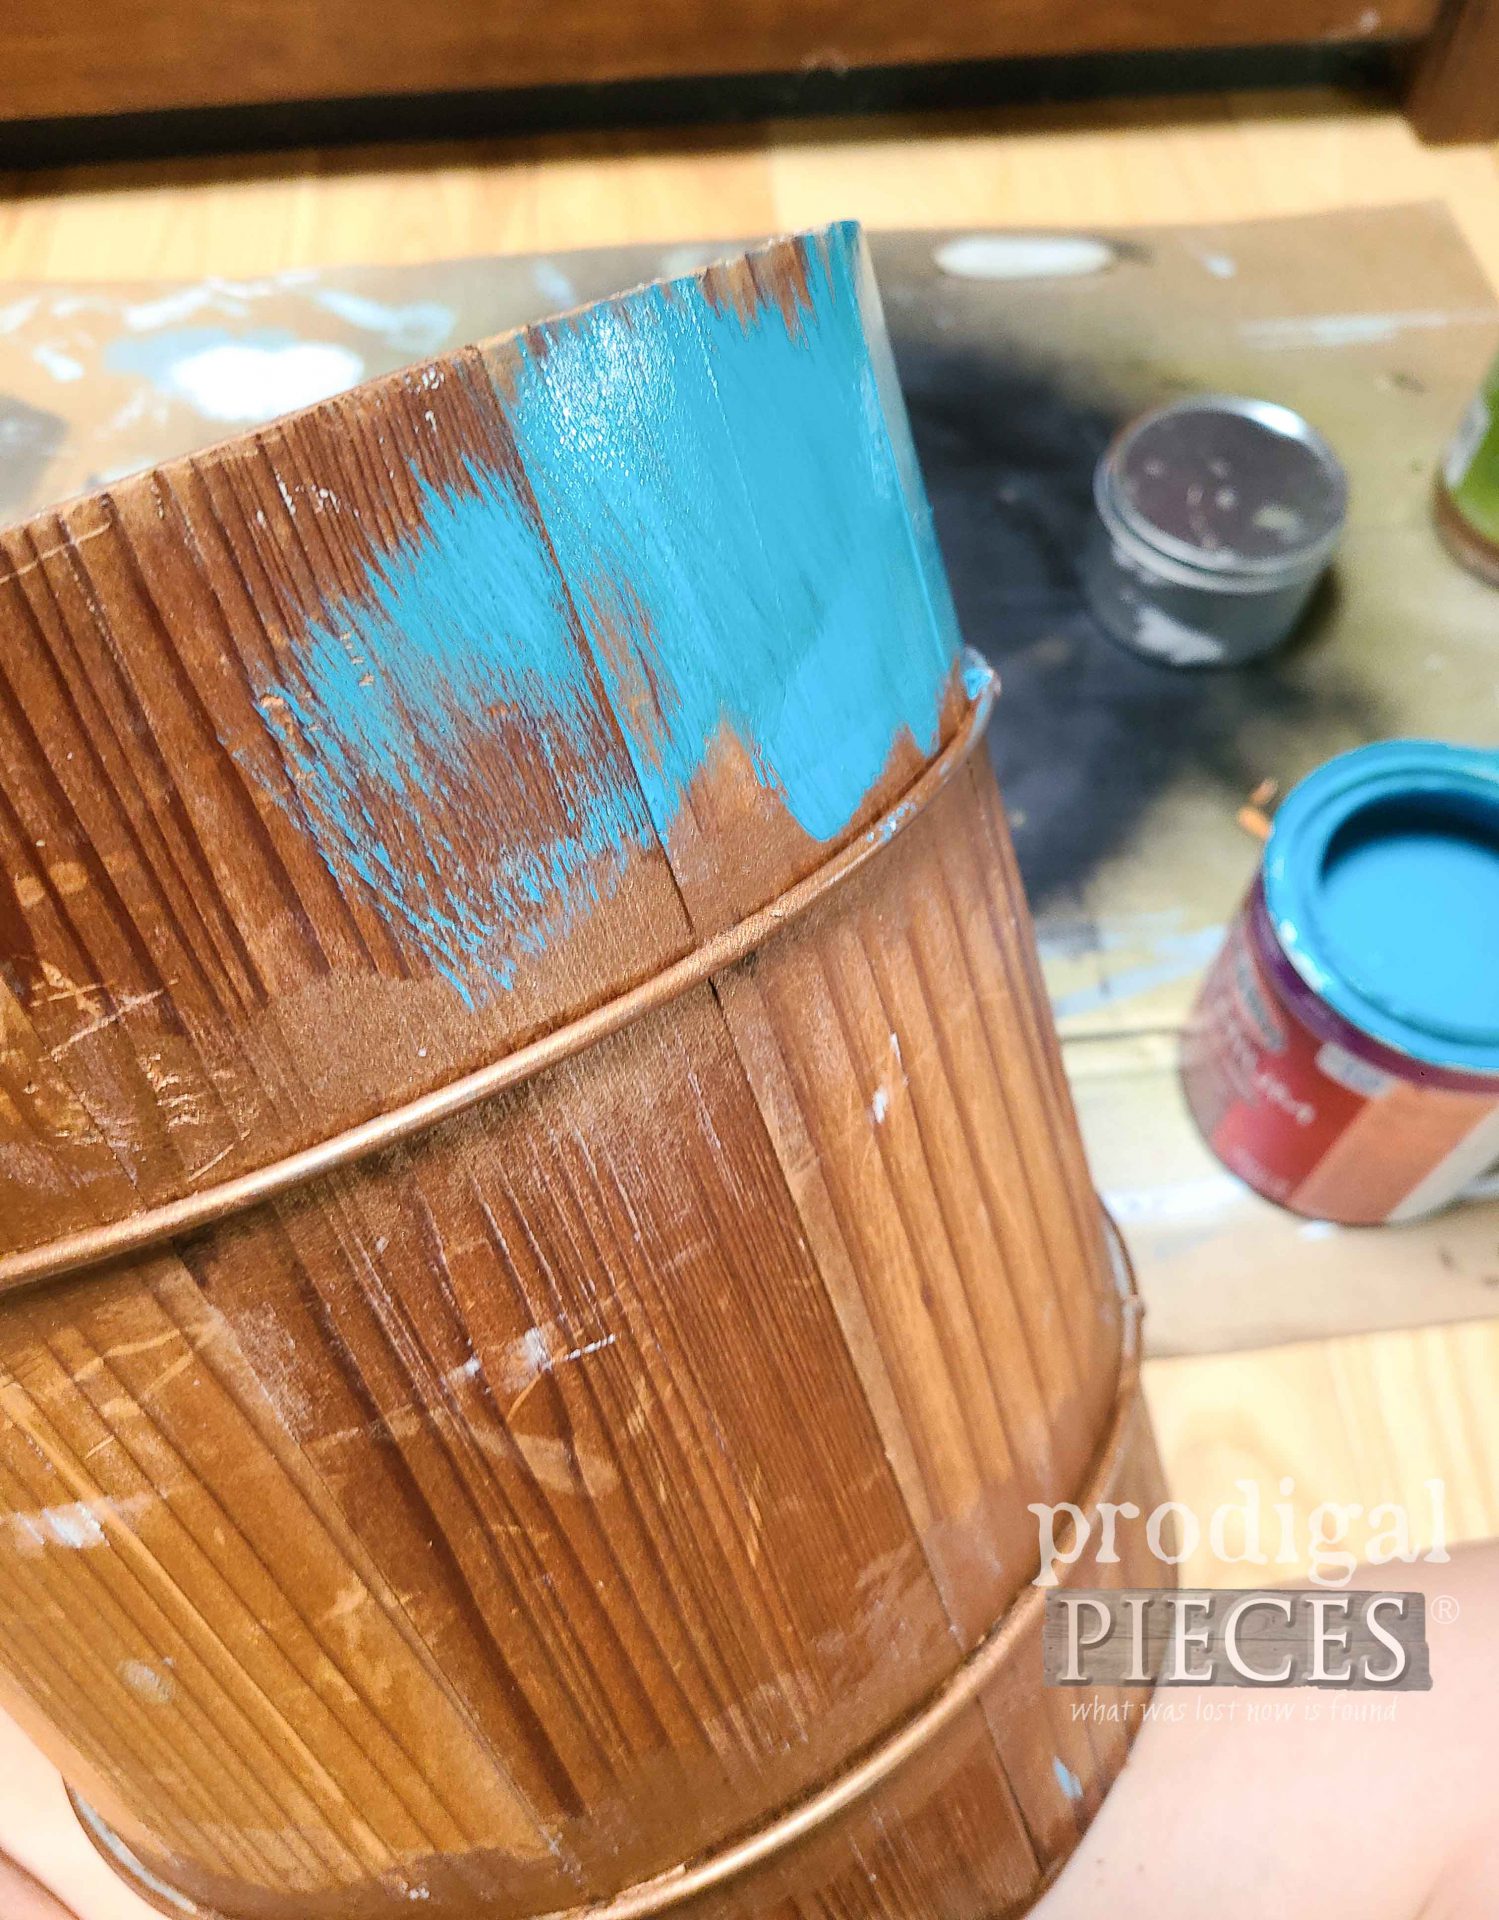
 After that, I apply a teal blue paint to give a one-coat wash over the wood sections. You can see how I've used this same color on an antique wash stand, a table, and a butter churn.
 Isn't it fun?!? I'm not finished yet, though...hang on! Then, as soon as the paint cures, I apply two different waxes, both brown and black to give an aged appeal.
 I didn't stop there, but let me show you the end result first before I explain.
CREAMERY
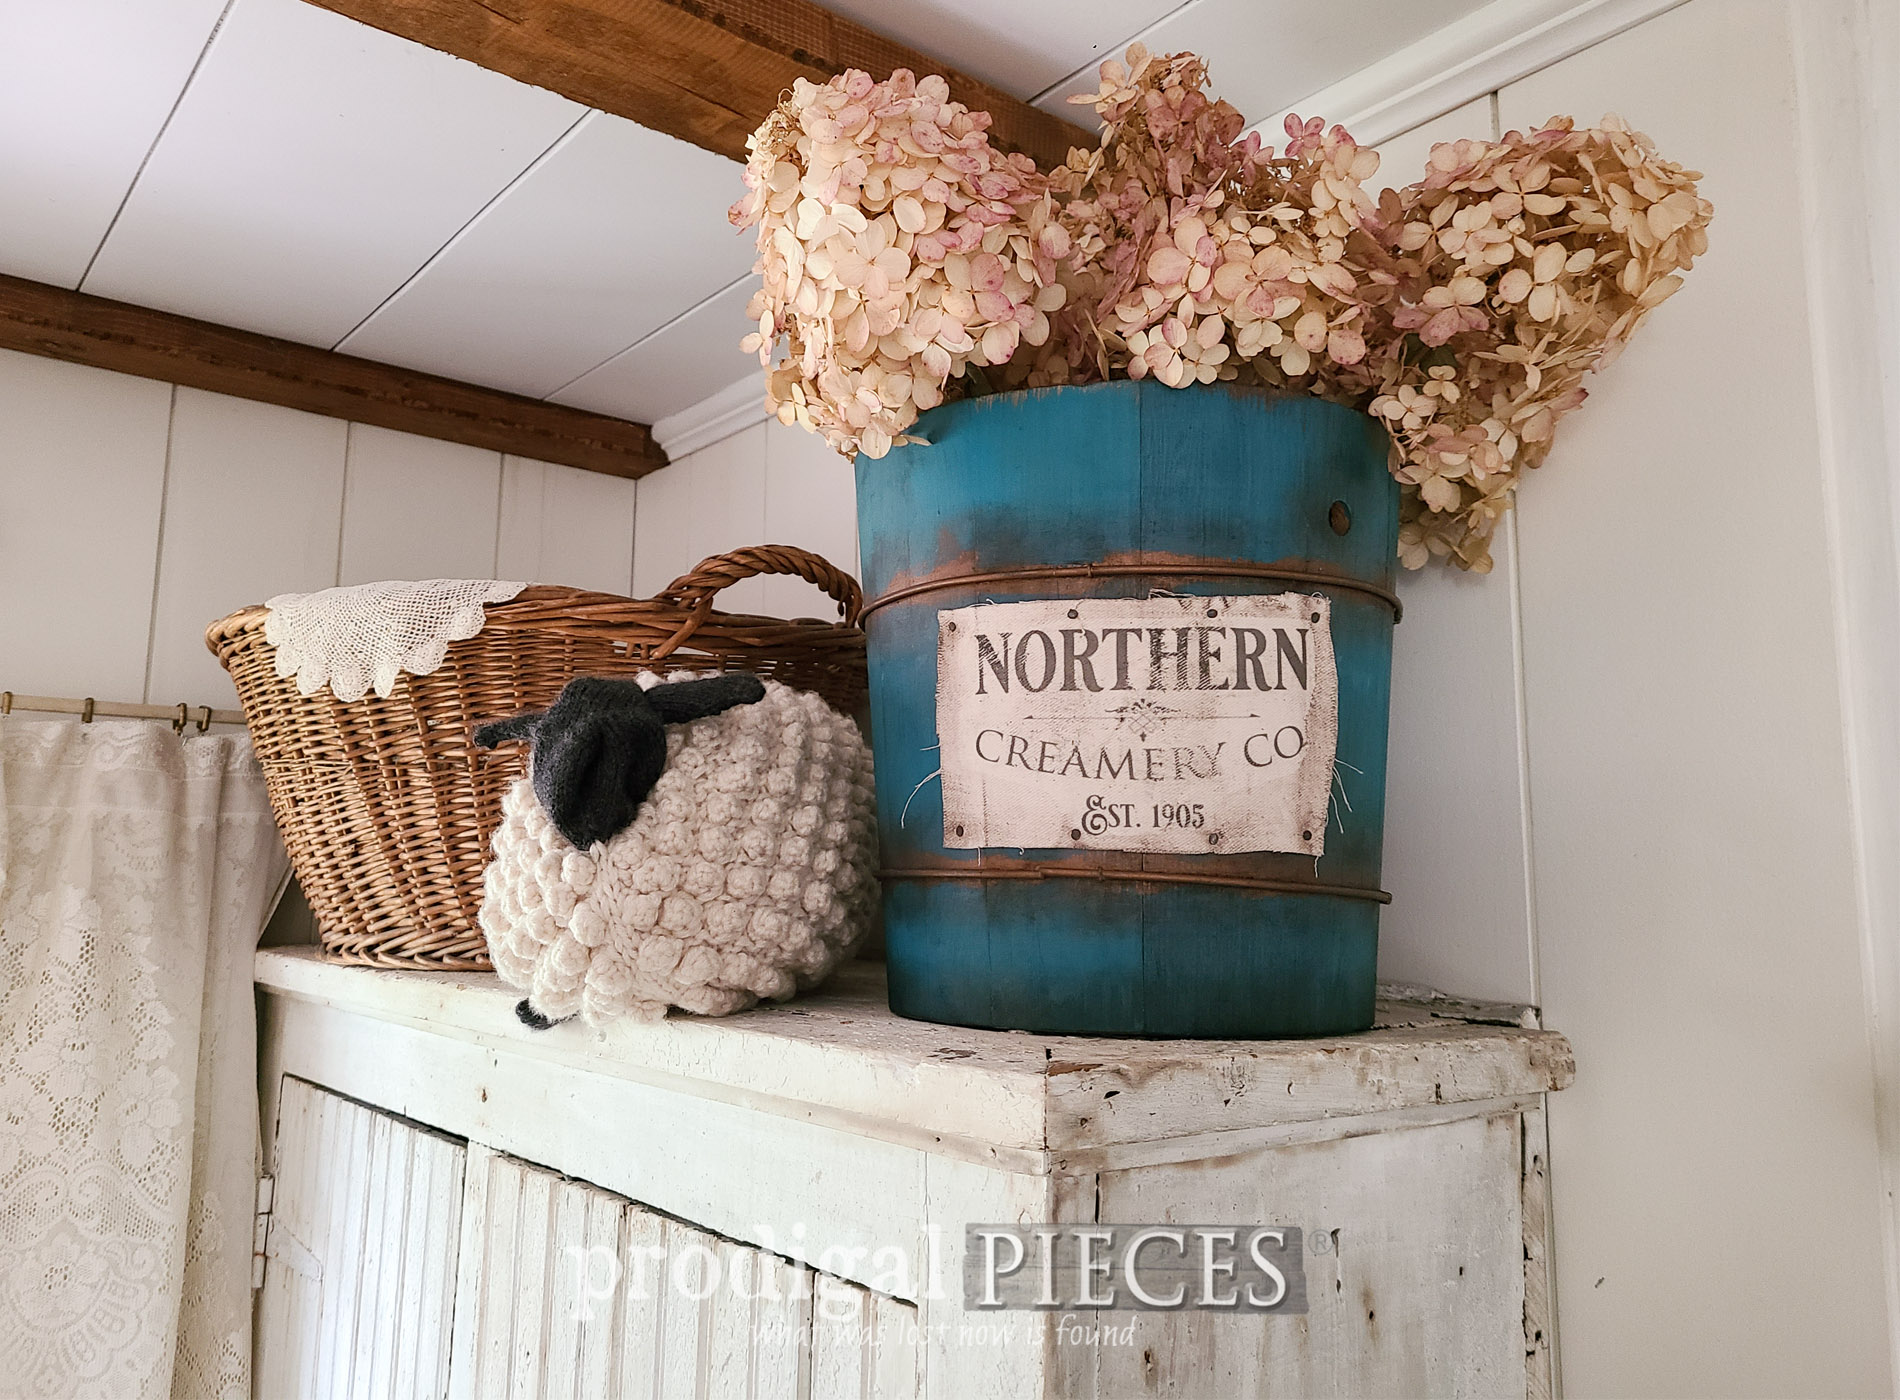
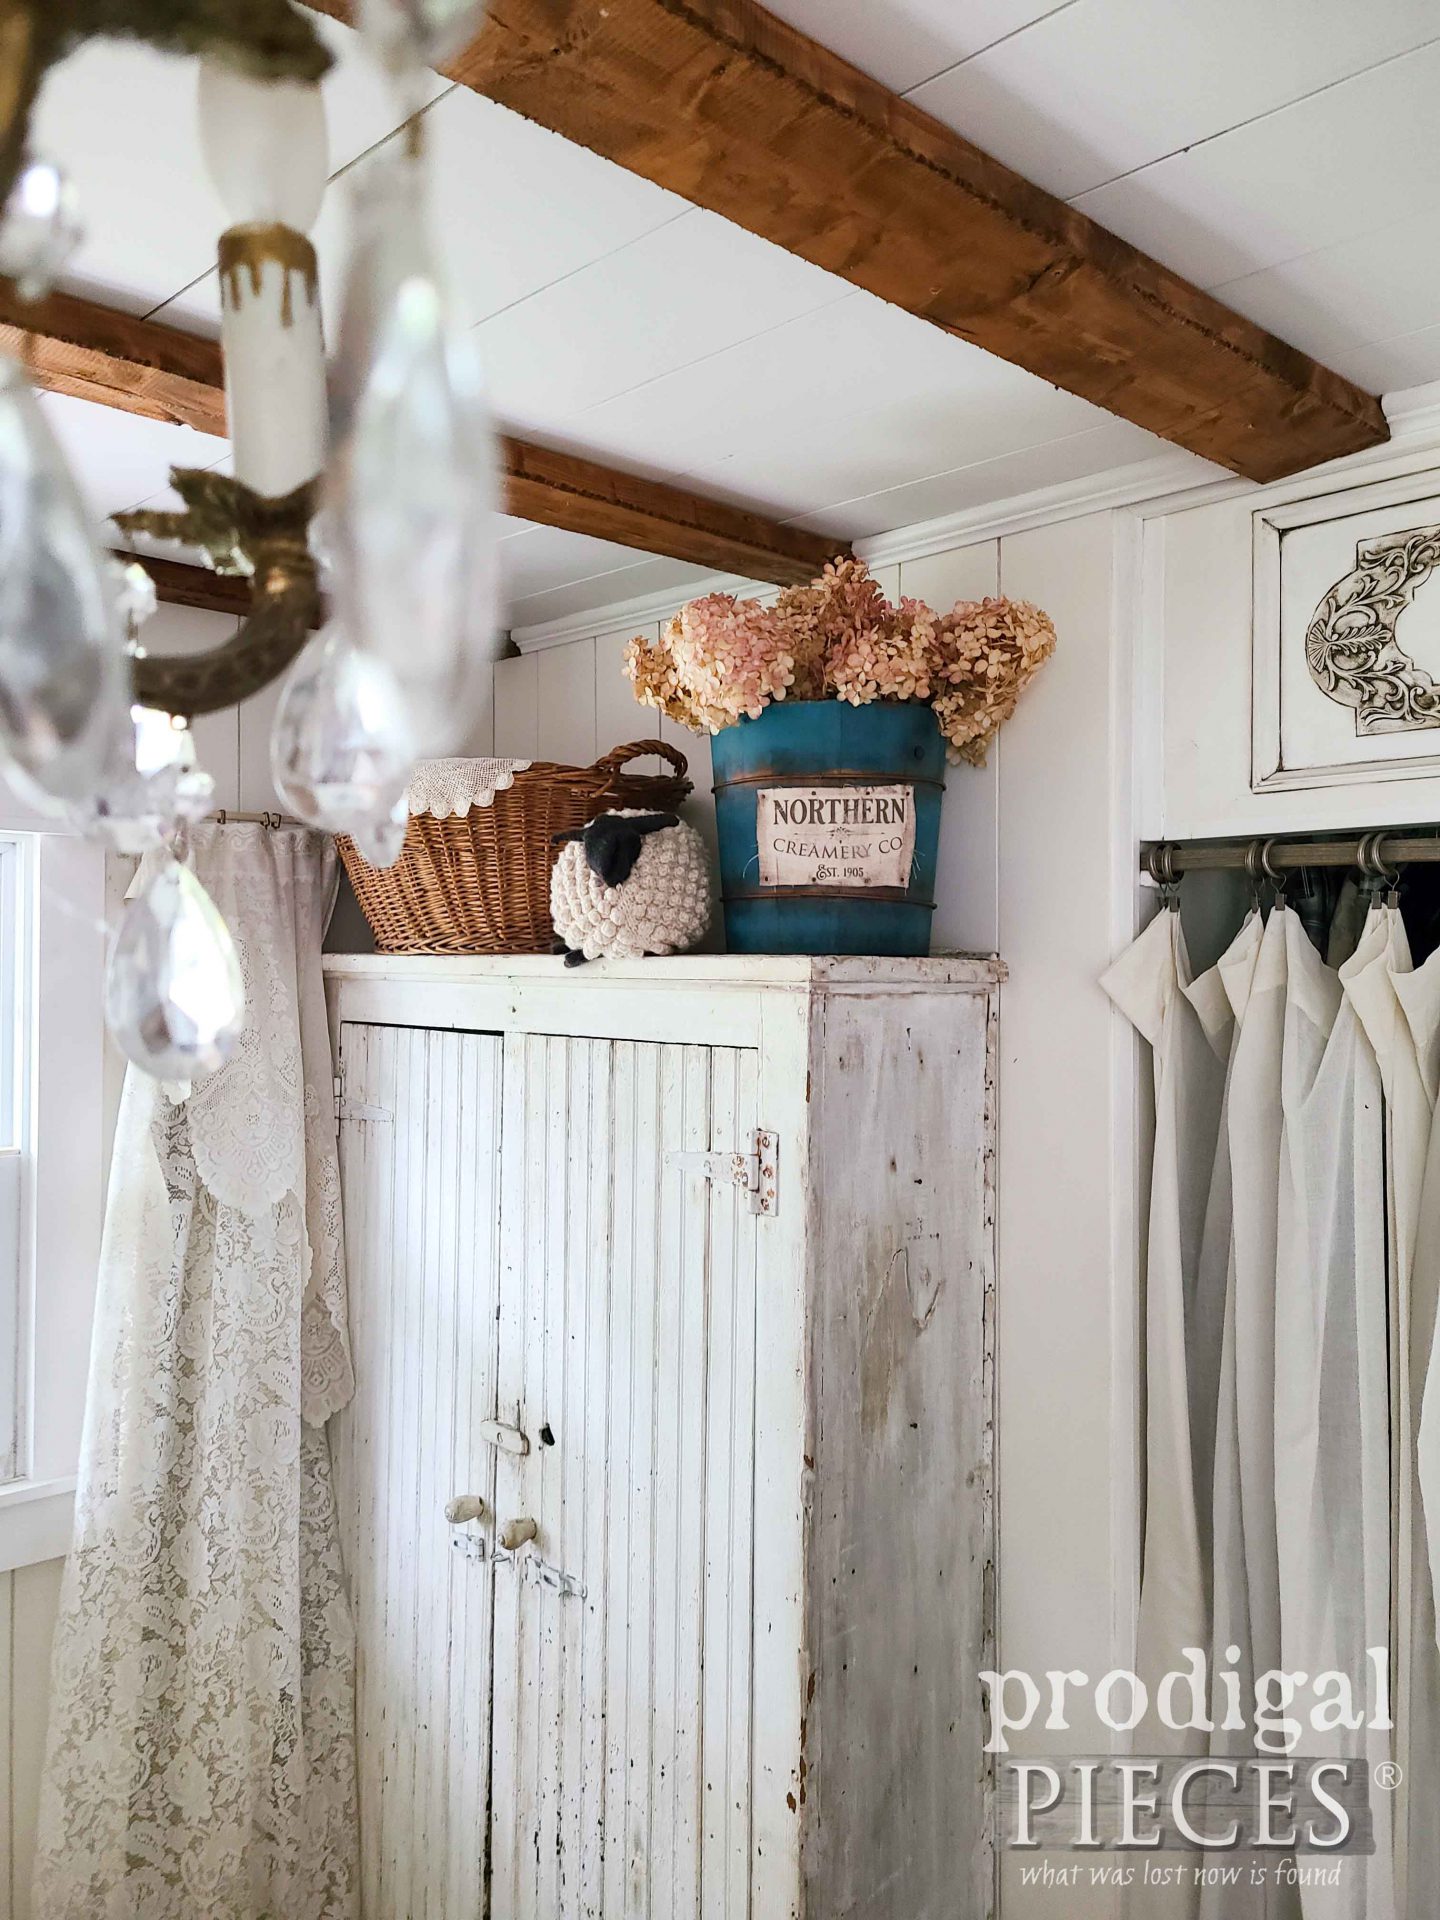
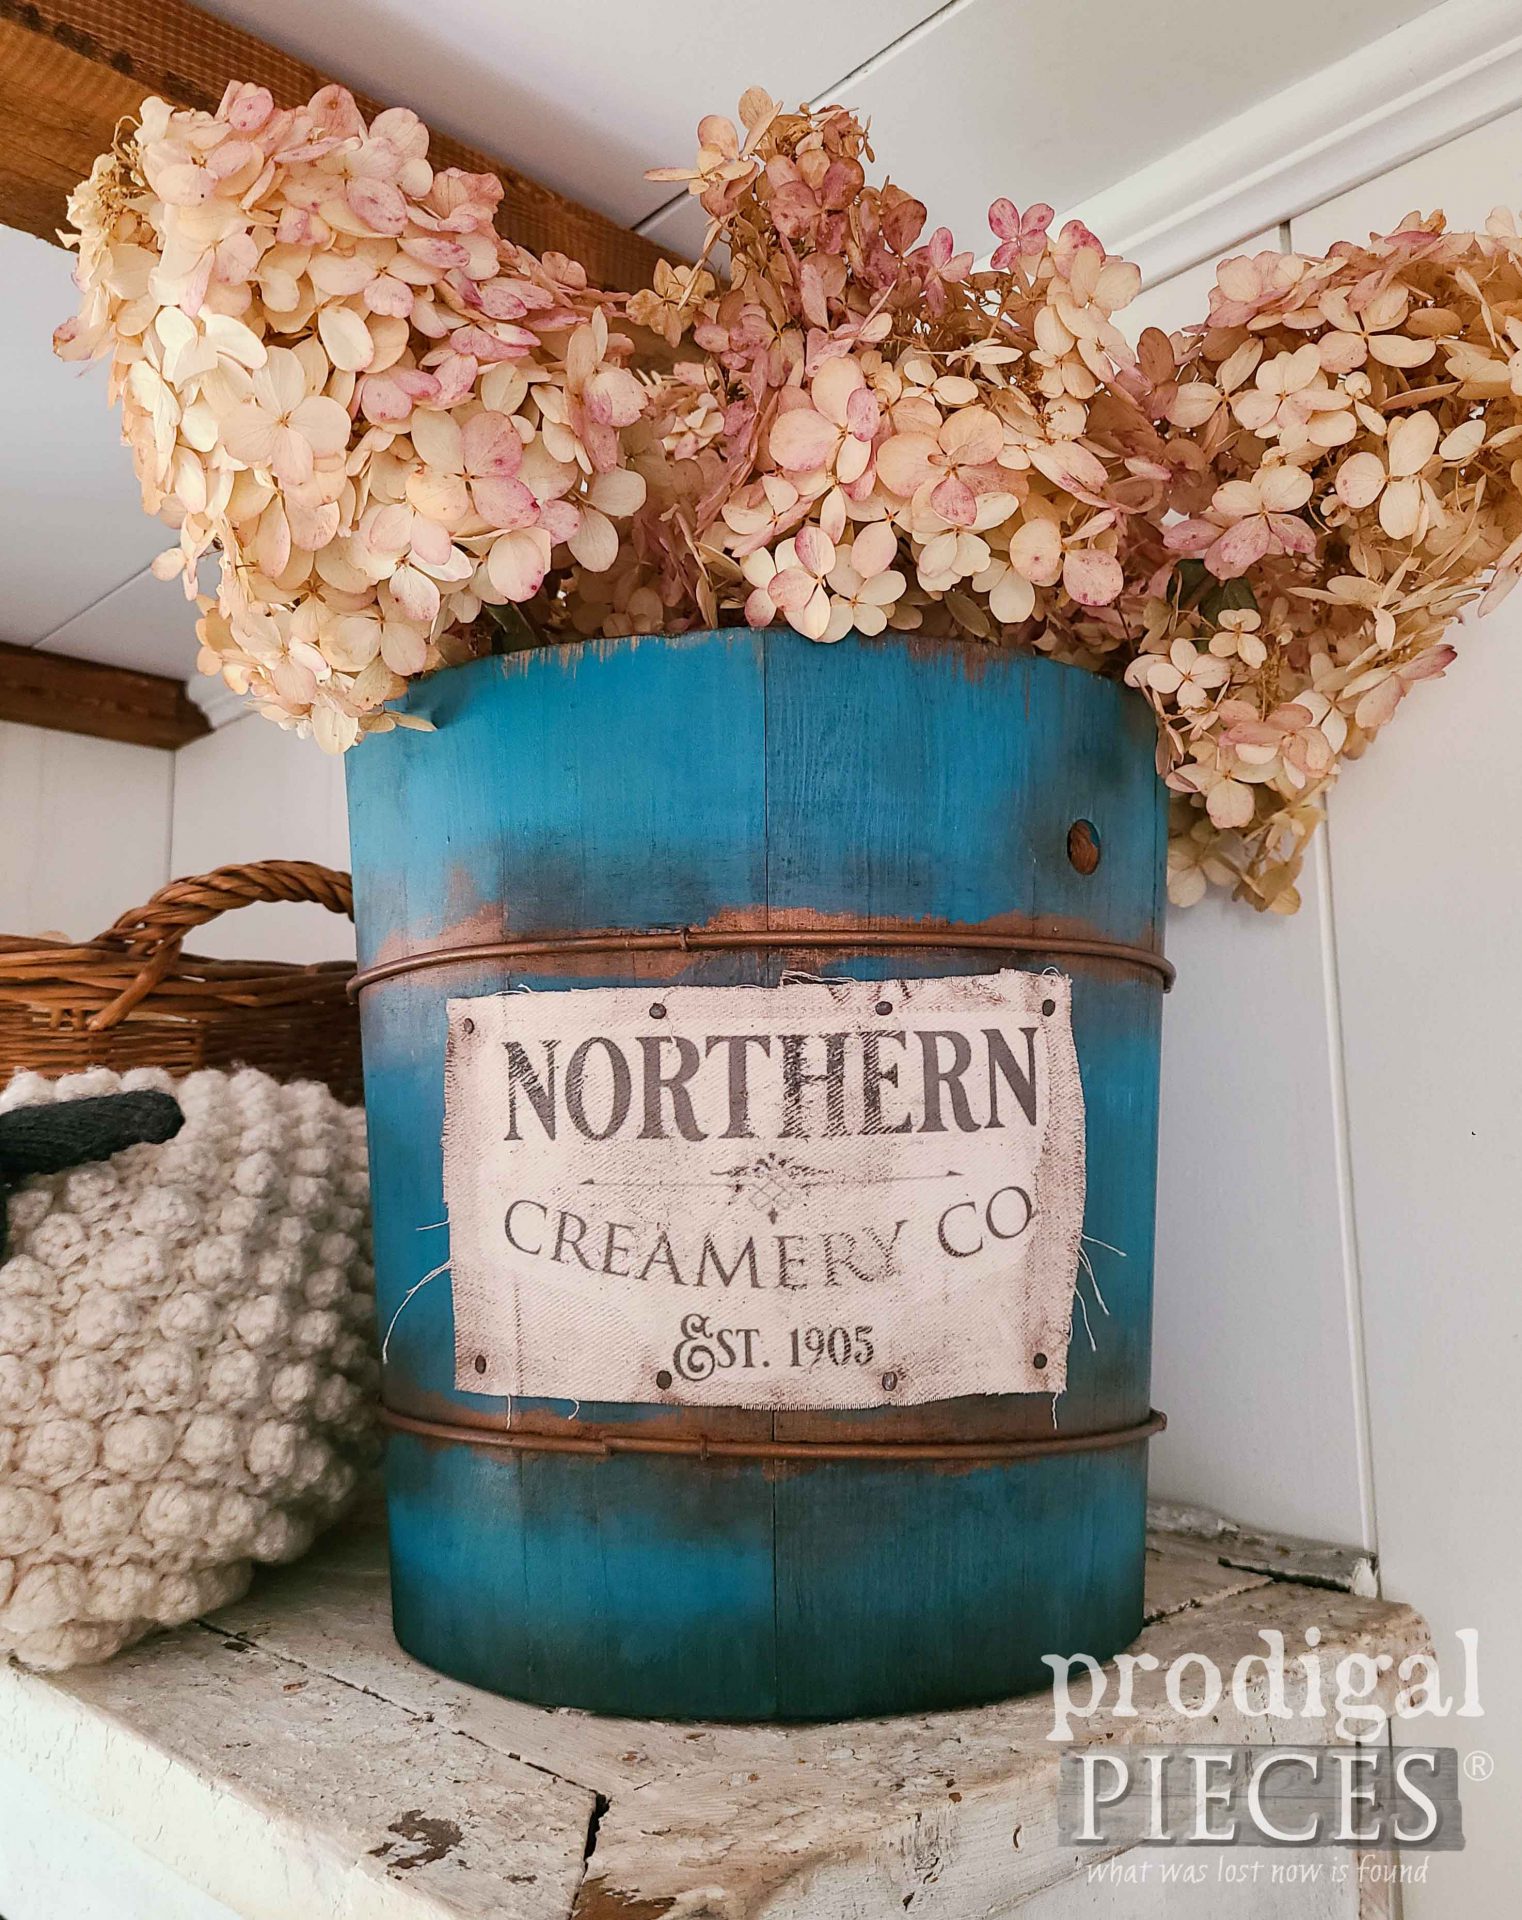
I scream, you scream, we all scream for ICE CREAM!! haha. I actually can't tolerate much dairy, so I'm not a fan of ice cream from a dietary stance. However, we make ice cream a few times a week from the raw milk we get from our local farmer. Talk about yummy! Here's my vintage ice cream bucket ready with it's new story and perfect to suit my style.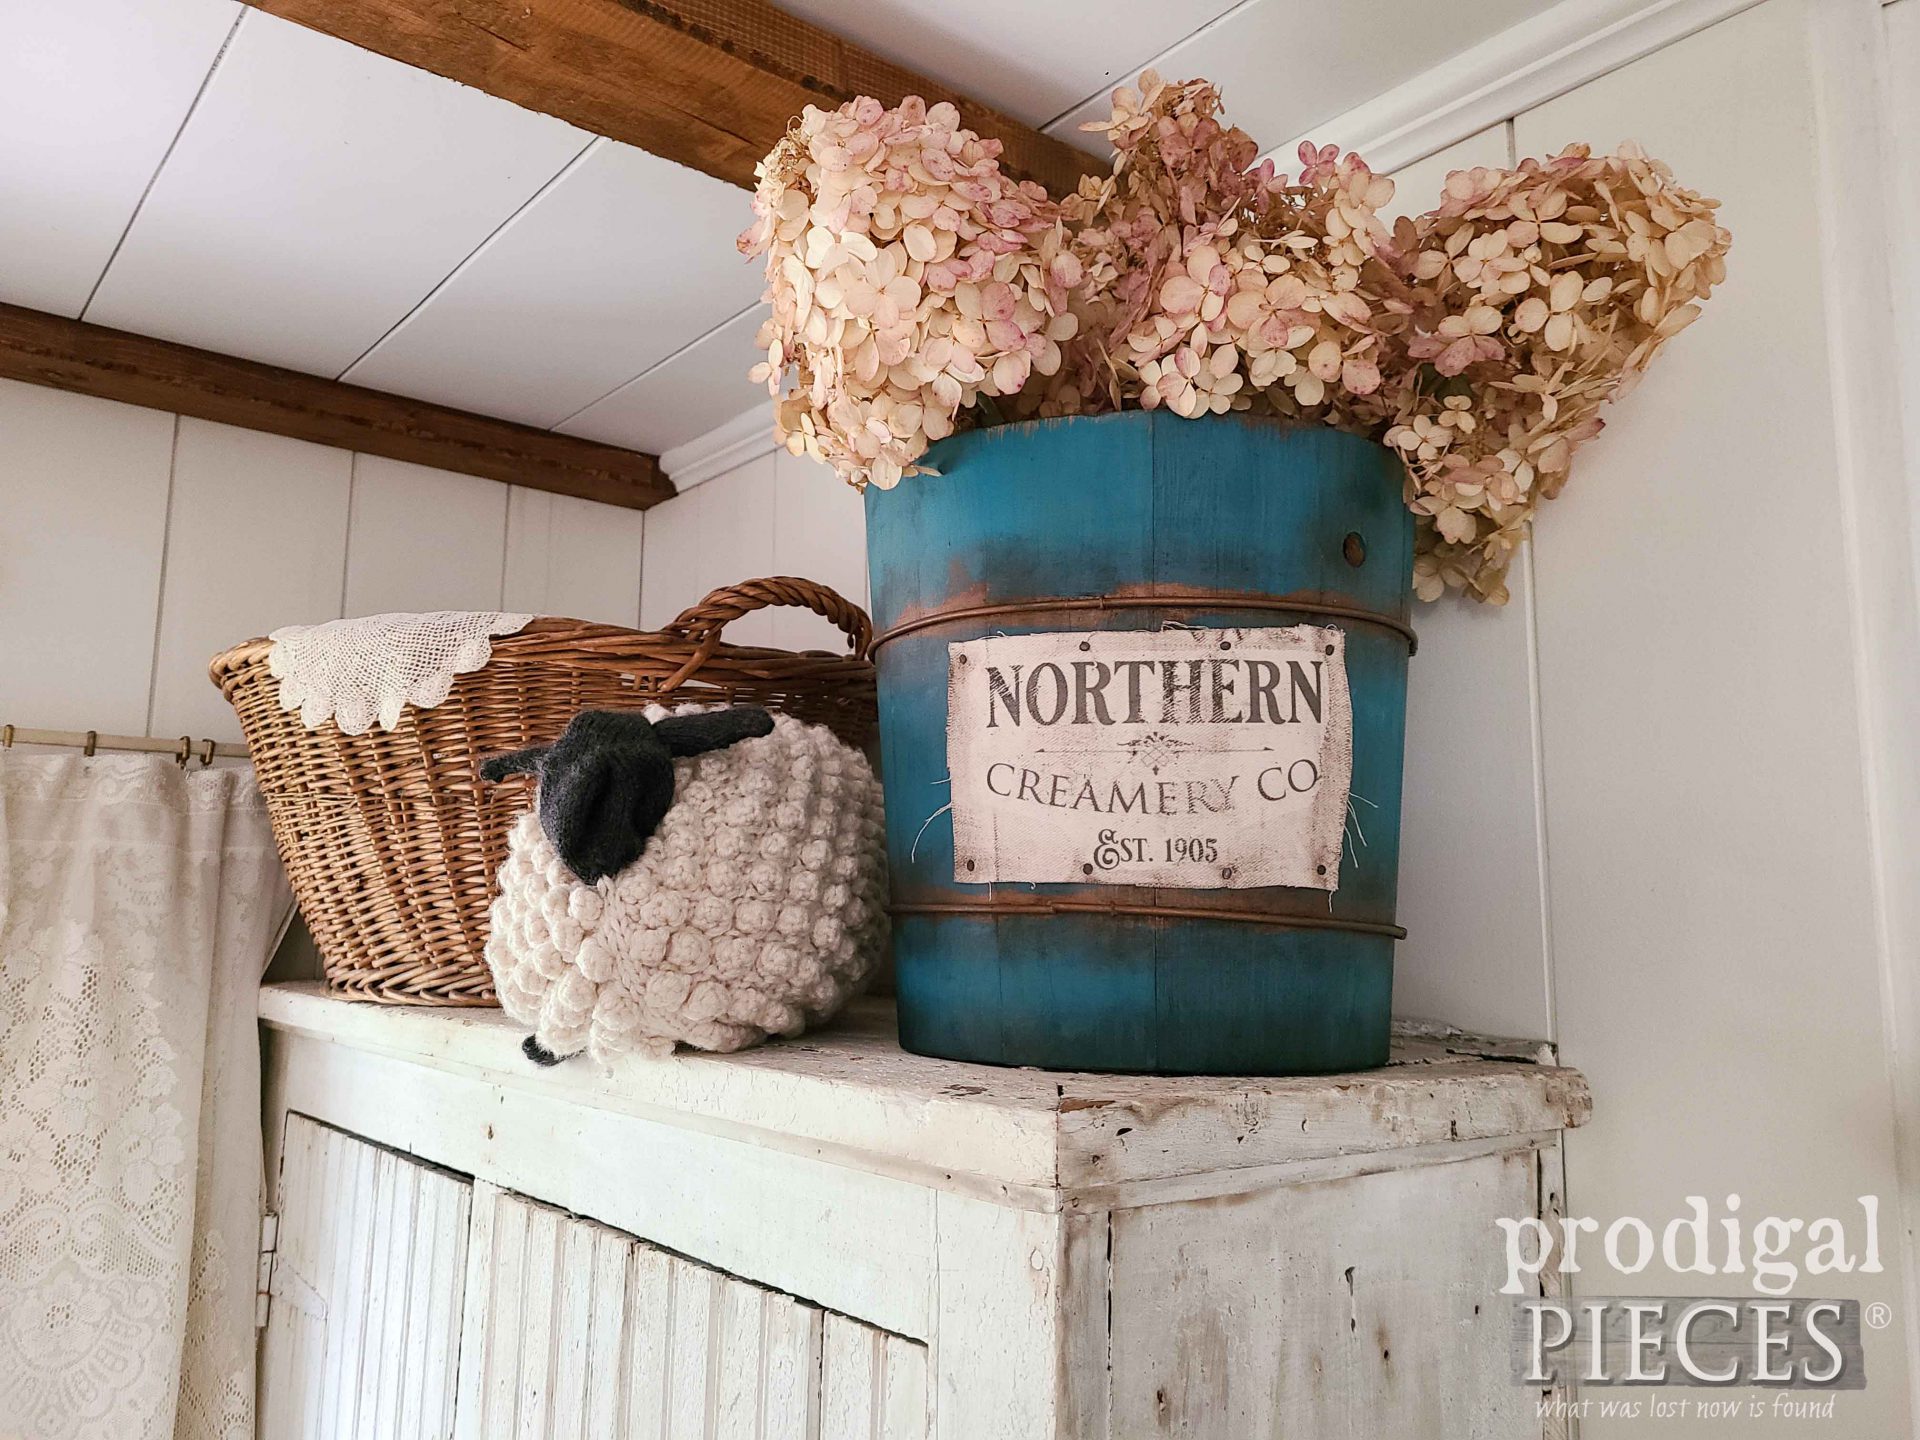
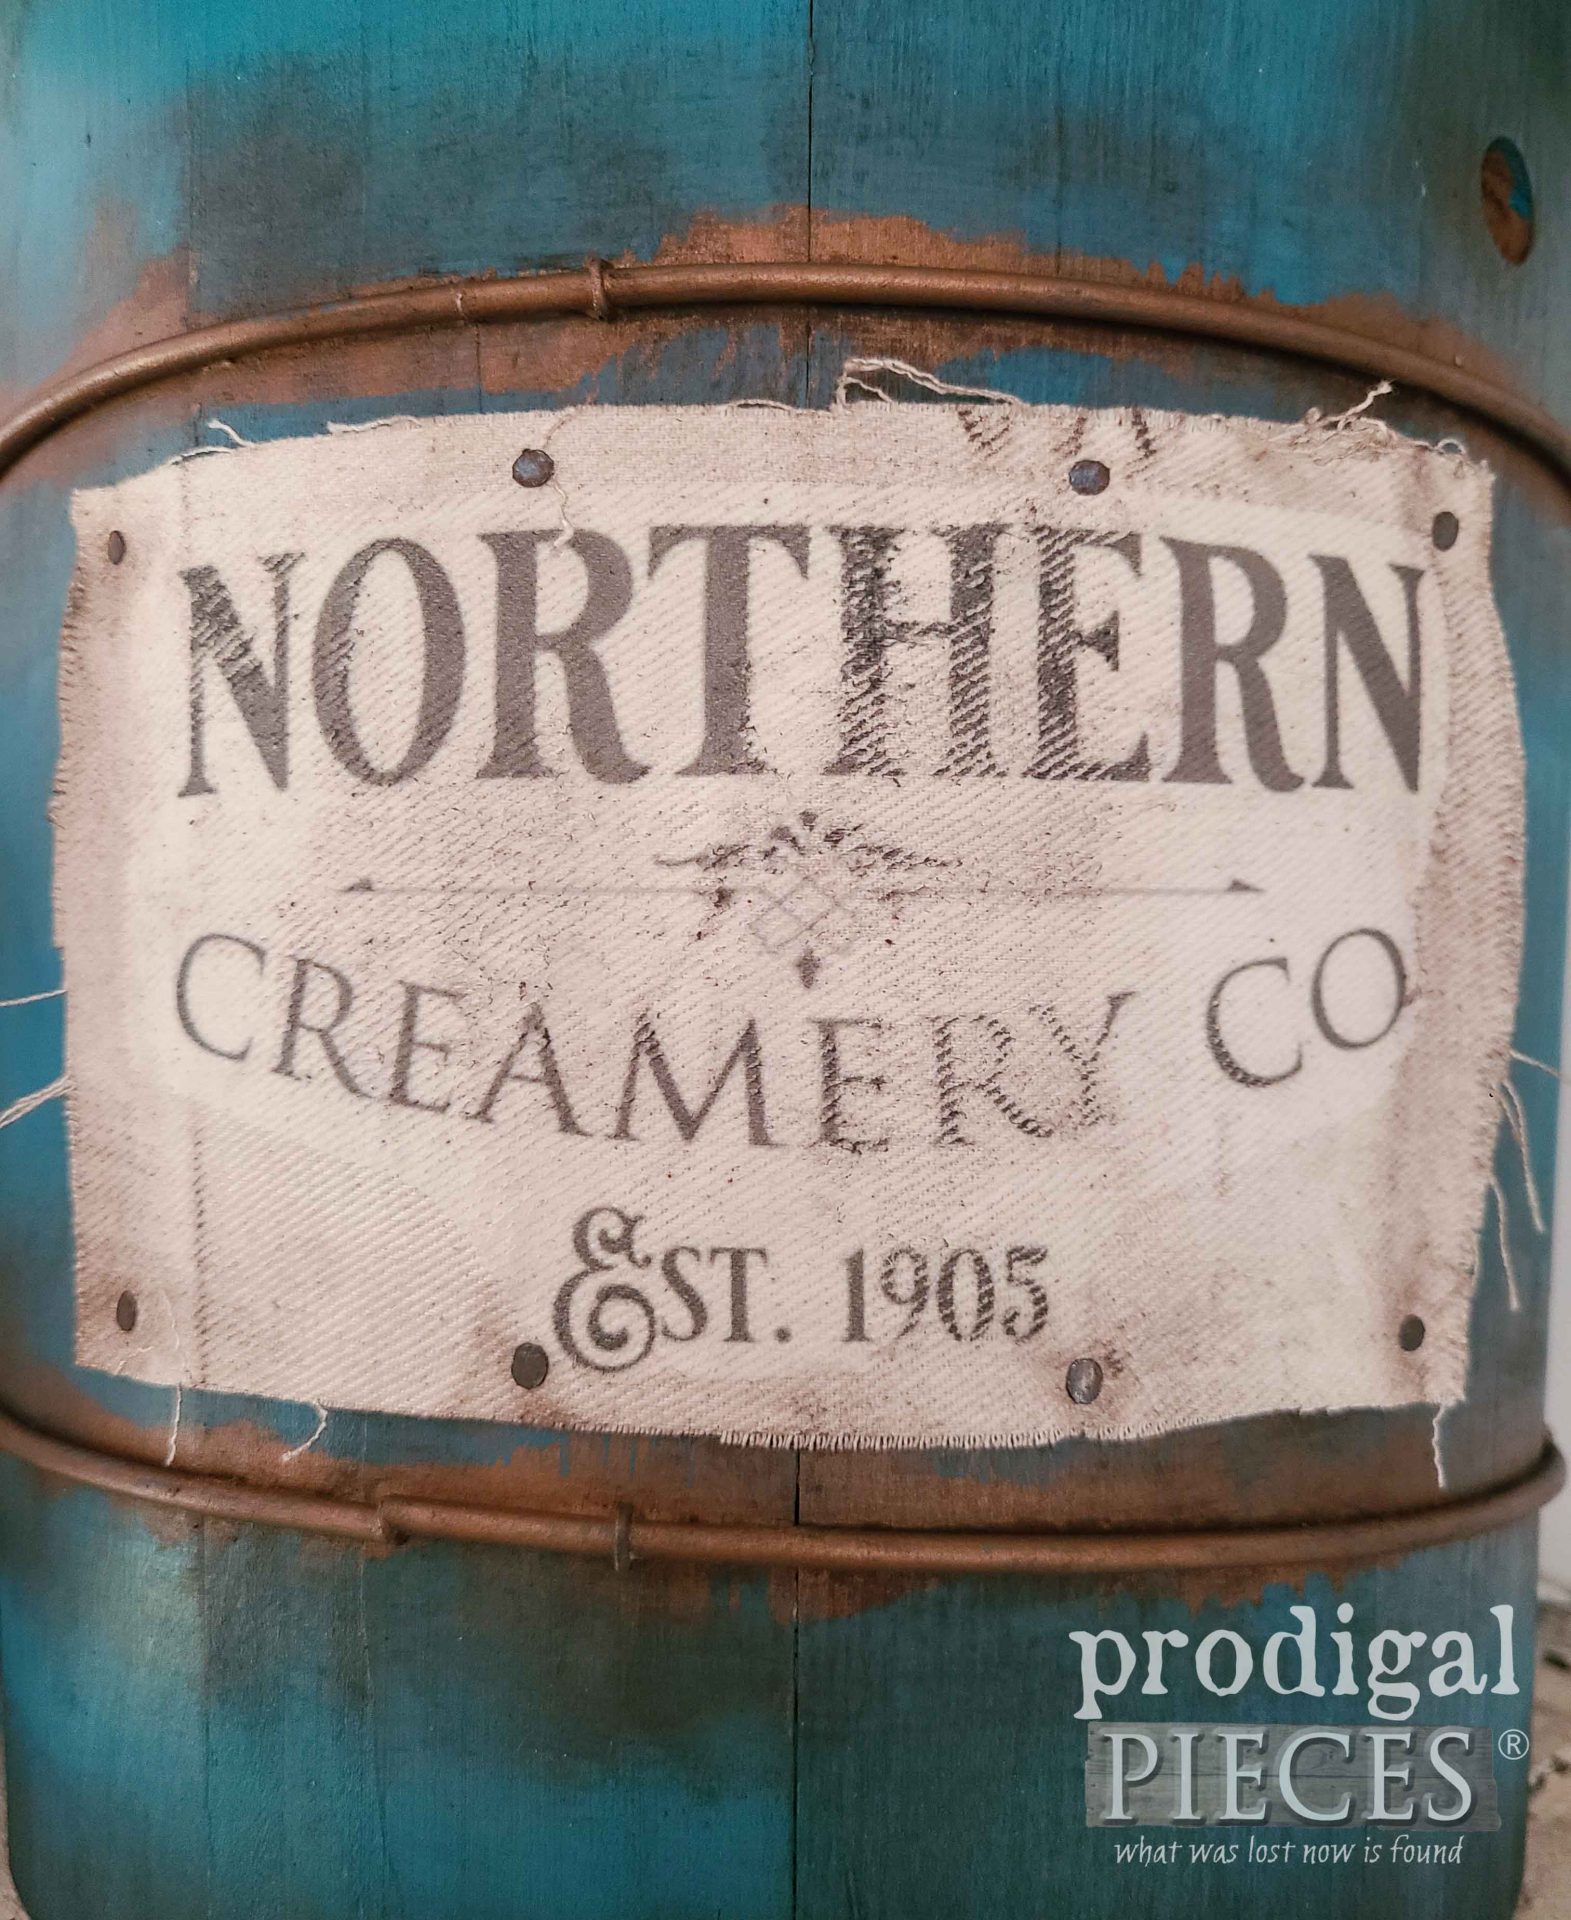 How about that label? I created the design myself and then reverse print it on iron-on transfer paper. To secure it, I attach using my stash of upholstery tacks I've salvaged from past upholstery projects. Likewise, I age it with wax as well.
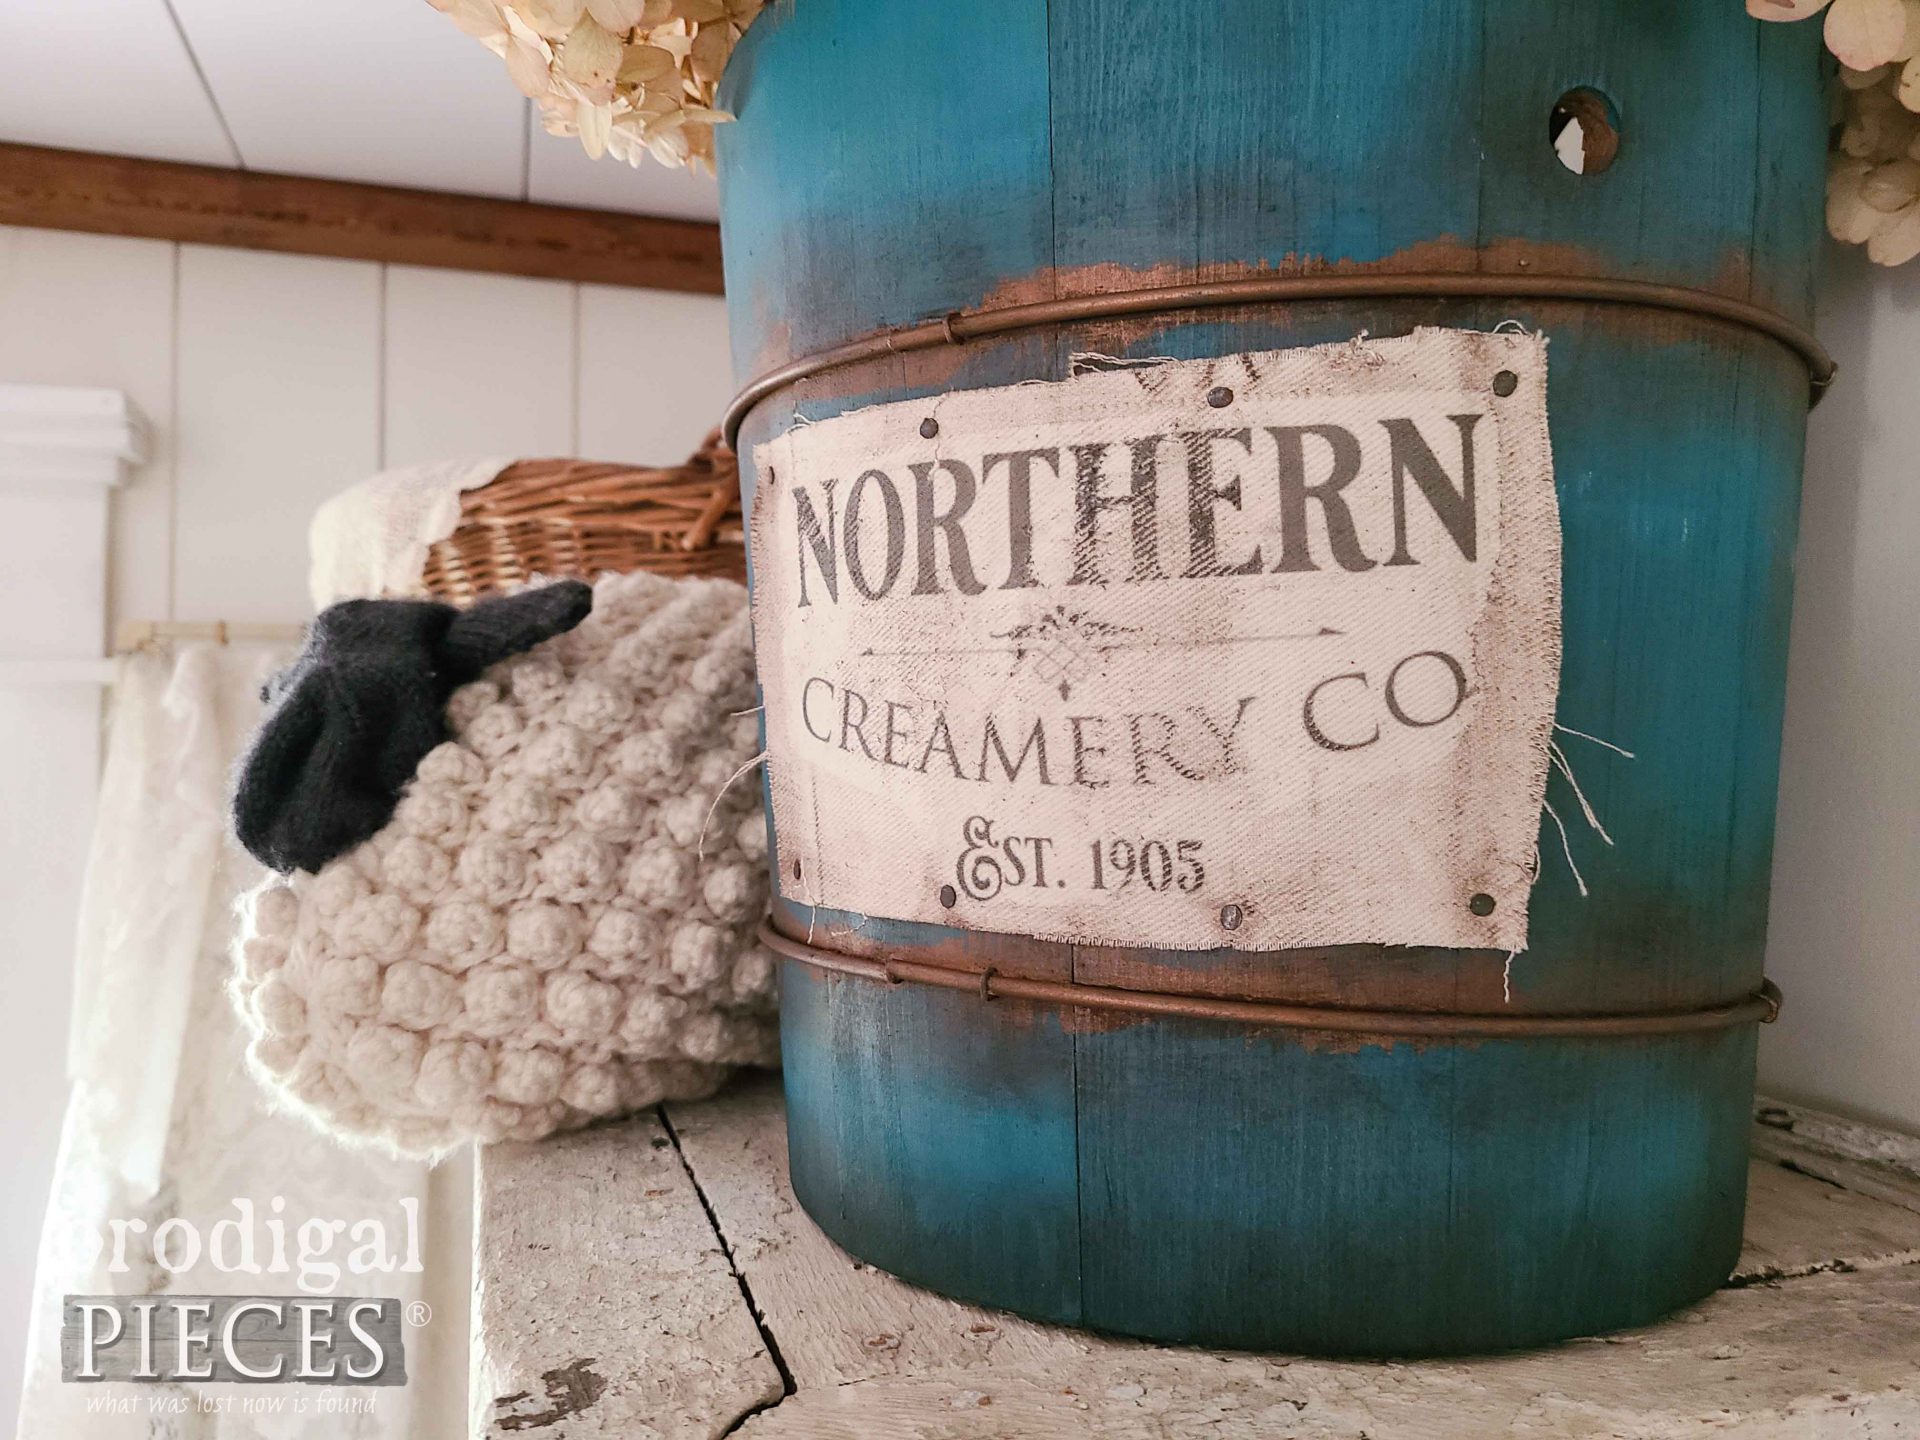
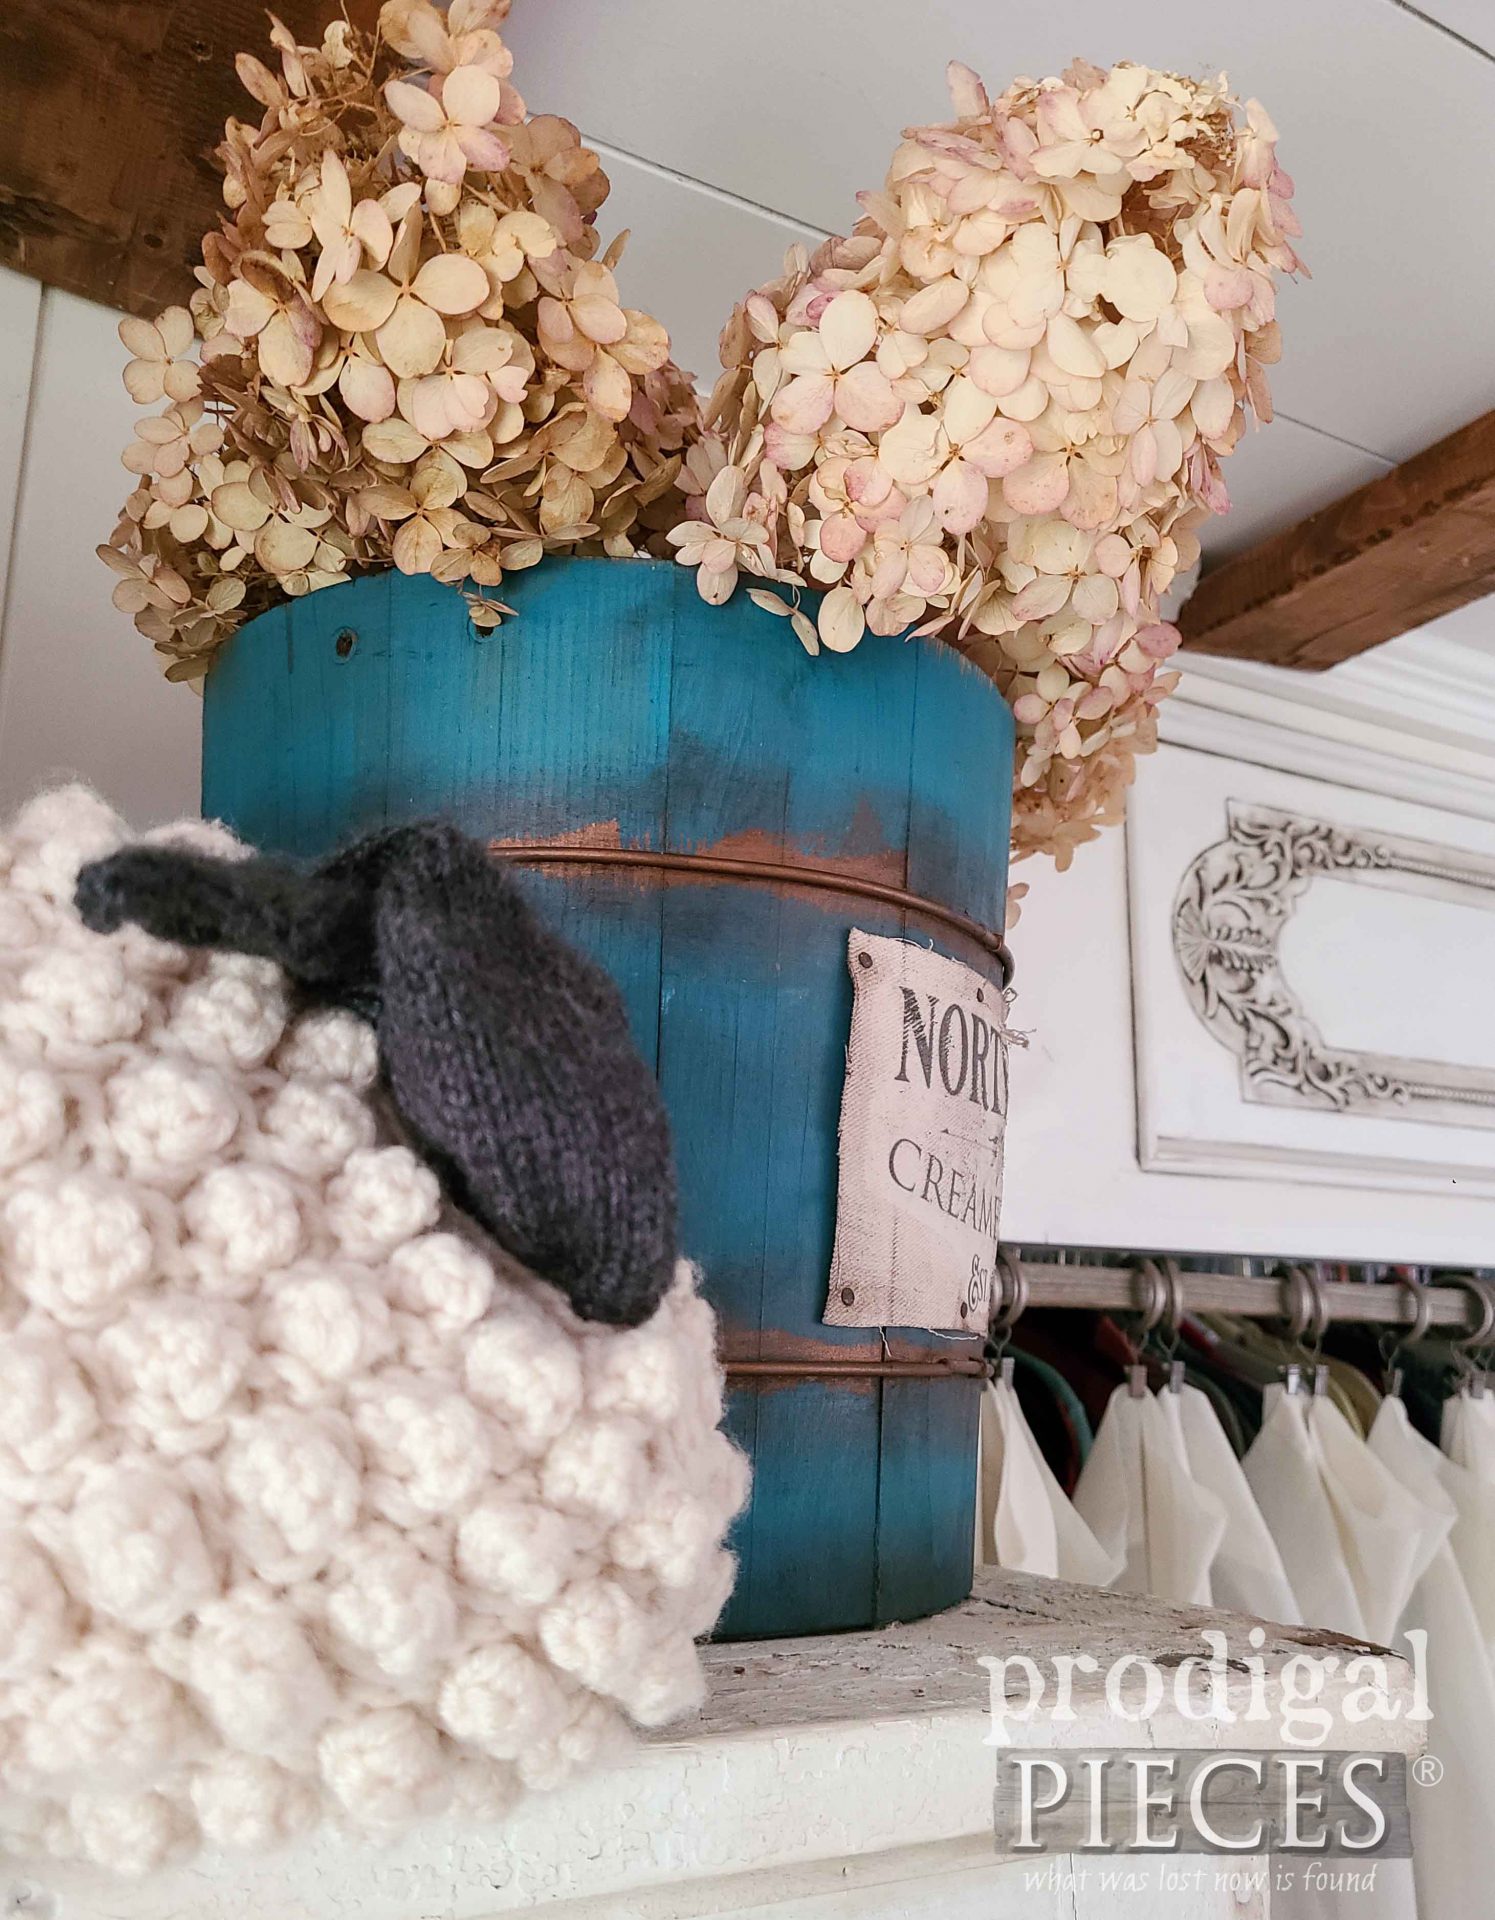 Even my bobble sheep pillow is loving the new look. Are you? hee hee. If you'd like to make this bucket part of your home story, you can find it and more available in my online shop.
[metaslider id=30251]
SHARE
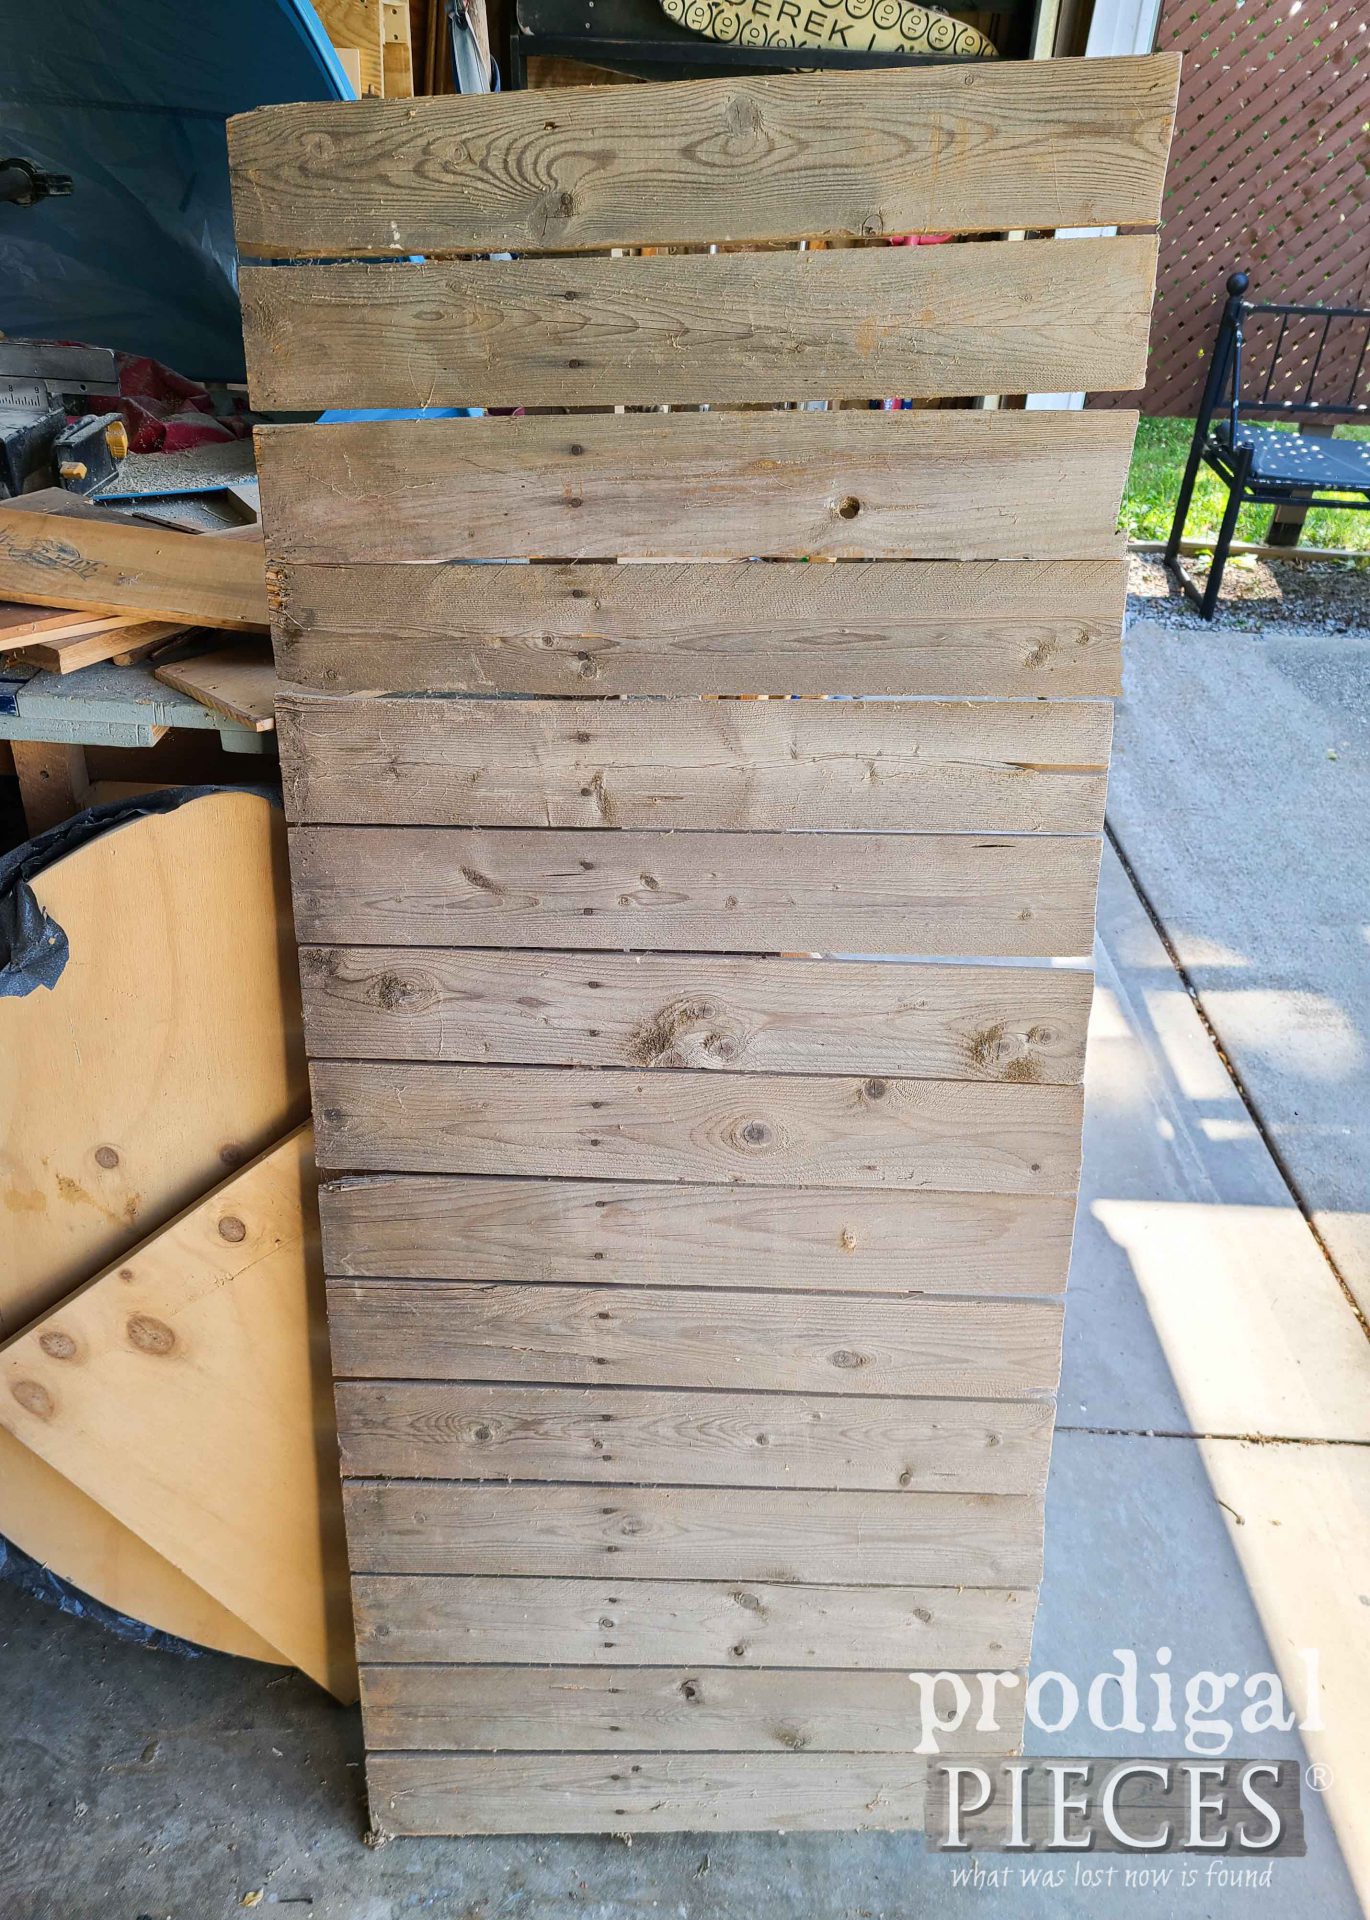
In addition, leave some comment love below, then pin and share to spread the love. Encouraging others to create their own home story on a budget.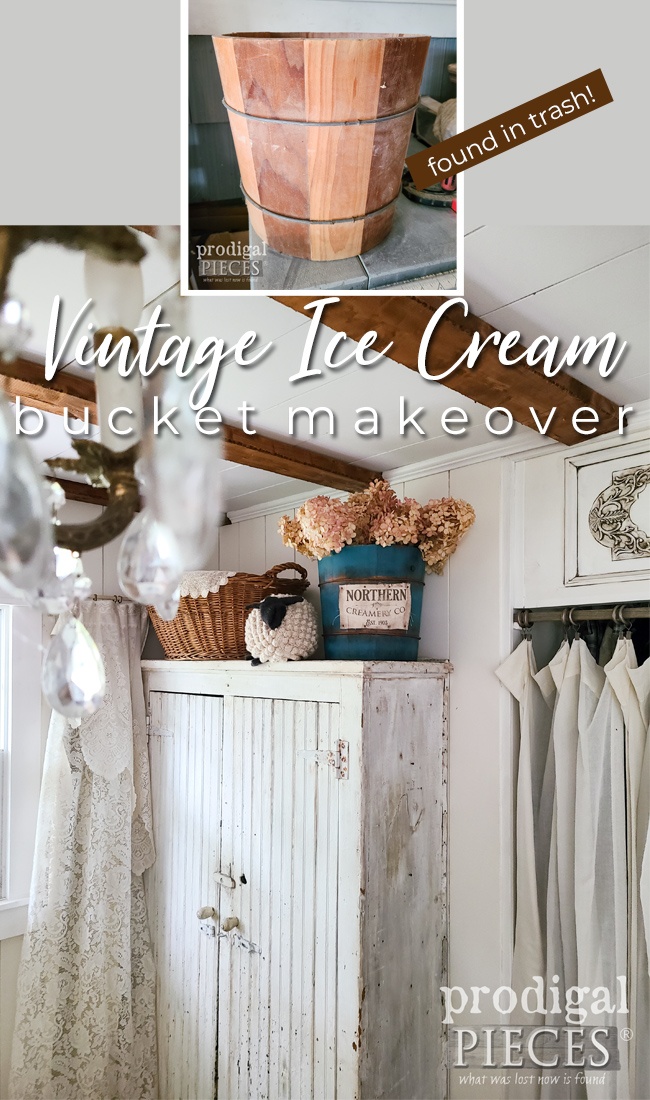 Up next, be sure to sign up for my newsletter to see what becomes of this fence panel I also pull from the trash. MAKEOVER HERE. Yay! Until next time!

Also, more fun trashure makeovers like this vintage ice cream bucket:
