It's been a while since I've taken on a larger piece like this vintage French provincial desk. There are different reasons why, but time it's a personal piece that needs to find a new home. While we've been busy as bees remodeling our daughters' room, I've had this furniture sitting in my living room for a few months. This mama's eye is twitching and it's time to rehome this gal.
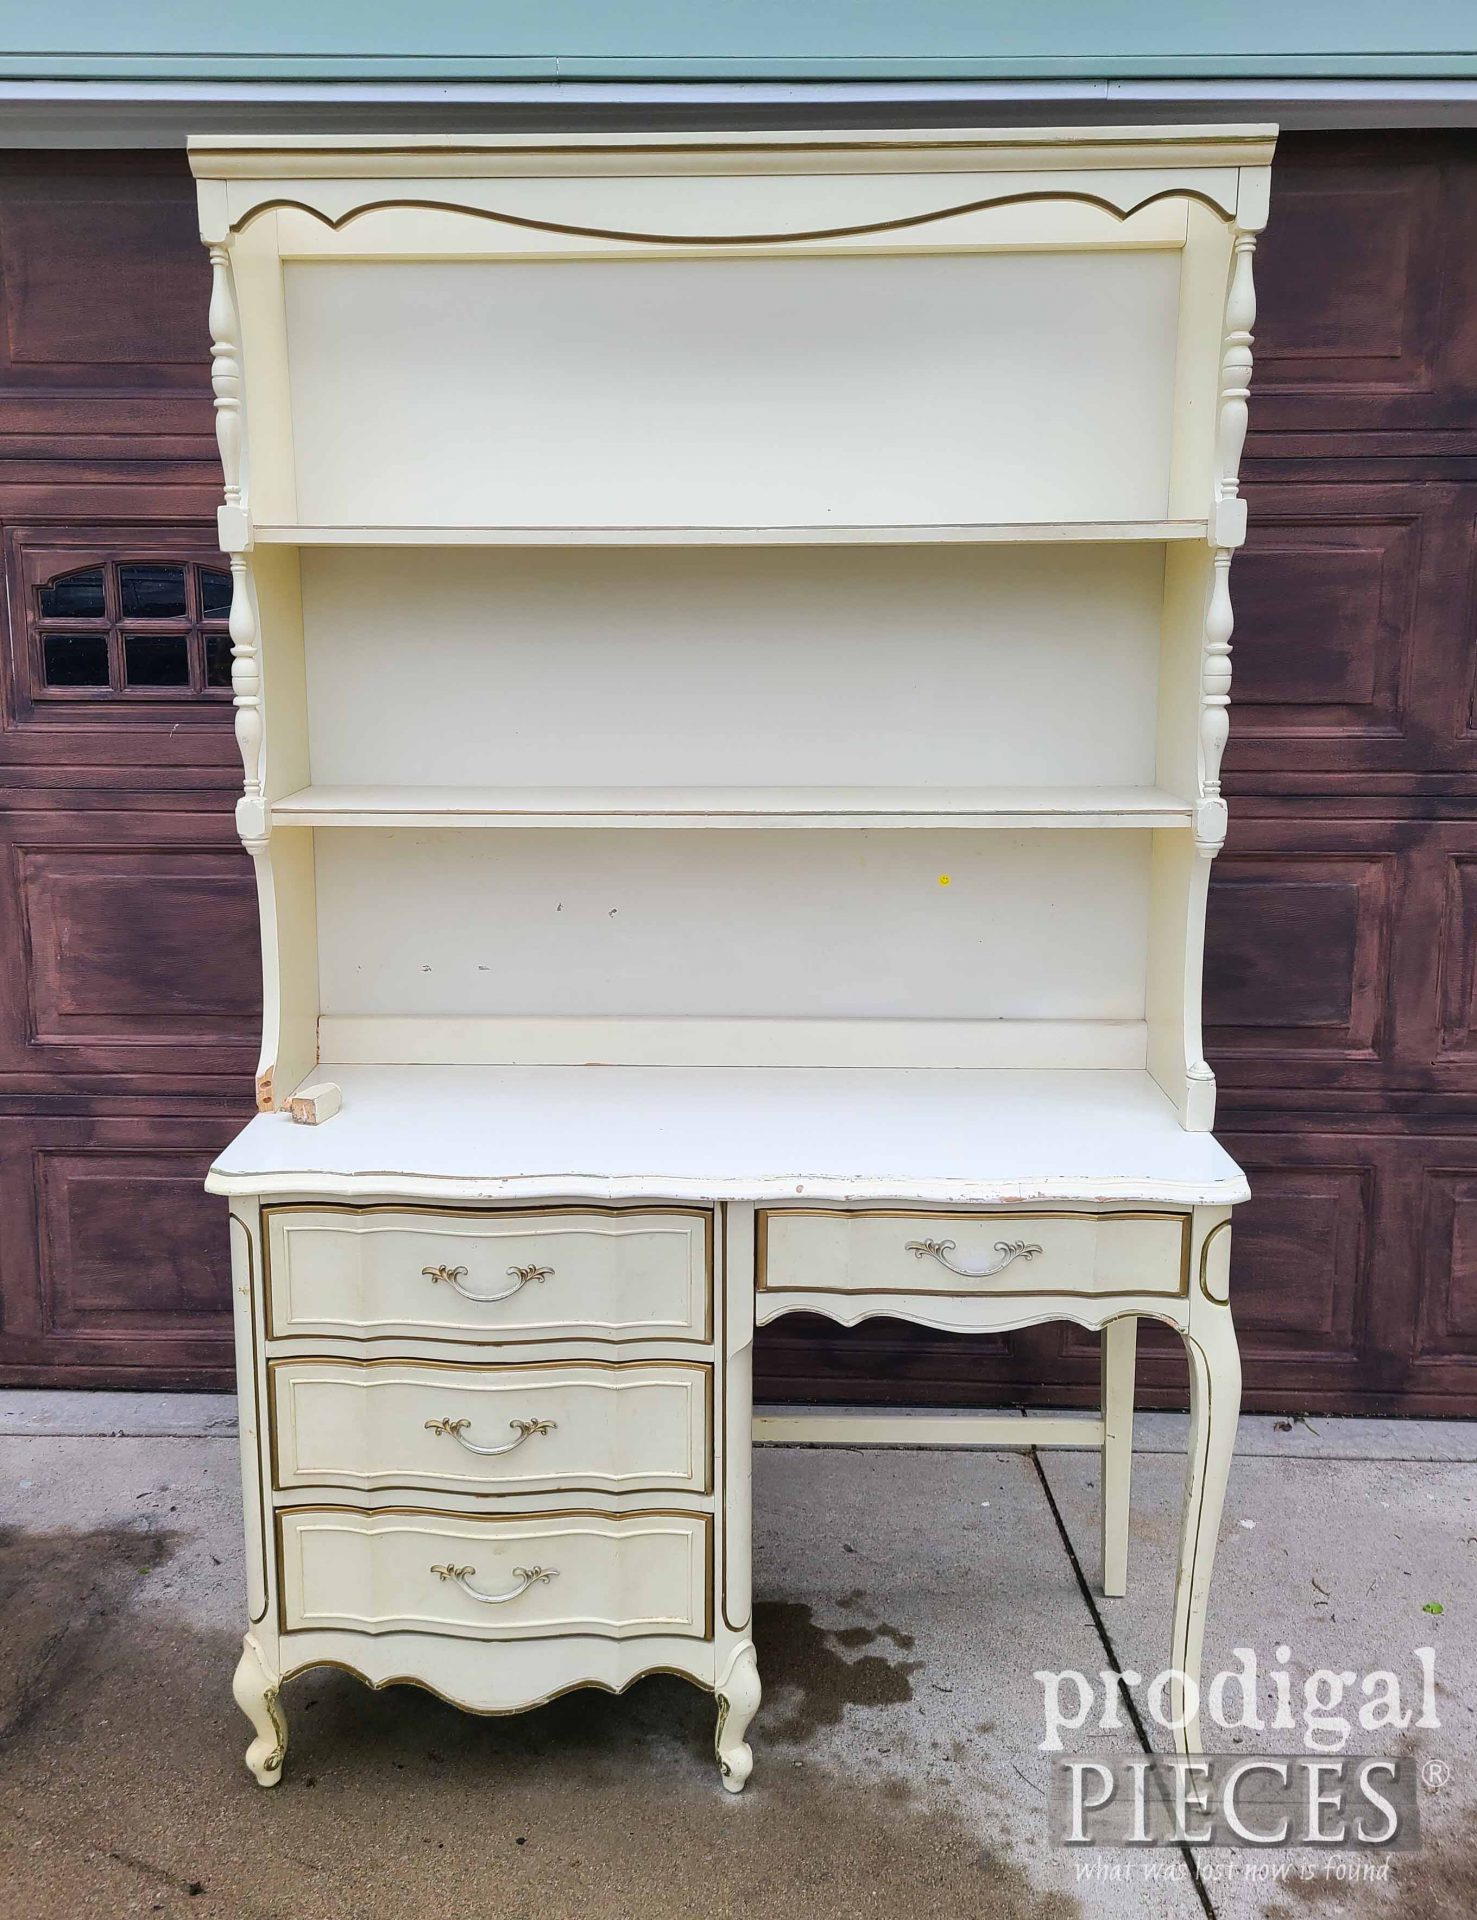
However, it definitely needs a new look to bring it up to date and make it stylin'. Thankfully, it's in the same shape as we got it, with busted pieces and all. There are so many memories with this desk...seeing my daughters sit at it for various reasons. sniff...time flies. We knew when we purchased the furniture for their room it would be a temporary fix. So, we went with Mid Century French provincial. Don't you just love the lines of this era? In one fell swoop you can have the boxy Mid Century style and flip over to this oooh, la, la - ness. Love it!
DIY TIME
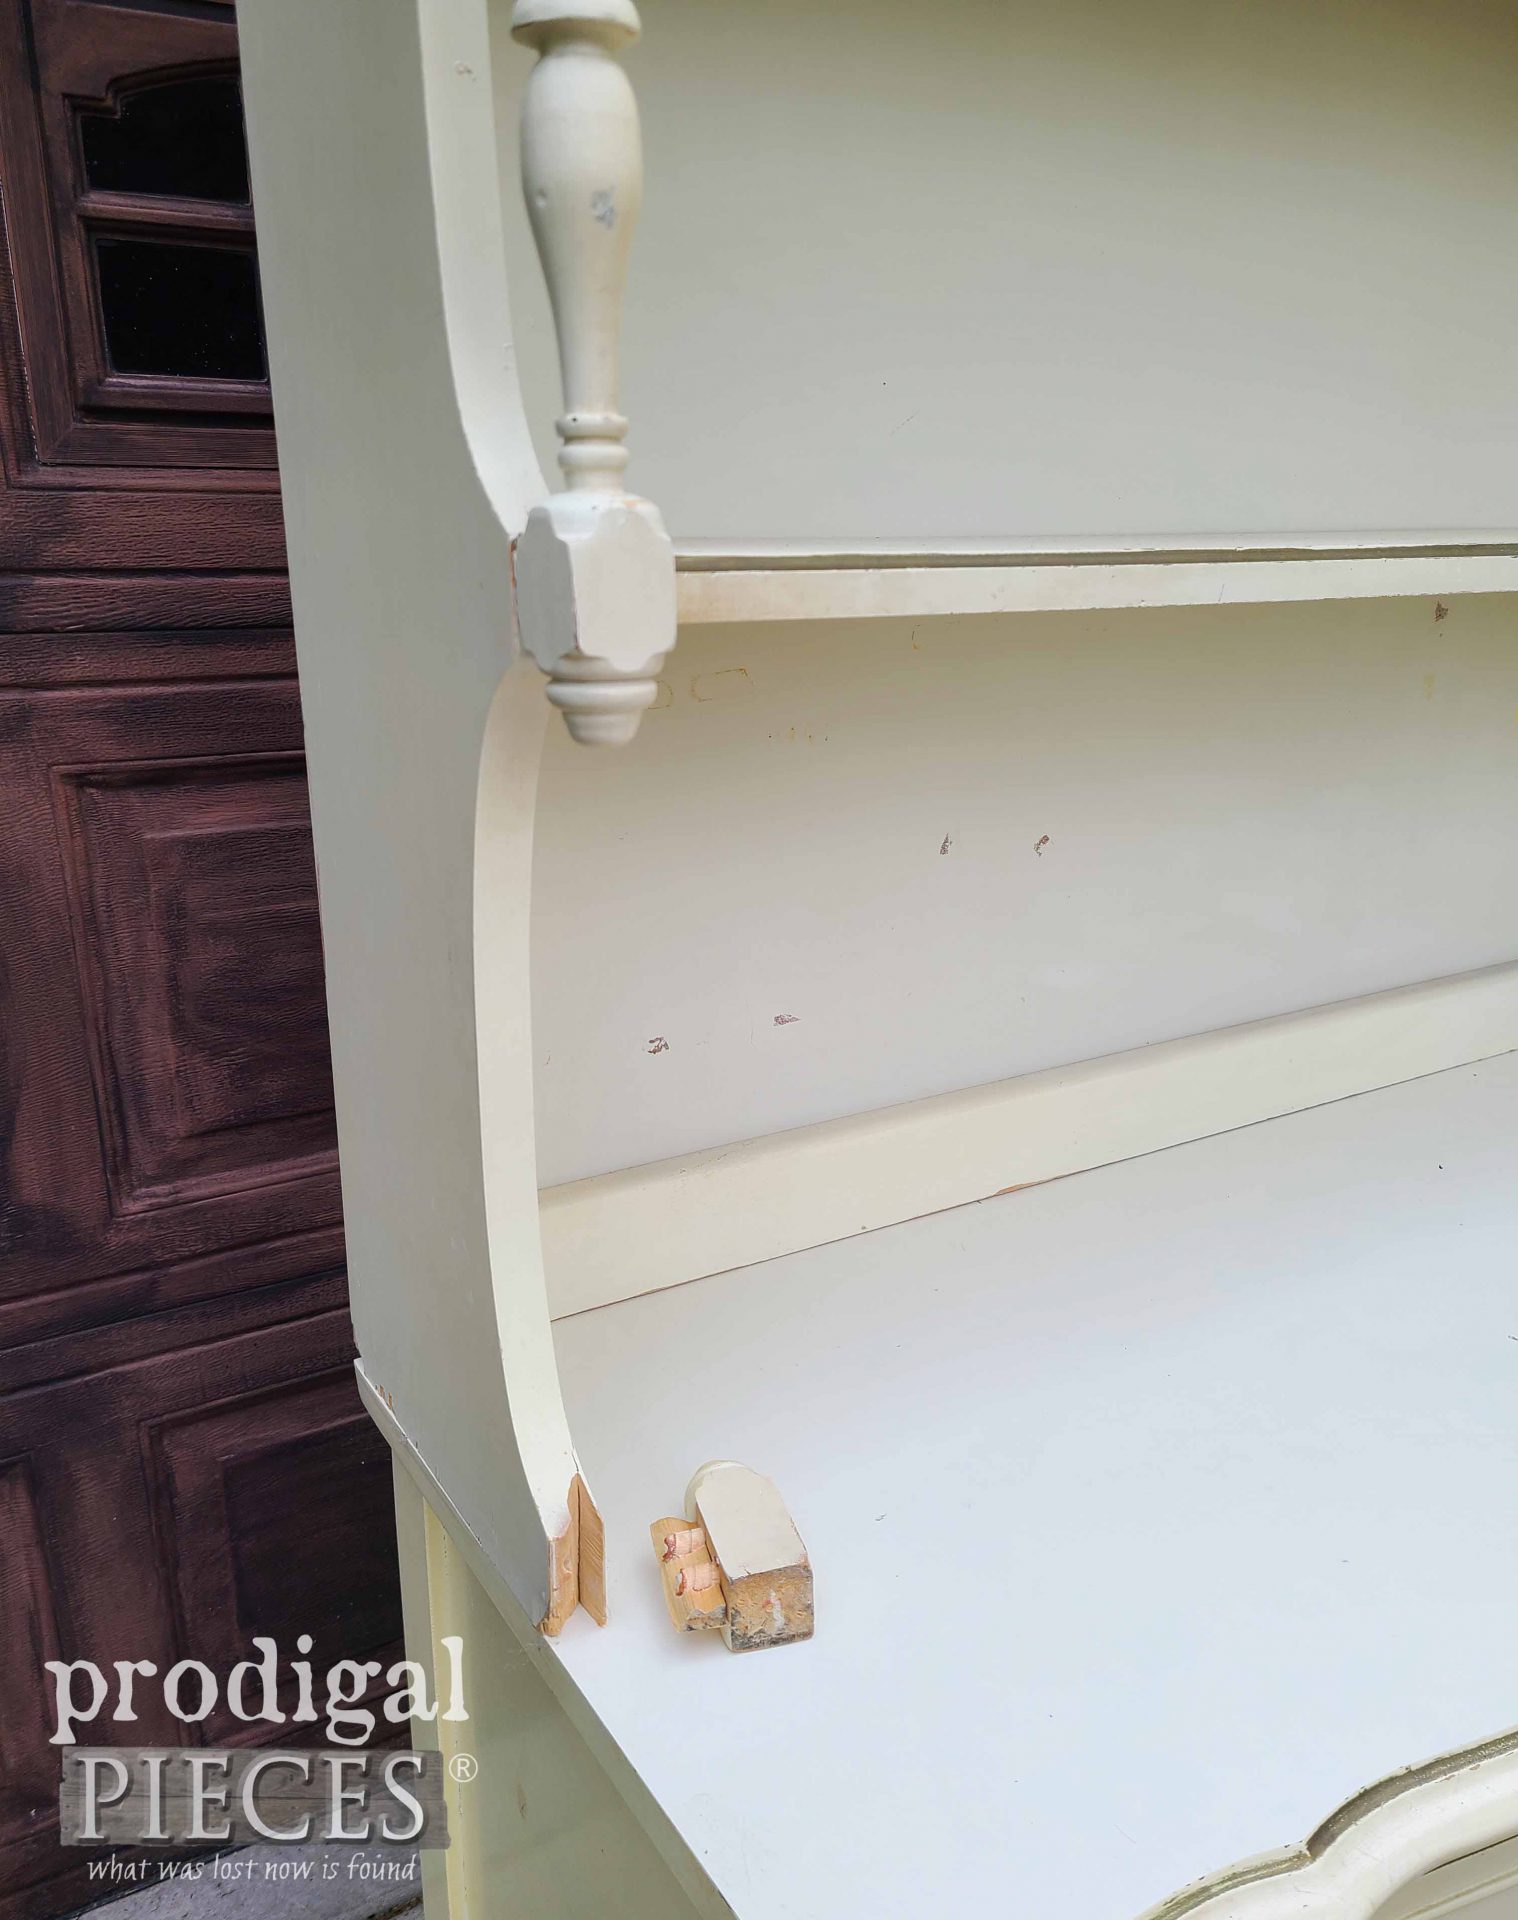
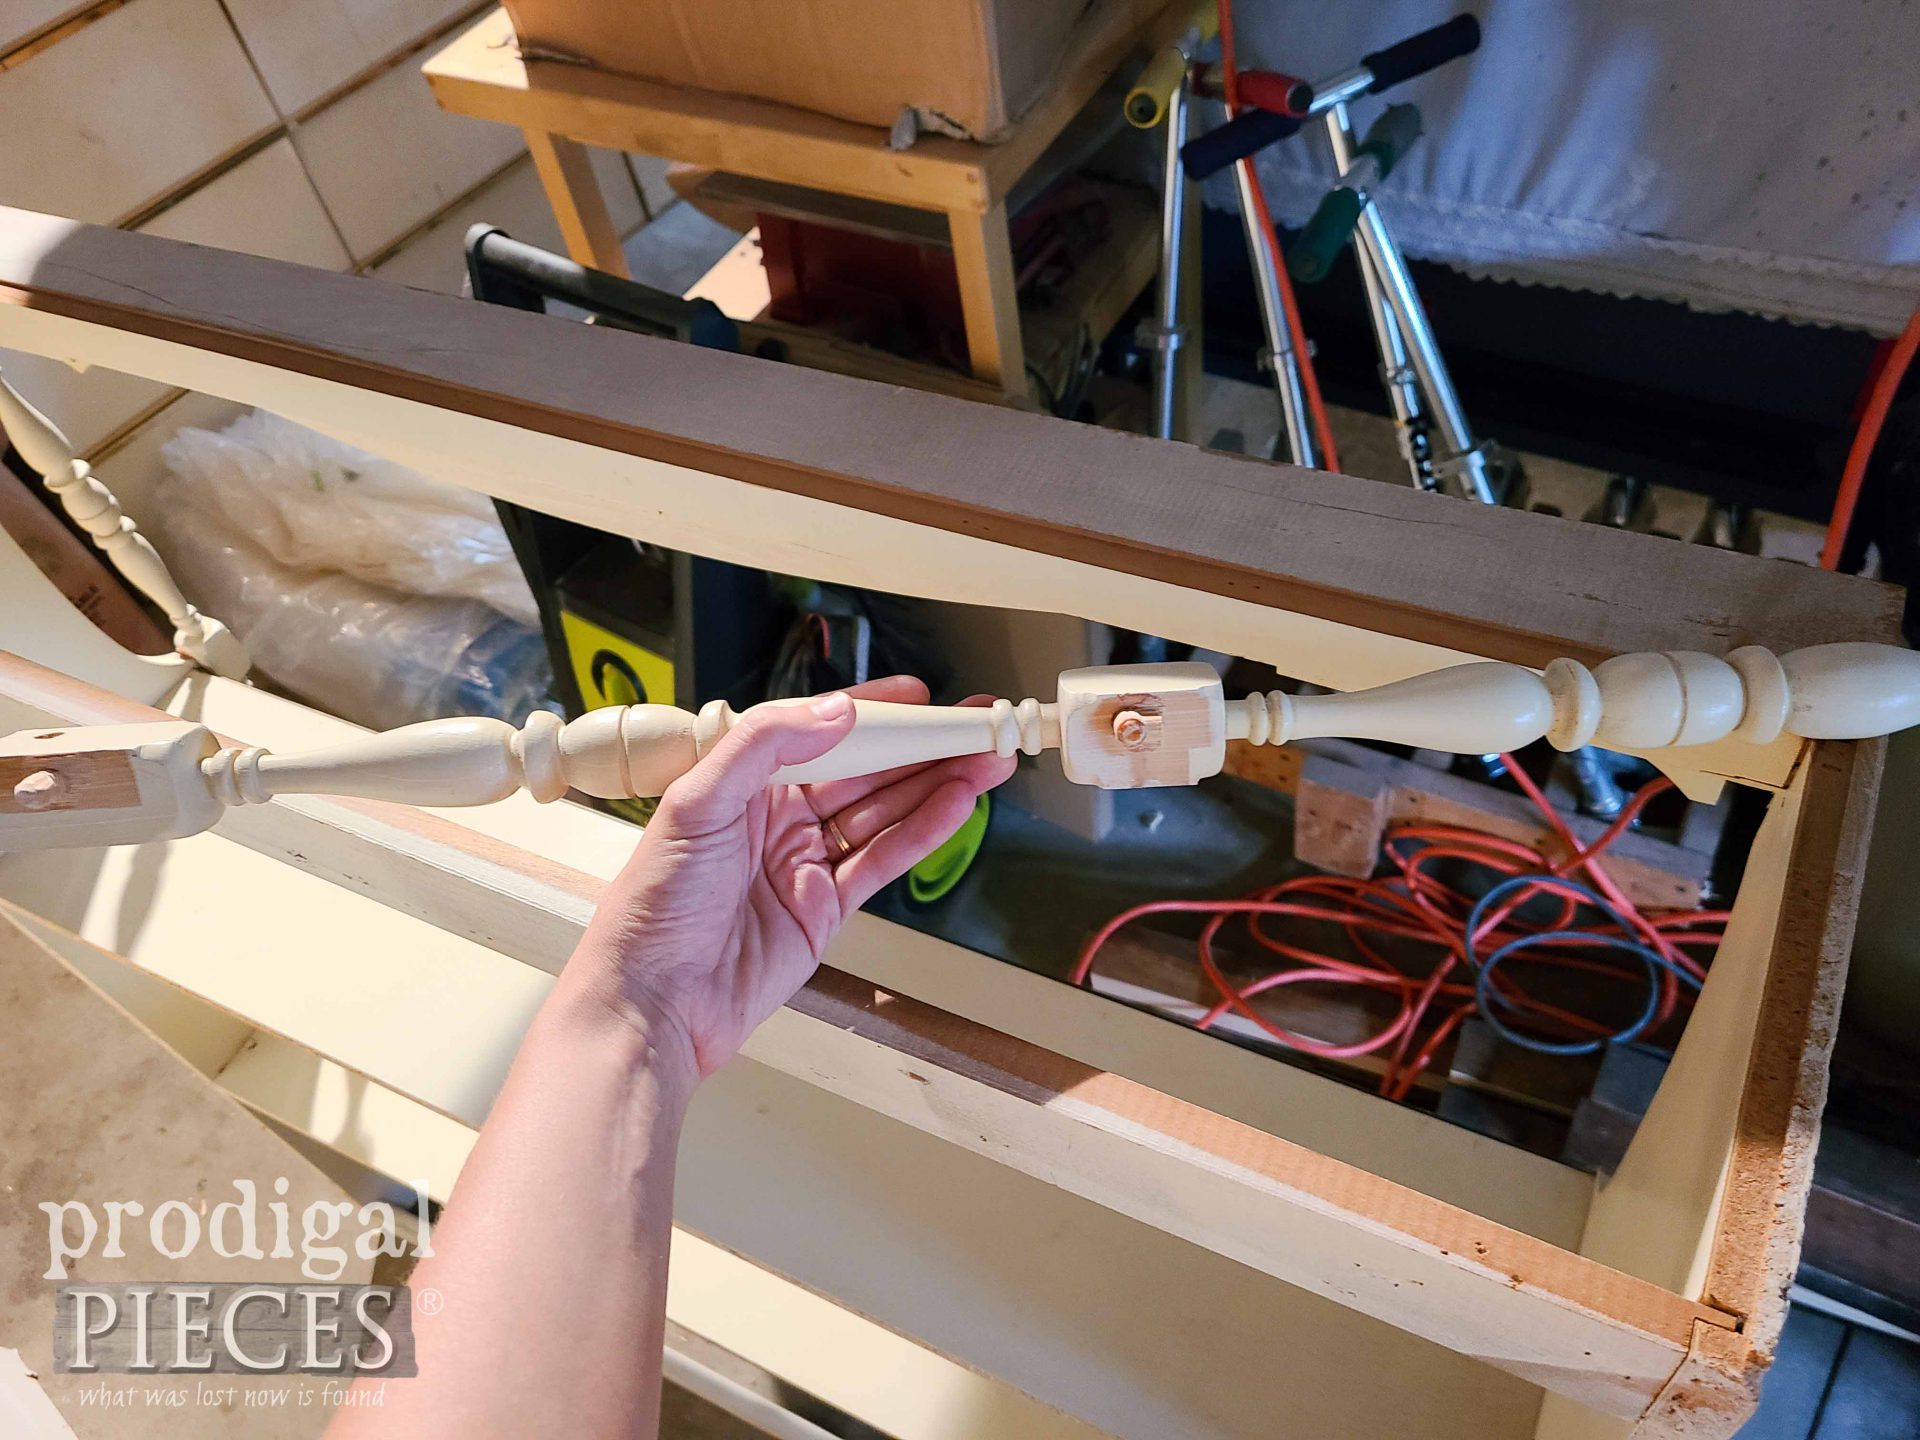
How about we get this party started? First, I make all needed repairs which basically includes a bit of wood glue, wood filler, and sanding. Not bad at all. I also take off the hutch backing so I can paint it separately too.
Then, once I finally get it all prepped and ready to go, I haul it out back with my youngest son's help so that I can get this done in the quickest, best manner. If you notice, I also have a vintage chair that they used for many years. It not only matches the era, but the lines, and feminine style too.
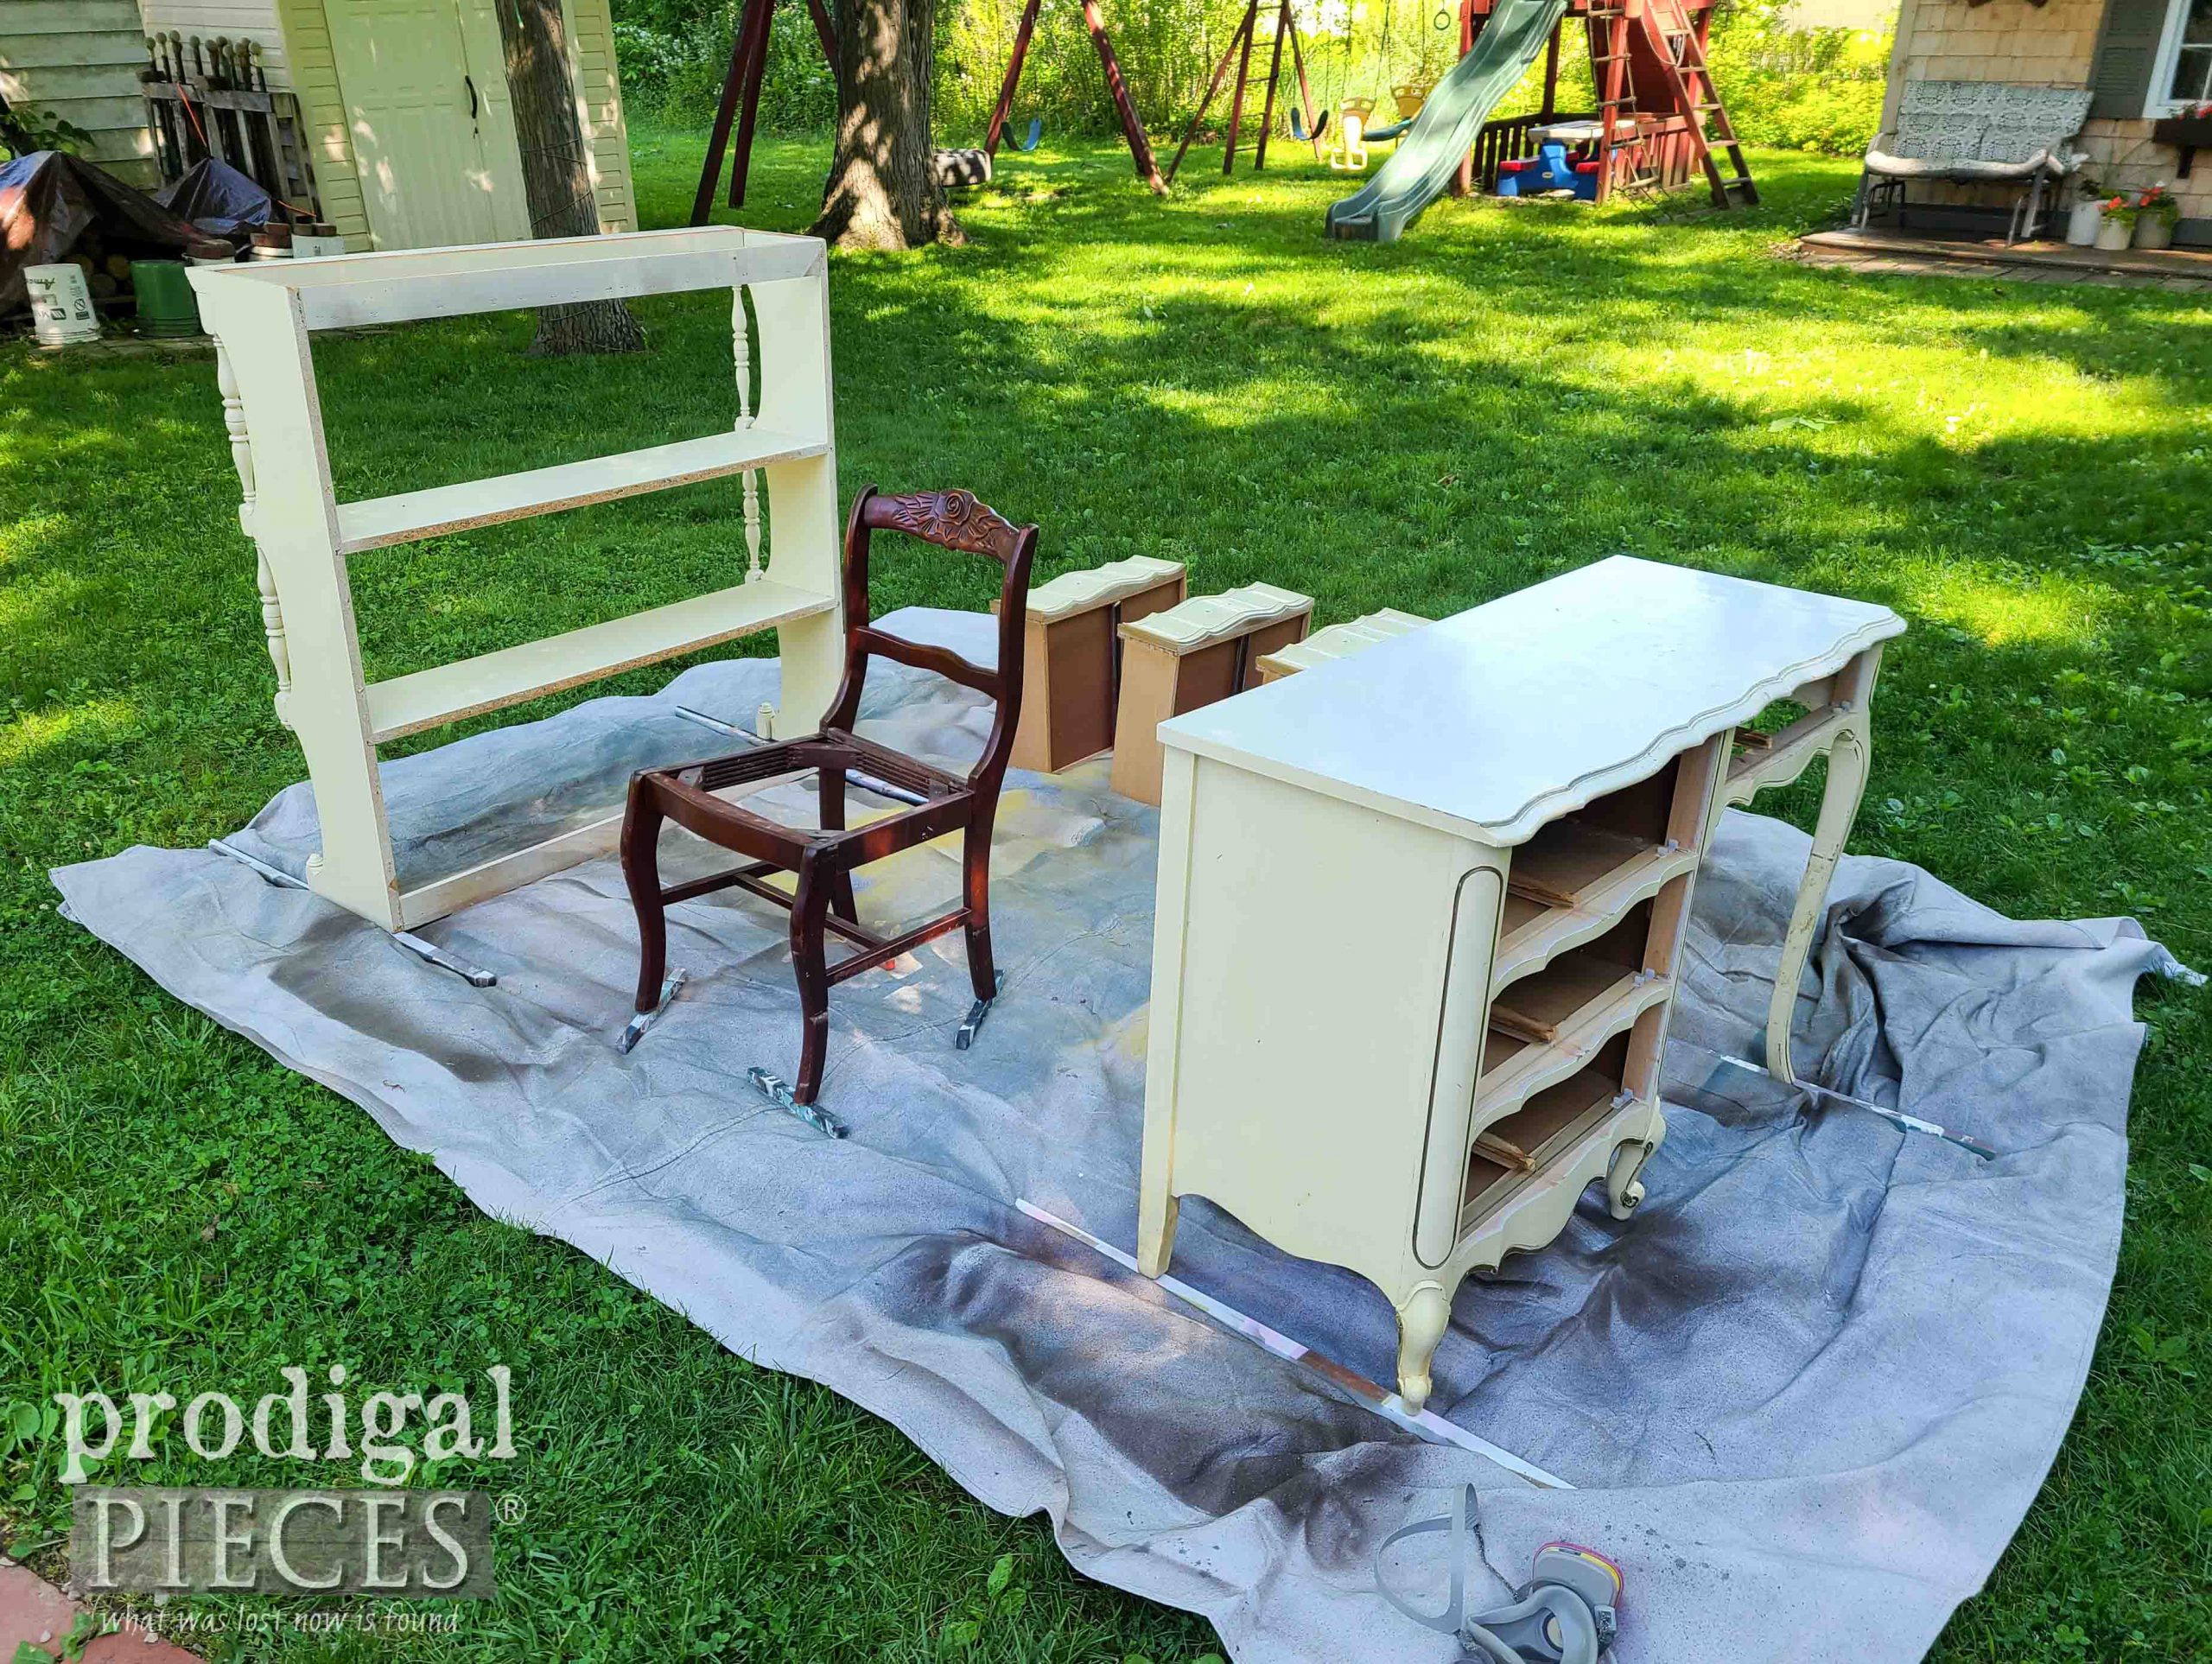
Next, I spray a
BIN Zinsser primer so that it will hide any bleed-through possibilities and also make that factory finish ready for accepting a new color. You can see how it knocks out cigarette smoke as well when I did this
entertainment center turned child's wardrobe.
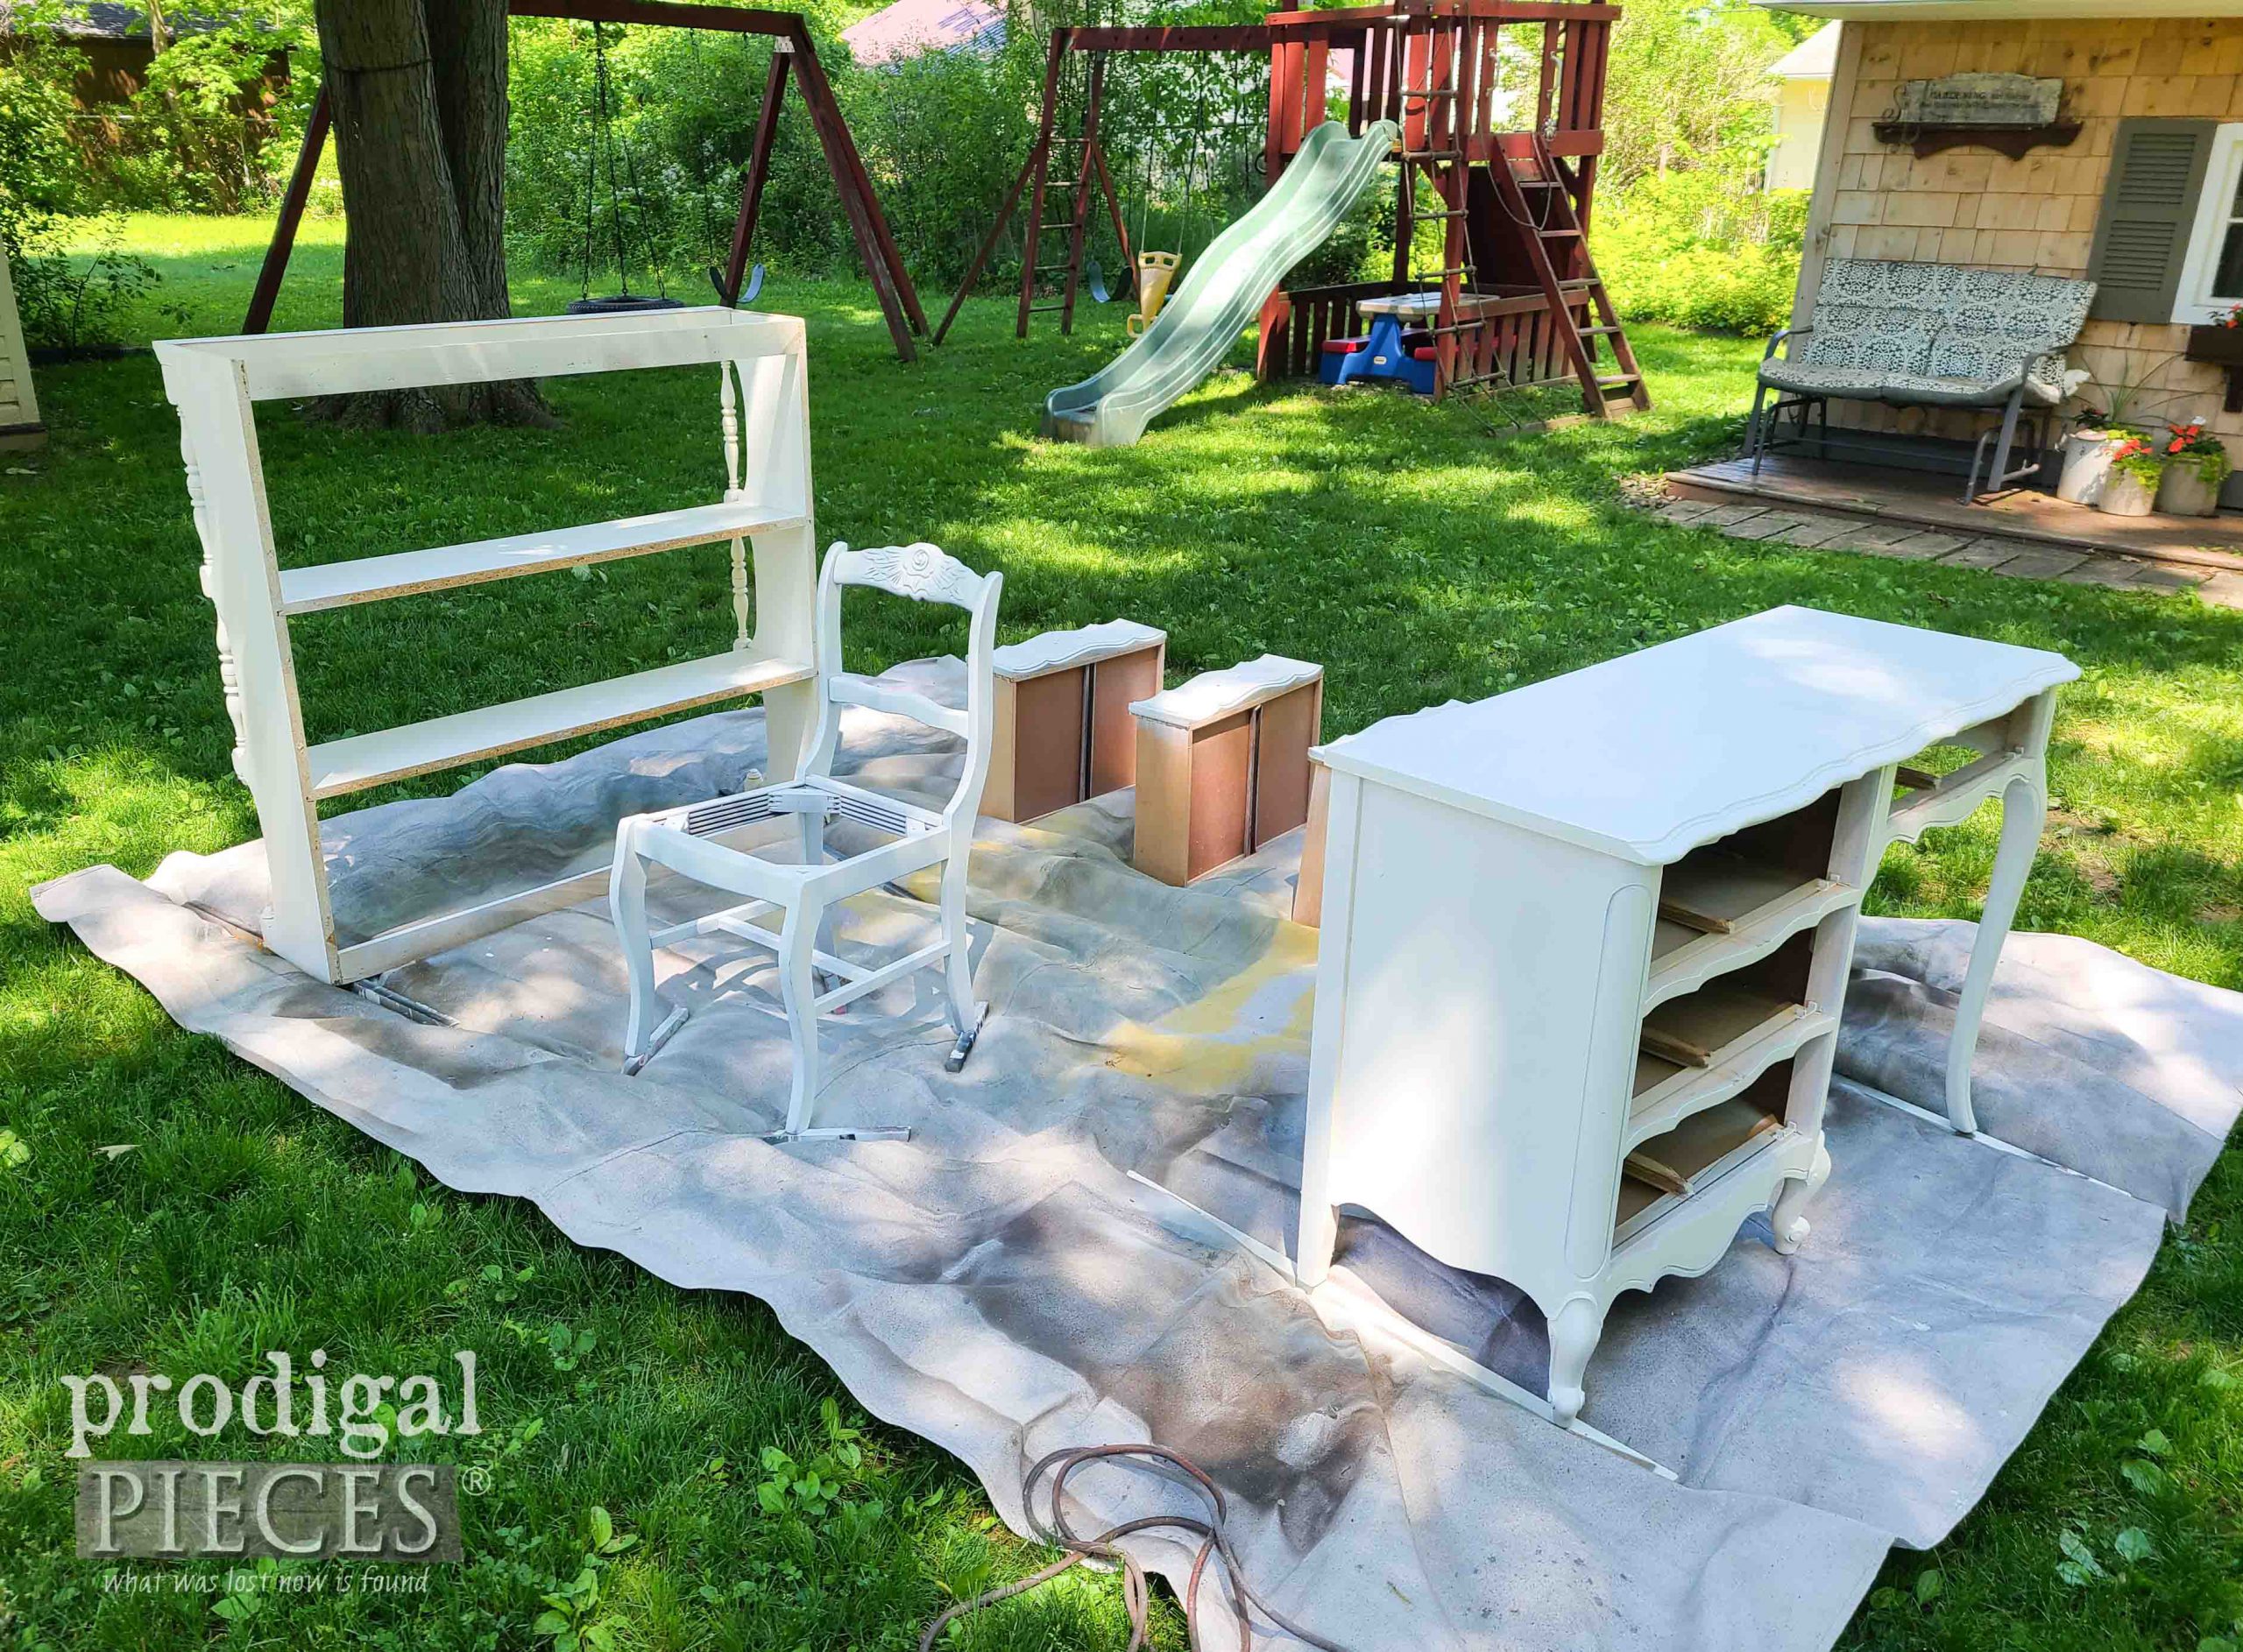
After two coats, letting cure in between, it is ready for the next steps.
DRESSING UP
Since I remove the backing, I need to tackle that as well and replace the missing top of the hutch. In order to add that ooh, la, la, I first apply two coats of a custom mixed paint to be similar to the chair upholstery.
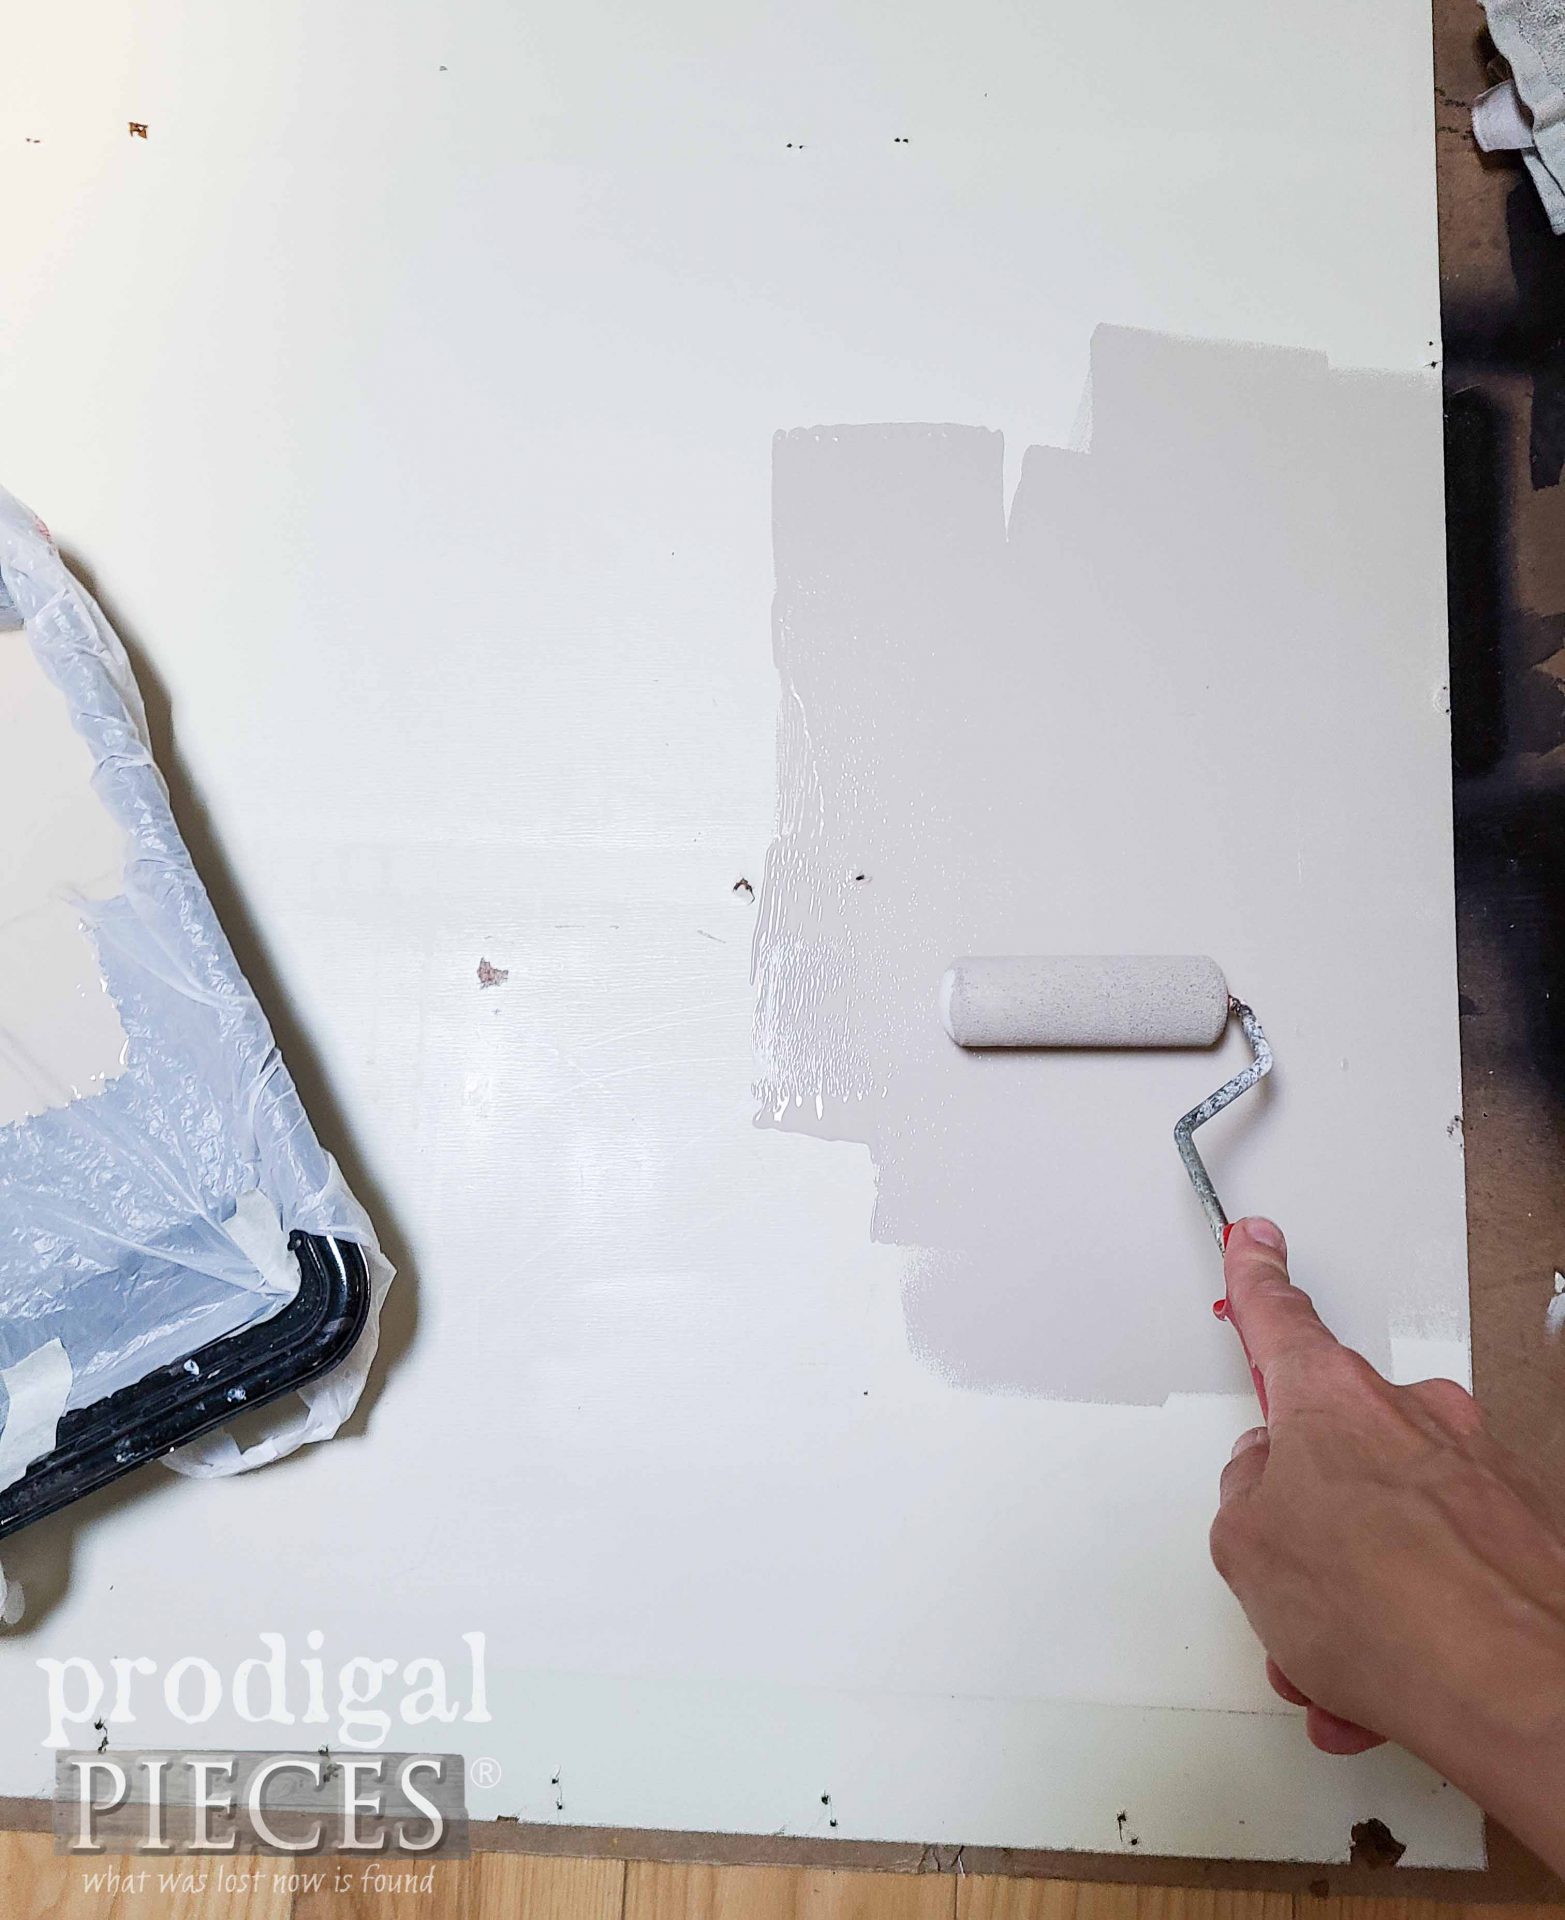
Then, I use painter's tape and make some fun stripes on the hutch backing.
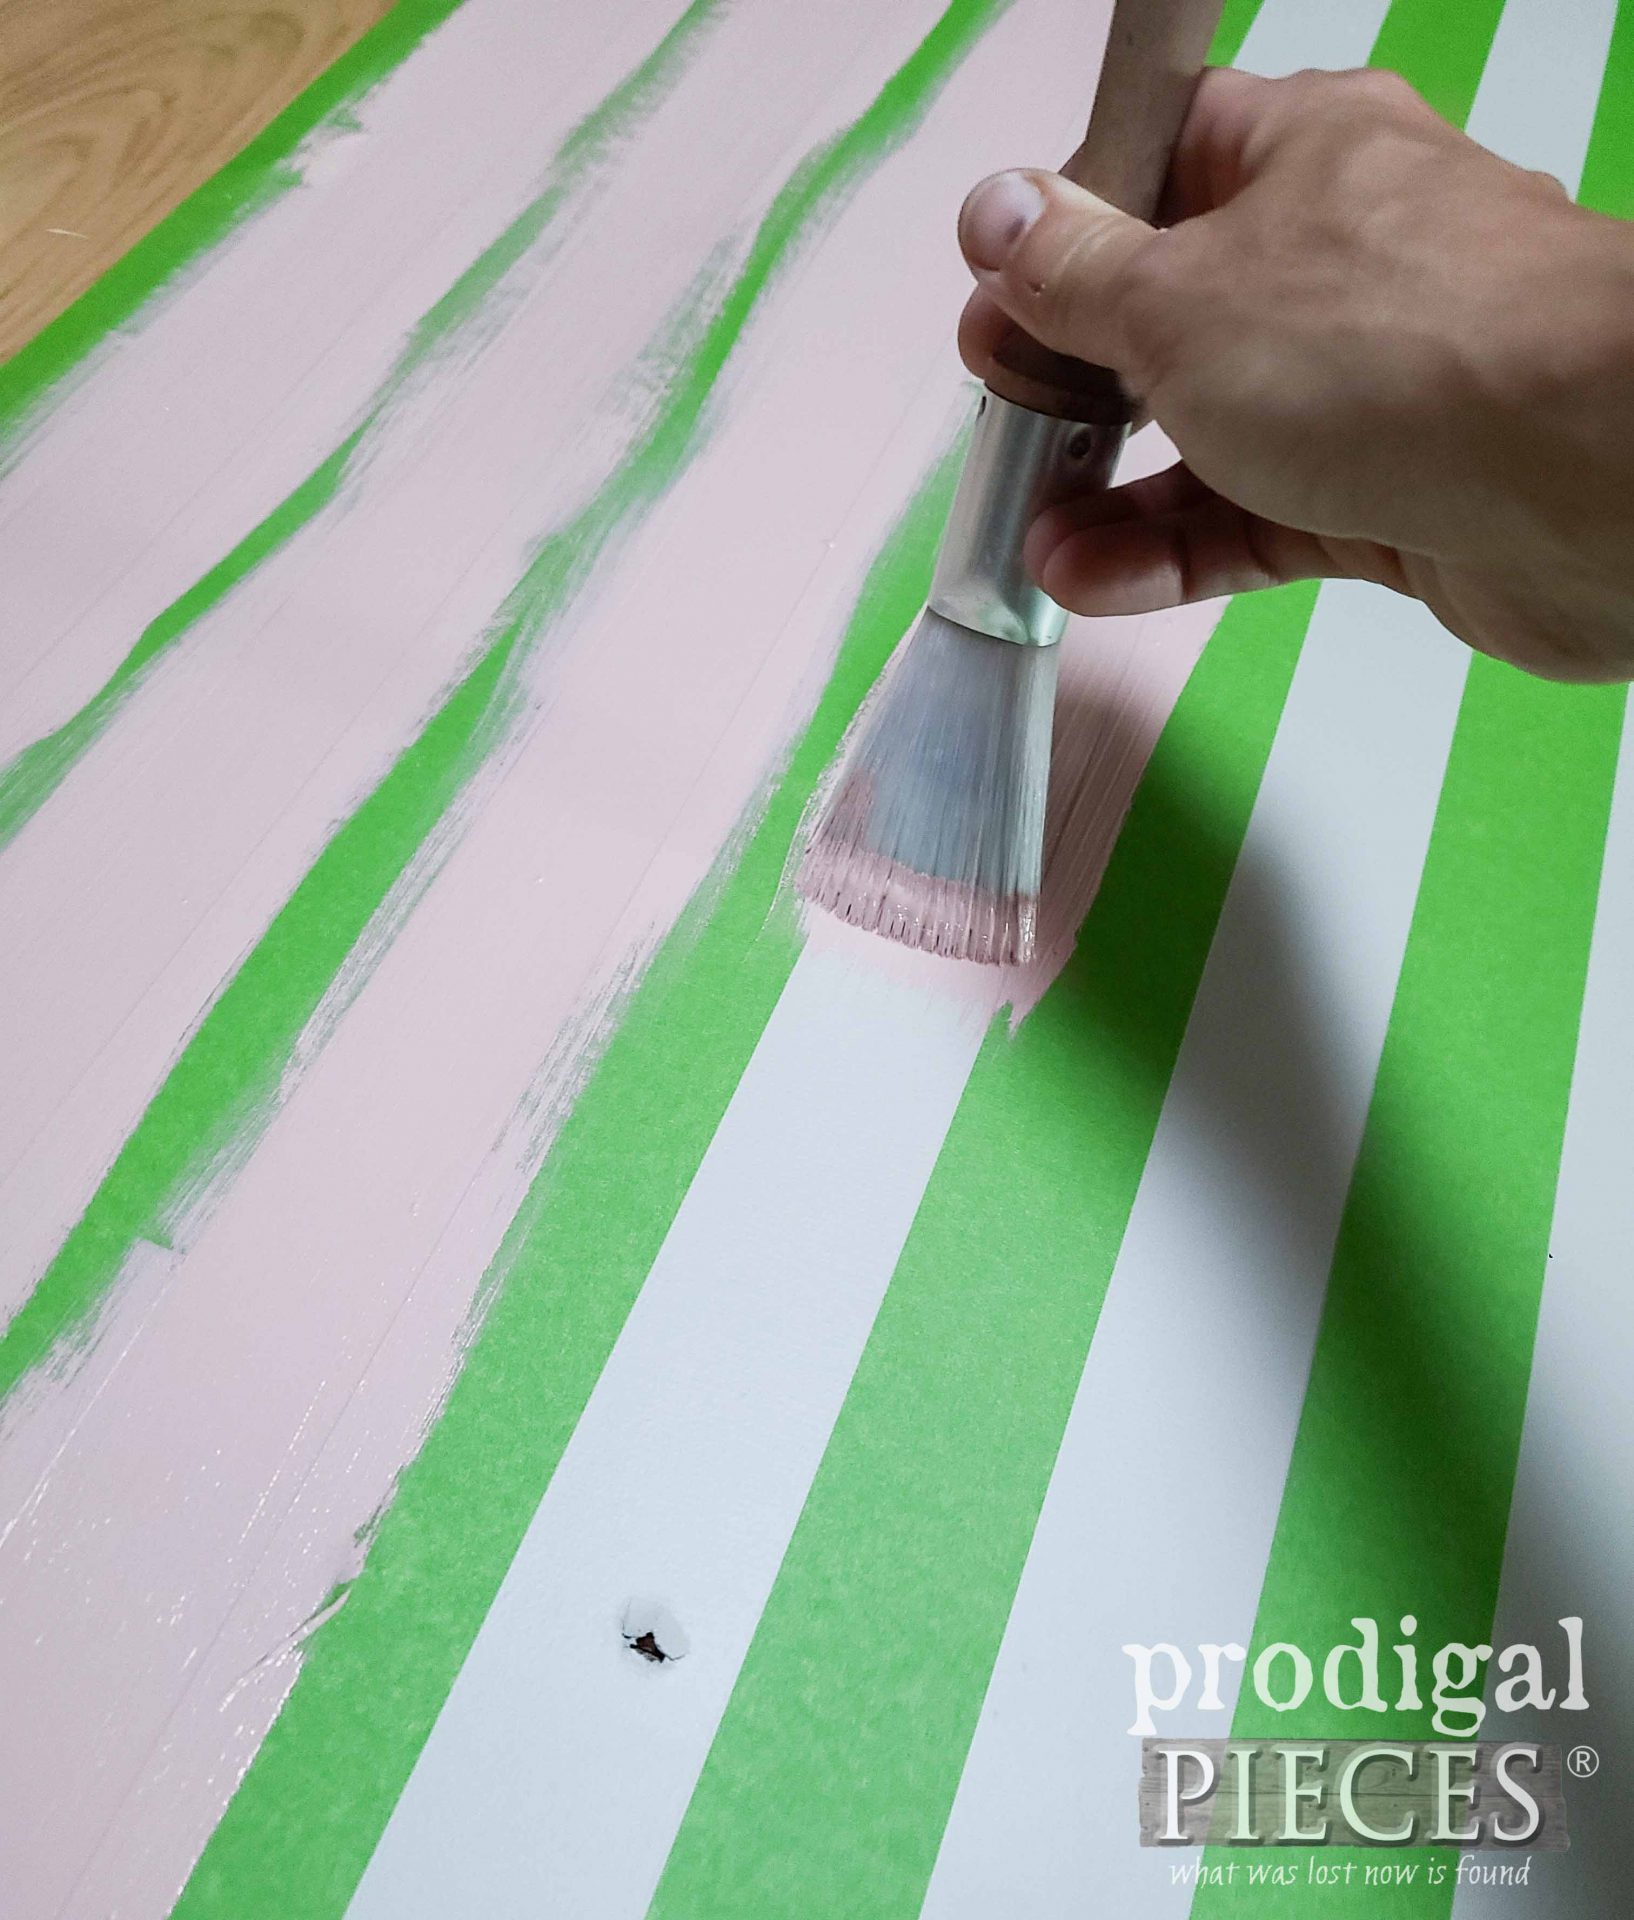
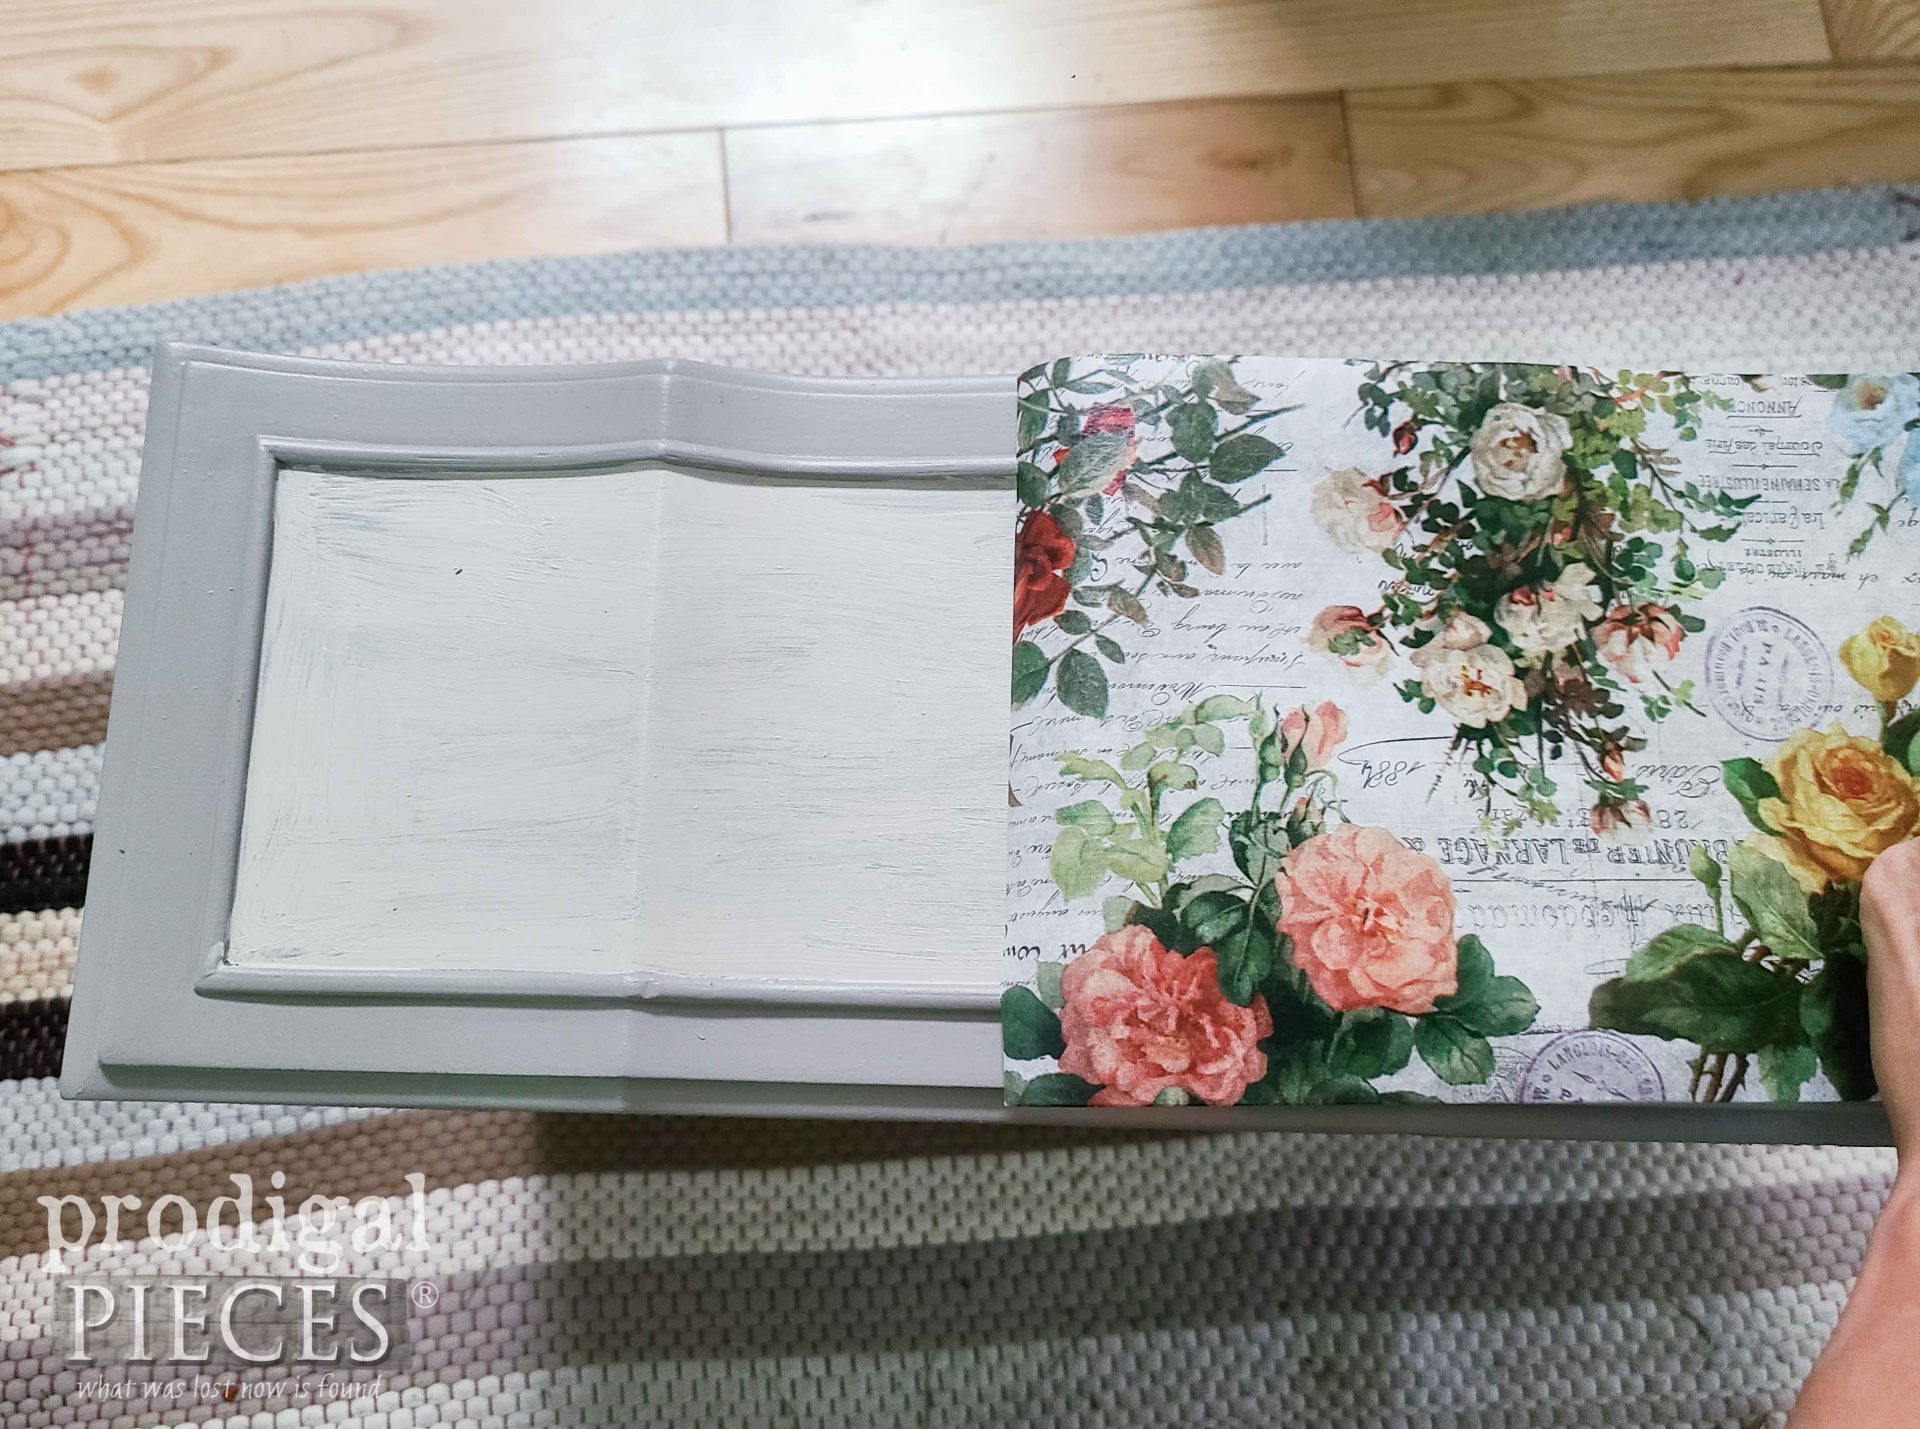
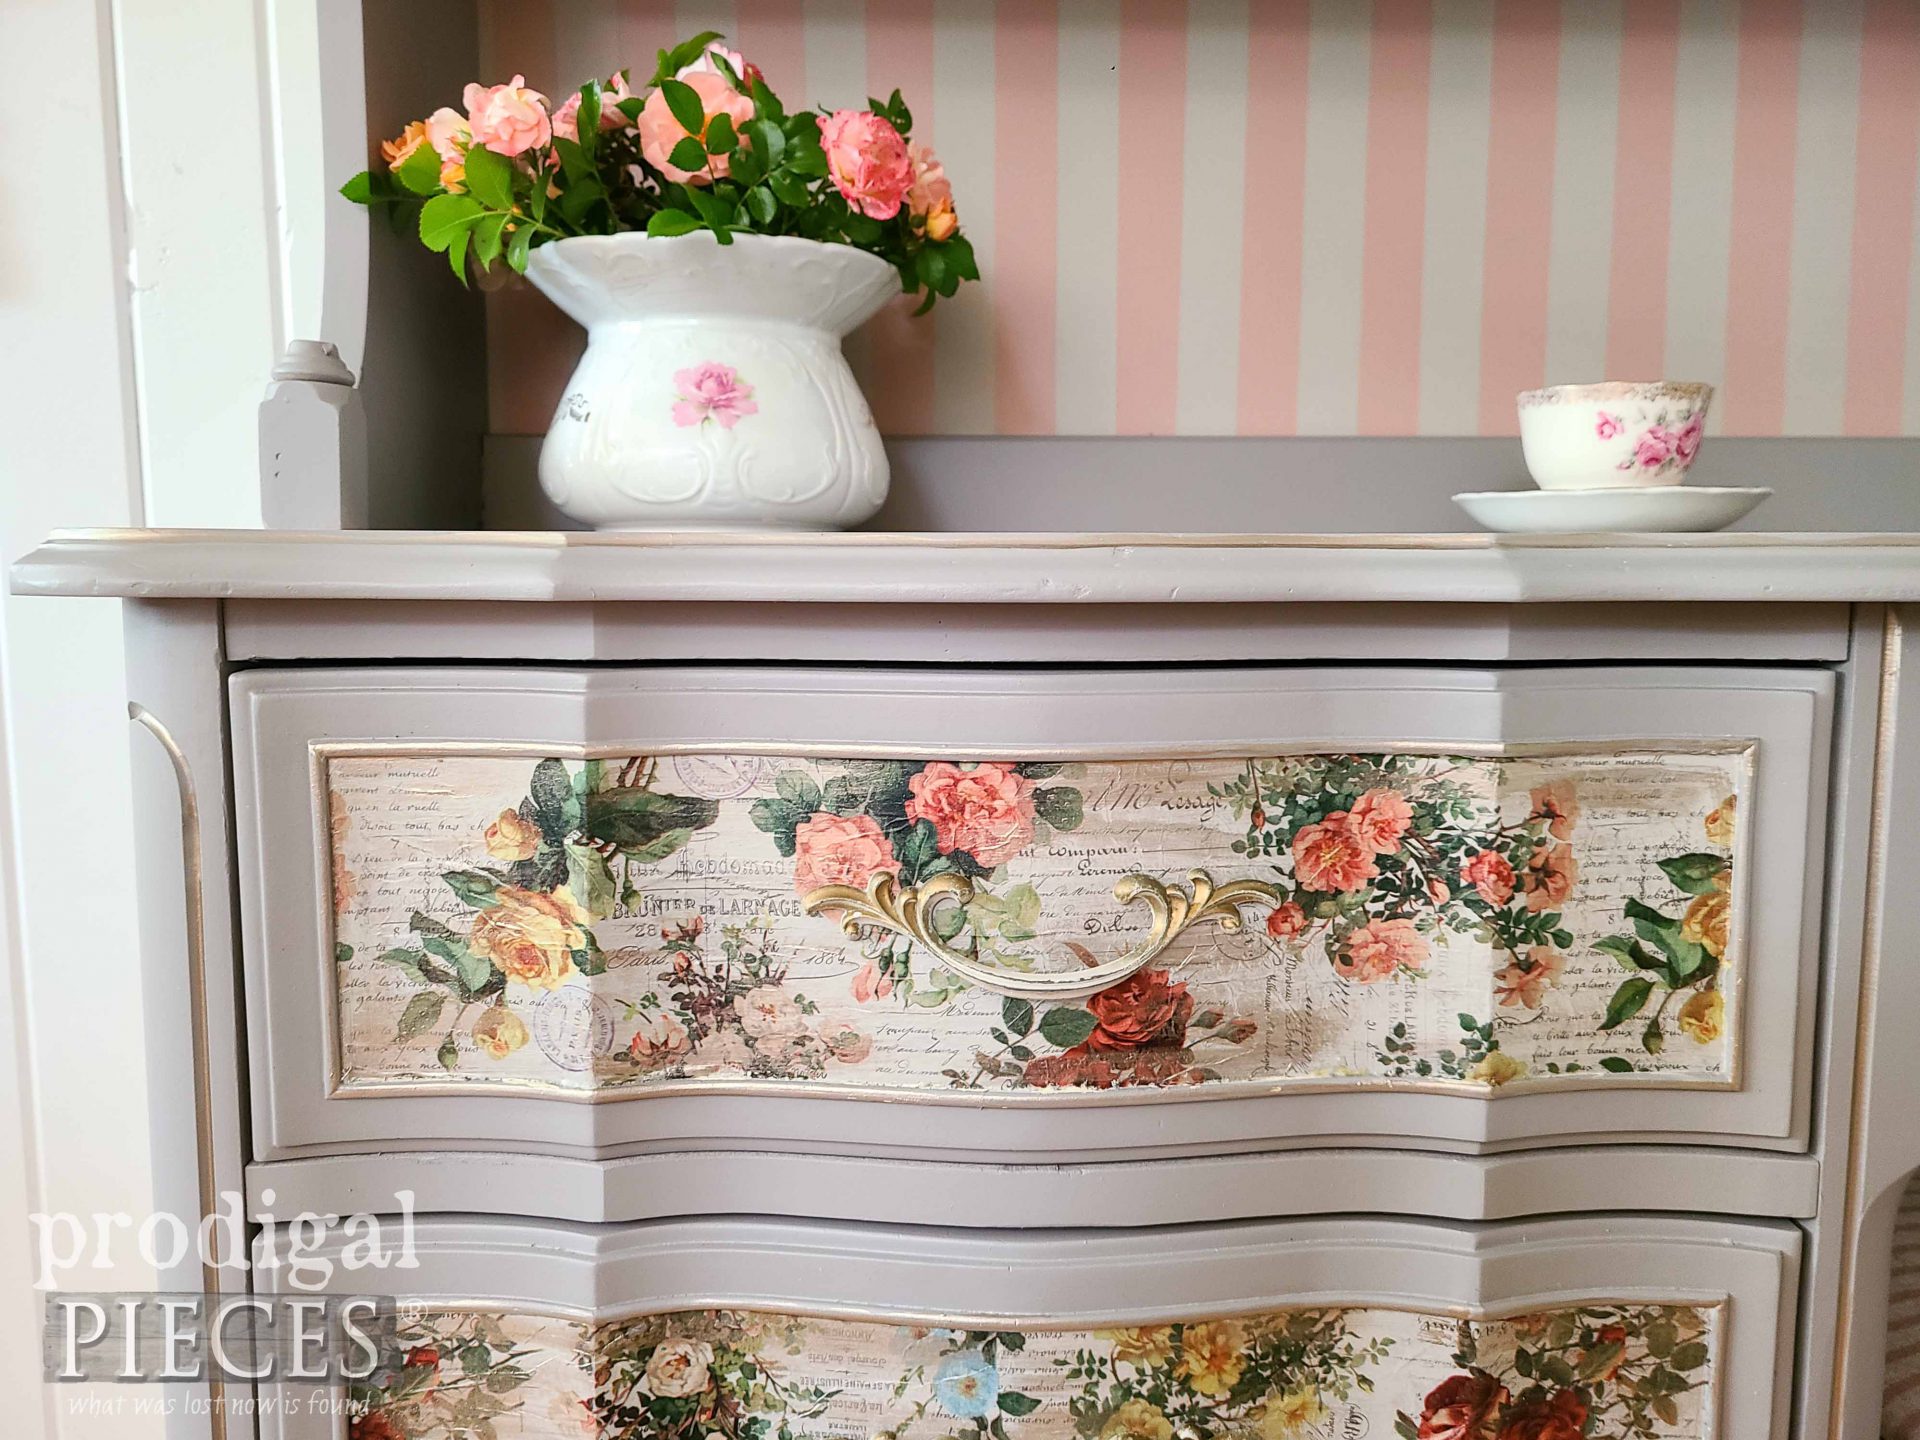
Meanwhile, I paint the inset of the drawers the same color and add decoupage using
these fun papers I've used in the past.
Last, I use my gold paint to add soft gilding to various bits here and there to help tie in the original pulls.
THE REVEAL
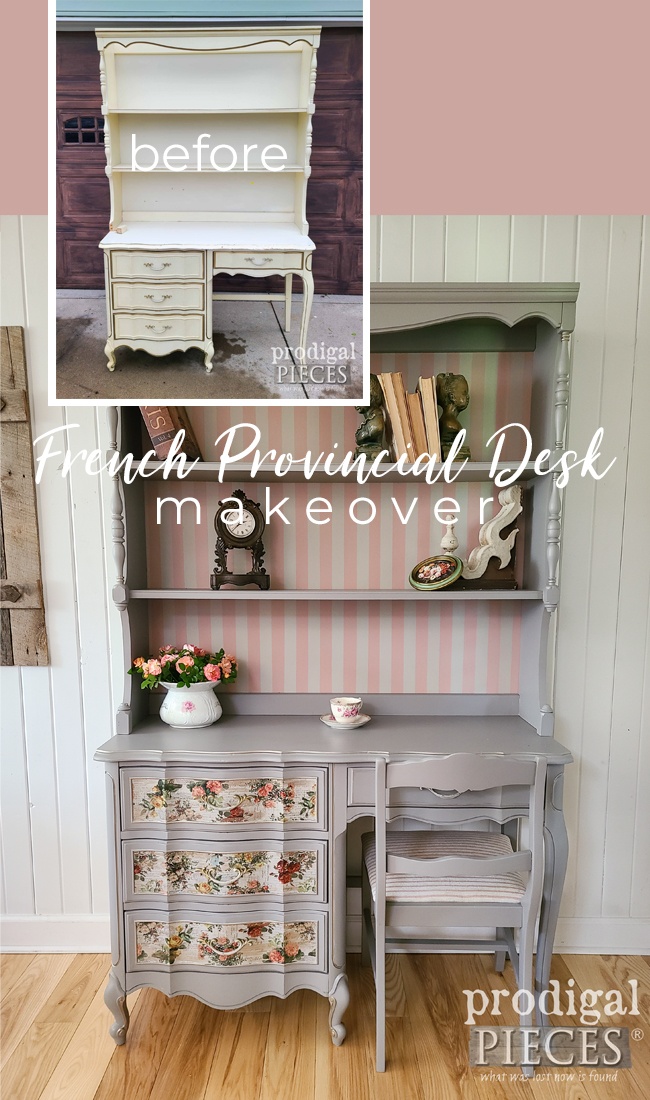
Are you ready to see this ol' gal dressed up and ready for many more years of fun? I am!
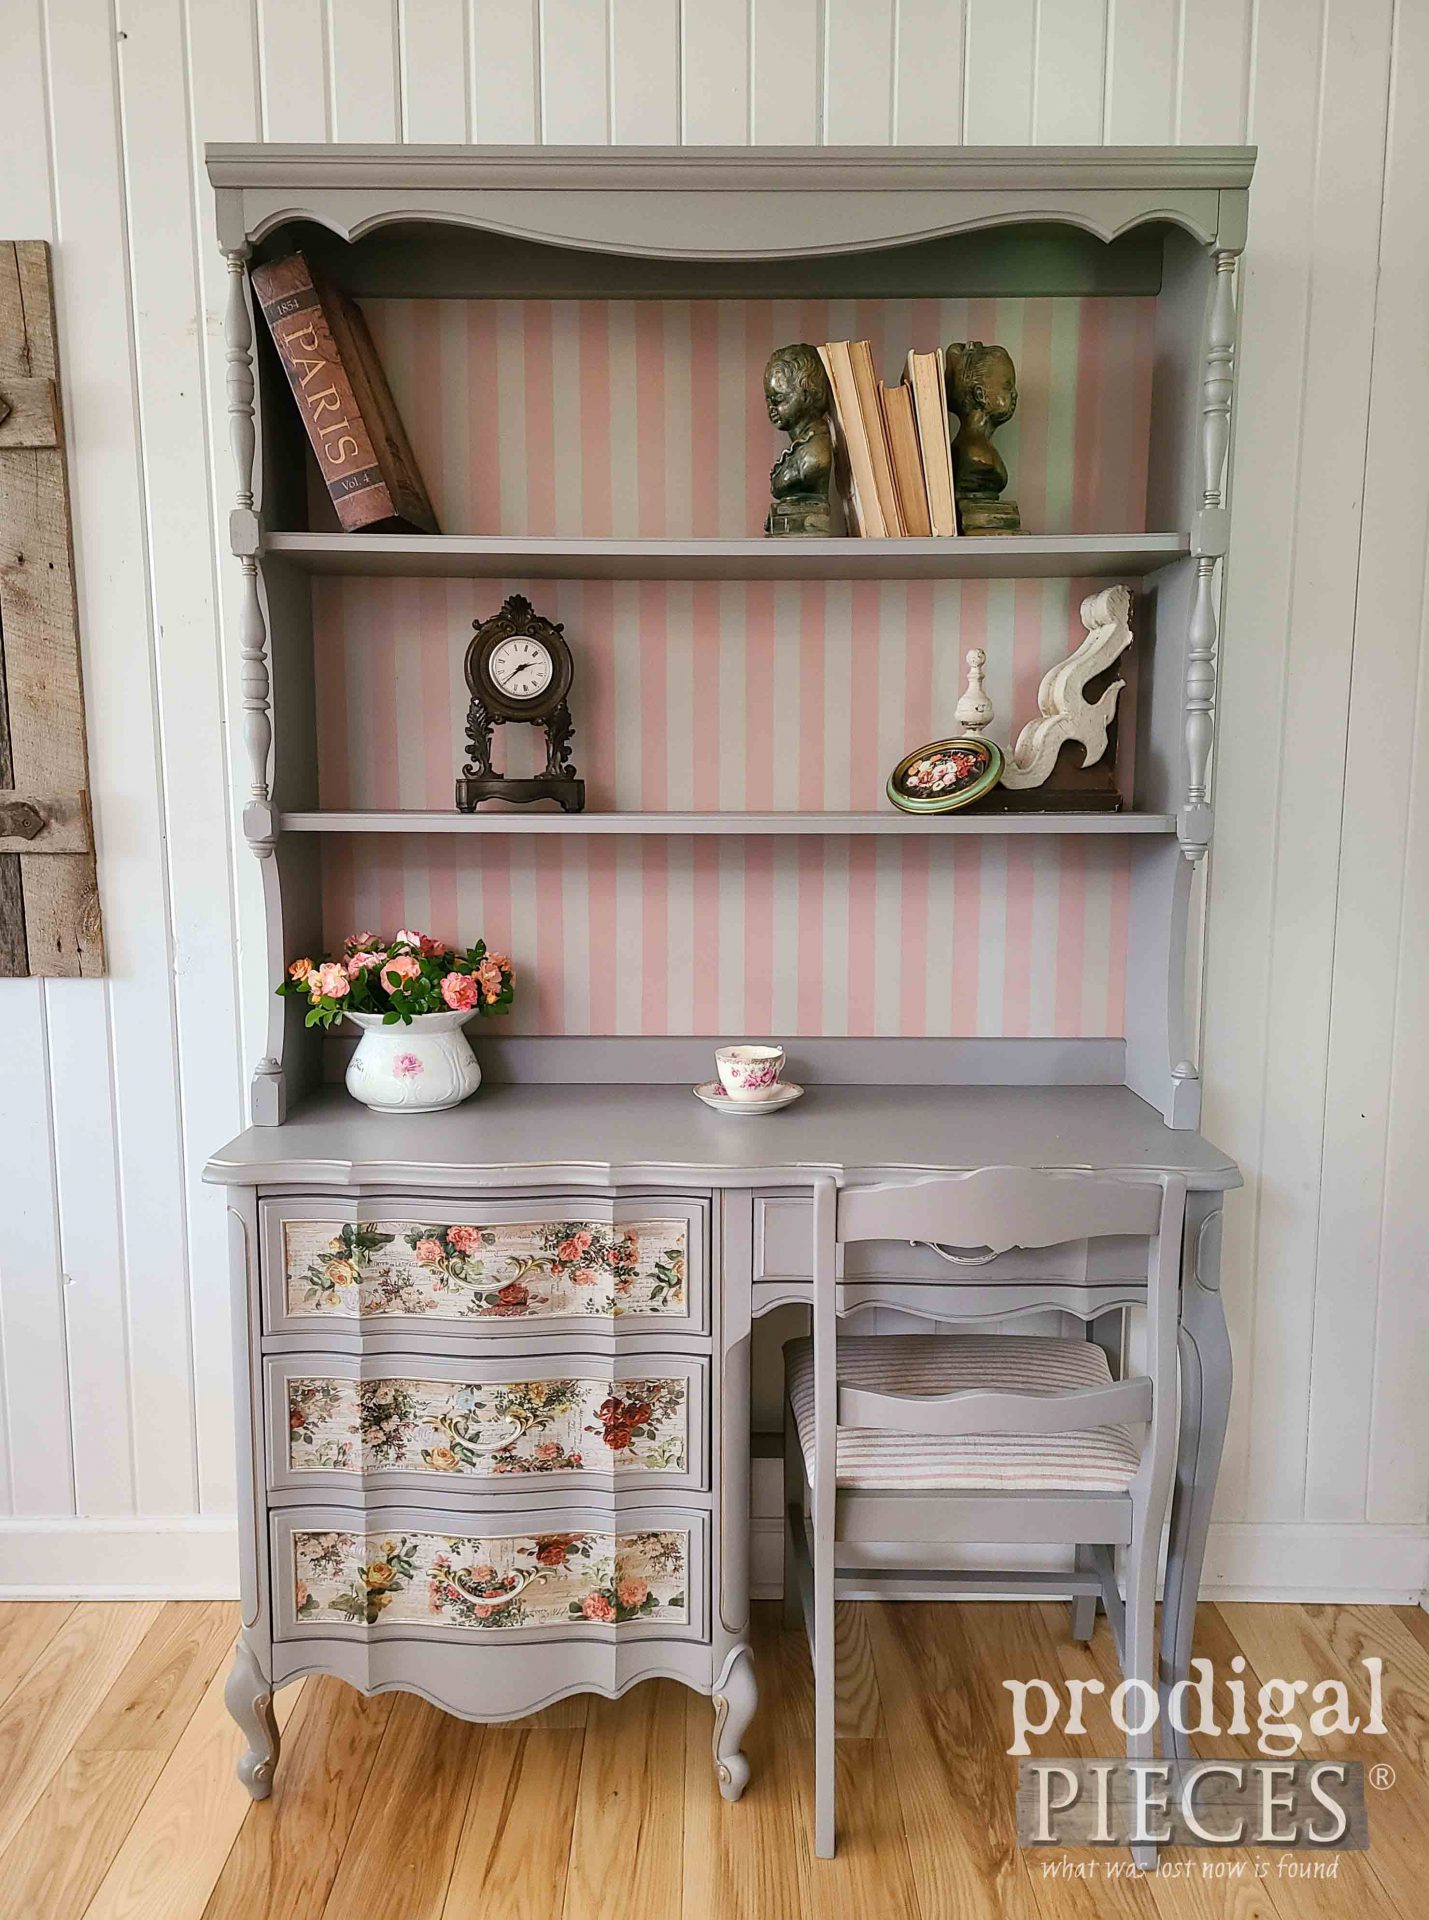
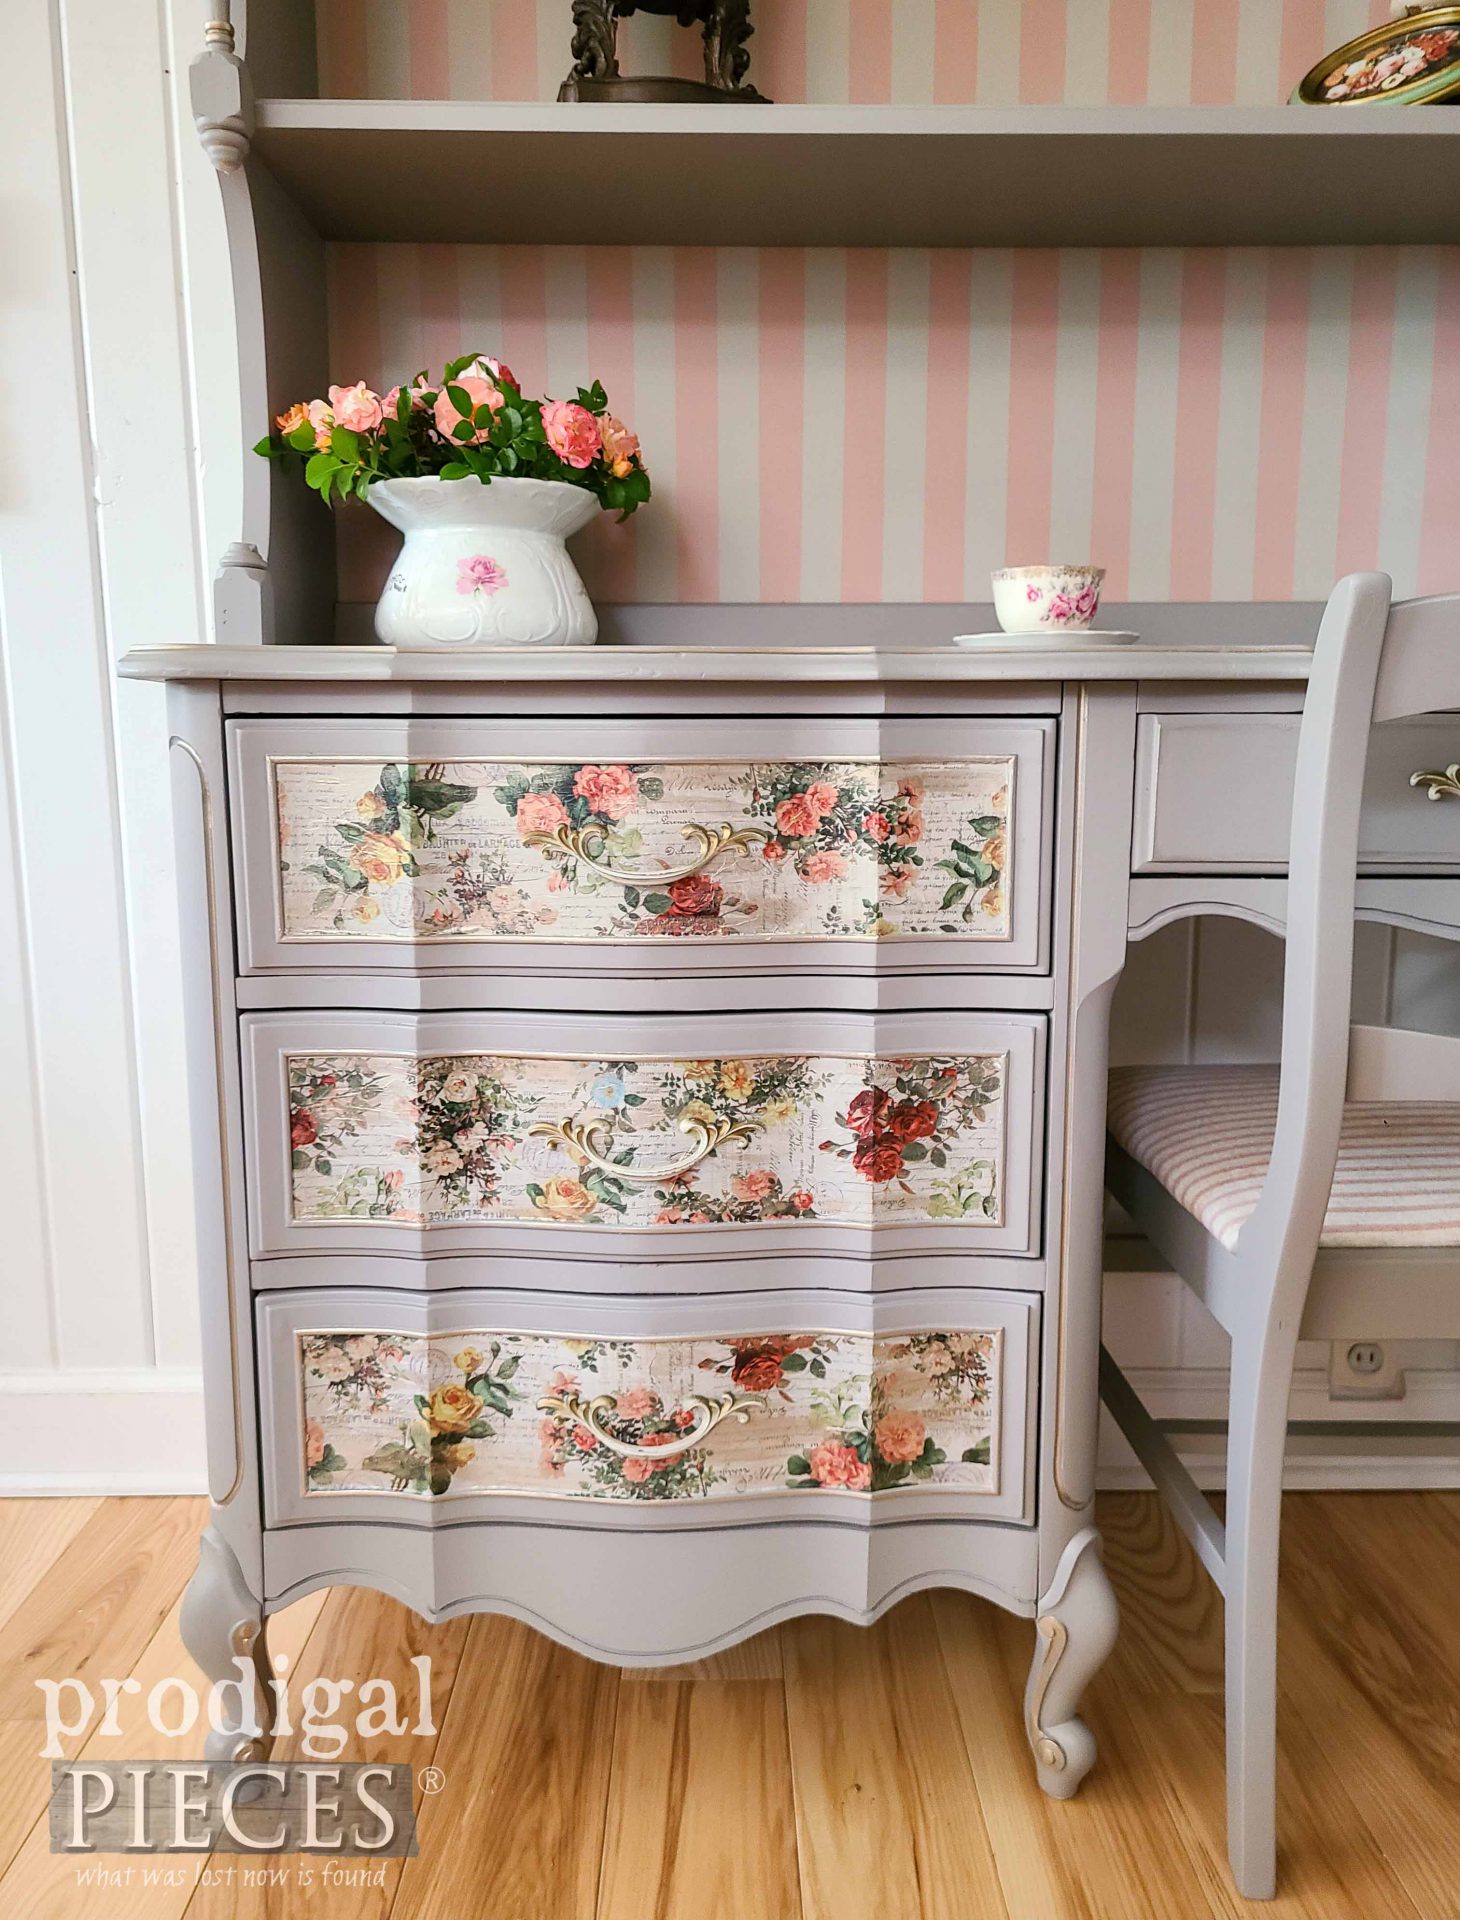
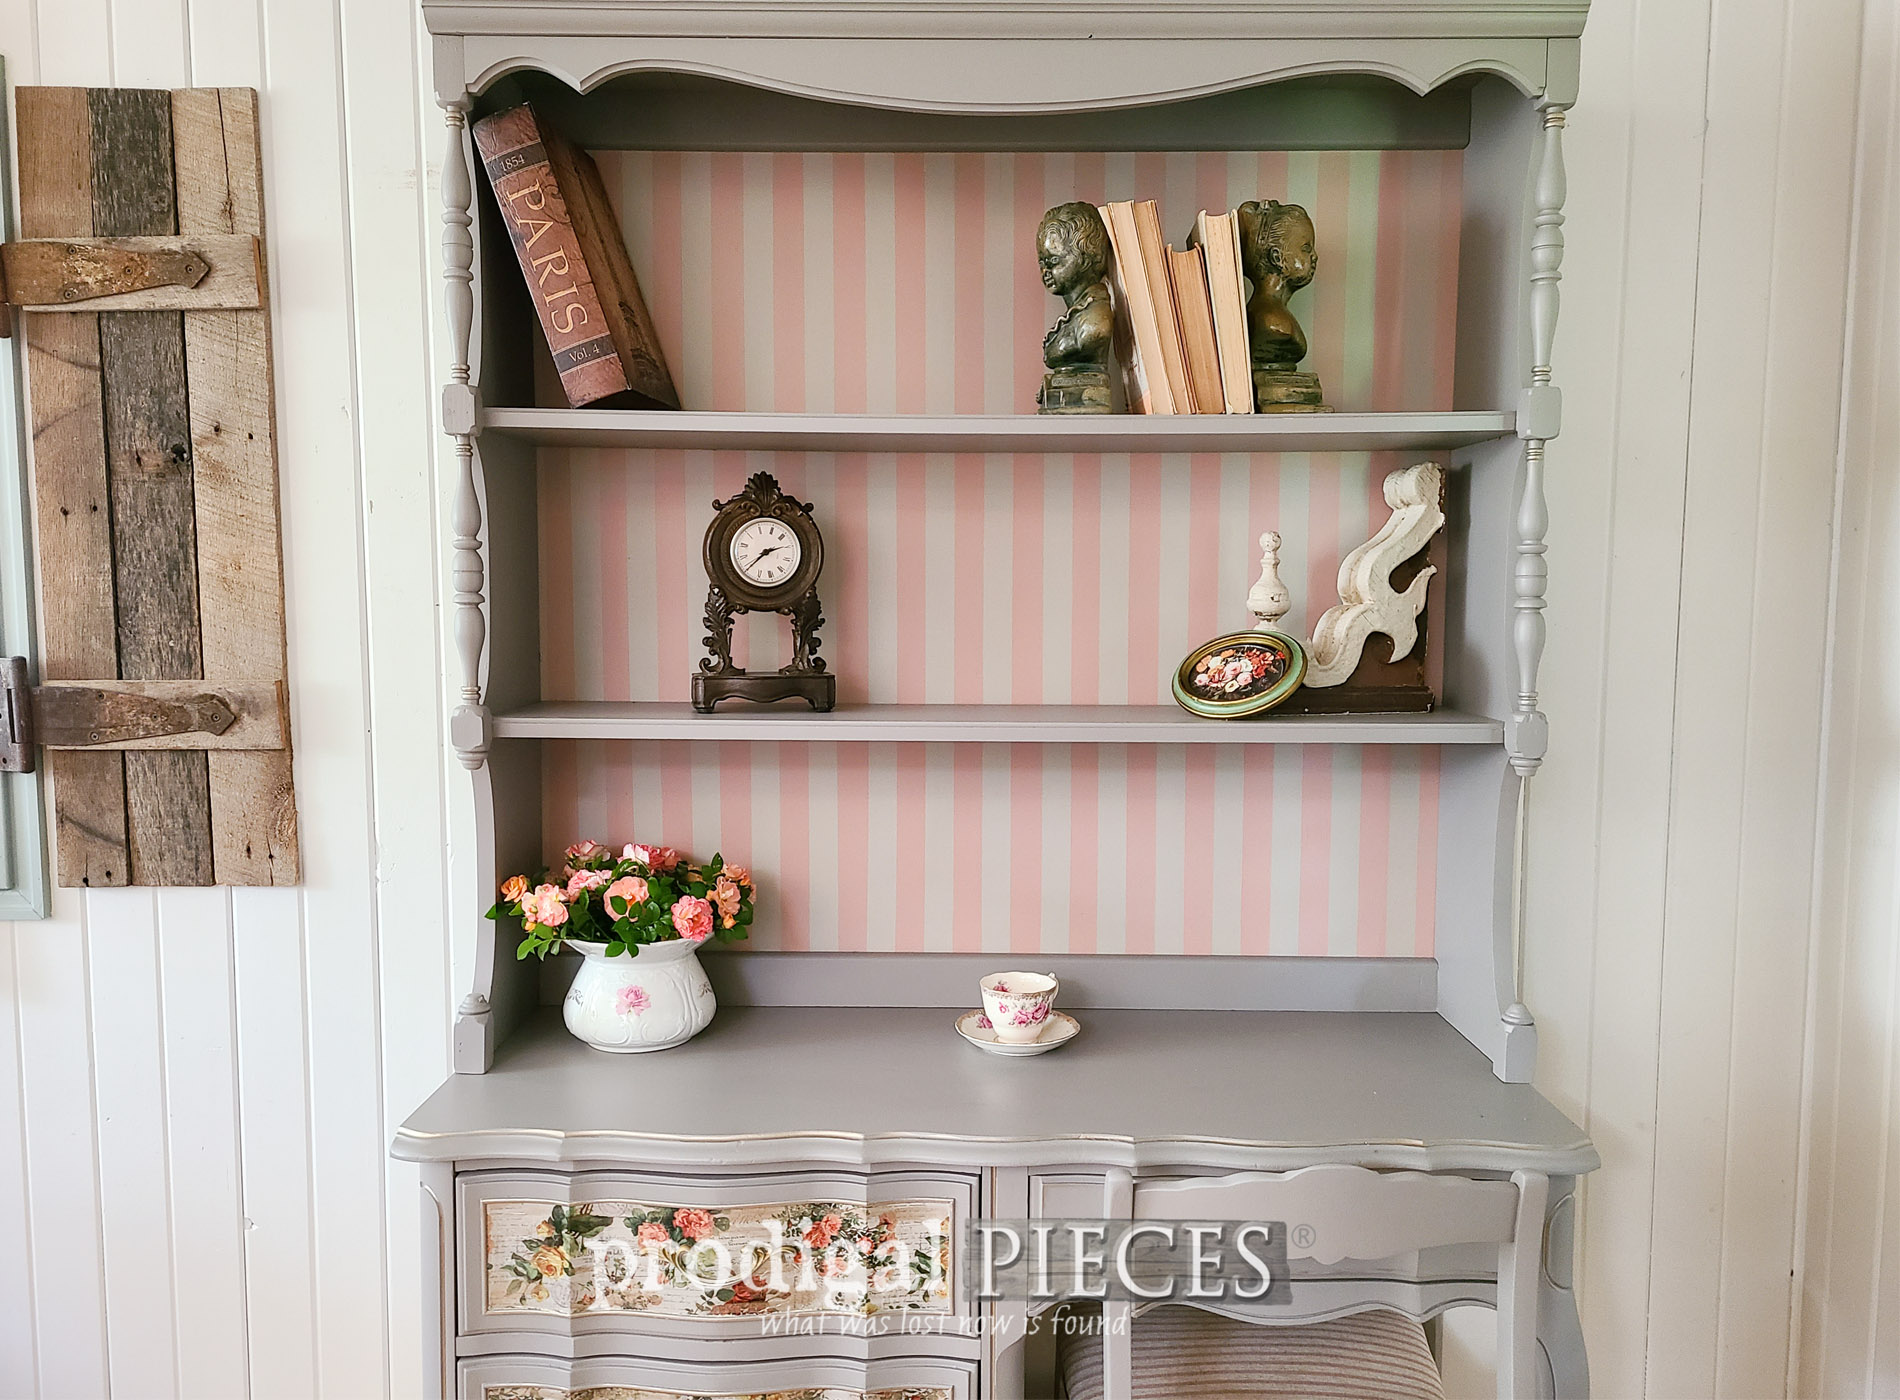
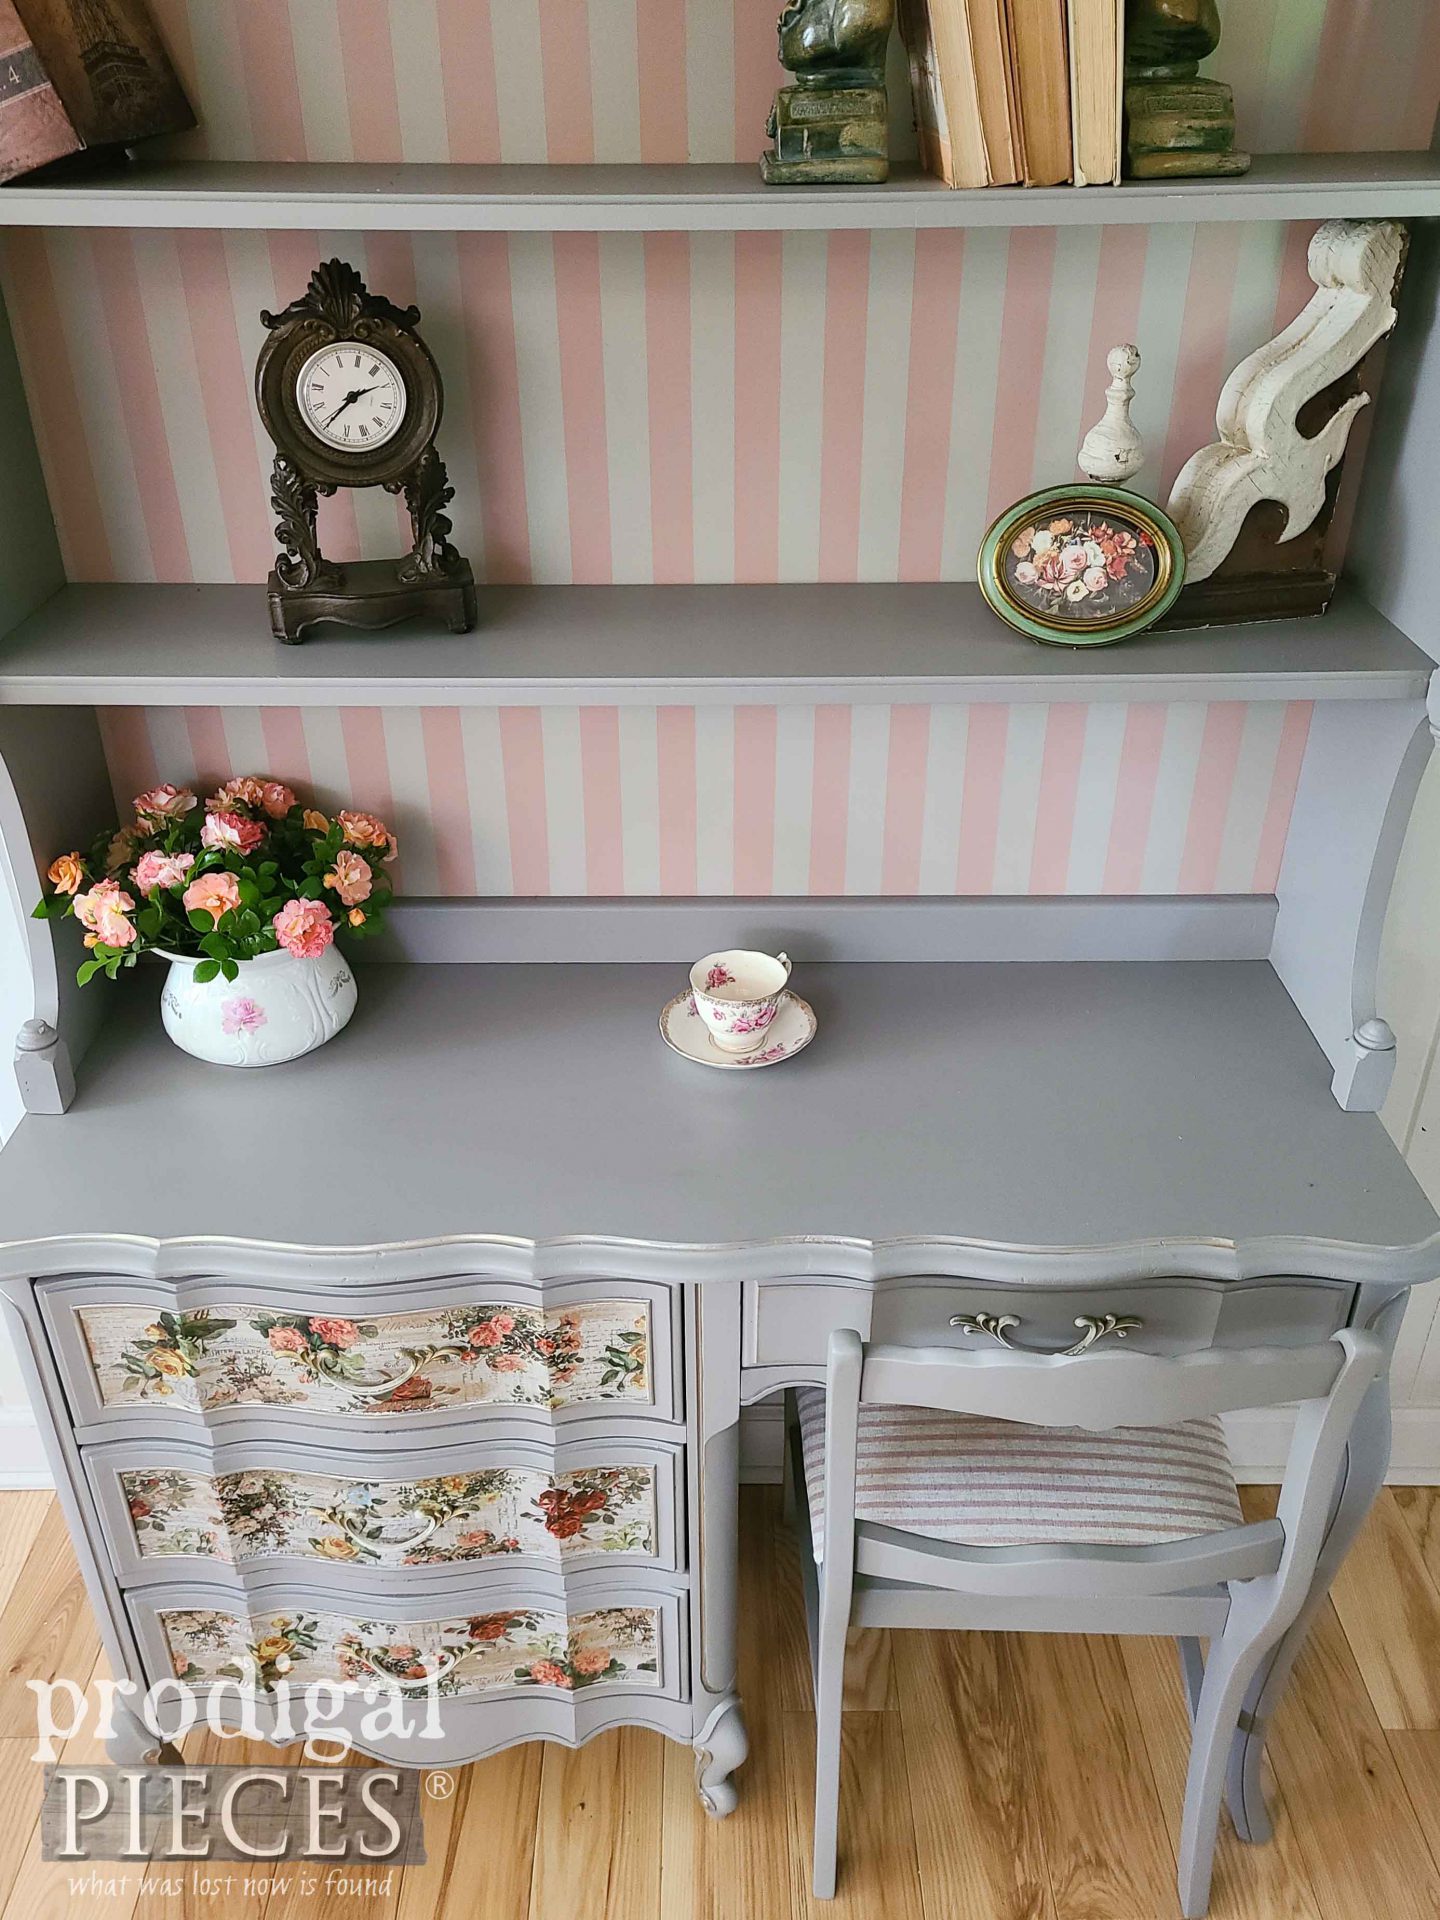
I daresay I'm smitten with the outcome. It was many steps of work to put it all together, but worth it to see it all come together. Aren't those drawers fun?
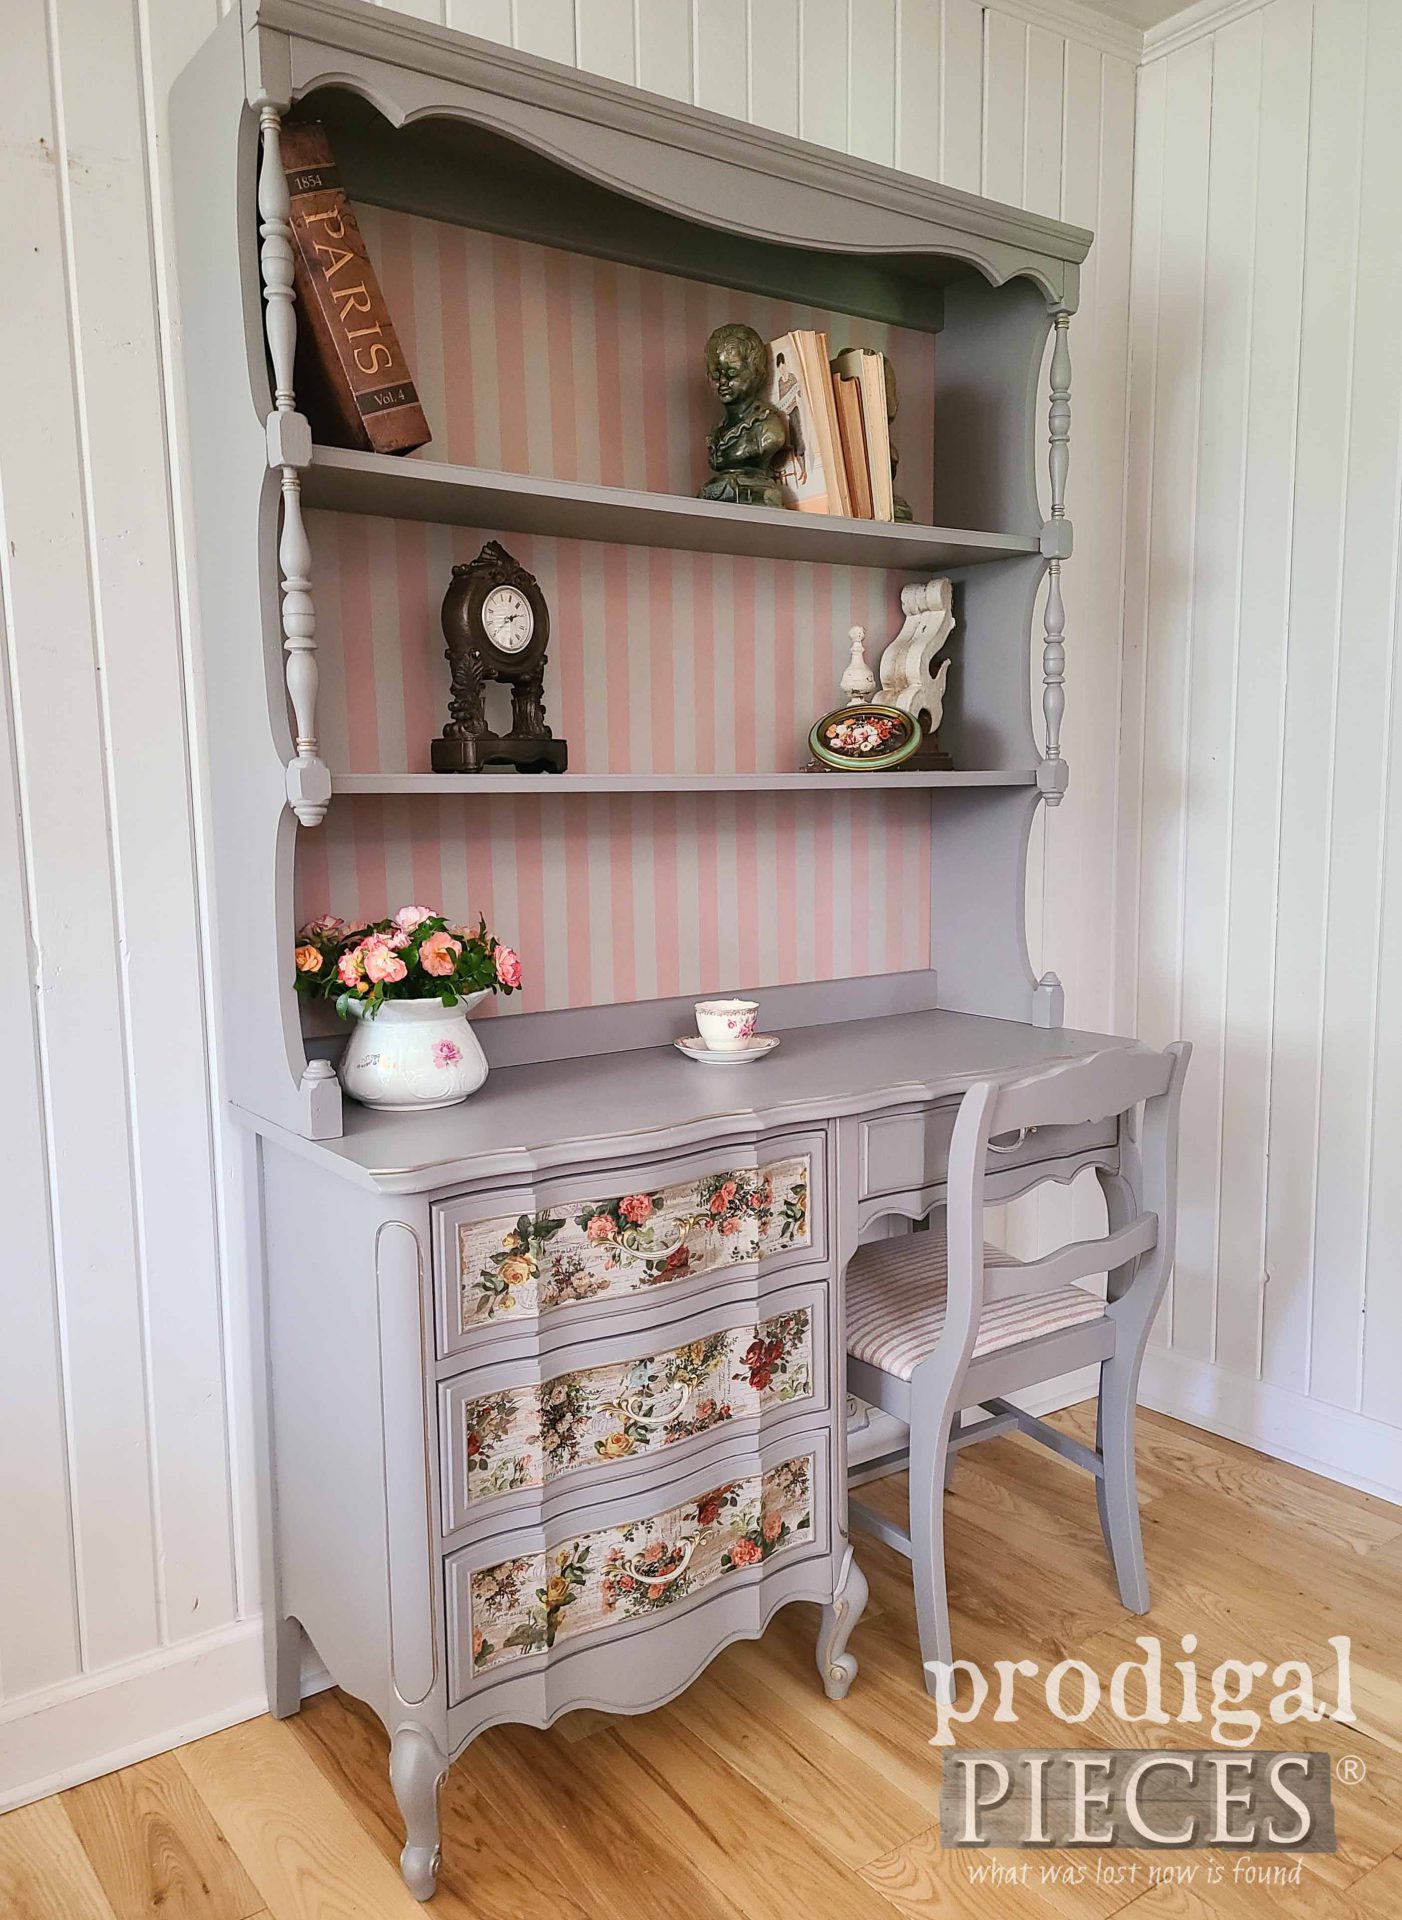
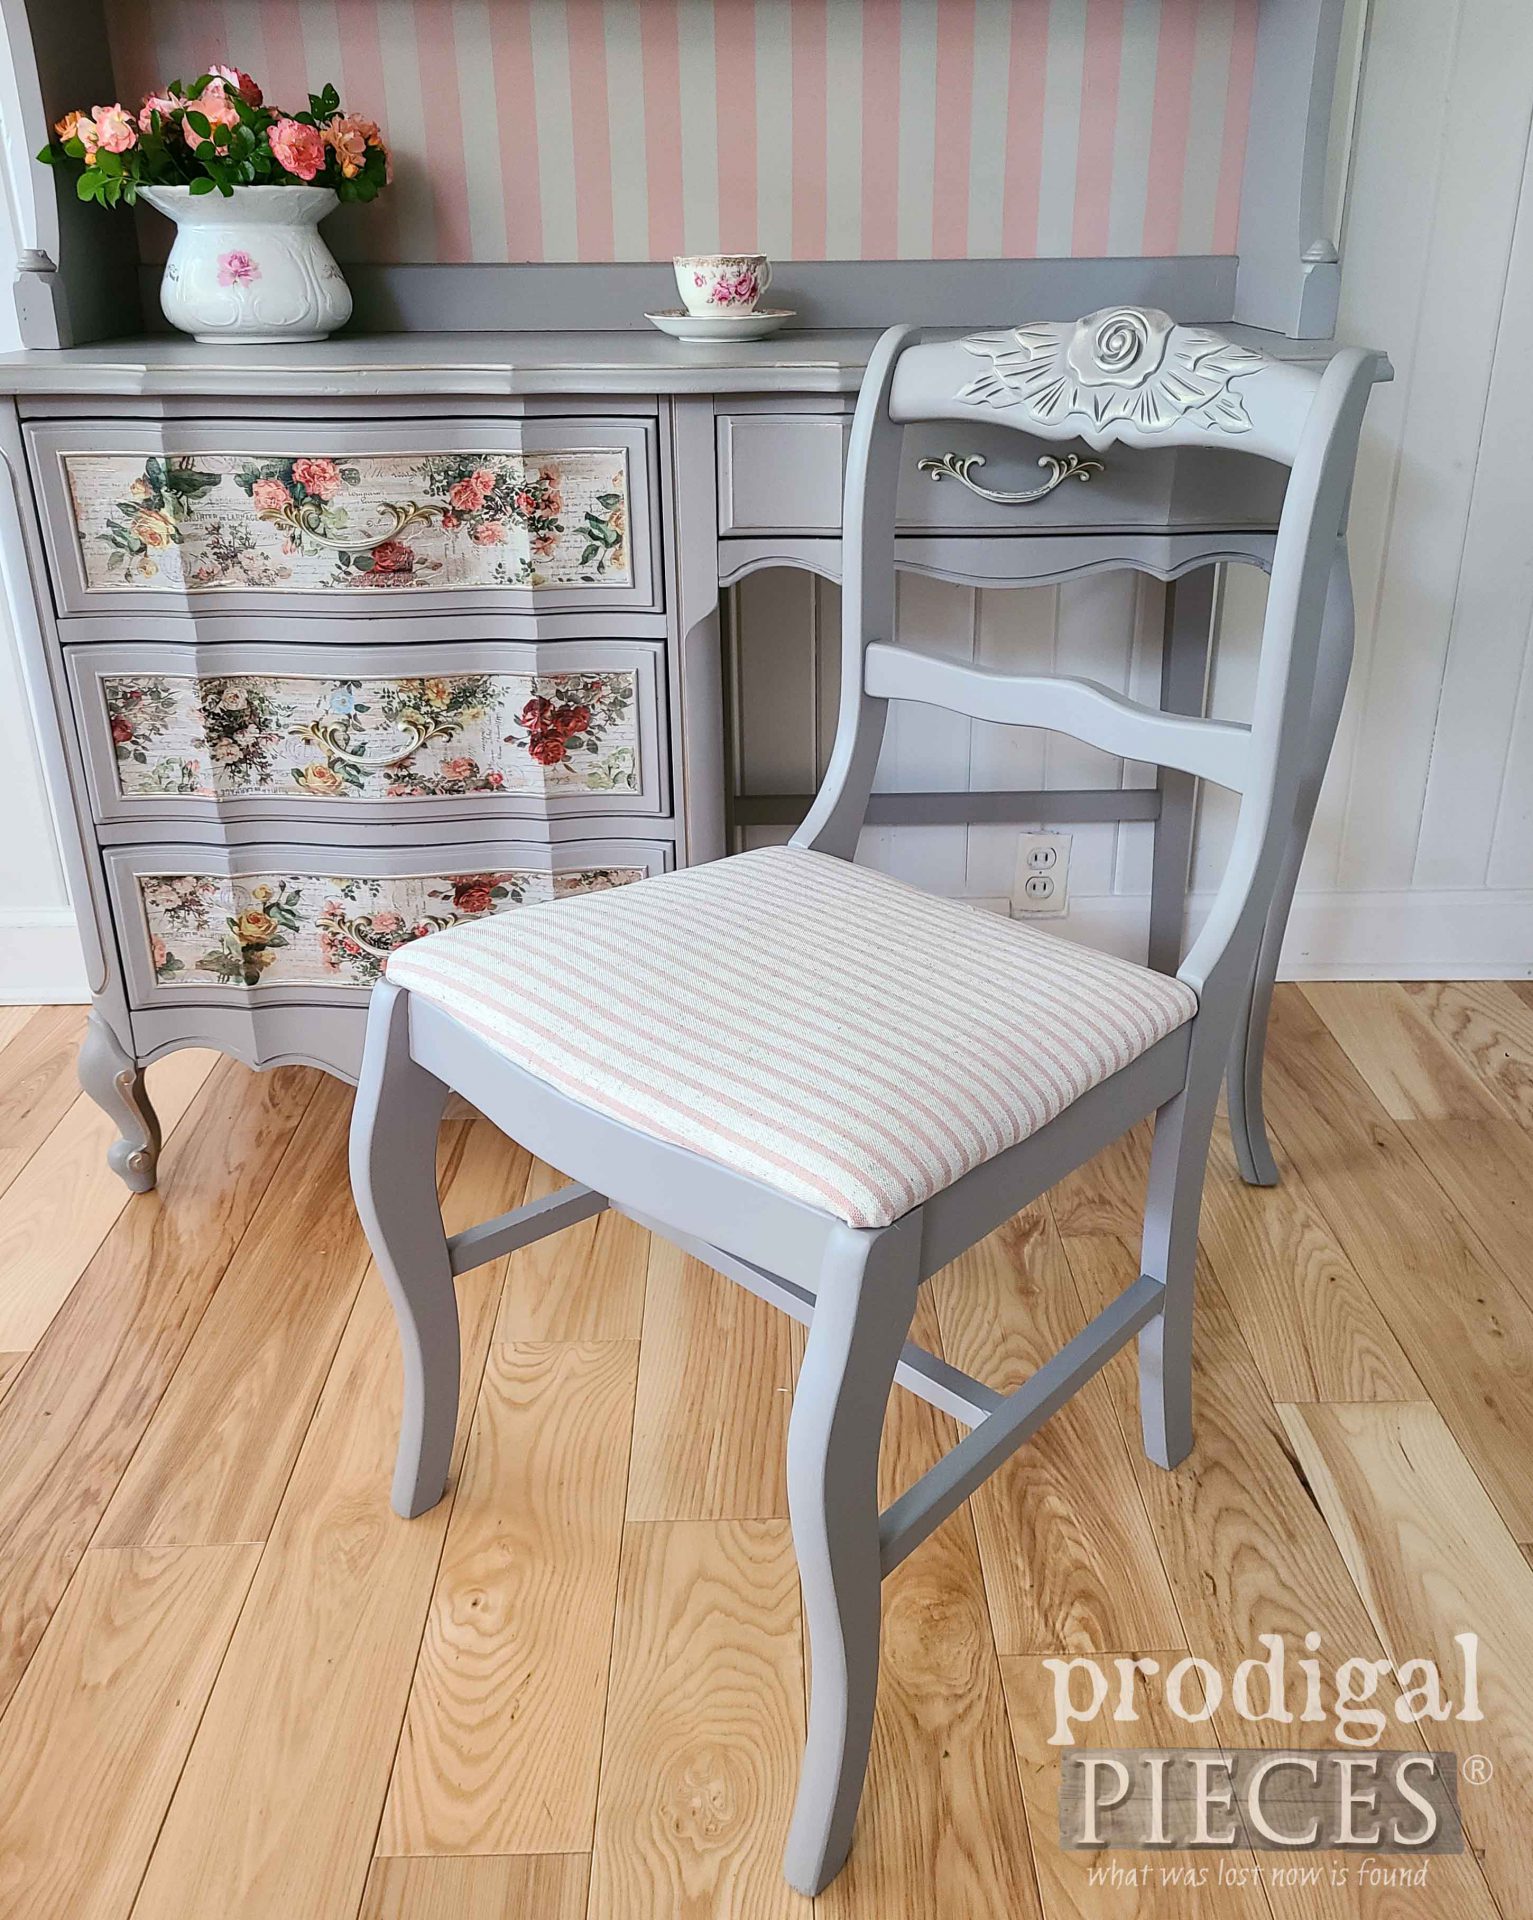
In case you don't remember, I made use of this same upholstery when I took a vintage French provincial king size headboard and made a
bench along with a French tufted mattress by hand. What a job, but so fun!
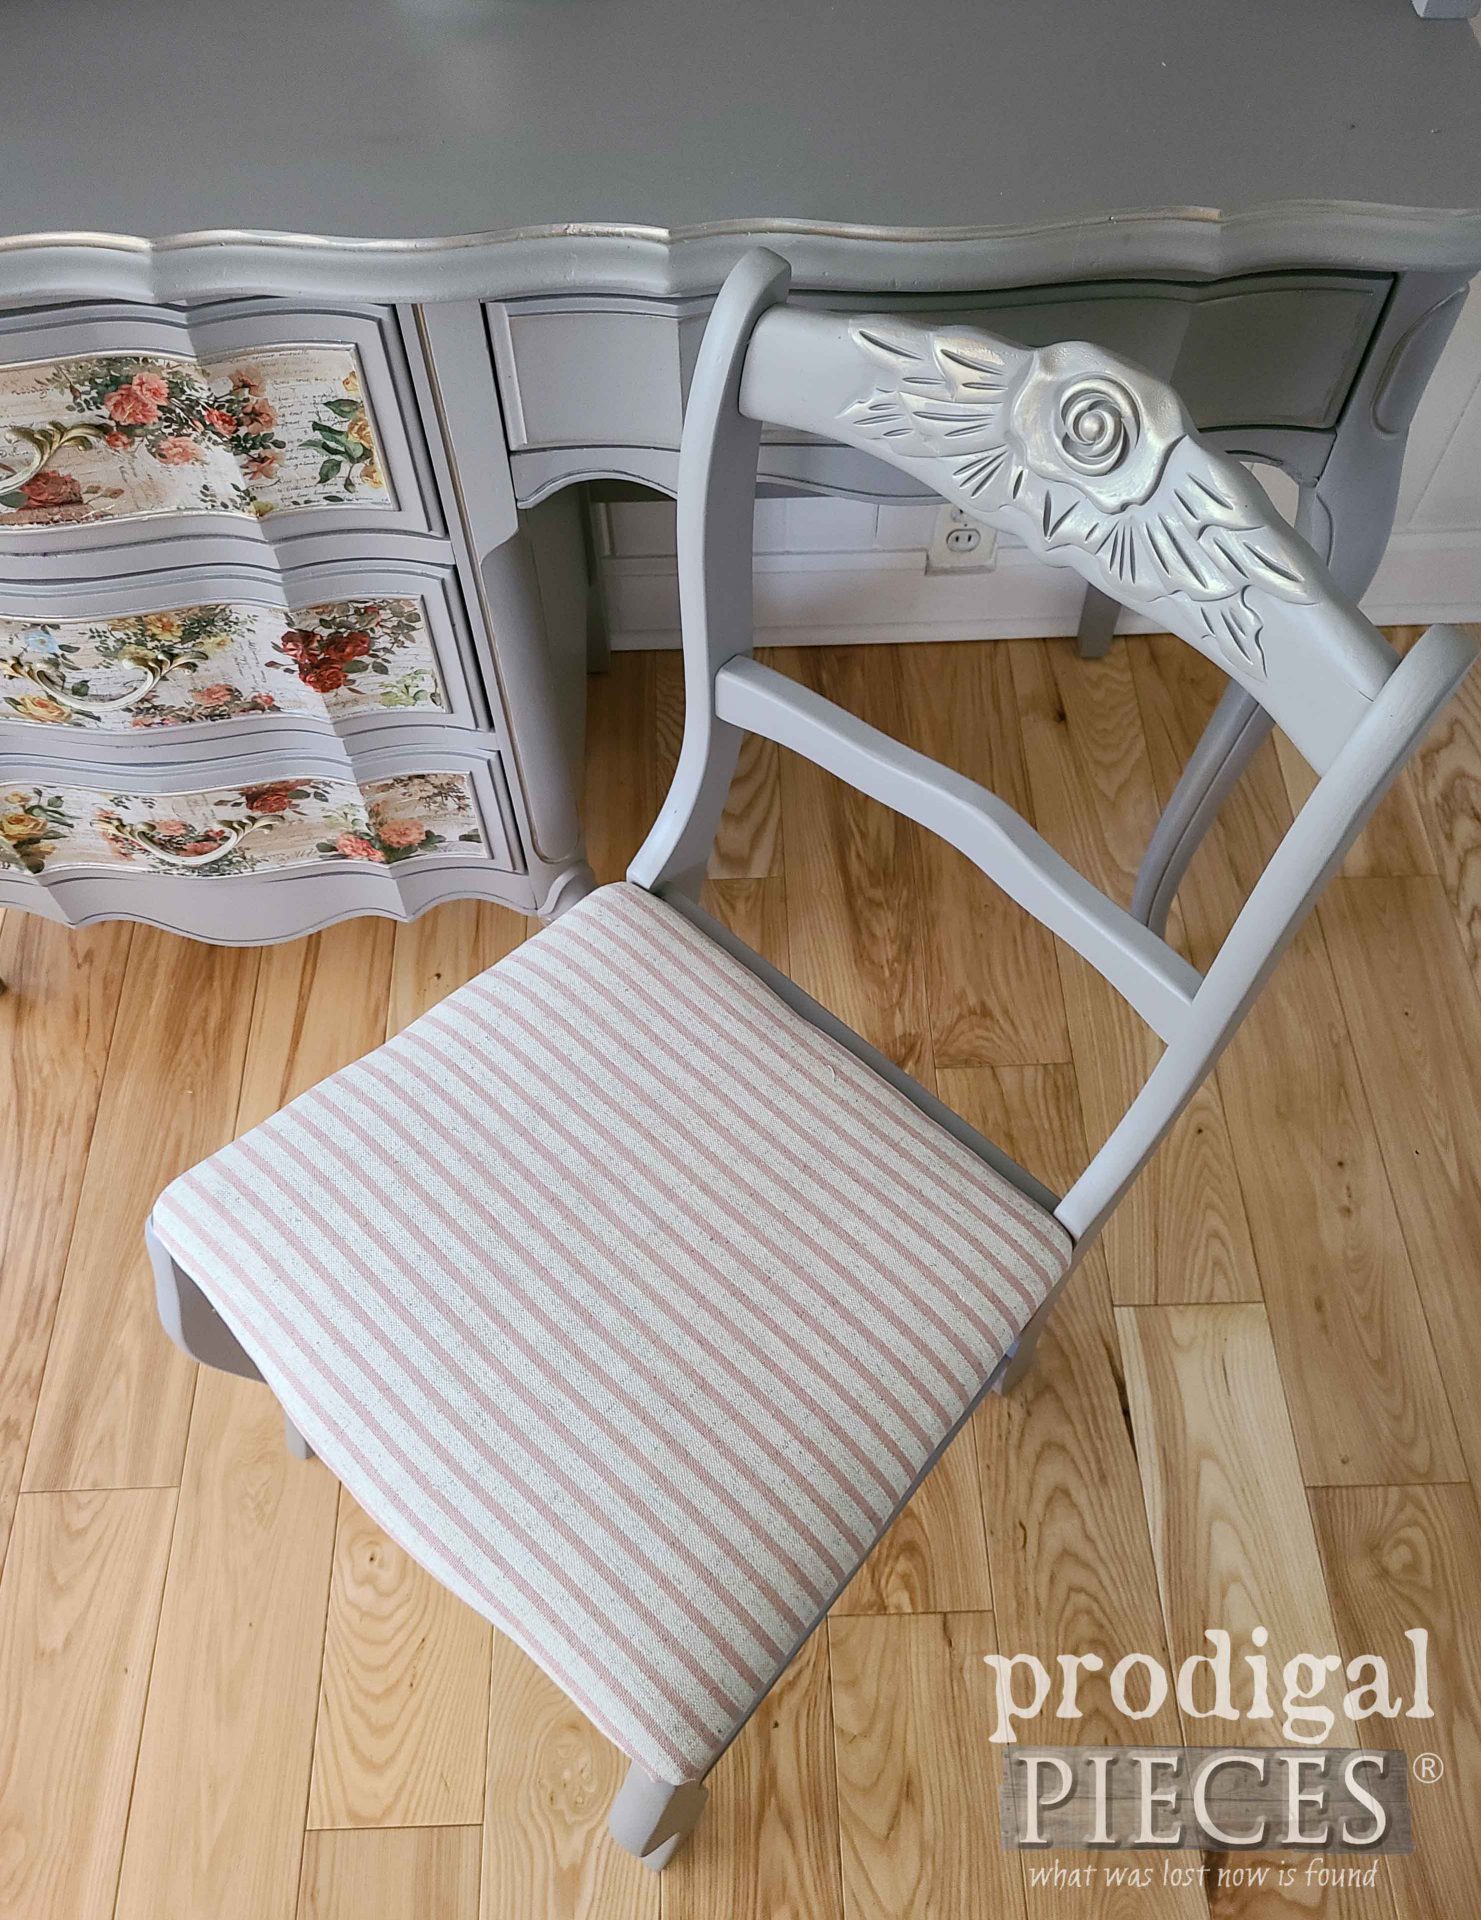
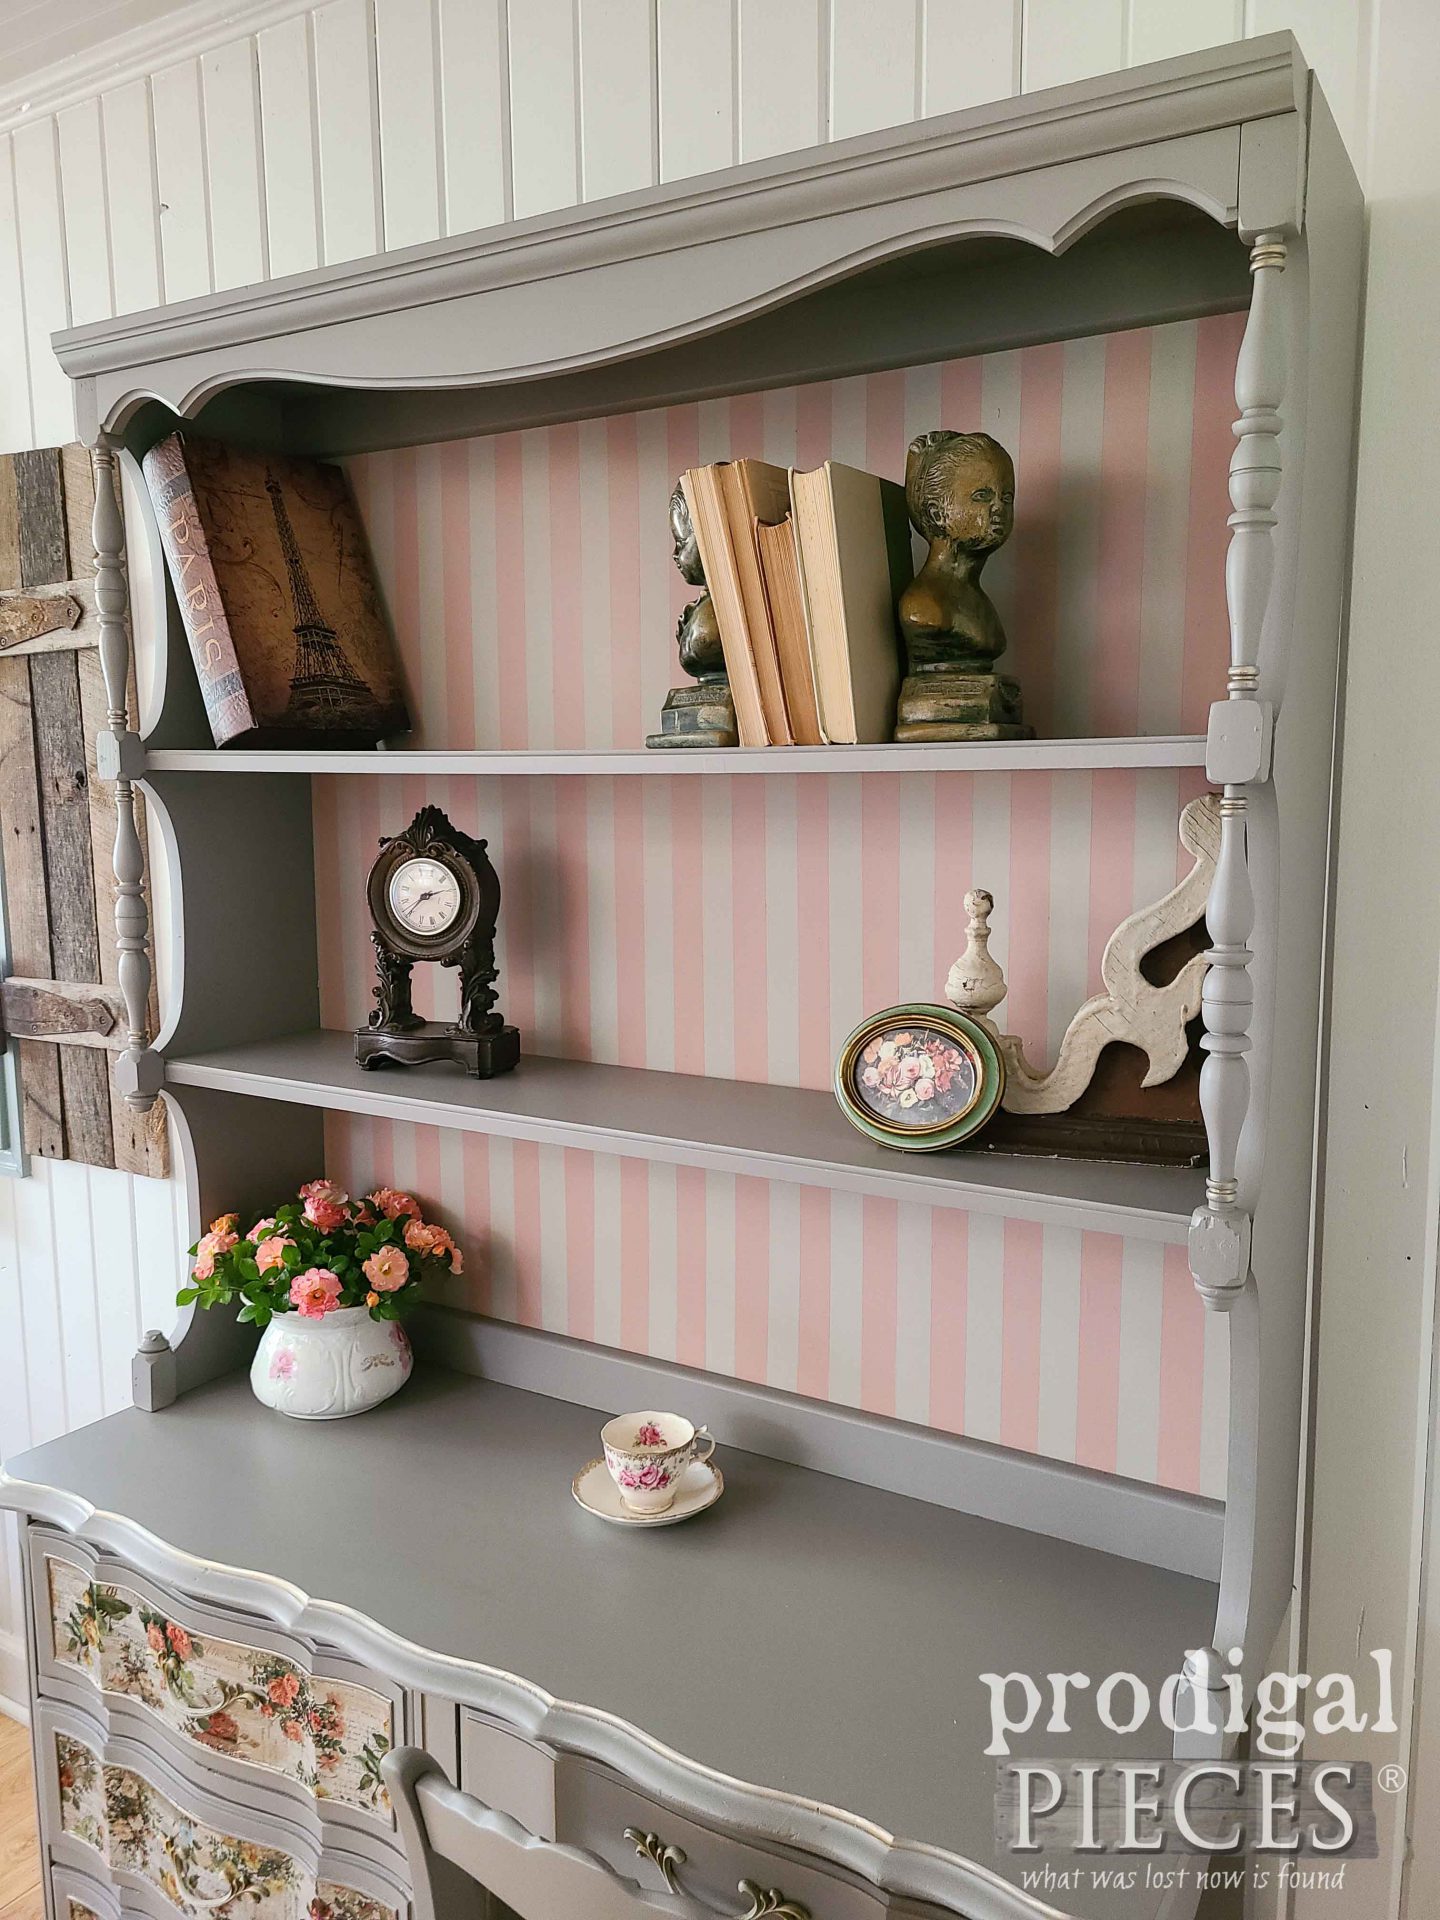
Likewise, it's hard to tell in photos, but the stripes on the hutch backing are a pink and tan to mimic the seat upholstery. The stripes not only add contrast, but also different texture as well that falls in line with the French style.
Finally, the best part is I also have a matching chest that is awaiting a makeover as well. Shall I do it the same or...? You can find this desk and more available in
my online store.

SHARE
In addition, let's inspire others to update their own home decor using some DIY elbow grease. Pin and share!
Before you go, be sure to
sign up for my newsletter so you can see what I do with this next find below.
Head HERE to see it now.

 PINTEREST | EMAIL
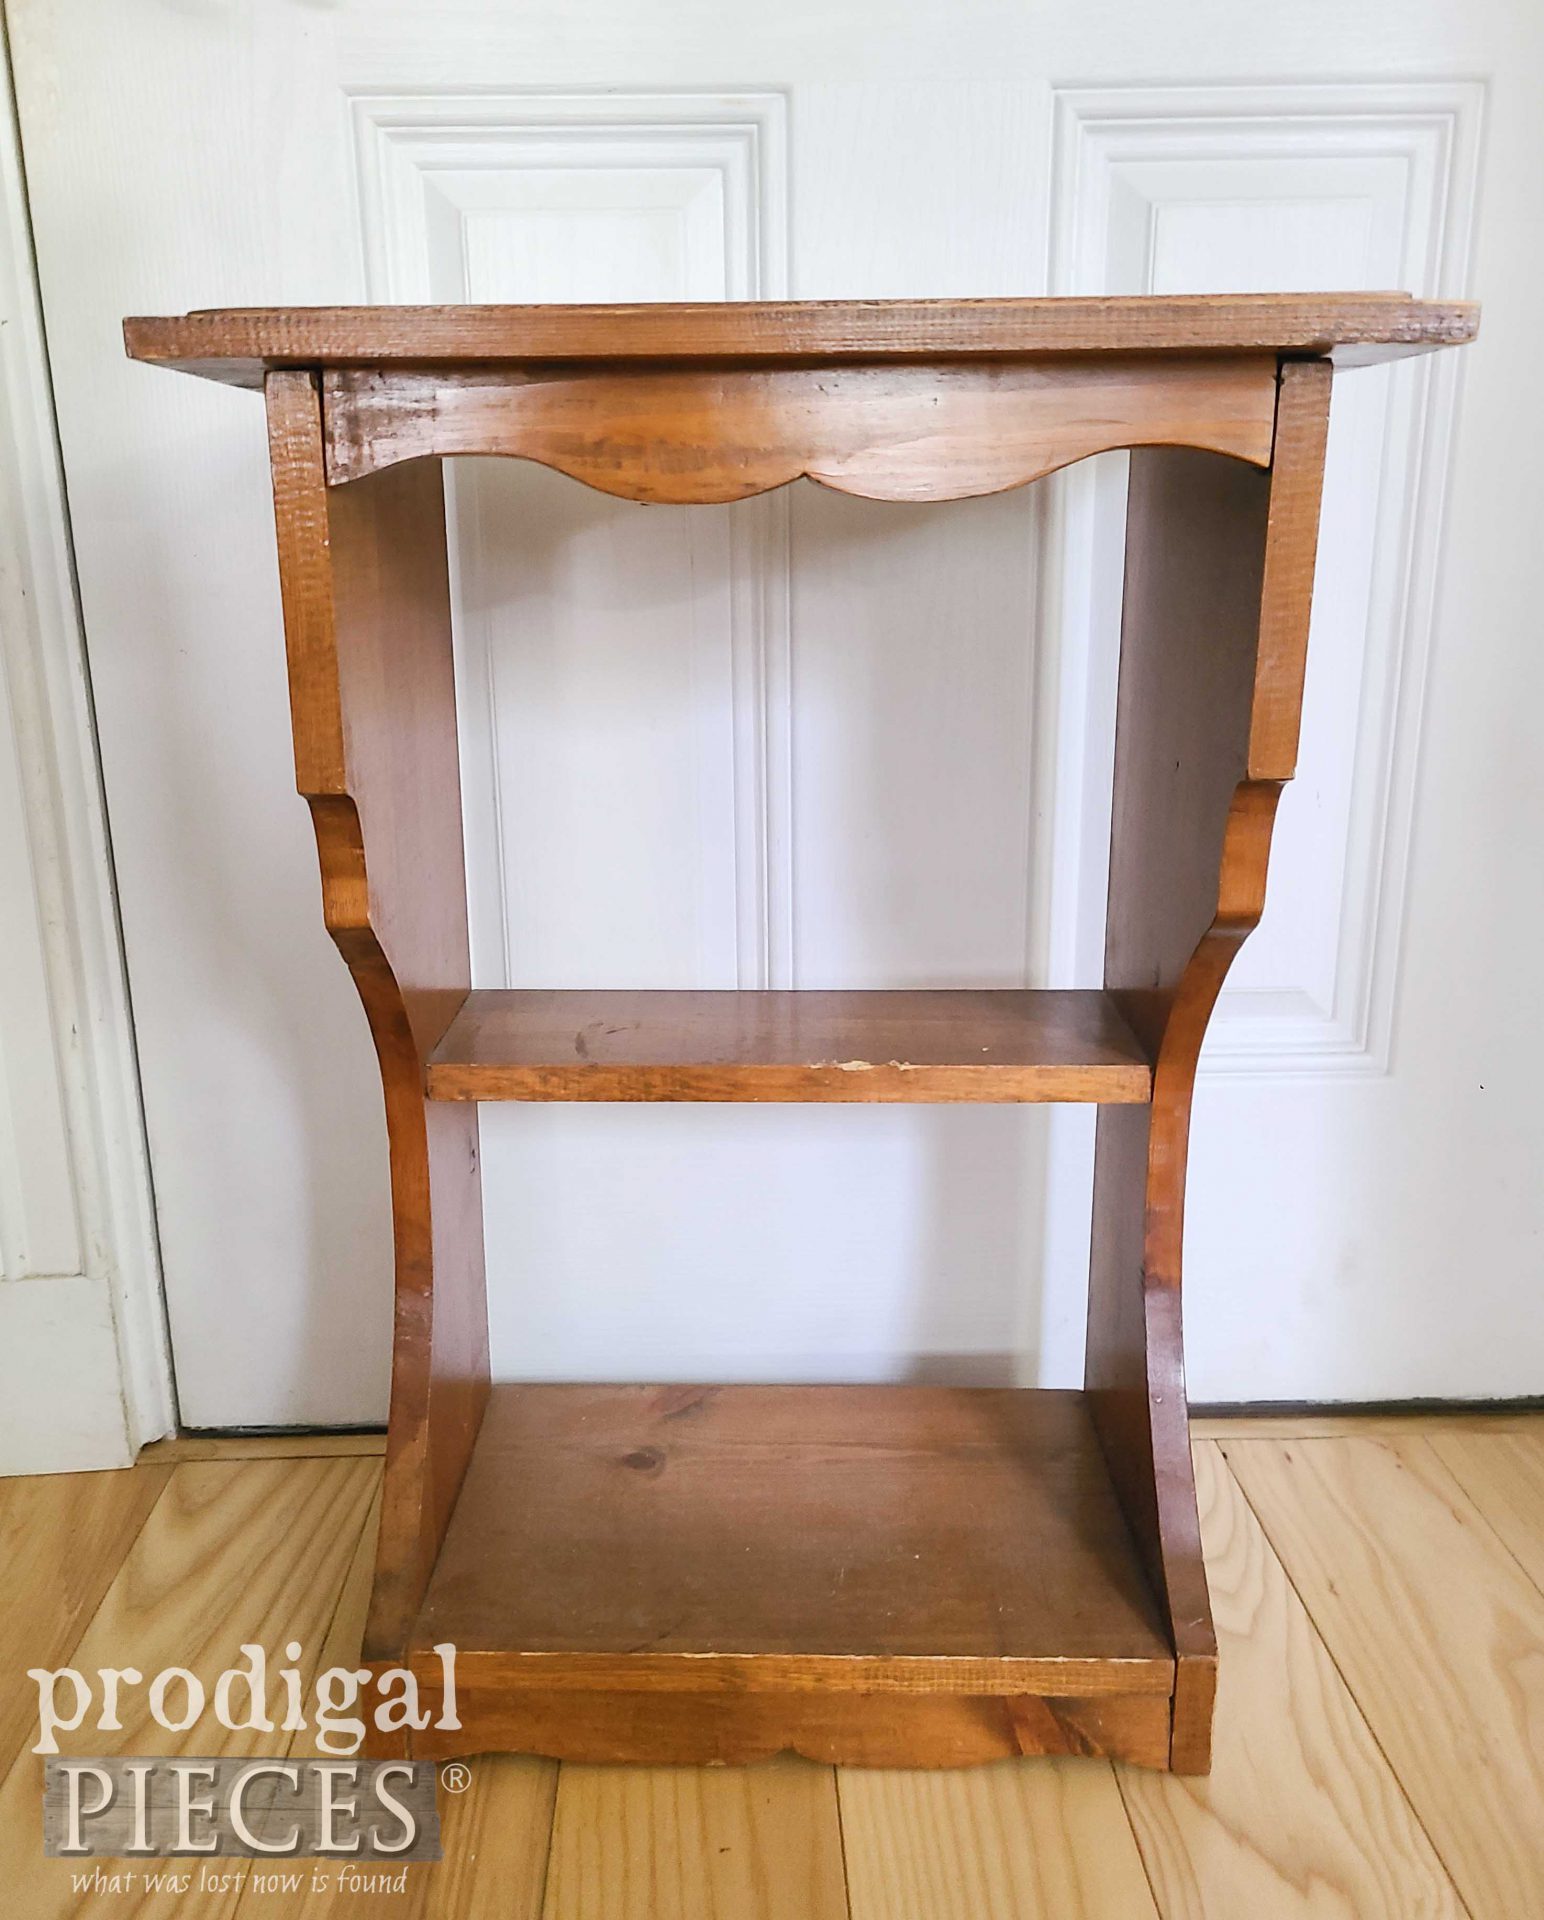
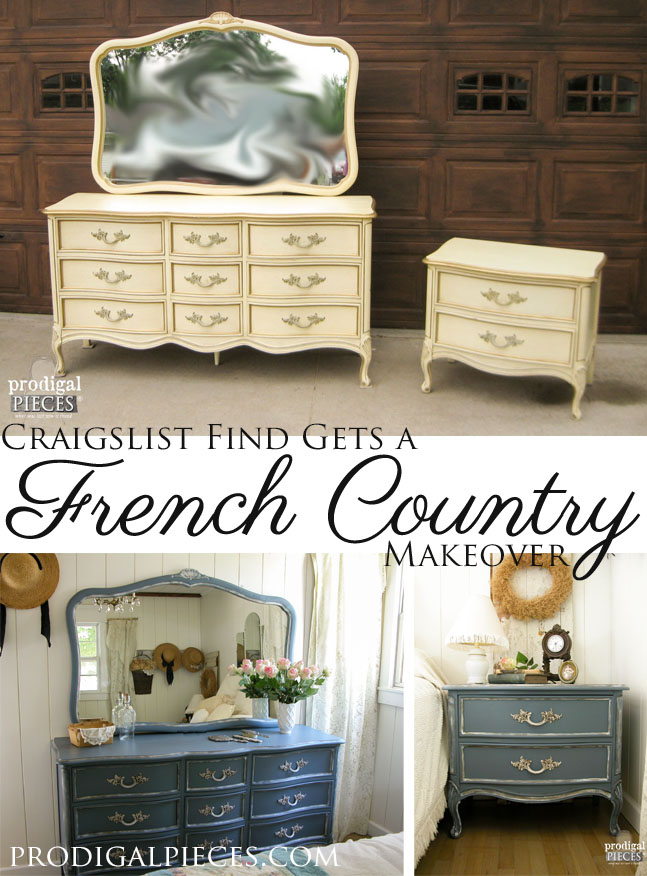
Also, more ooh, la, la, like this vintage French provincial desk makeover:
 However, it definitely needs a new look to bring it up to date and make it stylin'. Thankfully, it's in the same shape as we got it, with busted pieces and all. There are so many memories with this desk...seeing my daughters sit at it for various reasons. sniff...time flies. We knew when we purchased the furniture for their room it would be a temporary fix. So, we went with Mid Century French provincial. Don't you just love the lines of this era? In one fell swoop you can have the boxy Mid Century style and flip over to this oooh, la, la - ness. Love it!

 Then, once I finally get it all prepped and ready to go, I haul it out back with my youngest son's help so that I can get this done in the quickest, best manner. If you notice, I also have a vintage chair that they used for many years. It not only matches the era, but the lines, and feminine style too.
 Next, I spray a BIN Zinsser primer so that it will hide any bleed-through possibilities and also make that factory finish ready for accepting a new color. You can see how it knocks out cigarette smoke as well when I did this entertainment center turned child's wardrobe.
 After two coats, letting cure in between, it is ready for the next steps.
 Then, I use painter's tape and make some fun stripes on the hutch backing.
 Meanwhile, I paint the inset of the drawers the same color and add decoupage using these fun papers I've used in the past.
 Last, I use my gold paint to add soft gilding to various bits here and there to help tie in the original pulls.

 I daresay I'm smitten with the outcome. It was many steps of work to put it all together, but worth it to see it all come together. Aren't those drawers fun?

 In case you don't remember, I made use of this same upholstery when I took a vintage French provincial king size headboard and made a bench along with a French tufted mattress by hand. What a job, but so fun!

 Likewise, it's hard to tell in photos, but the stripes on the hutch backing are a pink and tan to mimic the seat upholstery. The stripes not only add contrast, but also different texture as well that falls in line with the French style.

 Finally, the best part is I also have a matching chest that is awaiting a makeover as well. Shall I do it the same or...? You can find this desk and more available in my online store.
 Before you go, be sure to sign up for my newsletter so you can see what I do with this next find below. Head HERE to see it now.


