 So, this little gem was tucked away in a hot mess of a home, but has found its way to my workshop. It's made by Riverside that has a history of making fine furniture. However, I've found that many companies over the years sacrifice quality materials for a faster/cheaper product like MDF (blucky stuff!). And when that happens, wear can happen that causes bubbling if water interacts with it. Do you see all the bubbles?
 Plus, it doesn't make it any better when someone uses it as a workshop table. That there be circular saw marks...yep.
 Also, there are missing drawers from inside as well.
 I'm thinking it's time for a mighty makeover. woot!
DIY PARTY STARTING
First order of business is to remove that top for good. While I'm at it, I also remove the bottom as well. aaahh...that feels better! It even looks better when flipped on its side - even my kids agree. Problem is that when you remove a portion, you need to rebuild it so that it doesn't fall apart. Thanks to my stash, I'm able to cut a new support for the left side to match the right side. (originally the top and bottom). Do you see where I'm going with this?
 Then, after that, I rearrange the doors and hardware to better suit what I'm envisioning. Likewise, since I'm replacing the hardware, I fill the old holes with dowel and cover with wood filler. No worries, I'm saving those glass beauties for an even greater purpose. Next, I need to replace the side panels (that used to be the top and bottom). I attach two panels of luan using my nailer, then fill in nail holes with wood filler and sand smooth.
 Before I call it quits on the remake, I also build a new base with feet and attach with pocket joints from underneath. Can I say I just love my tools? Remember my motto... toolsoverjewels.

*post sponsored by HomeRight and Wagner
SPRAY TIME
Next, it's time to break out my tools! I want my job done quickly with a professional finish and make sure my project is protected. Even better is I can use my furniture turn table to spray all sides easily and quickly. (DIY tutorial HERE). Last, but not least, I bring out my sprayer. My first objective it to prime the entire piece. Here it is in the raw.
 In fact, I am so very excited to get this part done that I completely forget to take any pictures. What can I say? It's 90° and a storm is rolling in, so I'm flying around trying to get this done. So, trust me, I have the inside and out covered in a BIN Zinsser primer that not only blocks stains and ANY odor, but also makes this faux wood topcoat ready for paint. You can see how I redid a completely smoke-filled entertainment center into a child's wardrobe in this post.
NEXT STEPS
Next, here comes a new coat of paint. woot! Just fill the canister following paint manufacturer instructions (it also sprays polys and stains). Then, before you start, take a practice run on cardboard or scrap wood making sure you have your flow set correctly. Stay about twelve inches away and move using your elbow, not your wrist.
 Finally, in less than ten minutes, my cabinet has a factory finish and is ready for the finishing touches. Better still I beat the storm just in the nick of time!

THE REVEAL
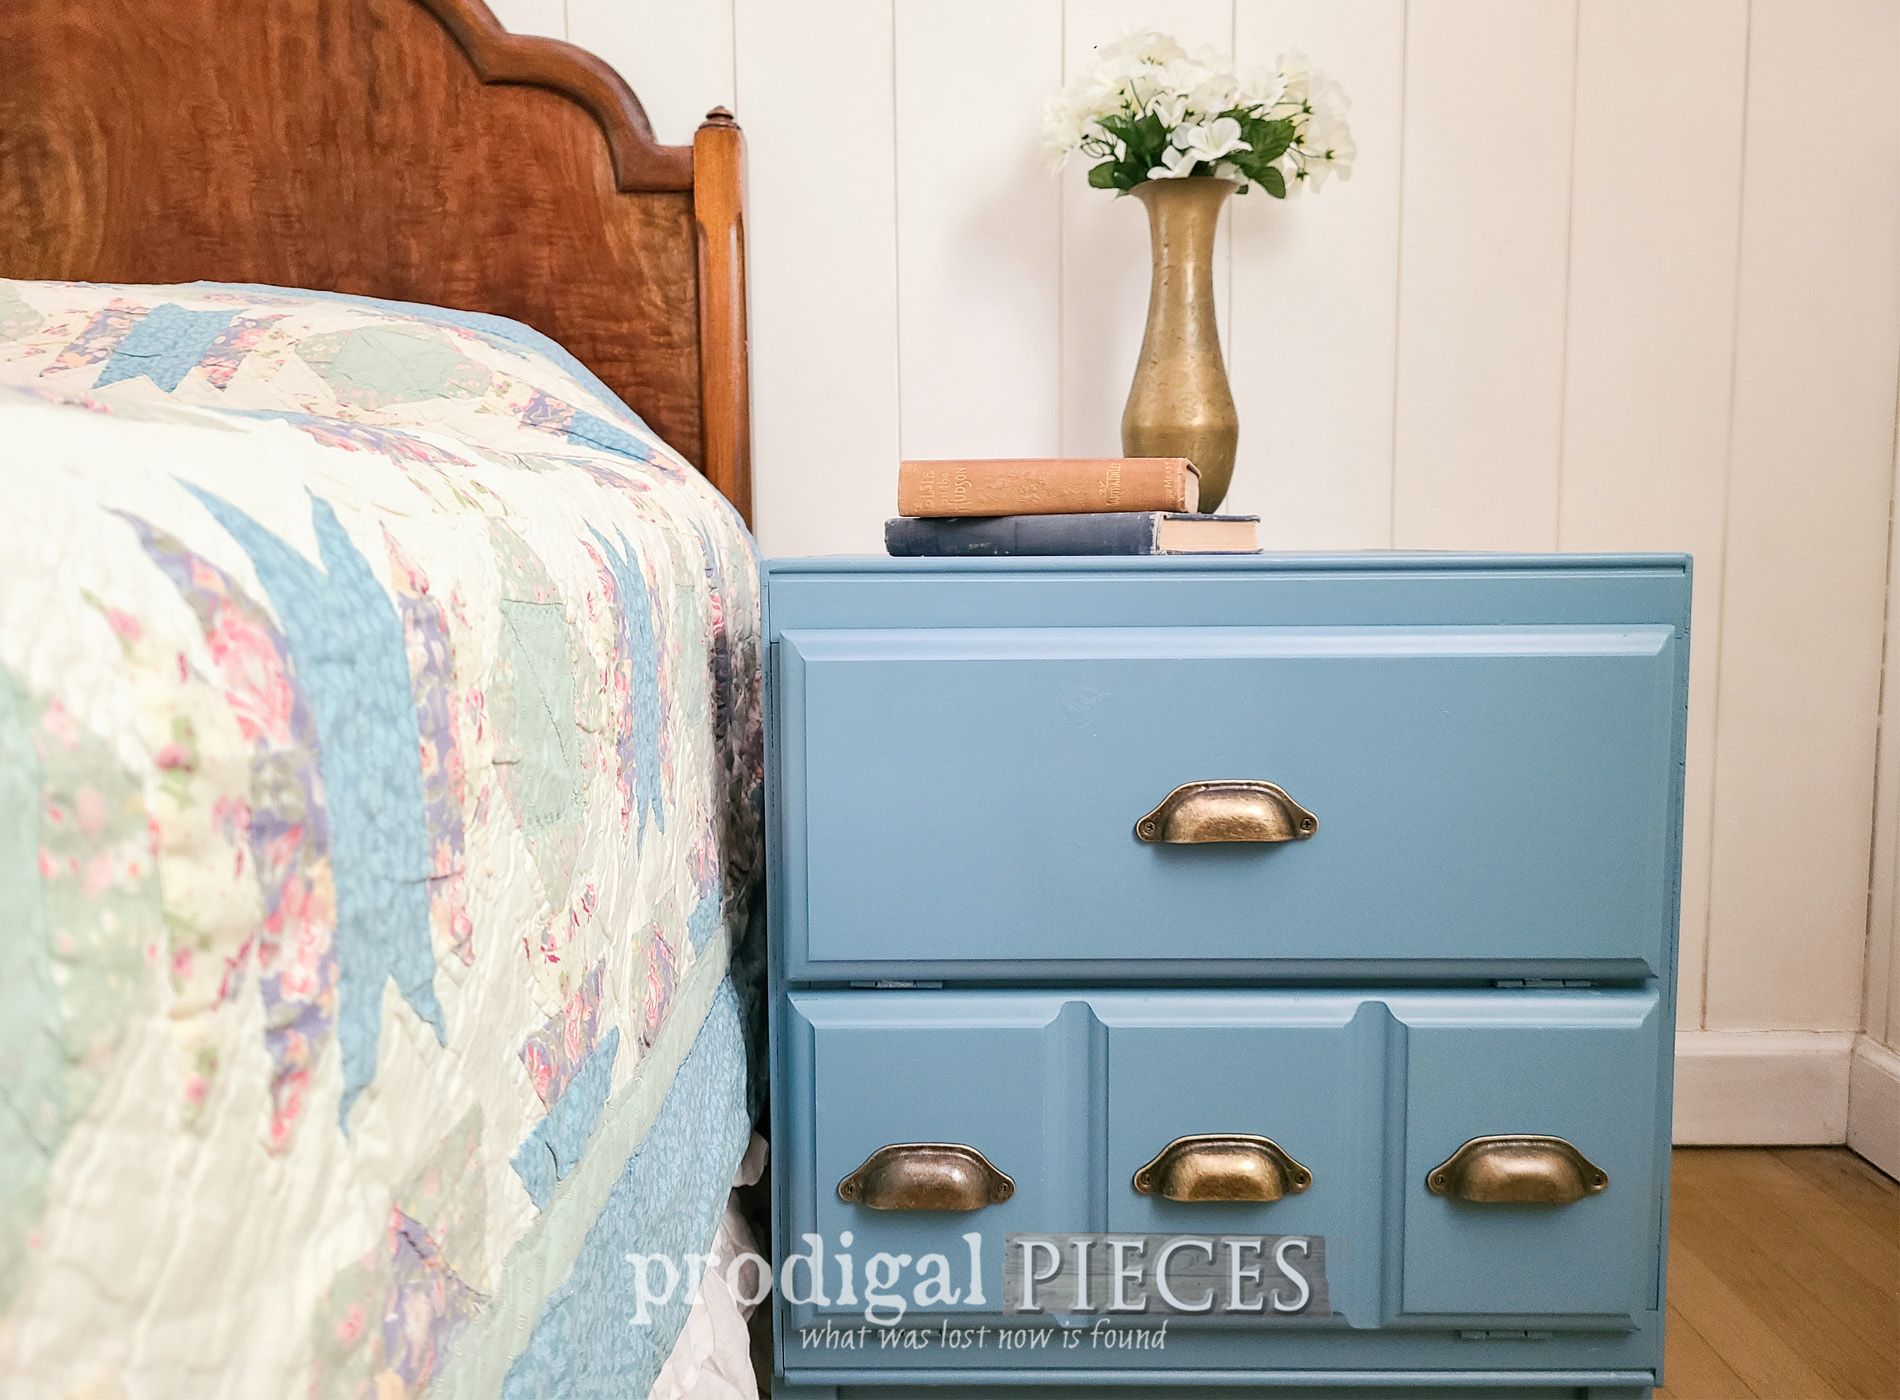
Here's my vintage cabinet side table with a brand new look with spiffy new hardware too.
 Do you think that anyone would guess they're the same piece? Maybe. But I think it looks like a brand-new piece ready for many more years of adding style and function to a home. And how about the inside?

 Likewise, you know I love my blue and I can't get enough of bin pulls. It's simply fun to give these vintage finds my own spin. Even changing them up makes for great stress relief (trust me I need it often), and a brain challenge.


SHARE
My cabinet side table's got spunk, storage, and fun new design. Love it too? In addition, do pin and share to inspire others to take a chance on a damaged piece of furniture. You'll never know what will come of it. To get these DIY tips & tricks in your inbox, be sure to sign up for my newsletter. Until next time!

Also, here's more furniture makeovers like this vintage cabinet side table:

