You're driving down the street as a family of 8 with a mission to not be late for the concert. Then, you spy an upholstered chair sitting on the curb. Do you bug your family to turn around and grab it, or do you carry on your merry way?

If you say carry on, we can't be friends. bwahahaha! Surely, I can save it from the dump and give it to someone else. No need to fill our planet with perfectly useful things, right?

While I'm grabbing the chair, I also grab a book, two pillows, and this lamp. Yes, the lamp is broken at the socket, but that's a simple fix. The chair has wear and is coming apart at the seat joint, but it is full of potential.

Plus, it's made by Stanley, a fine furniture company. You just can't find good furniture like that much anymore.
DIY TIME
First, to start, remove the seat cushion from under the bottom. Typically, there are four screws holding it on.

If they are boogery, you can place your chair upside-down on a surface, like a table, to help. Then, I asses the stability of the frame. In this instance, my chair is coming apart at the seat. No worries, I gently pry it apart more, add glue, and then clamp it back together.

STEP 2
Next, it's time to make any needed repairs to the finish on the frame to prepare it for paint. My chair is damaged on the back and various spots, but nothing a little sanding and cleanup can't fix.

My sander helps me quickly take off any worn finish and prepare it for my next step. After sanding, I wipe down with a vinegar/water mix to remove any residue (a 1:2 ratio).
STEP 3
Then, it's time to paint! {{happy dance}}

First, I apply a base coat to the entire frame. My color choice is a soft, light brown called Basketry in an eggshell finish. You can choose any color you want, but I'm after a layering effect that I prefer to use to create a worn wood look.

STEP 4
Next, while that paint layer cures for approximately 2 hours, I begin to tackle the upholstery. We begin by removing the dust cover on our upholstered chair.

If you are careful, you can save the cloth and replace it when you are done. Even save the labels and replace them too. If you'd like to see simple steps on replacing upholstery, you can see it in
this post HERE.
After the dust cloth, you may find a row of welting. Remove that as well and set it aside. A simple tip: I find putting my tool under the welting to pop the staples is much easier than digging in from the top.

Last part of this wickedly tiring staple removal journey is to remove the upholstery. Your hands may be tiring, but power through! haha! Then you can also ask yourself the question, "Why does one seat need 10,000 staples??" {{head smack}}
STEP 5
Last step in recovering the chair is simple. Put it back in the same way you took it apart. Begin with your upholstery on the bottom, followed by batting (if needed to plump up the seat), and then the cushion if present. I'm choosing to use a soft linen as my upholstery.

Also, notice I made a new strip of welting by pulling the cord out of the old and re-wrapping ti with new upholstery. While there is a welting/piping foot for a sewing machine, I use my zipper foot in the same manner.

Again, assembly is in reverse of the way you took it apart. Tack on upholstery and batting, followed by welting, and last the dust cloth.
STEP 6
The last step in our upholstered chair makeover is to put the finishing touches on. However, this time with a soft white, I apply a coat lightly, but quickly wipe off the excess with a damp rag. You can see this process in action in my recent video below and the
steps outlined HERE.


ONE MORE THING
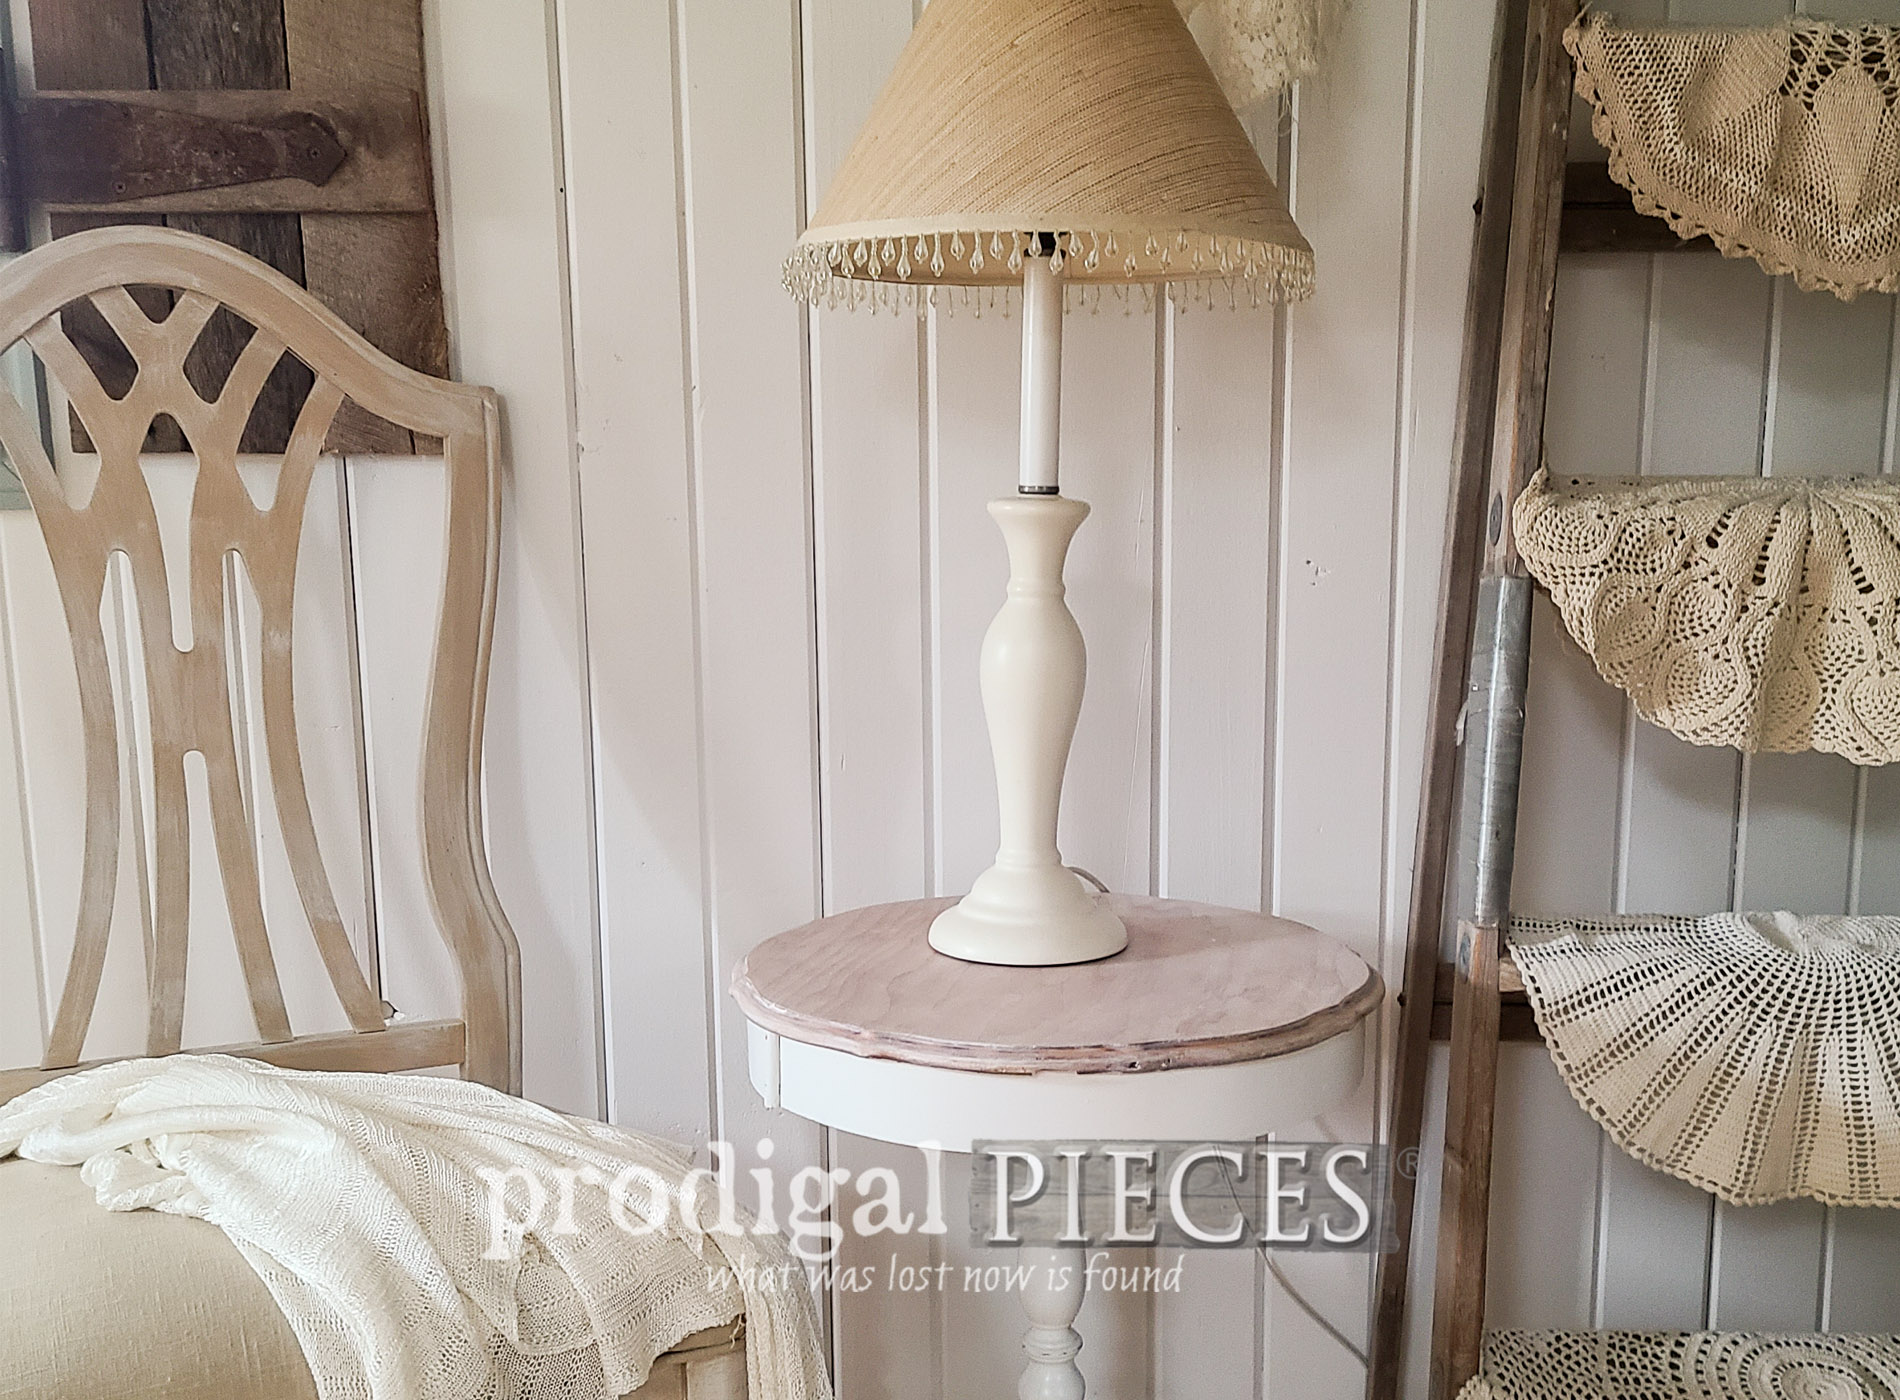
Because I have a chair and a lamp, I feel I need a table to go with it. This little cutie was in need of a little revival.

When I bought it, the owner said, "It's an antique and I painted it." Yep, it sure is painted, and in not the best job, but DIYers have fun. See the stuff stuck in the paint? That has to go...

THE REVEAL
Are you ready to see my upholstered chair trio? Here it is! It's funny to think that they were in the trash.


Actually, most everything in my photos is from trash or thrift store. My kinda decor indeed. It makes for a wonderful home story.

This chair only took half a day to work on and the table and lamp were easy fixes. Would you have picked them up off the curb?


Half of the fun of decorating this way is to tell folks where you found it, what it looked like, and what a blast you had recreating it. That's why I love to create a story-telling home.


Oh, and in case you were wondering...yes, the lamp does work.

If you'd like to make any of these goodies your own, you can find them available in
my online store. When you sign up for my free email newsletter, you get an instant discount on your first purchase - see details below.


SHARE
Also, do pin and share my upholstered chair makeover with curbside finds. Let's inspire others to save beautiful things from the landfill too.

Up next, it's
Trash to Treasure Tuesday! Looky what I found sitting on the curb...
See the afters HERE.

Before you go, be sure to
sign up for my newsletter. Until next time!

 PINTEREST | EMAIL
Also, here's more furniture makeovers like this upholstered chair: